Taking the plunge with a 3D Print
Recommendations: 28
About the Project
I have been tinkering with a 3D printer for a while, doing basic shapes for templates for Dark Age and tokens for Harry Potter, so I decided it was time to try a bigger project to see if my engineering skills were up for the calibration challenge, and inspired by the recent "Dwarves, Elves and Demons" kickstarter that I backed, I had someone else to do the design work for me. This is a quick project to show the print process and I will add updates on how I find cleaning up the print and how it paints too.
Related Game: Moonstone
Related Company: Printable Scenery
Related Genre: Fantasy
This Project is Active
Mama has a new home
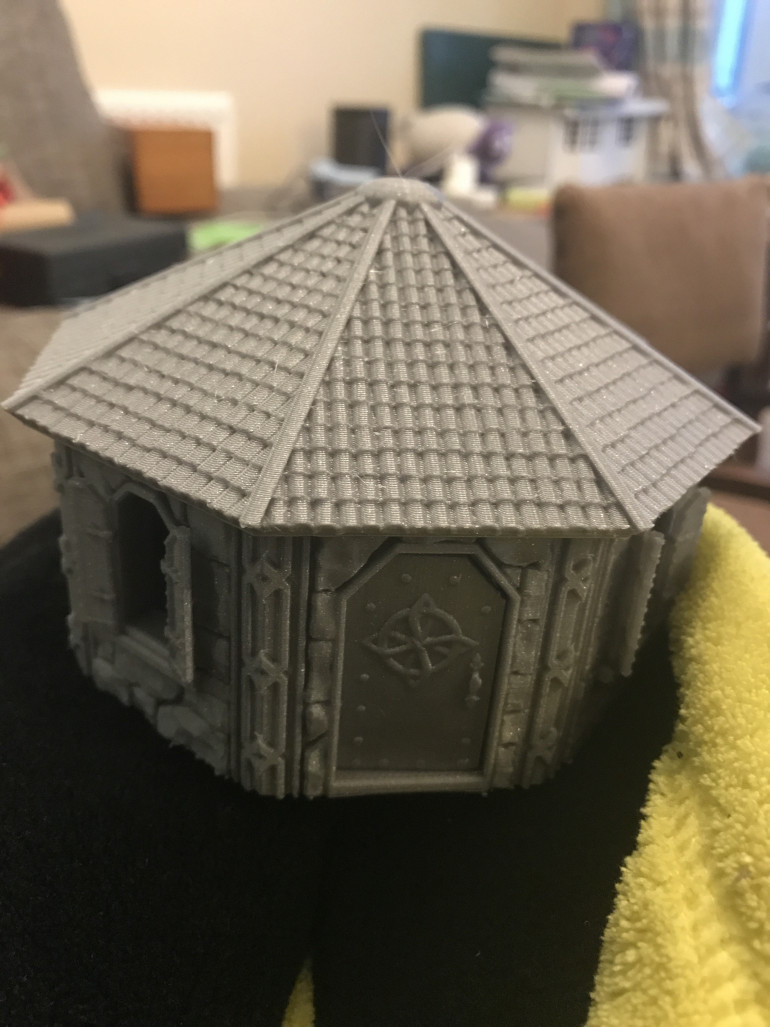
I was super please with the outcome of my first foray into using a “proper” designed 3d house.
Yes the time take is long, and it has been a faff to assemble the printer, but for my very first attempt, I would certainly recommend this Prusa Mk3 printer.
Love having a “replicator” in my house lol.
Mama will love this new house, and I will clean up the few misprinted bits left after removing the supports and see how I go about painting it up.
In total this took ~30 hours to print out.
Base : 17 hours
Root : 12 hours
Door : 1 hour.
I am thankful that I had a good experience and makes me look forward to trying some more of the buildings I got as part of the kickstarted.
I think Mama and her boys are going to enjoy Tarver Ville 🙂
When it rains!
So the Door printed out well, and I love the little detail that you can get from these magic machines.
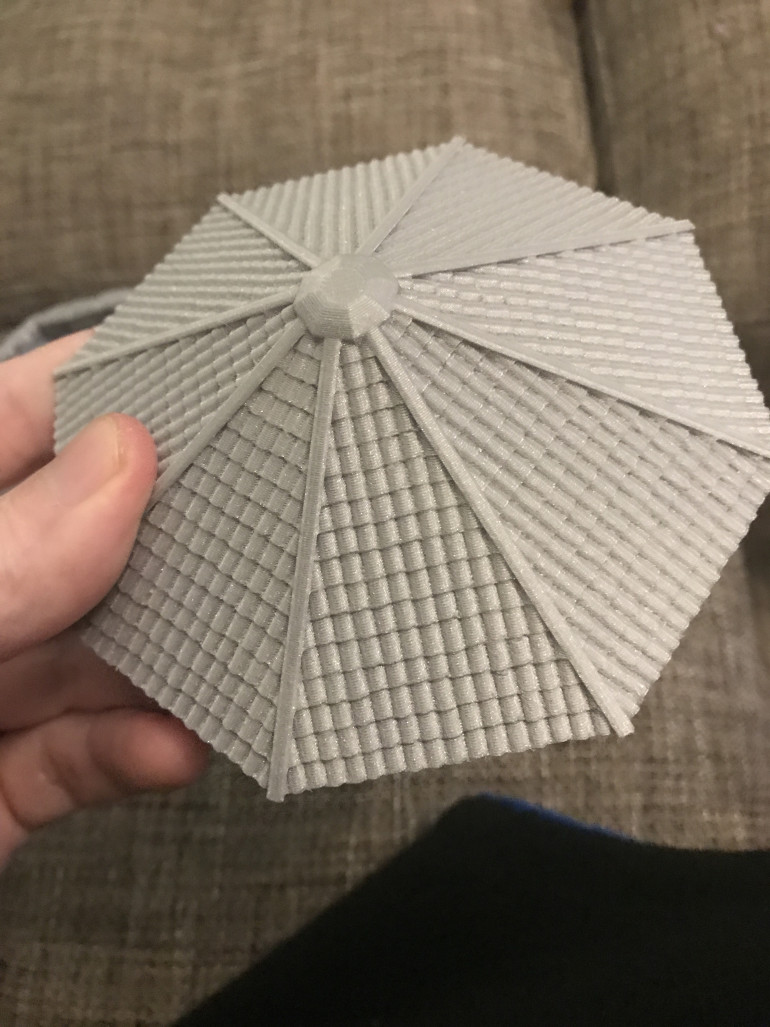
The last step was the roof.
This was a cone shape, and I wasn’t sure if it would need the support structure in place to support the build. I know that this printer can cope without supports upto a (something like) 40 degree slop, but as it was the first attempt I checked the print time.
I sliced it twice, once with support on base plate only selected and one without, there was about a 3 hour print difference, with the longer one being the option with the supports in place.
As I was printing this whilst asleep I wasn’t that fussed with the extra material used and the time, so I thought for safety sake I would choose the support option.
Love how the tiles turned out.
If I get time I might do a print without the support option and see how it copes, as I think it would be a good experience to understand the printers capabilities for future print runs.
Stop the draft getting in!
After the base was completed, I was impressed that there was a hole through the door frame and a place for the hinge – I dunno why, but seeing something solid but with the hole through it, still amazes me the most!
So I printed out the door for the house.
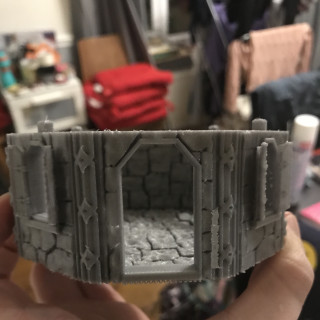
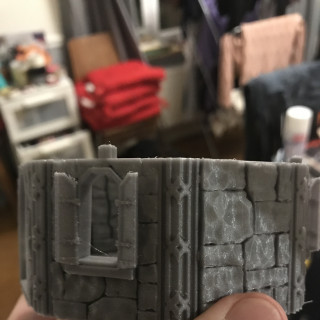
Supports taken down
I cleaned off the support structures, I just used Finger nails and Pliers, to peel away the thin supports.
This revealed the nicely turned out runes in the doorways and the window shutters in all their glory.
Mama gets a new home
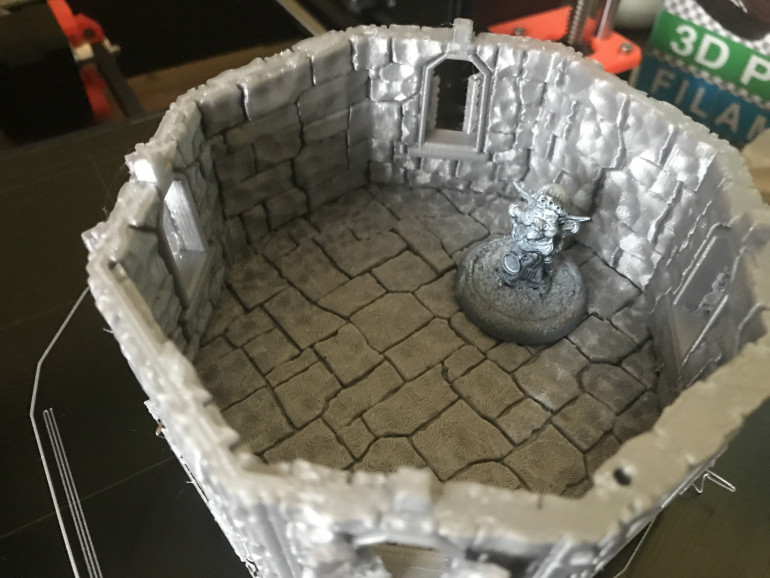
As this was based on Moonstone, I wanted to give my favourite Gnome a new house.
I felt the dwarf style goes ok with Gnomes, and I’m sure Mama Gimble will put her own touch to the place.
This pic shows the scale, so I don’t think it is too off.
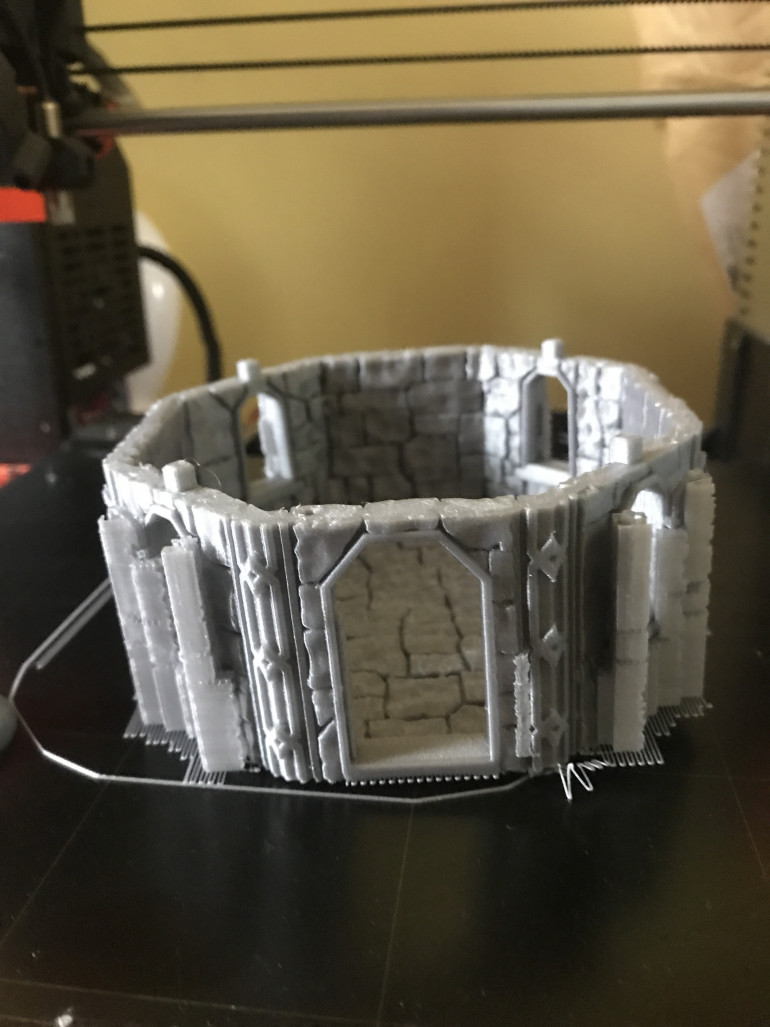
17 hours done!
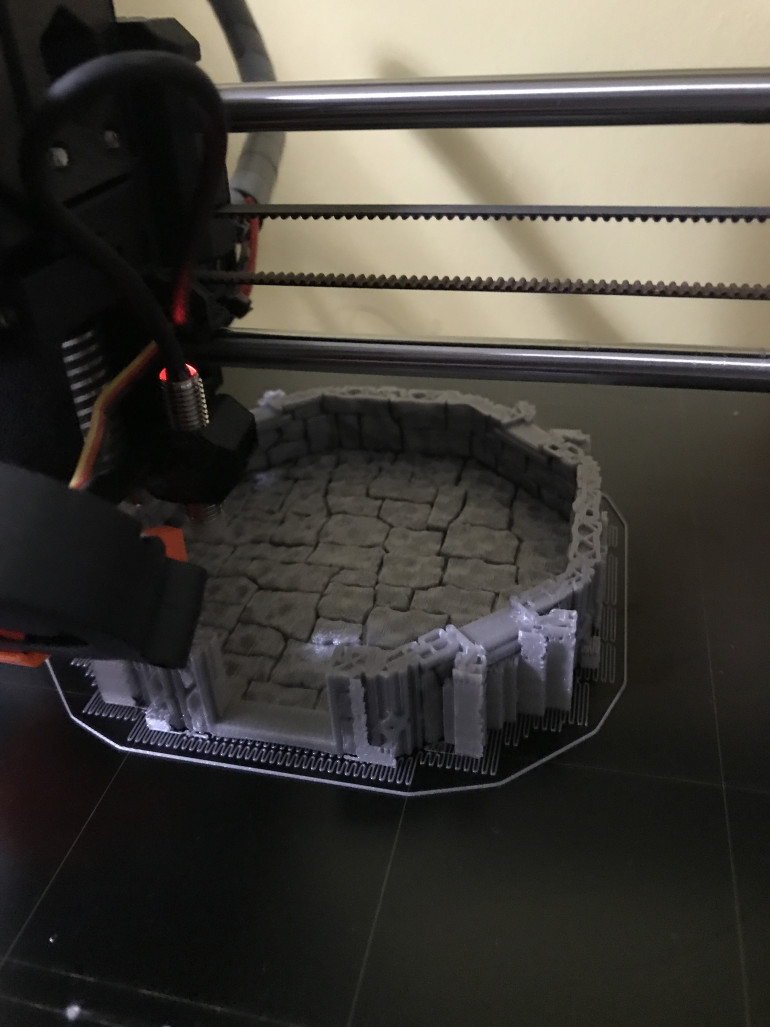
So I went to bed and awoke to happily find the printer sitting happily on the desk where I left it, with a smug i’ve finished ok message on the LCD – a total of 17 hours and about £4 worth of PLA later I had the base level of a Dwarven house!
This image shows the support structures still in place too.
Watchful eye
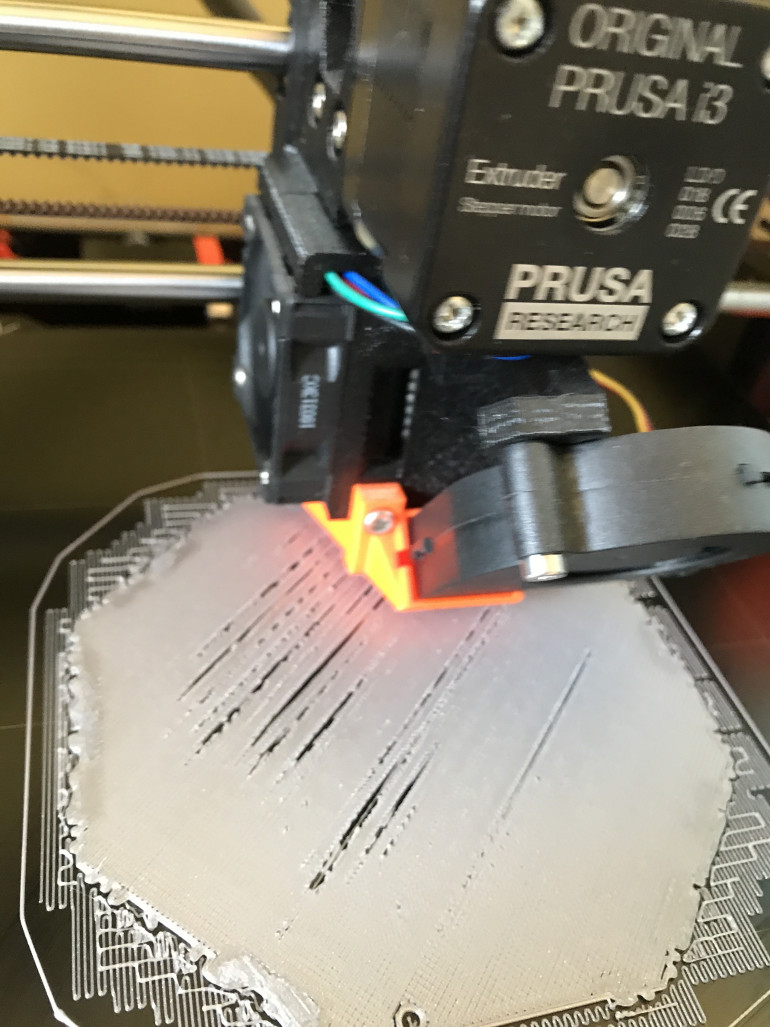
Due to the base layer looking bad, I basically sat and watched the first half an hour of this 17 hour print!
Luckily as the layers got built up, it looked ok, and I was happy to leave it to it’s own devices.
I kept going back to check – and was happy to see that after about 6 hours I had some floor and walls appearing.
Calibration done and the print begins
I am using the Prusa Mk3 with the prusa supplied PLA filament.
I went for this printer as it was just about in my price range, and seemed to offer some self calibration features which appealed, to make up for my impatience of getting things built.
I have a few issues to iron out, but the printer self levelled a bit and started off on the base layer. I used “support on build plate” option only at 0.15mm when I sliced the stl file to generate the gcode, using the Prusa version of Slicer software.
I have no idea why the base was streaky at all, so I crossed my fingers and hoped for the best.
Introduction
I always set out to get a printer to do terrain. Well that and to give me the ability to print out simple toys and such like for my toddler.
However my 3D design skills are non-existent, after a foray into creating a replica of a shower fitting that had broken, which worked and got me loads of good husband points in the bank, I really only did basic shapes to make my own templates and tokens for a few games.
Upon discovering Moonstone the urge to create my own town in the world has pushed me to try a bigger printing project.
I have been reticent in the past as I am not 100% sure on how good I have set up the printer and have been worried that it would not work, however I heard good things about the printable scenery guys, so backed their recent kickstarter for some Dwarven buildings, that would also work for when I get my Fabled Realms KS through.
This is a quick project to document start to painted finish of the basic dwarf house.


