Mood lighting the games room, step by step
Recommendations: 32
About the Project
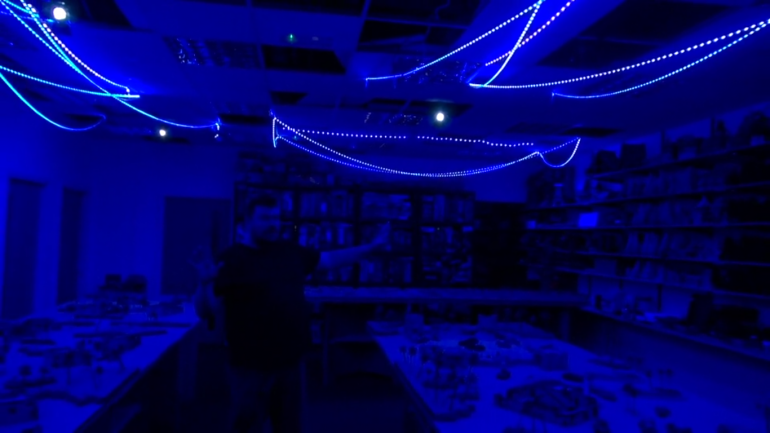
Inspired by the lighting array in the BoW Hobby Hall I've decided to have a go myself in my own games room. I know nothing about how this stuff works so this will be a real beginners guide. The plan is to use colour changing LED strips to make a mood light over the table and then some matching backlights behind my display cabinets. Then I can have my own Hobby Hall experience. I'm hoping this helps with game immersion. I don't get to play games all that often so when I do, I want the best possible experience and I think these lights might make the difference.
Related Genre: Game Aid
This Project is Completed
Planning and initial ordering
Inspiration:
@warzan this is all your fault as usual. You did this and I couldn’t stop thinking about how cool it was:
So I started thinking. I could do that…
Research:
I don’t know much about this other than OTT used Phillips Hue programmable LED strips. It now seems there are plenty of knock-off systems that do basically the same for much less. The basic systems have:
- a strip of RGB colour changing LEDs that can do up to 16 million colours
- a remote for 16 basic colours including white, on/off, brightness etc.
- a power lead and voltage adapter which connects to…
- an in-line communication unit to interface with the remote or local WiFi signal and specialist end connectors to link the power to either one or multiple strips
- an app for phone/tablet that allows specific programming and 16 million colour selections
They are also apparently connectable to wifi-based, voice activated systems (Alexa etc.) but I don’t have one so I’m not bothered about this.
I asked about the OTT team VLOGing their experiences from when they set up the Hobby Hall lights, but I understand that they are very busy atm so it looks like it is just me and the Interwebs.
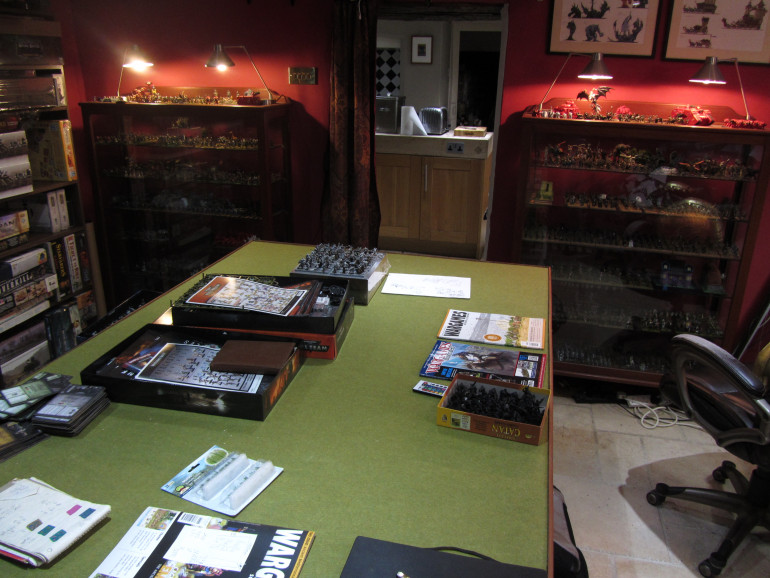
Firstly to measuring then. Here’s the games room:
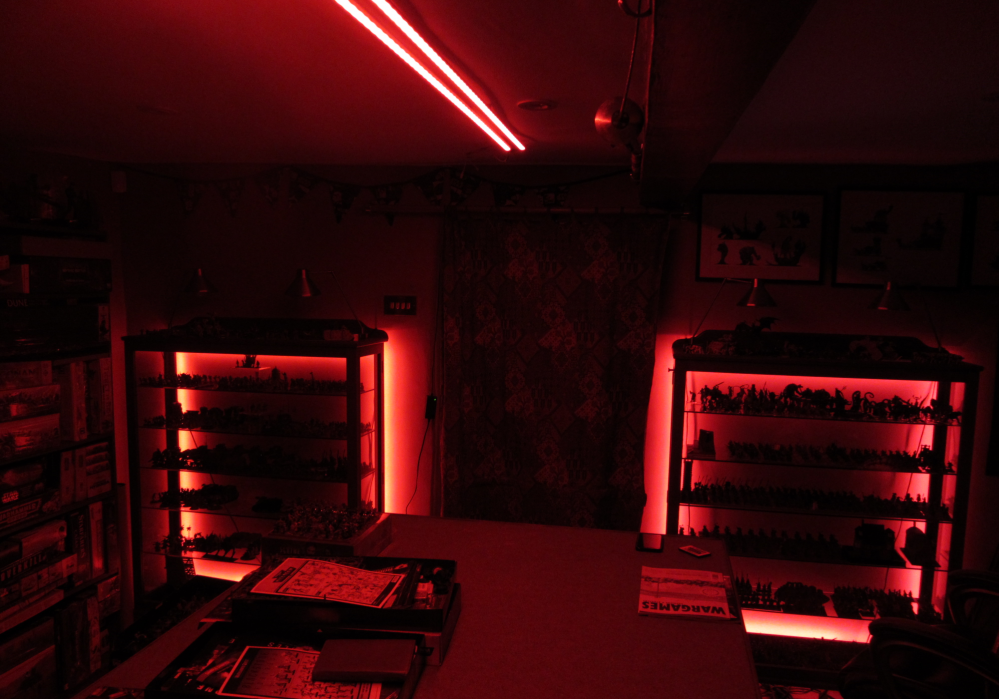
I have an 8ft x 4ft table that I want lit. The LED strips come on a reel and are either 1, 5 or 10 meters long. I think it might be possible to cut them (will research this a bit) so wanting a light to extend the length of the table and be fixed to the ceiling roughly above the middle I need strips 2.5m long. I want to make sure that even when only lit be the mood light there is enough light to play by. Two strips are better than one. So that is one 5m reel with a kit to connect two separate strips to the controller.
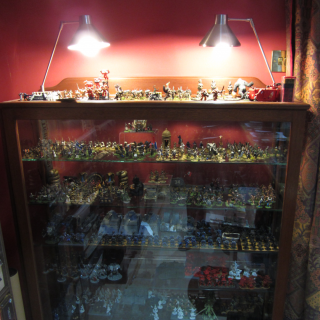
The two glass display cabinets either side of the door are 1.1m wide by 1.2m tall. So that is a distance around of 4.6m. One 5m strip will do each cabinet.
Ordering:
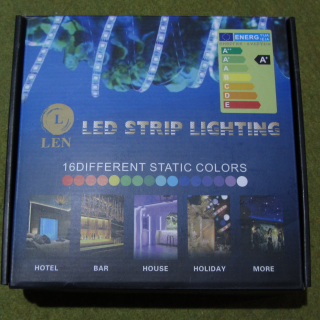
I found these kits which had 5m reels in and when ordering 3 come with a 3 gang connector for the ceiling light:
Not wanting bare led strips stuck to the ceiling I decided to put them into extruded aluminium strips which meant I could also use a diffuser and they would be easier to fit. I went with these:
And to go with the ceiling light two 2.5m diffusers:
with four mounting clips (two each felt like enough, they have no real weight to bear):
Components are here
Everything has arrived. Here is a closer look at what I got:
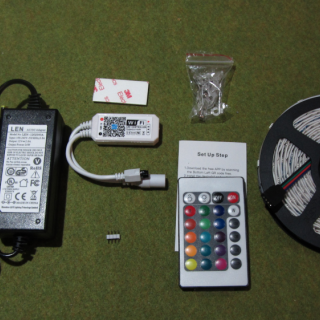
Three of these boxes and inside we see the basic components in each box (from left to right):
- Power lead (UK plug)
- Wifi interface (and sticky pad for attaching to a surface)
- A bag of cable clips
- the card with QR code links to the manual and product website
- the remote
- a 5m reel of leds mounted on a stickable foam backing
Three kits (with Amazon Prime delivery) were less than £75.
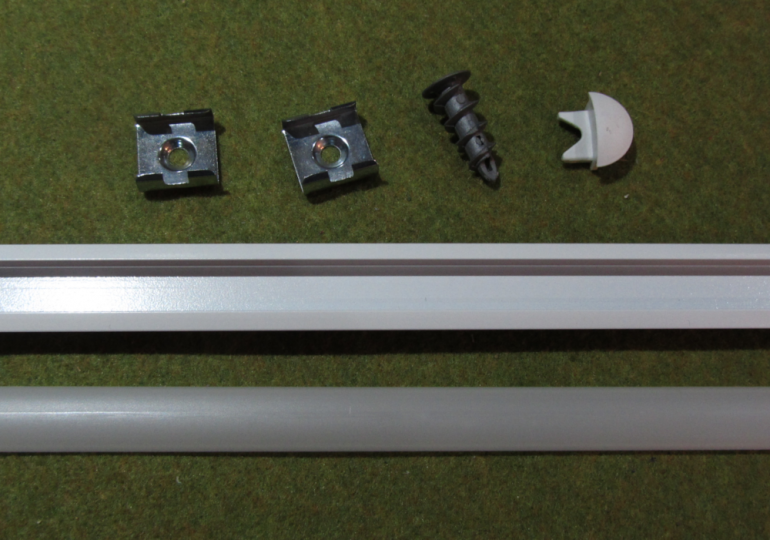
A close up of the aluminum extruded strip which is a flat U shape with track grooves on the back for the brackets and a groove on the inside for the diffuser. The strips are 2.5m long and white as this is the colour of my ceiling. The diffuser is made of PMMA which is also known as acrylic. I went for an opaque one because I wanted to minimise the visual of individual leds and get a broader spread of even light.
Along the top of the image are the two brackets, the self-tapping rawl plugs I’m using to get a secure fix in the ceiling and the end cap for the strip (only need these at one end as the led plugs will be poking out of the other end).
These strips have lots of options on length, colour and diffuser types. Each strip worked out at just under £30 with delivery.
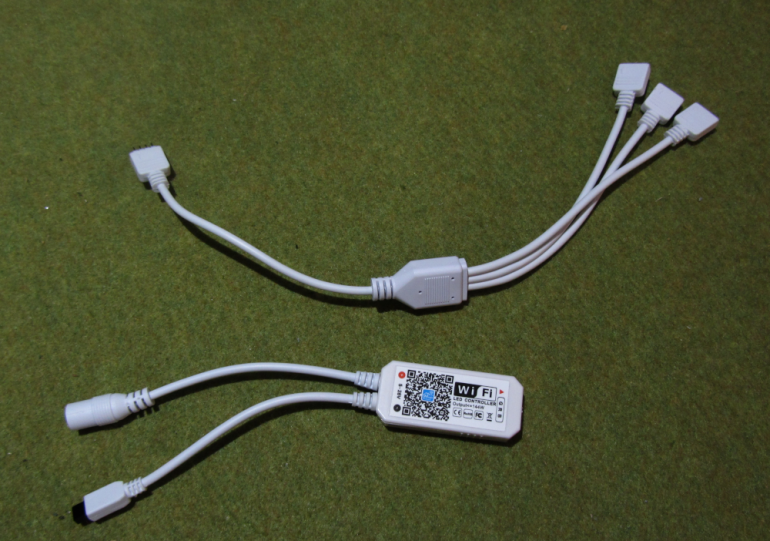
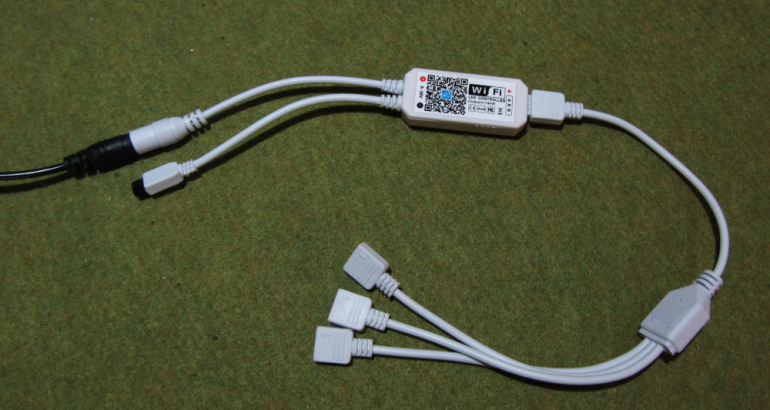
This is the 3 gang connector with one of the WiFi controllers. The 3 point connector is additional to the standard box contents. It is needed for the ceiling lights which will be two separate strips operated through a single controller.
Construction
Tonight I’m putting all the bit together. First let’s look at the led strips in more detail:
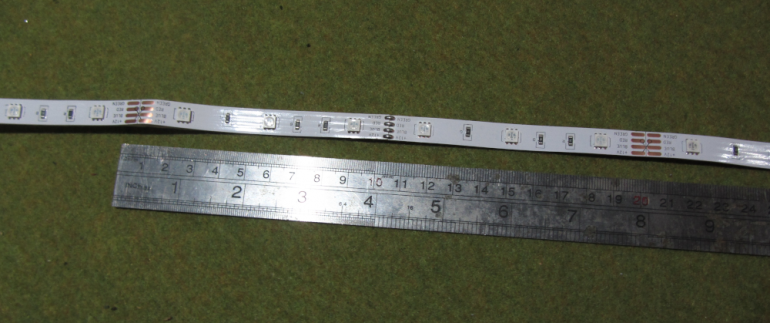
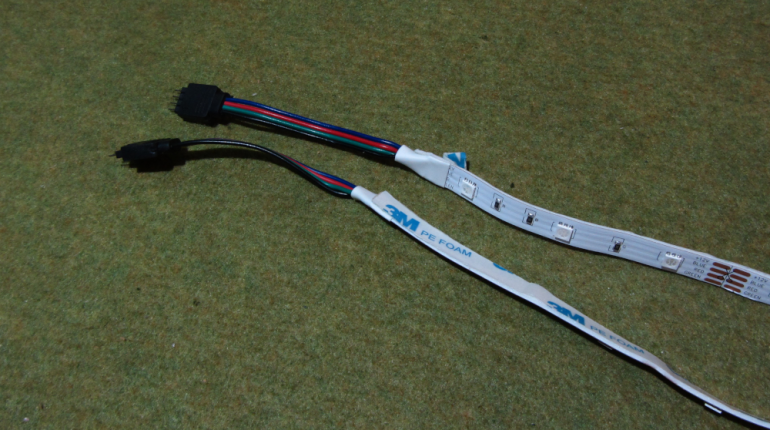
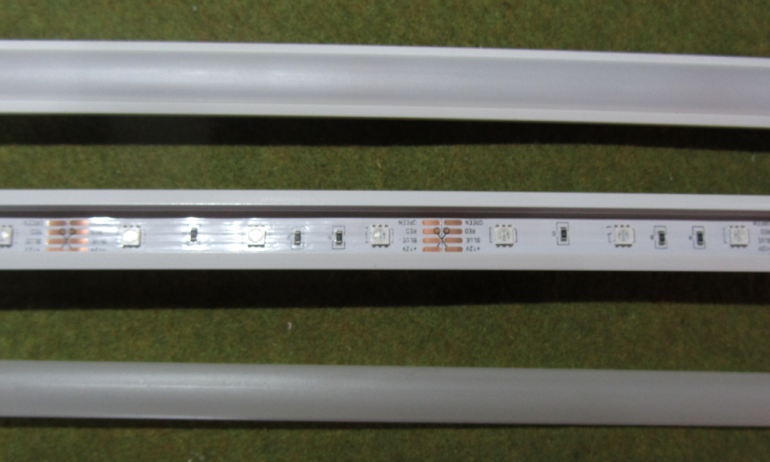
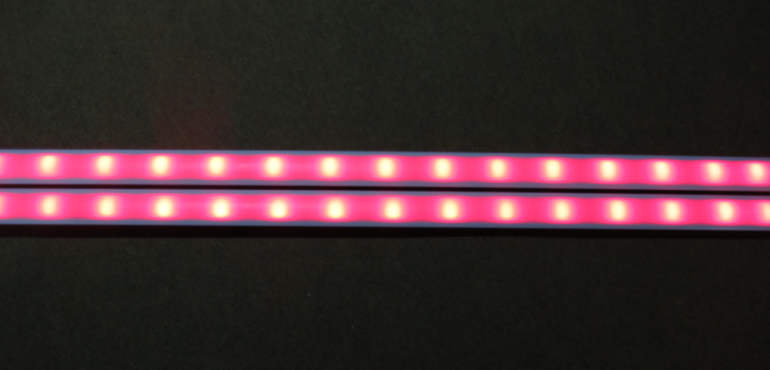
LED strips come in various types, not that I was aware of that when I bought these. This one has the LEDs in groups of three with copper connector points between the groups to allow the strips to be cut (and possibly rejoined with a special connector clip). This strip has 3 LEDs every 100mm and this ratio is very common for the cheaper kits, (the LEDs are the little white squares in case anyone hasn’t seen this type of light before). This strip is 10mm wide so will fit exactly into my extruded aluminium (I checked this before order everything). 10mm is apparently pretty standard although there are some strips that are 8mm wide apparently. There are also strips with LEDs closer together so you get 4, 5 or more LEDs per 100mm. They are obviously more expensive.
In the centre of this photo is a soldered joint which is the manufacturers method of connecting several smaller lenghts into this 5 meter strip. Soldered joins were every 500mm on this strip. As I need two lengths of 2.5 meters for the extruded aluminium housed ceiling lights I would need to cut this strip at the solder joint. Initially I wasn’t too sure but having examined it more closely it seemed that this was a suitable place to cut through so I carefully cut the solder only and separated the reel in the middle.
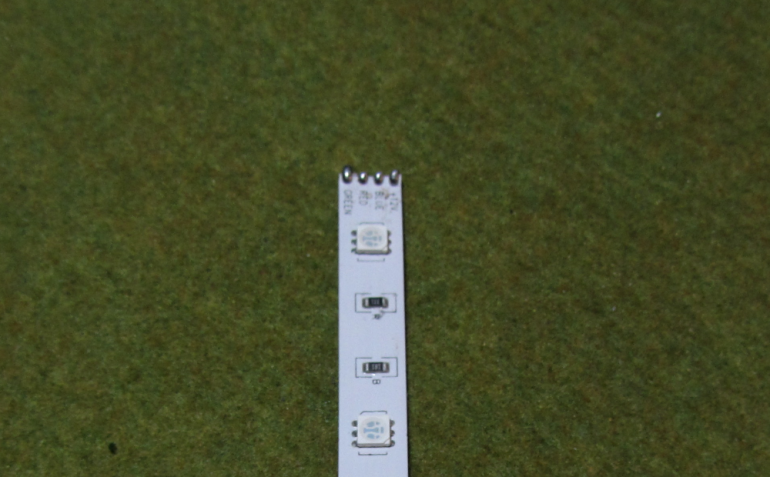
At the other end is the attached plug connector. The strip is supplied with female plug ends and two male to male converters. The plugs on the wireless connector and the 3 gang connector are also female ends.
This photo shows the sticky foam backing. Having split this reel into two 2.5 meter lengths, I then glued them into the extruded aluminium strips:
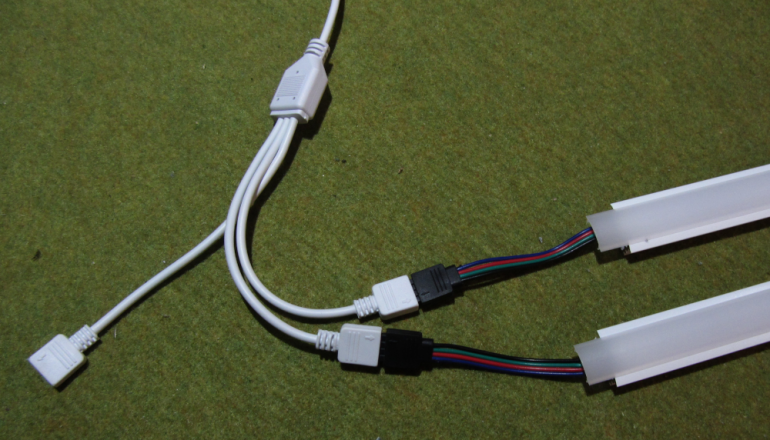
Then it was time to test everything. First I connected the power to the WiFi connector and this into the 3 gang connector:
Then the strip ends into the 3 gang connector.
N.B. Careful here. There is a specific way round that the plugs go. There is an arrow pointing to the end connector of the four and this must line up with the arrow on the end of the other plug. You will risk shorting the strip if you plug it in the wrong way round.
Setting up a strip on WiFi
The strip WiFi connector has to be enabled on the system if you want to use the app to control it. This is fairly simple. All you do is plug the strip into the power (careful to line up the arrows on the plugs) and then turn it on. You can do this when it still on the reel if you like. The strip will flash red, green and blue continuously.
Using the QR codes on the business card in the box you can access clear picture based instructions to cover the stages. and find the controller app. Firstly download the app and make sure your device is on the local WiFi that you want to connect to. Run the app on your device (I’m using and iPhone 10). Follow the app instructions to go to your device’s wireless settings and select the LED WiFi strip controller. This connects the strip to the app on your device and the strip’s WiFi controller to your network. You know this has worked because the strip stops flashing and stays green. You can then rename the strip and control it from your phone.
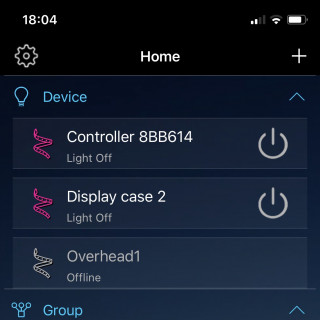
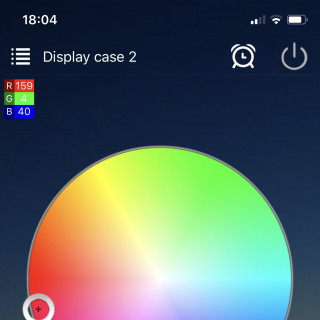
These pictures show the app. The first screen shows the names of the three strips I’ve connected to my device and local WiFi. The next screenshot shows the colour selection screen. RGB specific settings at the top or just wave a finger over the spectrum to see the result.
The strips are now working and can be controlled from my phone 😀 Yay!
Finished
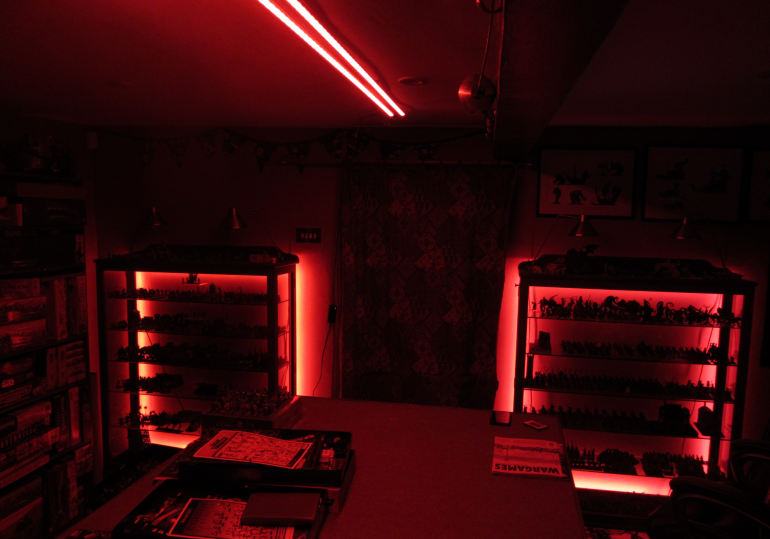
This is everything finished then. The games room now has sufficient mood lighting that a game can be played with only these lights on.
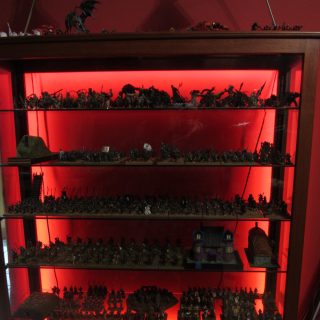
The backlights for the display cases was easy to install. There is sufficient room to stick the LED strip so that no individual LED can be seen from the front. This you just get the lovely backlight.
Here is a before and after:
Final comments:
This was a fairly straightforward project. The kits were easy to use and the example from the Hobby Lab was something that I feel I’ve accomplished on a domestic scale.
I’m planning on trying some game based use of the lights. For example they can be set to change with a timer so I can set the length of a turn an make it obvious to the players whose go it is. Thus, one player has their go when the light is red, the other player gets their go when the light is blue. I set the light to alternate between red and blue every ten minutes. Let the game begin!
Has anyone else got any cool ideas for actively using this type of lighting setup in their games?





![Very Cool! Make Your Own Star Wars: Legion Imperial Agent & Officer | Review [7 Days Early Access]](https://images.beastsofwar.com/2025/12/Star-Wars-Imperial-Agent-_-Officer-coverimage-V3-225-127.jpg)


