Rise of Moloch
Recommendations: 285
About the Project
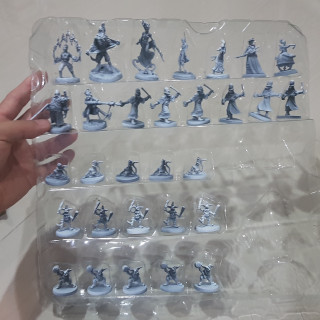
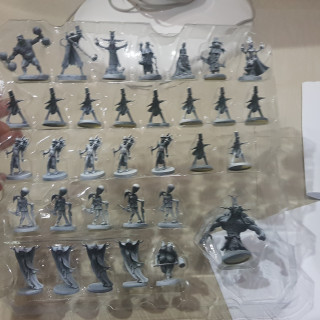
This is my main project for 2019. I kicked all in. I love this streampunk characters. It is very cool. Hope you like it
Related Game: The World Of Smog: Rise Of Moloch
Related Company: CMON
Related Genre: Steampunk
This Project is Active
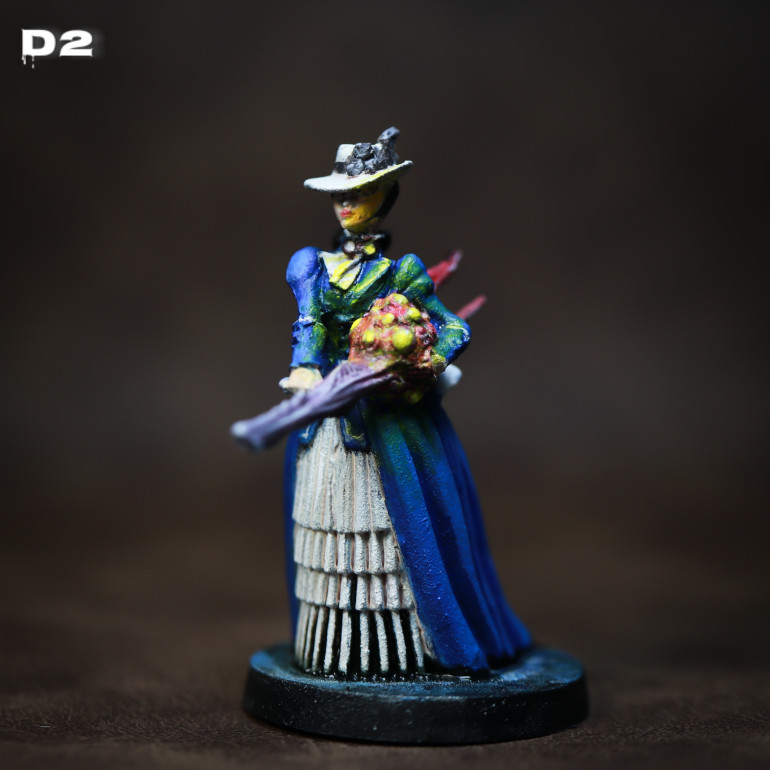
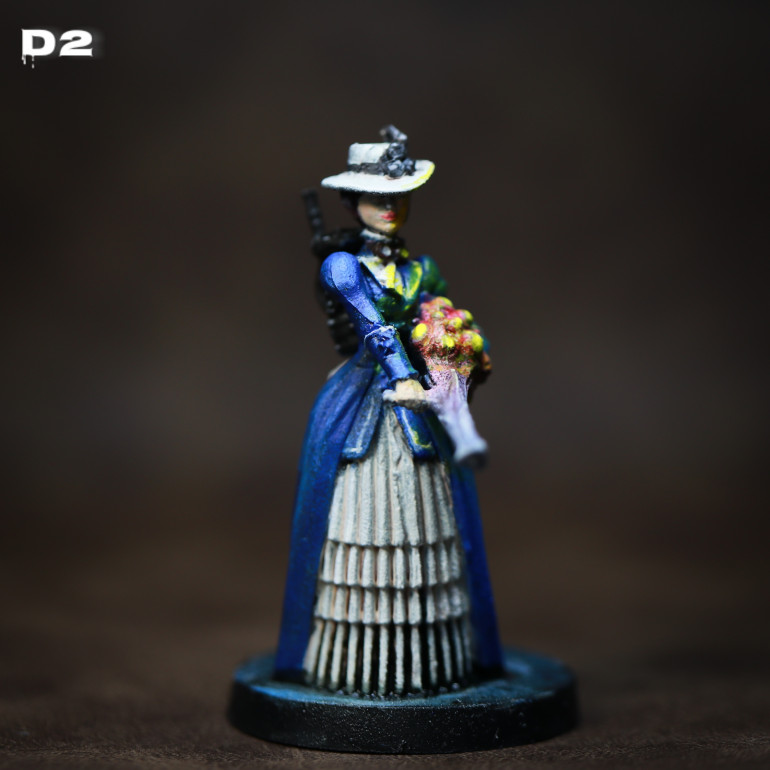
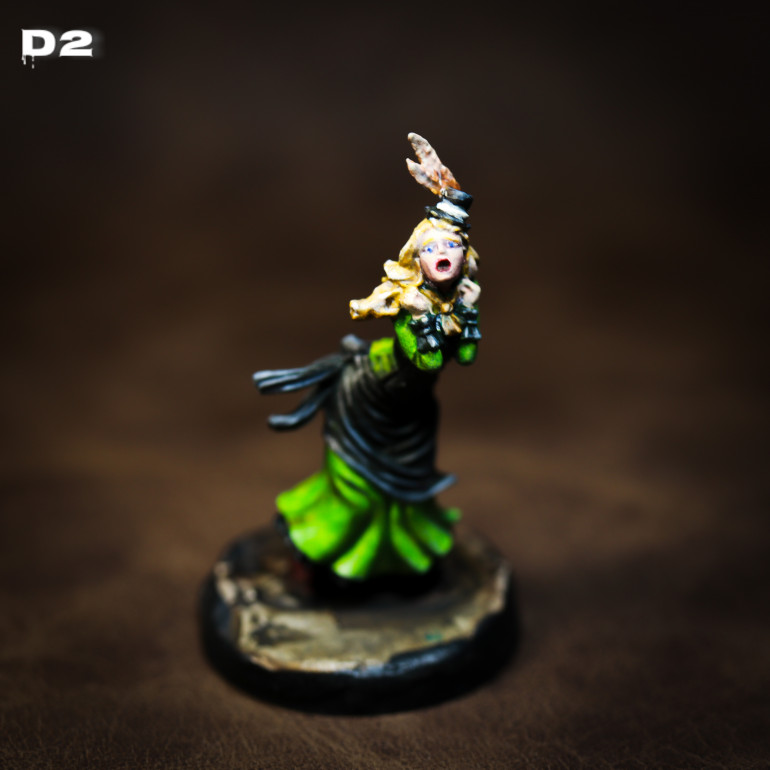
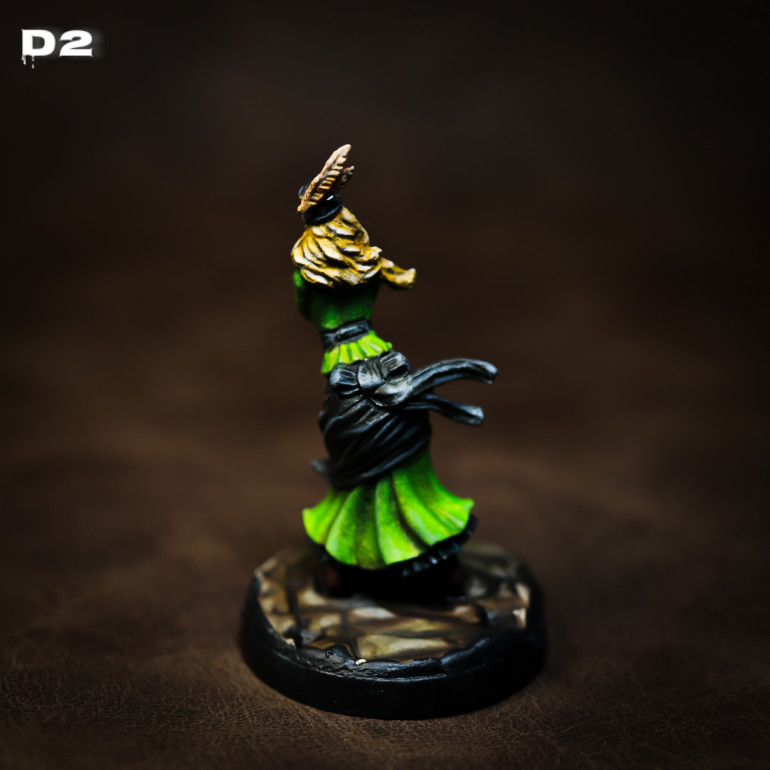
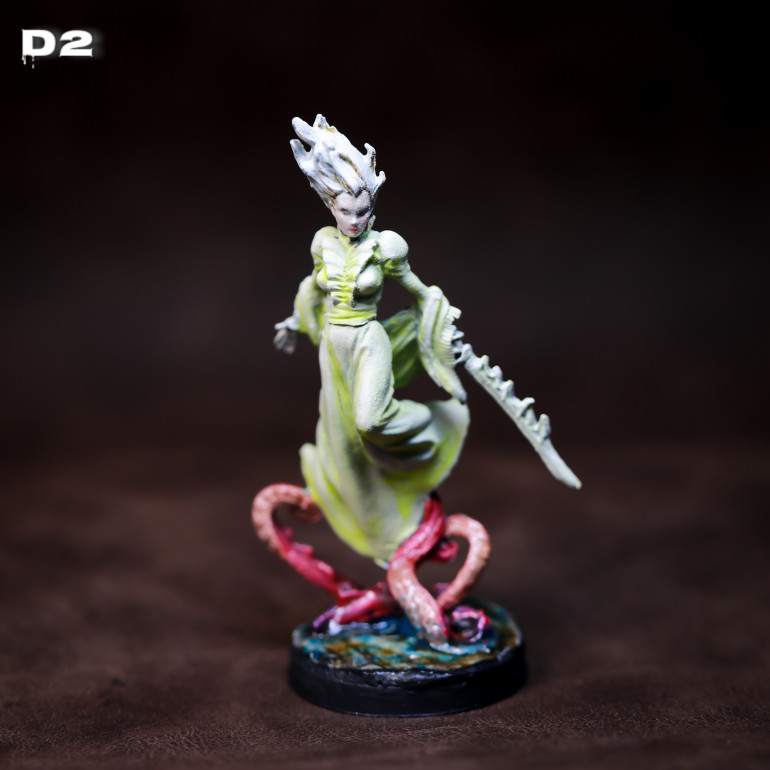
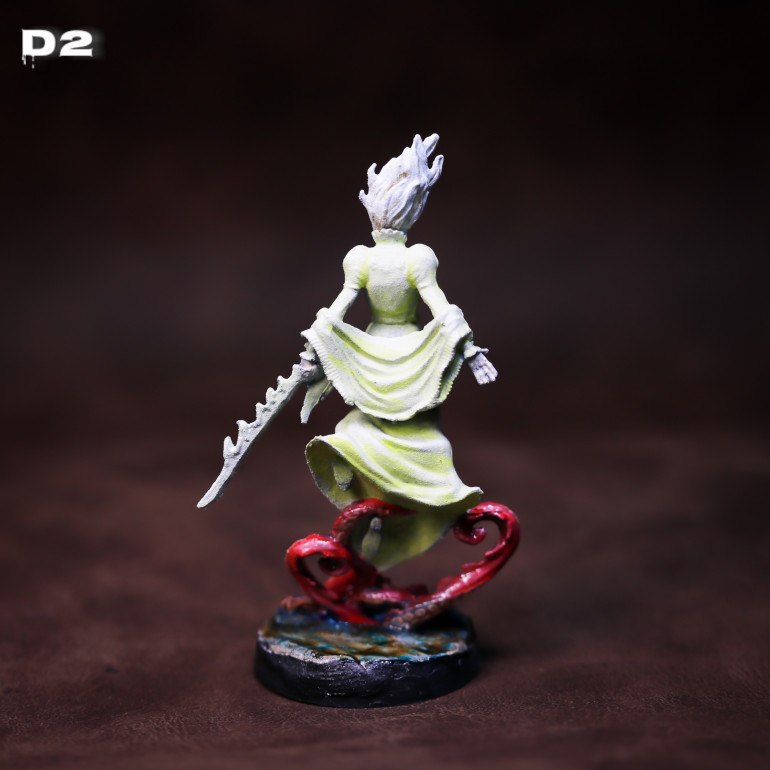
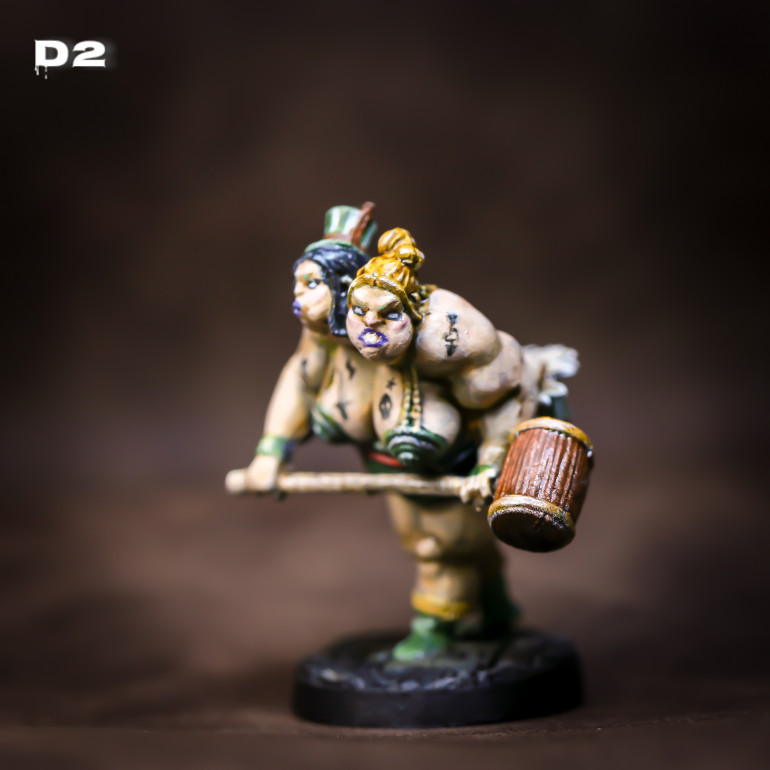
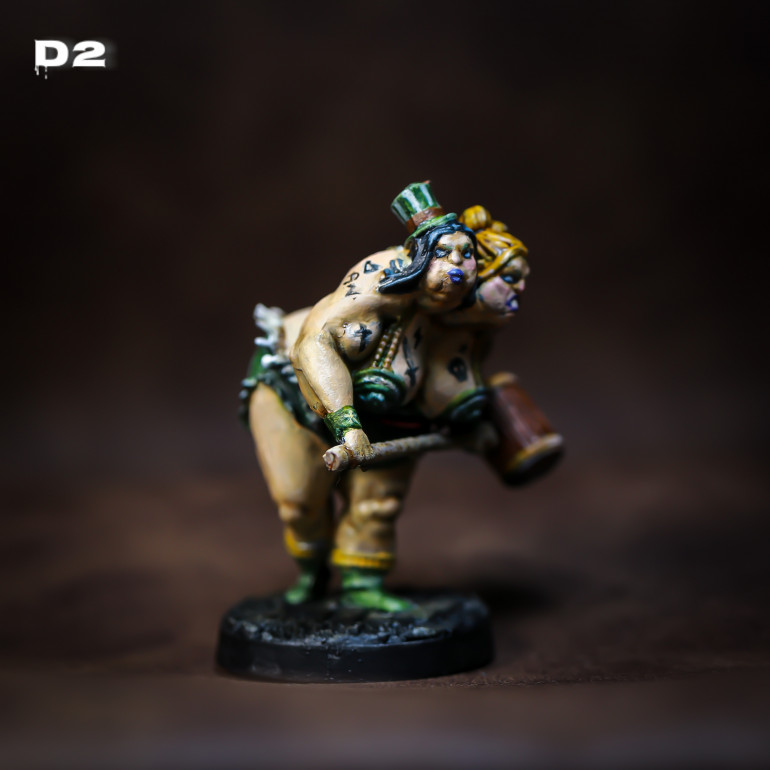
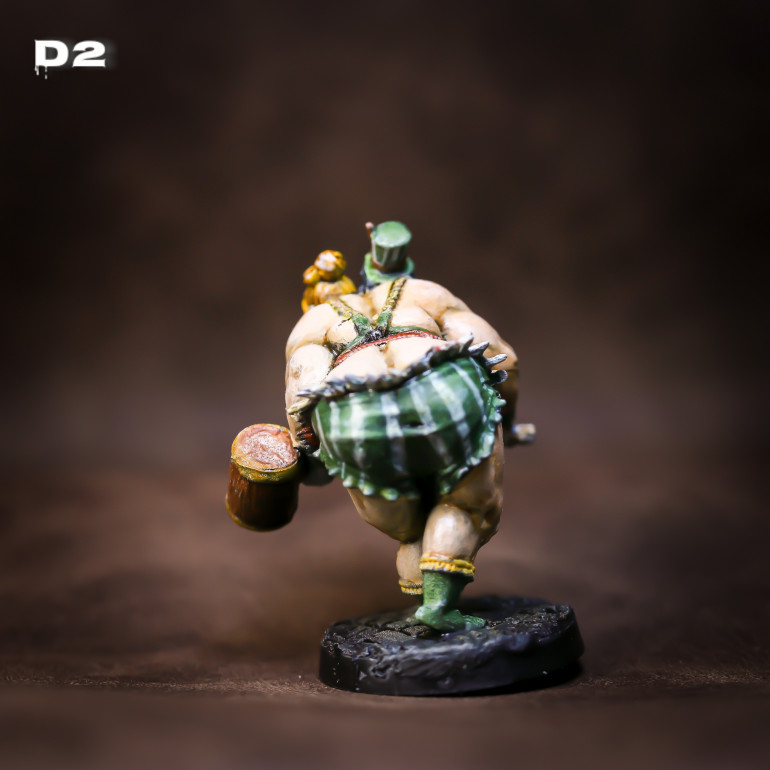
Damsel
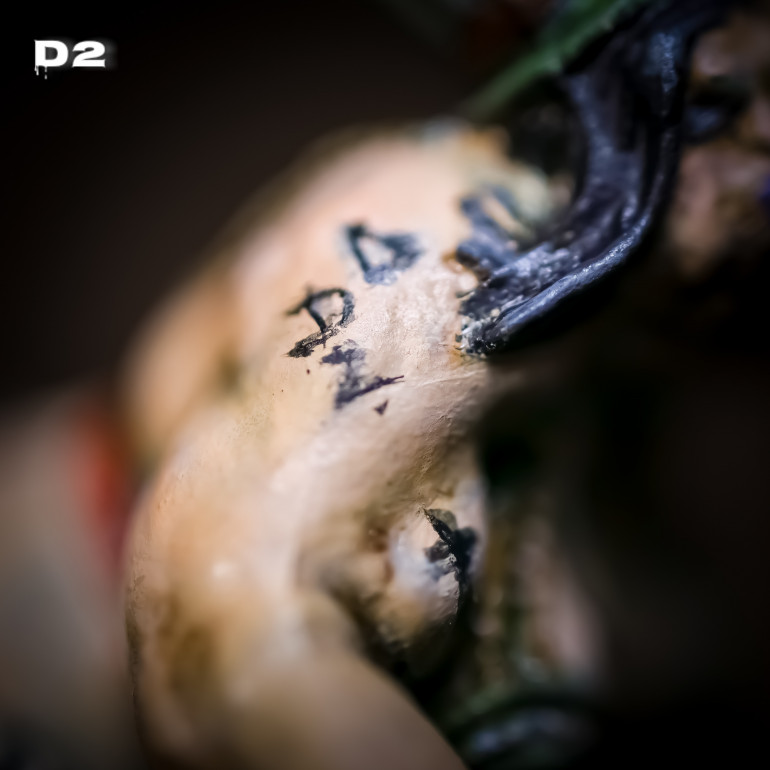
Eyes are the most difficult part for me
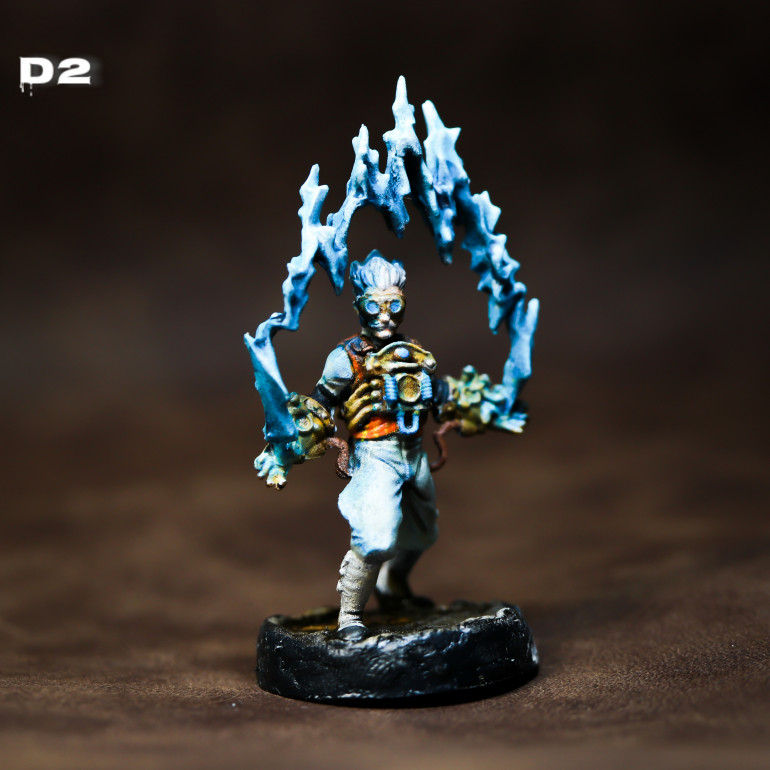
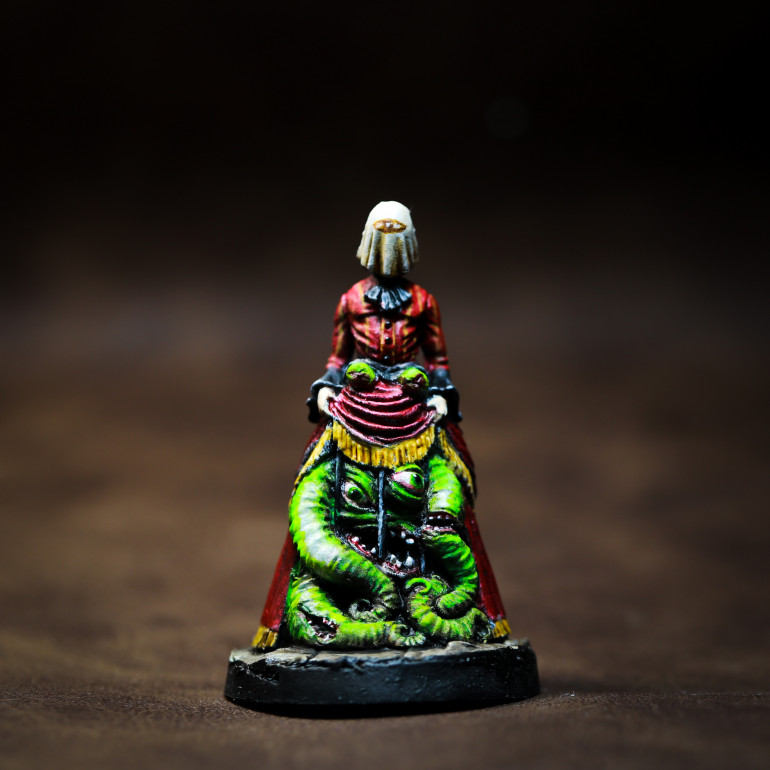
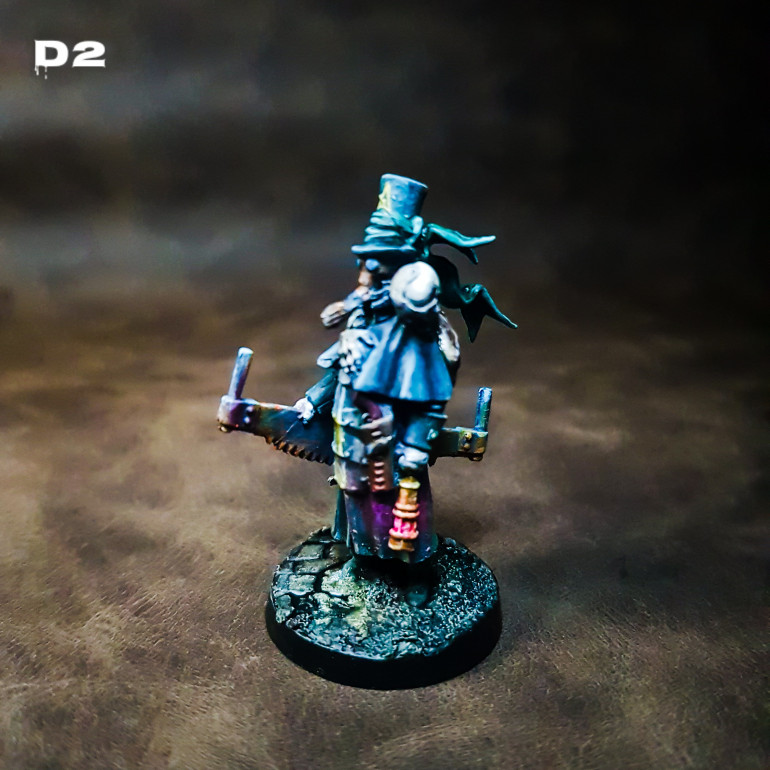
Sir Walther Cavendish
It is difficult to project the light while using NMM and OSL technique.
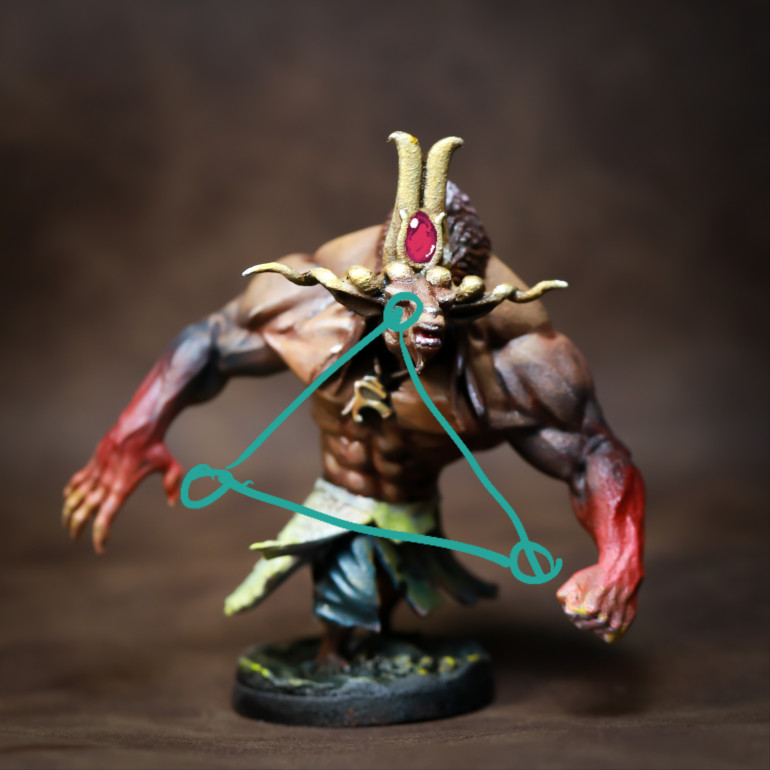
Minor makes more
After research the art direction, I found the triangle of interest concept and will minorly adjust the color of the Moloch to match the fire hands.
Note: The first one is not real paint. I just use my Note8 phone to edit.
What do you think?
Emerson
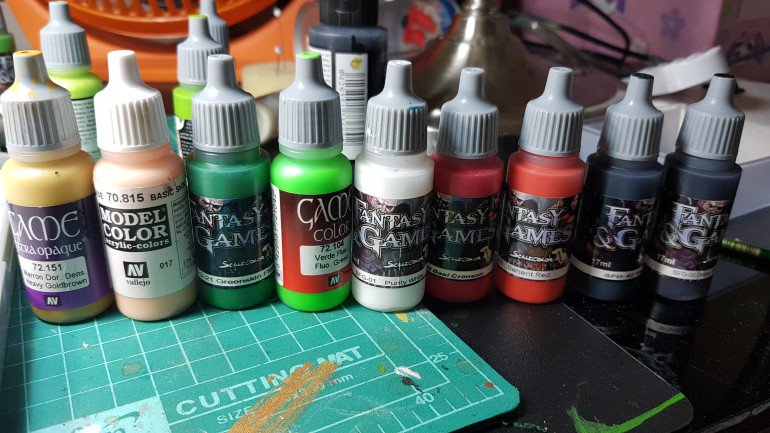
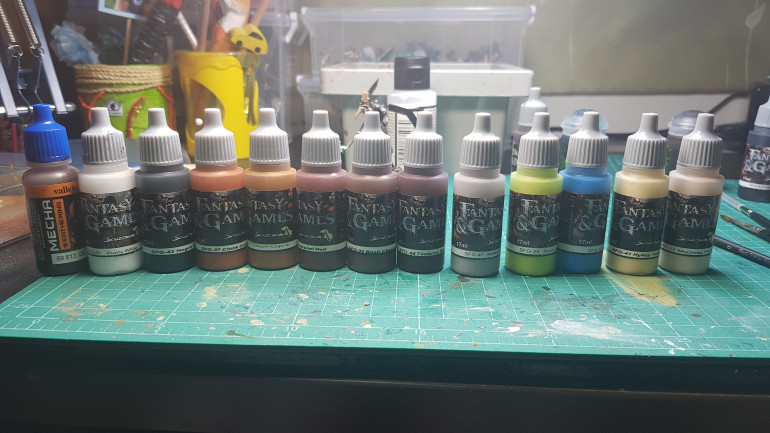
Sorry that I am hurry in painting and clearing my paint desk, so I forget to record the paint detail.
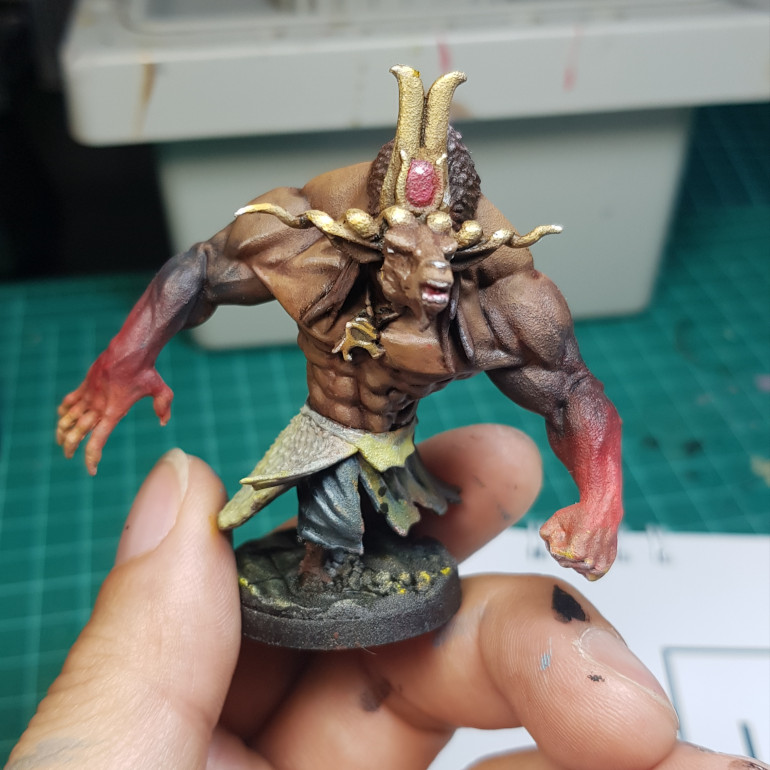
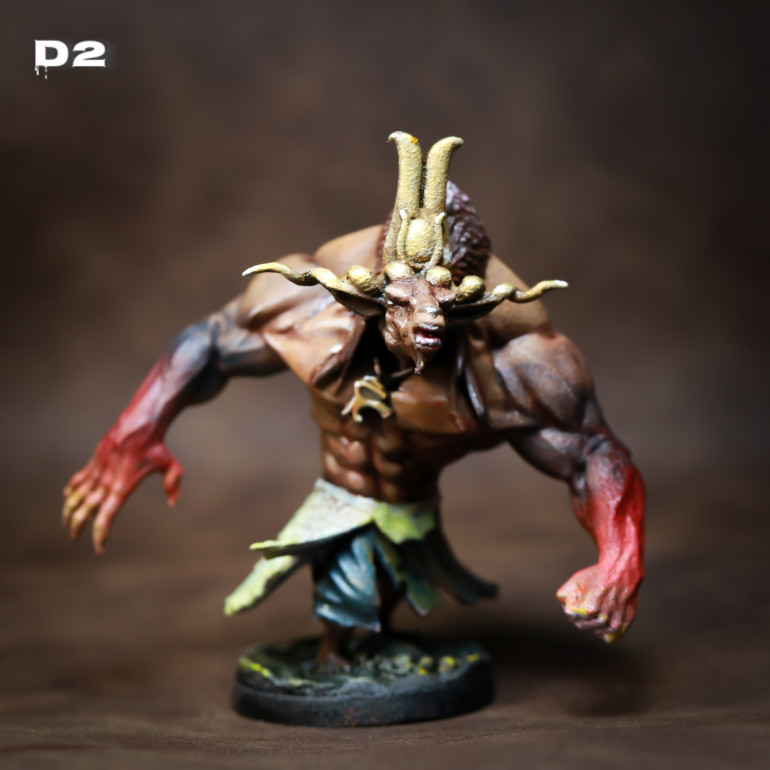
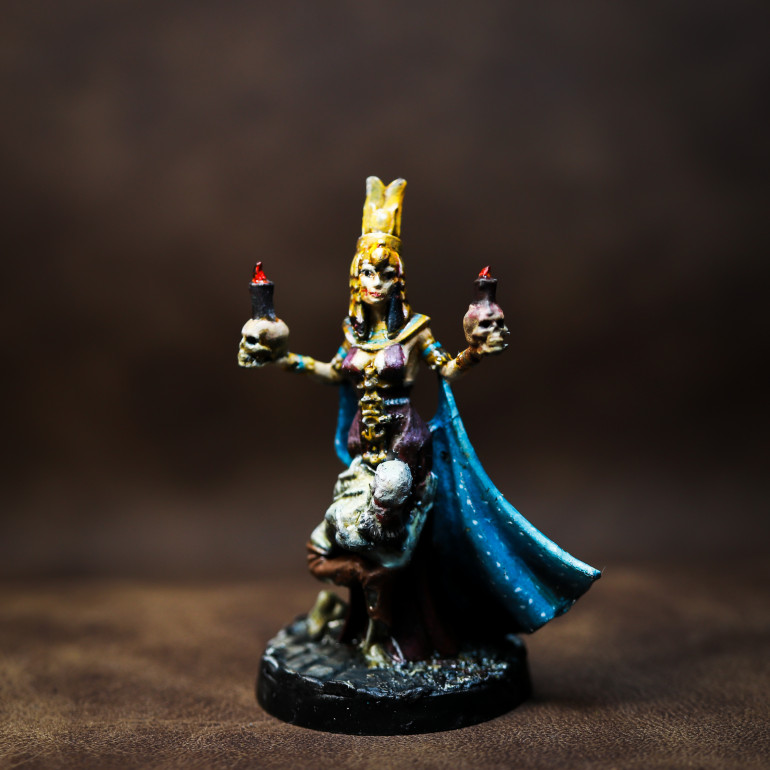
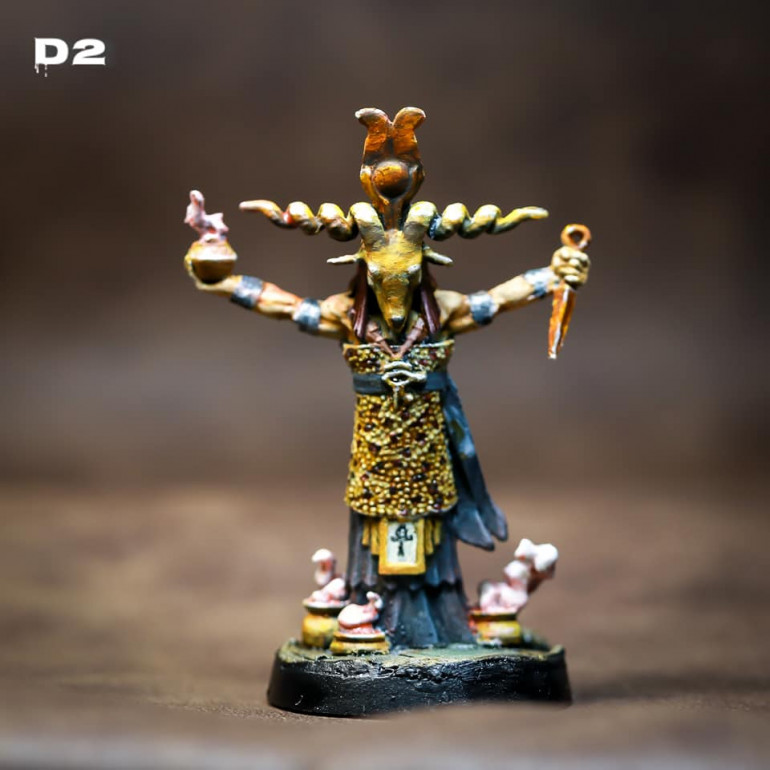
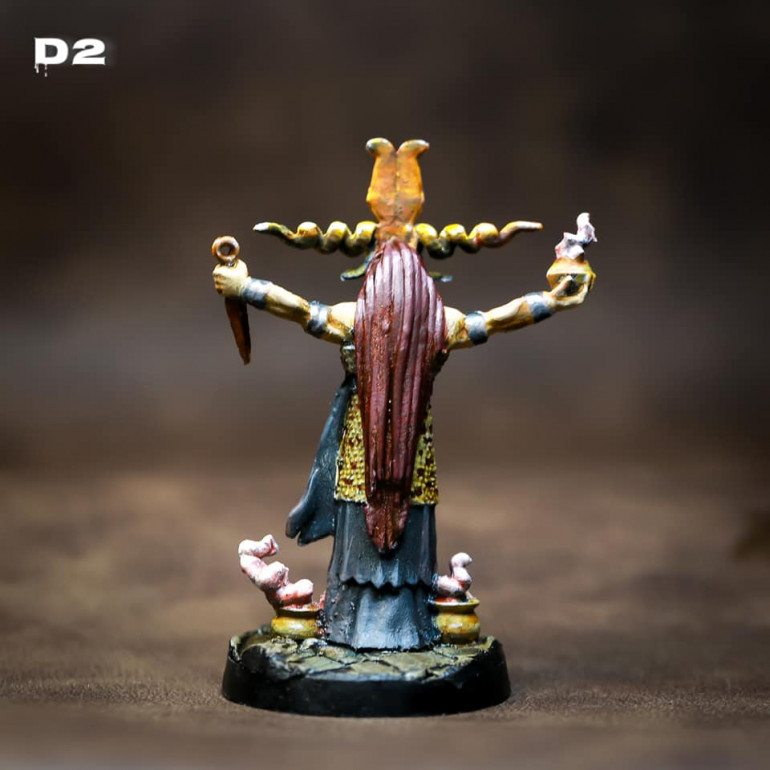
Moloch High Priest
Painted Info
First, I thought this model would be easy to paint as there is no OSL or any pattern of paint. But, I found that there are many difficult areas to paint such as Gold NMM, Bronze NMM, Silver NMM, and Leopard Dress pattern.
Gold NMM Mask, Ra Amulet and Pots – I used NMM Technique with Vallejo Negro Grey (Dark), Vallejo Heavy Gold Brown (Base), Vallejo Ivory (Light), and Scale75 Purity White (Reflection) and Wash with Vallejo Sepia Ink
Bronze NMM Dagger and Headdress – I used NMM Technique with Vallejo Heavy Gold Brown mixed with Vallejo Scarlet Blood for Base Bronze Color.
Silver NMM Arm Pieces – I used NMM Technique with Scale75 Miskotov Grey as a base.
Leopard Cloth: I used Vallejo Ivory and wash with thin down Vallejo Sepia Ink. A random pattern with Scale75 Thindaros Red and Scale75 Decay Black
Black Cloth: I used Scale75 Negro Grey and highlight with a mix of white.
Red Smoke: I glazed with Vallejo Scarlet Blood and wet-blended on the top of the smoke with White
OSL: I glazed the red on the right side and below to make OSL reflect.
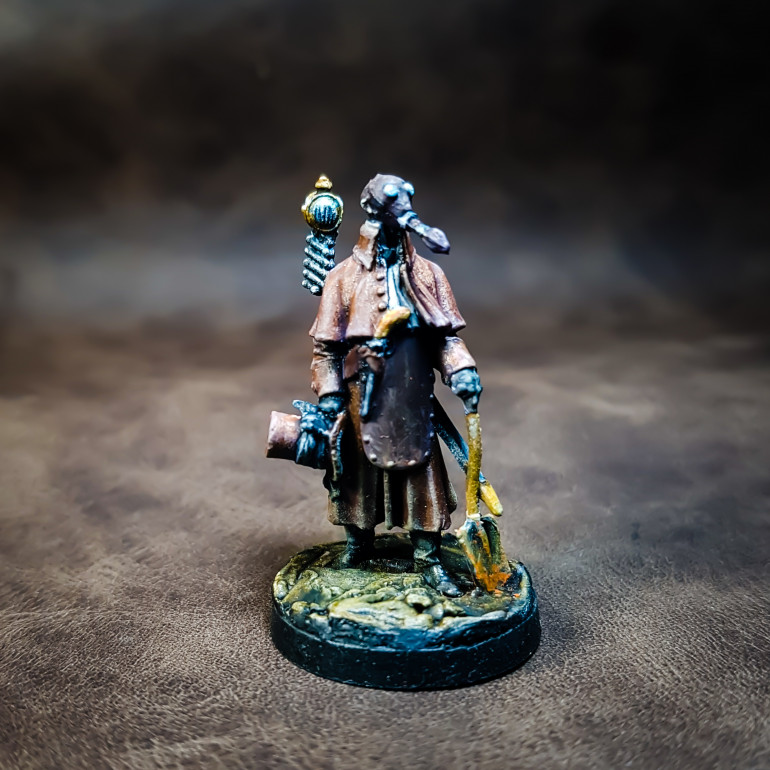
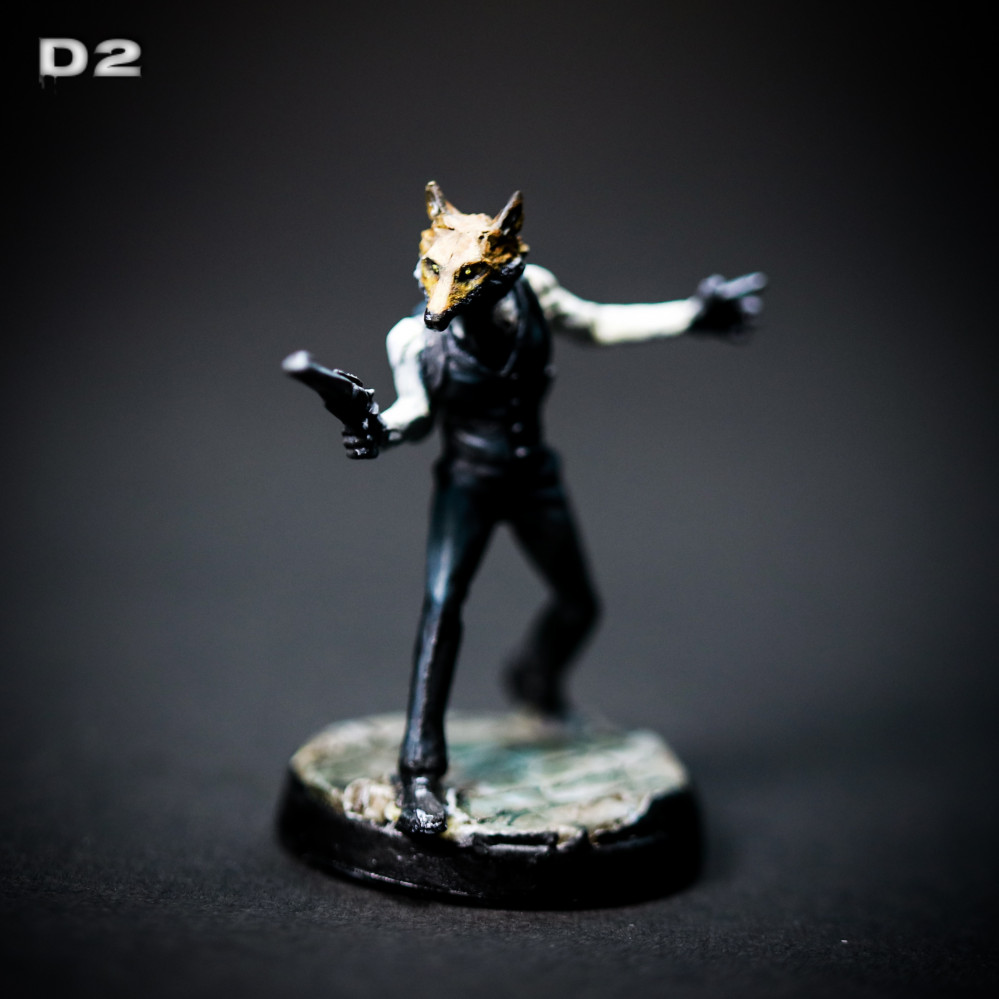
Damon, the burner
Paint Info
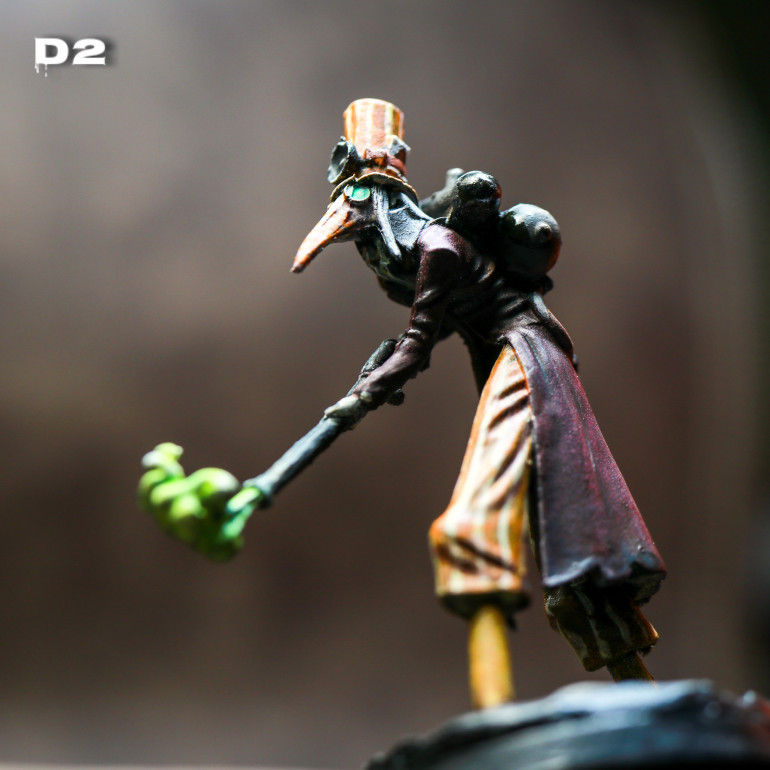
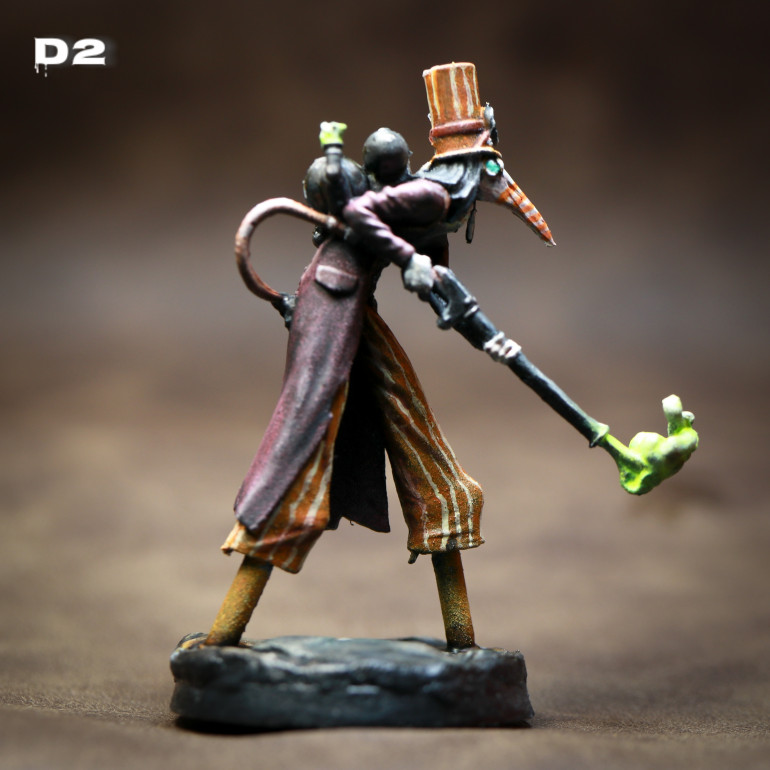
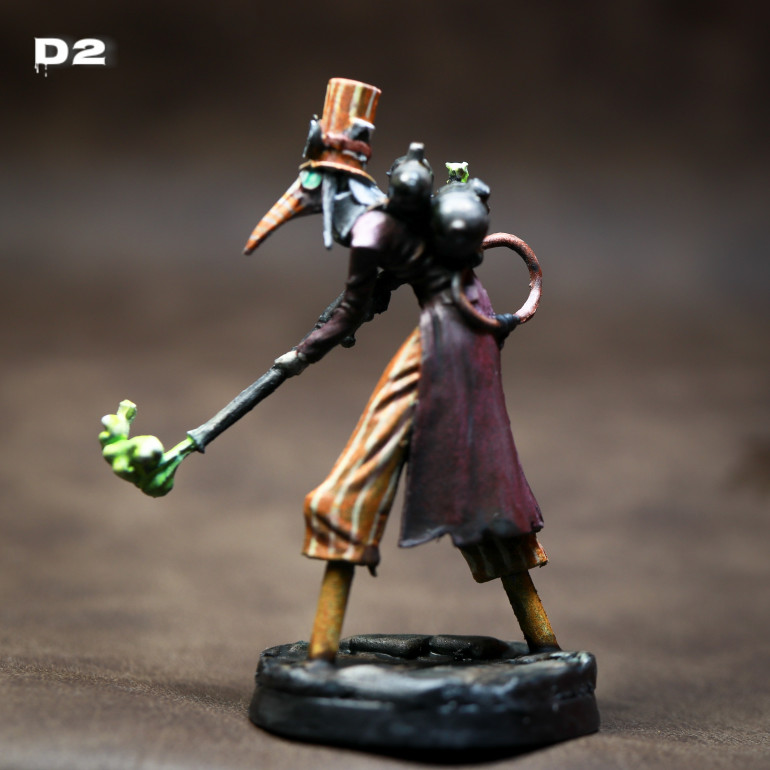
Overcoat: I used Scale75 Tindaros Red. I misunderstand that is red-brown color, but it actually is red-violet. By the way, it looked good and color match with Warm color with Orange trousers. For the highlights and the edges, I mixed with Scale75 Hykey Yellow and white. For the shadow, I glaze with mixed of Black and Hykey Yellow.
Trouser and Hat, I used Scale75 Chink Orange and stripped with thin lines Hykey Yellow. Then, I glazed the shadow with a mix of Black and Tindaros Red. Edge and Highlight with a mix of white.
Long Leg Sticks: I used the Scale75 Chestnut Brown.
Black Tanks and Gun: I used the Scale75 Negro Black and NMM Highlight with Scale75 Mistkatov Grey and White. For the tanks, I used Vallejo Oil Strain to make oil strain effect. OSL on the gun, I glazed with Scale75 Toxic Green.
Hand and Mask: I used the Scale75 Moonray Fresh and Strip on the mask with Scale75 Chink Orange
Green Smoke: I glazed with Scale75 Toxic Green and wet-blended on the top of the smoke with White
Googles: I used NMM on with brown and white on the metal rings. The Lens, I painted underpaint with White and Grey and glaze with Scale75 Amarith Blue
Titus
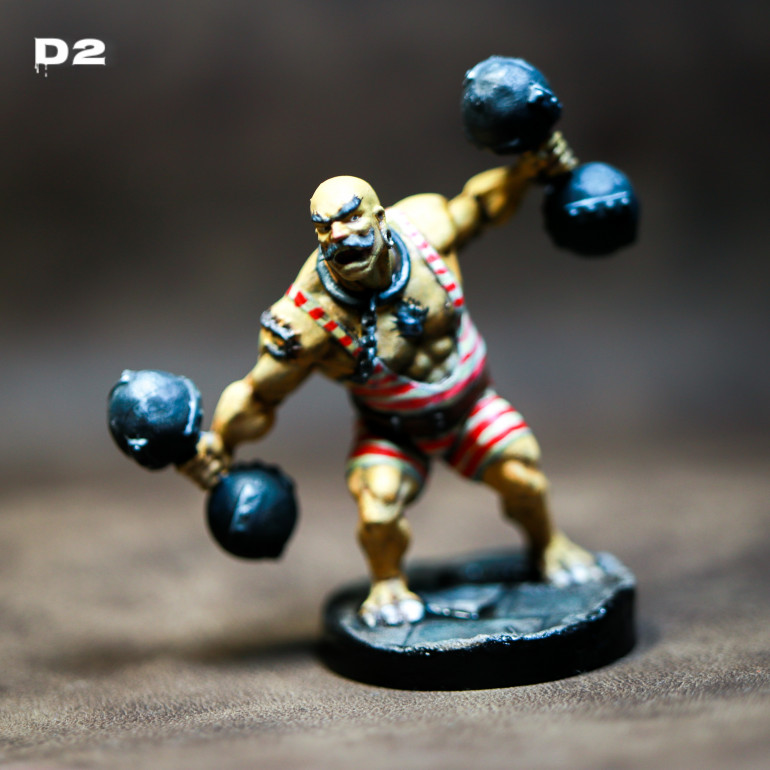
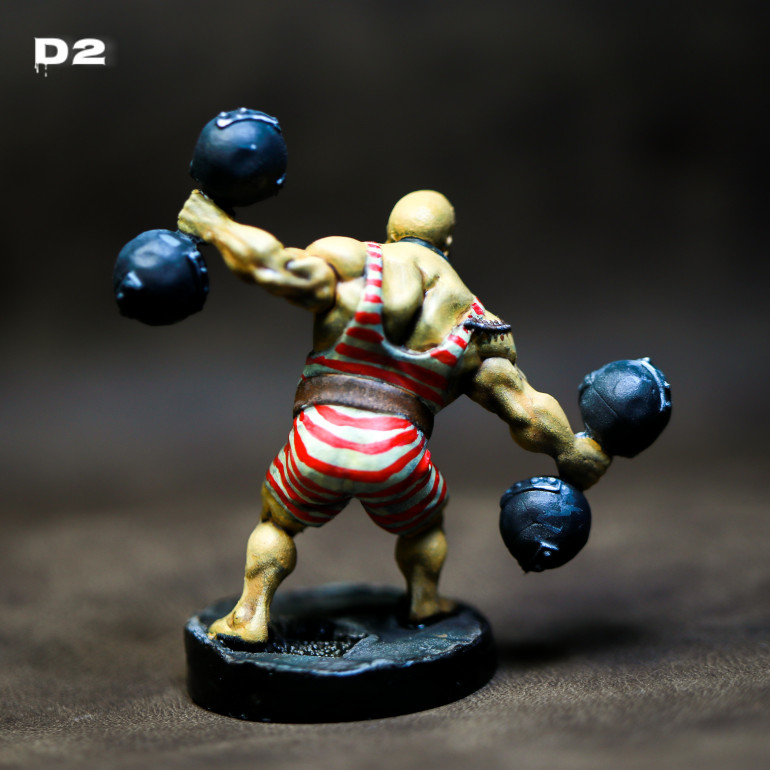
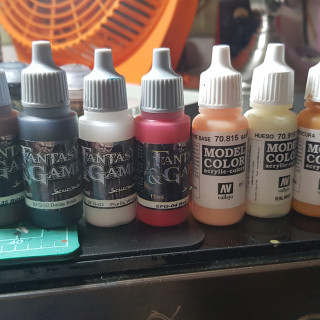
Skin: I used Vallejo 70.860 for Base and Layer Highlight with Vallejo 70.927 with Mix of white and Glaze with black and scale Violet by using Glaze and Flow Aid medium. The nose, I glaze with Scale 75 SFG-04
Mustache, Chest Hair, Eyes Brown: I used Scale75 Negro Grey and Thin texture with a mix of Purity Whtie 3 times
Centipede: I used the black for the main body and used the Scale 75 Boarch Brown for the leg. Glaze brown on the body. Make NMM look with mixed of white on the body
NMM Black Weights and Necklace Chain: I used the Scale 75 and used NMM to make it look Metal. Edging with White.
Priming
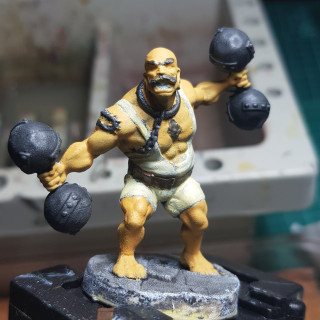
All Done, but mistake
I primed all as normal with Black Gray and White, but I mistaked to use the White instead of Gray for for my 45 angle. It is early morning after wake up. My brain did not well wake.
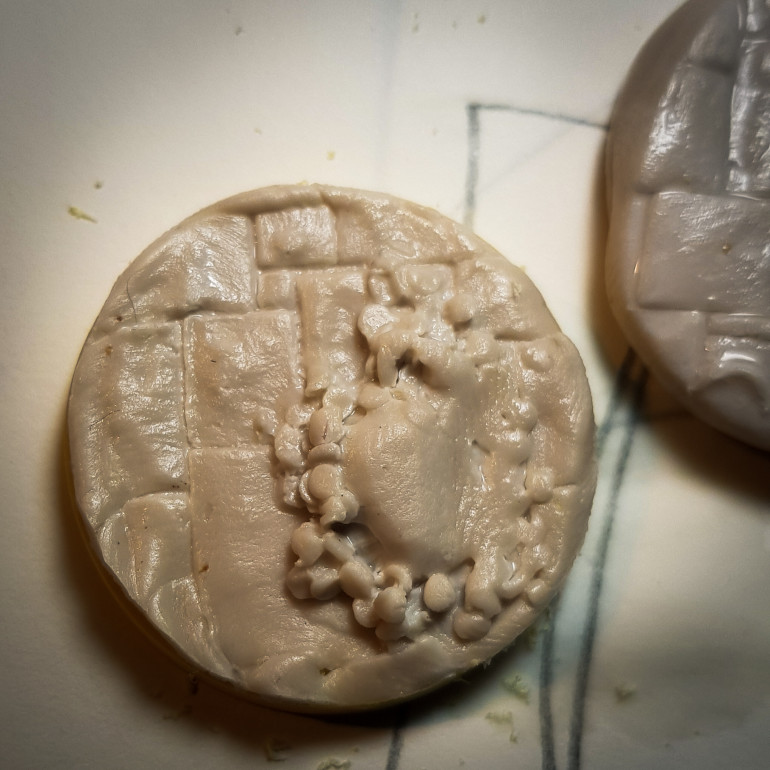
Remove and Rebase
Tools
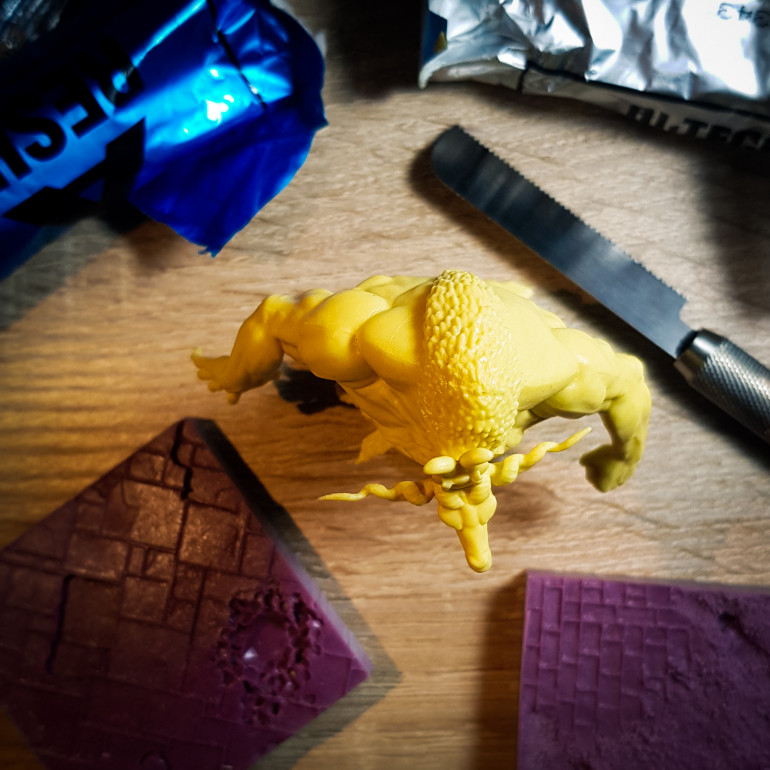
The tools are:
- Exacto Knife or Cutter
- Tamiya Hobby Saw – You can buy in hobby store
- Resin Epoxy – it is from HomePro. It is cheaper than greenstuff in Thailand. I never used greenstuff for compaison
- Basius – I kicked from BASIUS 3 – TEXTURIS, via @Kickstarter https://www.kickstarter.com/projects/2023606288/basius-3-texturis. Anyway, you may find the same kind from GreenStuff. Sadly, the company do not ship to Thailand. I knew the reason, but it is my hobby pains.
- Water – Eyedrop is good
- Tissue or Some old cloth for cleaning. It is messy
How to
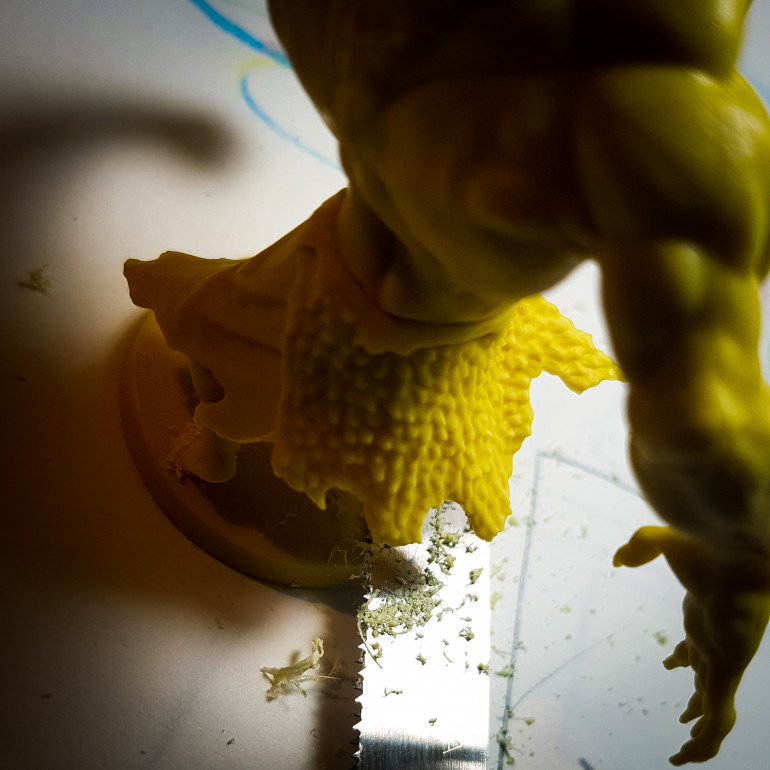
- Saw with the hobby saw. You have to try to saw it close to the base as possible. Take your time.
- Stick the epoxy to the base. You have to wait until it is set a little bit hard. Arouns 10-15 minutes. If you put it to fast, it will stick to the template. Vasaline is good help to make the epoxy not stick to your hand.
- Drop 1-2 drop of the water to the area and press
- Let it set more harder for 5 minute
- Clean the rest that come out of the base with the Exacto Knife


