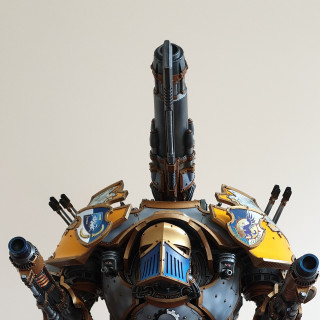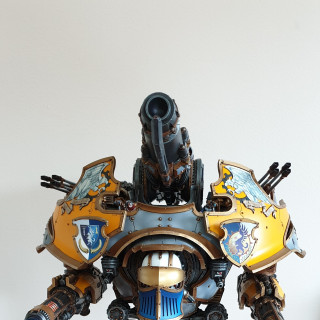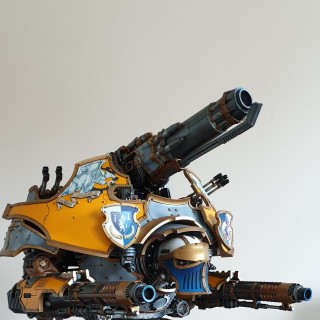
Ollie Paints… a Warbringer Titan
Recommendations: 97
About the Project
Despite having a suitably large pile of shame to finish, some idiot went and bought a Warbringer titan... oh yeah that was me! So I thought I'd let you guys see the progress as it comes together...
Related Game: Warhammer: The Horus Heresy
Related Company: Forge World
Related Genre: Science Fiction
This Project is Completed
It's heeeerreeeee.....
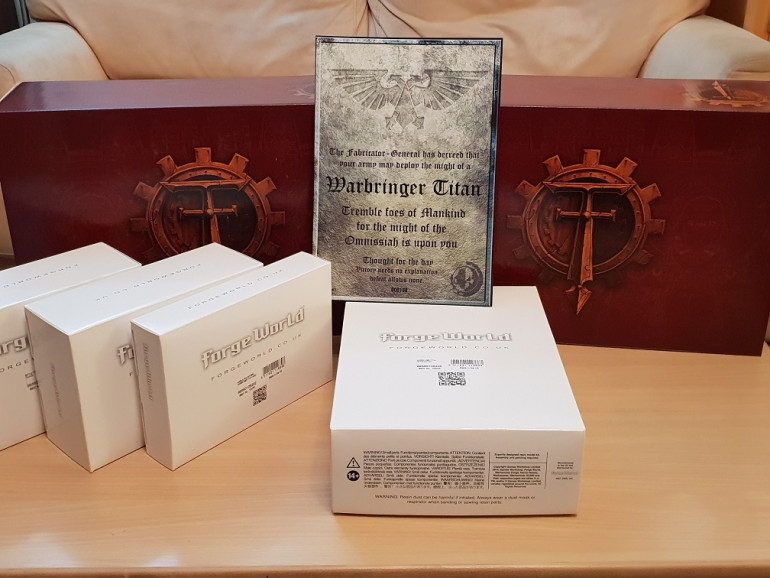
Well, my favourite UPS man made me wait (sweat) an extra 2.5hrs compared to his normal visiting time, but late friday afternoon 2 boxes of joy arrived and inside I found this lot….
Small beginnings.... for a titan anyway!
I’ve seen a few of my fellow titan owners jump straight in and build this beast in one foul swoop. I however have gone for a more moderate approach and am building and painting sections at a time – having built a Warhound and Reaver in the past, it breaks up the scope of the task and makes it feel a bit less daunting.
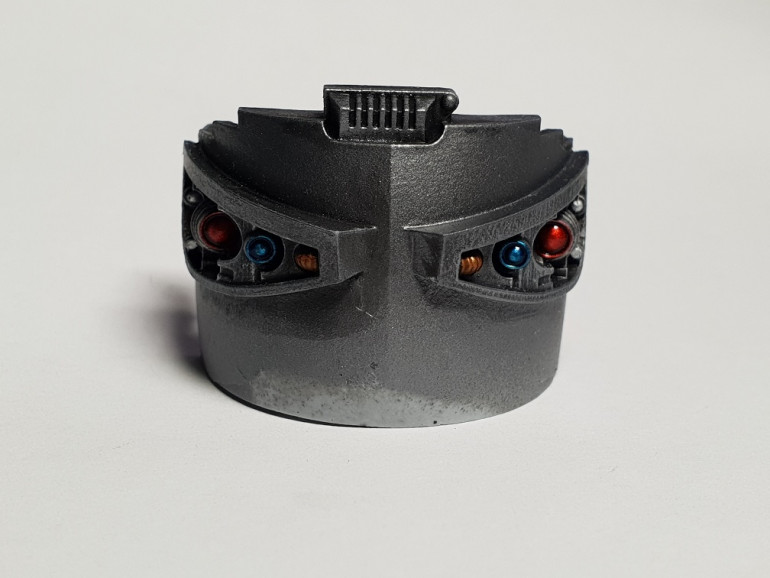
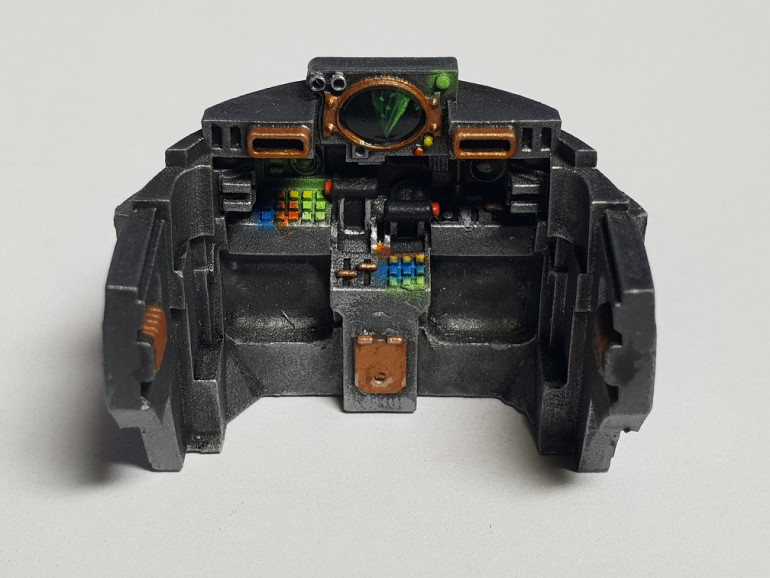
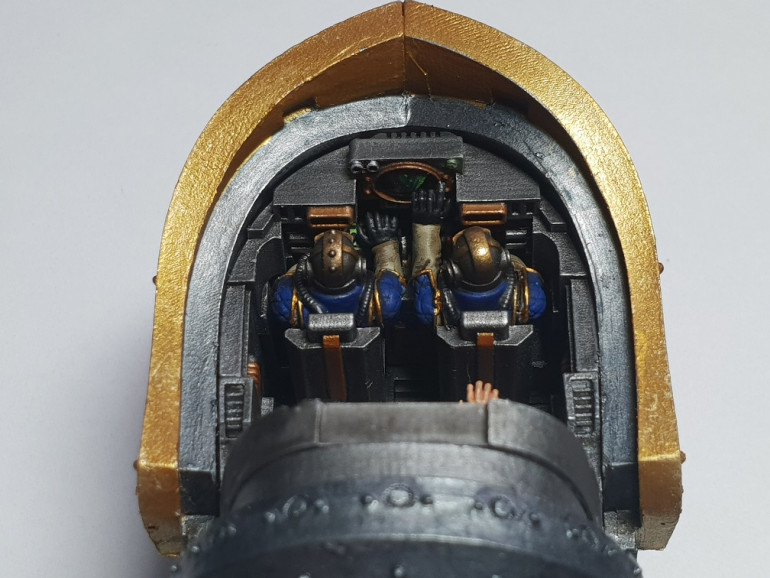
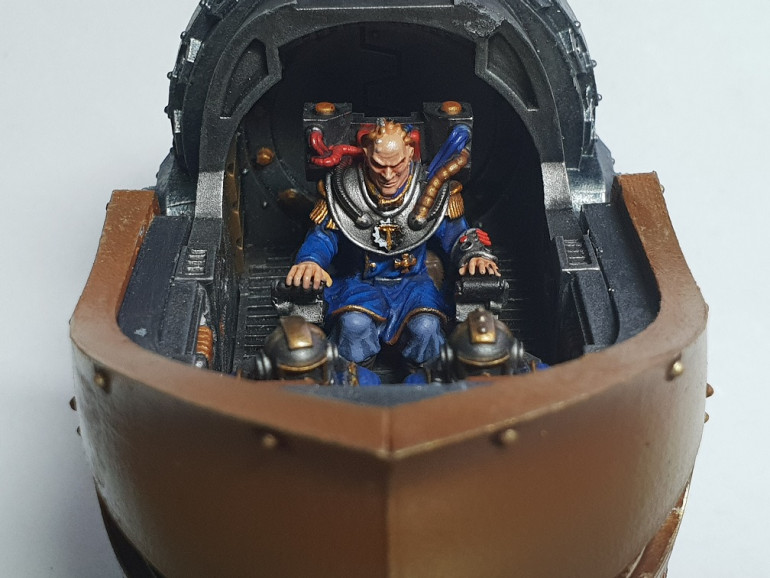
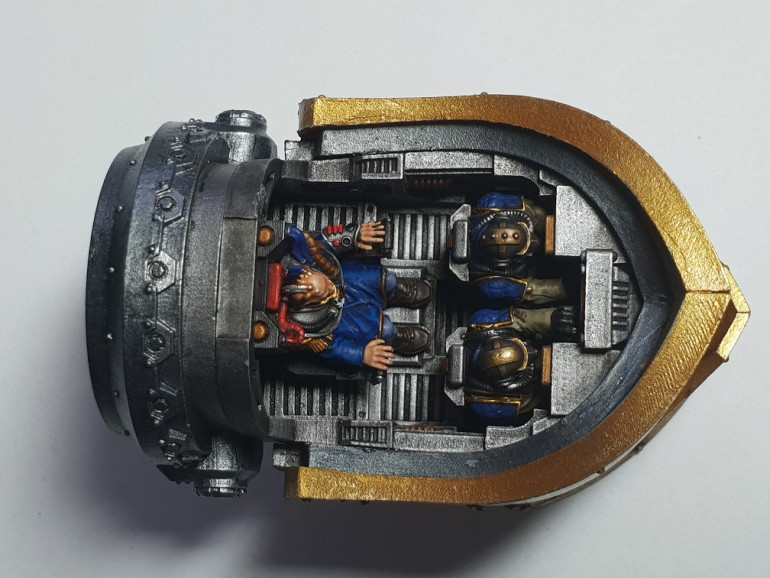
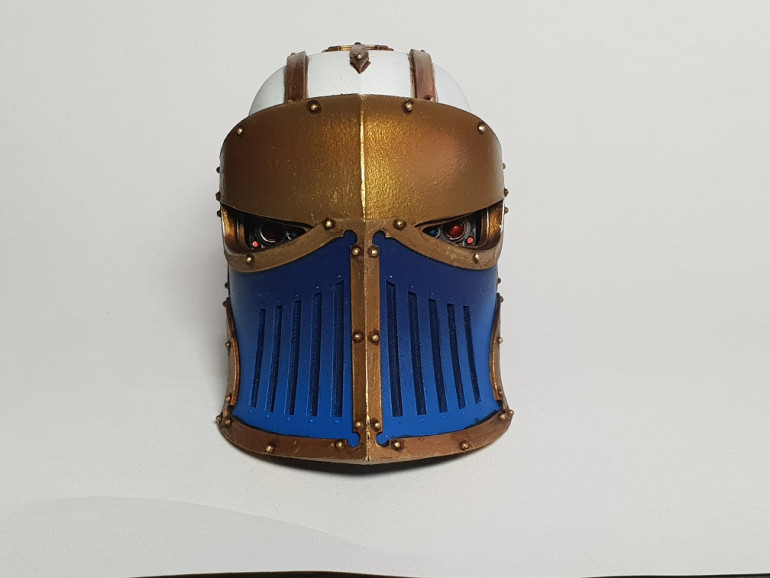
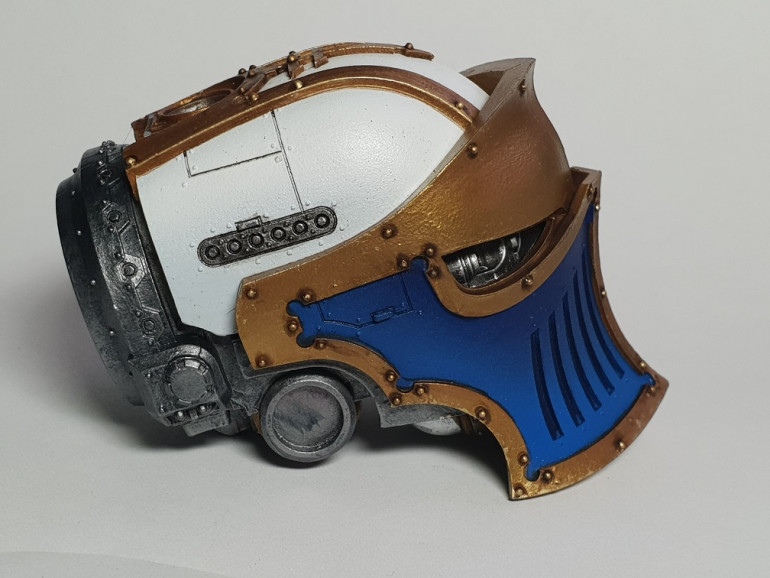
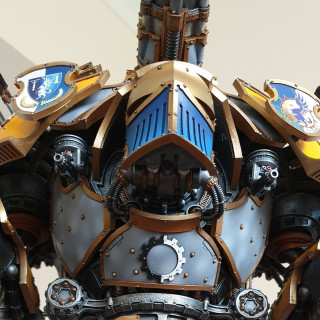
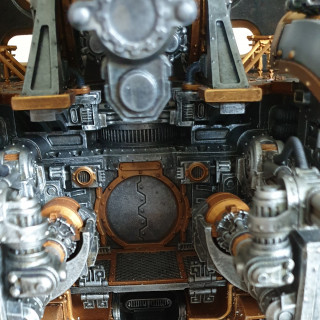
As the kit comes in multiple boxes, I decided to start with the smallest one, so, I present, the head!
And now, onto the arms…
Yes.... I've been slacking!
Hi folks,
Realised I’ve once again opened a project, started with a bang…. and then posted nothing for a while to update you, so apologies! 🙂
Build has been ticking along slowly between life getting in the way, but I’ve carried on with the build and paint sections approach…. incoming spam of pics and updates 🙂
Ba-da-big-boom...
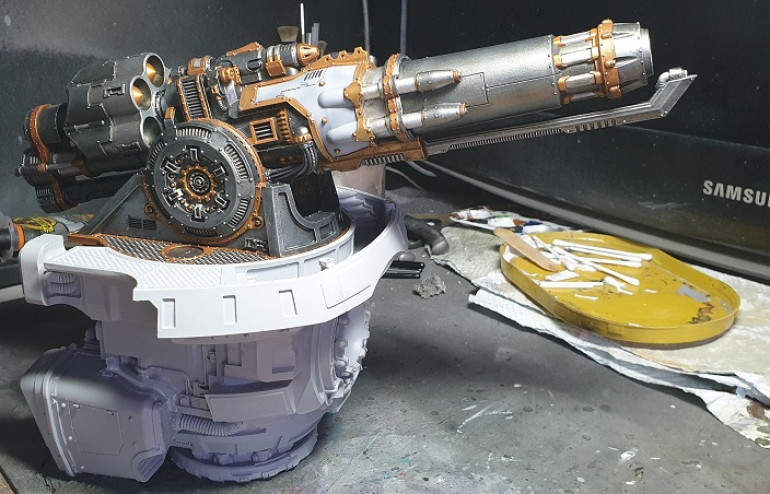
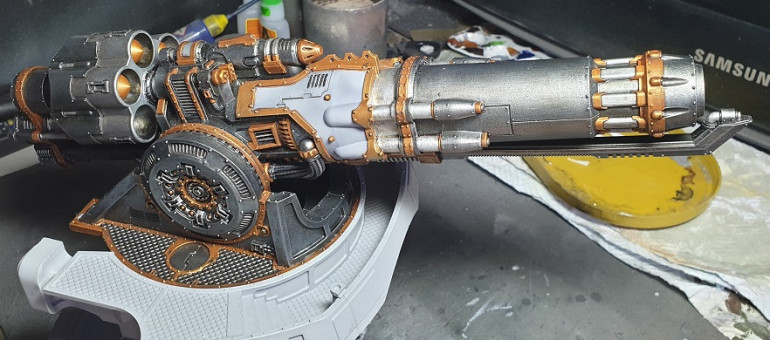
Big titans have big guns…. and the Warbringer is no exception… These things are huge! Here we have the Nemesis Quake Cannon, the Warbringer’s main armament that sits atop of the shoulders on the gun deck
Frickin lasers!
Now that the Projects are behaving, I can post the rest!
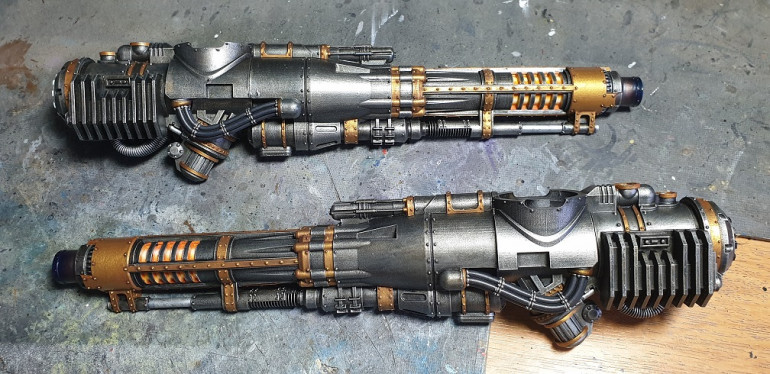
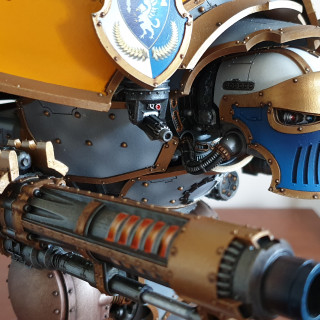
For the arms I went with 2 Volcano cannons (this is going to be used for HH and titan Vs titan games, so no 8th Ed cheese here). In keeping with their names, I gave them a bright “magma” heat glow on the front vents. Just need to finish painting up the armour plating for them to finish these off.
Little bit o' leg...
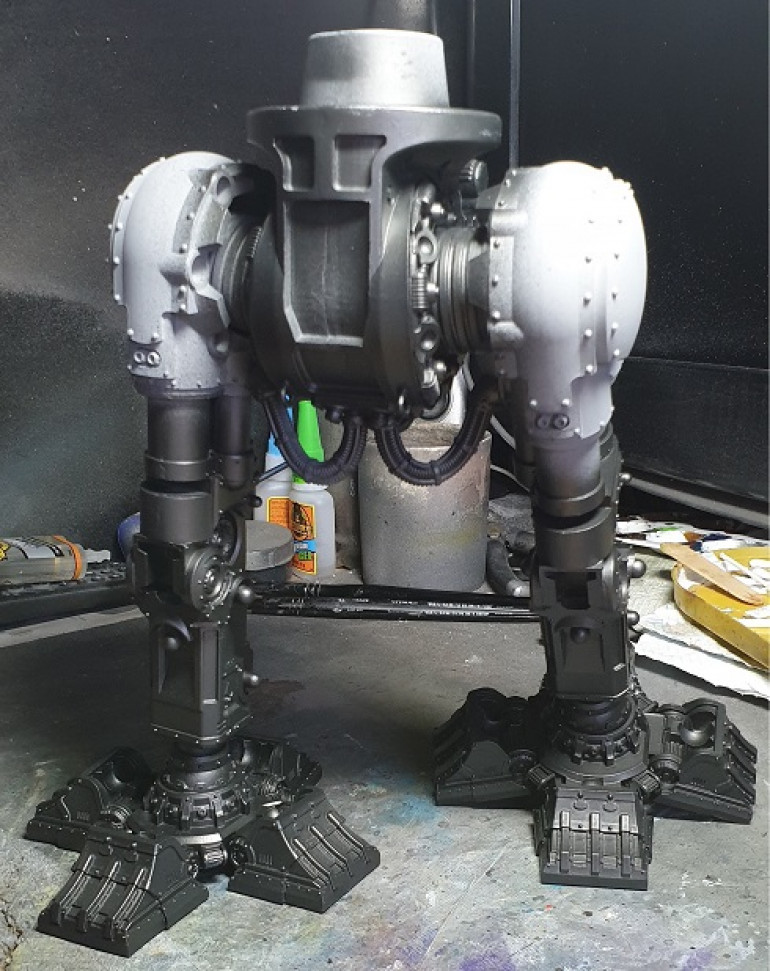
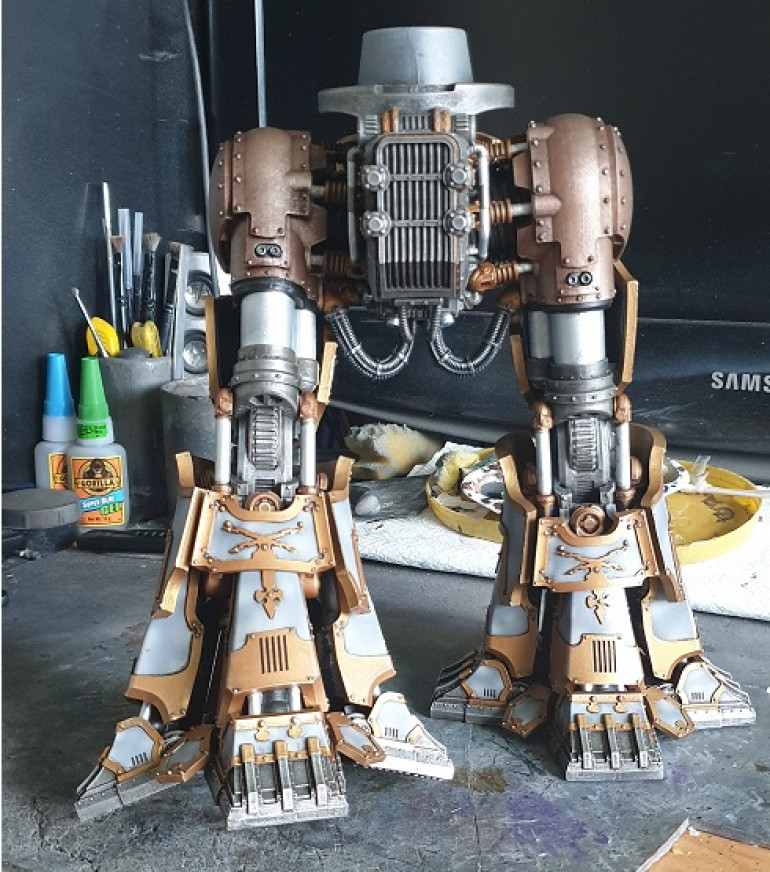
Working on the legs now (again forgot to take some pics during the actual build). I went for a bent toe pose so it gives the titan a sense of movement, and I have an idea for a small base to give it a bit of a theme (more on that in the future).
After priming with good ol’ Halfords Grey primer, the legs have been given a coat of VMA Metallic Black with the airbrush. Once dried, then applied a drybrush/stippling of VMA Gunmetal (the stage the pic is below). Will then follow up with a drybrush of VMA Chrome and a washes of Sepia and GW Drakenhoff Nightshade (Dark blue). Once those are dry, another drybrush just to pick out the metallic edges, and the banding/feature details will be picked out in bronze.
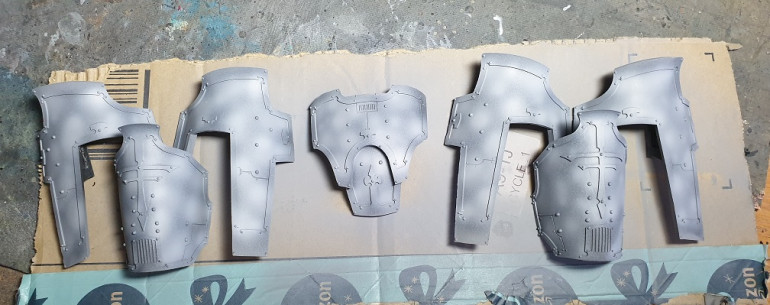
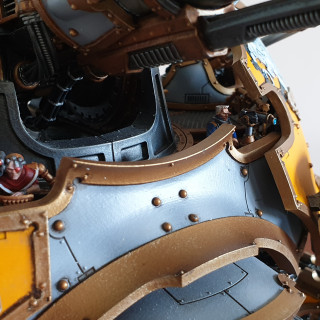
Of course it needs some armour, so working on the armour plates as well. As this will be joining my existing Legio Gryphonicus titans, I’ve carried on with the legio colours.
Again after priming, with the airbrush basecoat the panels in VMA Engine Grey (very dark grey base). Once this has dried dust the panels in VMA Light Grey, before adding “spots” of Light Grey. Then add VMA White to the grey in a 50/50 ratio and again add spots to give the speckled grey look of the legio.
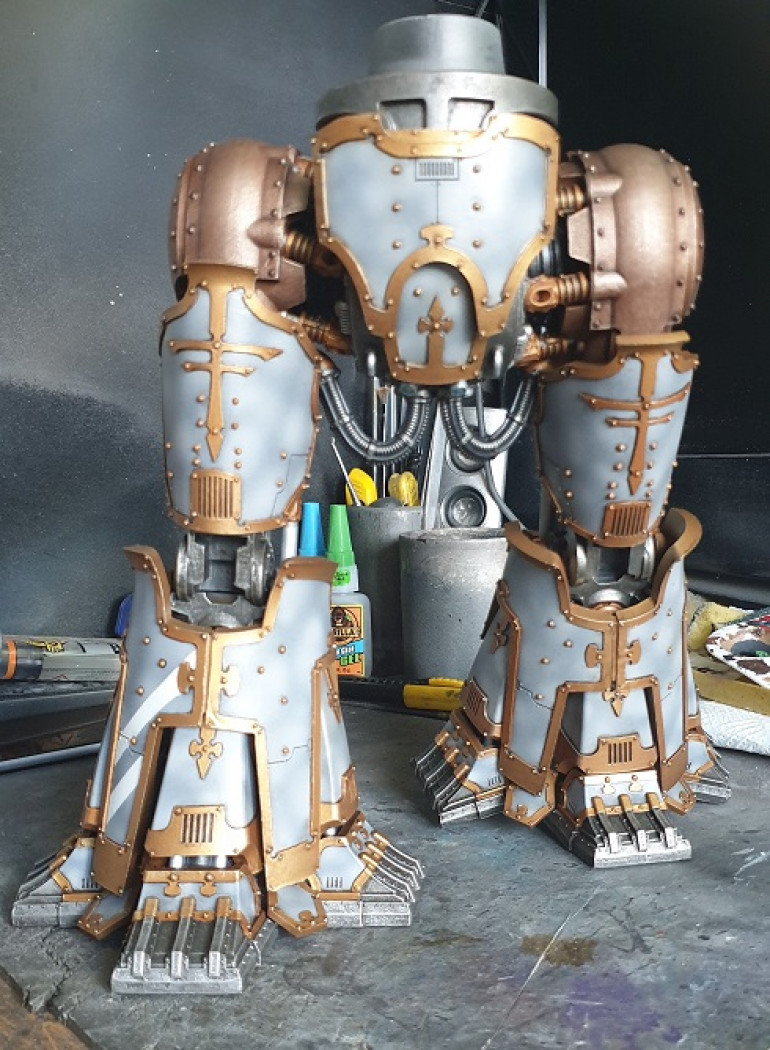
The trim will be picked out in Scale 75 Bronze and highlighted with VMA Gold, shaded with Agrax Earthshade
Leg update
Spent the weekend finishing off the legs as much as possible – just need to do the knee plates but the planned scheme needs a bit more practice before letting it loose on resin.
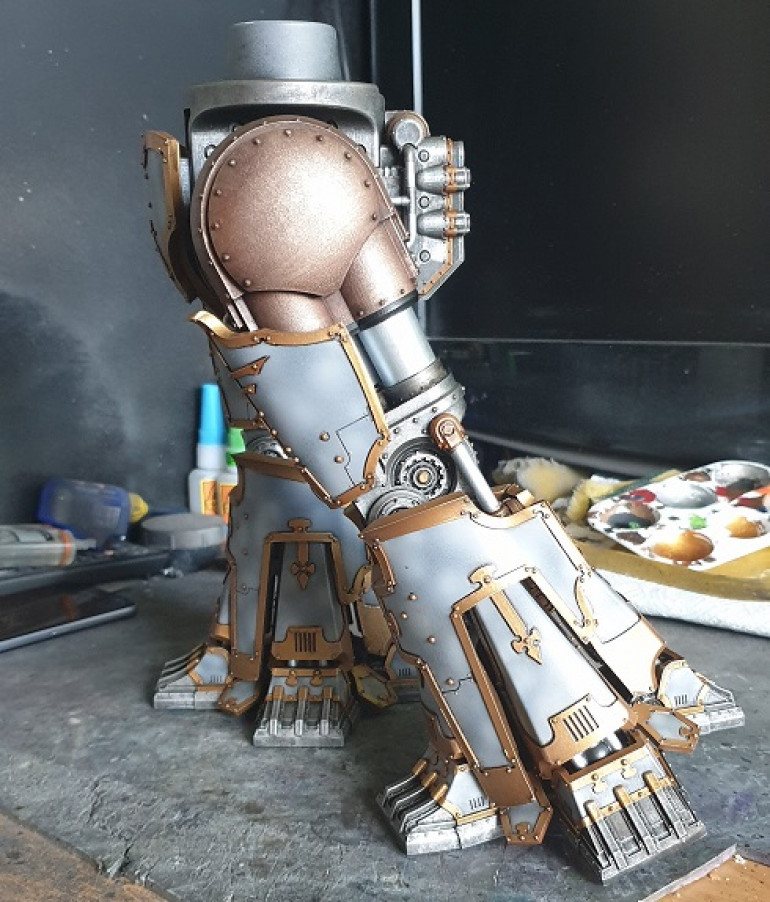
So to follow on from the previous post, once the gold trim has been painted the entire plate is given a gloss varnish coat and allowed 24hrs to dry. Once it’s dried fully, it’s oil wash time. Panel lines, rivets and gold edge areas are all picked out/recess shaded in a heavily thinned 50/50 black/brown oil paint mix. This is then dried quickly using a hairdryer/heatgun on low heat, before polishing the panels with a dry polishing cloth, leaving the shade in the recesses. Once again allow the oil wash 24hrs to dry fully below applying a satin varnish coat of the entire panel. The gold is then highlighted using a 50/50 mix of Scale 75 Dwarven Gold and VMA Chrome, this can either be drybrushed o the edges or sponged on for a chipped effect.
With all that done, it was time to get the glue out….
In the words of Britney...
OOPS! I did it again….
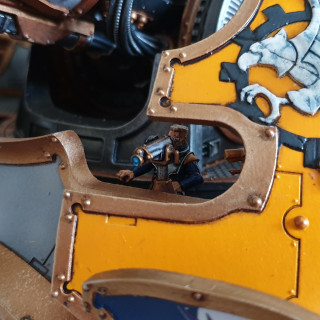
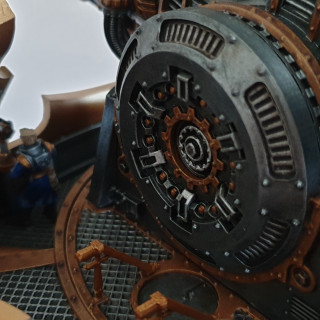
Ploughed on and forgot to take pics of the WIP… however…. it’s done… 4 months later it’s finished…


