How Manda (Amachan) Does Her Rust Weathering.
Recommendations: 48
About the Project
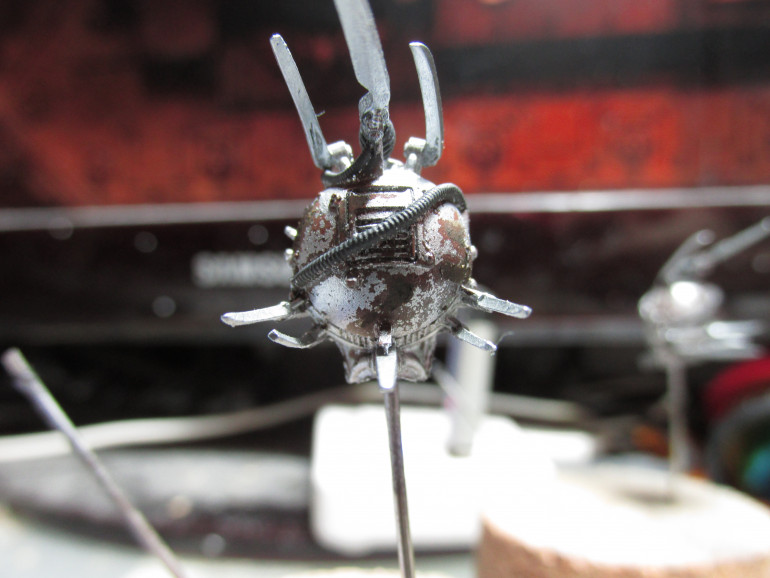
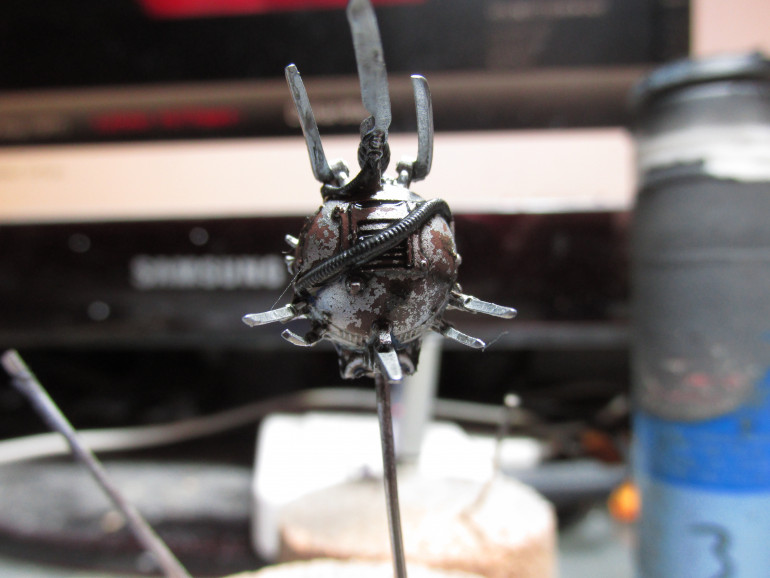
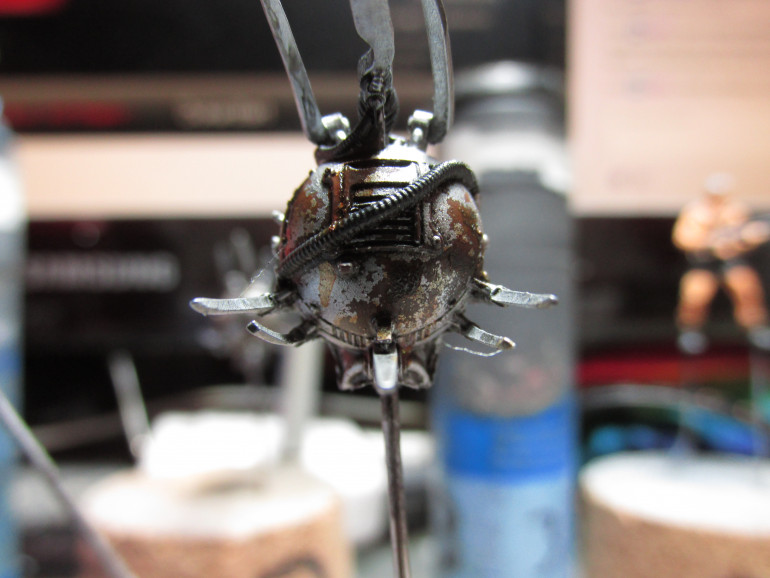
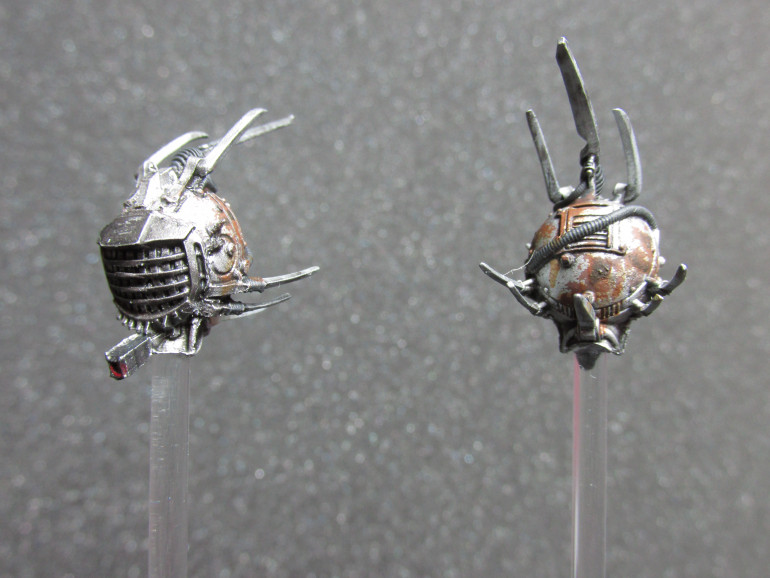
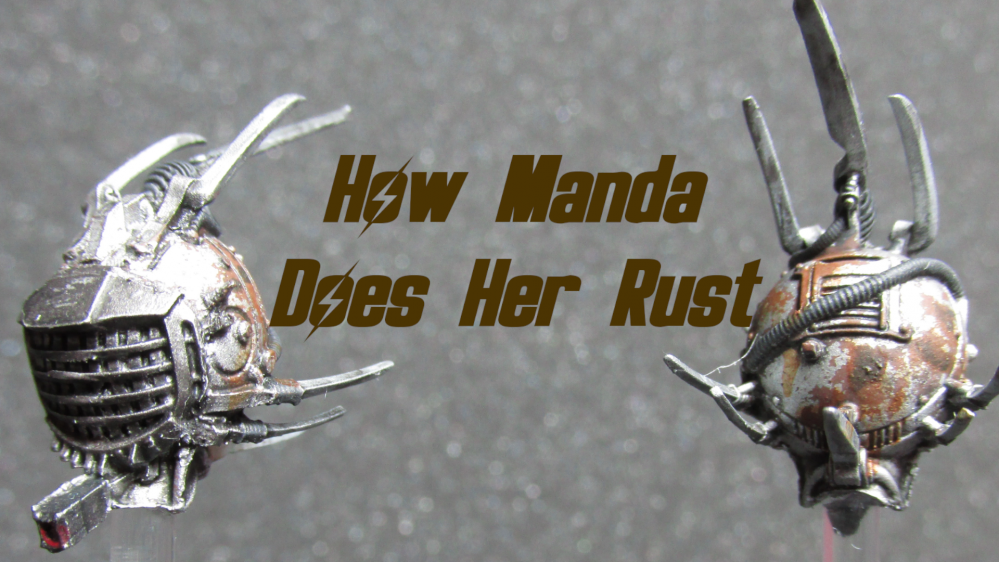
This project shows you how I did the rust weathering for most of my Fallout: Wasteland Warfare robots.
Related Game: Fallout: Wasteland Warfare
Related Company: Modiphius Entertainment
Related Genre: Post-Apocalyptic
This Project is Completed
What do you need?
For this I prefer using an airbrush to get a basecoat down, but if you don’t have an airbrush a gloss varnish will be recommended to have. You will need access to a bowl (or something similar) of water and an older brush or dry brush will be necessary as well.
For the paints and products I use here is a list of things I require for this technique, other paints I use are of free choice and can easily be changed. Do note that there are similar products on the market that will do the same job and those will most likely do fine too.
-
Vallejo Chipping Medium (73.214)
-
Citadel Technical Typhus Corrosion (99189956010)
-
Vallejo Model Wash Rust (76.506)
Step 1. Basecoating.
For this technique the base coating requires some steps to be taken before the main colour goes on.
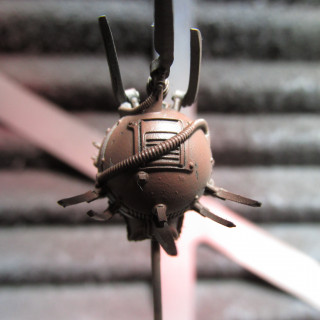
After the primer (which was just black) I coated the model with Vallejo Model Air Rust (71.080) with my airbrush. If you don’t have an airbrush I recommend applying a coat of gloss varnish after this coat. If you do have an airbrush this coat still won’t hurt, but I have not found it necessary.
Then I will apply a coat of Vallejo Chipping Medium (73.214) over every place where I do want paint chipping to occur. I apply this normally with a brush.
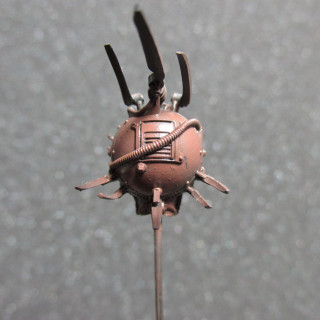
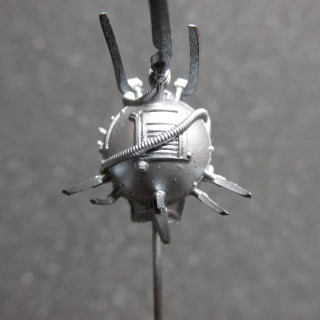
Then it’s important to apply a thin coat of the base colour you want to use for the mini. This why I recommend using an airbrush as getting a covering thin coat is a lot easier. The thicker the paint the tougher it will be to chip and therefore a gloss varnish before the chipping medium would be a good idea. In this case I used Vallejo Model Air Chrome (71.064) for the base colour of the eyebot.
Step 2. Chipping
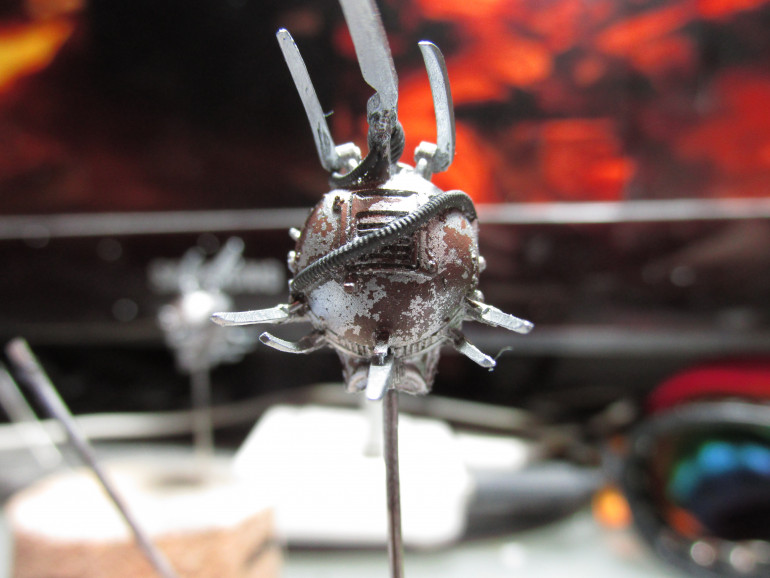
When this all fully dried I dunk the model in a bowl of water for about 10-30 seconds or so and let it soak in for about 30-60 seconds. After that take a stiff old brush and start rubbing it off carefully. If you added a gloss coat you can be a bit heavier. At first you will not see much of the paint coming off, don’t push harder, just keep rubbing carefully. At some point is will start coming off easier and easier. Just keep rubbing until you have rubbed off enough of the outer layer of paint that you desire. It can foam up a bit, I would recommend to dab some of the foam and excess water off carefully with a cotton bud or something similar, because it can stain the paint. The top layer of paint at this stage is fragile.
You can again do another gloss coat when this is dry, but I generally don’t bother unless applying transfers or anything else that could rub the paint off a bit more.
Step 3. Painting
At this point I start painting all the other details of the miniature.
Step 4. Washes
Before applying a general wash, I do apply a dab or 2 of Citadel Technical Typhus Corrosion (99189956010) in the places where the rust base coat is most visible. Use an old brush for this, the paint does include some texture and could potentially ruin your brush.
After the last step has dried. For robots and machines I then add a general wash of Citadel Shade Nuln Oil (99189953017) over the entire model, making sure that it doesn’t pool too heavily in areas and rub it off a bit more from areas I don’t want it.
After the last step has dried. I add Vallejo Model Wash Rust (76.506) in the areas where there is the original rust coat showing through and over the Typhus Corrosion as well. From that point on I put just a little bit of the wash on the tip of my brush and start making streaks down from the heavier areas, letting the wash pool in areas where it will pool. Lighter streaks for smaller areas and so on.
Step 5. Finished
This has finished the way I do my simple rust effect on my Fallout: Wasteland Warfare miniatures. For my project on Fallout: Wasteland Warfare please visit my project here.
Important!!!
This project is best viewed in Ascending Order.


