You SHALL Go To The Ball
Recommendations: 99
About the Project
This is something a little different, a little break from the norm; A diorama of a fantasy scene that doesn't revolve around action in the traditional sense. Fantasy comes in many forms from the epic sagas of Tolkien to the fairytales of Hans Christian Anderson. And for this I am focusing on the latter.
I have thought about doing something like this for quite a long time ago but the miniatures for it simply aren't there (I can't imagine that there's a huge market for them) and I am crap at sculpting. However it's now possible to get something more suitable through Hero Forge.
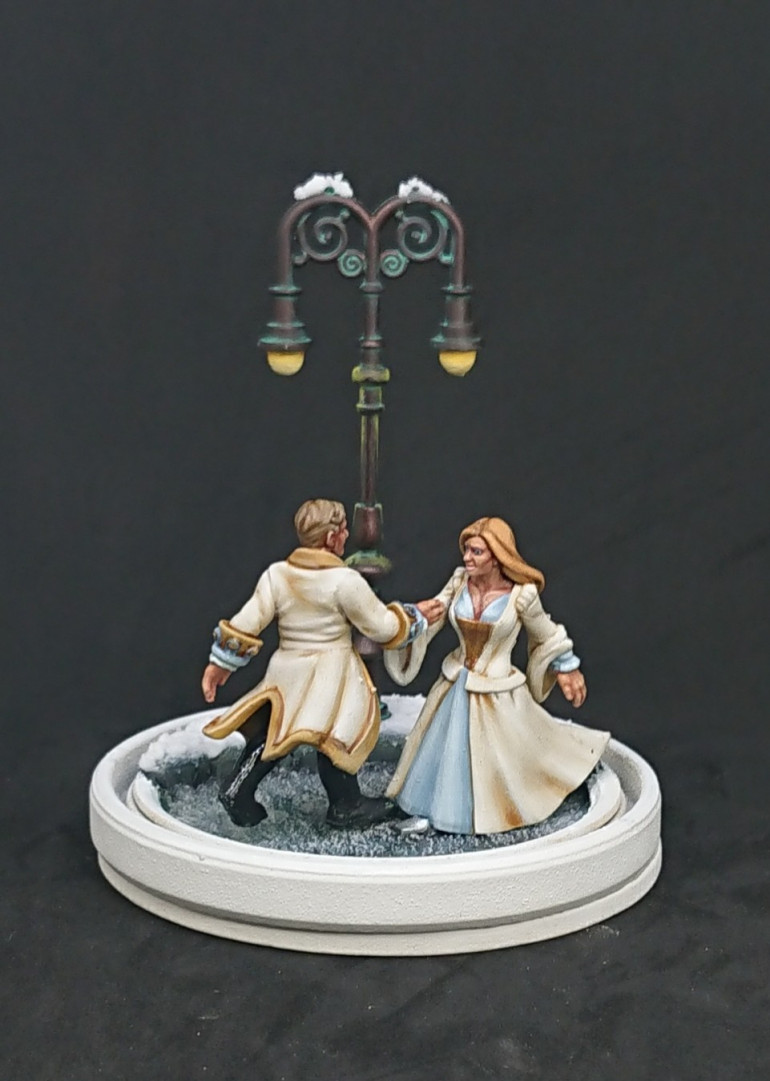
So with Christmas fast approaching, the fairytale season and with a special someone in mind for whom this would make a fantastic gift it was time to get cracking. The piece is inspired by the Cinderella ball (hence the title) and will feature a dancing couple. I'm thinking of maybe placing the dance outdoors in a snowy area (because Christmas) with maybe a pine tree or a stone archway. Lastly, it will be mounted on a wooden plinth under a glass dome which means it can be used as an ornament.
Related Genre: Fantasy
This Project is Completed
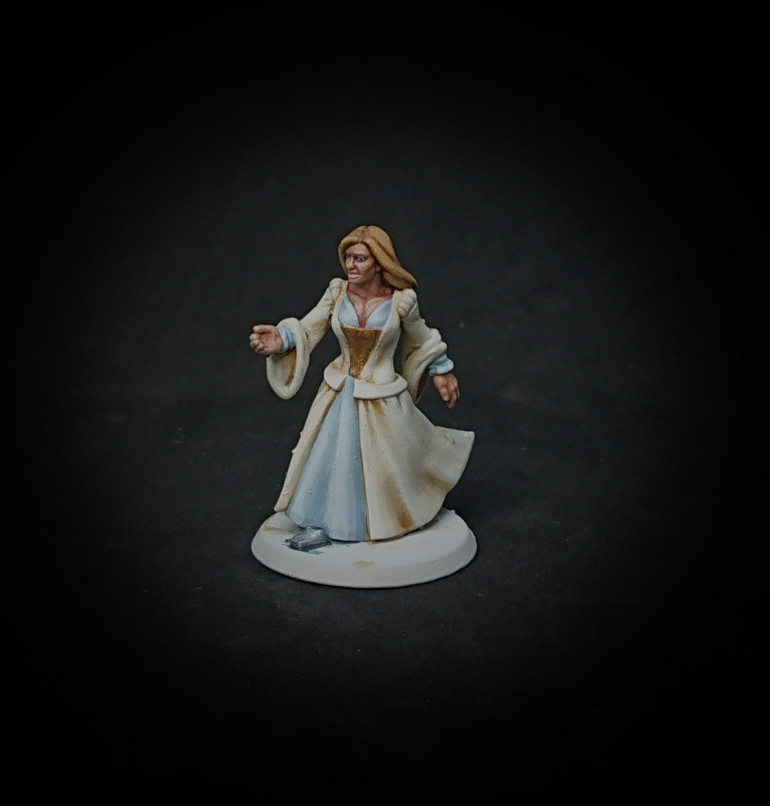
The Princess
The Hero Forge models arrived within a week of ordering them, which I guess justified the shipping. As a side note the models weren’t printed in USA, they actually shipped from Shapeways in the Netherlands.
Anyway, I am quite impressed with the quality. There’s a few imperfections but they’re pretty good.
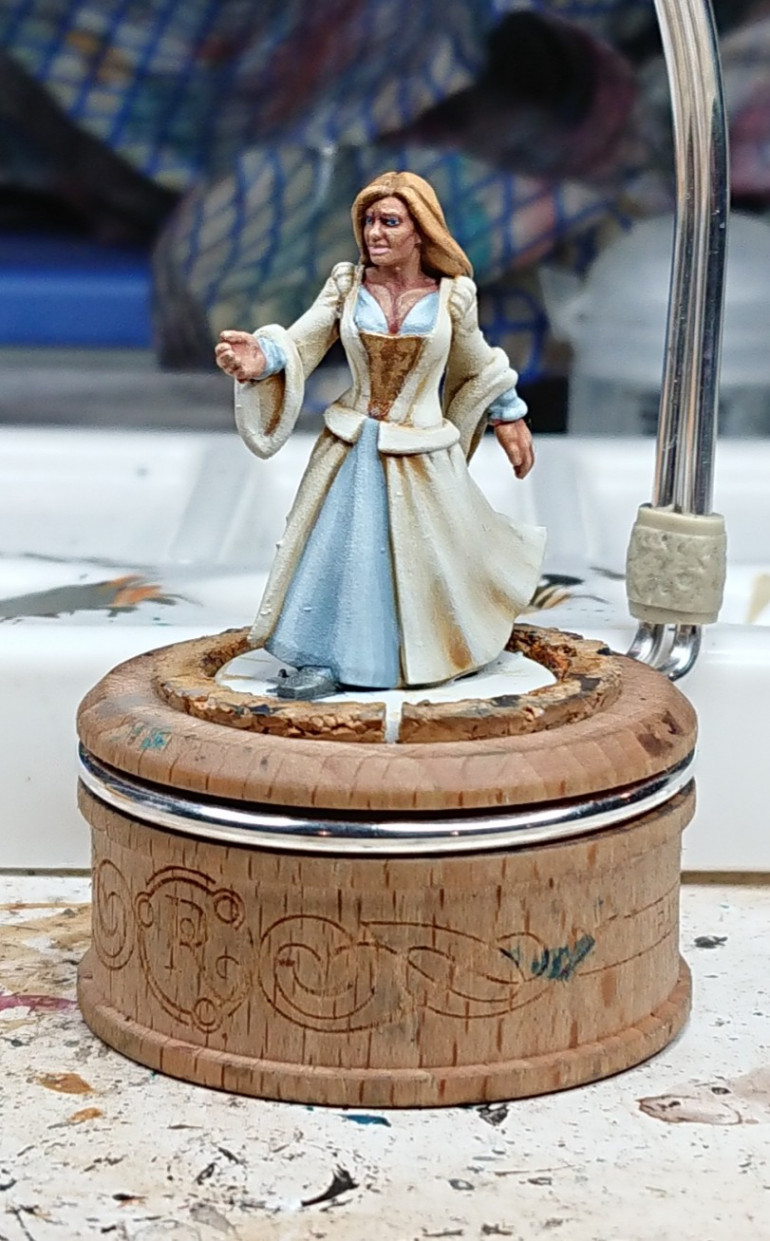
I decided to start with the Princess because she’s the one that I felt would take the longest as I want to go with a predominantly white/Ivory dress and those colours can really take a lot of time.
Overall I really enjoyed painting her, I thought the model was a lot more enjoyable to paint than I expected having painted two hero miniatures previously. As I said, there’s a few imperfections and the hair isn’t massively detailed. But here she is, in all her glory. I won’t be painting anything else on her but there might be a few bits and bobs required when I come to placing her into the diorama.
A little lesson on White
Having thought about it, I have decided to offer up a small tutorial on how I painted the white clothes. I have always found whites and blacks to be very difficult to paint and if your experience is anything like mine hopefully this will help you.
The colours I used are:
- Ushabti Bone base
- Seraphim Sepia
- Lahmian Medium
- Screaming Skull
- Pallid Wytch Flesh
- Whitescar
Step 1.
I started by giving the area a base coat of Ushabti bone. It goes without saying that a white undercoat is preferable for this as this will ensure that the colours are as vibrant as possible.
Step 2.
Next, I washed the whole area with Seraphim Sepia. Ideally you don’t want the wash to be too strong so thinning it down with Lahmian Medium is highly recommended. I went with a roughly 2:1 Medium to wash ratio. When I thin paint I actually make my own thinning medium (de-ionised water and matt medium) but for washes I still go with Lahmian Medium as it doesn’t affect the consistency of the wash.
Step 3.
Next I applied a first highlight using the Ushabti bone again. This was also thinned and applied in several coats to provide the smoothest finish possible.
Step 4.
The next step is to apply another highlight of Screaming Skull, slowly building up the colour in thin layers
Step 5.
The next step is to layer is Screaming Skull mixed with a little Pallid Wytch Flesh, gradually adding more Pallid Wytch Flesh to the mixture until it is almost pure Pallid Wytch Flesh. I went through around 3 iterations of this.
Step 6.
The next layer is to add a layer of pure Pallid Wytch Flesh.
Step 7.
Finally pick out a few extreme highlights with a little Whitescar
The trick to all of this is thinning your paints. I know its a cliché but I was thinning the paints here almost 1:1 with thinner and paint. The extra coats are not only provide a smoother finish but also the increased translucency helps to create smoother transitions between layers which you really need when painting cloth.
Hopefully this has been useful to someone 🙂
Below there’s some photos to help you see what each step looks like
Cinders and Prince Charming
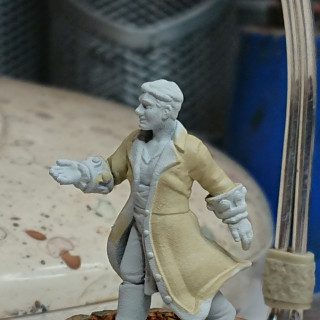
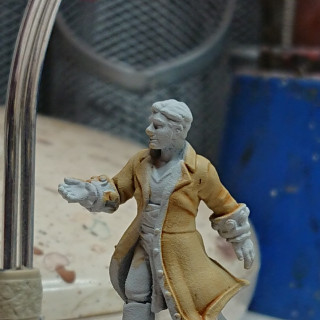
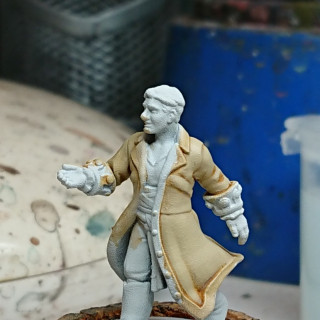
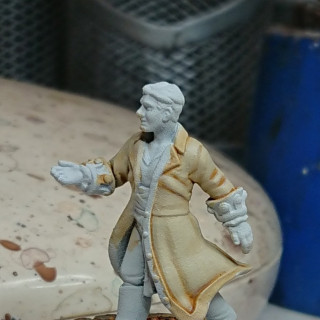
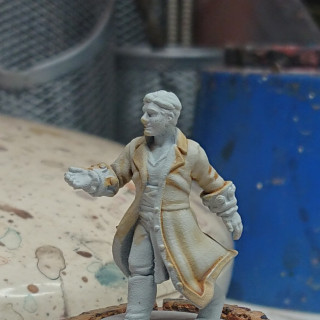
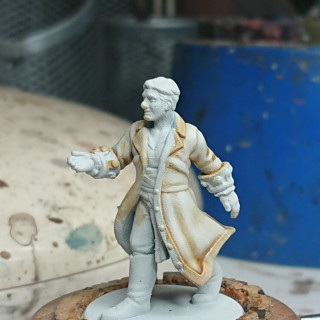
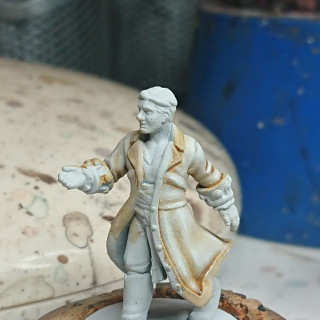
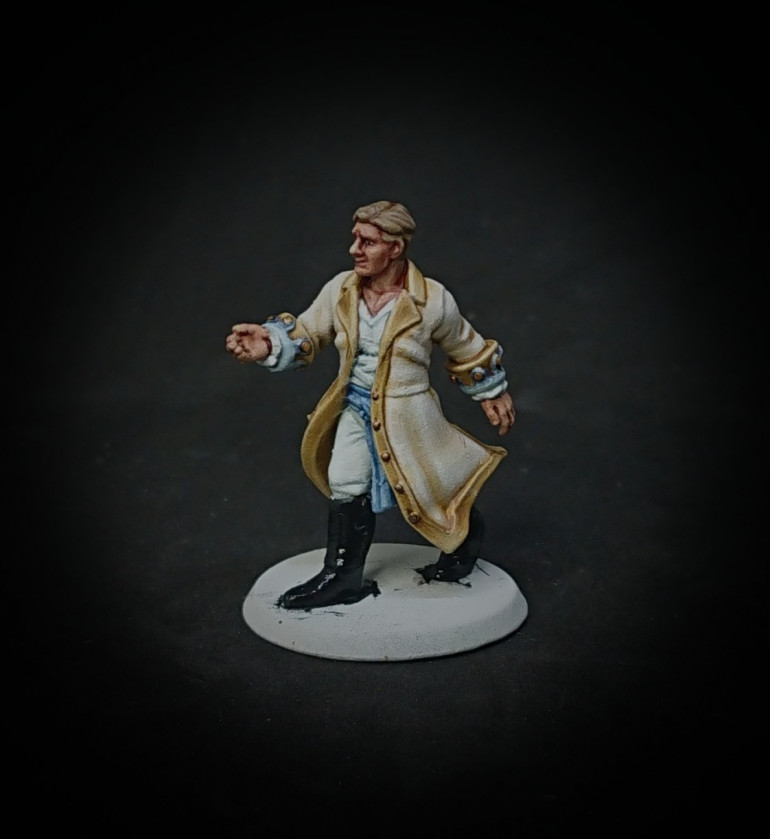
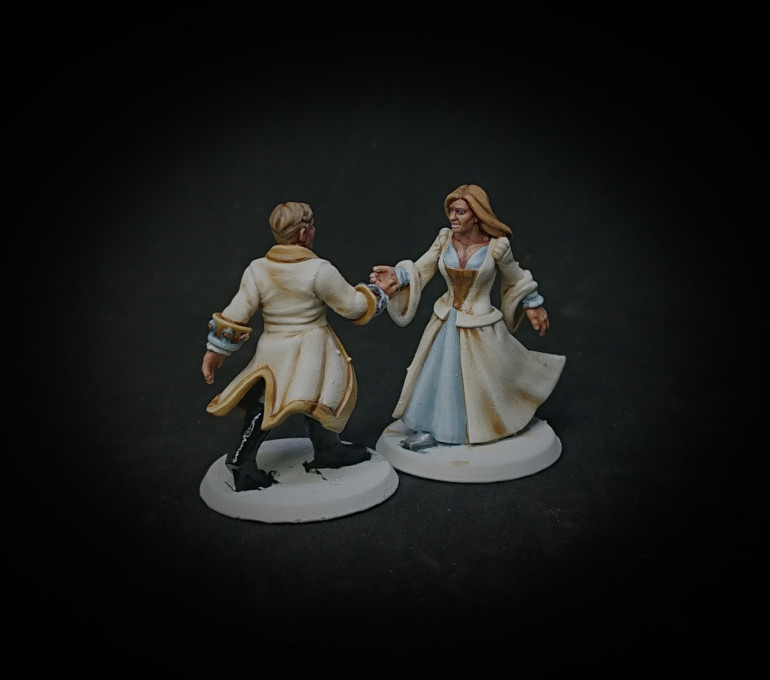
Well after the last marathon post this is quite a short one. With both the Princess and Prince complete, I thought I would show a little progress update. I am leaving the miniatures on their original plastic bases for now in order to protect them from damage. Now all I need to do is create something magical to display them on and I think I have just the thing.
A winter wonderland
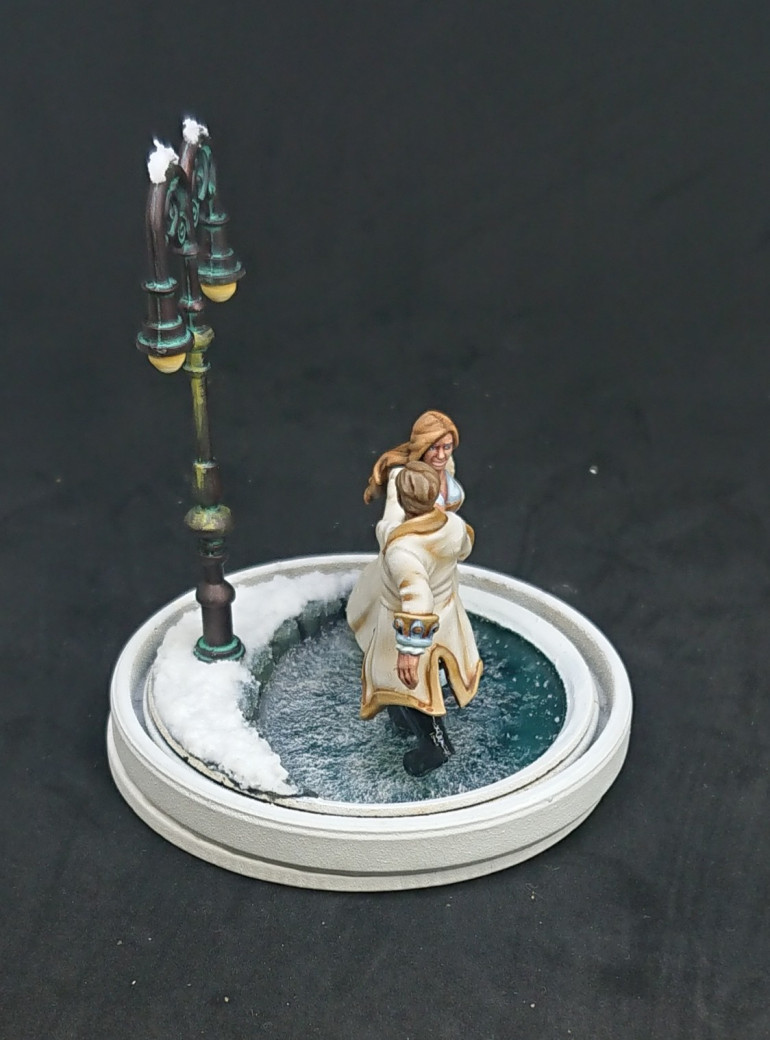
With the two love birds finished it’s time to make somewhere for them to dance, and this is where I start to deviate from the Cinderella story. Rather than building a dance floor, which would probably look a little bland, I’m having these two dancing on a frozen pond.
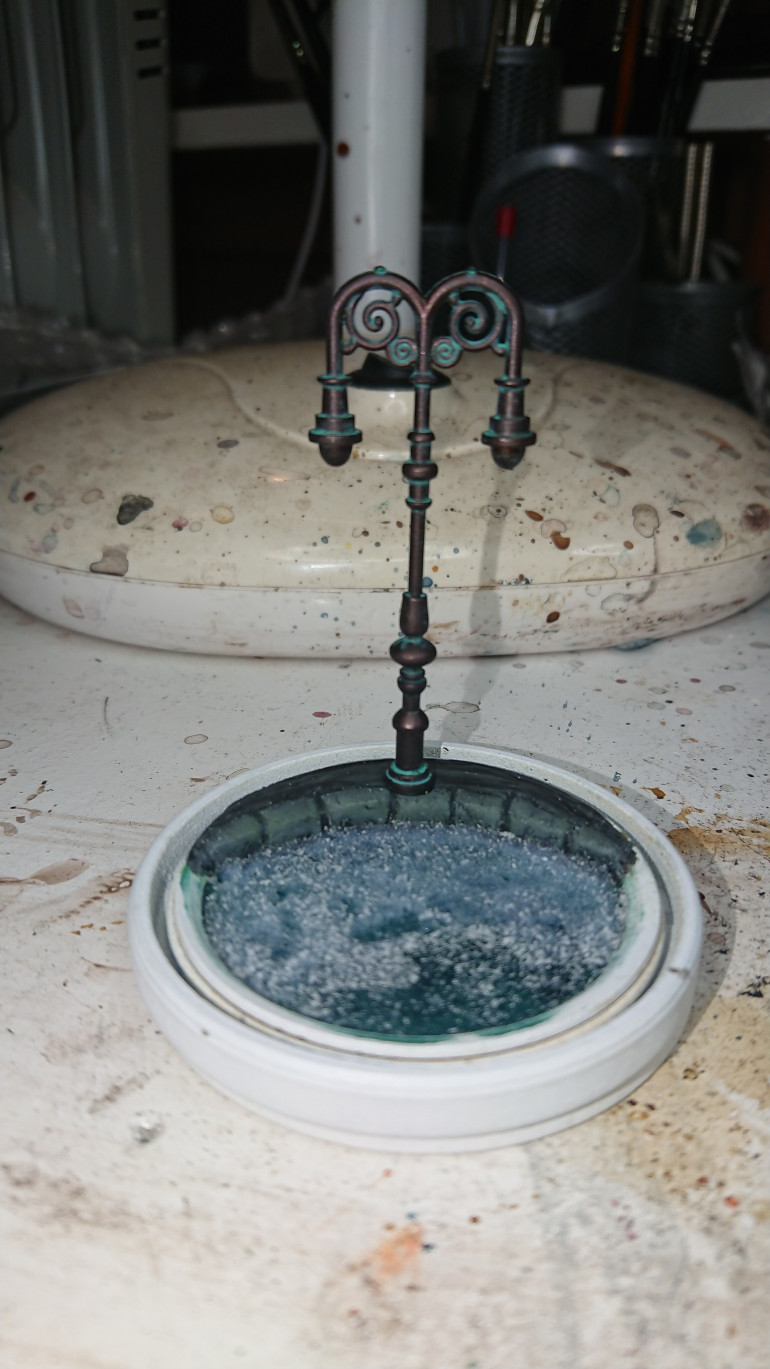
To build this, I purchased a glass globe from my local craft store. It’s part of the home made Christmas decorations range. Then I filled the base with water effect and then added a small amount of Coelia Green Shade from Citadel colour. This takes around 24 hours to dry and I stupidly forgot to take a progress picture of it. Anyway it dries with a transparent, glossy finish and in this case has a lovely, dark turquoise colour.
After that I built a small ledge around one edge out of green stuff, sculpting some large paving stones into the edge. I chose not to texture the rest of the surface as it was going to be covered in snow.
The stone work was painted mechanicus standard grey and then washed with aggrax earth and nuln oil, with a few dabs of athonian camo shade in the recesses between the paving stones. The blocks were then lightly drybrushed up in a number of layers. The first drybrush was storm vermin fur and then the skavenblight dinge.
After this, I put a layer of gloss varnish on the water and gave it a heavy sprinkling of snow flock from basecraft. The gloss varnish Changed the tone of the flock to an almost transparent colour which gave a really nice icy finish
To add something interesting to the background I added a nice set of lanterns which I believe are from Wyrd Games. This was painted Warplock Bronze, washed with Nilakh Oxide and then drybrushed first with a Warplock bronze/black mix and then with Warplock bronze.
I had to leave it there because it was getting late.
Dancing in the Moonlight
Time to put the finishing touches to the piece. With everything being essentially painted, the only thing left being the bulbs on the lamp, it was really time to assemble it and put a few finishing touches on it.
First, the ice on the water surface was given a coat of gloss varnish. With the texture already there it should give it a nice twinkly effect.
Then, I glued the lamp in place before adding a thick layer of snow. I used GW’s Valhallan Blizzard and it’s one of the best products I have used. There’s nothing more to it than painting it on and moulding or sculpting it into the shape you want. I found I had to apply two layers to get the solid finish that I wanted as when it dries I think it contracts slightly. However for many people a thick, smooth blanket of snow is not likely to be the desired look. I added a couple of dabs to the top of the lamp also.
Next I added the two love birds. Now, just a word of warning here. If you have purchased or are thinking of purchasing from Hero Forge, the plastic is incredibly brittle. Removing them from their bases proved both difficult and damaging to the models and I ended up having to reconstruct a large part of one of the feet.
And here’s what it looks like.
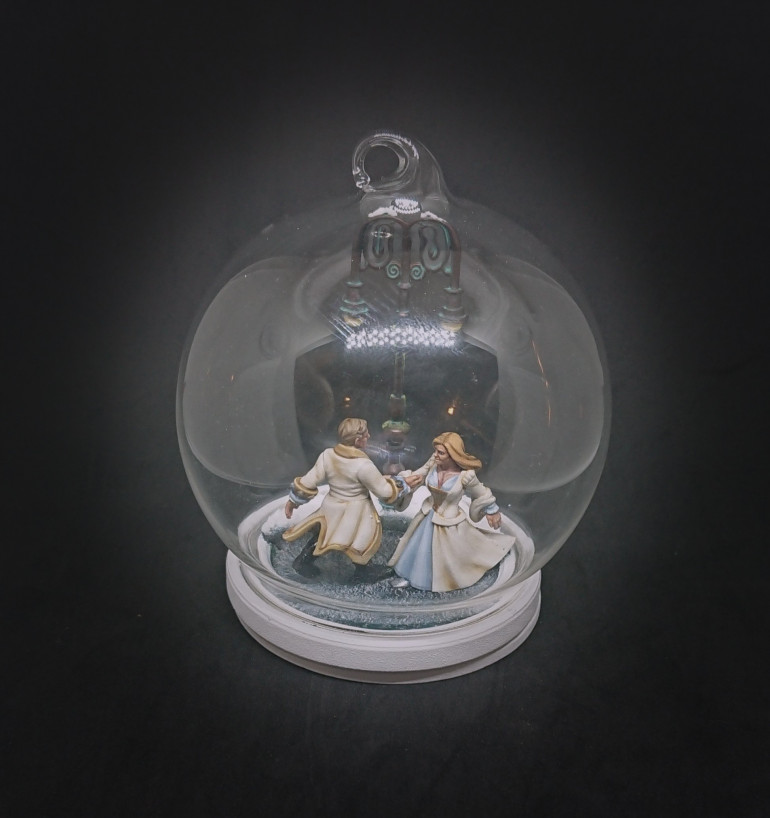
But wait, there’s more! The final fairytale touch is of course a lovely glass ball. And now it’s finished.
And now it’s finished. Hopefully the recipient will like it. I won’t mark the project complete just yet, even though the piece is technically finished. In a little over two weeks I will be presenting the gift and, like the fairytale it depicts, we shall see whether or not this story has a fairytale ending.
Finished
Well, I suppose as the gift was handed over at Christmas I should probably mark this as complete. The gift was very well received which means I have the answer to the question of what do you buy the girl who has everything? The answer is, you make her something.
Thanks for following.


