Painting technique experimentation
Recommendations: 46
About the Project
Recently I've been looking towards trying out new painting techniques with an eye towards improving my speed while maintaining quality. Well hopefully improving quality actually through having more practice since each model's time should no longer be measured in epochs.
Related Genre: General
This Project is Active
Dwarf finale
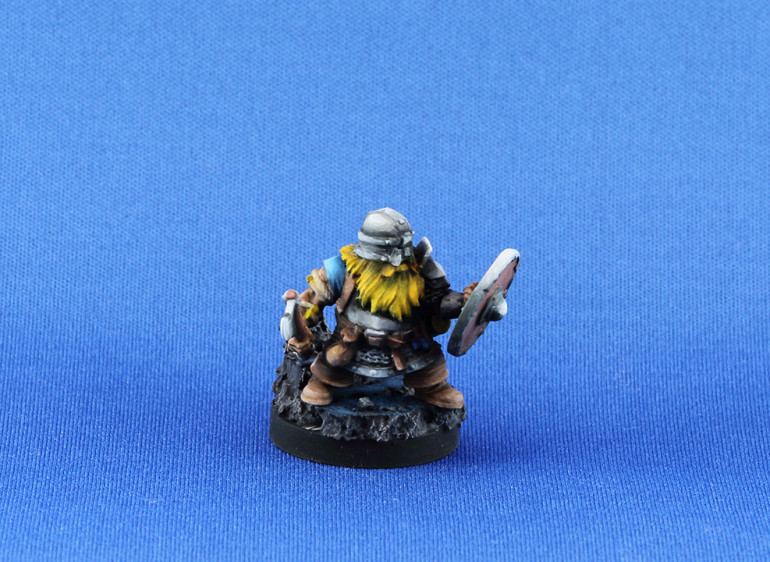
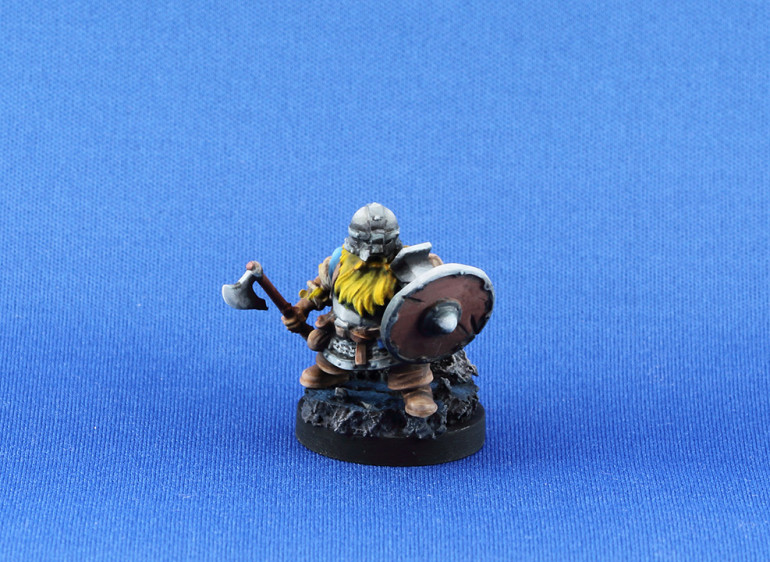
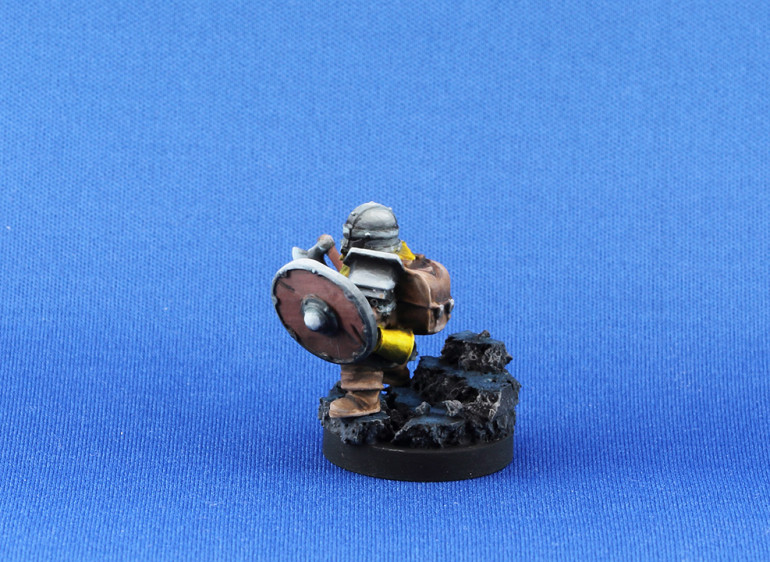
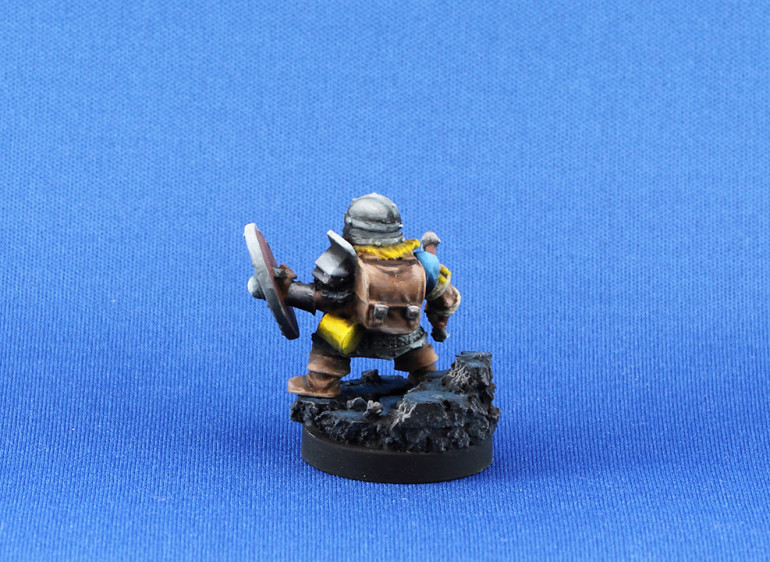
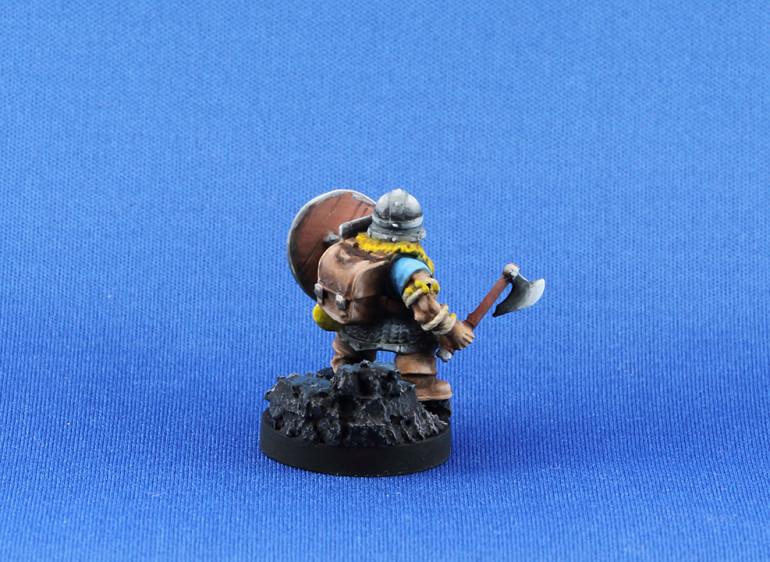
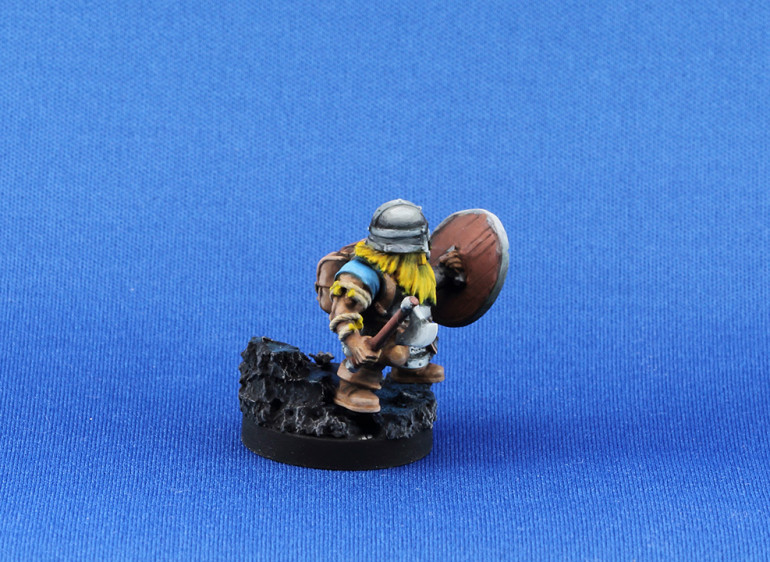
The base for the dwarf is now complete. He’s kinda far forward on it, since I got a little carried away during construction, but I think it came out well overall 🙂 Not a whole lot to say here, the base is done in cork and used dry brushing and stippling as opposed to what I’m experimenting with on the models. I sealed the cork first with a layer of pva to make the primer easier to brush on (or that is my theory at least)
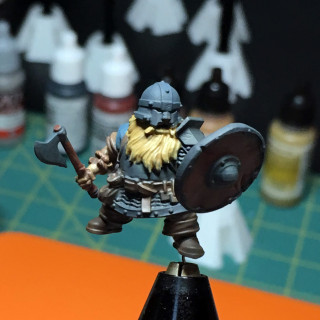
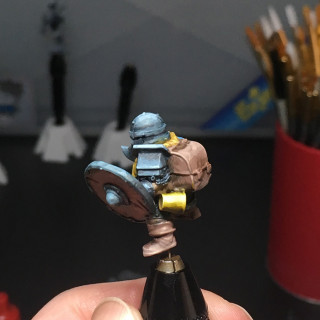
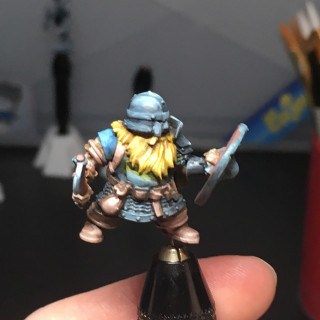
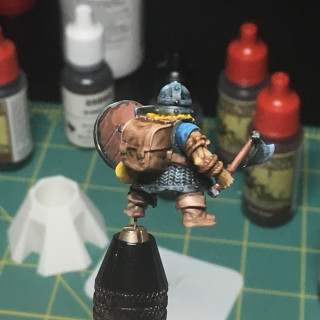
A 4Ground dwarf
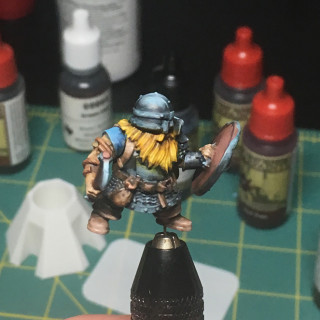
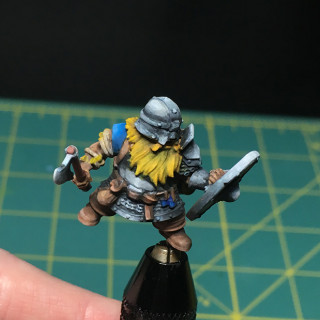
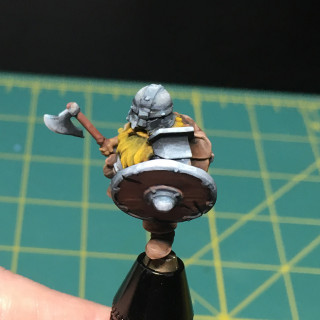
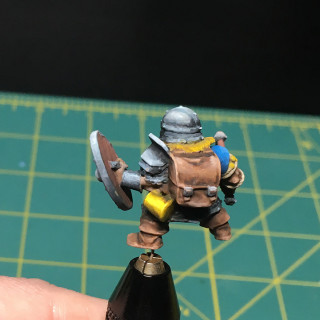
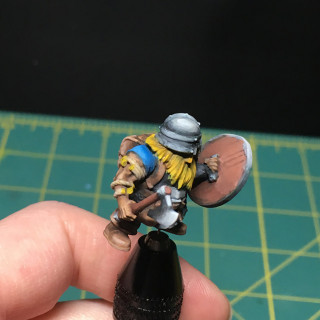
The last model in my first go around with shaded basecoat is the 3D printed dwarf from 4Ground. While dwarves aren’t necessarily my go-to the fact that this was a resin print quickly put it to the top of my queue just on a new-and-exciting vibe alone. This is the last model before I take another look at the videos for shaded basecoat, and the results I’ve gotten, and aim to change my approach to it to see if I can make it fit from a continuous quality improvement perspective.
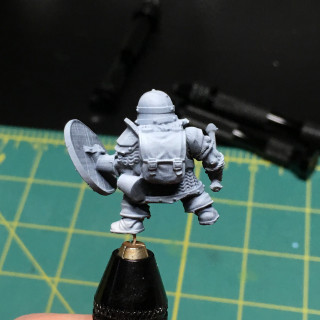
First up the zenith/pre-shade primer and then the base colours.
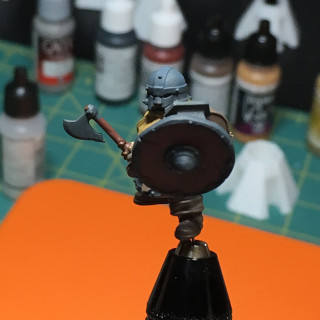
Then establishing highlights followed by shading.
Then going at it with glazes and the like the tune the shadows and highlights, attempt to smooth out the transitions (I think I need to do some work in earlier steps to make this more likely to be successful), details/cleanup and a matte varnish.
Next I’ll need to base him, after I decide what to do with the base, and take some higher quality pictures. Those won’t be zoomed so far in as these since they’ll be display pictures and not quick progress shots which I also use to get a better look at the gradients and blends 🙂
Second model donezo
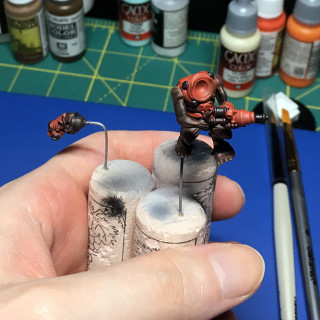
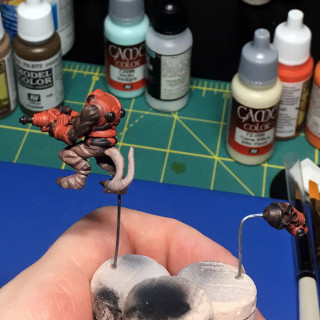
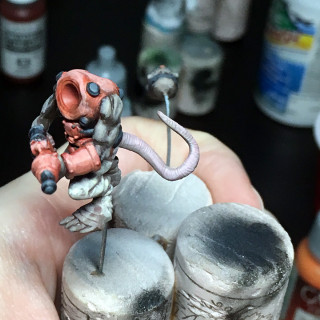
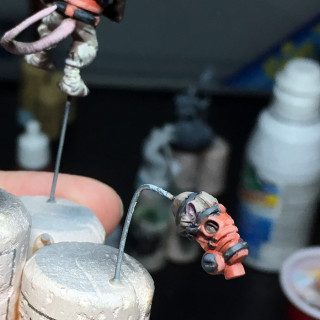
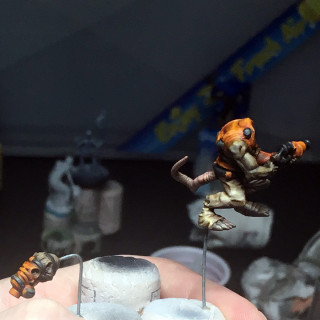
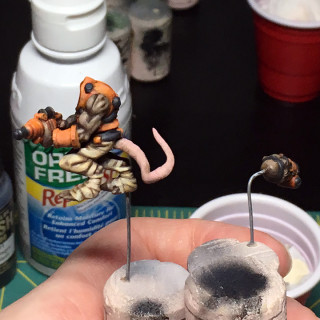
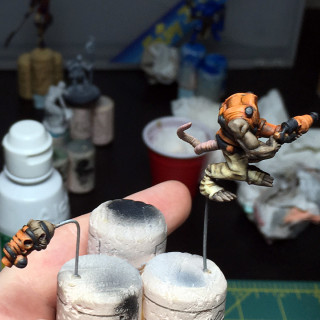
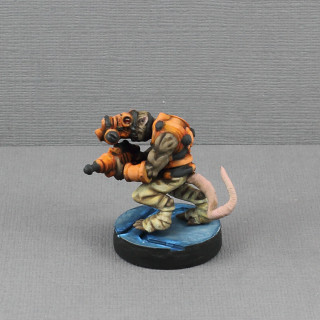
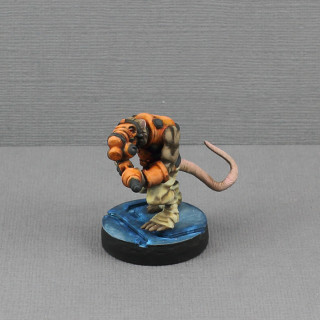
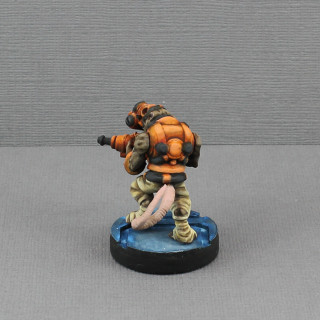
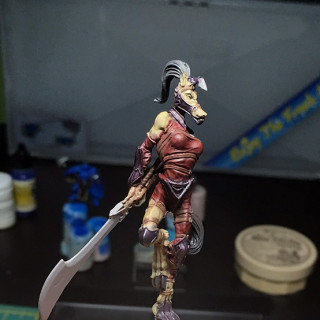
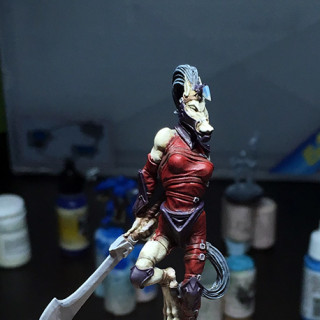
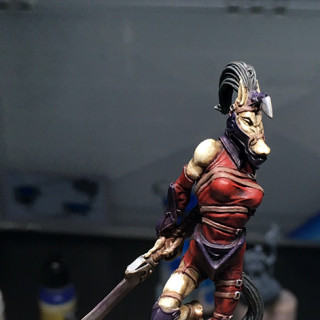
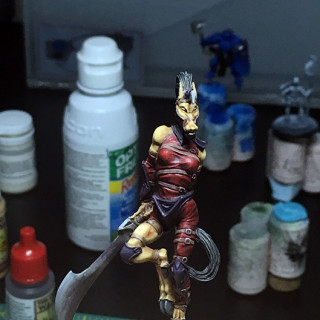
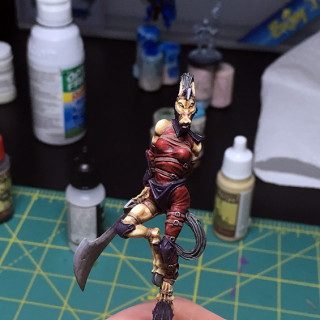
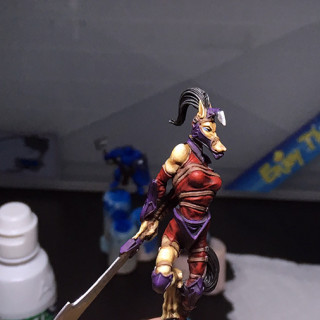
The second one was a plastic veermyn, ultimately I’m still working towards getting smooth gradients when starting off with “shaded base coat” but I’m hopeful I’ll get it there since the amount of time taken off of individual models is pretty substantial. And honestly it’s a little more fun since you don’t have to be too overly fastidious until the end (okay to be fair most of me finds this fun, part of me is beside itself with frustration because you can’t just leave that mark there!).
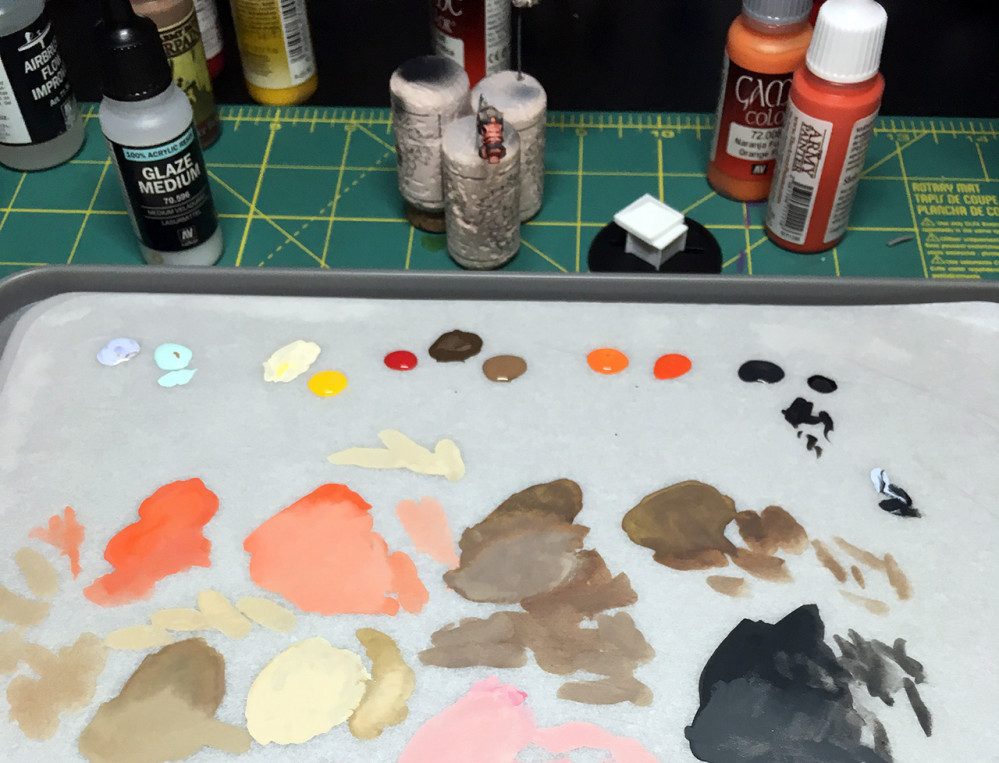
The first step is the midtone/base layer. In the videos there’s a lot of back and forth with colours and plenty of mixing on the palette and the model itself. I did my best to loosen up a little more in this regard but it’s still definitely much more neat than in the tutorials. One advantage to this method is that supposedly you don’t need to remember formulas to maintain a coherent army if you’re doing a large project (and the video seems to show that matching does indeed work).
Next up establishing some lights. Going through these old images I’m getting the sense that I need to find a way to make the transitions here less stark while maintaining the speed. Oddly I wonder if covering up more of the model would help since the following step is shading and you can then bring it back down in layers.
Then the shading. Not much to say here, mainly inks thinned down with some glaze medium (in the case of vallejo) or glaze medium/water for army painter. Water in any substantial amount does not make for a happy vallejo ink 🙂
And then the longest step which is adding in details (red eyes and such) and using thin glazes to improve the transitions, shift colours as desired, increase shades or highlights and clean up parts of the model that are particularly messy. Again I think the highlighting step is where I need to focus (including on the dwarf I’m largely finished now).
And done. The base here was designed and 3d printed custom as well. I’m pretty happy with the print itself but not so much the paint scheme. It’s not super inspired but I was starting to drag my feet again on what is meant to be a fun learning exercise so I just threw some stuff together to try and keep myself moving.
First model finished
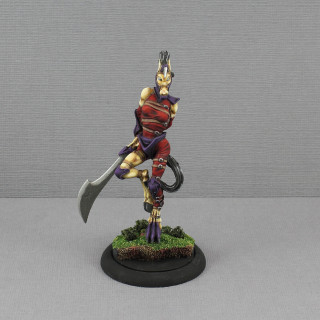
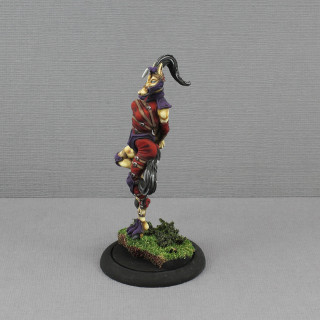
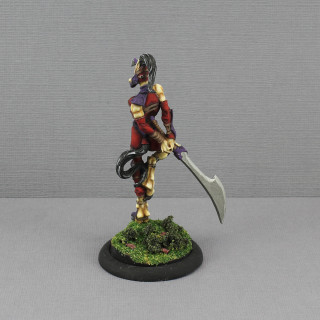
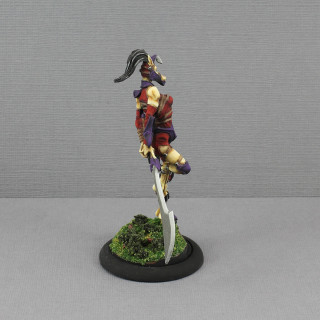
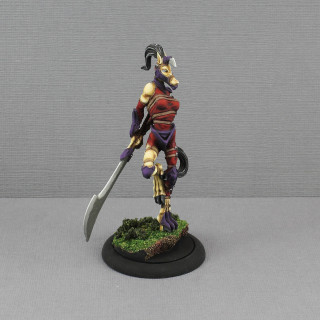
So with the model matte varnished and placed on a base I have to say that at this point I was feeling alright about working to level up my skill in this technique and add it to the toolbox (still do in fact). The main part of the experiment was a success in that it drastically cut down the time it took, by half at least. I paired her up with a base that I designed up and printed on a budget 3d printer, aside from the ballast on the cliff face I’m actually kinda happy with that too. I’ve got a complete veermyn and the first widely available model from fabled realms in progress that I’ll need to scrounge off my phone and main camera but for now here’s the finished first experiment.
Trying to remember
So I actually started this project several months back and now I’m stuck peering at phone quality photos trying to reconstruct some of my steps. My first stab at doing something to increase the speed at which I paint has been to tackle what is known as the shaded base coat; I chose this ultimately because I had a dvd from an old reaper KS kicking around (see what I did there ;)). I was hoping that this would ultimately let me spend a bit more time on the polish while cutting out a lot of the messing about, I also figured improving techniques would probably be helped if I painted more than a few models a century. Ultimately the amount of time taken I would estimate, even though I never timed these, is about half or even a bit less than I normally take. I’m not quite sold yet that I can keep the quality the same but I think it’s close and hopefully with practice will be better. Cutting down the time also helps keep me from getting thoroughly fed up with a model. I’m also eyeing airbrushing as another tool depending on the model, but I haven’t gotten on with that yet so on to the first figure I did with shaded base coat.
I started with a zenith highlighted model, but the actual video did not. But it does involve fairly thin paints and makes use of one of my favourite bits of kit which is the glaze medium (I use vallejo because I can get it in the city).
So the first step of this technique involves using a honking big craft brush and not spending too much time keeping things tidy. Size 6 nylon brush in hand and brain already in full revolt at the prospect of not trying to be neat and tidy I got to it. You lay down the mid tones as well as you can and let the colours mix together, now in the video I watched there’s much less contrast between colours and it’s quite grey. I couldn’t quite get my brain to agree to that but I did manage to not fuss too much on overlapping colours with the theory being that they’ll largely be covered up but will barely show through and help with the visual interest. We’re at maybe an hour here, first image in the gallery.
Next step is the next image or two (it was a while back) and is using still decently large brushes including flats to lay out the highlights but not to absolute highest. You build them up in general, honestly watching the videos it looks an awful lot like establishing a sketch. After that you do a similar thing with the shadows except focusing more on an ink like consistency for the paint.
That’s about it for the main strokes of the video, he does go through finishing the model up and there are additional videos in the series that focus on non-metallic metal and such but I only had the first video. I actually tried NMM here but quickly threw my hands up and went to metallics since it was clear I was going to derail the actual point of this experiment.
Next up I used glazing to start to clean up the transitions which were very rough; this is something I’ve found with the technique even on the next few models I’ll hopefully get up soon but I do imagine that working to improve the highlight step will be the biggest win to reduce this. Finally I put in a few details and she was ready for varnish and base.


