Testing Color Changing Paint / Necron Kill Team Build
Recommendations: 51
About the Project
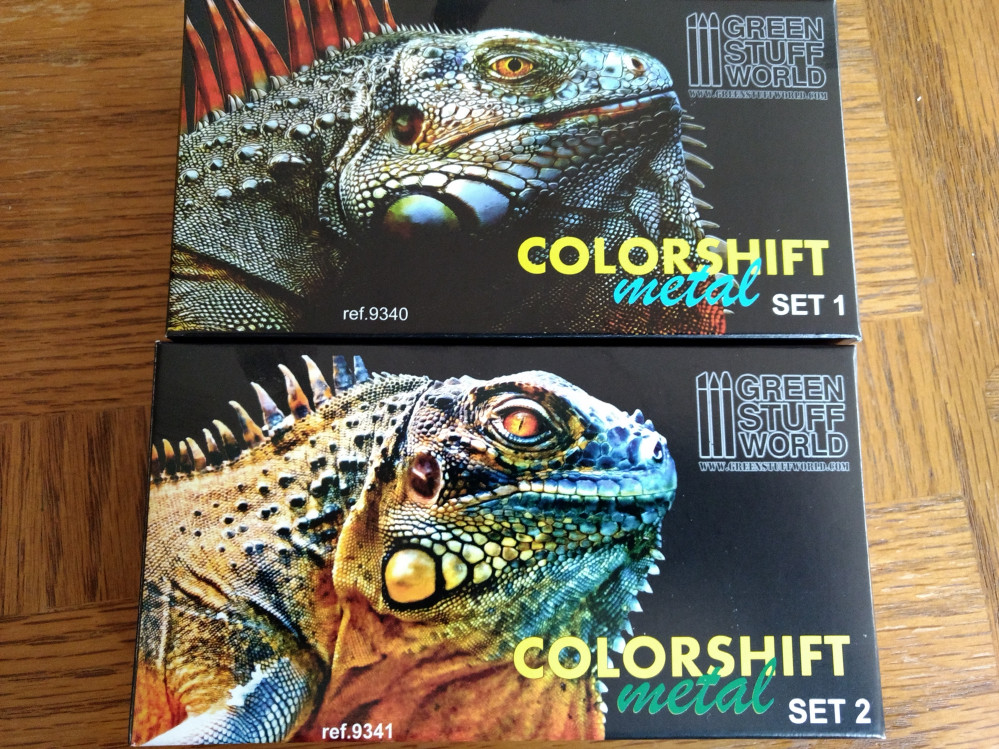
Green Stuff World has come up with a set of color changing metallic paints that I absolutely had to try out. I also had been thinking of building a kill team. Necrons seem to be the perfect application of the paint so here we are.
Related Game: Warhammer 40,000: Kill Team
Related Company: Games Workshop
Related Genre: Science Fiction
This Project is Completed
Project Principle Elements
So here are the principle elements.
- Kill Team: Ankra the Colossus Necron Commander Set (Games Workshop)
- The Exalted Scythe Collection (Games Workshop)
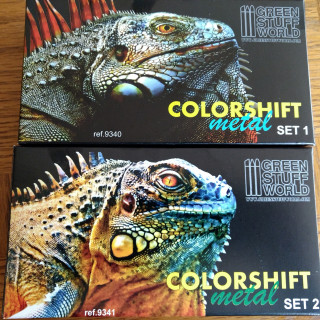
- Chameleon Acrylic Paint Set 1 (Green Stuff World)
- Chameleon Acrylic Paint Set 2 (Green Stuff World)
I have not decided which color I will use for the Necrons, there are 12 in the set and I do not plan to use all 12. I am also going to test the fluorescent paints from Green Stuff World for the glowing bits of the weapons. This may look great it may look awful we’ll see.
Basing and Building
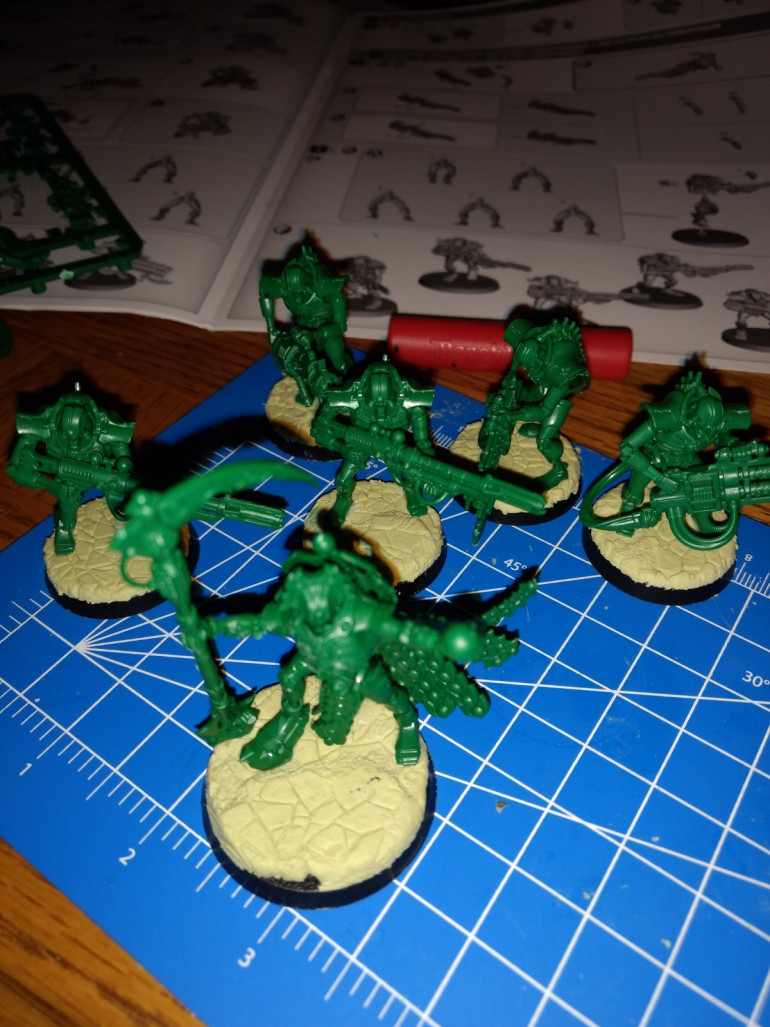
First step is to base and build the models.
For basing I use the Basius Imperial Pad. I cannot recommend the product enough, but unfortunately the only way to get them is through Kickstarters, and the creator of them just finished the most recent round. I will include a link to the most recent Kickstarter which has contact info for the creator.
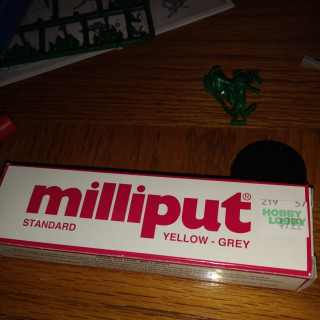
The Basius pads are designed for Green Stuff, but I use Milliput over Green Stuff. I find it easier to work with, but for some of the real detailed stuff from these pads Green Stuff is the only way to go, since it holds together better.
I also like to use this setup on plastic models since it puts a lot of weight on the bottom of the model. It lowers the center of gravity on the model considerably and makes it less prone to tip over.
Priming
Ok it is priming time. According to the Green Stuff World tutorials I will need to use a black primer for this to work. So black it is.
I will be using the following:
- The Army Painter – CP 3001 Matt Black Undercoat
- Minitaire – D6-102 Raven Black
The Army Painter will be the main undercoat, with using the air brush to fill in the gaps. I will want a smooth black across all the surfaces and eliminate any of the green from the plastic.
Applying Color Changing Paint
The first thing I have to say is holy layers Batman! They were not lying about needing 3 to 4 layers to make the color come out. With an airbrush this is easy, all you need to do is blow air on to the model while it drys and then apply more paint. With a regular brush on the other hand this takes a bit.
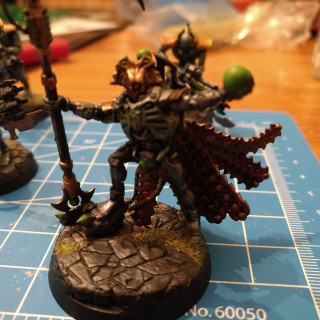
In addition I used a wet pallet for applying the brush on paint and I am not sure this was the best choice. The paint is formulated so it can go straight into an airbrush without thinner, so on a pallet it is already very watered down. So the process here was airbrush on the green, and then bring back everything I didn’t want to be green to black followed by brushing on the gold and bronze where I wanted it.
Warning Physics Content!!!! So some might ask why not go over the green with the color I wanted or why do you have to start with black. The simple answer is this is a transparent paint with metal flakes in it. If you painted this paint on to a transparency and shined a light behind it you would see nothing or just a hint of the color you painted on. Most metallic paints are a pigment of the color in question or one close to it with metal flakes in it to increase the amount of light reflected, which makes it shiny. Metal is shiny for the same reason it is conductive, there are a bunch of free electrons which also reflect light.
For this paint to work you need to be able to see the metal flakes at different angles and through more or less of the rest of the paint. What the rest of the paint is doing is acting like a prism and bending the light so it appears as a different color. As you view the paint through more and less of the other part of the paint you see different colors. So as with all prisms they need the light to be able to pass through it for it to work.
So it comes down to that there are relatively few metal chips in this paint to reflect the light. This is not a problem if the background behind it is black, since the only light being reflected is the light bouncing off the chips and we see the color. On the other hand if there is a color behind the previous one other than black, it will come through as the light it reflects will overpower the light this paint reflects, since it will reflect more photons. So that is why you saw the pearling effect when they painted it on the white spoon, the prism was working fine, but the white was overpowering the relatively small amount of blue metal flakes reflecting light.
So for future experiment, try different types of grey backgrounds. I know the metallic paints they put on cars is similar to this stuff, and they use grey as a primer not black. I assume a grey will lighten up the color without overpowering it like white would. End physics lesson…WAKE UP!!!!
Colors used:
- Green Stuff World – 1609 Emeral Getaway
- Green Stuff World – 1606 Burning Gold
- Green Stuff World – 1558 Nebula Copper
- The Army Painter – WP1101 Matt Black
Next up washing and highlighting.
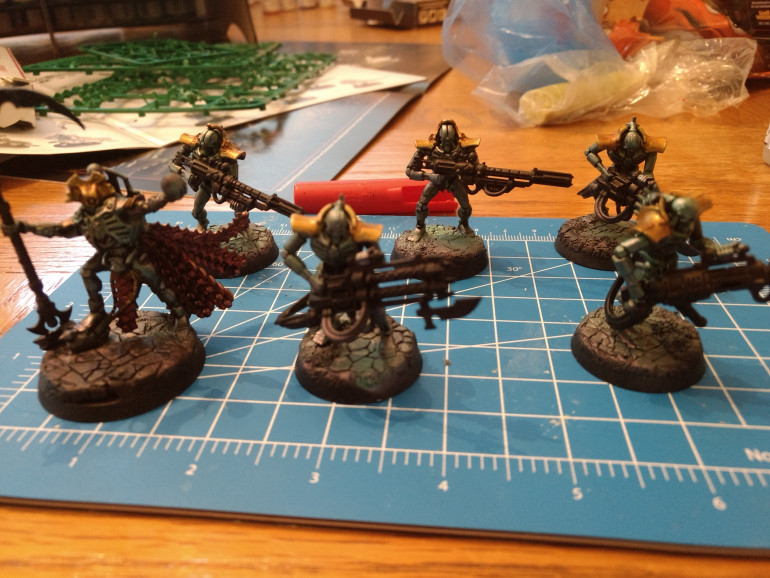
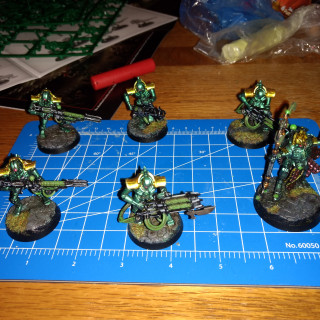
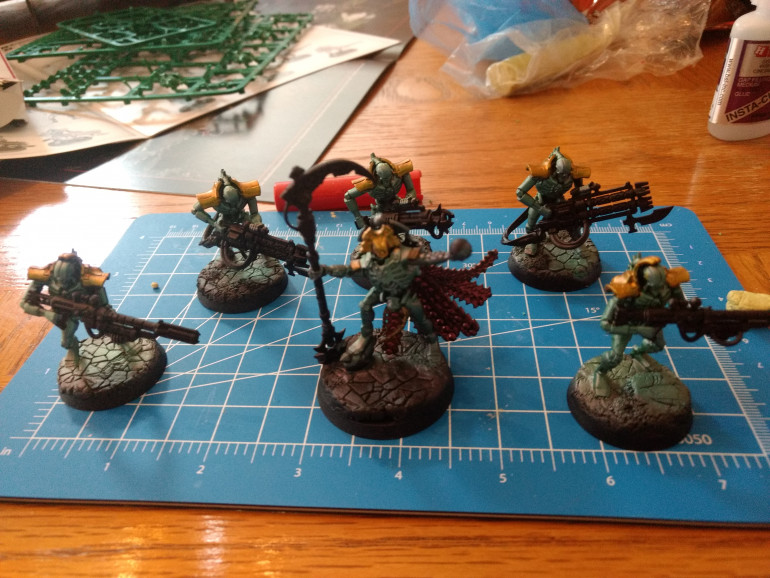 Base Coating Done. I believe the only way to see this well will be a video which I will try to make when I am done.
Gratuitous Green Stuff World tutorial, my preparatory viewing.
Wash and Highlight
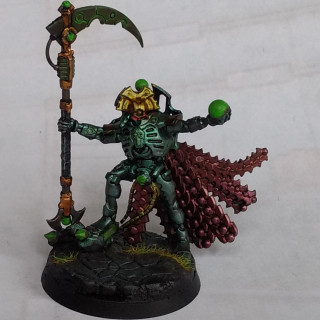
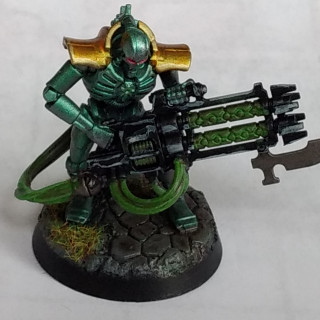
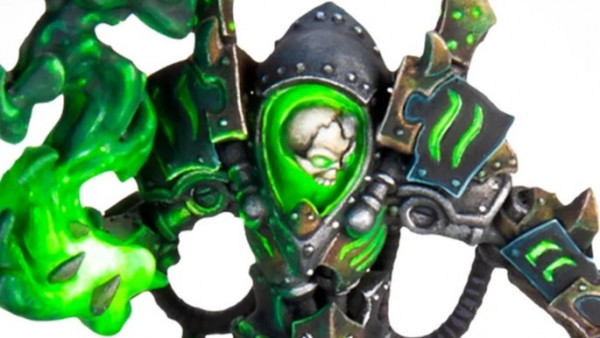
Washing and highlighting done. The green and bronze were washed down with dark tone and the gold with strong tone. I then brought the surfaces back up to using the original color. Finally I highlighted with mixing the color and shining silver. I kept the highlights subtle since the paint is kind of self highlighting.
Paints Used:
- Green Stuff World – 1609 Emeral Getaway
- Green Stuff World – 1606 Burning Gold
- Green Stuff World – 1558 Nebula Copper
- The Army Painter – WP1129 Shining Silver
- The Army Painter – WP1136 Dark Tone
- The Army Painter – WP1135 Strong Tone
Finished
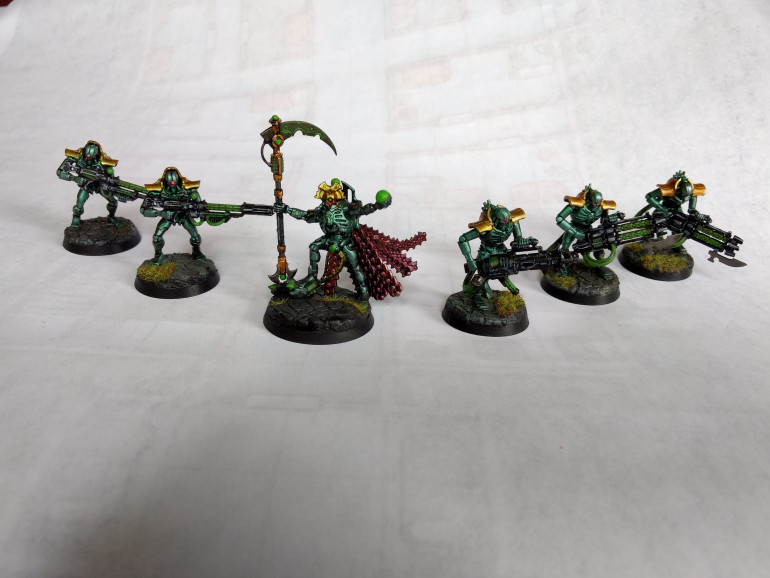
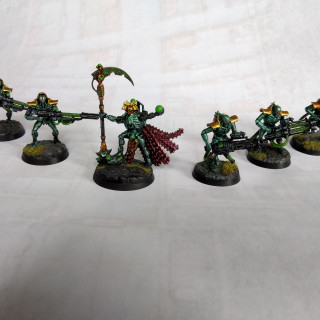
OK so I was hoping mother nature would cooperate today and give me some natural light to work with to take some better pictures, but alas she has decided that we need a dark overcast day. So I have tried with what I have
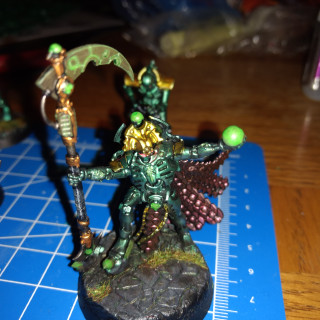
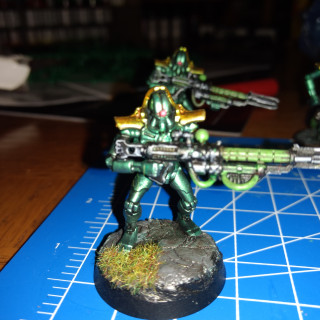
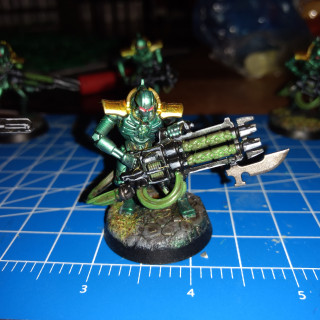
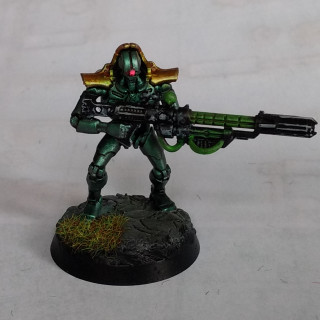
So now we are done, with the non color shift parts and the highlighting. I basically followed Duncan’s guide on painting Necrons to complete these. With the last layer of highlight on the glowing green I used Green Stuff World’s fluorescent Lime paint. I think I might use another highlight in the future over the fluorescent paint, but as this was an experiment I did not want to cover it up.
Once finished I used Krylon’s Matt Finish to seal the paint. I was unsure what to expect with the color shift paint. I am happy to report that it does not take off the shine of the paint.
I will post the full color list and review below.
I have also added Duncan’s tutorials at the end.
Review ColorShift Paint:
The Colorshift paint works as advertised, it changes shade as you view it from different angles of light. The color pallet available is about the same as you can get put on your car. The twelve colors fall into a variation of red, green, blue, and yellow/gold. The paint is formulated to go directly into an airbrush without the need to thin it. Youtube tutorials show you how to apply paint with both a brush and an airbrush. The application process is easy enough that any skill painter can do it, but failure to follow the instructions could lead to some frustration.
The good:
- We now have a paint that can reproduce the look that you get on a car when a metallic paint is applied.
- Formula worked well in my airbrush without the need to thin further.
- Colors come out very vibrant.
The bad:
- It needs at least three layers to be applied. From an airbrush this is easy since you can speed drying by blowing air, but with a regular brush this takes a long time.
- It requires a black base to be applied. In the never ending argument do you prime with black or white these paints take the choice away from you. The colors come out so vibrant, that getting standard colors up to the same vibrancy will take some work on black.
- Airbrush formulation makes it difficult to get even layers on surfaces with a standard brush.
Overall:
I like them and will use them again, but it will probably not be one of my go to paints. I feel there is limited application and will probably relegate these to vehicle (Speed Freaks, I see you) and sci-fi use. So I do not believe you need to run out today and buy these, but if you have an application where you want the metallic colors you can find on cars, these are for you.
Paint List:
- Primer – The Army Painter CP3001 – Matt Black Spray
- Primer – Minitaire D6-102 – Raven Black
- Primer touch up – The Army Painter WP1101 – Matt Black
- Base Green Colorshift – Green Stuff World 1609 – Emeral Getaway
- Base Gold Colorshift – Green Stuff World 1606 – Burning Gold
- Base Red Colorshift – Green Stuff World 1558 – Nebula Copper
- Base Silver – The Army Painter WP1131 – Gun Metal
- Base Gold – The Army Painter WP1132 – Greedy Gold
- Base Green – The Army Painter WP1413 – Crypt Wraith
- Base Grey – The Army Painter WP1418 – Dungeon Grey
- Wash Dark – The Army Painter WP1136 – Dark Tone
- Wash Light – The Army Painter WP1135 – Strong Tone
- Highlight Colorshift (Mixed with Original Color) – The Army Painter WP1129 – Shining Silver
- Highlight Green – The Army Painter WP1439 – Moldy Clothes
- Highlight 2 Green – Green Stuff World 1700 – Lime Fluorescent
- Highlight Black – The Army Painter WP1424 – Filthy Cape
- Highlight Grey – The Army Painter WP1117 – Ash Grey
- Highlight Red – The Army Painter WP1104 – Pure Red
- Highlight 2 Red – Green Stuff World 1706 – Rose Fluorescent
- Effect – The Army Painter WP1478 – Wet Mud


