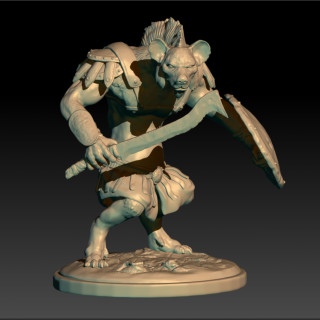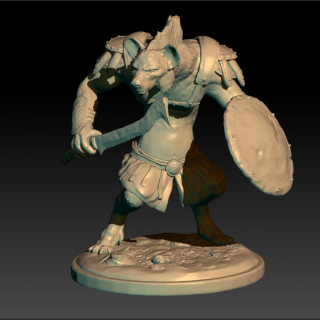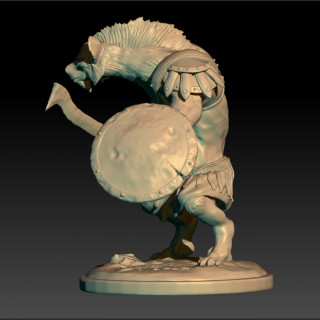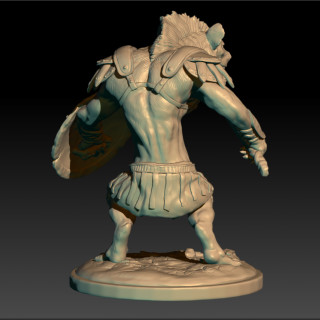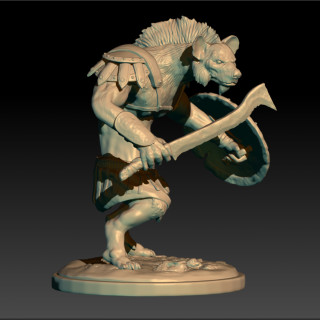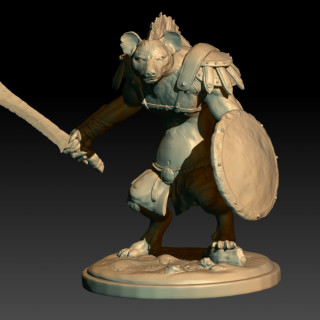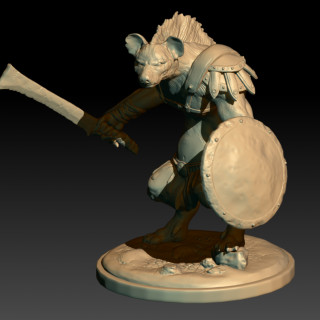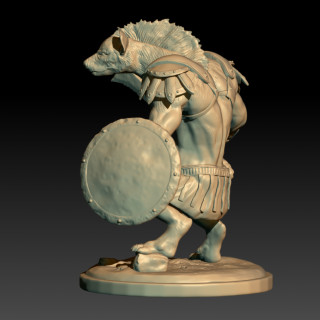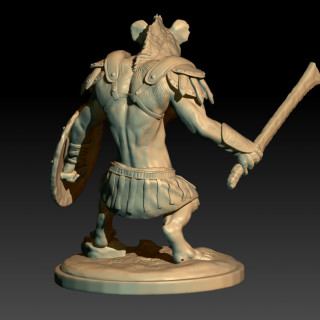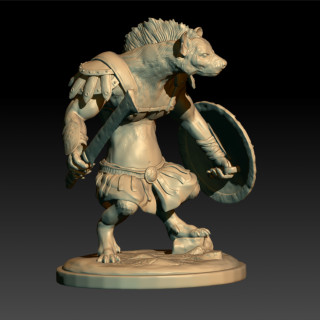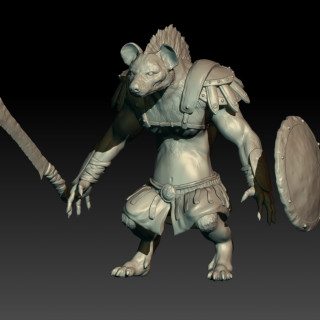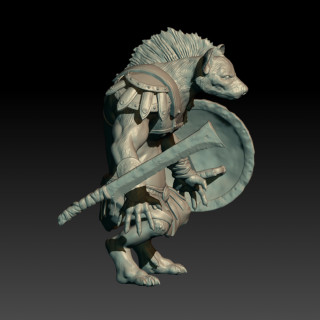
Learning how to Zbrush / 3D model a character, then print it with high resolution
Recommendations: 54
About the Project
Hi there, I have been a hobbyist/gamer for nearly 20 years - from early teens trough most of my adult life. I say hobbyist first, as even if I do appreciate the gaming side of it all, my fundamental drive has always been to create. I started out like any other when it comes to miniatures but as I have progressed I reached a point where I wanted to go deeper and really create something out of nothing. I have sculpted some models for myself using the traditional mediums but as I work with graphic design it followed naturally that I would try and learn how to Zbrush a character. I set about to learn Zbrush trough this project, following online advice and trying to create a full character of my own. I had previously tried sculpting digitally, a few heads and a torso, but when I started this project it had been quite a while and I had since forgotten all previous knowledge. Now however, I decided to finnish it - reward in the end would be some basic level of understanding how the 3D sculpting works, giving me a good solid structure for future sculpts.
Related Genre: Survival
This Project is Active
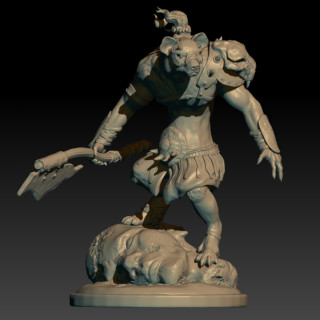
Gnoll champion
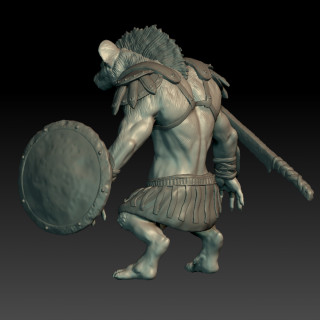
I had to try my hand on a champion on sorts. A chieftain, or a champion leading the warhungry Gnolls trough dominance of strength and violence. I wanted to give him a more menacing weapon, with trademark items that tell a tale of savagery. Also wanted to test a sort of a-symmetrical loadout, with the heavy axe on the other arm and the shoulder armour on the other. Decided to give him a powerstance over something taller, so he can tower over his pray and soldiers alike. What better for that than a big severed statue head?
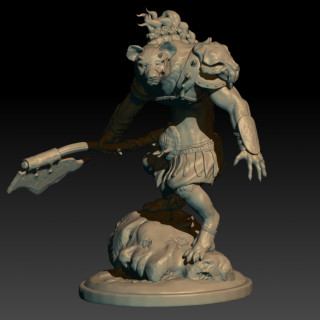
2nd pose
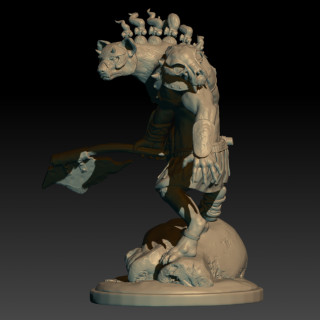
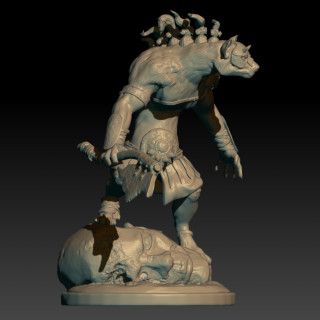
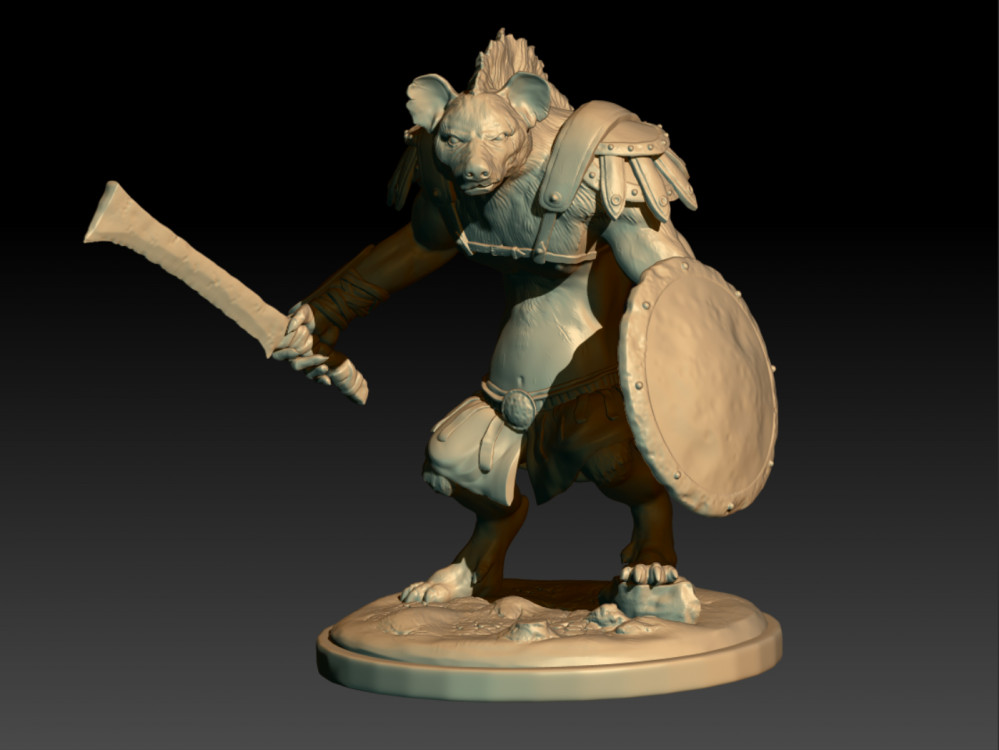
So, I decided to make another pose – I made some small alterations to detail such as the facial structure, but kept the base largely the same. This is where Zbrush and digital sculpting really starts to pull its weigh in my opinion. Too much copy paste is always an eyesore, but when it comes to say rank and file, it is often the case whatever you do. From the makers perspective, sculpting a miniature takes lots of time and even if reposing is very possible with classic methods, it is time consuming to say the least. With a digital base model, you can make alternate versions rather quickly and since you have spent a considerable amount of time on the original sculpt, your results vs. time spent are from another world.
I think I will do a good bunch of gnolls based on my original model, see how far I can bend it and learn as I go.
Posing, resculpting, detailing... done?
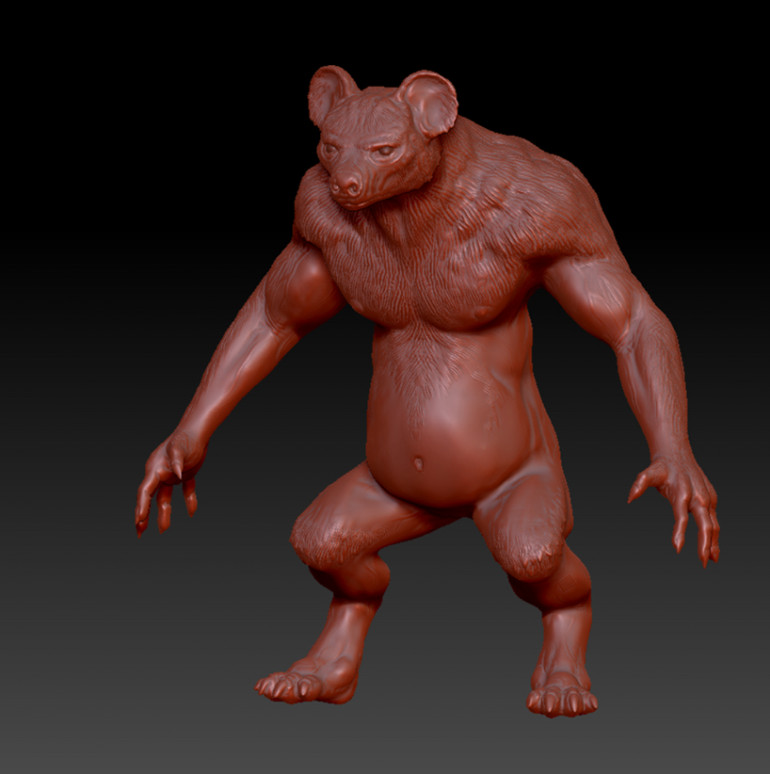
After my original plan of posing the character failed horribly, I decided I would pose the character “by hand”, masking and twisting parts of it and resculpting as it warped, re-detailing everything as was needed. Not at all an easy thing and I still hate how I mangled the fingers – but I feel it was essential for me to learn. Breaking up the symmetry and giving more detail like a facial expression really bumped up the characters feel, even if the overall stance is quite basic.
So, now I have a Gnoll posed, on a base, ready to rock. I have an SLA resin printer in a cardboard box. It might take a while again, but next thing I will try to learn is how to print this guy out! It has been quite fun and I am sure my future sculpts are going to be many times easier than this. Personal goal achieved!
Finally, some results
After I showed my work to some other creative people for their oppinions, I reworked many things like overall posture, some anatomy problems and made some other small alterations. It was again a lot of work and hours combined for this project had long since went trough the roof – but I was learning rapidly. My main goal of learning how to Zbrush model a character was starting to hold water. After some weapons fitting my characters style, I was ready to learn how to pose a character.
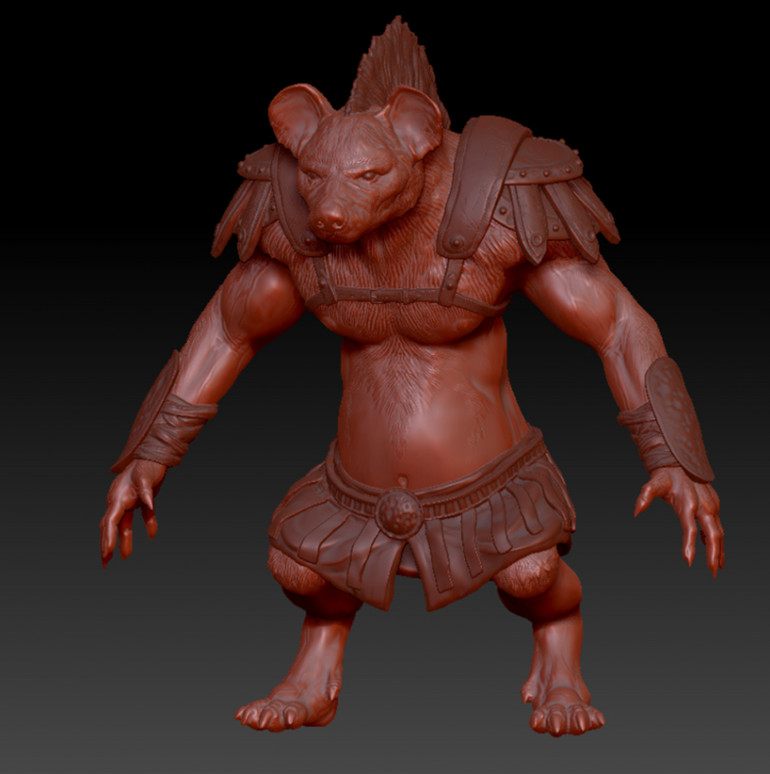
Armour for war, raids or the colosseum
Suddenly there were clothes. Not really that sudden though – It really took some time to do. Next person who says digital sculpting is easy I will slap with dead fish. Seriously, I “know” how to do both now and as you have pretty much unlimited ways to go deeper on your digital model, those hours tend to stack. Something would have been done and dusted ages ago, if it was made from clay less than 3 inches tall.
I know it all becomes faster and this was my first time around, but it certainly was an eyeopener. There are no easy tricks there, just the work.
I dont think it looks like a gnoll yet
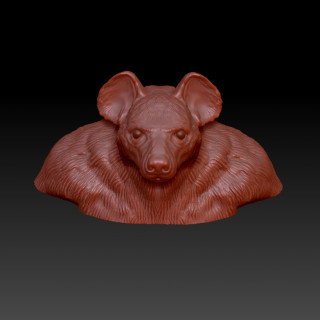
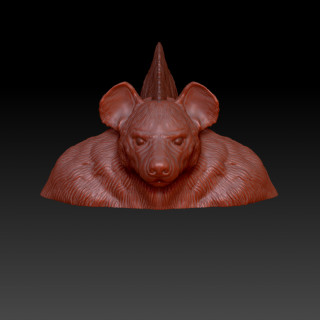
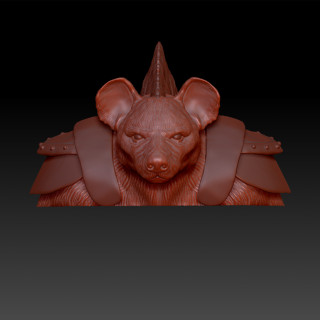
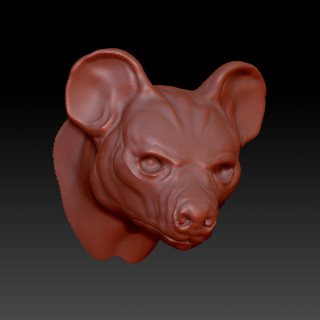
There is a lot of trial and error undocumented, as I progressed in the moment, but some of it I have saved. The face in particular gave me problems – I just could not hit that nail on the head for a long while, where it looked like a Gnoll to me. At some point I managed to resculpt the face into something I liked.
The Gnoll is in the details
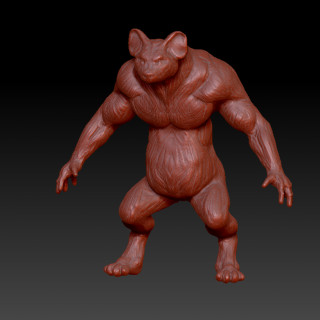
At this point I started to do lots of small details. I had no idea if it would work, how it would work or how my printer would print it out – but I decided this character would benchmark all that for me. Afterwards, I would know what to do and what not to do, and as they say Siberia is a cold but effective teacher.
Starting to shape up
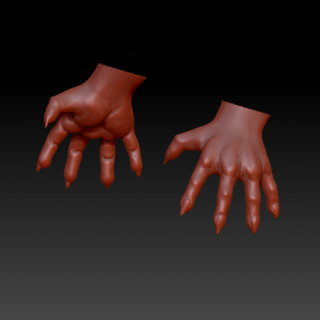
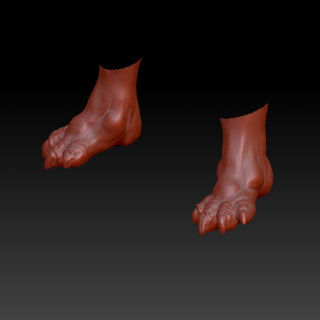
All of these phases took quite some time and a lot of trial and error, but every step forward built up my confidence. Making hands, feet and especially some sort of face gave the Gnoll enough character that it started to resemble something I was going for.
Blocking in the shapes
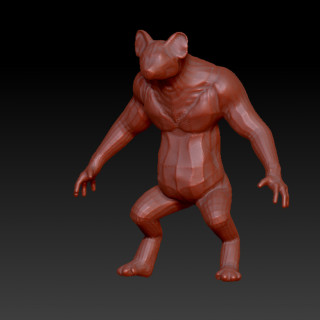
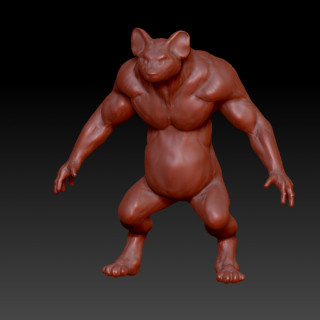
I had heard of a function called “Dynamesh” before, and seeing it in action was quite awesome. Basicly, it makes the mesh a lot more manageable and re-dynameshing would re-calculate the base mesh, so you would not have problems with bad topology as you sculpt your character. After applying Dynamesh, I started to bulk out my character using clay brushes like clay buildup, eventually smoothing my characters surface to make a sort of starting point for the details.
Zspheres? Zspheres.
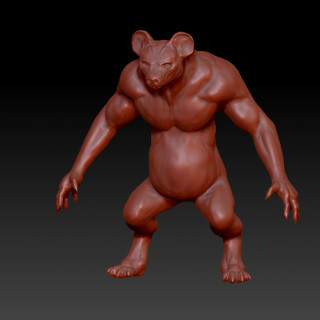
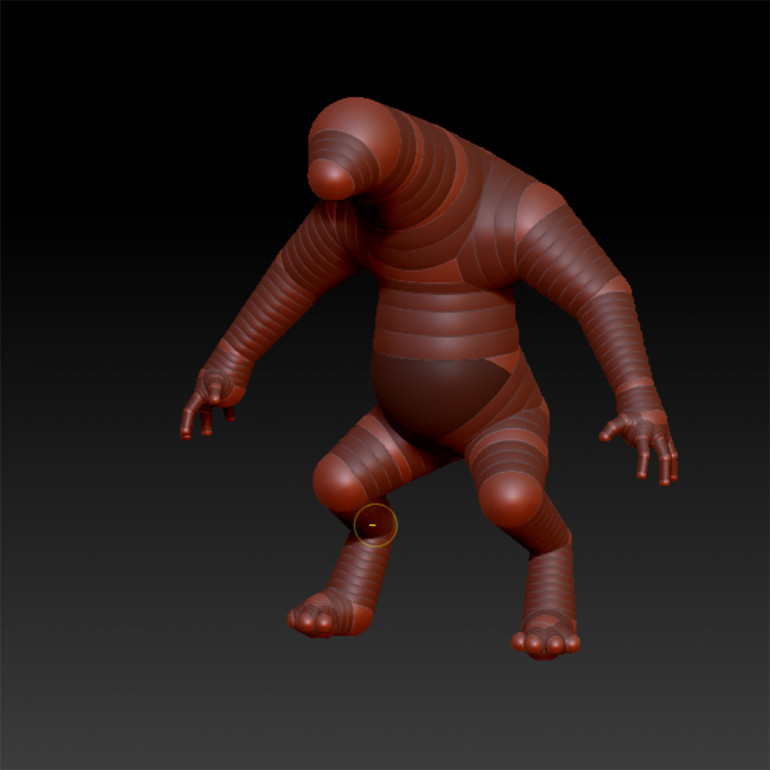
First off, I stumbled into Zspheres. It was sort of making up a virtual balloon animal, coarsely shaped like what I was in the end going for. At this point, there is lots of symmetry in play. The overall posture was to be sort of relaxed.
Gnoll it is then
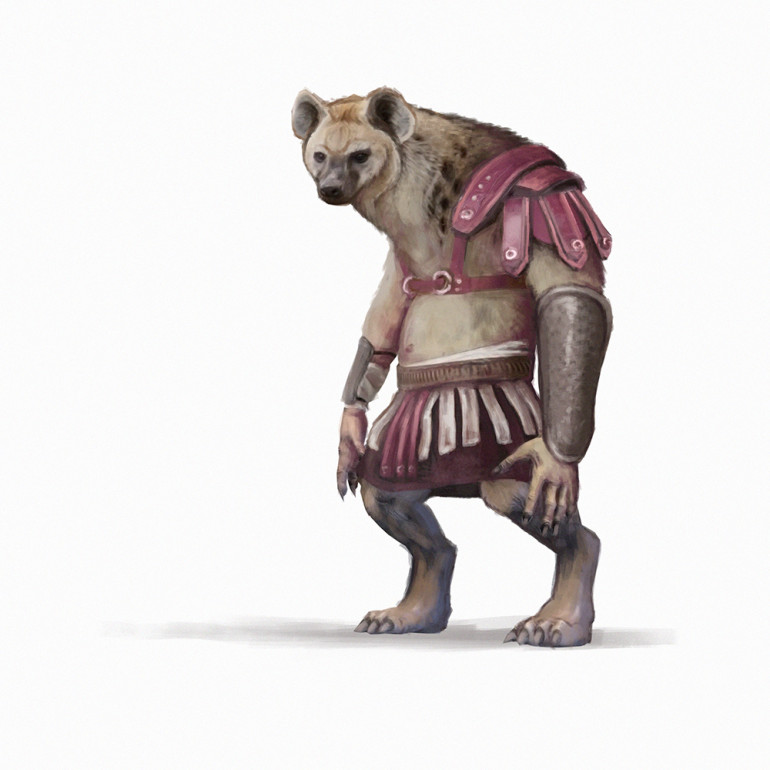 I did a quick sketch of a Gnoll that would be my goal. Not a 100% identical one, but something in that direction
Starting out I was looking at different material for learning Zbrush and I came across one that was about a sort of werelion gladiator -character. Browsing trough it, I decided that I would build my character in the same order, learning my workflow from the teachers character. As the teacher had drawn a sketch of her character, so did I. I settled for a Gnoll, as I have always liked them.


![TerrainFest 2024 Begins! Build Terrain With OnTableTop & Win A £300 Prize! [Extended!]](https://images.beastsofwar.com/2024/10/TerrainFEST-2024-Social-Media-Post-Square-225-127.jpg)


