Space Hulk, Blowing off the dust
Recommendations: 117
About the Project
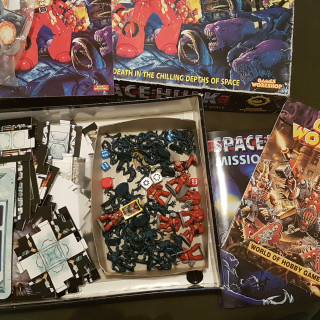
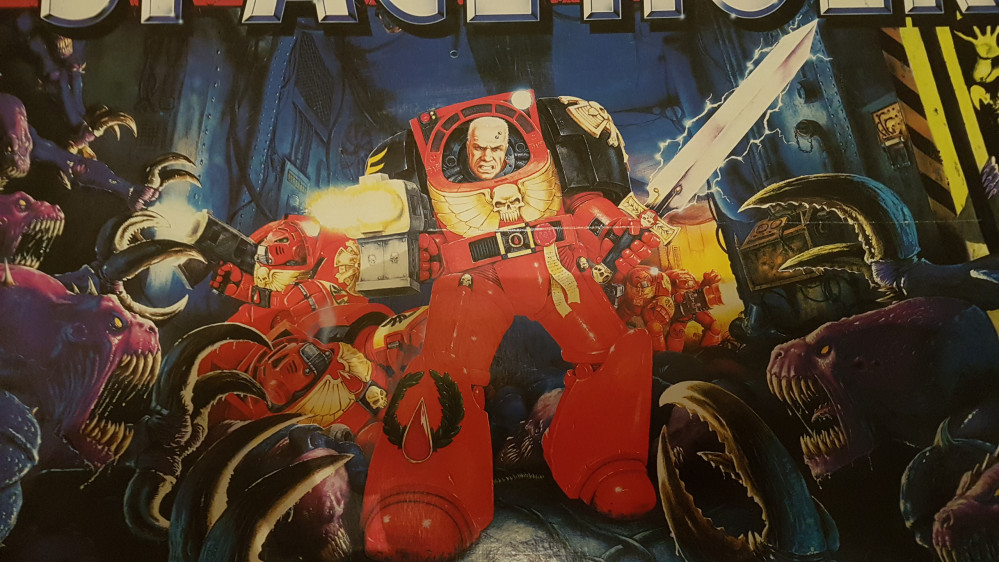
So when the Space Hulk Tactics competition was anounced I decided to dig out my old second edition and see if I had a project. Turns out I had barely scratched the surface on my set. See way back in the day when I played Spacehulk with my mates, they all had their own copies, so my copy never got to see the light of play. So I have a nice simple painting project to put up which might not be as inspired as some other entries but it's a great game and worthy of getting finished especialy now I have a little motivator and a deadline to get stuff done. In terms of inspiration I do have a little idea brewing that I may try and tackle if time permits, if not then maybe after the comp is over with. Its a mod adding chaos terminators and some new map pieces that sees the Imperial Terminators trying to pry out some Blightlord Terminators whos presence has greatly deteriorated sections of the hulk and created nasty pitfalls and sharp rusty obstacles.
Related Game: Space Hulk
Related Company: Games Workshop
Related Genre: Science Fiction
This Project is Completed
Blowin' of the dust
Enyone experienced time travel before? I dare you to open the games workshop catalogue.
No longer h..armless. Mostly
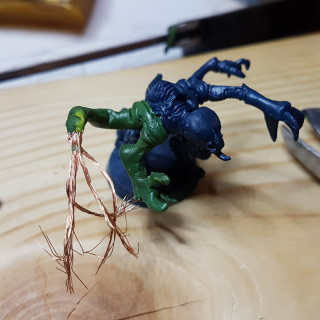
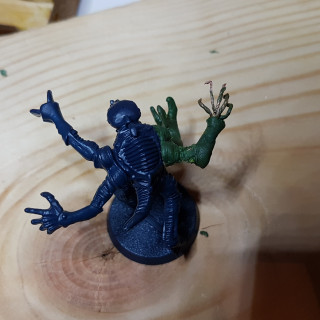
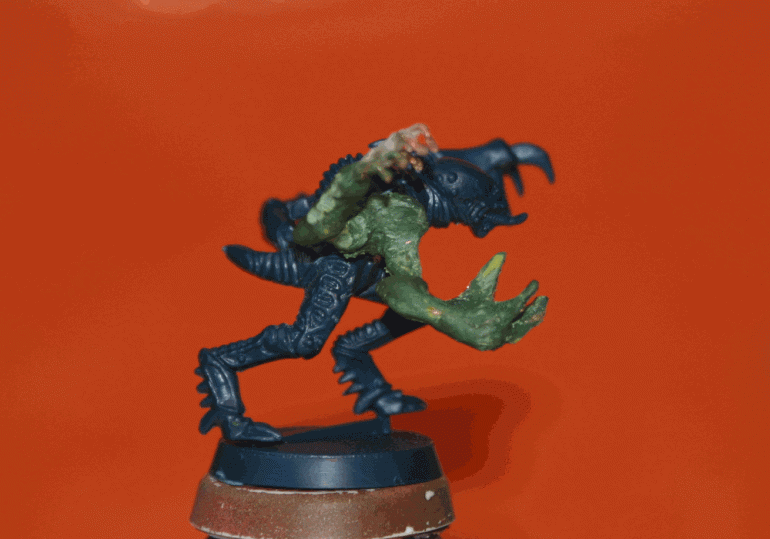
So I sat down with my young son and assembled the Geanstealers and it turns out there is price to pay for waiting 2 decades to finish this project. A pair of arms is missing.
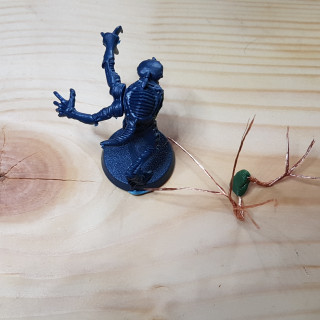
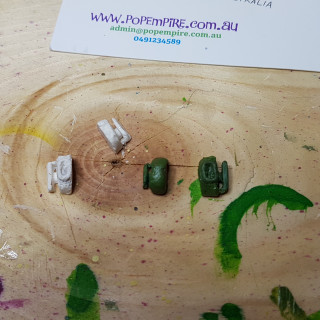
So, first time for everything, I take a shot at making my own.
After stripping a bit of electrical wire I rough in a skeletal shape and cover with green stuff. The green stuff is difficult to work when tacky so I wait a little for it to firm up before finessing the shape and finishing the hand with a bit of tissue soaked in PVA and a few beads of super glue gel for the knuckles. A few hours later , once the green stuff has set hard I take to it with a rotary tool for final shaping.
Though I’m generally happy with the result I think next time I try something like this I might look for something a little more forgiving than green stuff.
Infecting the infection
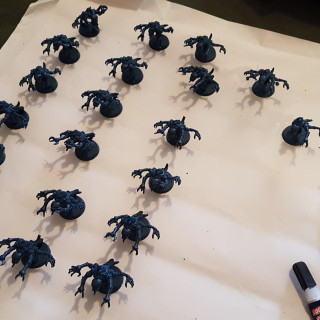
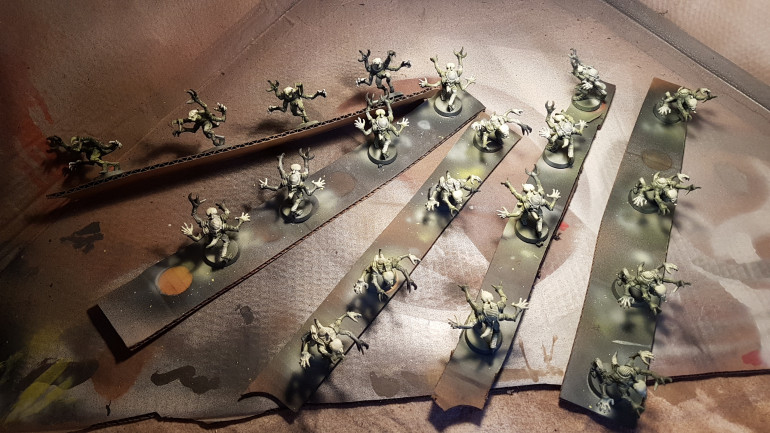
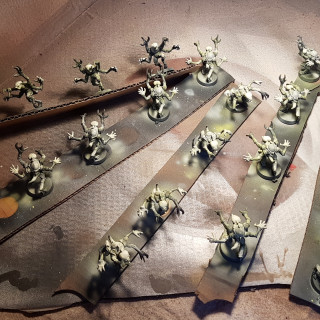
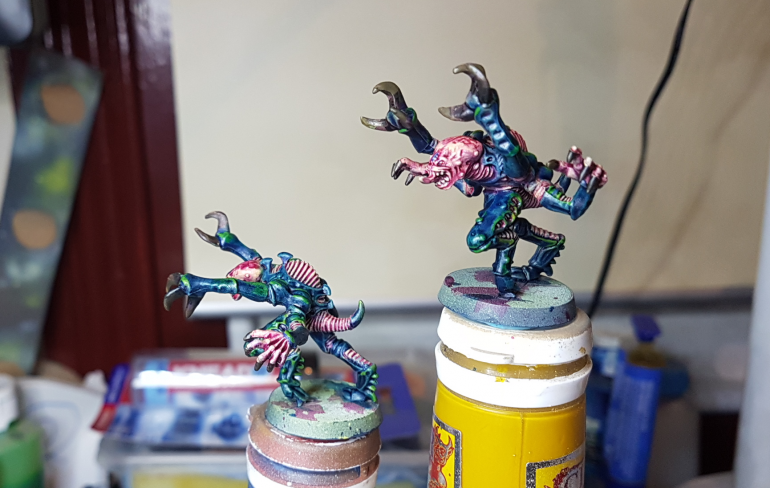
A quick preshade while under coating with slightly yellow green tinge. Though I plan on the fairly traditional purple & blue colour scheme I do want them to tie in with the Blightlord mod if I get that far.
Genetic experiments
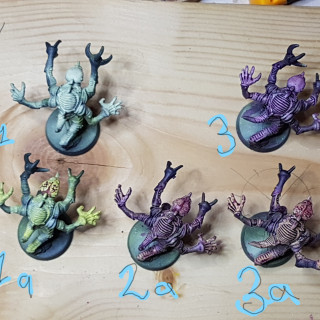
So after the base coat I’ve done a little test to determine exactly how I’m going to tackle the next step. I don’t want to screw them all up making the same mistakes.
1. Is a raw base coat
1a. Has a little pale yellow 3/4 dry brushed onto fleshy areas
2a. Is 1a with a wash, 1 part magenta ink, 1 part matt medium 1 part flow improver
and 1 part Vallego blue wash.
3. Is 1 with with the wash from 2a with 1/2 water
3a. Is 1a with diluted purple wash as above. (and new arms)
For now 3a is closest to moving in right direction for me.
Mwahahah
It so cool keeping to track of progress with these project blogs
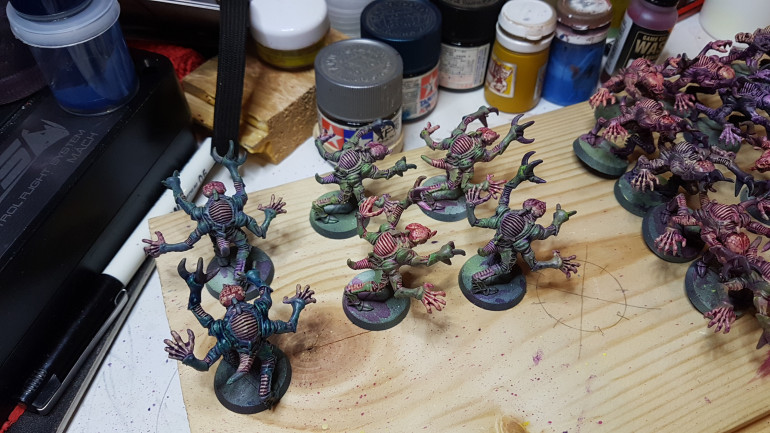
Still experimenting. Focusing on the carapace with a pale green drybrush followed by a semi opaque blue glaze, the guy on the bottom left also has another coat of lightly dry brushed pale green followed by a navy blue wash.
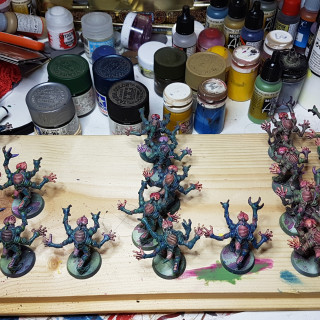
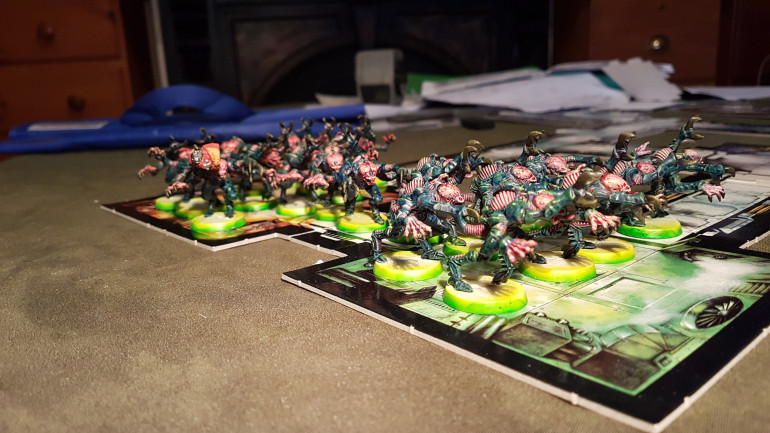
Geanstealer factory
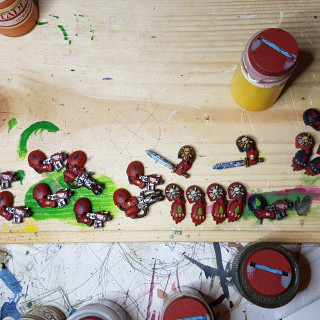
Each row is a different step in the process and this just the base carapace, there will be similar lineups for detailing the fleshy purple areas, the claws and a few other highlights.
Batch Painting does not equal speed painting.
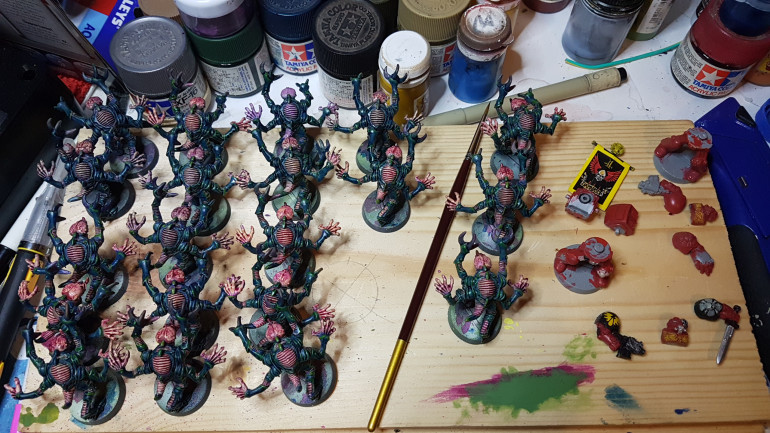
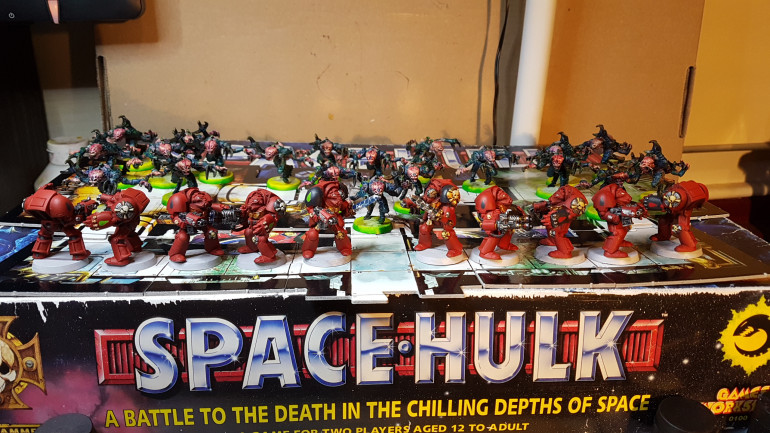
Exoskeletons are almost done, then to touch ups, and claws and figuring out what to do with the 10 terminators. I want to bring the terminators up a little closer to the current sizing but with out being too destructive or preventing them from being recognisable as 2nd edition Spacehulk . Hopefully my next update will shed some light on what I’m thinking.
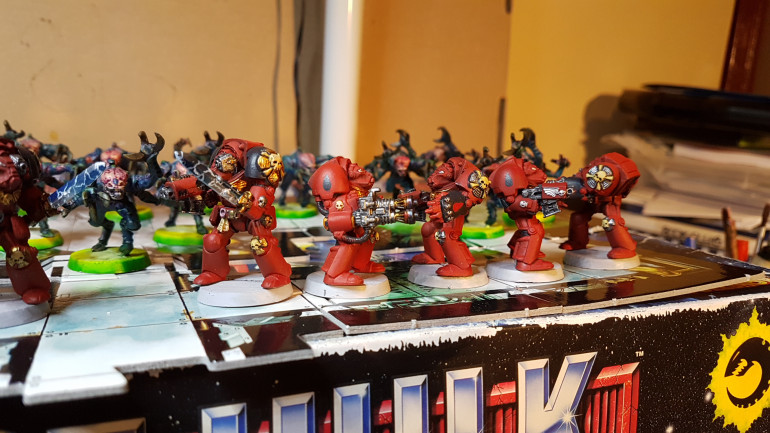
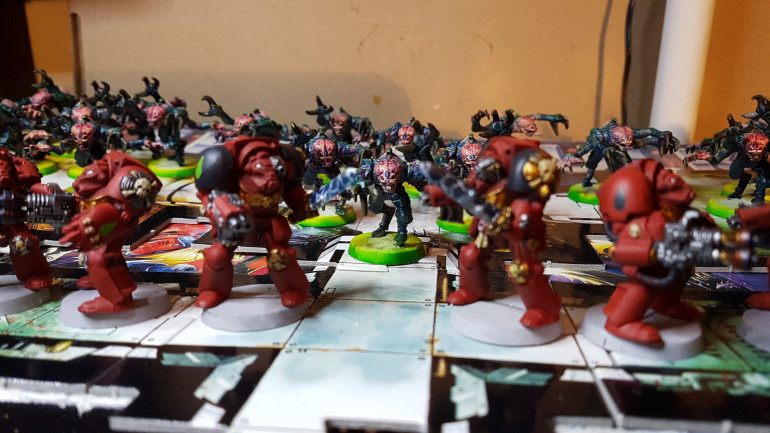
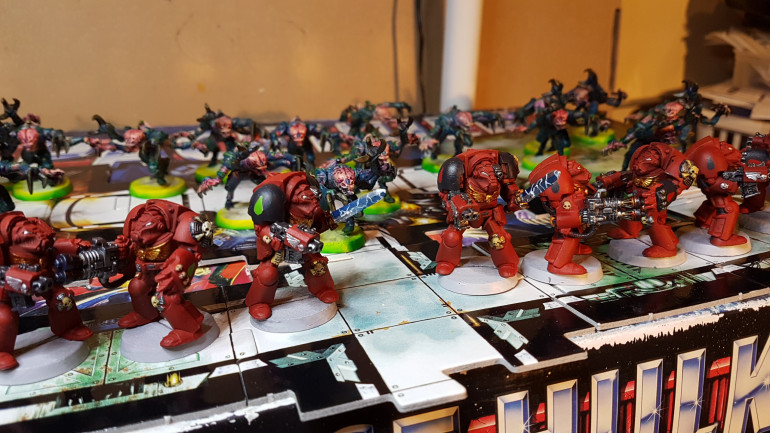
Geanstealers done
Blipish bases to give some contrast to the minis yet flow with the board.
Very happy to be done with these ugly, detailed, fiddly, repetitive, horrible beasts.
Doin' the twist
So I want my terminators to grow. Inch forward a generation, but not permanently damage my out of print, torso twisting terminators, and that goes for all 10 of them.
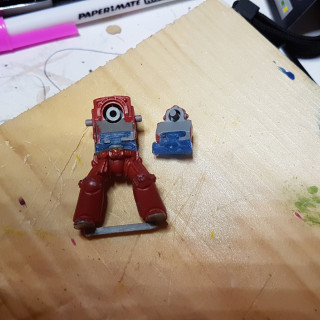
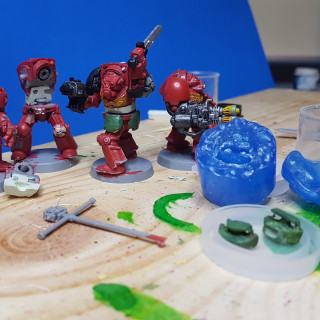
So after quite a bit of trial and error and a little bit of me going round the bend I seem to have a solution. By creating a rough out of thermo plastic ‘Blue Stuff’ I’ve been able to recast in green stuff and start working up a finished torso. I have also a plan B using crayola model magic.
The Model Magic was quite easy to form, doesn’t stick to the base plastic but takes days to set and I suspect may be too weak for the next step, we’ll see. In the time it took the Model Magic to set (2-3 days) I managed to create the green stuff blank but the remoulding and subsequent remodelling actually took more hands on time.
Also it did require a little damage, I have actually added a little notch within to take some of the torque when twisting. The examples below still function as they should.
My next step is to cast these again in a mix of green stuff and a more standard epoxy to get a material I can file and sand a bit easier for final shaping. Then I’ll take another cast to create 10 consistent torsos.
Gettin stuck in sticky stuff
Ok so at this point 4 days probably wont see my Spacehulk entry complete (Just lost a weekend to a family reunion in honour of mums birthday so I’m Ok with this). If I had focused on painting alone I probably would have made it, but hey, I went all in and decided to teach myself something new. I had never touched blue stuff and done very little with the ‘stuffs’ in general before starting this project, and may not have done so if it wasn’t for an earlier comment by @bombkangaroo, in this very blog. I have to say its been an eye opener to both the possibilities and the difficulties of sculpting at this scale and I now have an even higher regard for those that can produce the beautiful minis which we often take for-granted.
1 thing I would like to share about my findings is that when casting small delicate pieces it pays to encase your piece with plenty of blue stuff and also to use some sort of vessel to contain it. A small container will up the pressure you can apply and help capture detail, and reduce spreading and warping, improving accuracy
As for pic above. Well at this stage only the 2 sergeants will get the generational upgrade as I do want to give myself some chance of showing off some painting before the end of week. I will at least have the moulds and blanks to upgrade the others later if I want.
Painting
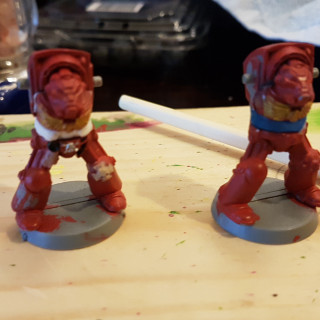
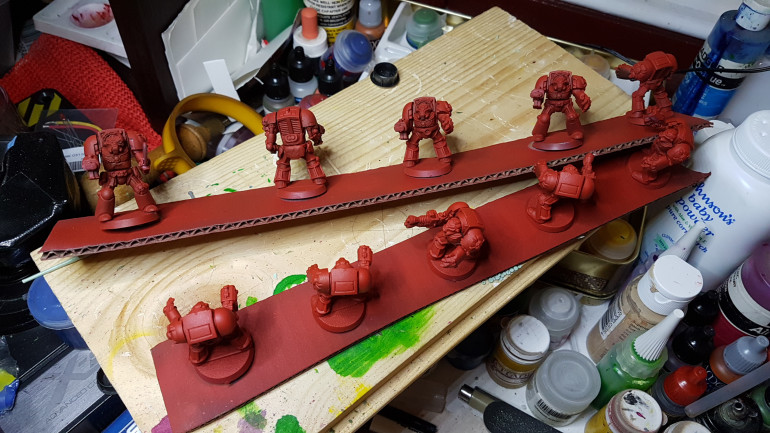
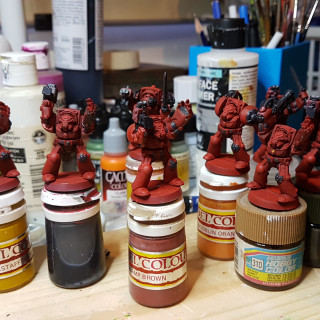
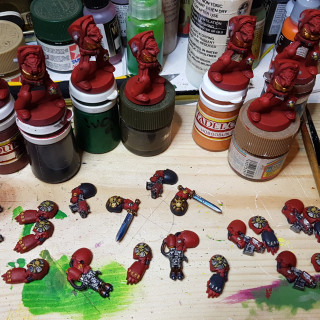
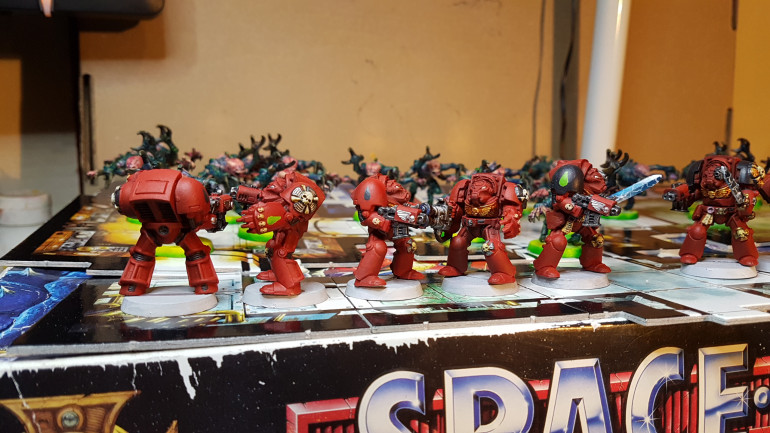
Finally got myself unstuck from the epoxy and laid down the base red starting with Mephiston Red with a little black and moving through about 6 steps to Evil Suns Scarlet with a bit of Wild Rider Red.
Not particularly happy with the green stuffing at this point. Could be smoother, and my sergeants look a little too upright. On the flip side I’ve learnt heaps during the processes and if I get sick of looking at them I can undo the modification so I’m going to press forward and see how much painting I can do before the close of the comp.
Your money or your life!
Eeek! Dont know any other way to meet this deadline but to throw out some of my more ambitious ideas and resort to batch painting methods.
Party like its Garrrrgh!
Dont tell anyone but I still have to touch up the bases and do a bit of pin washing but my mums coming to stay with me later this week and I have too much house work to do so you all be quiet and maybe they wont notice and I’ll win something.





![TerrainFest 2024! Build Terrain With OnTableTop & Win A £300 Prize [Extended!]](https://images.beastsofwar.com/2024/10/TerrainFEST-2024-Social-Media-Post-Square-225-127.jpg)


