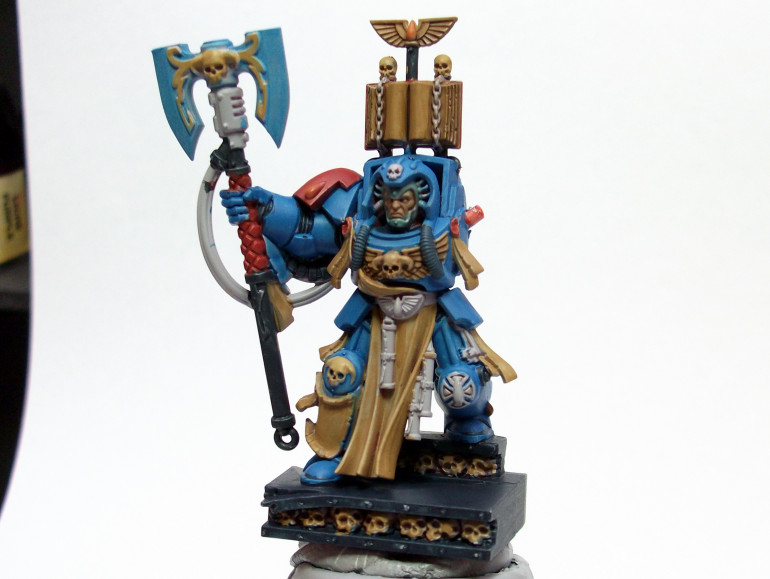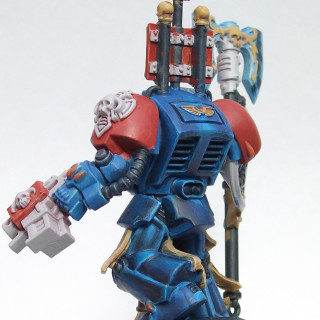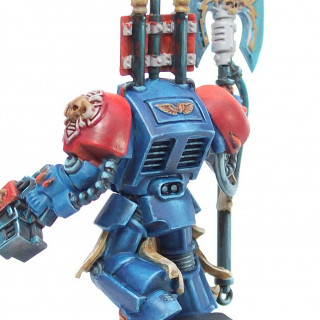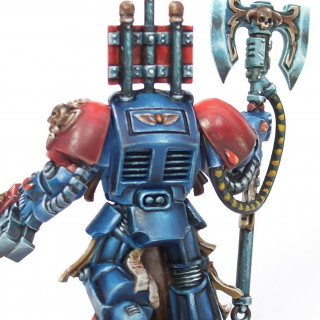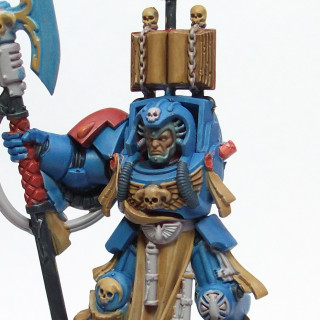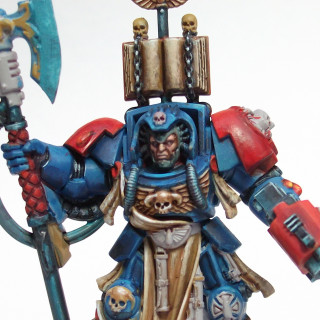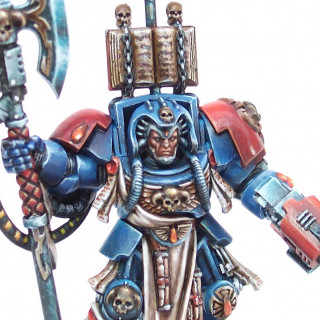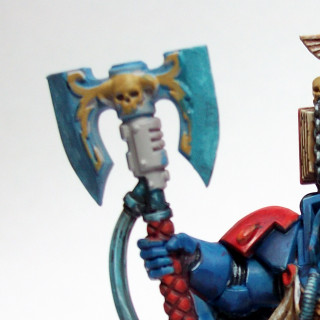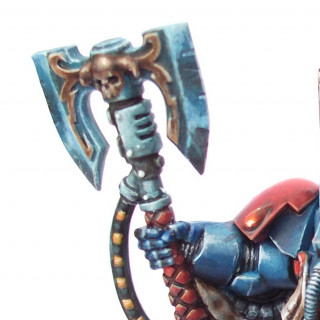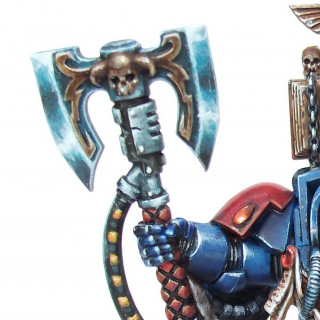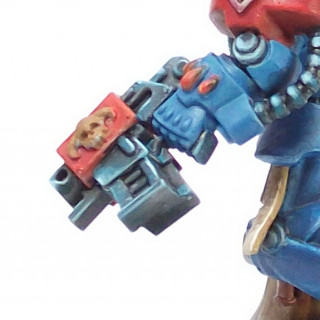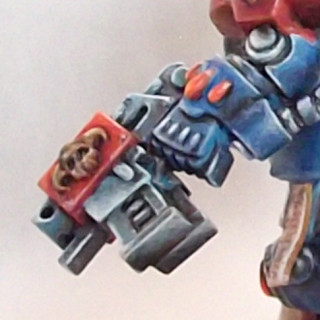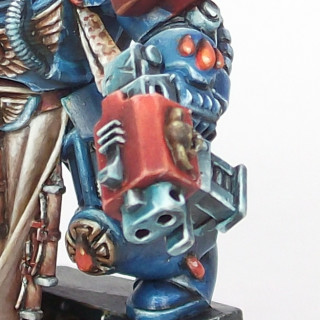
Painting Brother Calistarius
Recommendations: 6
About the Project
When hobby time is scarse and finishing all the stuff you have to do is a struggle, every excuse is a great excuse to get things done. Hearing about the Space Hulk Tactics Hobby Challenge in the Weekender sounded like the perfect time to dig my (still!) untouched copy of Space Hulk and get going. This project will be sort of a blog of how I manage (or most likely fail miserably) to paint its contents, starting with Brother Calistarius. My basic objective is to complete this miniature during the period established for the challenge, but I will most likelly extend the project to include all the miniatures. Hope you all enjoy!
Related Game: Space Hulk
Related Company: Games Workshop
Related Genre: Science Fiction
This Project is Active
Painting Brother Calistarius - part 1
In this blog you can follow my project to paint the contents of Space Hulk, starting with Brother Calistarius. I bought the game years ago but, while I love the miniatures, I never really painted any of them. The Space Hulk Tactics Hobby Challenge sounded like the perfect excuse to stop being lazy and get my hands dirty… quite literally more often than not, when I paint.
While this space will be more of a blog than a proper tutorial, I will try to list any materials and paints that are used. Also, feel free to jump in the comments with any questions and sugestions. They are more than welcome.
Finally, english is not my first language, so I apologize in advance for any less than proper use of it. I’m sure you all understand.
Starting out...
The miniatures come is sprues, so the first thing to do is to clip them off carefully and assemble them. They work pretty well even without glue, but I do glue mine. I left one of the arms separate, though, to make the inicial painting easier. All the parts were checked for mould lines and flash but I must give credit to Games-Workshop. Other than the connections to the sprue, the miniatures are near perfect!
As I usually do, I primed the miniature with Vallejo spray primar. I like to use grey. A couple of light coats were applied, making sure to cover all the red plastic, and the miniature was left for a few hours to dry completely. Weather is still quite nice around here, so it doesnt take too long. Still, I usually leave it overnight.
Sometimes I paint miniatures part by part, but latelly I tend to paint all the parts sort of at the same time. I basecoated all the big areas right from start, to get rid of the light grey from the primar.
Armour
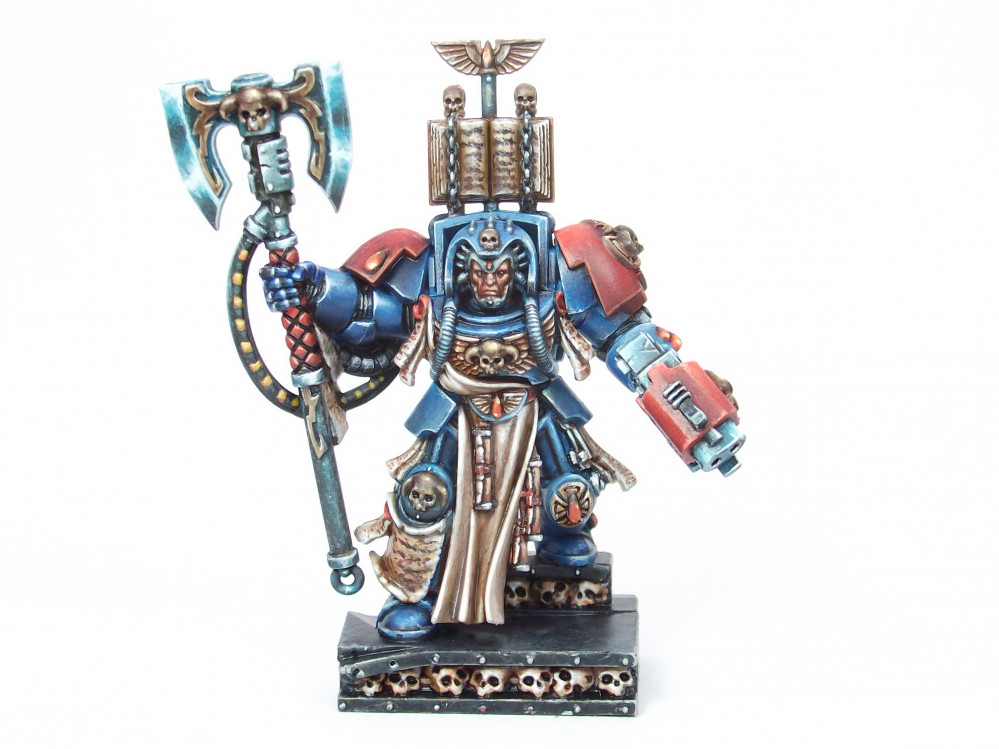
For the Librarian, the armour is quite different from the rest of the squad, as they use dark blue.
The paints used for the blue armour were:
- Citadel Base Kantor Blue;
- Vallejo Model Air Light Sea Blue;
- Citadel Layer White Scar;
- Liquitex Ink Carbon Black;
- Citadel Glaze Guilliman Blue.
The basecoat was done with a mix of Kantor Blue and Light Sea Blue, in a couple thin layers. The lights were then roughly placed with Light Sea Blue on its own, and the shadows with a watered downs mix of Kantor Blue and the Black Ink, without worrying too much with blending, as this can be improved in the next steps.
To push the lights a bit more, Light Sea Blue was added to the mix, also adding White Scar in areas where the light would be more intense. The same was done for the shadows, but adding more Black Ink.
To unify it all, a few glazes of watered down Guilliman Blue were done over all the blue areas.
All these steps were repeated a few times until I was happy with the results, paying particular atention to both lining (with the darker mix) and edging with the lighter mix), in the later stages.
The same process was used for the shoulder pads, the difference being, obviously, the colours.
The paints used for the red shoulder pads were:
- Citadel Foundation Mechrite Red;
- Citadel Blood Red;
- Citadel Layer Wild Rider Red;
- Vallejo Game Air Elf Skintone;
- Liquitex Ink Pyrrole Red.
Cloth and Scrolls
For the scrolls and book pages, I started with a basecoat of White Scar mixed with some Calthan Brown. The texture was done by stippling over with the mix addig increasing amounts of white to it. Some thin washes of Agrax Earthshade helped blending it all. The inscriptions are just thin dark brown lines. Not completelly sold on how it turned out so I might visit this again later.
The cloth was done with the same mixtures, but in a more careful way, layer after layer.
For these areas, the colours used were:
- Citadel Foundation Calthan Brown;
- Citadel Layer White Scar;
- Citadel Wash Agrax Earthshade


