Wilco’s Claws in the Dark (Space Hulk Hobby Challenge)
Recommendations: 277
About the Project
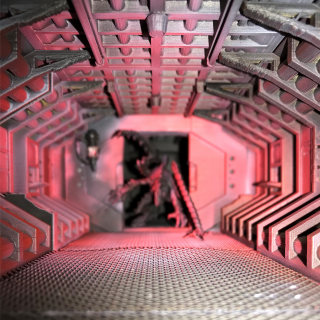
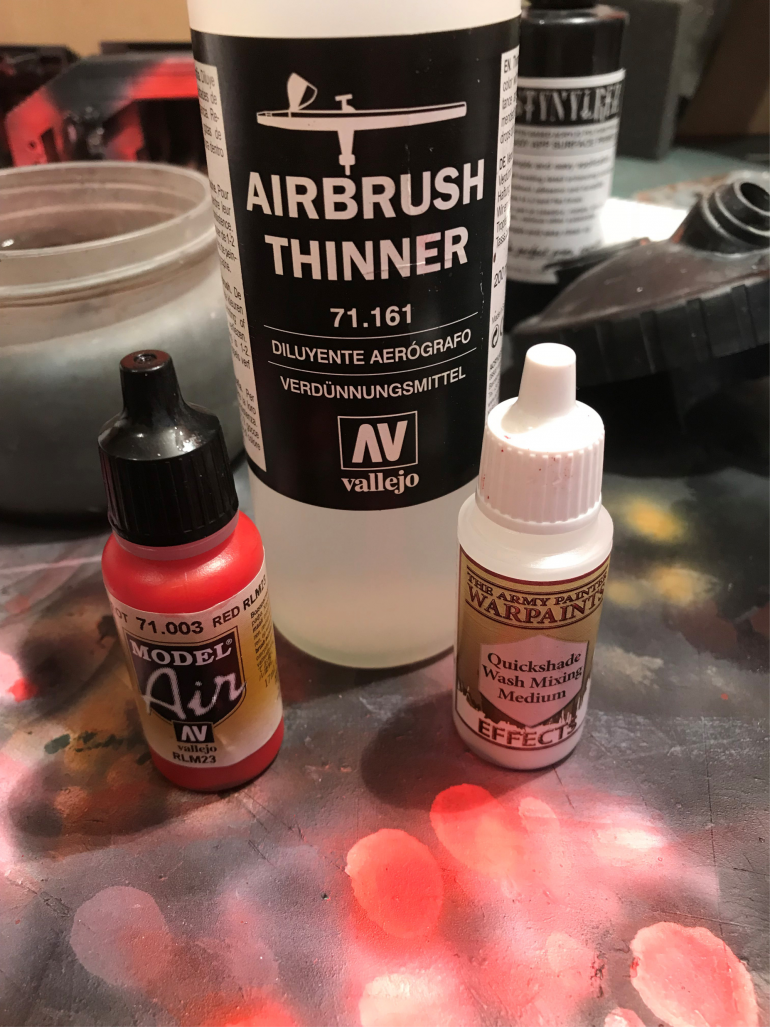
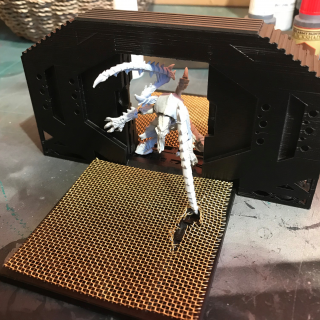
Another Hobby Challenge is here and what a good one it is. SPACE HULK!! so with only 6 weeks and not much money in my pocket I was strongly considering not having a go at this project but come on its space hulk I just cant so I want to make something simple. my plan at the start is to 3D print some corridors (I have been looking in to this as part of my AVP project)and have something in the dark that can only be patchily seen. I plan to use an air brush and washes to give the effect of lighting in the dark only showing part of the creature in the dark corridor. I may think about using real light sources as part of this but that is if I have time. at the moment my plan is to only use one to 3 minis. lets hope the project all goes well and in to the dark we go.
Related Game: Space Hulk
Related Company: Games Workshop
Related Genre: Science Fiction
This Project is Active
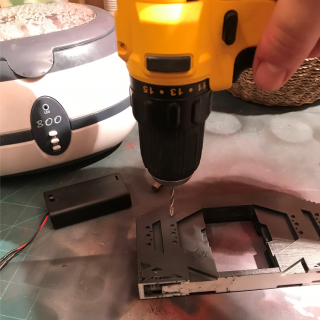
Testing The LED Lighting.
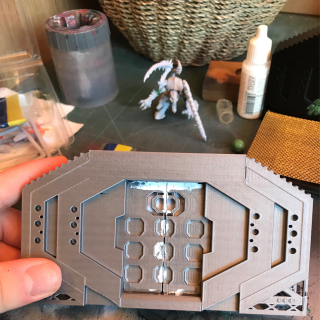
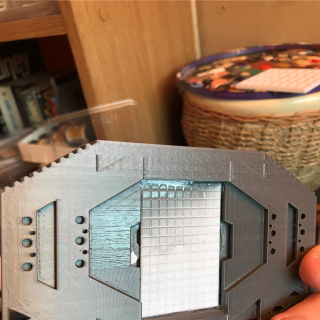
Time to test the LED light to see how the glow effect works.
Lets Light it up.
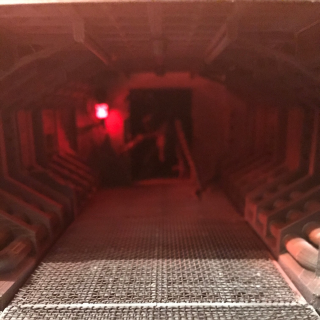
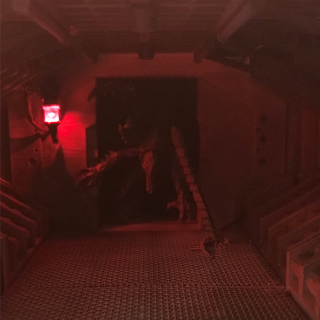
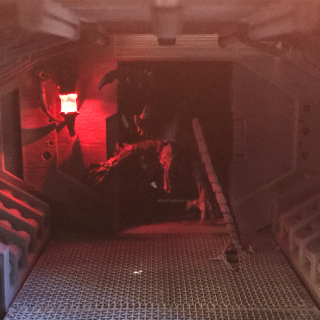
One of the main thing I wanted to do with this project was to have a lot of source lighting using airbrushing and possibly real lighting so I’ve decided to do both.
firstly I want to have a light on one side of the door so the light would only reflect of one side of the tyranid.
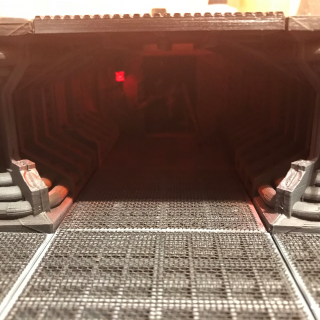
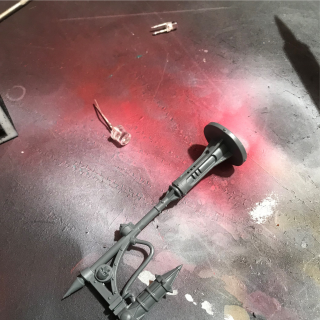
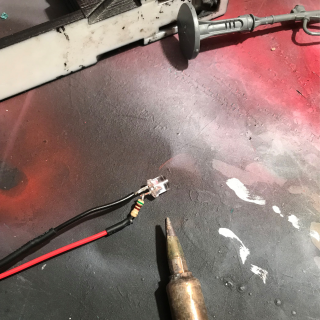
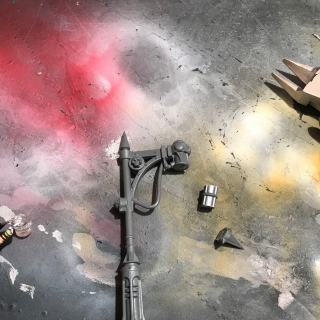
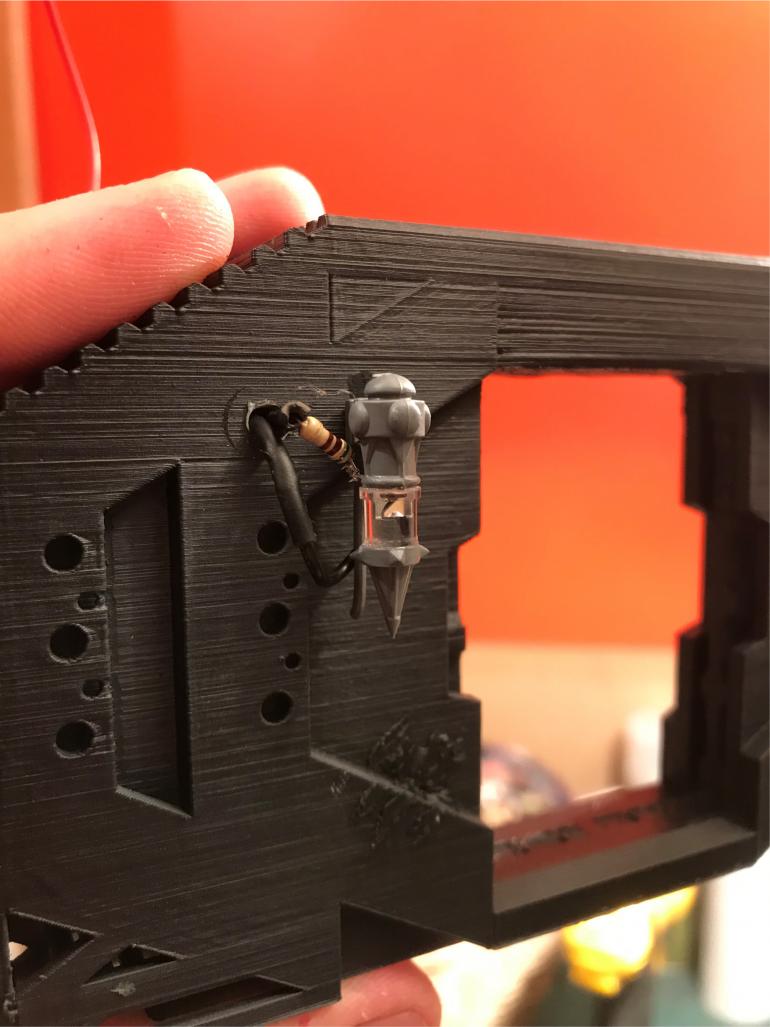
Using a flat end 6mm red LED and a City of Death lamppost I’ve been able to make a lamp to go on the wall beside the door.
Adding the Next Layer.
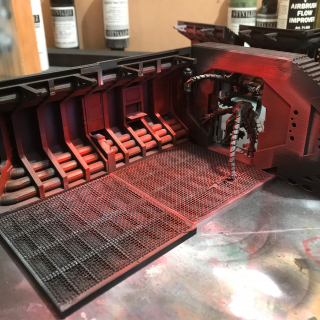
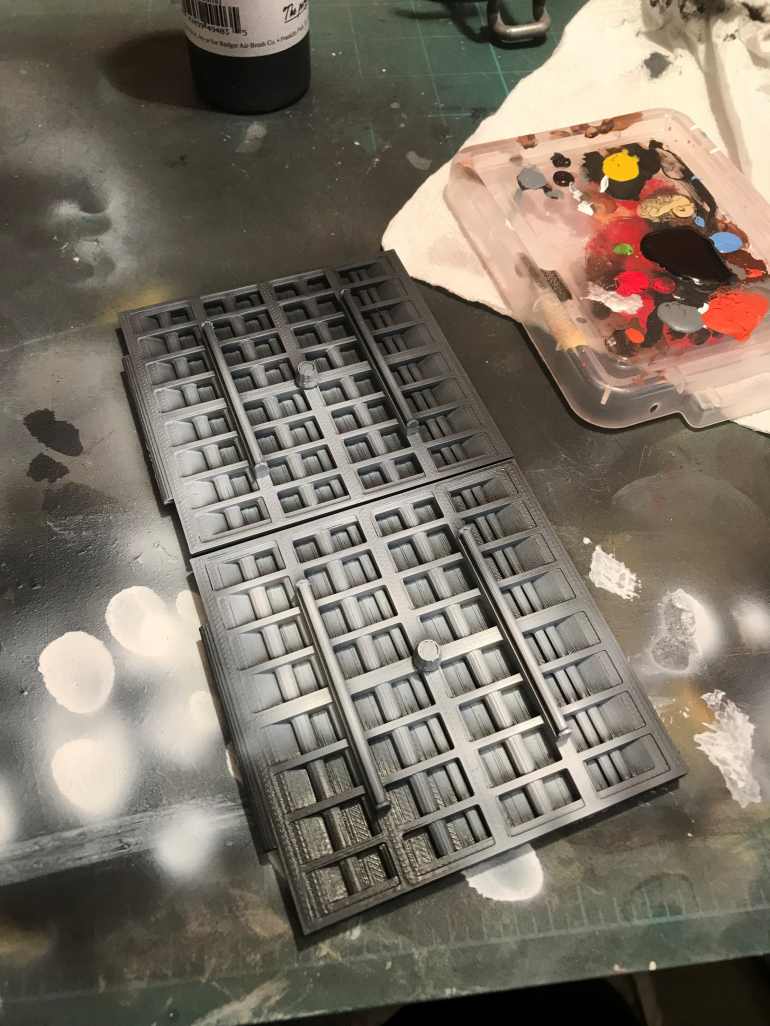
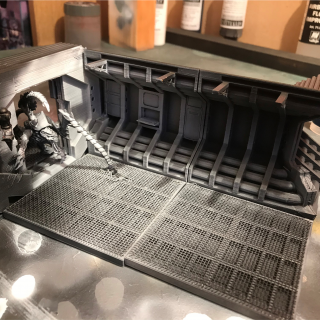
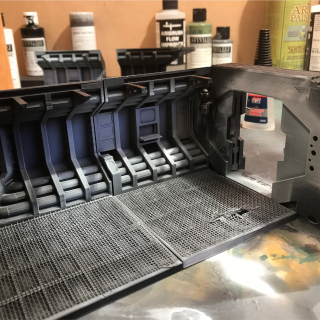
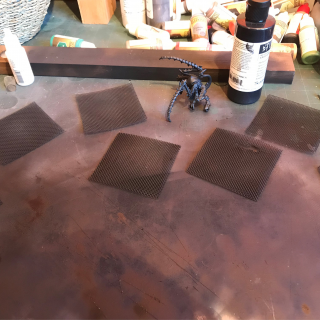
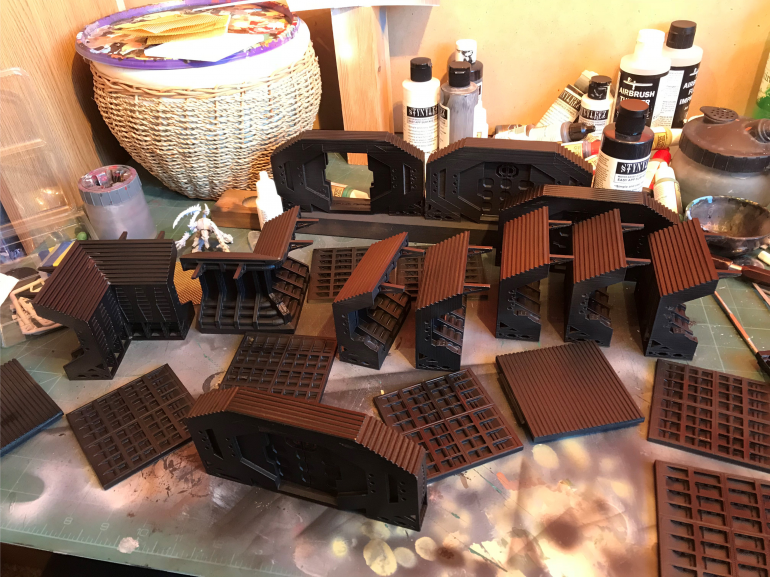
After finishing all the Black Primer I have done a very light dusting of grey using the airbrush to help give some of the details some definition but keeping the darkness I want.
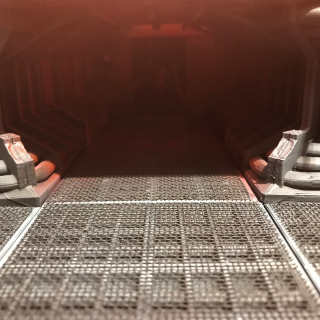
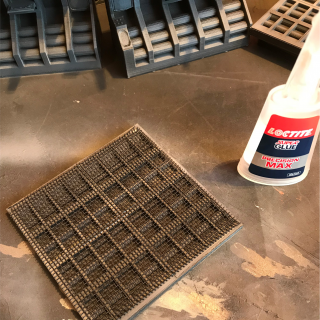
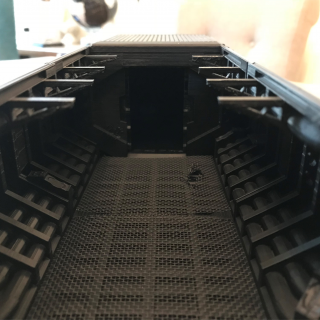
On the floors I wanted to make shore the details under the gridding were still visible once the mesh was put on top. I went abit stronger with the grey and highlighted some of the details so once the mesh is glued on you still have that depth.
So Far.
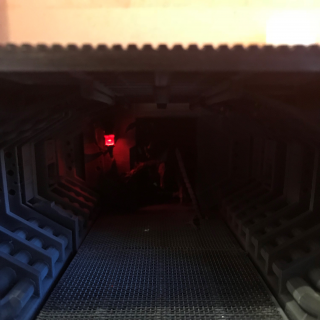
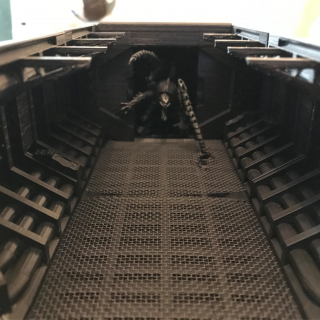
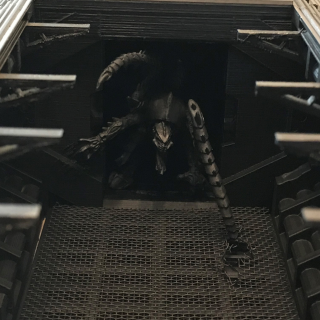
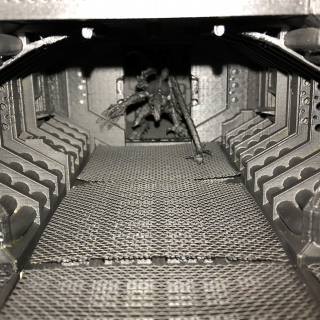
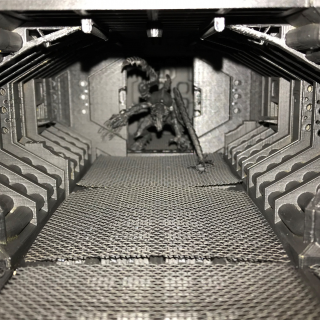
Can you see the Nid…
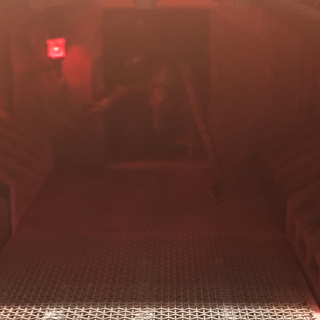
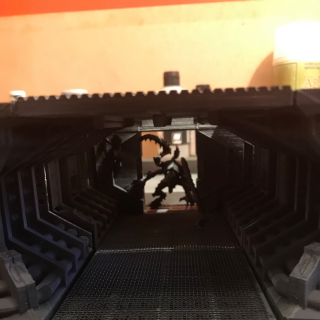
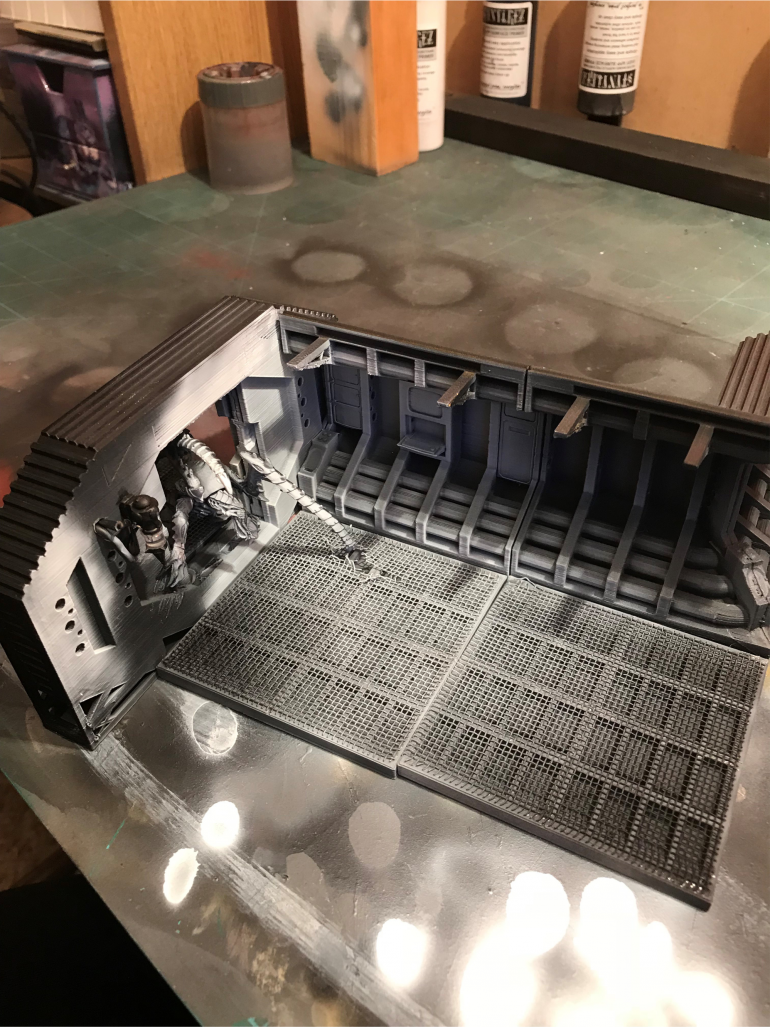
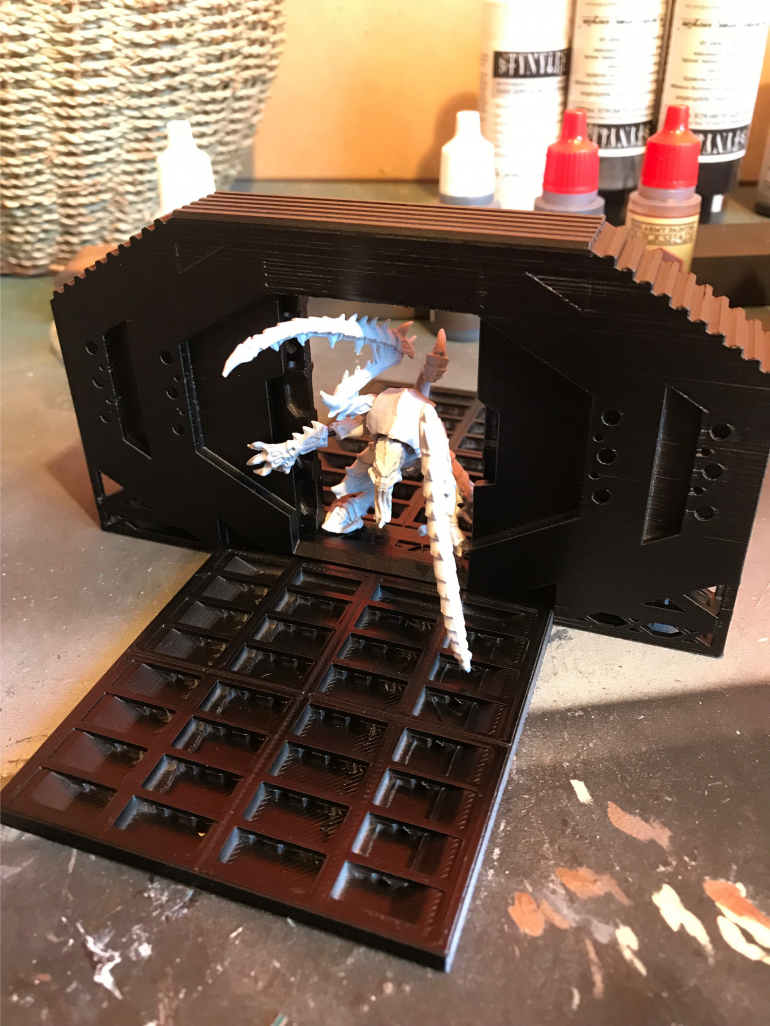
with everything matt black the effect I’m going for so good with the darkness behind the tyranid and it emerging in to the corridor.
If once all painted I get the same effect still ill be very Happy
Airbrushing the floors and Nid
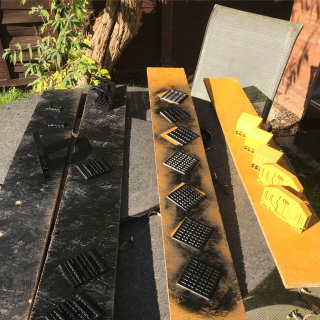
Decided to Airbrush the floors using a badger black primer as it sits better on a metal surface. whilst premiering I primed the tyranid in the same way.
Bulk Prim
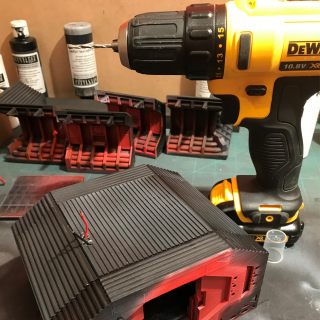
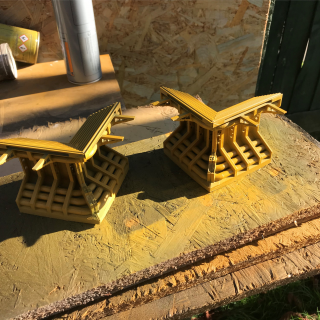
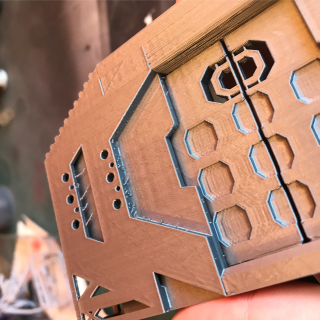
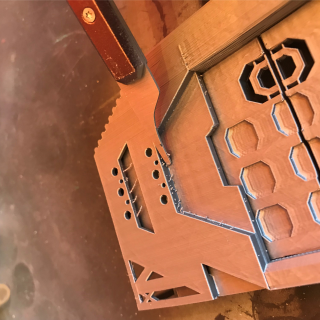
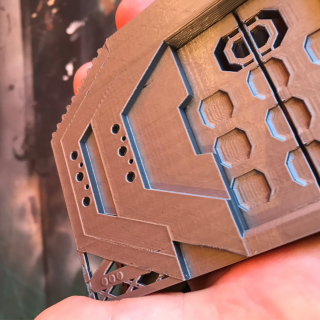
Taking all the parts outside to first Pre Prim with a Filler Primer to help remove some of the stepping on the 3D Prints. Then a Black Prim.
Black out... Door
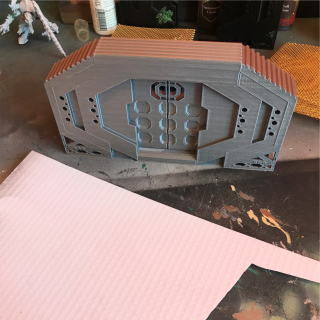
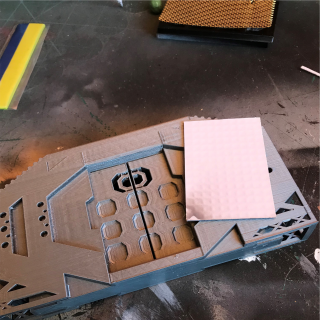
I needed to black out any way that light could get in to the room the Nid is in so it will make it seem like it is pitch black behind it.
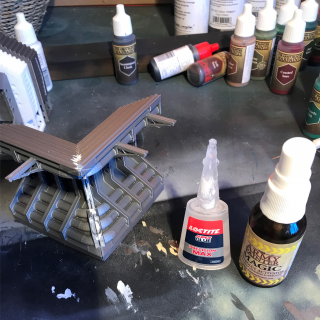
using Plastercard, supper glue and superglue activator I’m attempting to close any gapes light can penetrate.
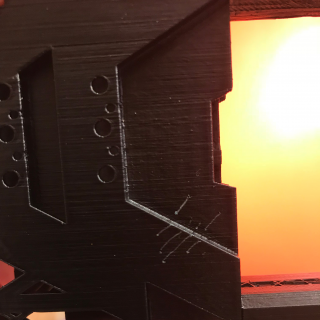
Scratching Claws
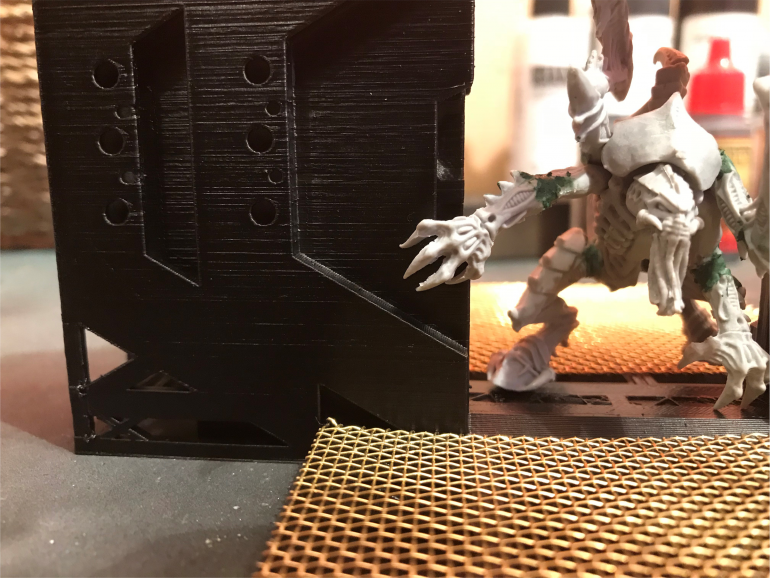
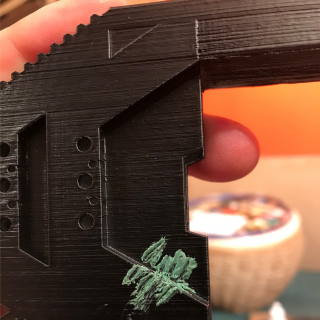
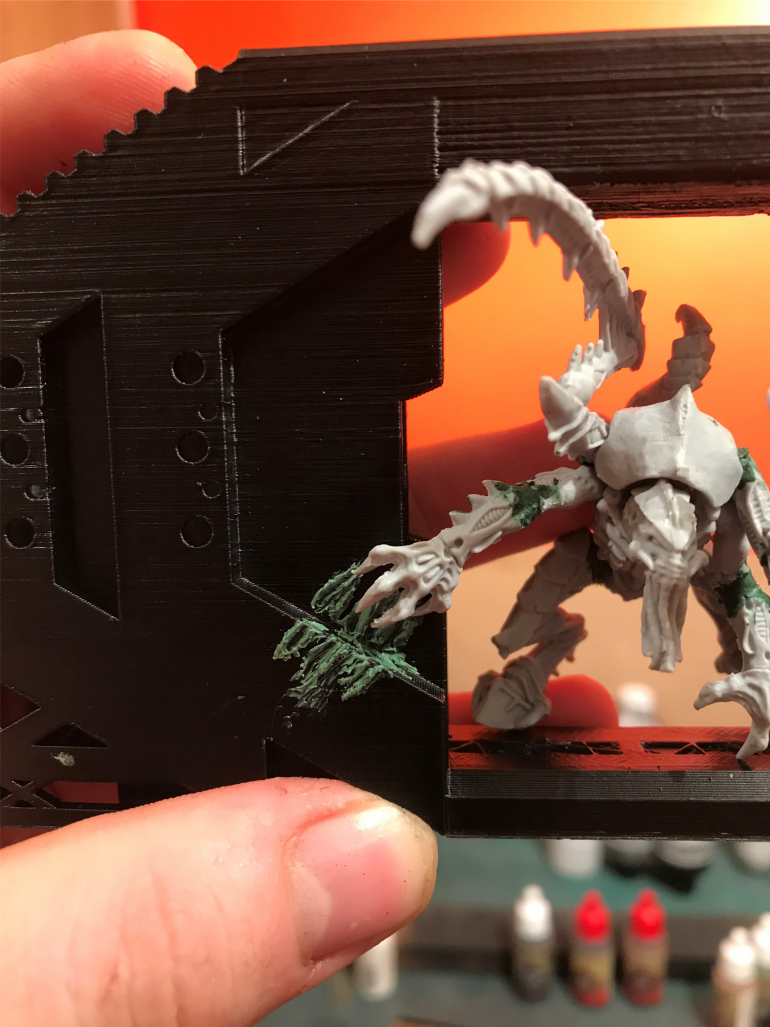
I wanted the claws to look like the had scratched and dug in to the wall as the arm comes out of the dark to grasp the door frame of the air lock.
Floor Work.
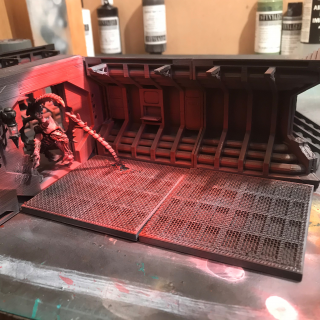
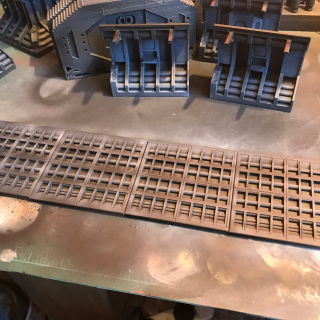
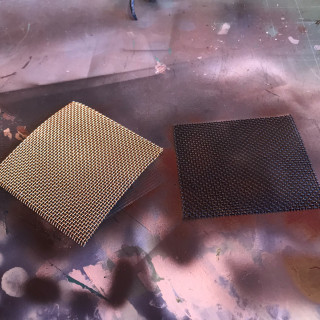
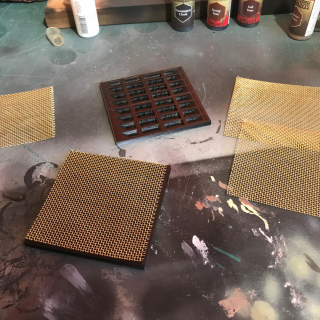
Got myself some fine brass mesh to go over the floor panels.
After cutting them in to shape I plan to detail below them then cover the floor tiles with the mesh.
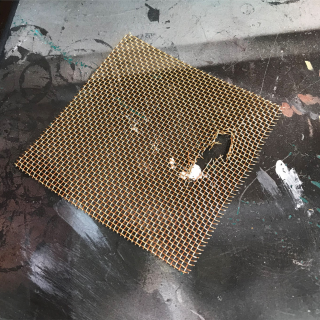
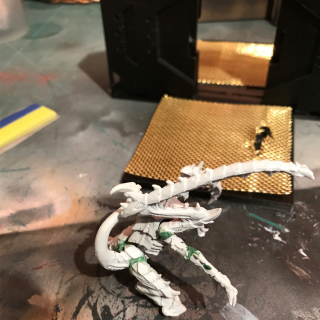
in addition I’ve cut up one tile so the talon of the tyranid looks like its pulled back the floor panel.
The Corners.
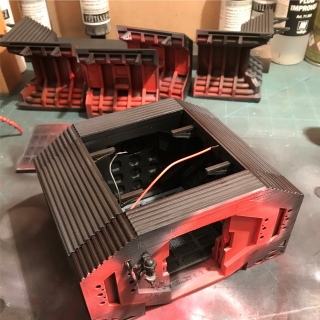
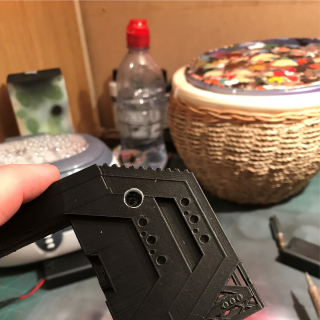
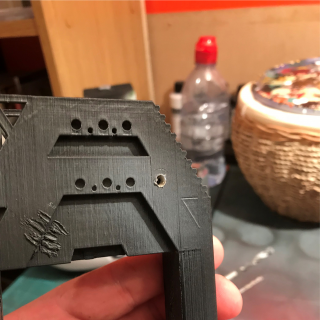
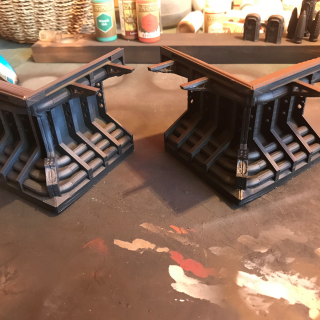
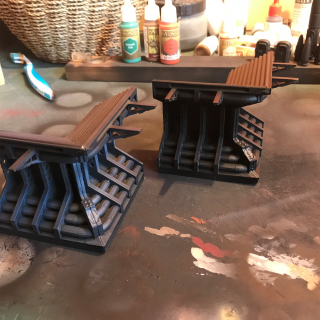
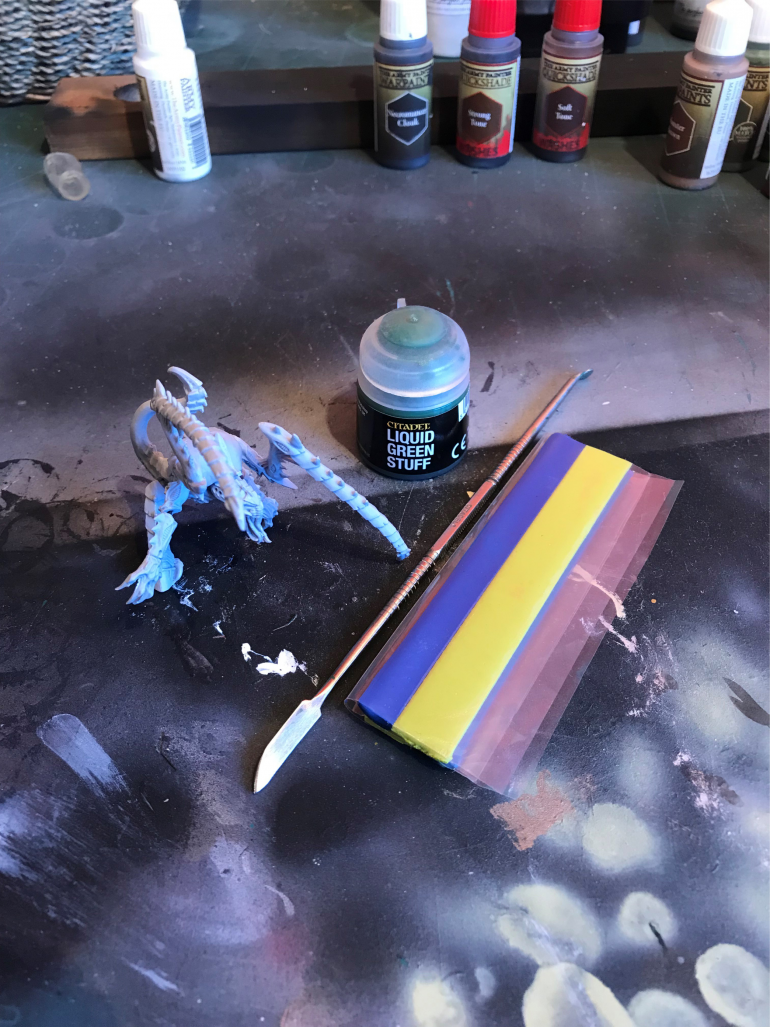
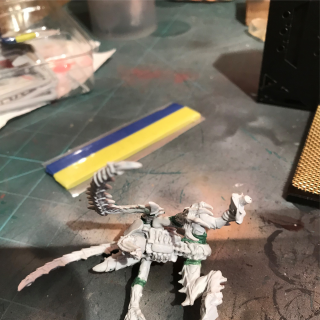
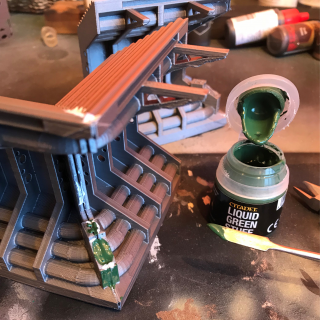
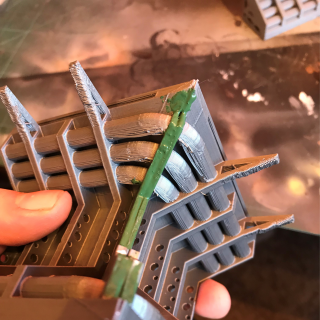
I wanted to glue the two corner parts together to make one solid part, this means it will look like a single part once filled with some green stuff.
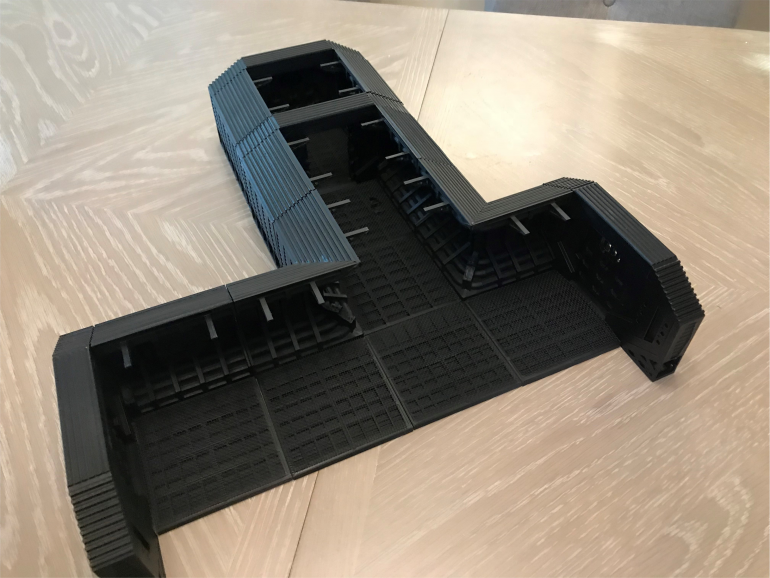
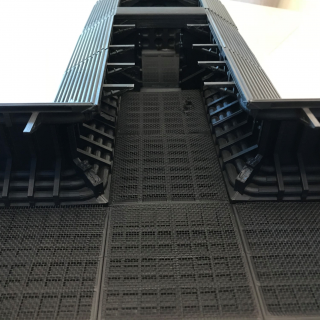
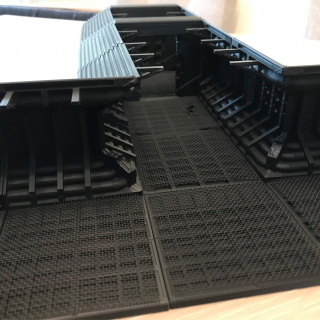
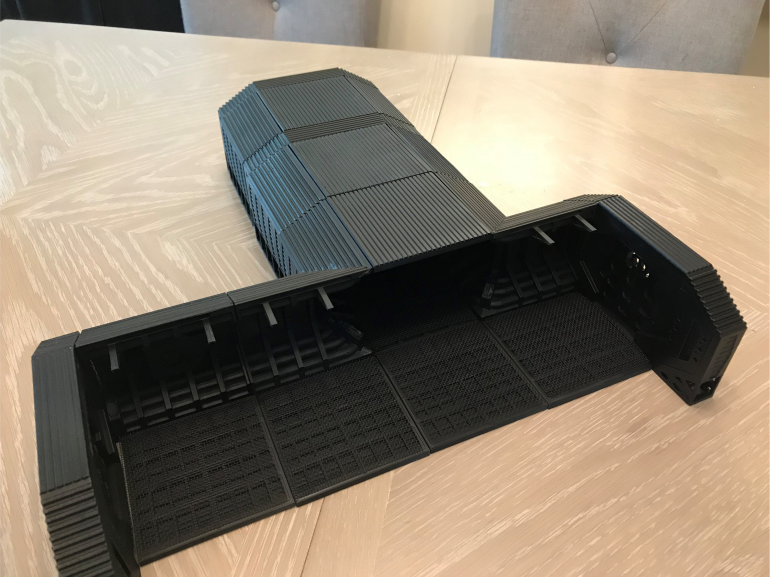
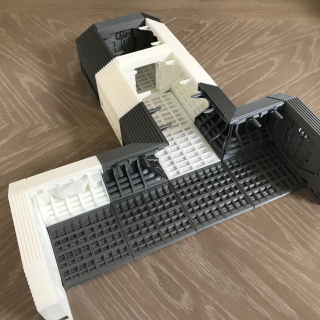
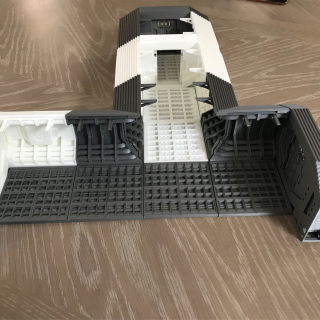
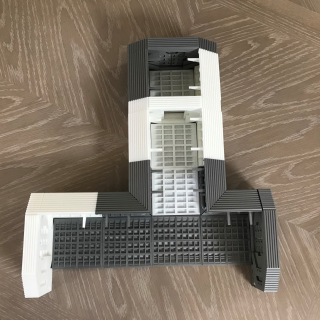
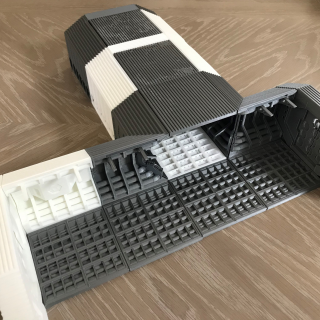
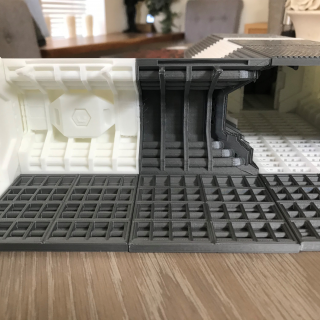
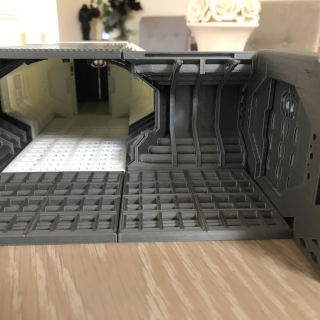
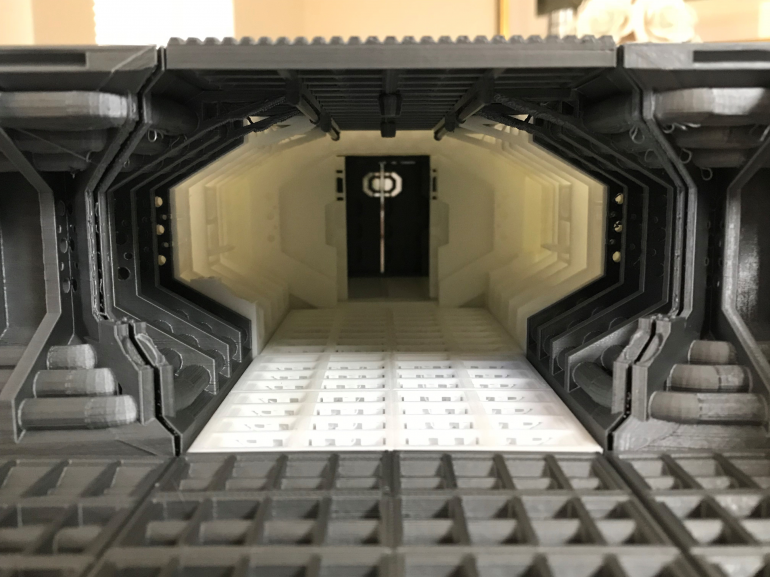
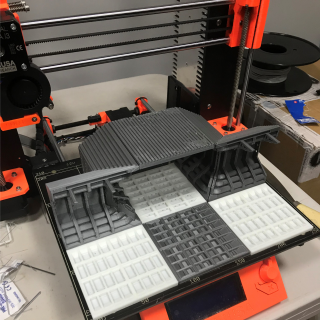
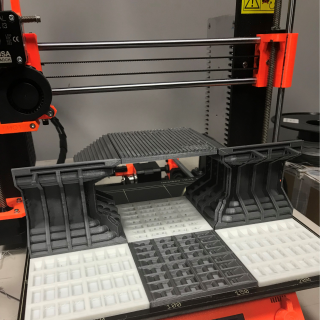
All Parts Printed.
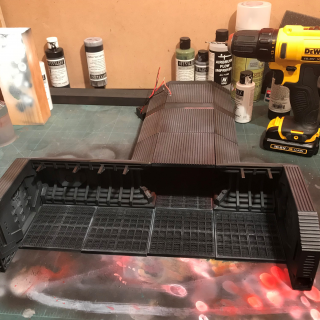
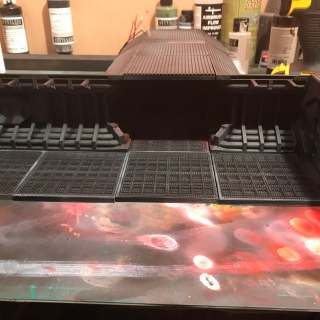
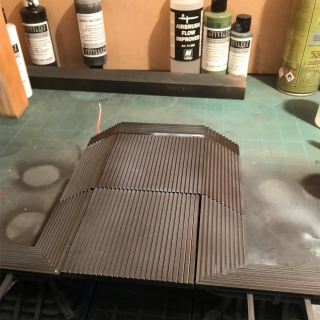
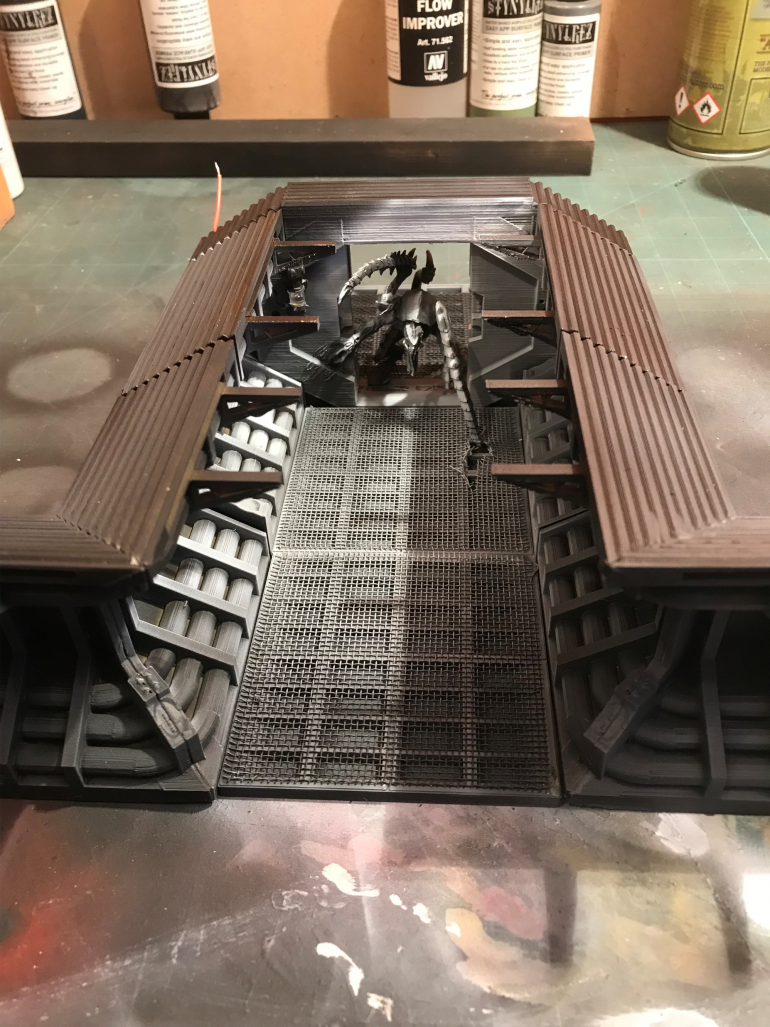
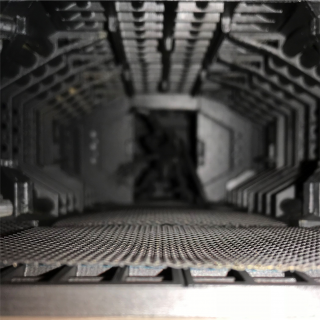
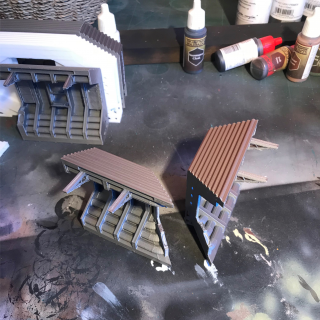
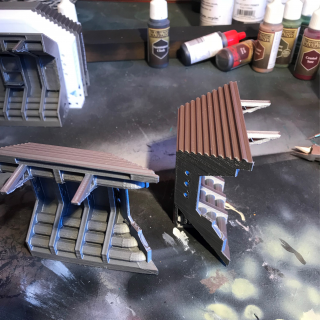
Images with the tops on to give the enclosed feel to the corridors, to make the final images for the project to be dark.


