Adeptus Titanicus – Warlord and Knights
Recommendations: 28
About the Project
Working through sub-assembly, painting and magnetizing of the new Adeptus Titanicus Warlord Titan model
Related Game: Adeptus Titanicus
Related Genre: Science Fiction
This Project is Active
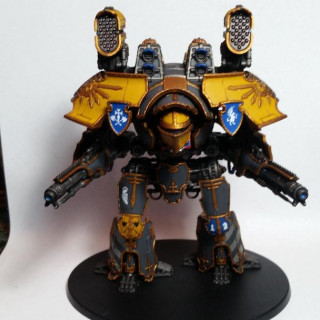
And now some War Griffons
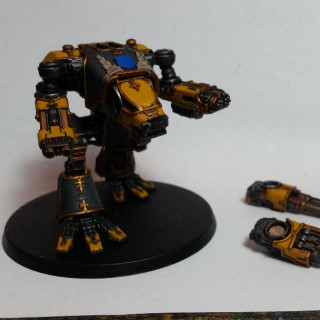
Nearing completion on a War Griffon Warlord and Warhound. They have a Reaver under construction as well that should be done soon.
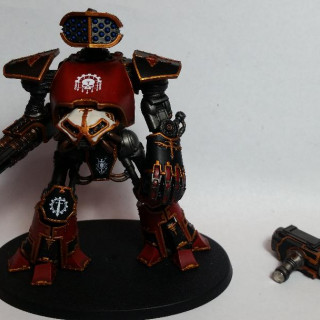
Legio Mortis Reaver
Added a Reaver to the Death Head legion. Weapons all magnetized for customizing load outs.
Putting it all together
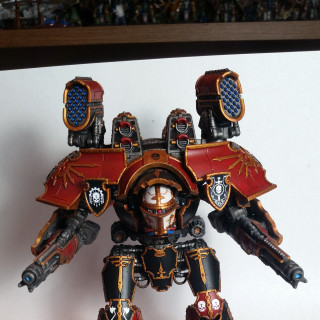
Added in some decals and completed steps to bring all the sub-assemblies together. Still need to finish the base and may also do some weathering and such. But for now, it’s essentially done.
Time to glue together the next Warlord and a Reaver.
Magnetizing the Weapons
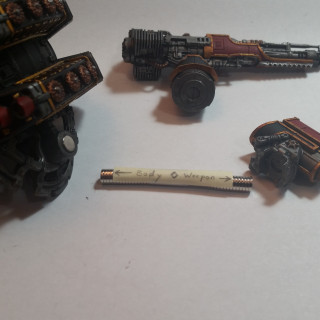
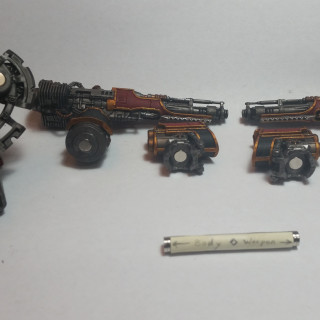
This stage involved super gluing 5mm x 1mm rare earth magnets into the sockets kindly sculpted into the model by the designer. The magnets were easily picked up online.
One thing to keep in mind here is making sure that the polarity of the magnets is consistent before gluing them in. I taped a note to my stack of magnets showing Body on one end and Weapon on the other. This way I could put some glue into the socket and then insert the appropriate end of my magnet stack into the socket and slide the stack off, leaving a magnet behind in the model. (learned this trick from someone on YouTube). This way all weapons can click onto any weapon mount on any of your titans.
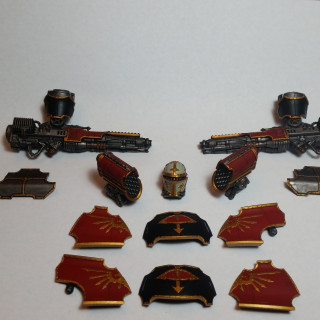
Blocking out the base colors
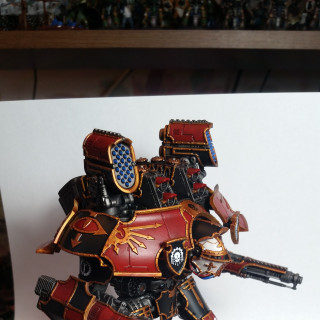
Having decided to go for a Legio Mortis color scheme, I used Abbadon Black and Mephiston Red for the armor panels and Retributor Armor for the gold trim (that took a bit of time there). All of this was then given a wash of Reikland Fleshshade which provided some shading on red areas and gave a tarnished look to the gold. Once done, I started attaching the armor plates to the legs and torso.
The head was based with Ionrach Skin, then layered with Flayed One Flesh and Pallid Witch Flesh.
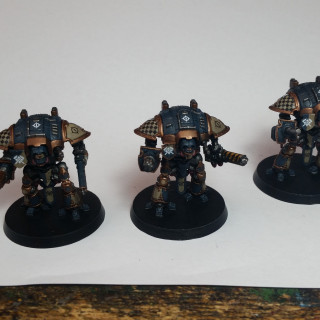
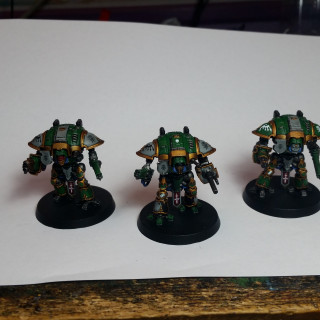
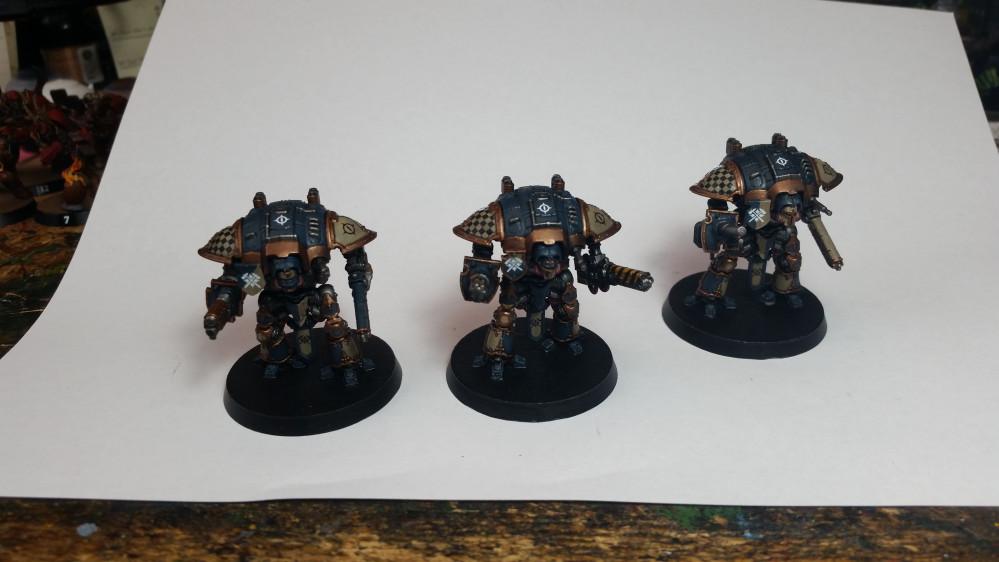
Quick look at completed Knight Banners
Here are the completed House Makabius and House Vyronii Knights. Didn’t capture any ‘in-progres’ pics for these. Basing still not done as I want to wait and do basing for all knights and titans at same time for consistency.
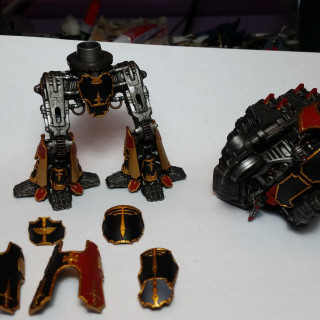
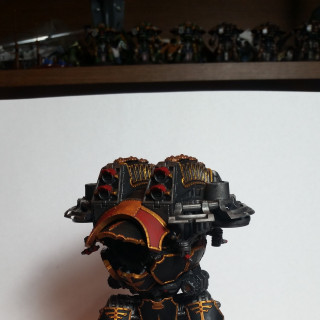
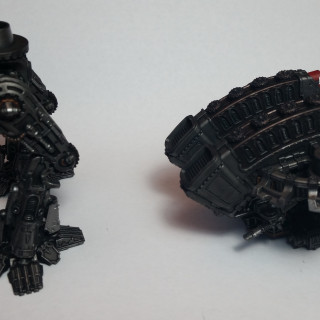
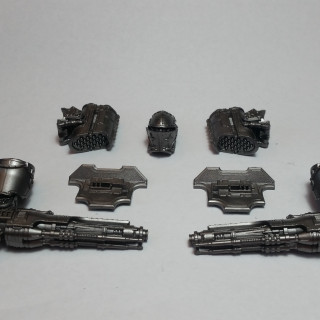
Initial sub-assembly for the Warlord Titan
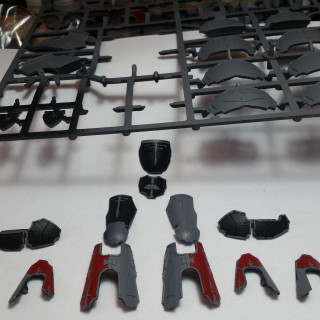
The following 3 pictures show the main sub-assemblies. Broken down into the legs, torso, head, weapons and armor plates (mostly left on sprue for initial primer coats).
Sub assemblies were primer painted black, then Leadbelcher, followed by an overall wash of Nuln Oil. Front surface of the armor panels were then hit with grey primer before starting with base colors.


