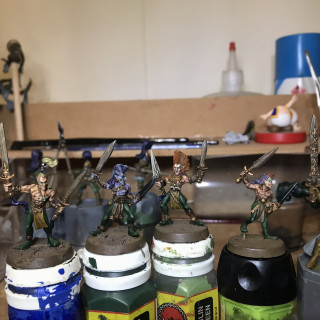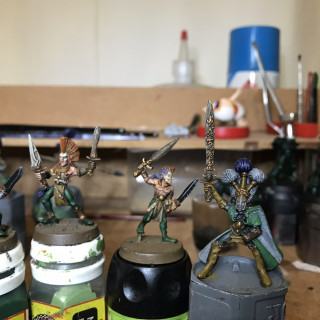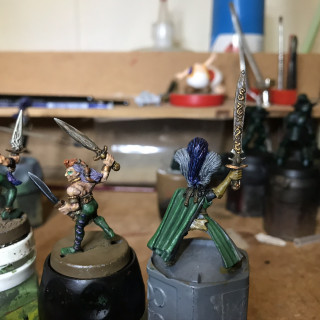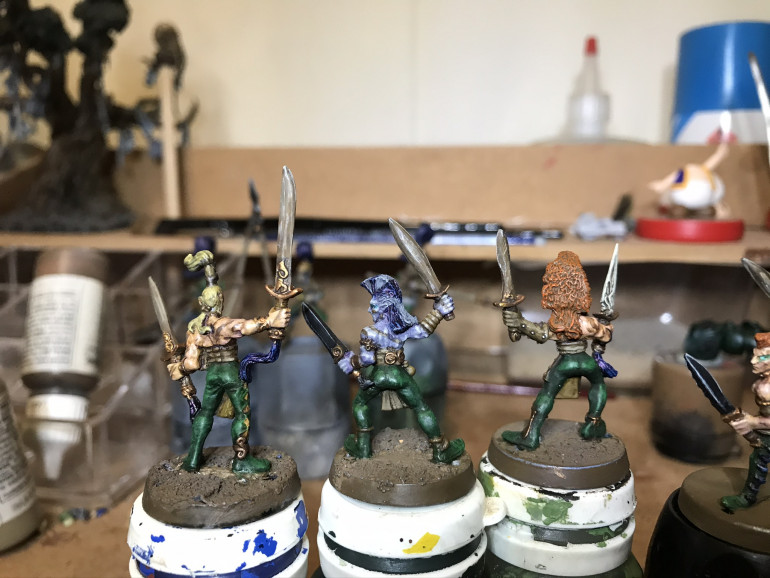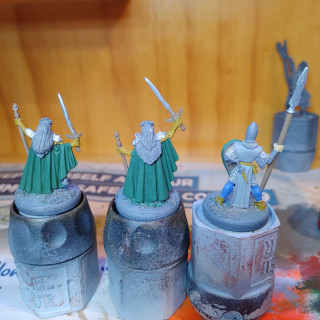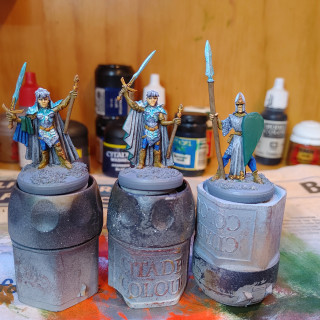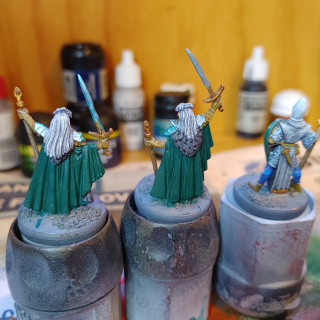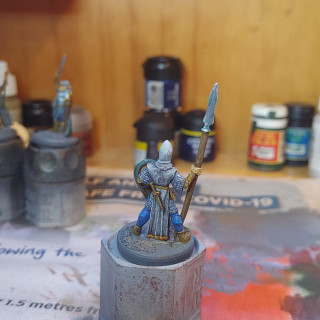
The Ancient Kin – An Elf Project
Recommendations: 534
About the Project
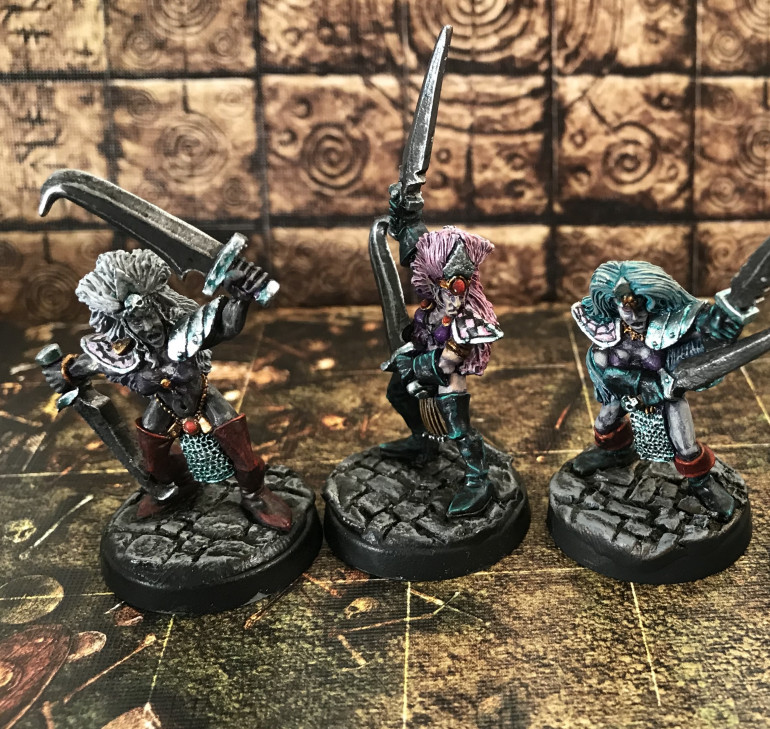
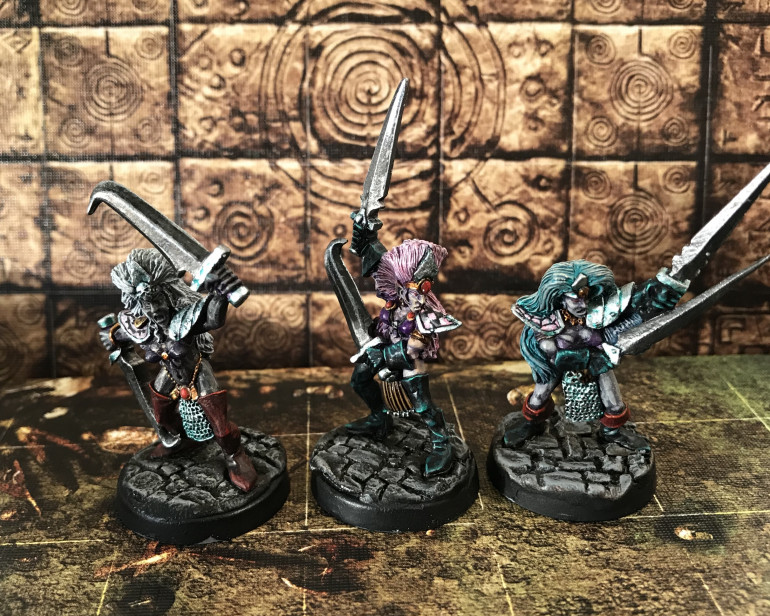
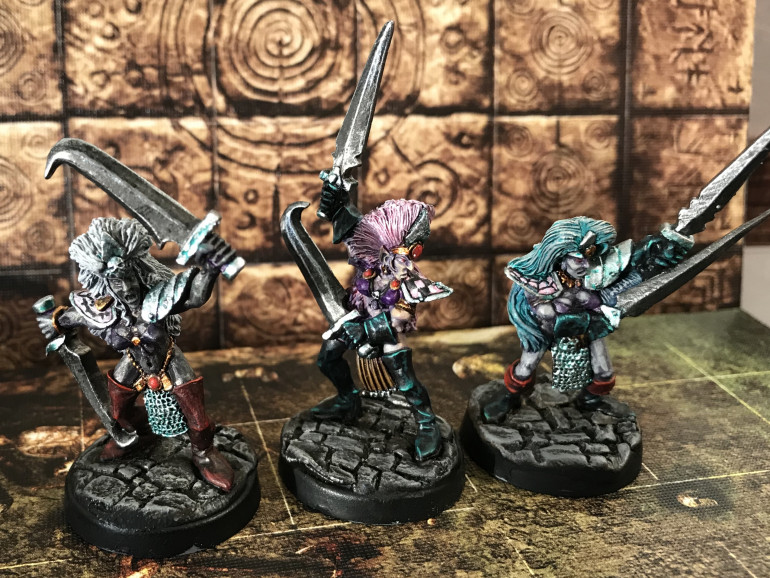
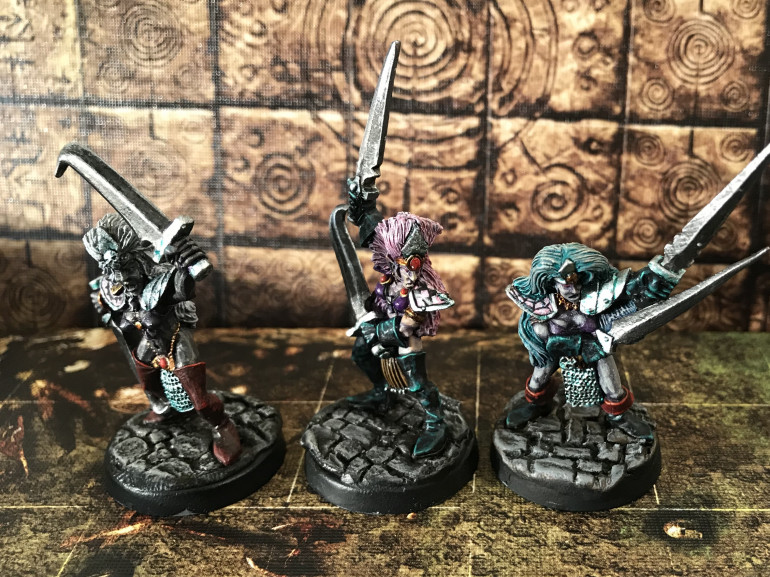
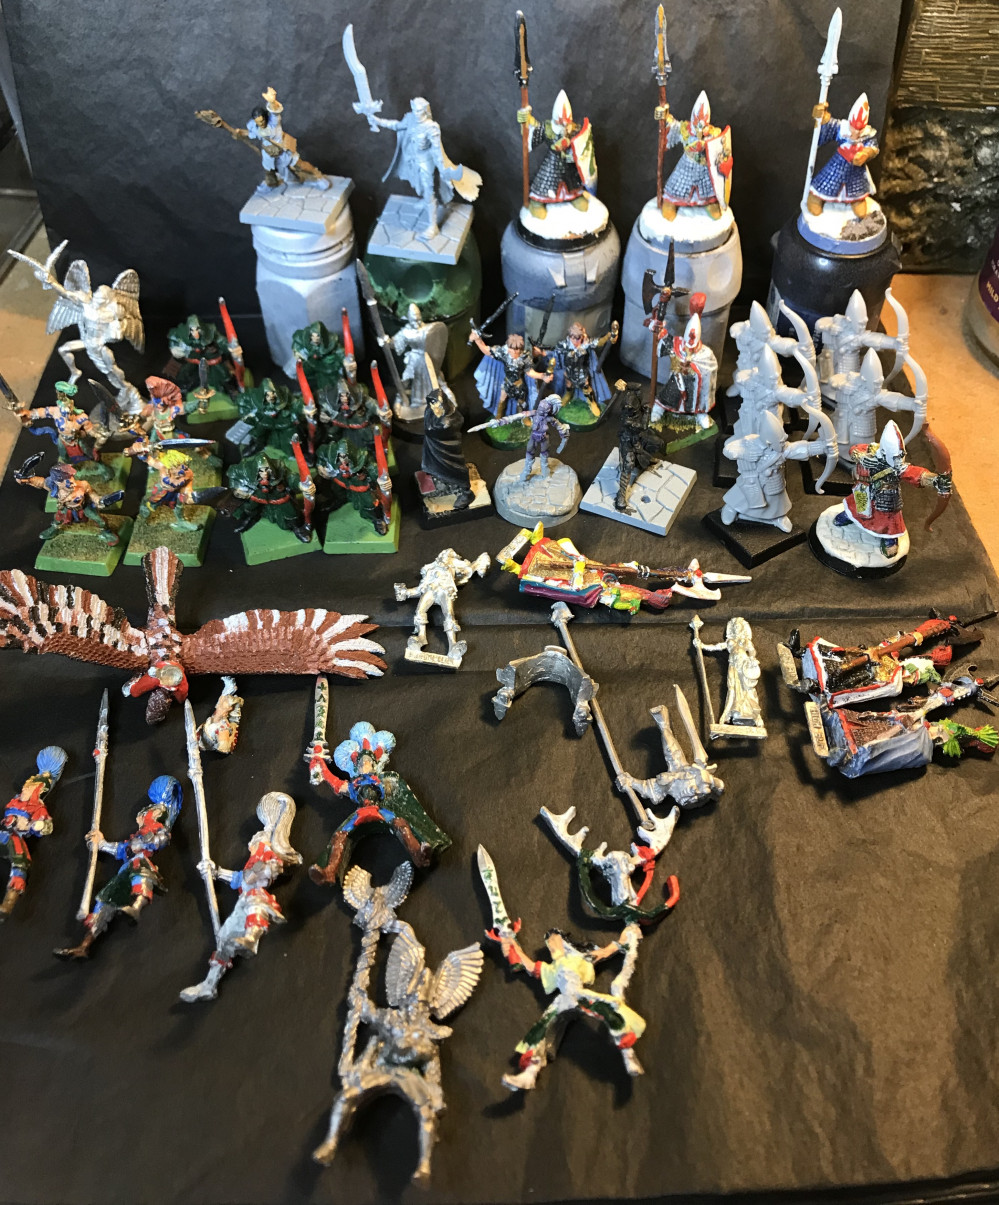
The goal of the project will be to paint a range of miniatures with a common theme: that they are all Elves. There’s a variety of different miniatures here, and there’s no one particular faction or game in mind. Once done I’ll have some options ready for RPG encounters, small forces for skirmishes and ultimately... less stuff in the Grey Pile ?
Related Game: Dungeons & Dragons
Related Genre: Fantasy
Related Contest: Spring Clean Hobby Challenge (Old)
This Project is Completed
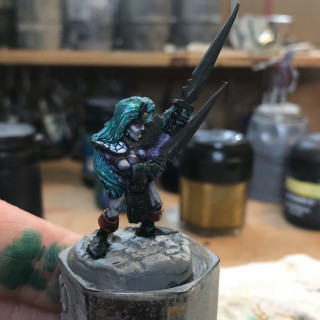
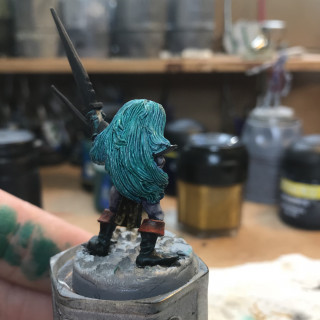
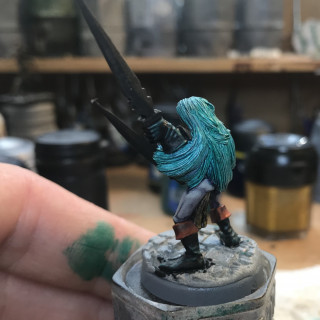
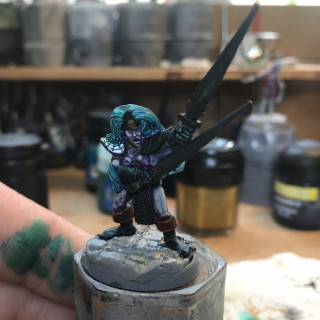
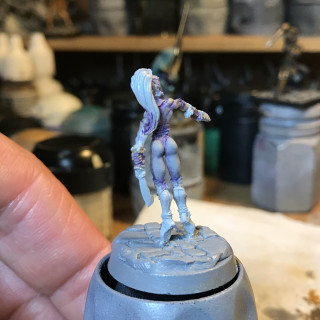
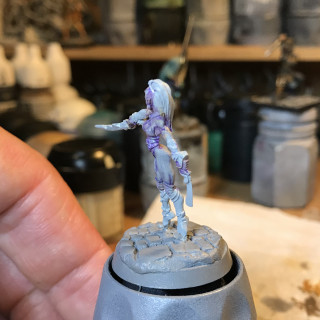
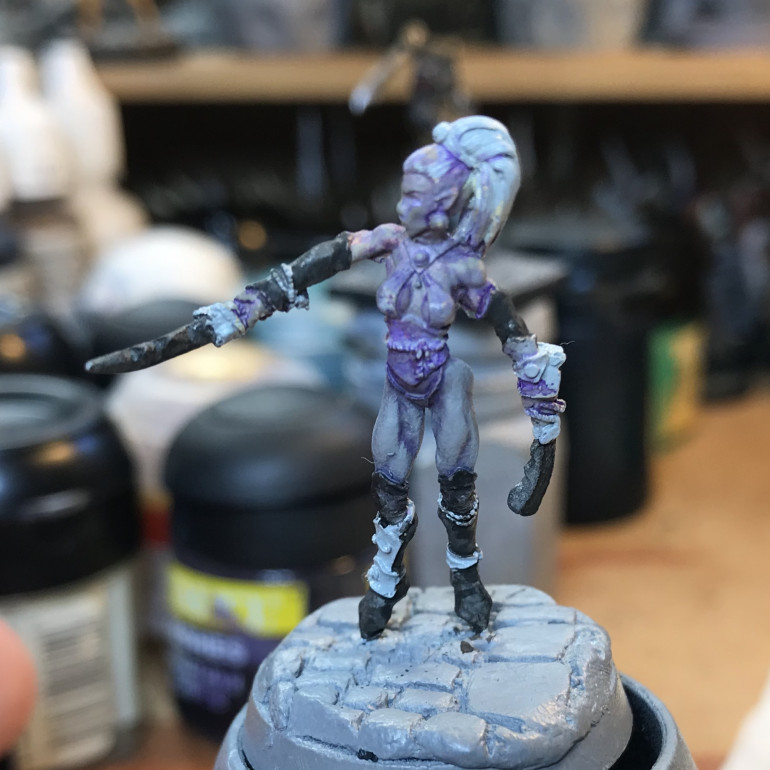
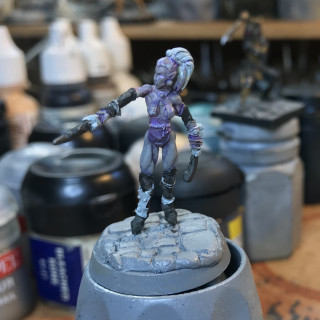
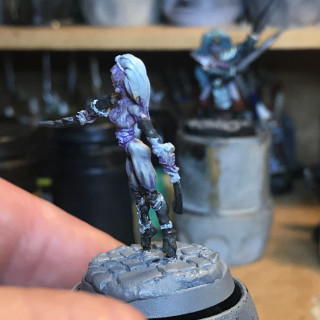
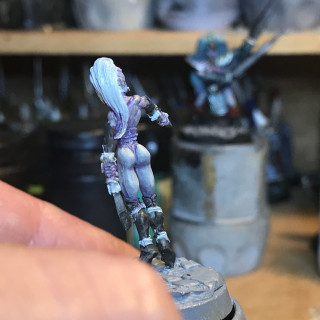
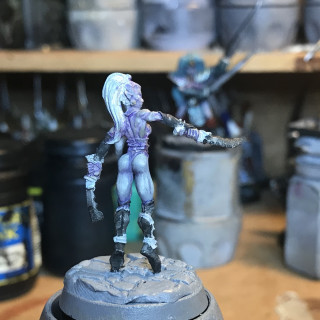
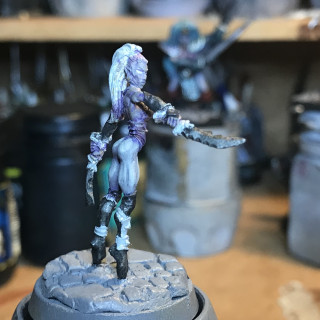
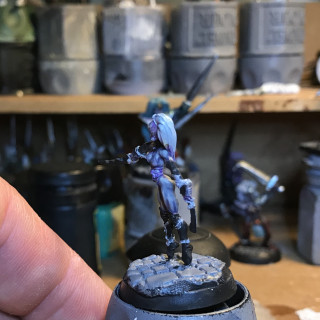
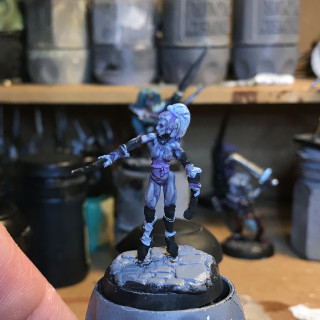
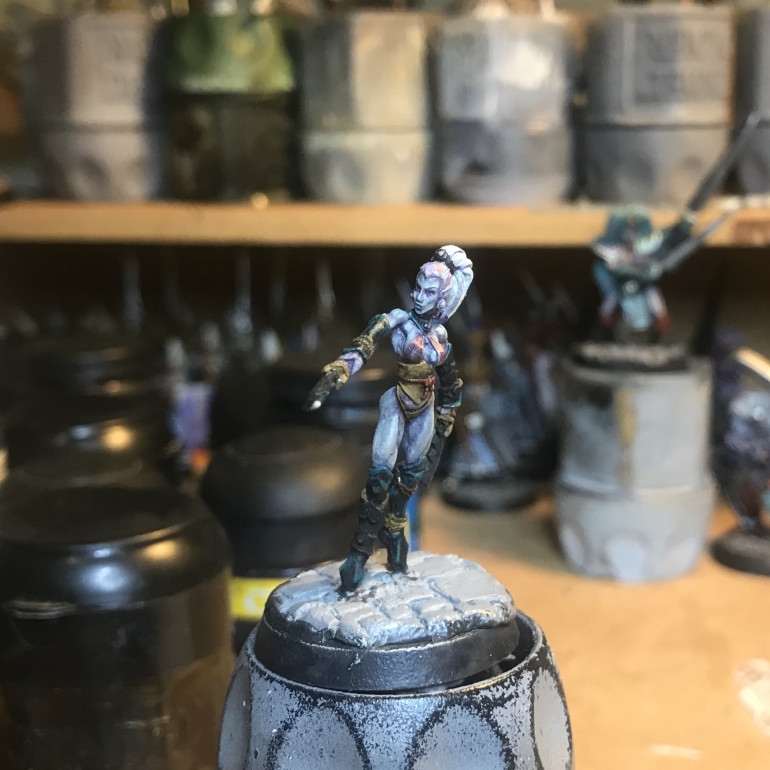
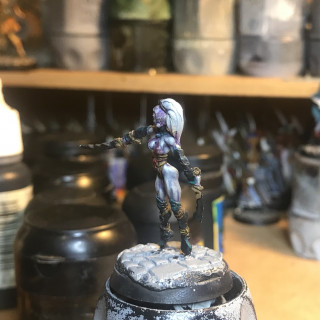
19 Dec 18: The third Witch
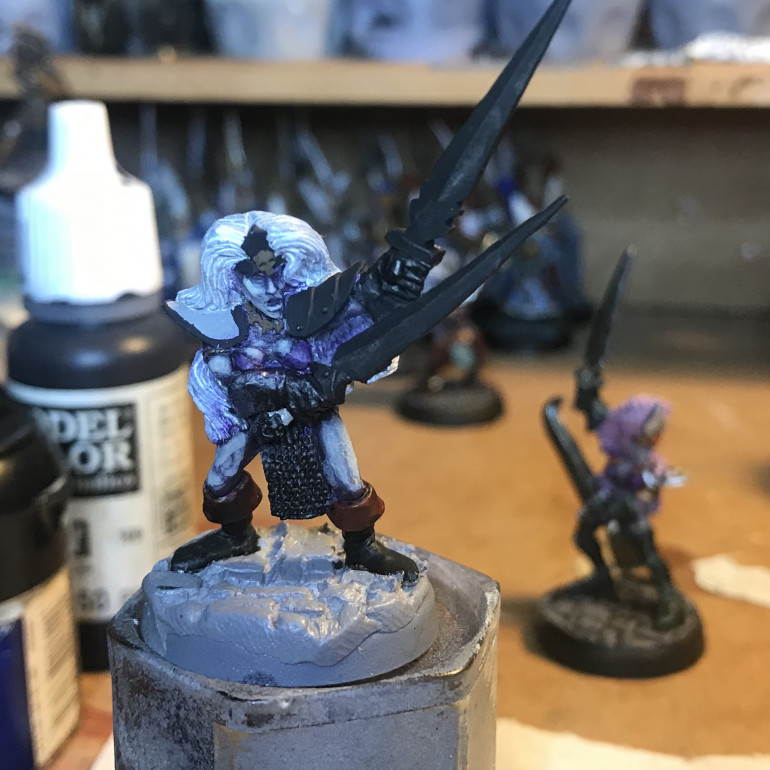
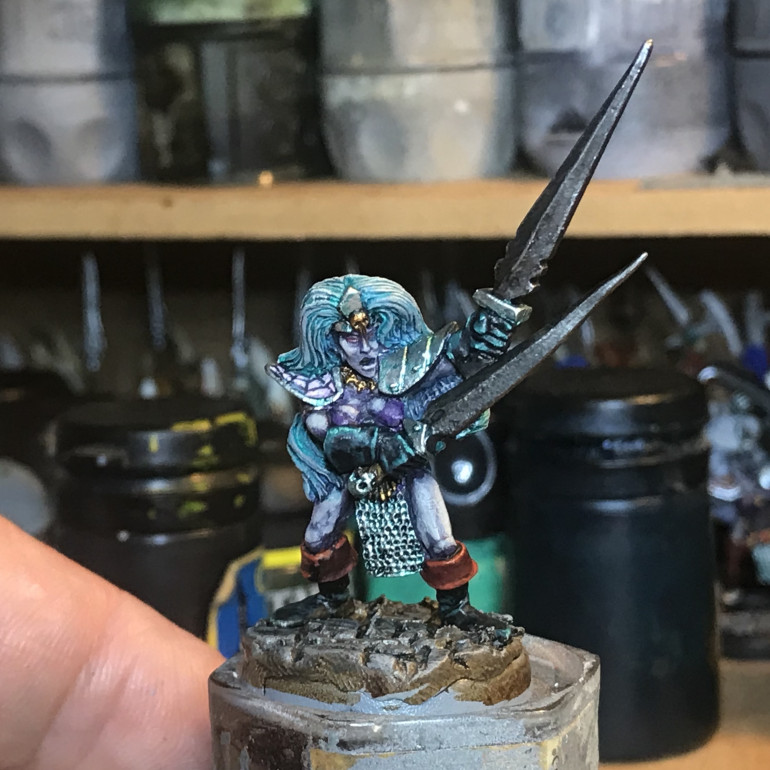
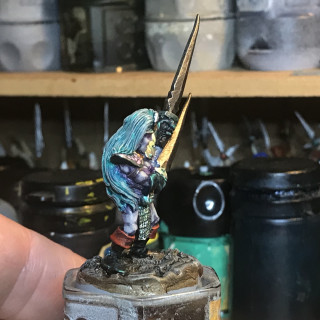
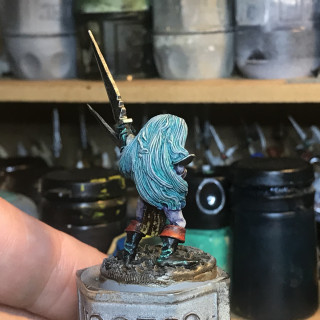
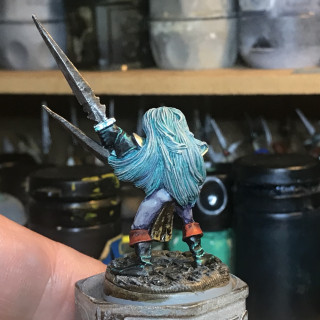
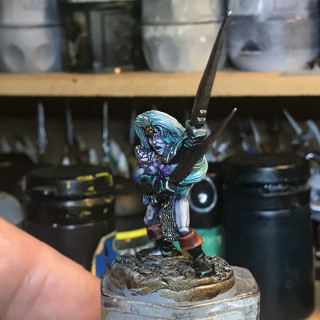
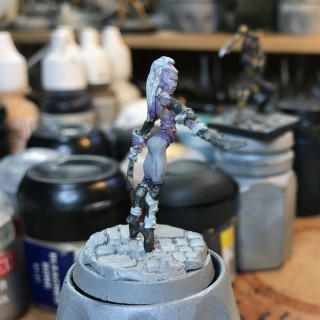
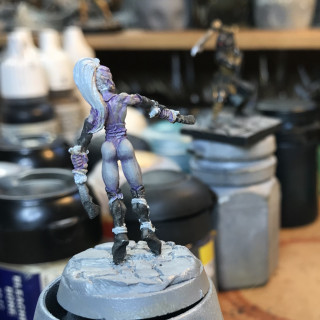
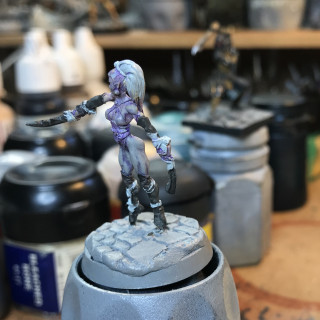
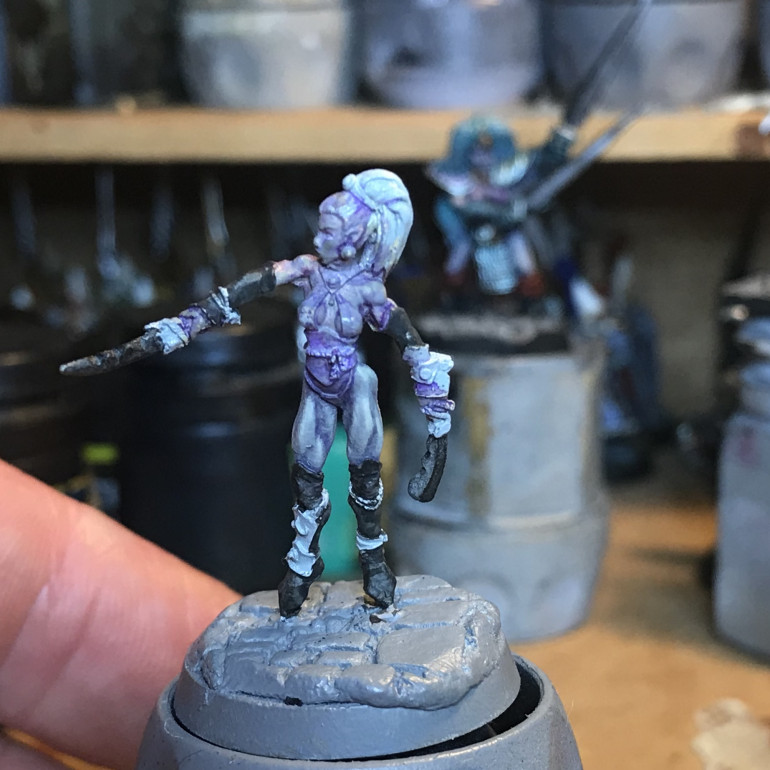
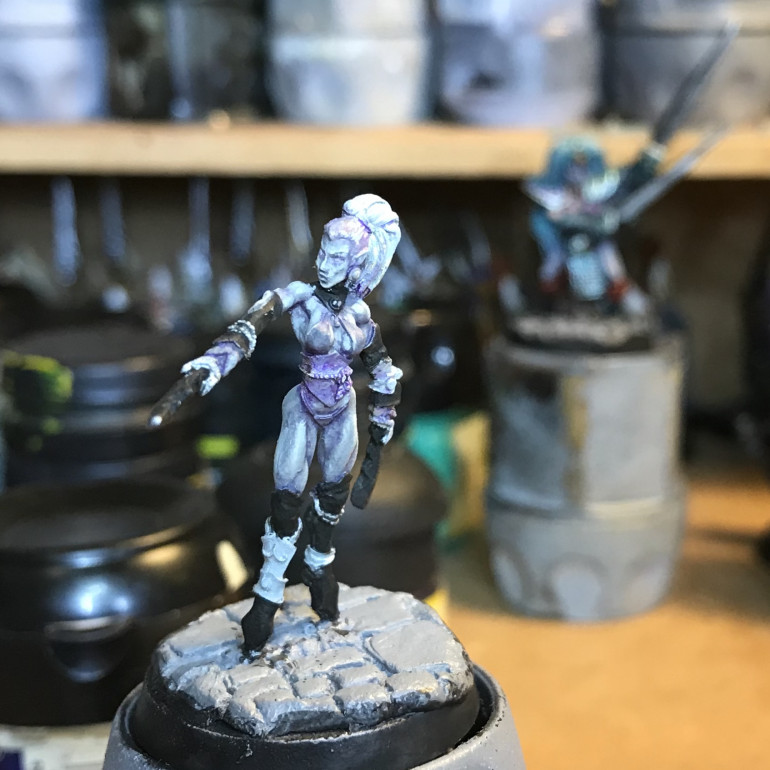
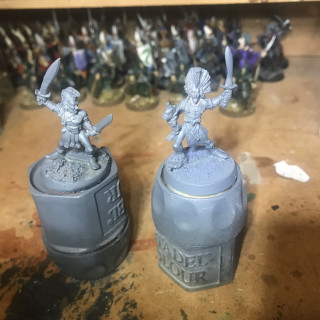
I’ve come back to the third of the three Witches I started earlier. I couldn’t get the skin tone where I wanted it on this one before. That’s ok, as they were a bit of an experiment anyway. I’ve tried to take this one more towards the palid skin I did on the one of the first two this time.
This meant a bit more layering and glazing of my skin colours, as well a few glazed of the purple wash to try and smooth out the contrast.
Gotta get rid of that 5 o’clock shadow...
20 Dec 18: Glam it up!
Adding in colour to the hair, boots, tabard etc… still not entirely done with the skin though…
28 Dec 18: Getting closer...
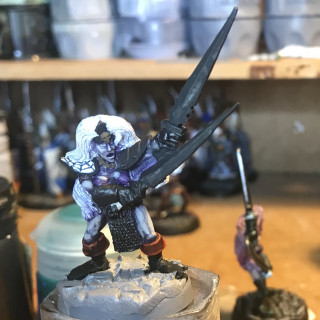
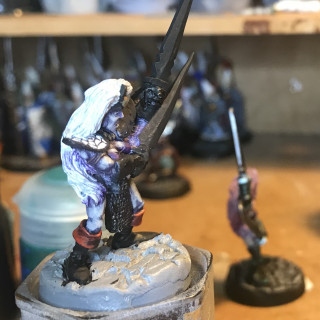
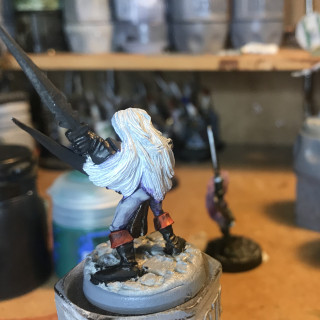
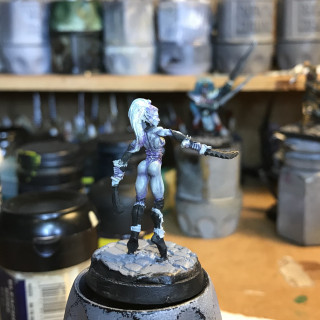
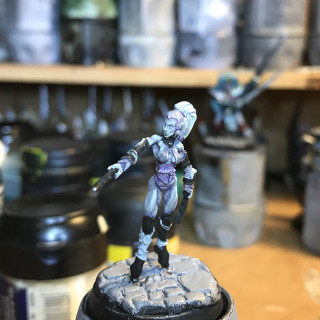
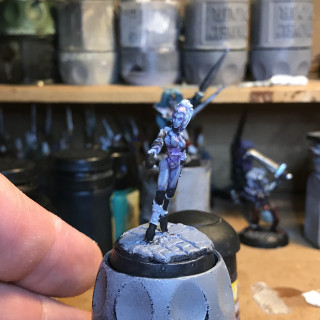
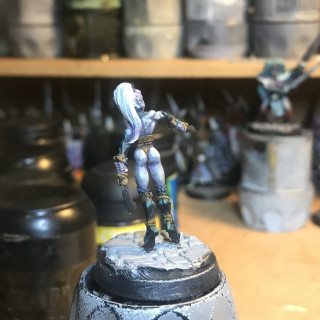
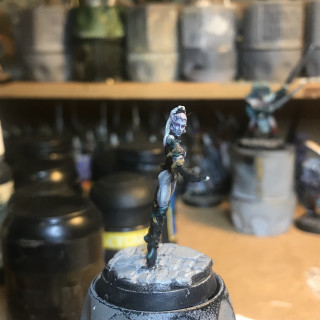
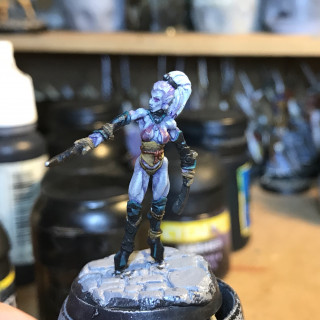
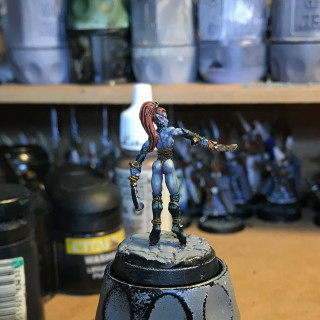
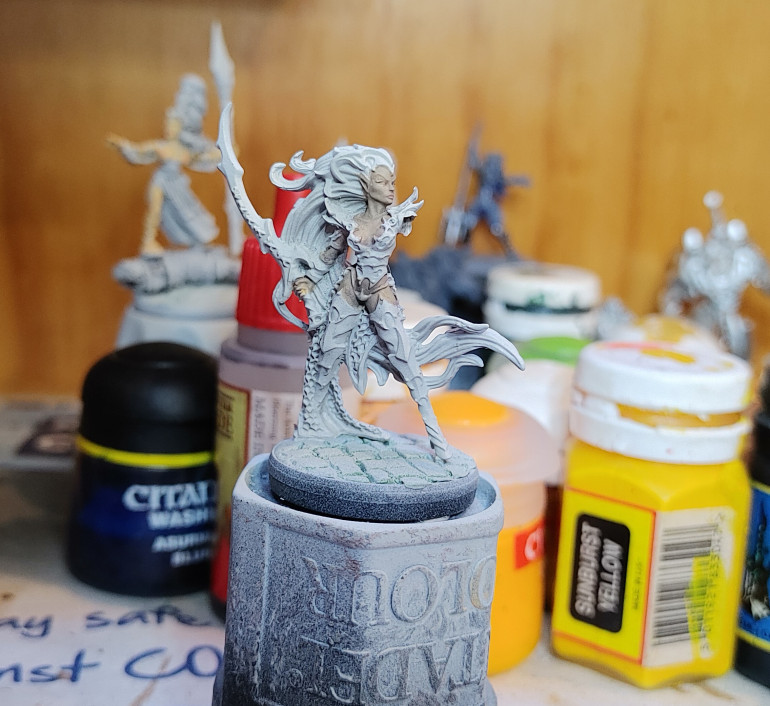
Red Vanielle - The Dark Beloved
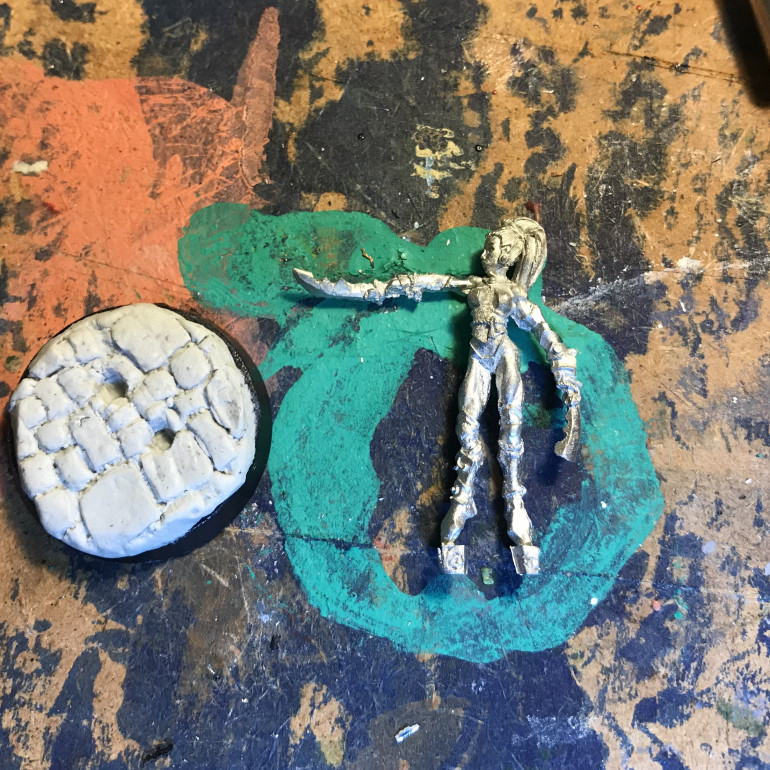
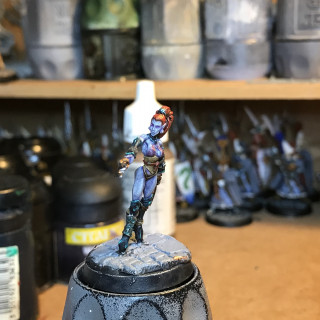
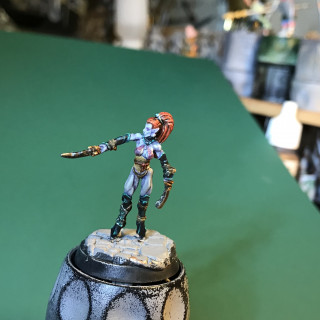
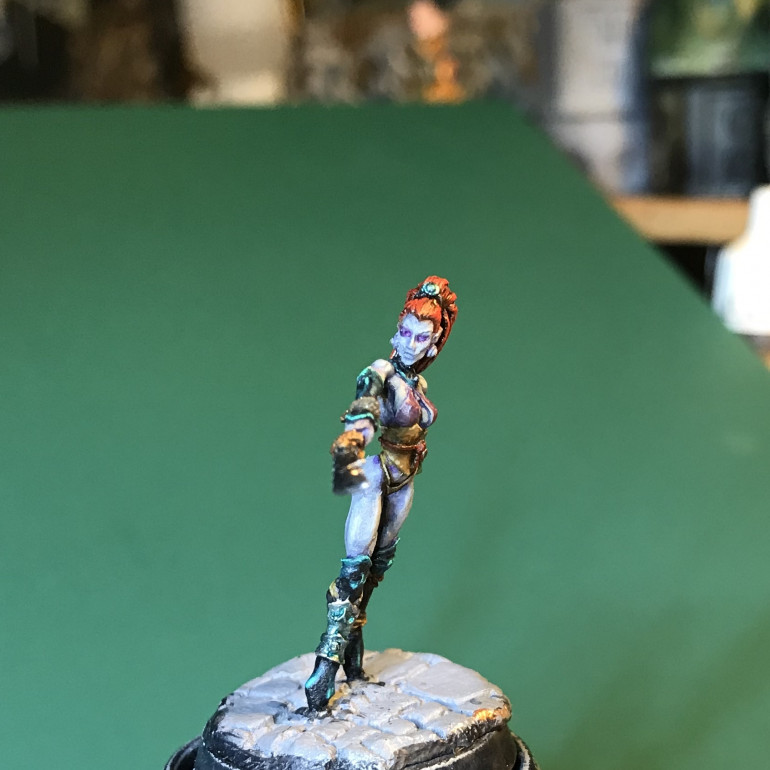
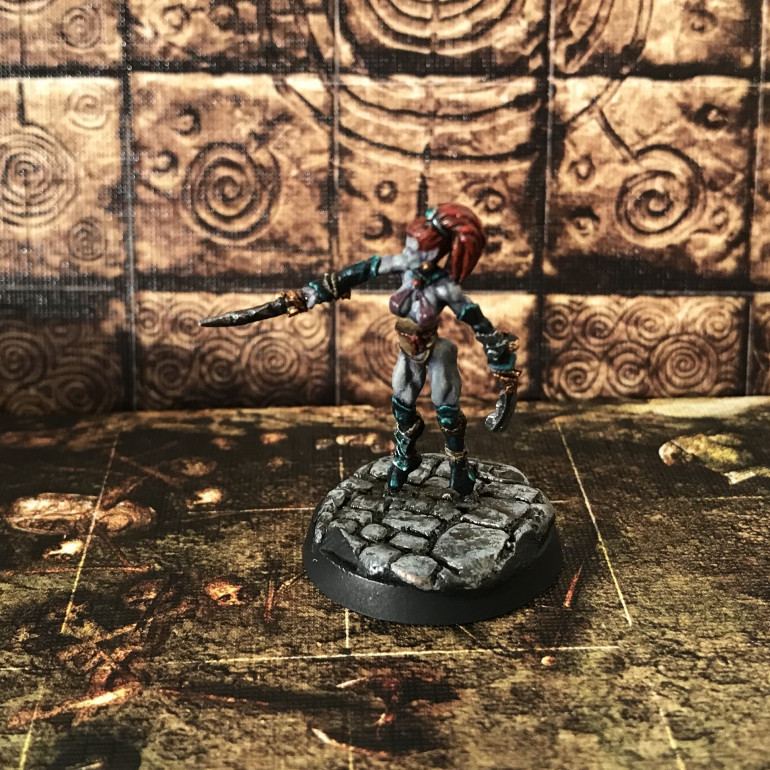
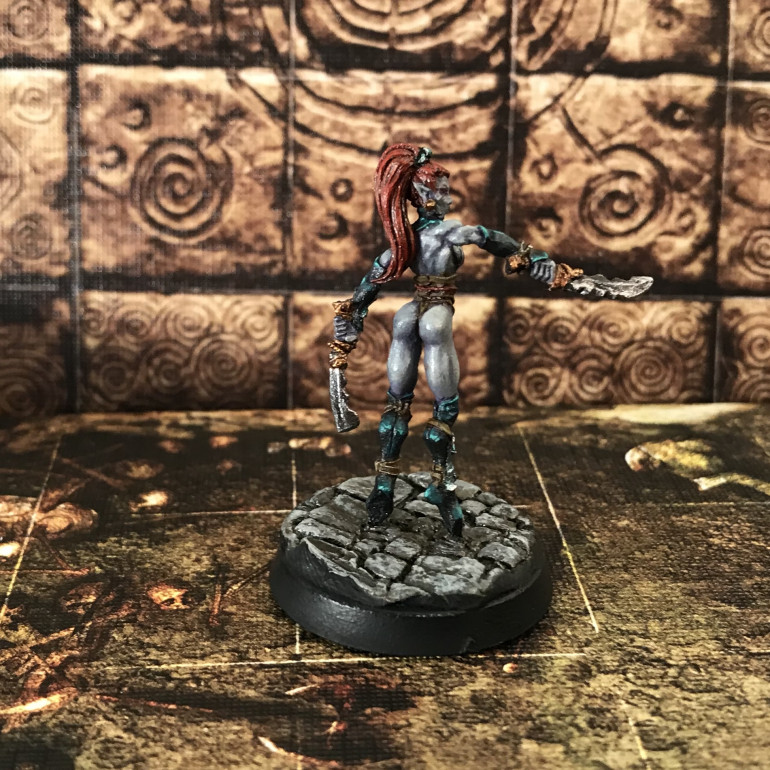
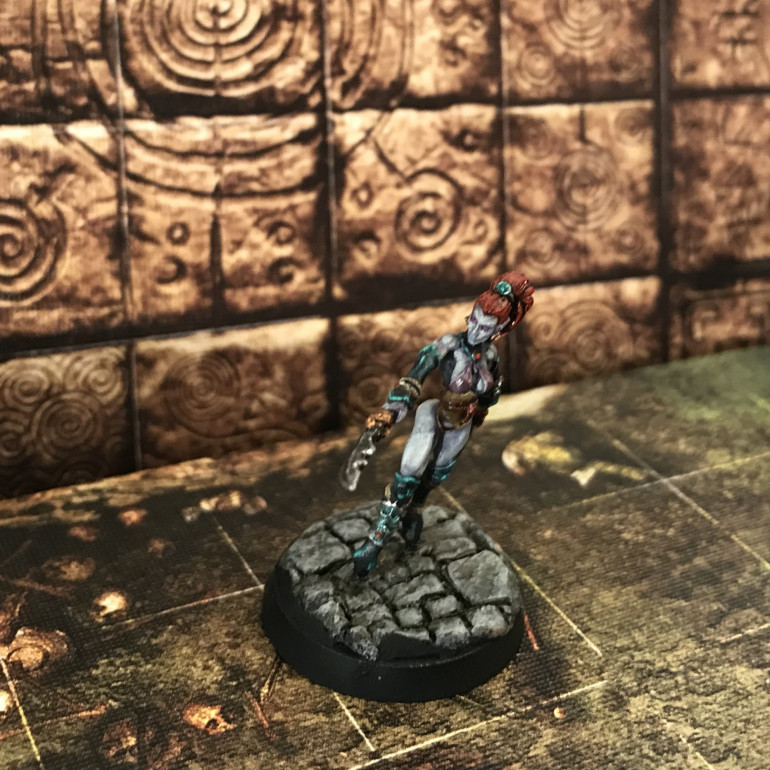
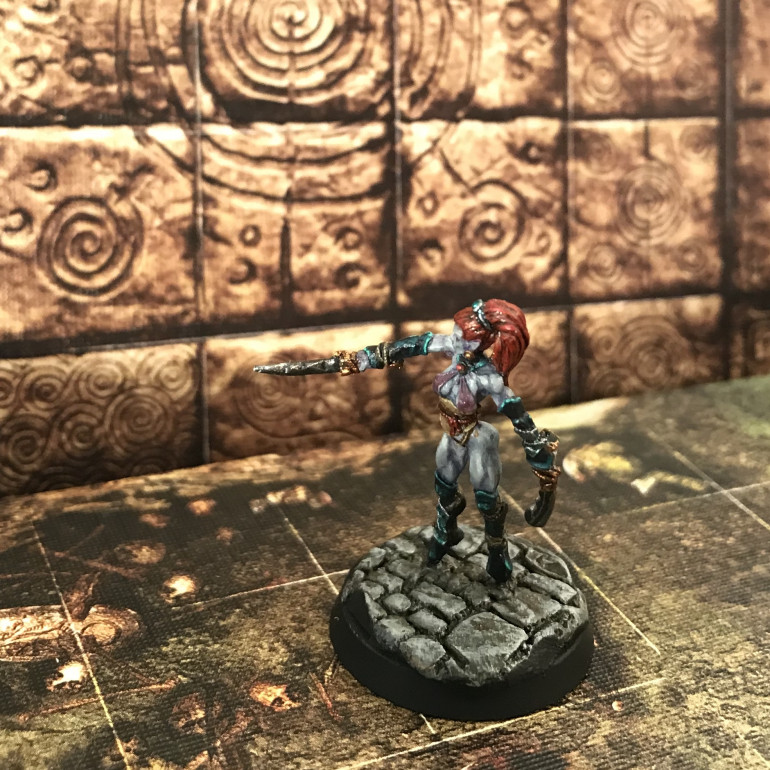
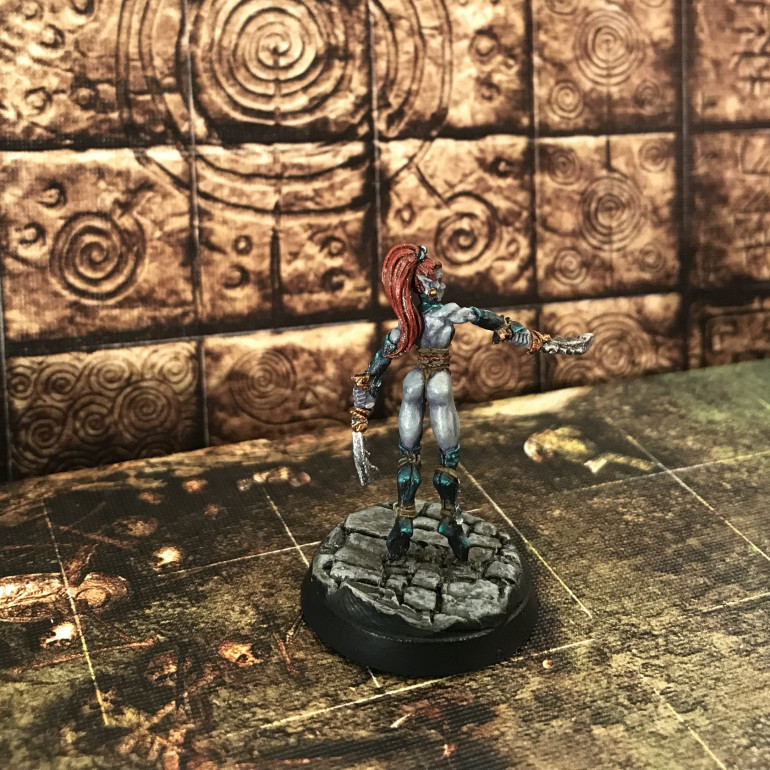
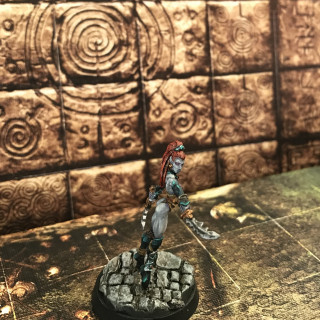
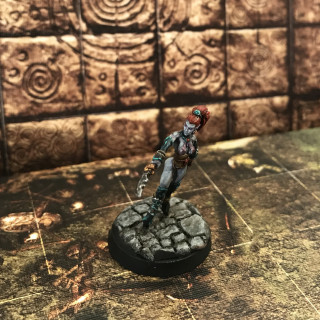
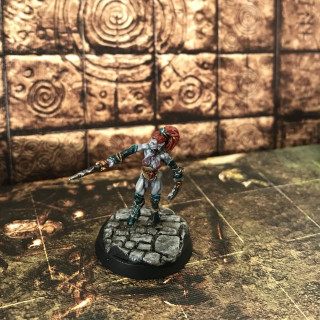
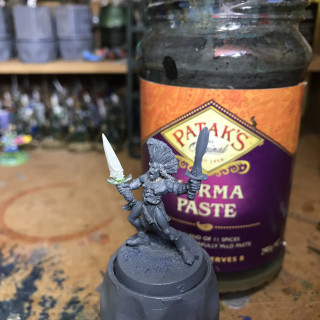
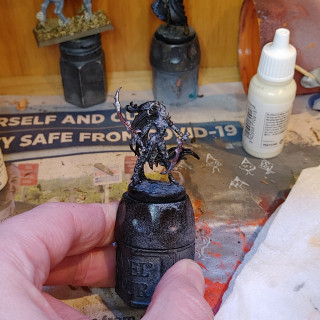
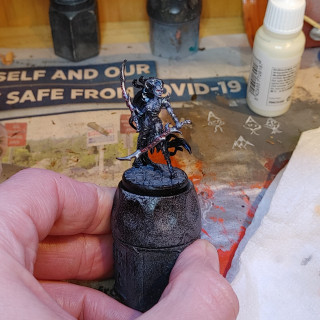
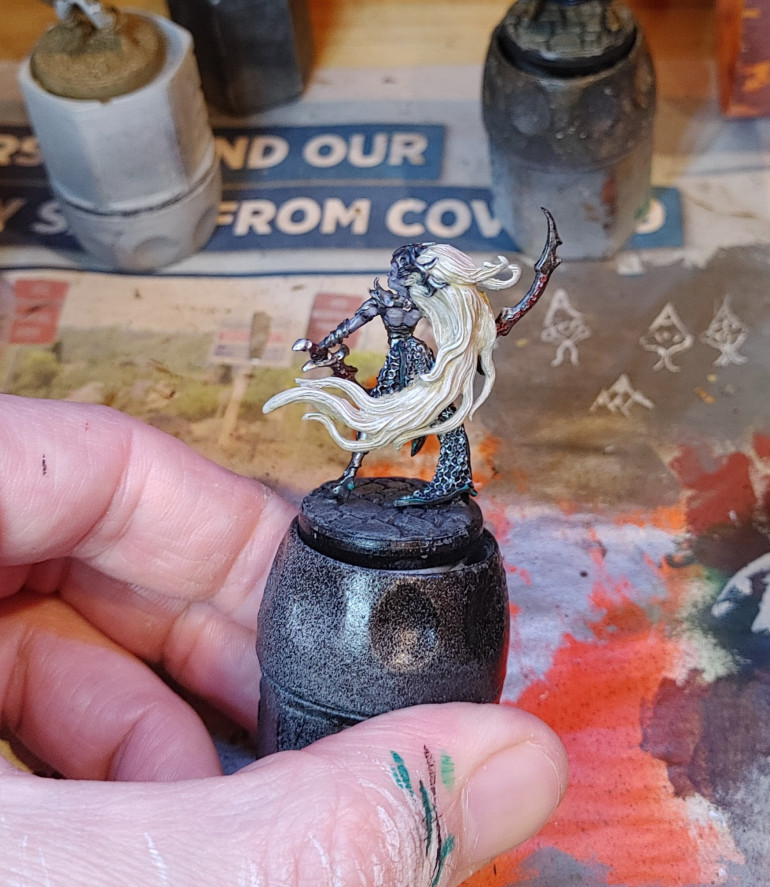
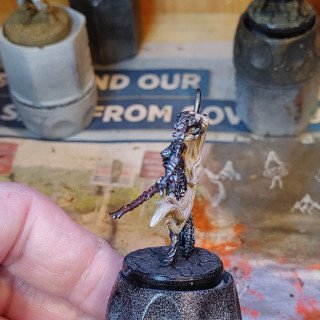
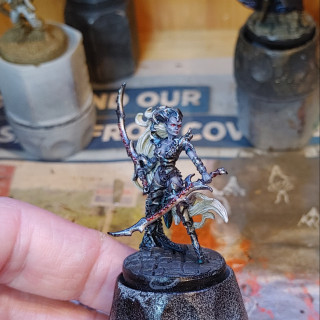
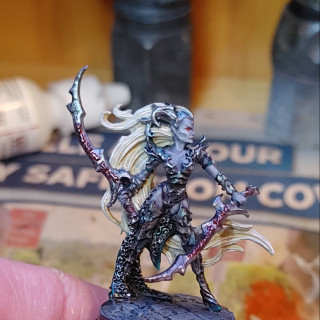
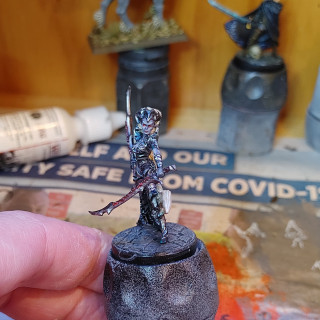
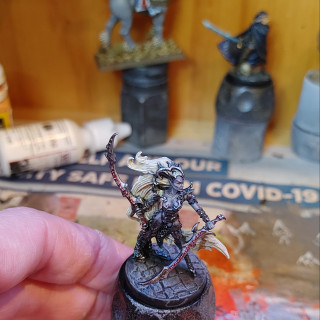
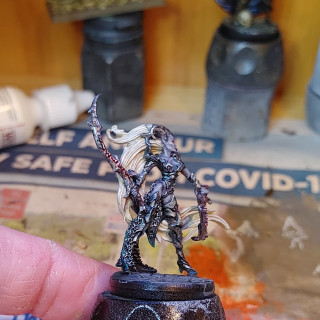
The next Dark Elf up is Red Vanielle – The Dark Beloved. The mini is an Elf Assassin from Red Box Games If you don’t know them, they do true scale 28mm minis, definitely check them out!
I had started this mini before the Witch Elves, but then wasn’t sure how to proceed on the skin. Hence the Dark Elves previously done ?
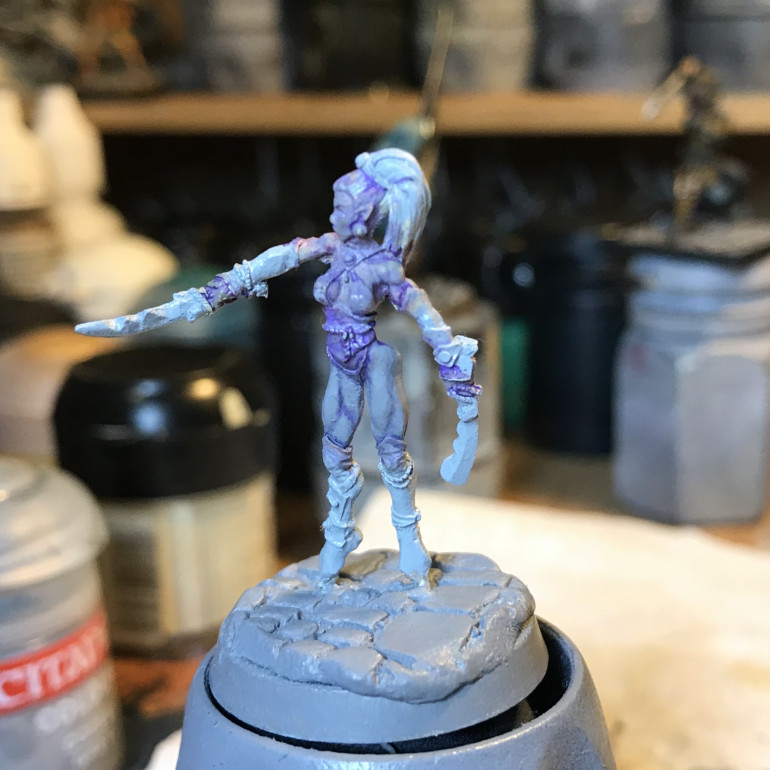
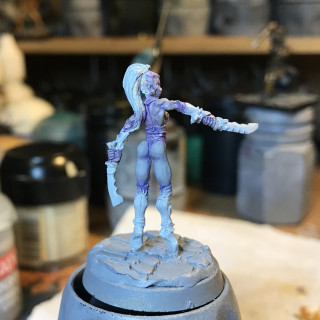
The skin at this stage:
- White Spray primer
- GW Codex Grey
- GW Hybrid Purple Ink (really old!)
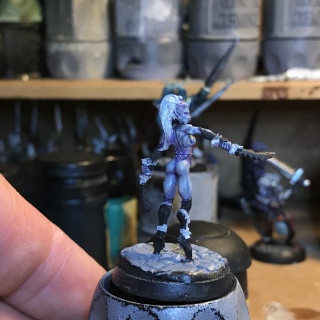
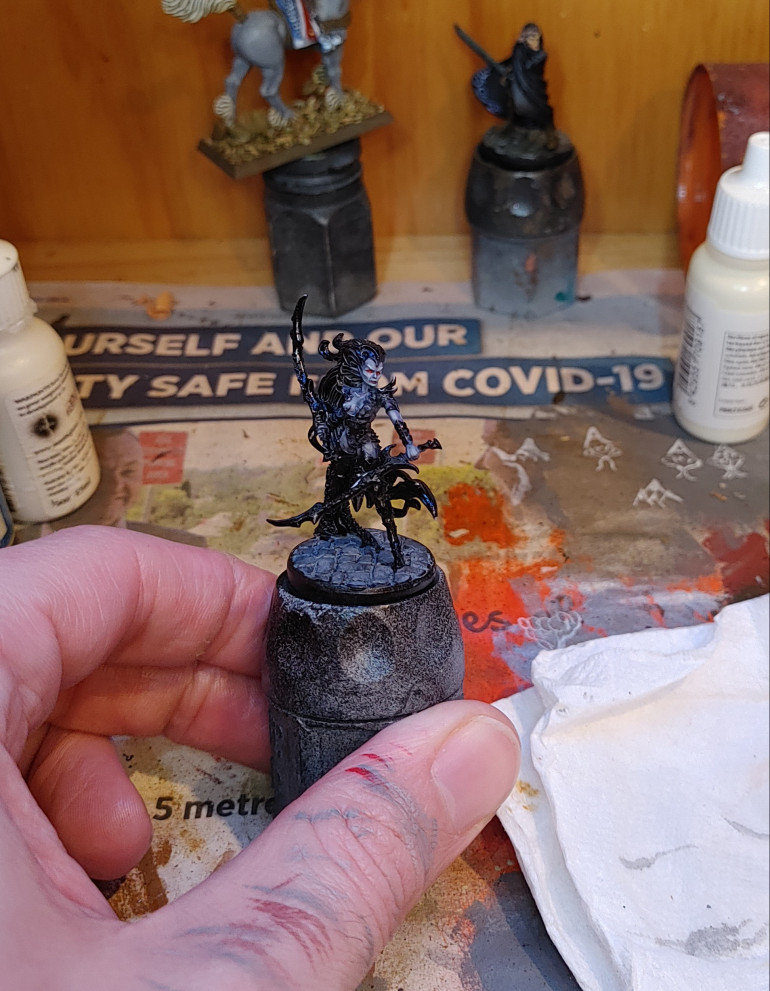
28 Dec 18: Leg Day
I started work on the skin tone… but only on the legs for some reason. I’m not really sure what I’m thinking, I’m never confident enough that I can replicate the exact same effect later. This usually isn’t a problem across multiple minis, but if I end up with diffferent colours across one mini… ?
Glazing with a mix of:
- Codex Grey
- Hybrid Purple Ink
- Shadow Black Ink (just a touch)
in order to build shadow.
Then highlighting with
- Codex Grey
- GW Bleached Bone
The mix is about 3:1 but adjusted on the fly…
Results:
28 Dec 18: Continued...
31 Dec 18: A little more colour
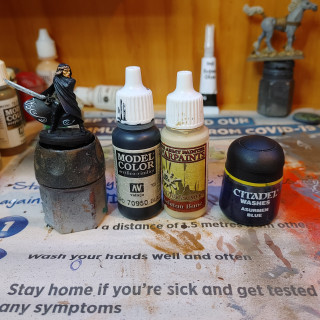
I decided that the skin was a little too pale, so I thought about adding a little extra cooour. This thought was reinforced by @horati0nosebl0wer too. So I added a couple of glazes of a blue.
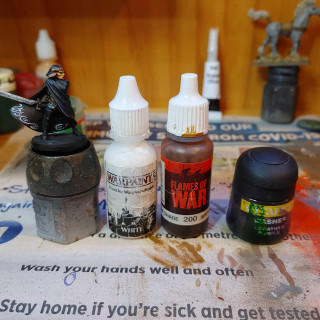
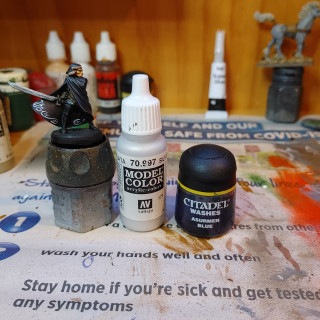
- GW Asurmen Blue Wash
This was applied thin, mixed with water. It was applied carefully in the shadows and where skin was adjacent to clothing/ hair/ metal.
1 Jan 19: Garments
Moving on to the garments adorning the mini… I hesitate to call it armour!
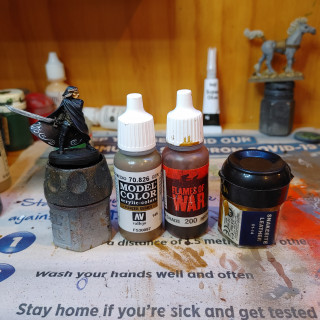
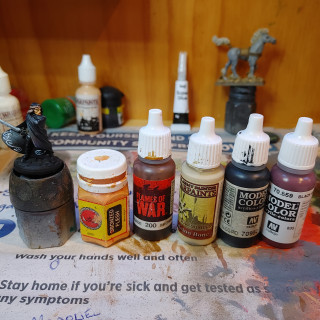
The Black is the same as used on the Dark Elf Witches. The leather is:
- Vallejo German Camo Brown base
- GW Brown Ink wash
- GW Snakebite Leather 1st Highlight
- Vallejo Khaki 2nd Highlight
The leather was applied to the bodice and thong, as well as most of the straps around the arms and legs.
The red cord (I imaging it would be used as a garotte) was fairly simple:
- GW Mechrite Red base
- GW Brown Ink
thats it!
2 Jan 19: Hair! Metal!
4 Jan 19: Red Vanielle, Ready!
The hair!
Hair was done this way:
- Vallejo German Camo Brown Base
- GW Mechrite Red
- GW Brown Ink was
- GW Blood Red 1st layer
I had to carefully go back over a couple of shadows on the hair, the heat here at the moment… you can see the paint drying on a wet palette… which is also drying funnily enough.
A short break!
I’ll take a short break from this project, getting a little fatigued! When I come back it’ll be (almost) all Wood/ Wild Elves all the time!
12 Mar 19: To the Trees!
After a short break, I return to the Elves. Now I delve into the woods to paint up some tree-hugging wild kin to the previous groups.
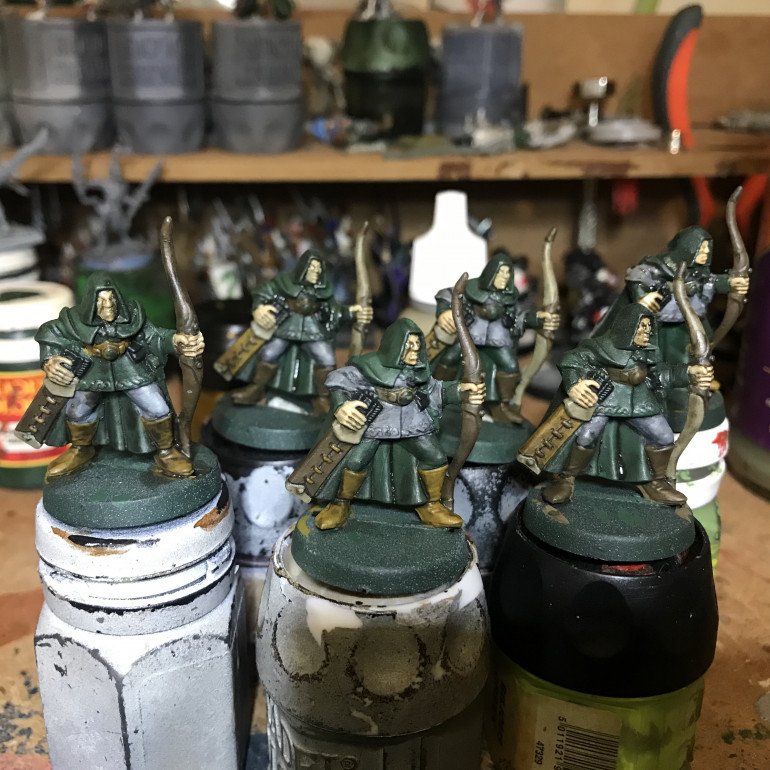
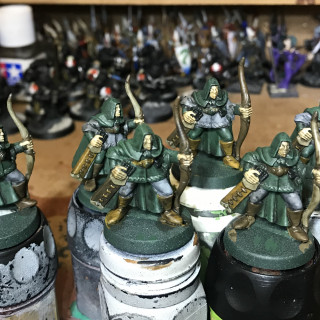
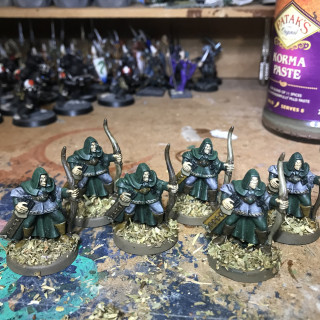
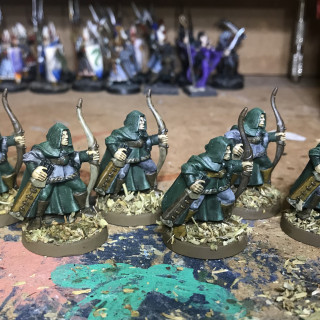
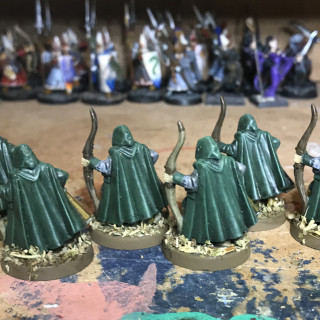
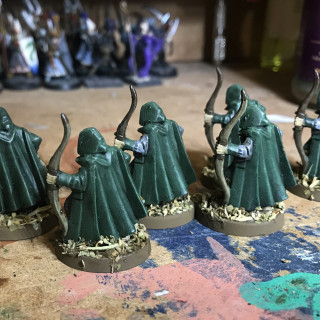
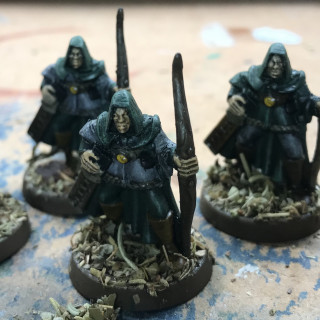
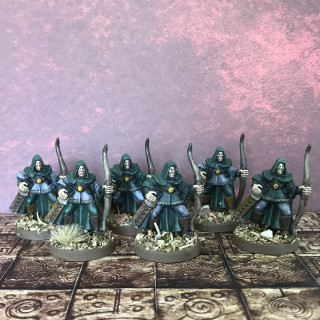
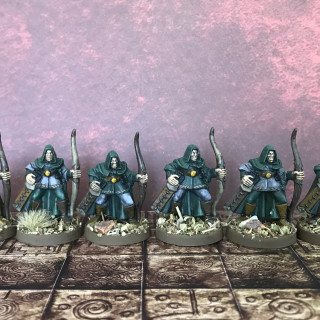
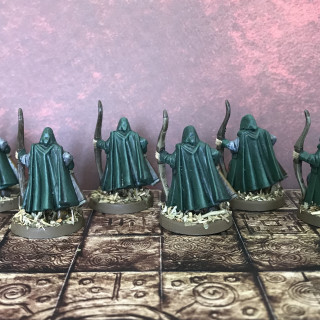
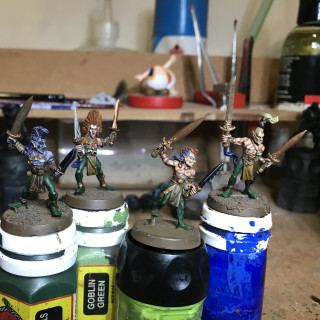
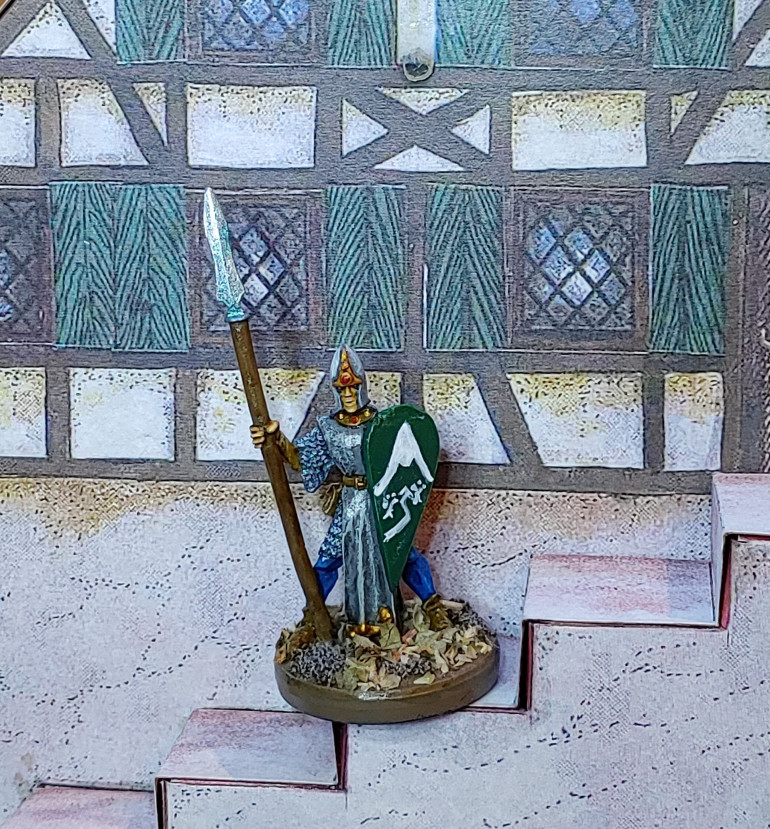
To get back in the swing I’ve gone for a quick batch of six Wood Elf Rangers.
In WHFB they would have been Waywatchers. In any generic fantasy setting I’ll use them as Rangers, low level mooks to fight or hirelings for party members.
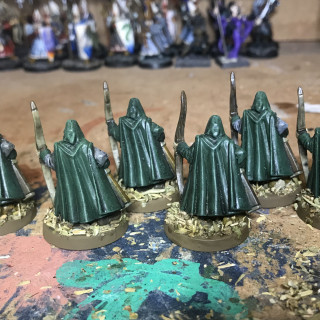
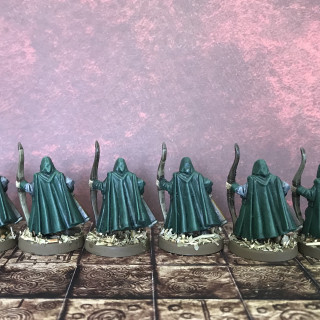
With this in mind, I’m going for a quick and simple paint job. Nothing fancy. I was contemplating woodland Camo cloaks, but decided it would take too much work. Ive limited my self to just a few colours.
The colours to be used:
- Citadel Caliban Green Spray
- Citadel Dark Angel Green
- Citadel Devlan Mud Wash
- Citadel Codex Grey
- Citadel Snakebite Leather
- Citadel Golden Yellow
- Citadel Skull White
- Vallaejo Model Colour German Camo Brown
- Vallejo Model Colour Khaki
- Army Painter Black
- Army Paint Warpaints Flesh
I started by stripping the old paint from the models with Simple Green. They were then given a couple of thin coats of Dark Angel Green spray all over.
I blocked in all the base colours. Using the same colours on different parts of each miniature helps break up the unit, while retaining cohesion.
The clothes and equipment were based with:
Codex Grey, Snakebite Leather, German Camo Brown, Khaki. A couple of small items (pouch and arrows) in AP Black.
The small amount of skin was based with AP Flesh.
After the base coats, I gave them an all over wash with the Devlan Mud.
13 Mar 19: Highlighting
The first stage highlighting was fairly basic. I went over each colour with the original paint, restricting to the open/ higher areas.
For the green and the dark brown I mixed in a little of the Khaki. About 2:1 original colour to Khaki. The cloaks were drybrushed, everything else was painted on.
At this point I kind of skipped ahead and based them thinking they were done.
14 Mar 19: Hmmm, Needs More
Looking at these guys again the next day, I decided I hadn’t done enough yet.
I started by giving the green a second, lighter dry brush.
This time about 1:1 green and khaki.
18 Mar 19: Final touches and Basing
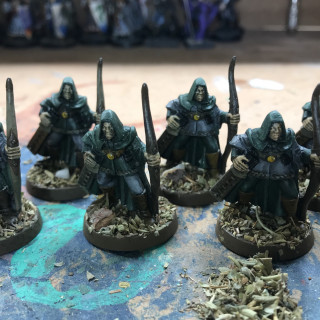
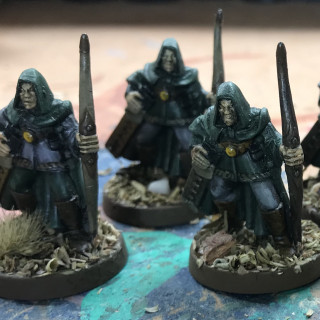
The final thing I realised I hadn’t done was the large gem on the belt of each mini. As they are woodland characters, I though an Amber might be more appropriate than other precious gem stones.
I started with Golden Yellow, followed by a Devlan Mud wash. When dry, I re-layered the Golden yellow over part of the gem, and finished with a spot of Skull White. Not my best attempt at gems, but quick. Which was the point of this exercise. ?
The basing was an experiment on cheap basing options for woodland look. I wanted leaf litter and forest-like debris. Without sourcing specific hobby materials, something I can find in any local shopping centre: Aldi Mixed Herbs. A little watered PVA glue and a couple of extra elements such as grass tufts, chips of Gum tree bark and small stones to give some variety.
Done!
29 Oct 19: A long time between...
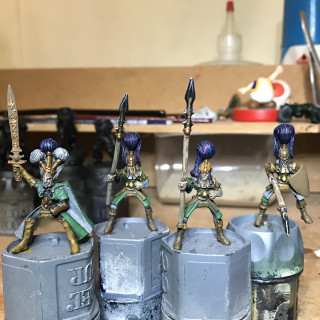
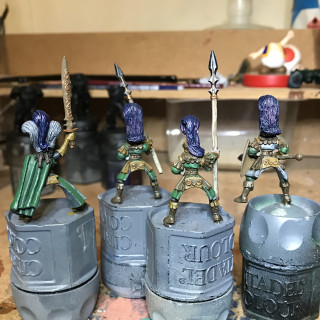
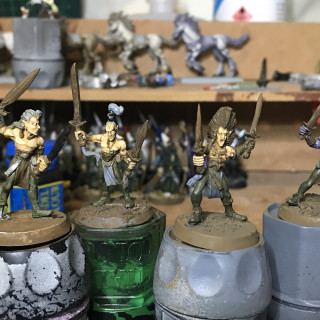
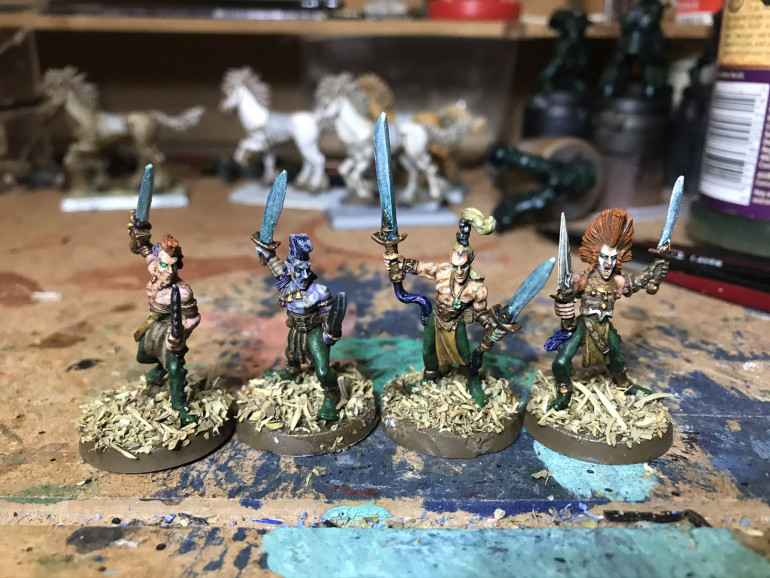
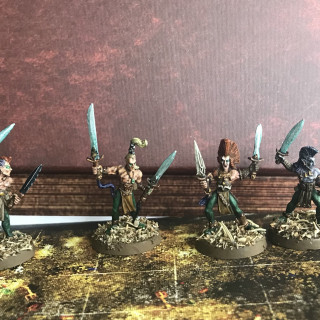
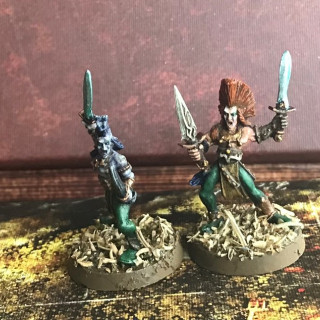
After quite a long break from this project, I have come back to it. Part of the reason was that I got “stuck” on the War Dancers (pictures below). I wasn’t happy with them and was tempted to strip them and restart them. I put them aside and didn’t look at them again until I resumed this project.
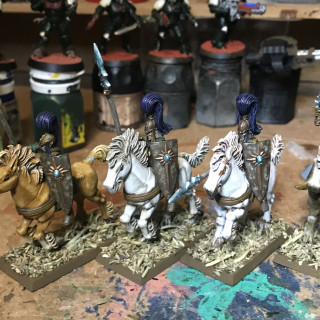
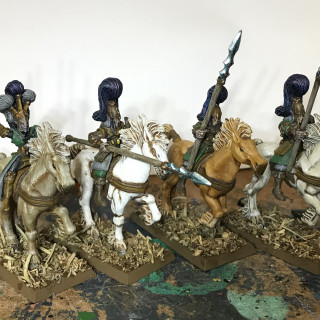
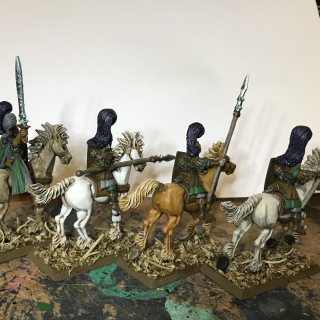
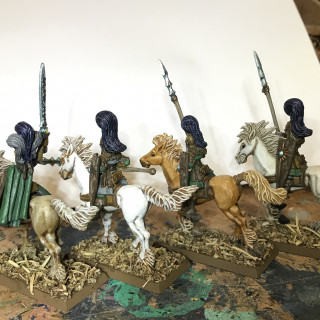
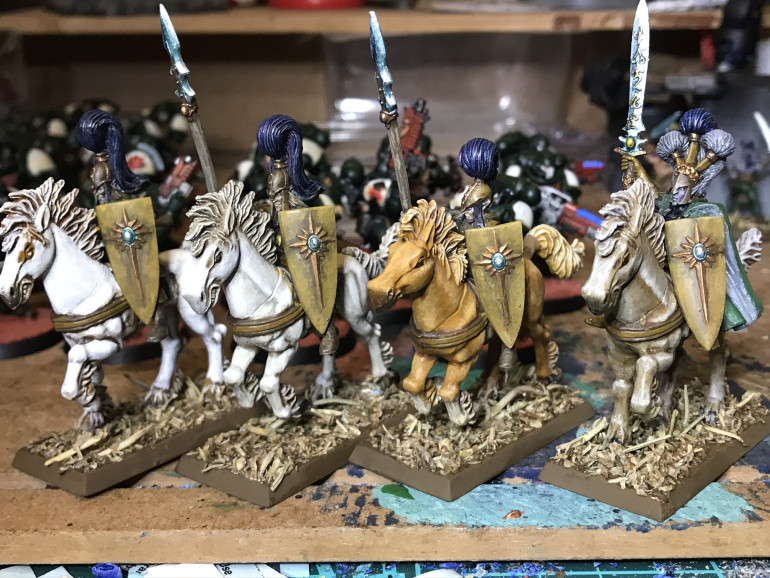
I came back to this project after a near-month break all together from hobby. I started in with the old GW Wood Elf Glade Riders.
Below are still WIP, but near complete.
After getting stuck into these four minis, I looked back at the War Dancers. I was still tempted to strip and start over. But there’s still so much in the paint queue that I decided to just press on and get them done.
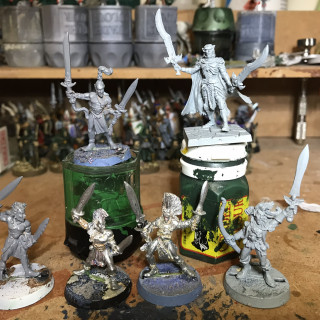
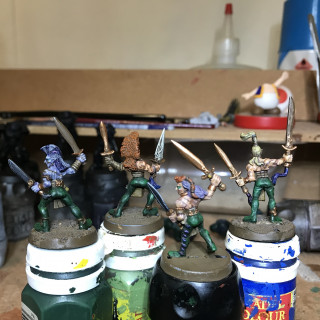
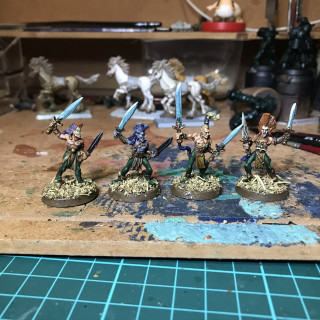
Above is a group prepped and ready to start on… but somewhere between the guy second from the right on the bottom row lost one of his swords… ok I dropped him in the garage after the primer had dried and couldn’t find it.
He needed a replacement, so I equipped him with a Kingdom Death Bone Dagger.
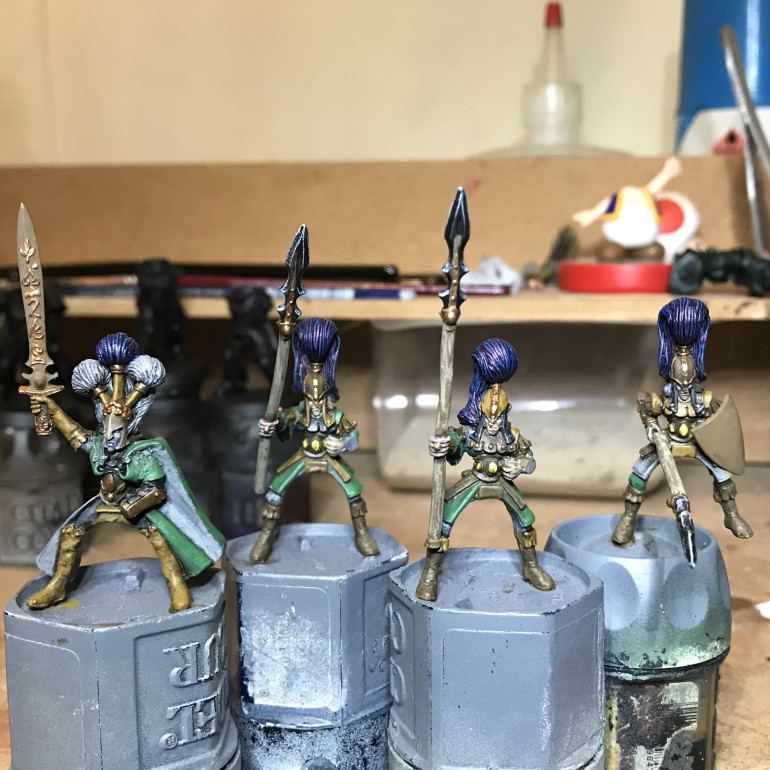
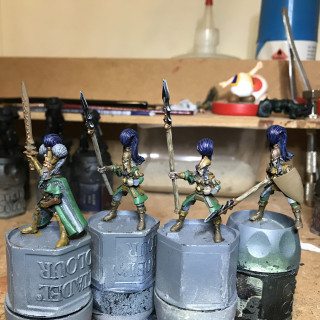
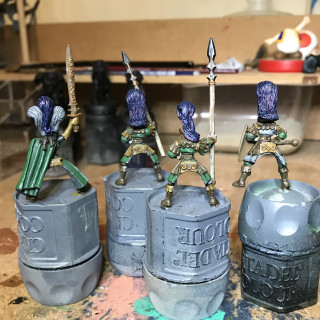
Picture 1 above was taken back at 1 April 2019. The second and third taken yesterday, 25 October. Most of the work was done earlier this week on Monday.
I just need to finish the metal decorations, though I’m going to change the swords. Also the body paint stripes need something done with them.
More later
1 Nov 19: Cav and Wooden swords?
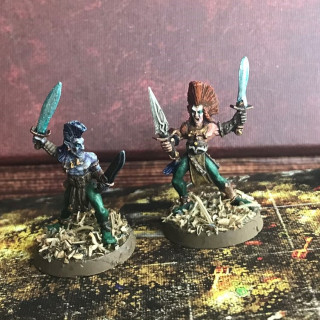
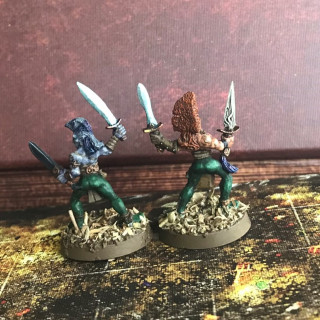
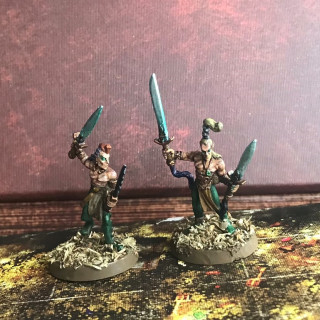
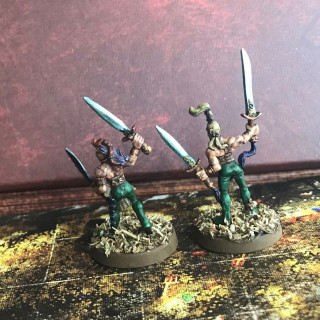
A quick update: after Monday I was finishing up the mounted riders, and working on the Wardancers. I wanted to do something different with the Wardancers. Inspired by a DnD campaign I was in, I wanted to try to make the swords look like they were crafted from wood rather than metal. Results below…
3 Nov 2019: Unhappy with swords, changes made
Unhappy with the swords as they were, unsure with how best to improve them and uninterested in spending too much more time on these minis, I decided I wanted a quick resolution to finish them.
I realised I should just paint them in the Elven Metal colours I’ve used on previous minis in this project, to get them done quick and help tie them back to those as well.
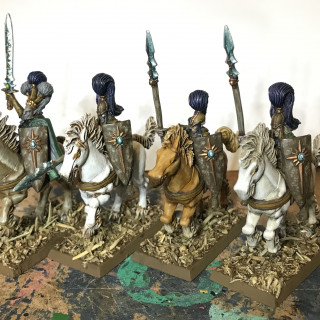
19 Nov 19 Elven Cavalry
Almost finished on these: a couple of little tidy-ups here and there. I’ve added an extra layer of glue to the basing, a nice coat of watered-down PVA.
I’m not entirely happy with the shields there, but I’ve got a couple of ideas.
21 Feb 21: Return...
After too long a break on this project, it’s time to come back. This was a good opportunity to take a break from the Frostgrave/ Fantasy terrain I’ve been working on.
oh…kay… im not sure what’s going on… that photo refuses to be in any other direction… I know I’m in Australia… but this is ridiculous! XD
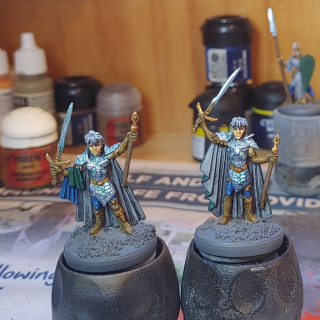
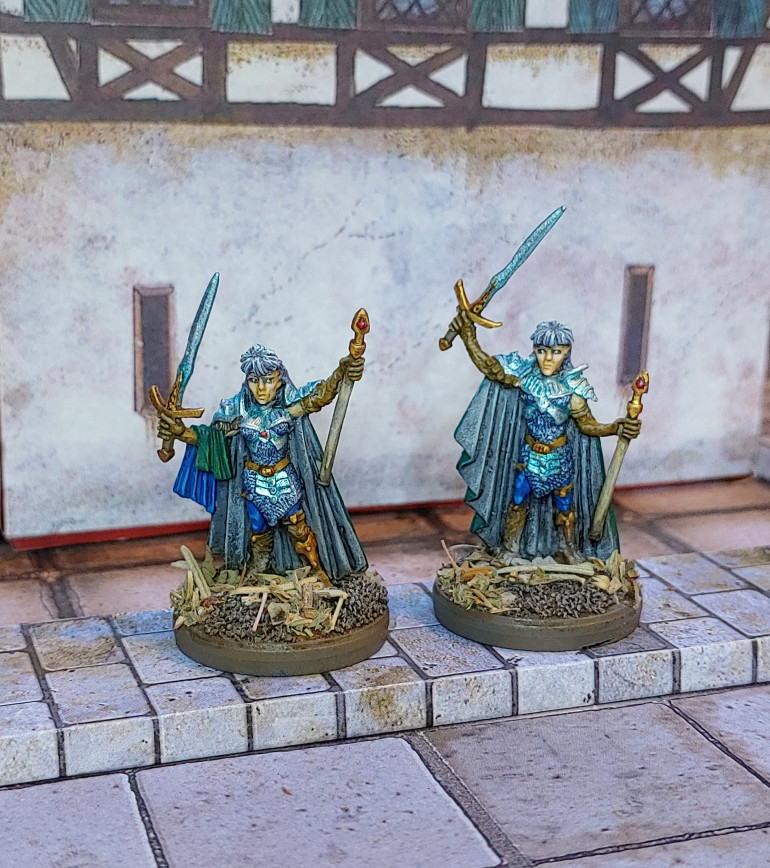
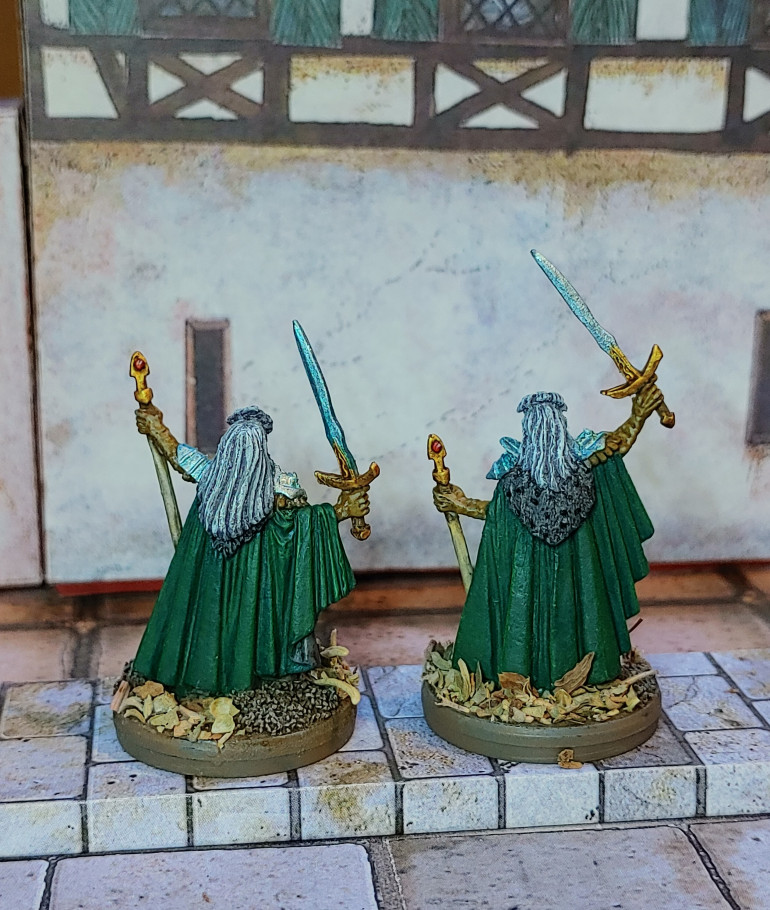
24 Feb 21: The Elders
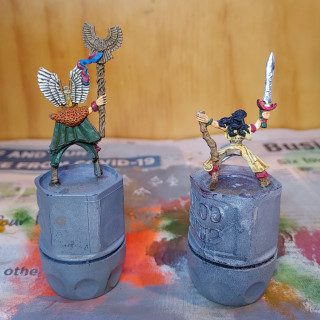
28 Feb 21: Wings and Antlers
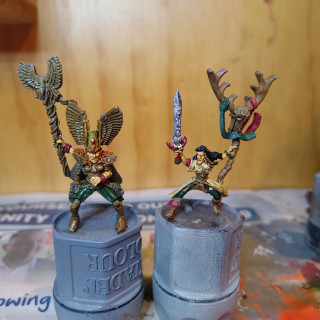
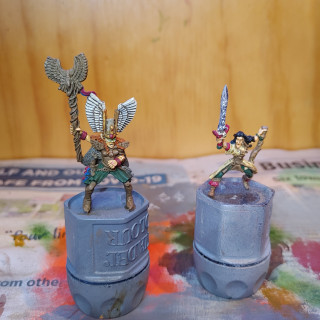
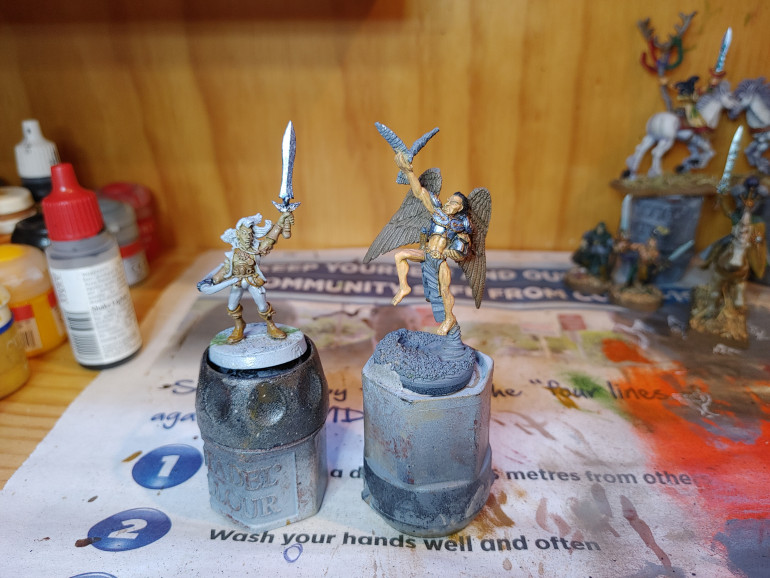
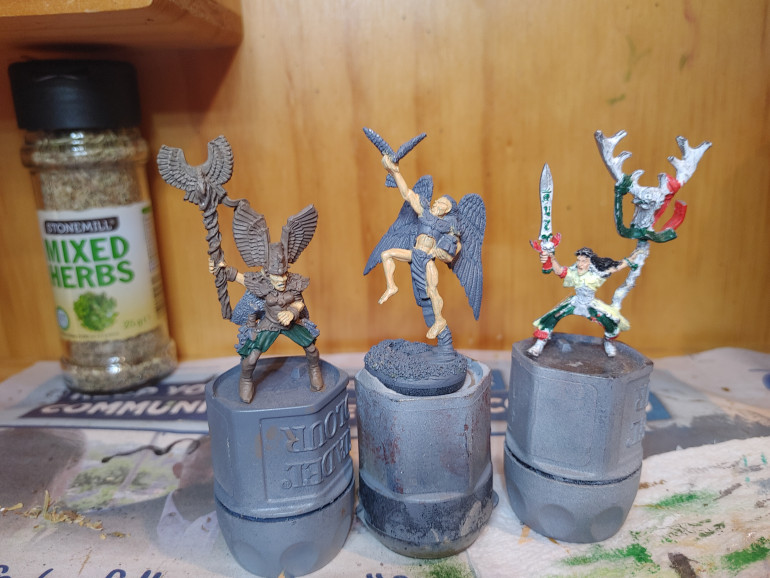 L-R: Citadel Wood Elf Mage (Mounted), Ral Partha Elementalist Air Lord, Citadel Wood Elf Mage (Mounted)
The next three minis for this set. Two will be mounted on horseback, the piece in the middle I purchased as part of an Air themed set of three Ral Partha minis.
03 Mar 21: The Magi progress on
09 Mar 21: This old mini has been waiting some time for paint...
15 Mar 21: The Staff top... and getting a horse
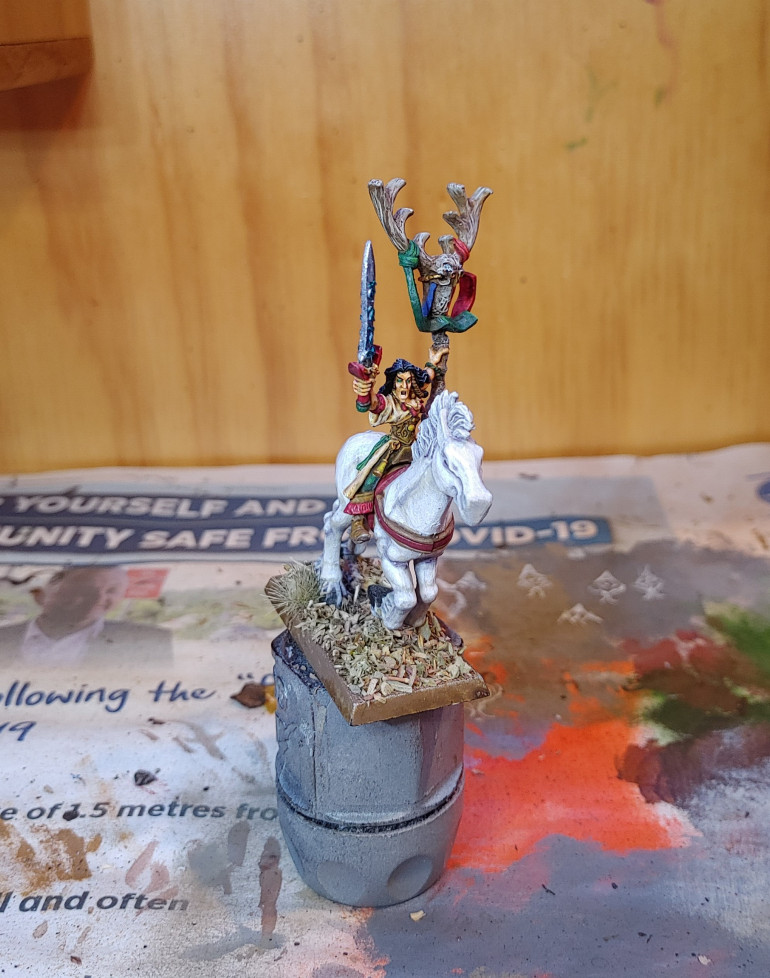
It had me bamboozled as to what to do with it for a while… I wanted it to stand out from the rest of the staff, be look as though it was made of something natural. Carved wood, or crafted from bone? At suggestion of our fellow community members, I painted the eyes red just to really illustrate that it was magical.
Since this was the last step, it was time to bring the mount. Painted as part of a previous project, they were painted for these very elves.
06 Apr 21: Another one done
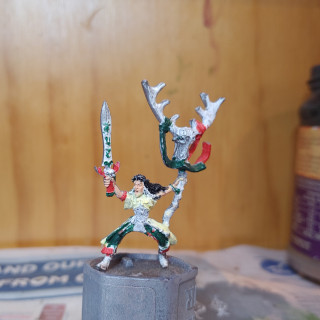
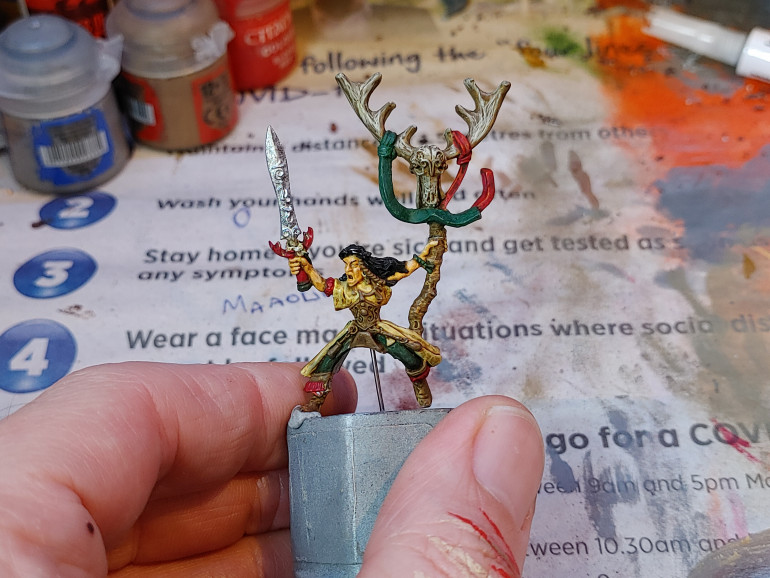
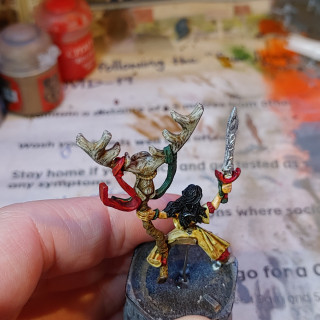
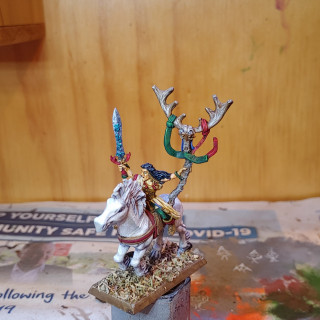
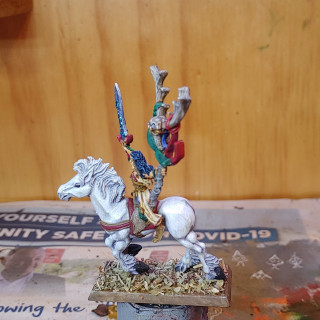
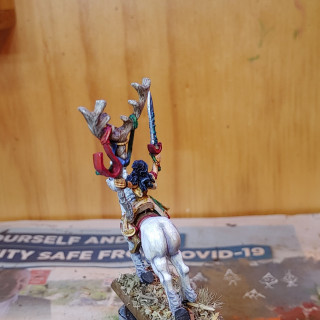
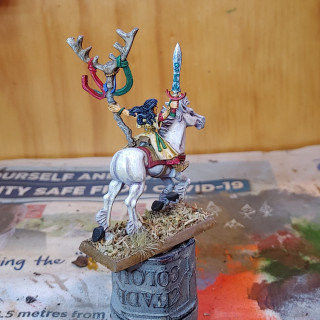
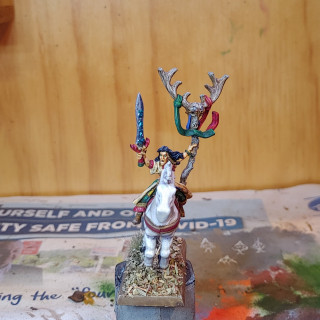
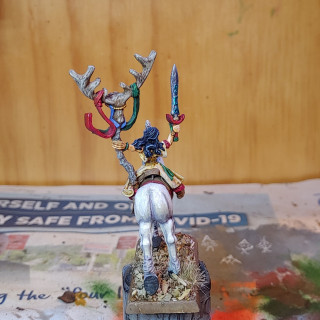
23 Mar 21: The Antler Mage
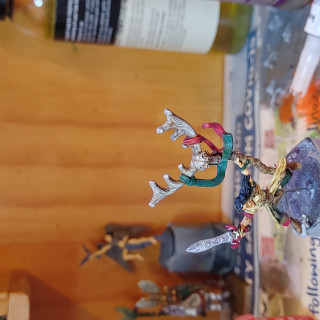
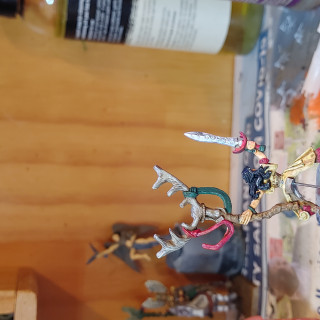
I returned back to this guy here after focusing on the other mage. I wanted to make the antlers look somewhat more like antlers, rather than just flat one colour. I spent a bit of time looking at images online to get an idea of colour and patterning. From memory the colours used were:
- base: Citadel Steel Legion Drab
- shade: Vallejo Brown Shade 200 (Flames of War range)
- mid: Vallejo Khaki 70988 (Model Color)
- high: Army Painter Skeleton Bone
Base and shade as usual. The Mid and High colours were applied, well thinned in thin lines, trying to follow the contours of the model. Yeah, I don’t know if they actually look like antlers… but I like it better than just the usual flat bone colour.
06 Apr 21: Riding out!
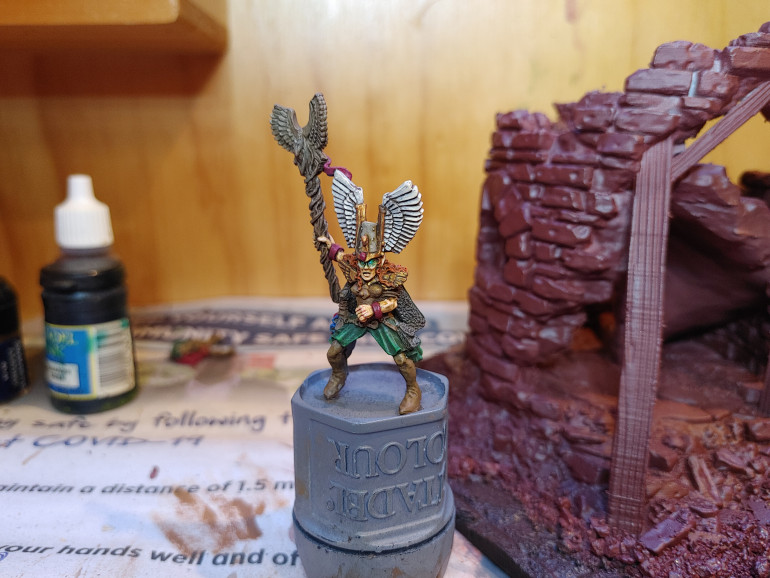
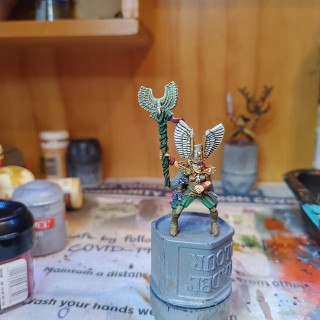
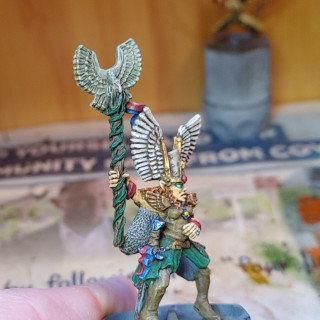
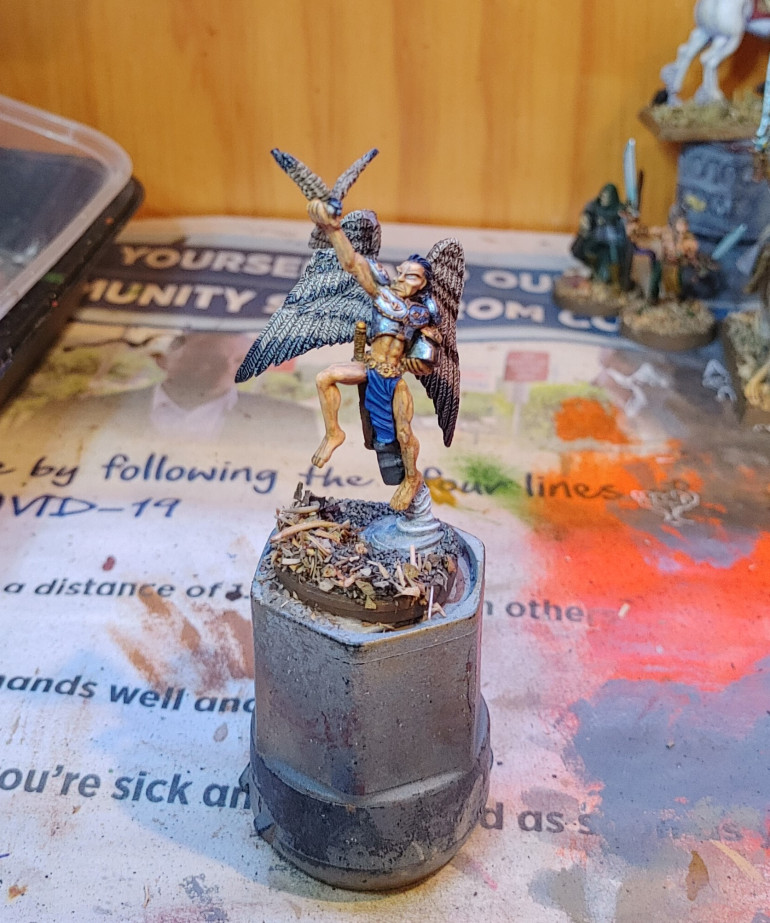
03 Apr 21: Winged Warrior
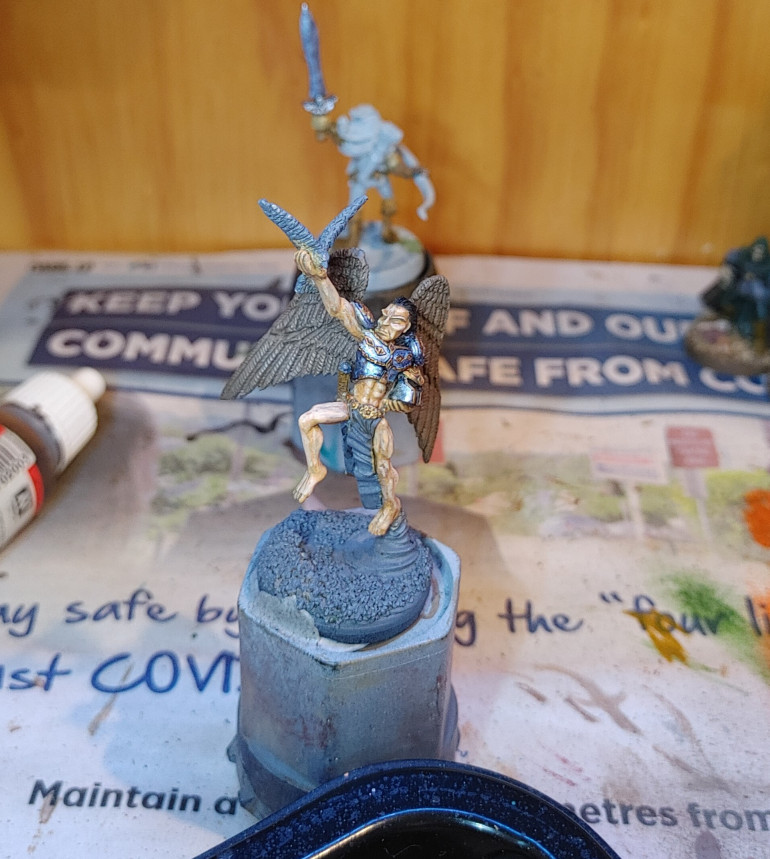
At this point my focus has swung around to this mini. So far the base colours were blocked in for the wings, and armour.
The skin is Citadel Bronzed Flesh, upon which I layed 2 thin glazes of Vallejo Khaki as an experiment, instead of the usual Vallejo Brown Shade wash.
The armour is Vallejo Silver . It had two glazes of Citadel Asurmen Blue, then the trim and decorations were based with Steel Legion Drab, carefully layered with Citadel Retributor Gold, then given a wash of Vallejo Brown Shade.
And that’s where we’re up to here:
04 Apr 21: What the heck does a Birdman's skin look like?!?
I did end up applying some Vallejo Brown Shade wash, though well thinned. I’ve gone to highlight with the Sunny Skin Tone. I’vem npt been entirely happy with the skin, but I’m not going to dwell on it. Just keep working on. Maybe overthinking it entirely…
I moved on to the wings and the little bird in his hand. 1i spent some time with googly images again, looking at Hawk wings and patterning. Kind of spent some hours looking at different things, soaked it all up, then picked up the brush…
05 Apr 21: Taking to the air
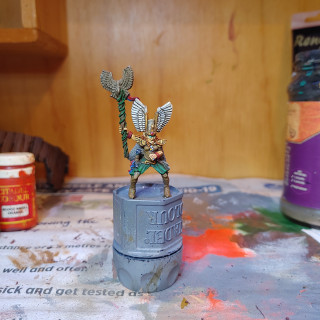
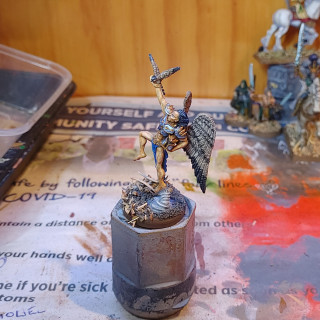
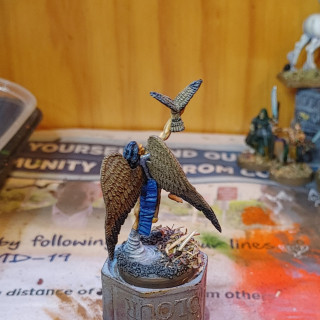
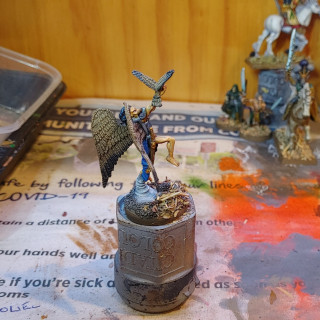
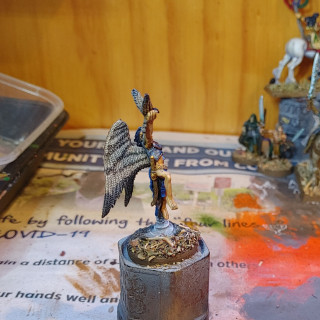
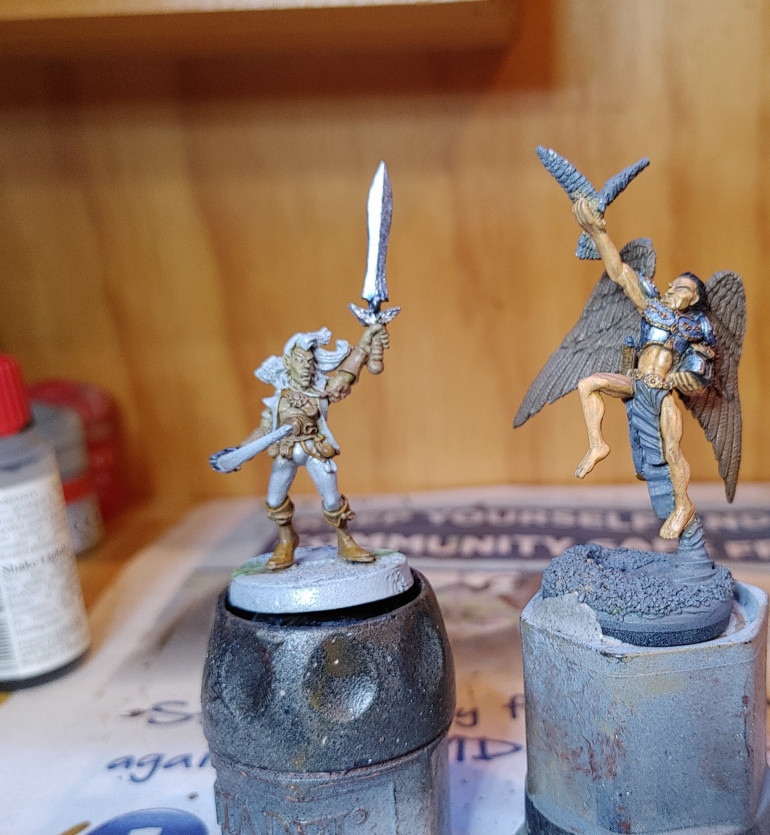
Ral Partha Elementalist Air Lord, produced 1996. I only just found out today (6/4/21) the singular name for this mini! I bought it in a set of three RP Air-themed minis in the late 90’s.
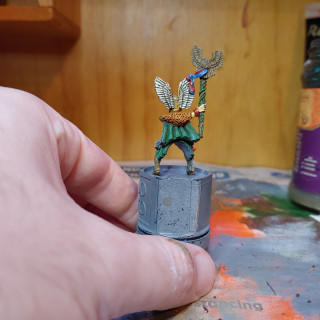
Winged warrior? Spell effect? Magic armour? The detail at the back wasn’t great. The breastplate just sort of stopped at his sides, the wings glued directly into his back…
Anyway, I’ve included this one in in this project. For inspiration I’ve look at Avariel (winged Elves from D&D), and hawks. The wings aren’t meant to be life-accurate. After soaking in the inspiration, it’s what came out.
The wings were painted with Steel Legion Drab, Vallejo Brown Shade, Vallejo 70950 Black for the feather tips. The lighter colour is Army Painter Skeleton Bone (I think, I kind of forgot) drybrushed on. I then glazed the wingtips with Army Painter Dark Tone.
I might tidy up the base a little, but essentially, this one’s done.
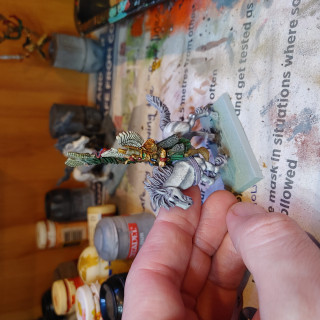
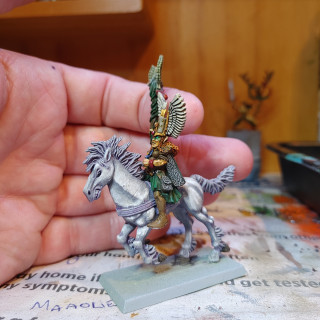
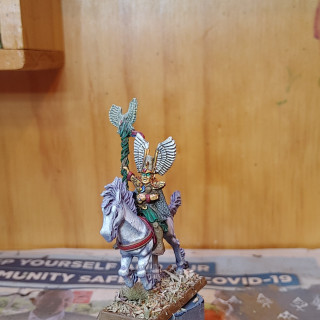
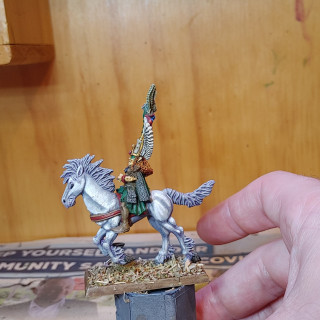
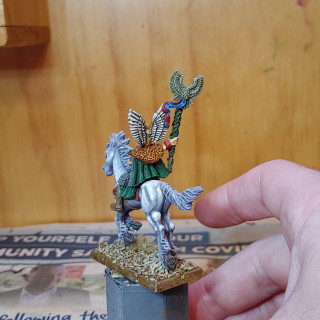
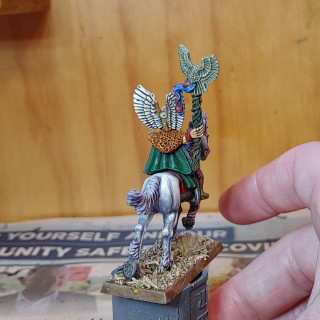
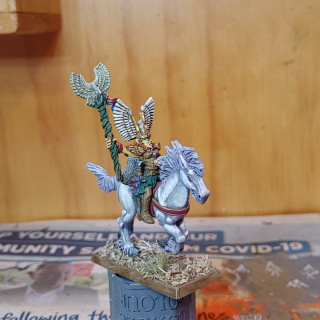
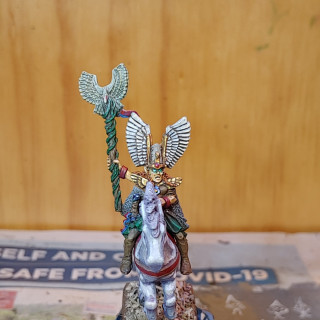
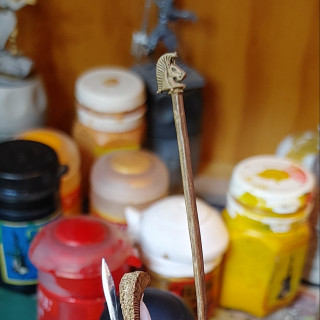
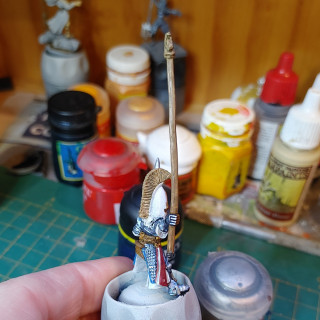
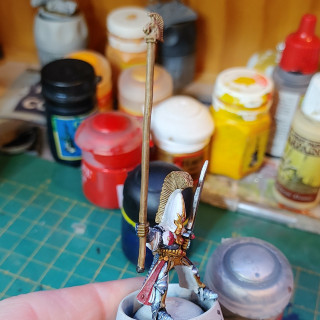
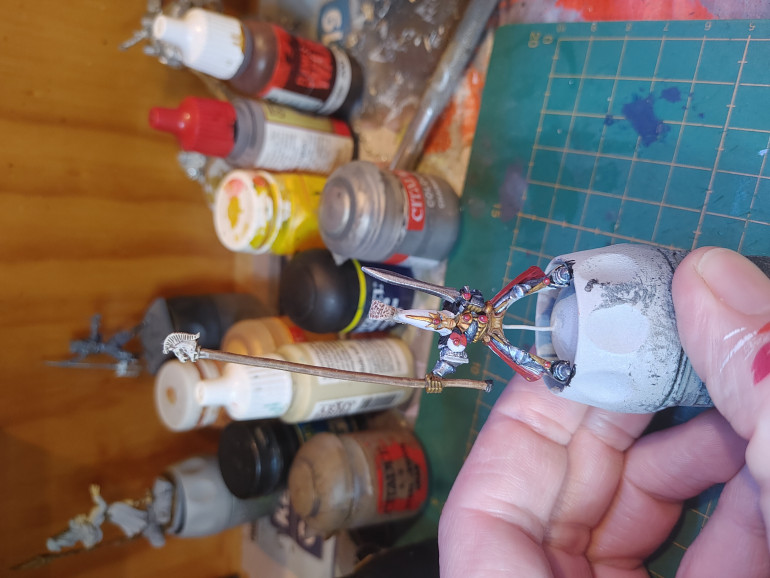
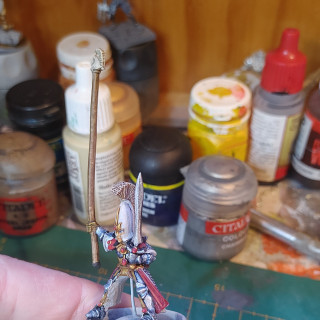
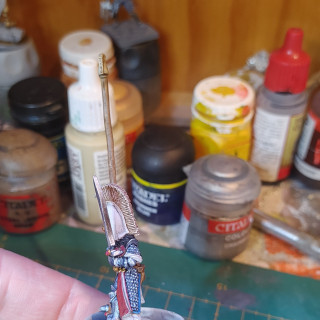
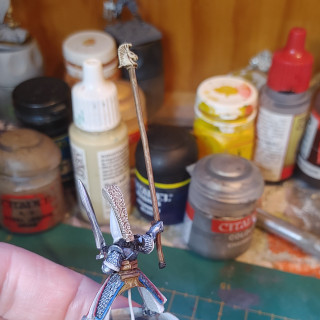
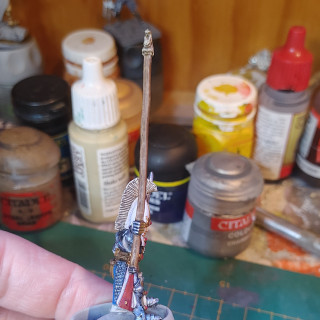
24 May 21: Banner Bearer on Horse
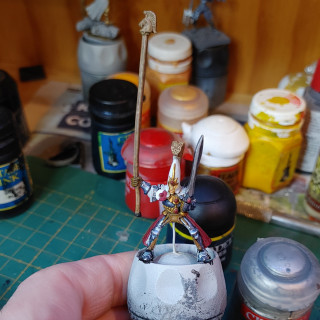
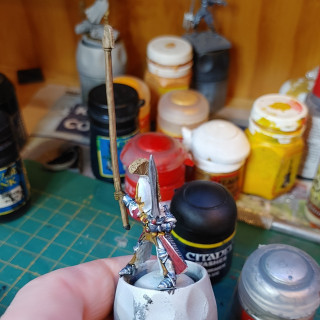
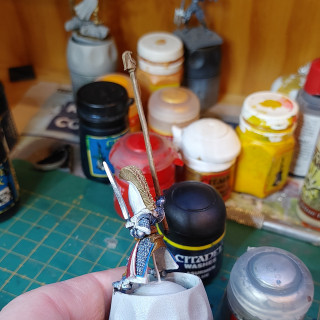
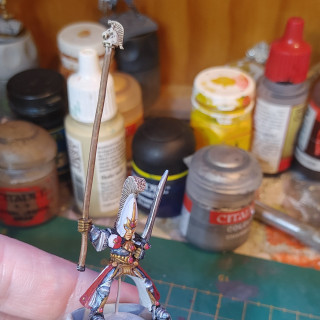
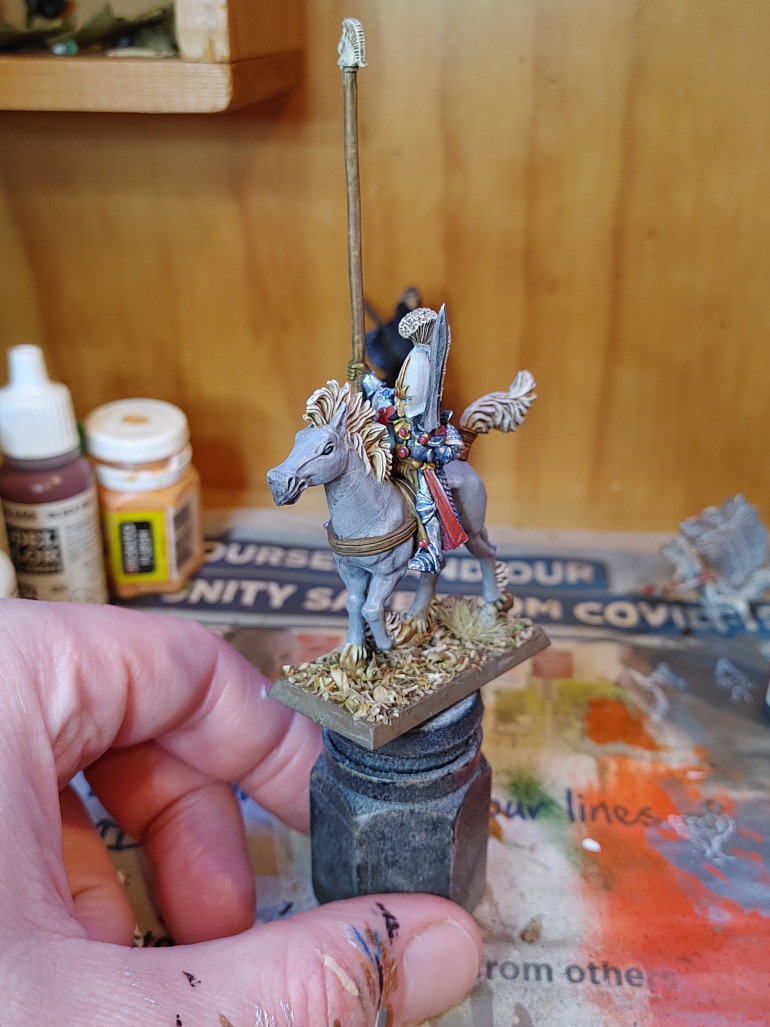
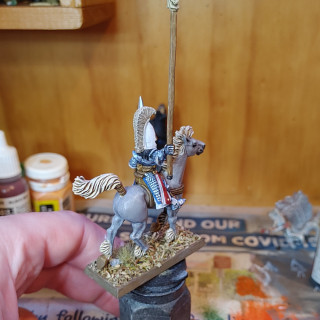
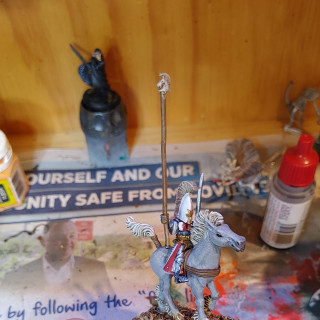
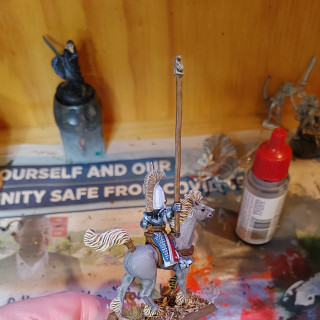
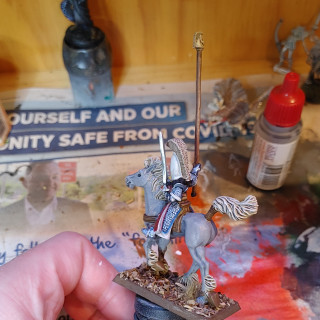
An old GW metal High Elf banner Bearer.
25 May 21: Rider done...
2 Jun 21: Horse bearer... Now with added Horse!
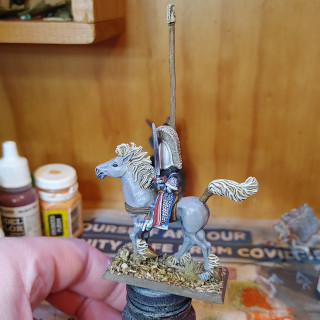
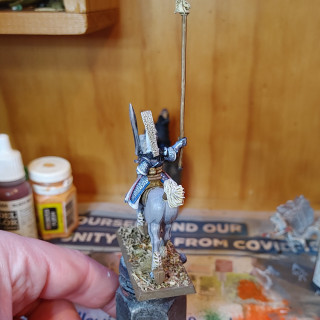
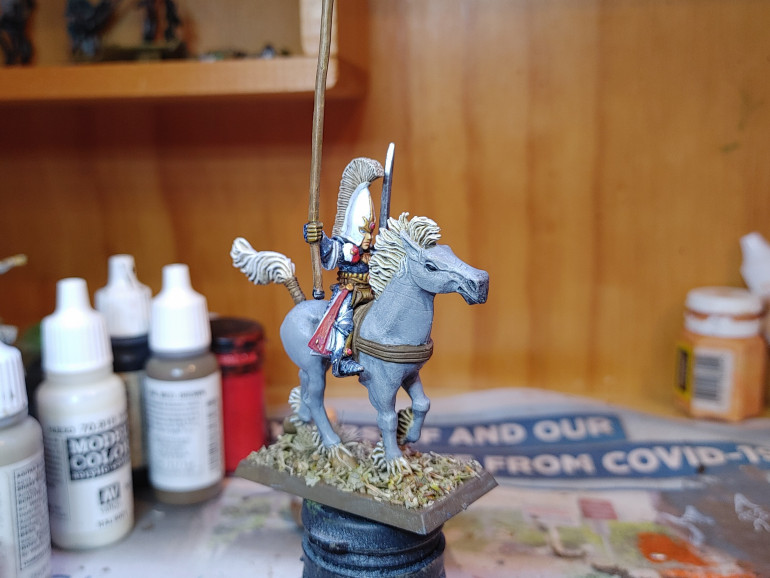
The work on the horse and rider are done. The rider has been painted to match the other high-elf types previously completed. The horse, a gift from the most excellent @evilstu is a Wood-elf style horse. The horse and basing done to match theirs.
The rider will be a link between these two groups. Though, overall, I’ve tried to have themes/ colours that link all of these elves together. As of this date, I’ve not finalised a design for the banner, but have a few ideas.
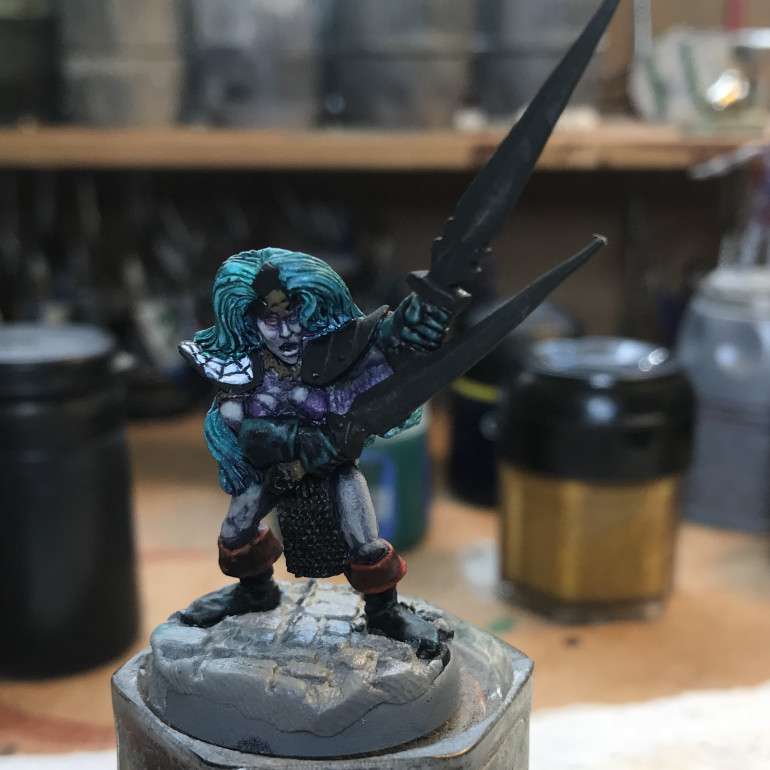
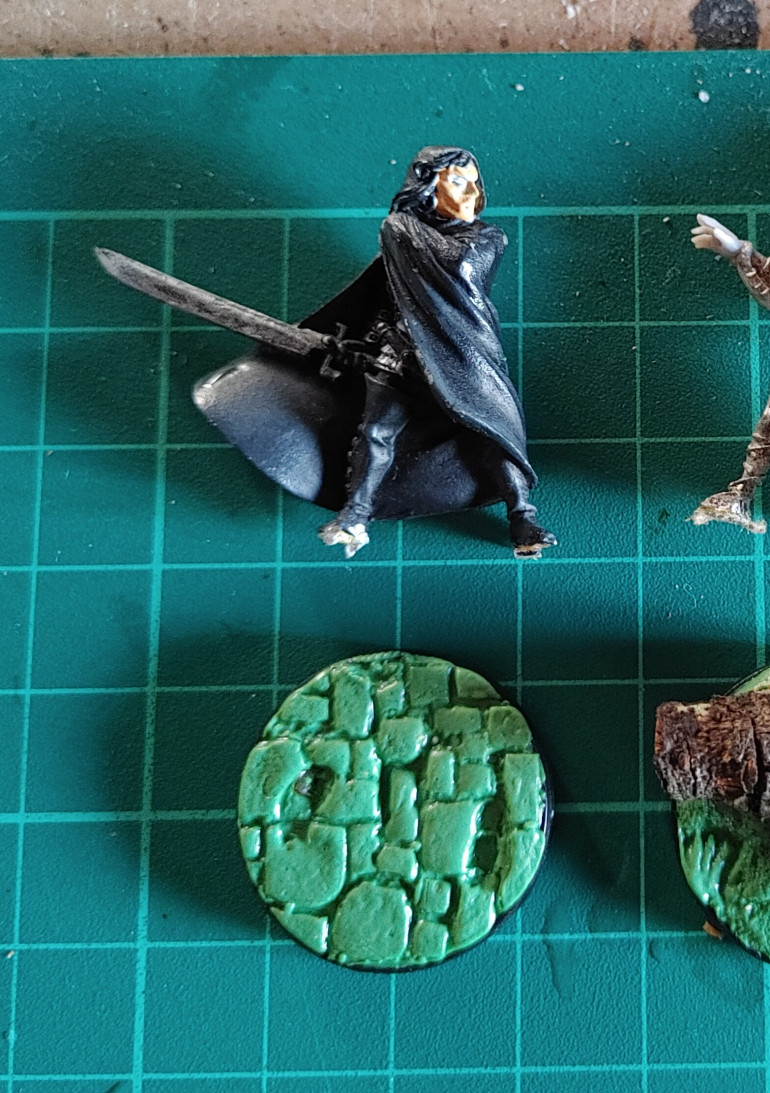
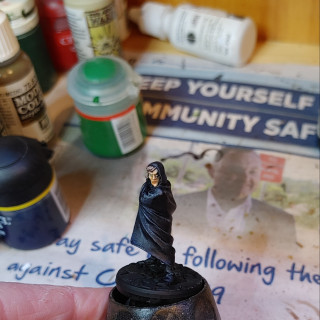
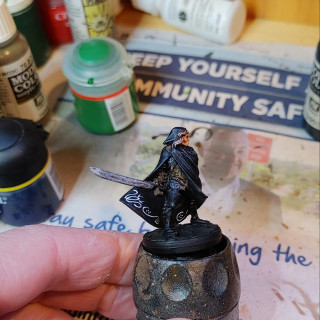
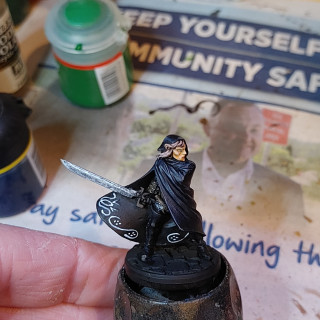
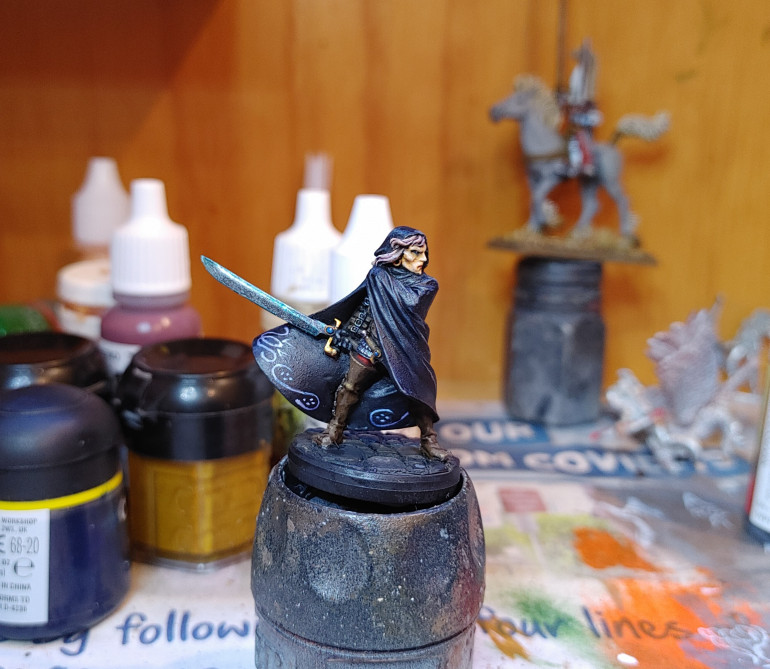
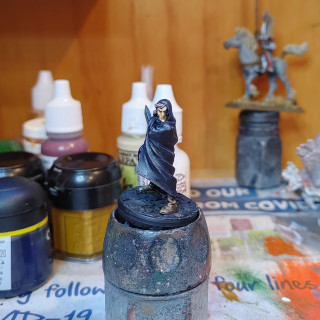
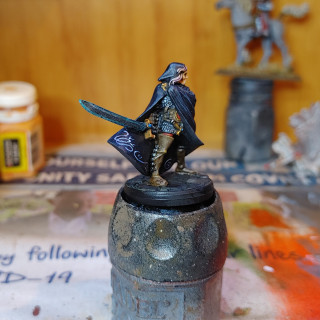
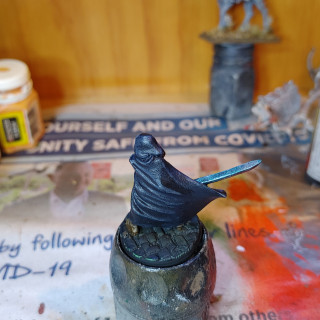
2 Apr 21: Aenur, Sword of Twilight
31 May 21: Mostly done
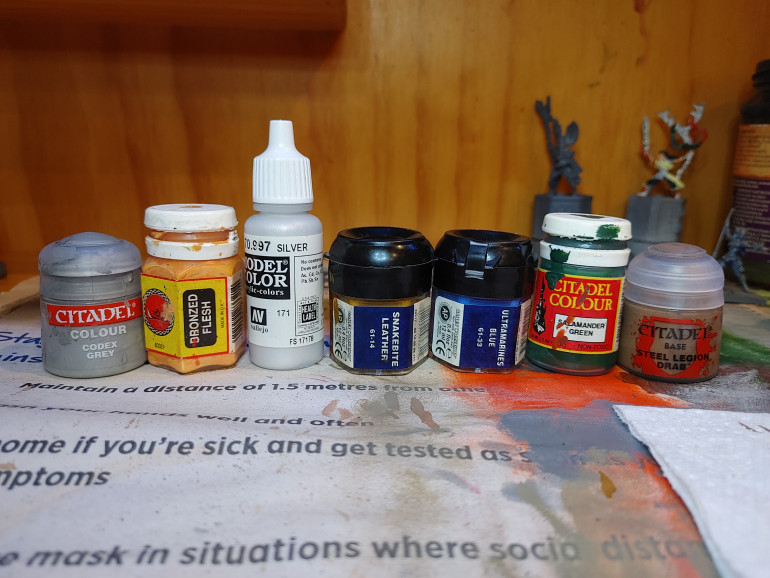
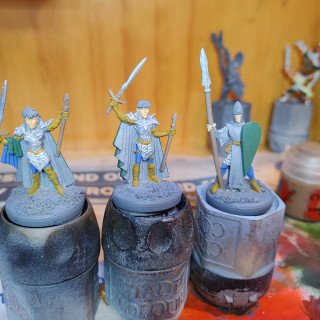
Colours used l-r as above:
- Cloak
- Leather
- Hair
- Armour
- Freehand
- Skin
I added a couple of touches of colour to break up the darkness.
Three leggings were done in a dark red: Citadel Red Gore, with a thinned brown glaze.
The freehand was coloured by going over with a blue and a purple ink. I did each in quick succession, allowing them to blend where they met.
It may be hard to see, but the gem in the sword was done in blues, rather than the Reds and yellows I’ve used on other elves. Just keeping to the cooler/ darker colours there.
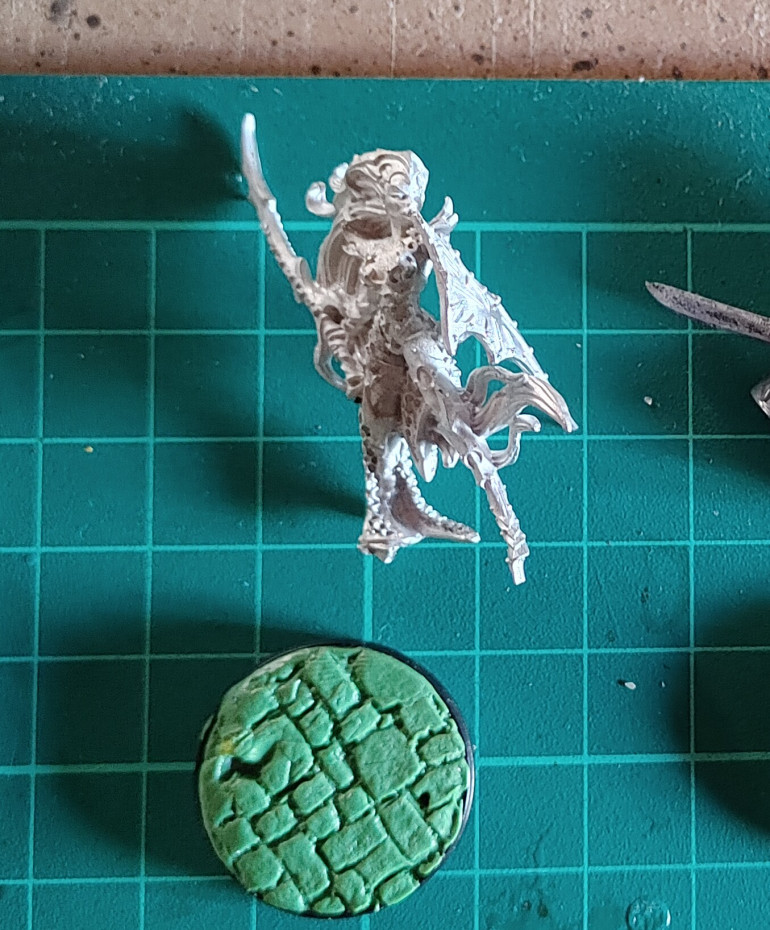
2 Apr 21: Raging Heroes Dark Elf
This mini wasn’t part of my collection when this project started. I picked it up in during Cancon January 2020, when we could still have conventions here. Before The Event. Anyway…
- I grabbed since I’d seen these RH minis, but hadn’t bought one before. This one is in metal and came with a choice of left arm: shield or second sword. Since the Witch Elves I’d done earlier already had two swords, I figured it’d be good to change it up.
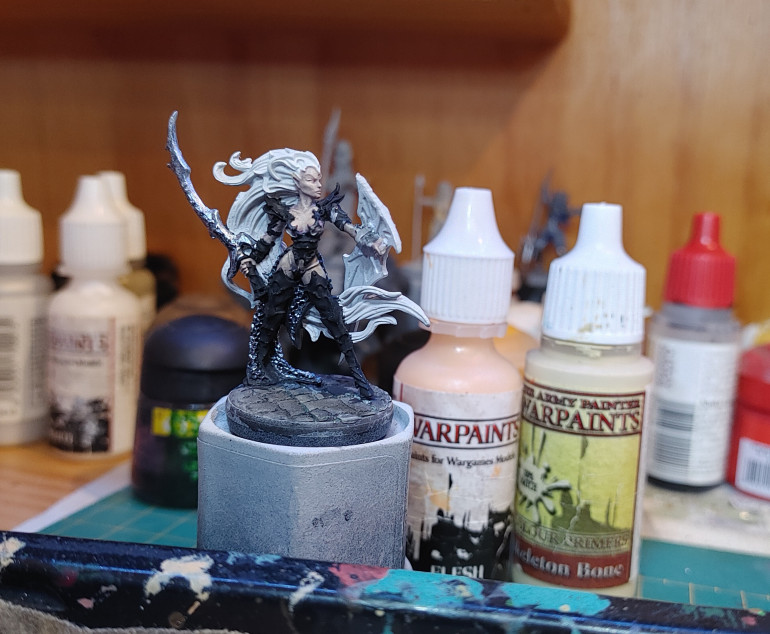 12 May 21: Painstakingly painted in the undercoat for all the armour... Why, oh, why did I undercoat white?!?
At this point I wasn’t enjoying how this mini was coming together. Or rather want coming together. I was second guessing my choices, and that shield arm wouldn’t stay attached.
I attempted to pin it, but the shoulder is so make that I mostly just ruined it instead.
I sent the mini to the paint strip pot, and moved on to another one.
17 Jun 21: Metals done?
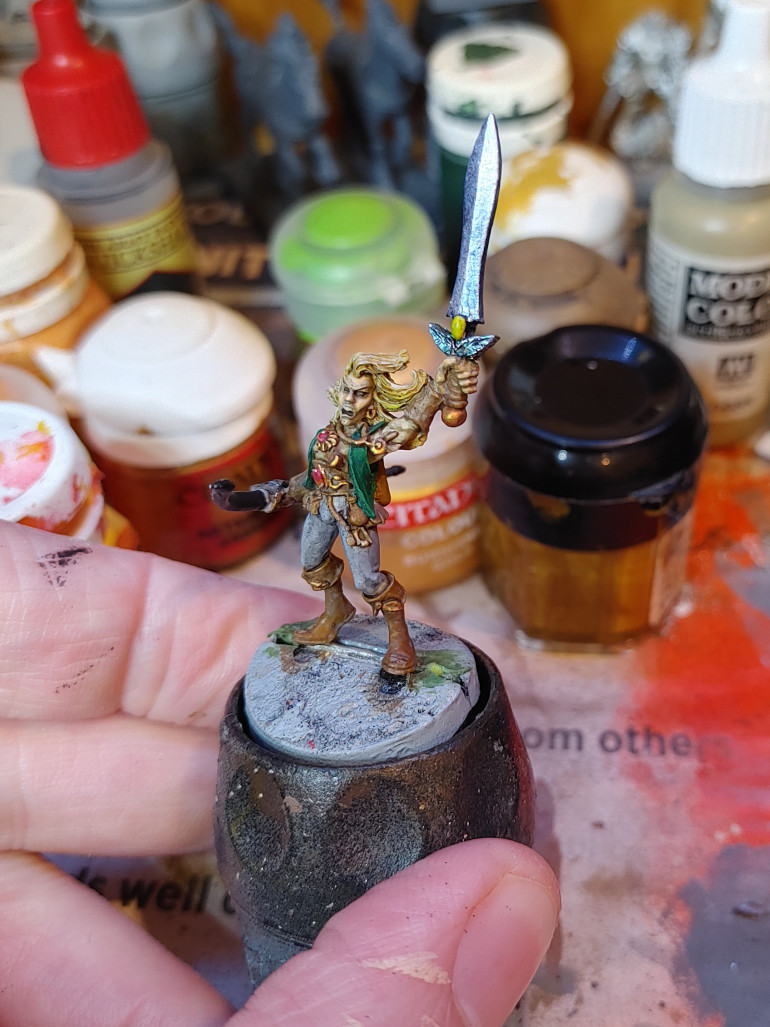
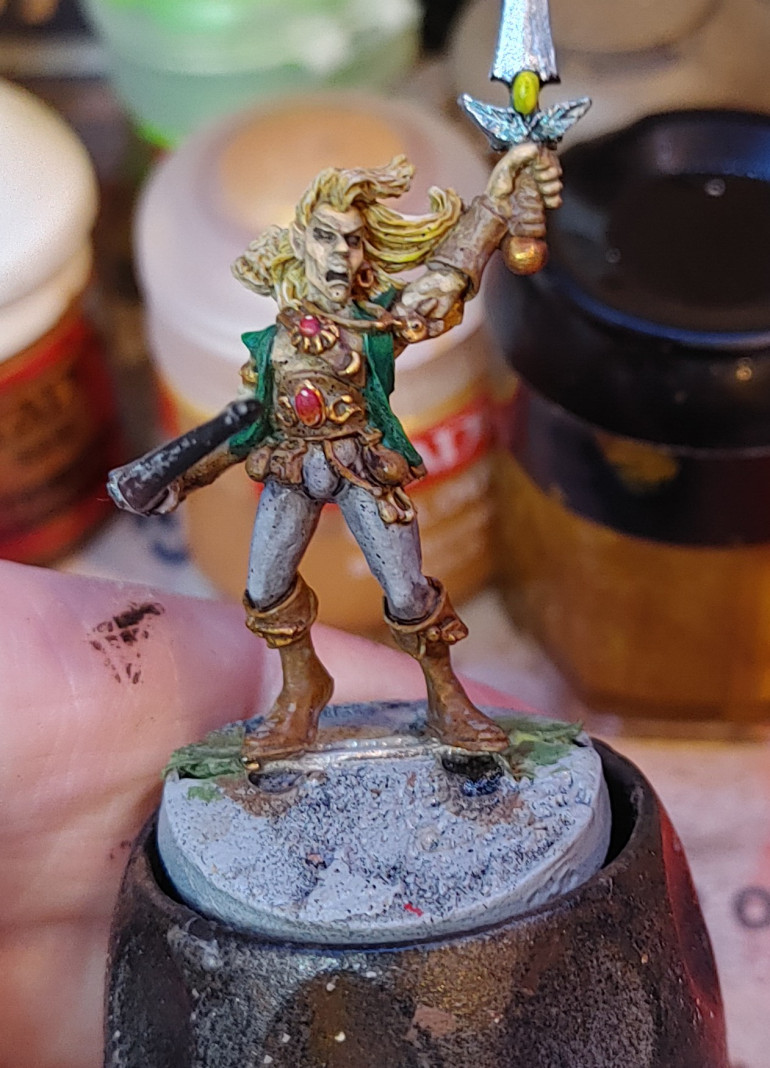
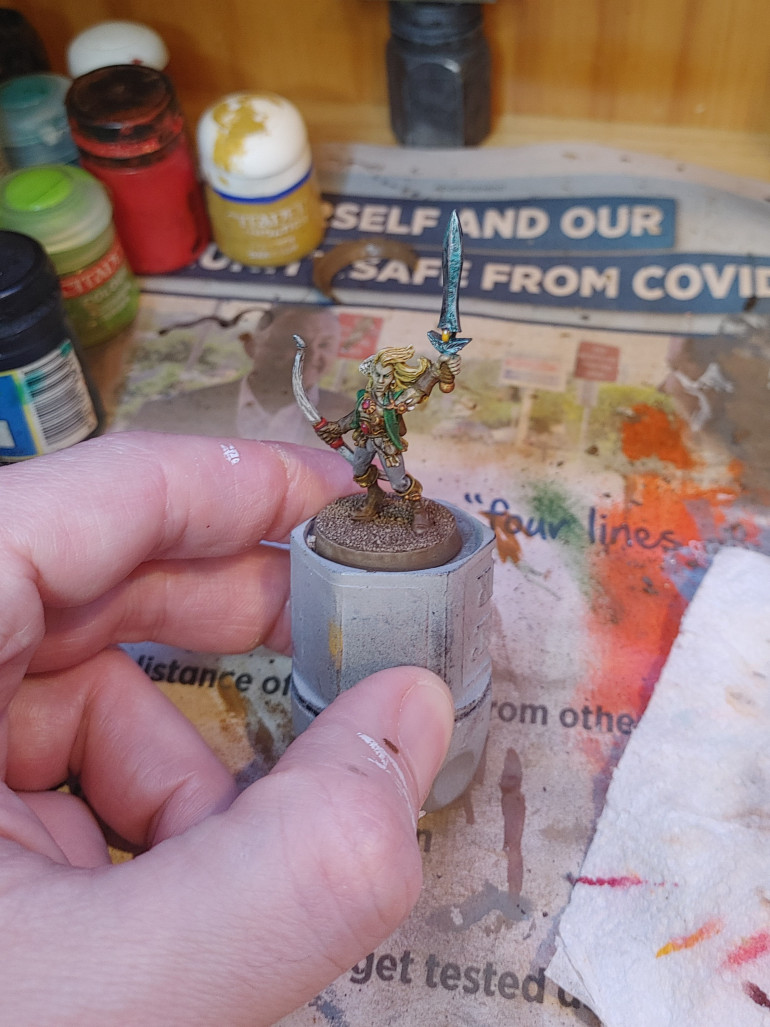
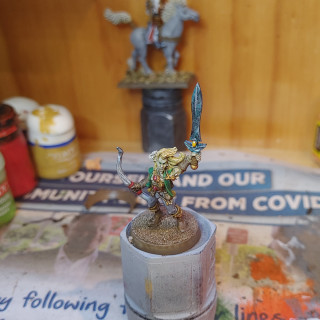
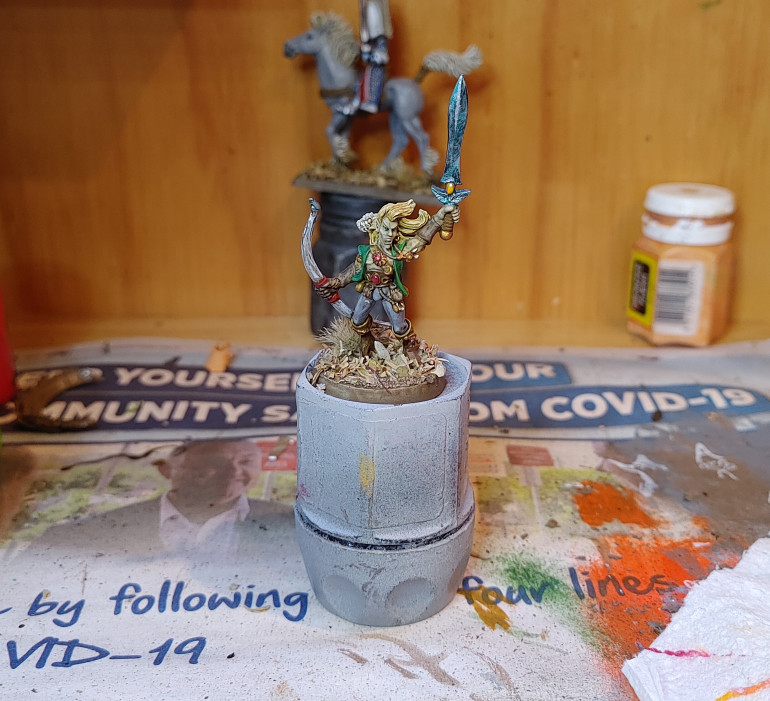
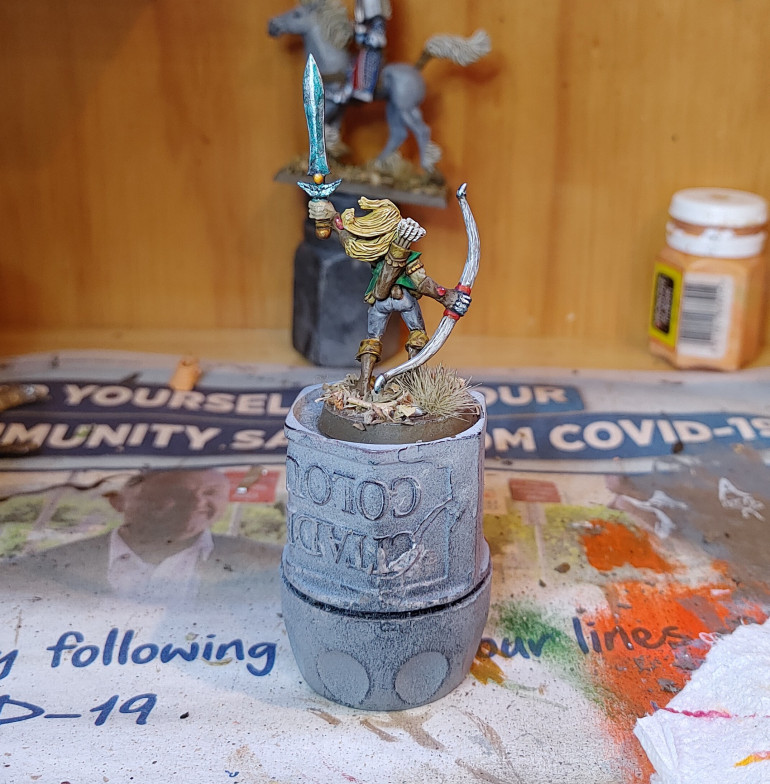
3 Apr 21: A mini-saga of a mini
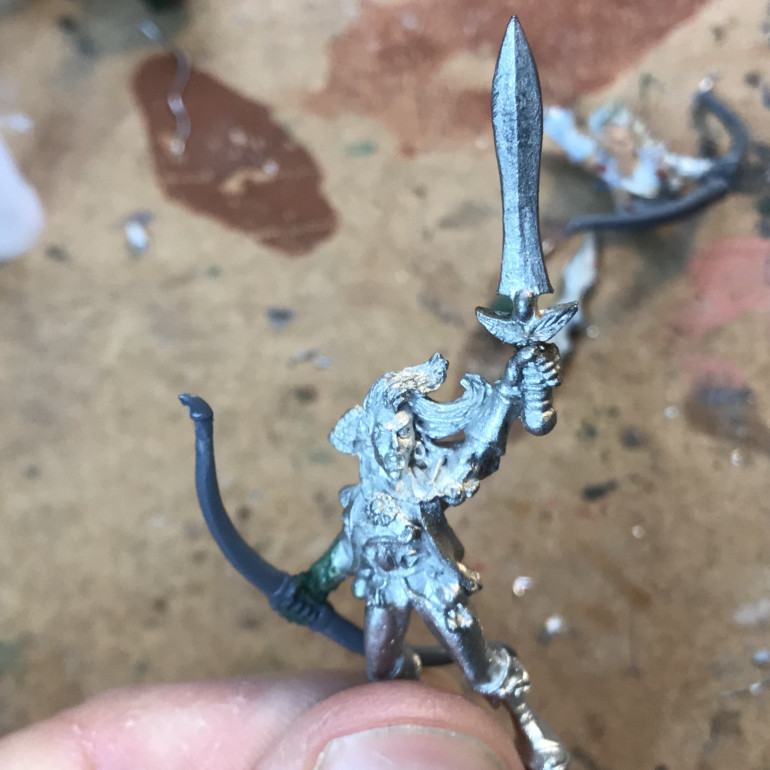
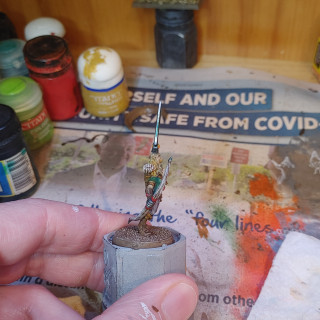
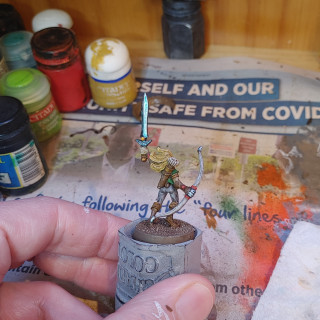
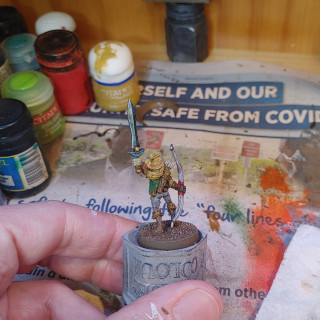
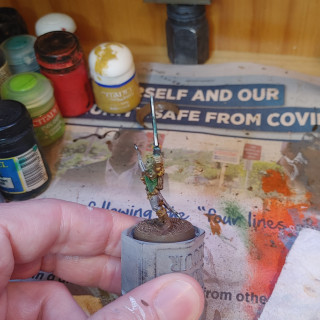
Back at the beginning of this project I “reverted” a mini back to its original state(ish) after having removed hand for other conversions. The original sword was re-attached and a substitute hand with bow found as a replacement for the original.
At this point the mini was very nearly done. I’d not decided what colour the bow was to be, at this point I decided on a grey. I began by base coating with black and left it to dry for the next day…
When I returned I realised I’d fumbled! I’d watered my black down a little too much and been careless with my brush. I’d flicked black paint all over the front of the mini. Everywhere. I was kicking myself.
I contemplated trying to repaint over to correct, but very quickly decided I wasn’t done of that.


