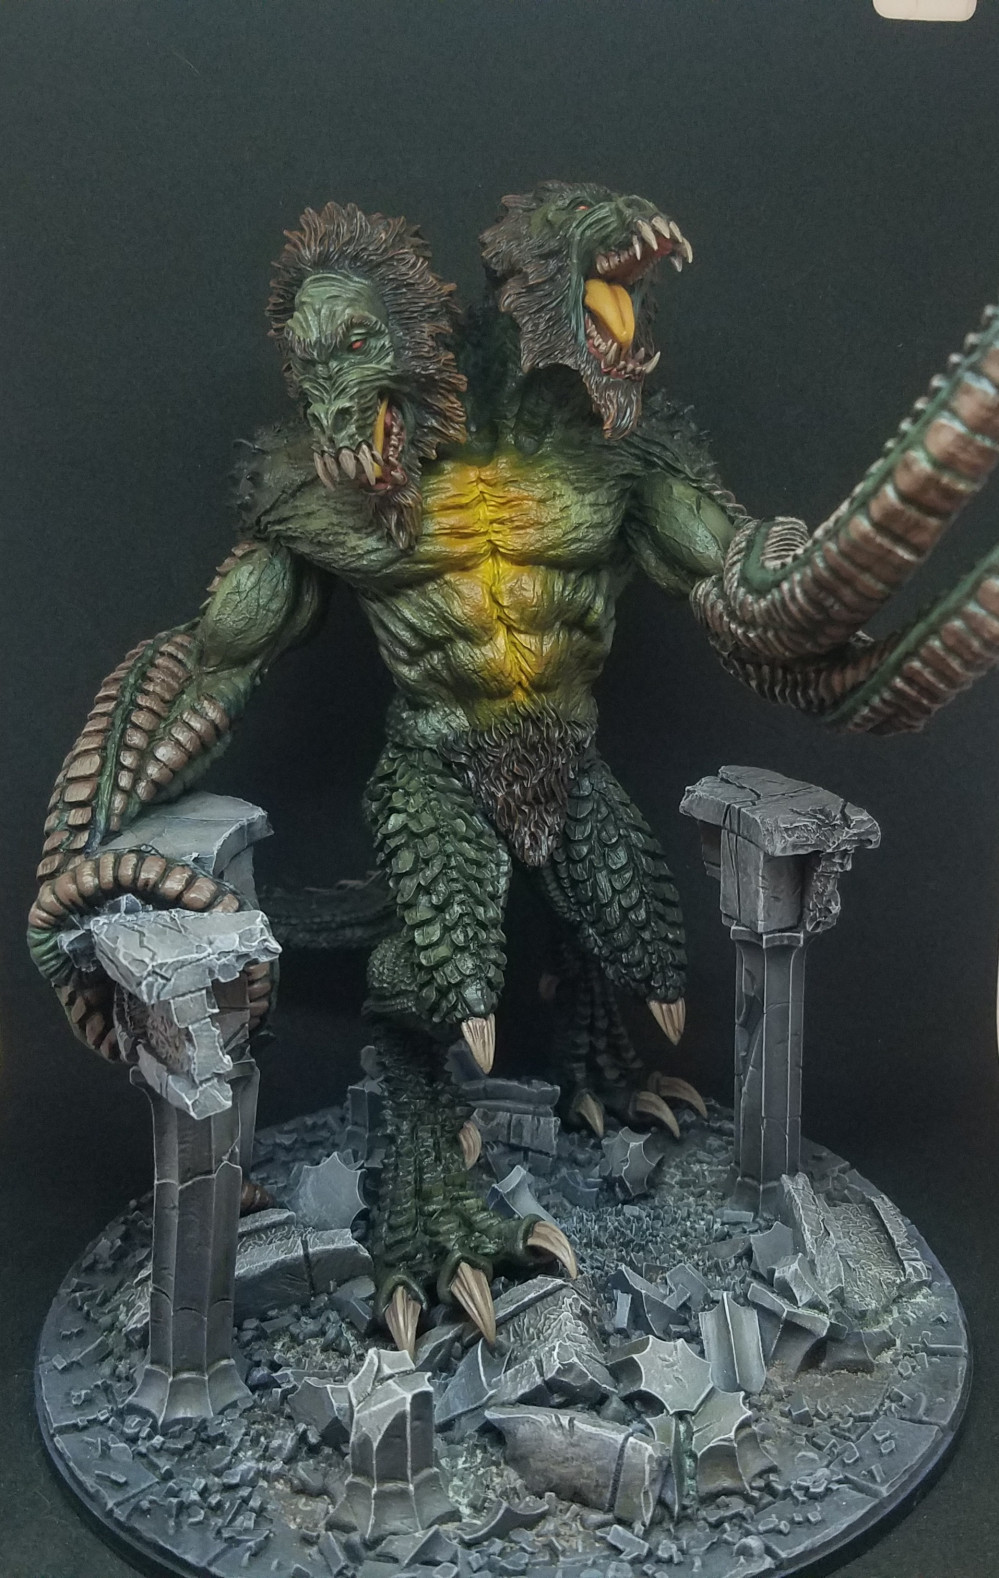
Demogorgon by Gorka
Recommendations: 63
About the Project
This will be a smaller project log tracking my progress on building and painting the demogorgon model by galeforce nine.
Related Game: Dungeons & Dragons
Related Company: Gale Force Nine
Related Genre: Fantasy
This Project is Completed
The beginning
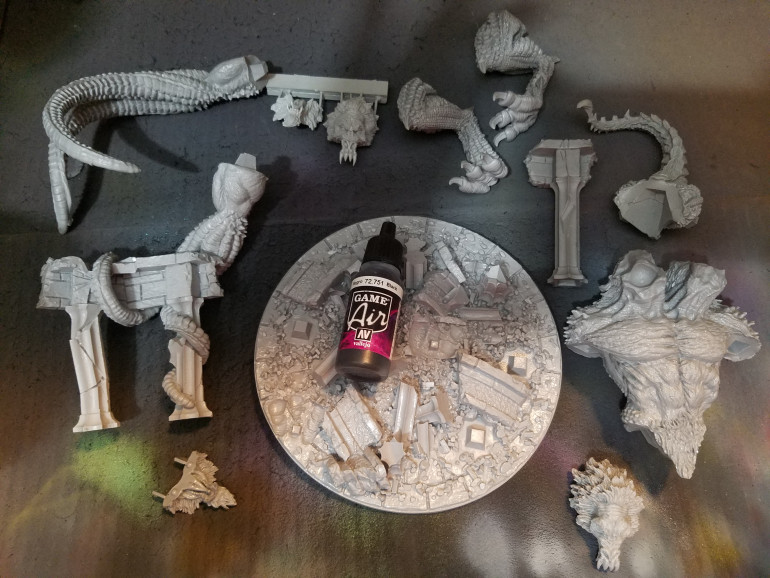
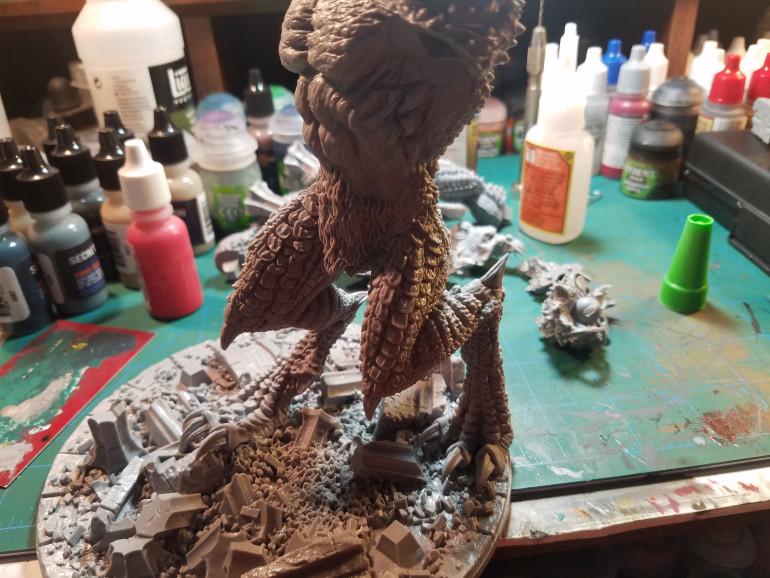
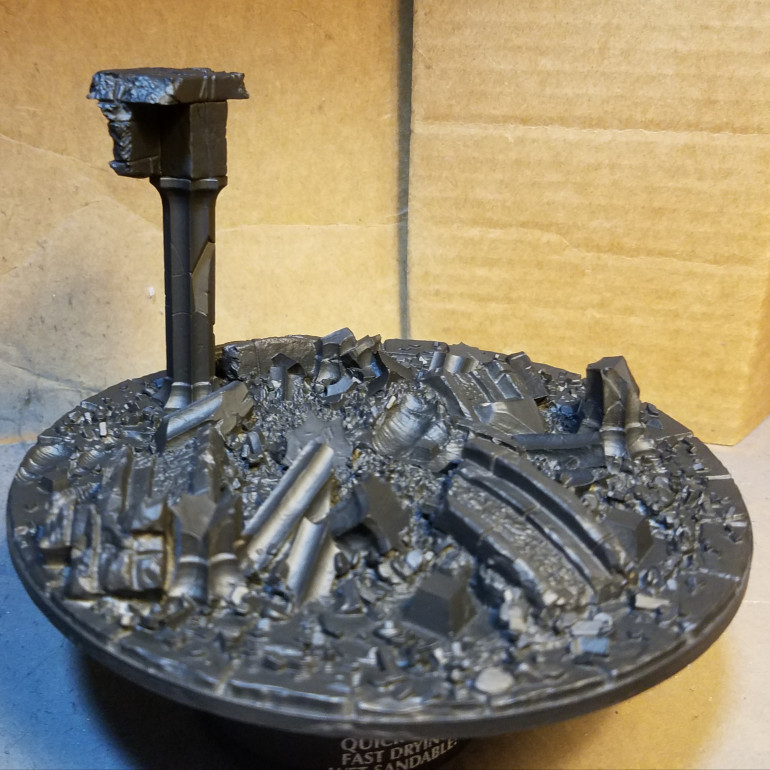
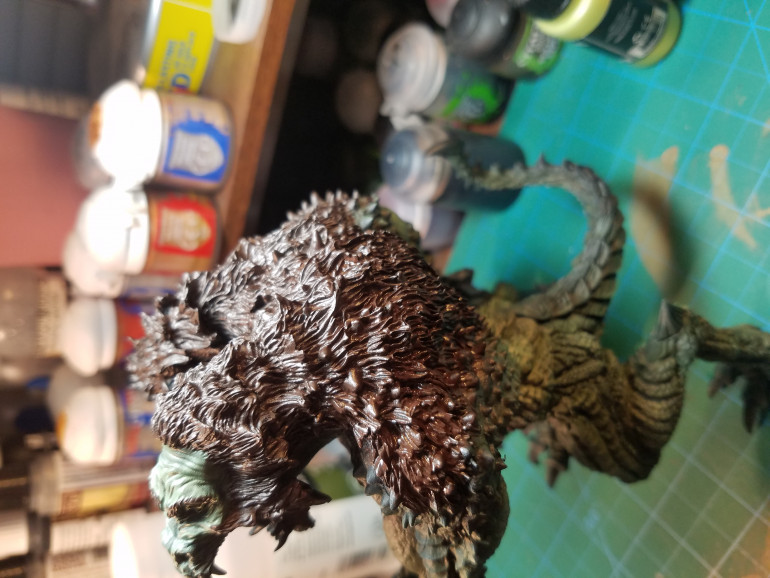
So I was commissioned to build and paint this beast by a client I have been doing a lot of D&D stuff for. Tonight I took the first steps in starting this monster. As the model is resin it got a bath to clean off any release agent still on the sculpt.
The bottle on the base is to show off the scale a bit. It is a standard VGA dropper bottle. This is all for the first post. My next post will be going over the build of this monster.
The build
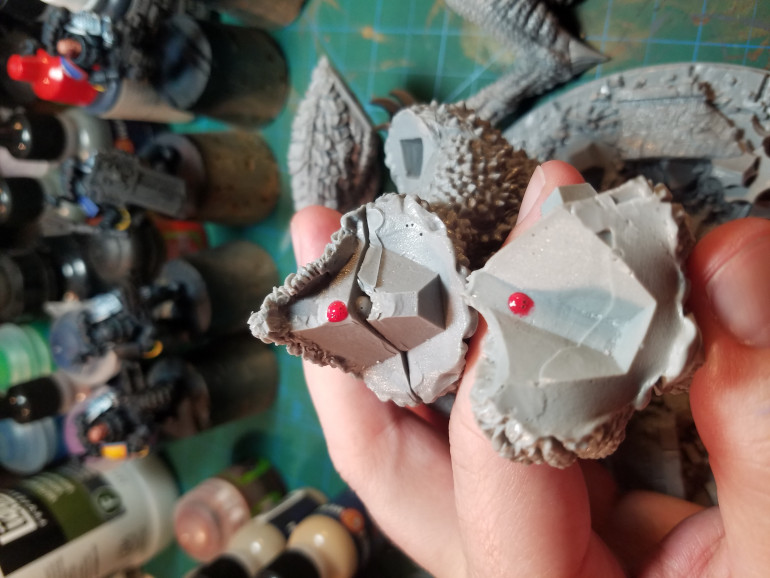
In this update I will go over the build of this giant. The first thing i did was put a dot of paint on the torso and seated the pelvis piece to it.
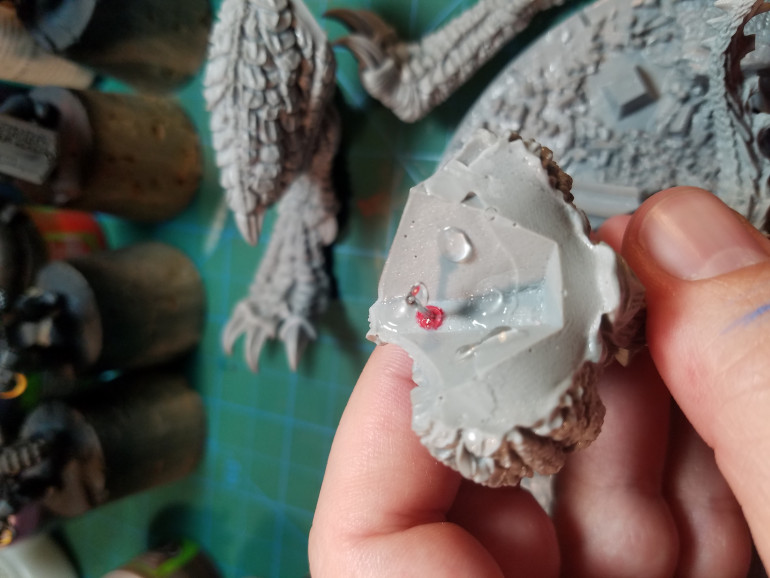
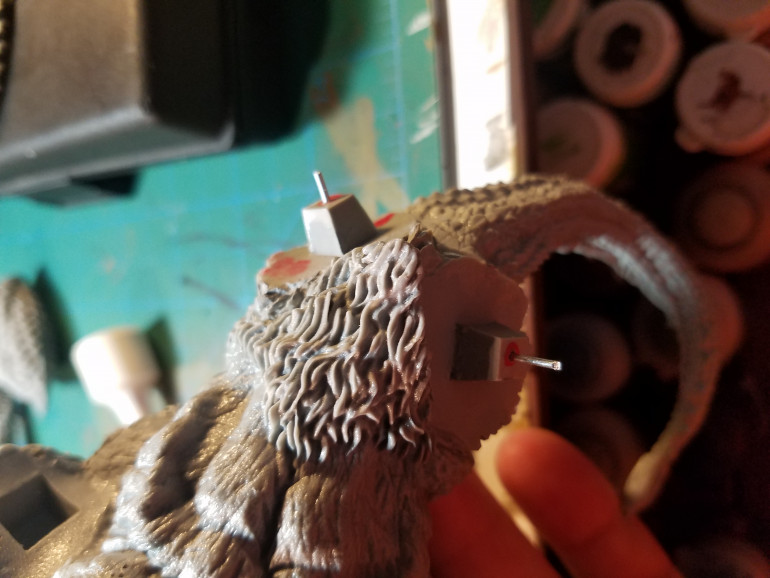
By doing this now i know where to drill my holes for the pins. I make these holes using a pin vice drill. After that i cut some “pins” using a thicker gauge paper clip and glue one end into one of the holes. Once the glue has had a minute to cure i reseated the pieces to make sure the length of the pin wasn’t to long. Then I added some glue to both the face and pin.
Follow this process for each piece that needs to be connected. Also allow plenty of dry time in between each piece.
Now when it came to the legs I had to do both at the same time this way they would seat up to the pegs that they connect to on the base.
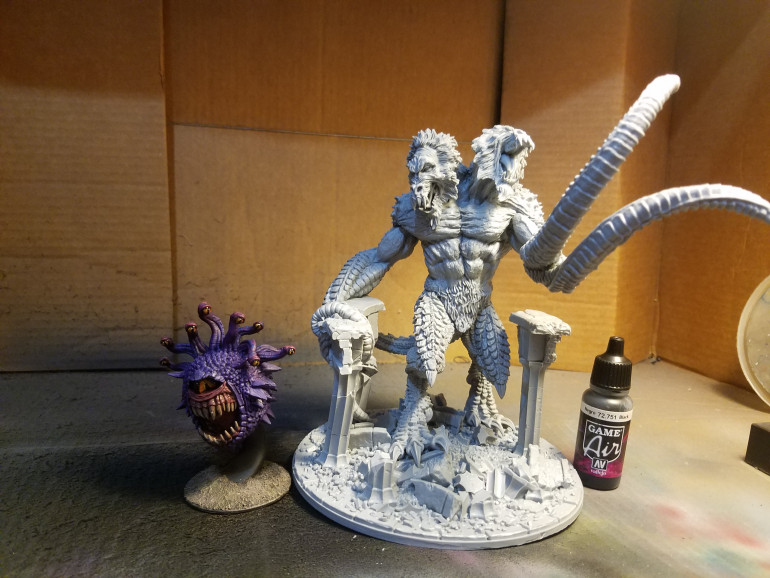
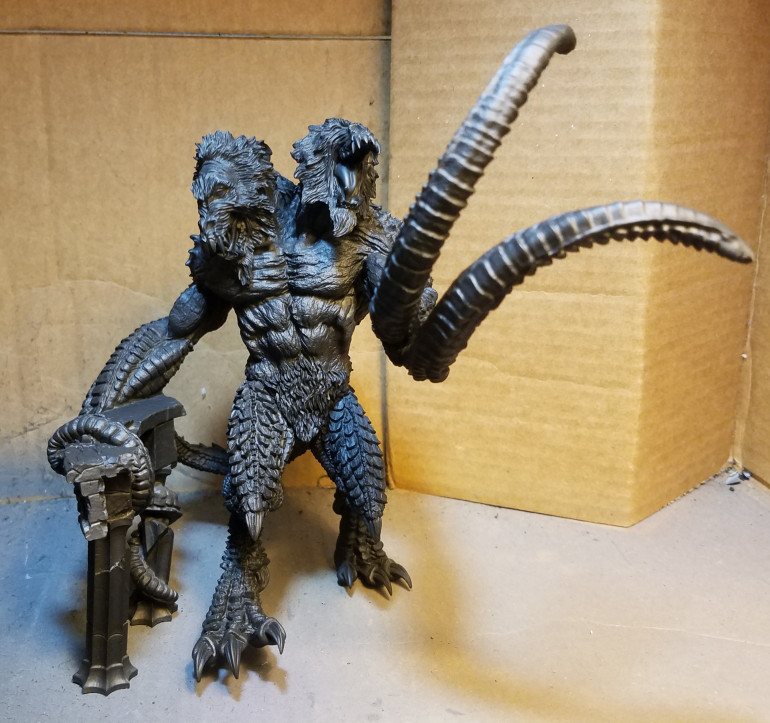
After the legs then I glues each of the arms and heads individual as described above. Once every this is glued the model will look like the picture below. The beholder is for scale purposes. In my next update i will go over how i will be filling the gaps on the model.
Filling gaps and priming
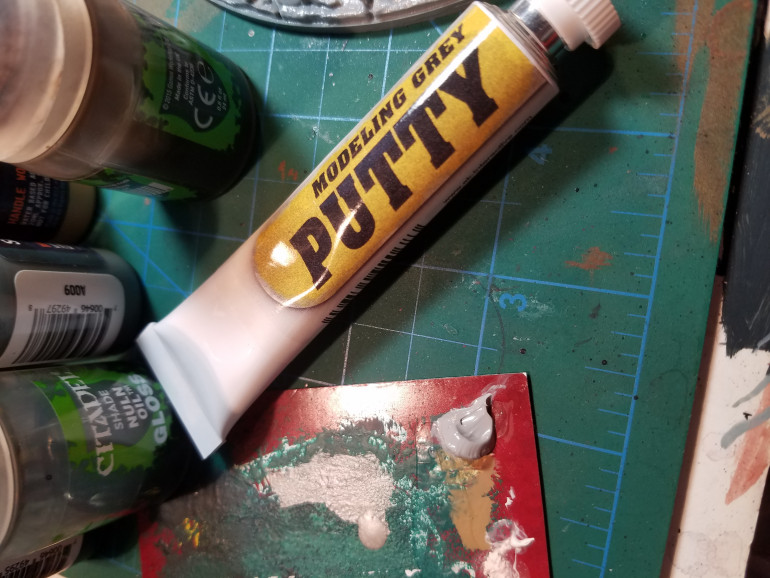
After the model is assembled and the glue has had time to fully cure, I started filling in gaps in the model. This was done by using AK interactive modeling grey putty. Alternatively you could use green stuff, liquid green stuff or Vallejo plastic putty. I chose the Ak putty for its ability to be thinned with water.
First up I put some of the putty on a spare piece of card.
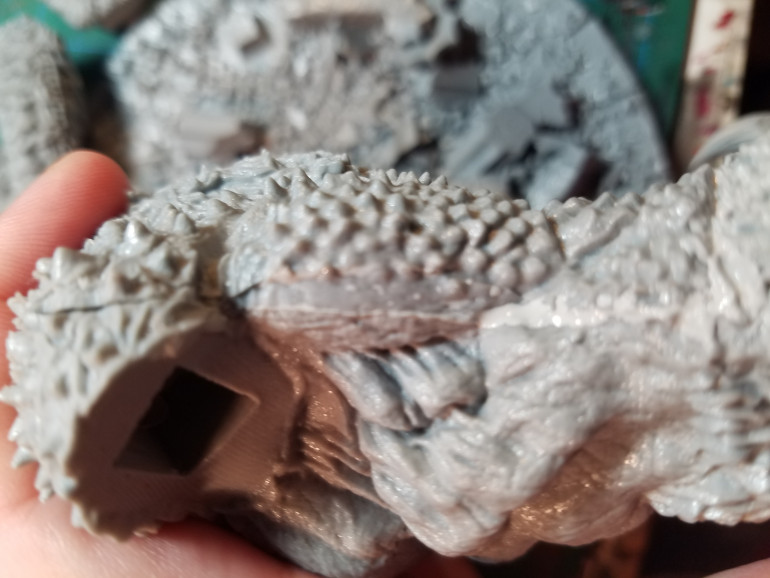
Next with a beat up brush or a brush dedicated for this work, I add a bit of water to the bristles (as if you were thinning paint) and then load my brush with some putty. I apply it straight to any gap. After the gap is filled I quickly rinse my brush and smooth out the area near the gap to easy the transition of the putty. With larger gaps I use little to no water and press the putty into the gap with the brush until its buldging out of the gap. Then i smooth out the area with a wet brush. After the putty has had sometime to dry some of the gaps may need a bit more. Just add more were needed at that point.
After everything is dry now its time to prime. I primed the model in three coats. This was done using and airbrush and black stynylrez surface primer. I prefer thinning my primer and doing very thin coats. A mix ratio that works for me is flow improve, primer, thinner in a 1:5:1 in that order. This is then shot at 20 psi. If you have your own method that works for yourself use that. This works very well for me as I live on the east coast of the United States and it is often very humid. Next update I will be working on painting the base.
Just a peek
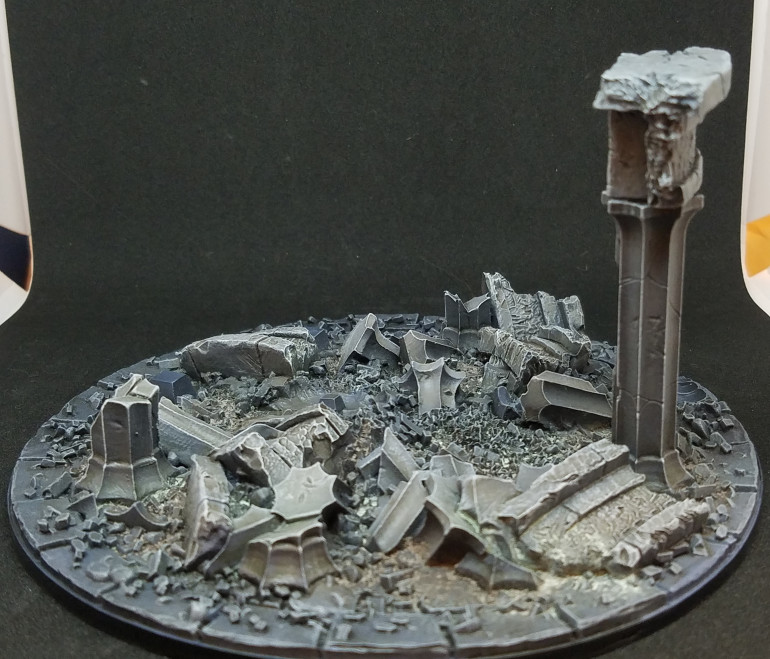
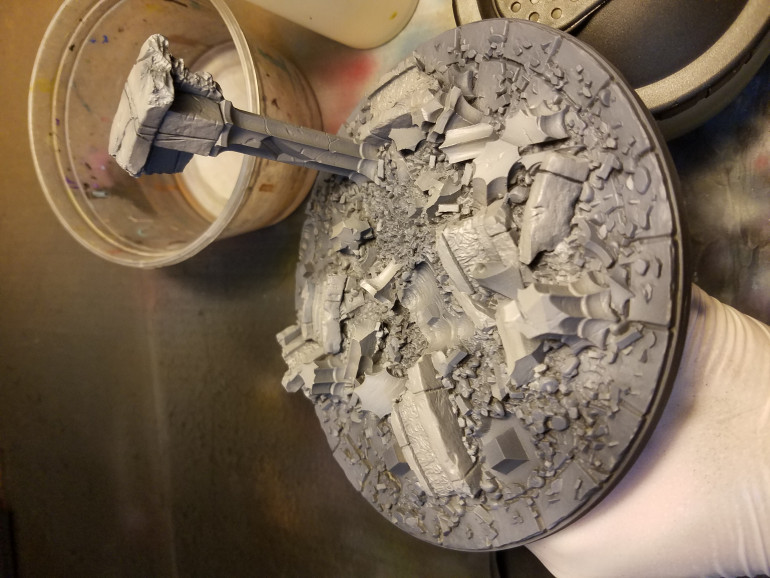
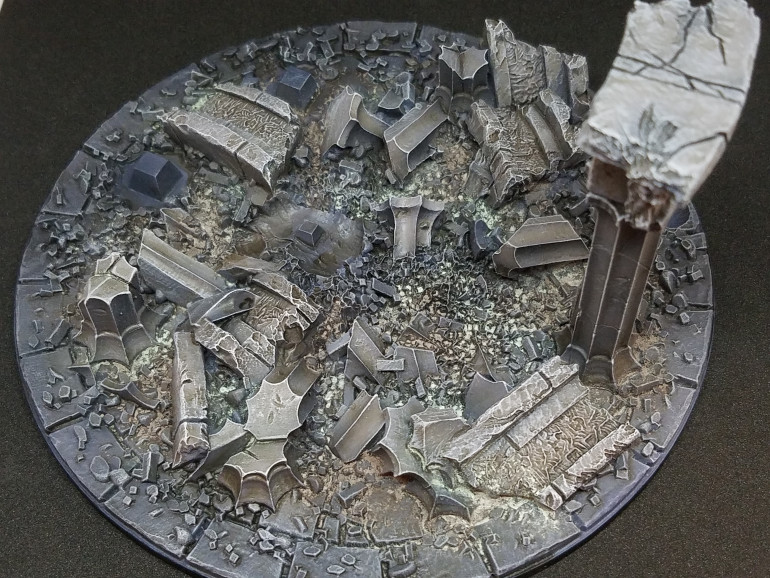
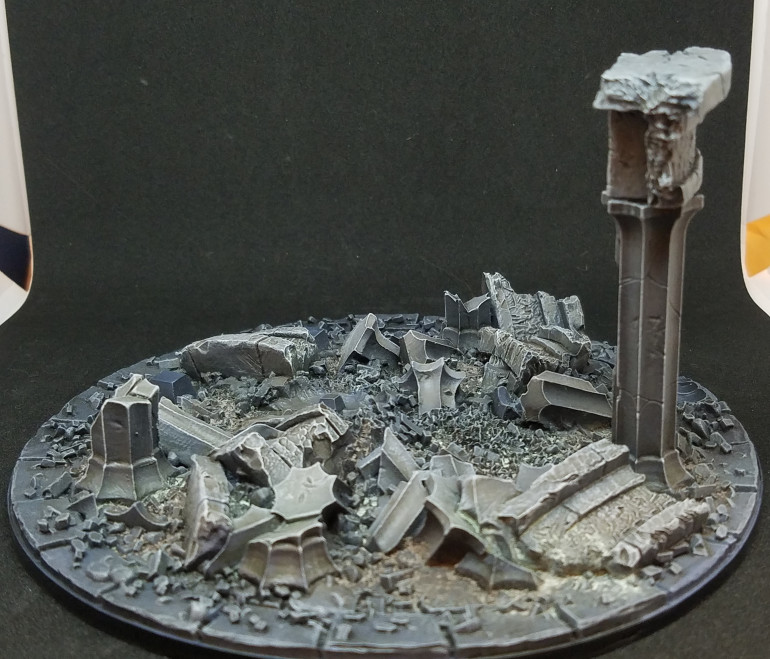
This weekend I was able to finish the base. The tutorial I will post soon but, for now here is the base other then grass tuffs but that will be add at the very end.
The base
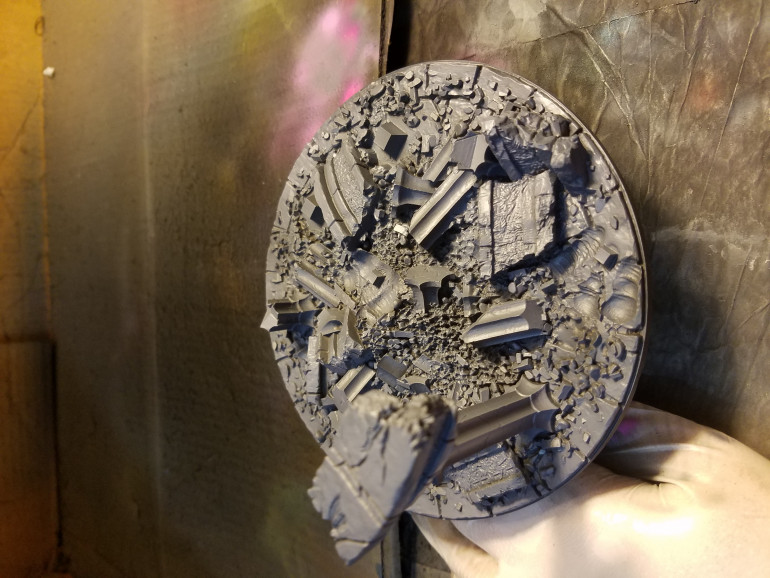
So to start the first half of this tutorial was done with and airbrush. When spraying colors, tints and washes I always thin my paints down with a few drops of Vallejo flow improver and a couple drops of water. With that said i base coated the base with a 5:1, sombre grey:charred brown (both VGA). I was looking for about 90% coverage
Next I focused on the bigger pieces of what was the pillars and arches. I sparyed a 4:1 cold grey:charred brown (both VGA) again looking for about 90% coverage on these pieces. After that with out clean out my brush I added a couple of drops of stonewall grey (vga) to spot highlight the same rubble as before.
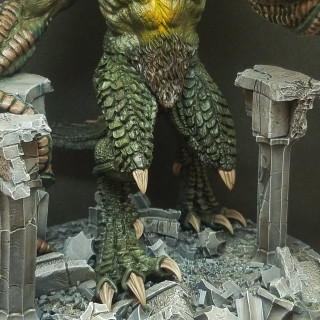
After the base has had time to dry i applied a wash to the whole base with about a 1:1 strong tone and medium. Try to avoid pooling on the bigger pieces. Once that was fully dried I gave the whole project a dry brush of dawnstone (gw). Next with a lighter drybush I applied administratum grey(gw) to the ruined pillars and arches. The final dry brush was applied to the freshly broken surfaces of the stone with pallid wych flesh(gw). After some dry time i applied some dry pigments. First i added slate green (secret weapon) in a stippling motion randomly but avoiding the bigger chunks of rubble. Next i did the same thing with industrial city dirt (mig). Once i was happy with the pigments i took a spray bottle with just water and gave the base a misting. This will help fix some of the pigment. After the base was COMPLETELY dried I gave the base 2 coats of model masters dull coat.
I will end up adding some vines and grass tuffs later on. For now the base is finished. Next we will be doing the green skin for the Demogorgon itself.
Base skin color
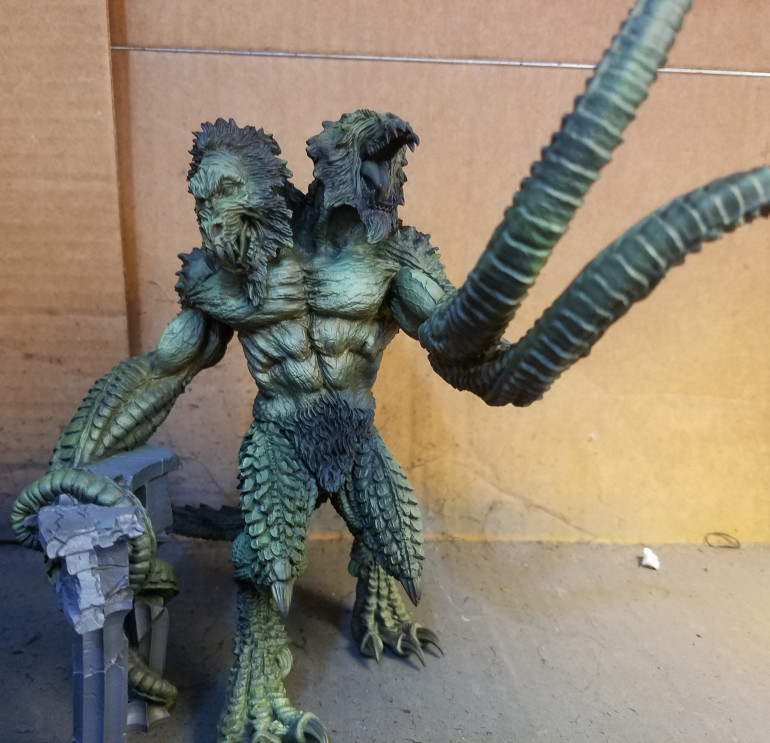
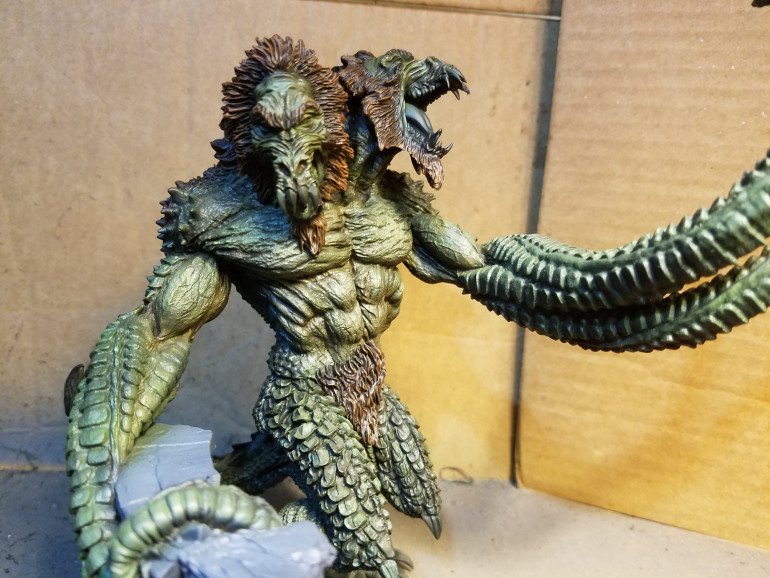
So im going to brake the tutorial up in chunks. This chunk is the base skin color. In a later post I will be bringing up this base color to the next level using a brush but for now all of the work will be airbrush work. Starting with goblin green(VGA) i base coat all of the skin with about 90% coverage. By doing this the black left in the shadow areas will help the contrast of the next step. Next by mixing a 2:1 charred brown:goblin green (should turn out as a muddy olive color) I cut in all the shadows. I do this nice and thin allowing the black to make this color dark and the green from the last step to make it a bit brighter. After cutting the shadows i fade in some more goblin green with a couple of drops of dead flesh (VGA) on the raised surfaces. The last blend in this part was a 1:1 goblin green:dead flesh. This was done from top down sparingly.
The last thing done was this was matt coated with model masters dull coat. This will help protect all the airbrush work. Once dry i will go back and strengthen the shadows and highlights by hand.
The finished project
So this second to last entry will go over the rest of the painting. First up paint all the fur rhinox hide (gw).
Next i washed all of the skin 1:1 agrax earthshade to medium. During this I kept an eye on the area and wicked away any pooling with a clean wet brush.
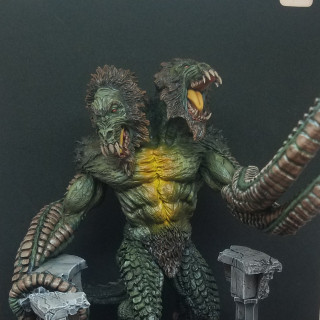
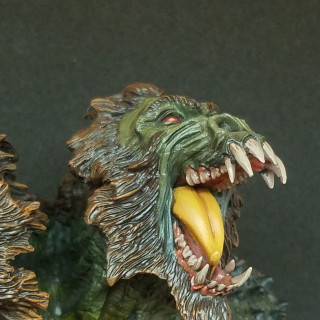
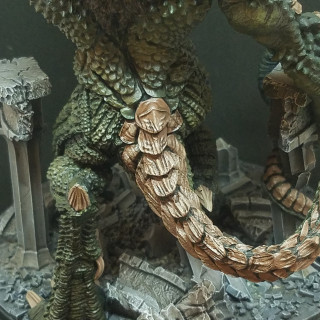
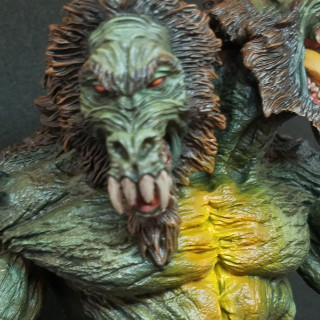
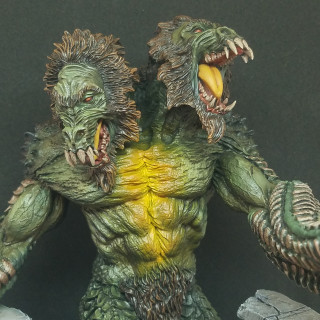
After that was dry i dry brushed the fur mournfang brown focusing on the upper areas and edges for the facial hair. Then I dry brushed skrag brown (all three are gw) on the very edges of the facial hair and top of the back and head fur. This was done lightly. All of the bone, claw, teeth and armor plates were done by: a base coat of gorthor brown(gw) followed by a wash of agrax earthshade. This was followed by a highlight of baneblade brown and a further highlight of karak stone (both gw). The tongue and was base coated skrag brown and wet blended to balor brown(both gw). The eyes were base coated khorne red followed by a wash of carroburg crimson (both gw). The center of the eye i did a couple of glazes of evil sun scarlet in a line horizontally followed by a small dot of fire dragon bright (both gw). The skins upper areas were then highlighted with straken green. At this point I break out the airbrush again and do the yellow in the center of the chest. First spray white focused on the center line. After that then i sprayed a few thin coats of moon yellow (vga) to coat the white. Next using a super thin sun yellow (vga) i started blending the moon yellow and green skin. This was done with very light passes. Finally i blended a bit of hot orange super thinned to the very edges of the green-yellow transition. After this i gave the model two coats of model masters dull coat.


![TerrainFest 2024 Begins! Build Terrain With OnTableTop & Win A £300 Prize! [Extended!]](https://images.beastsofwar.com/2024/10/TerrainFEST-2024-Social-Media-Post-Square-225-127.jpg)


