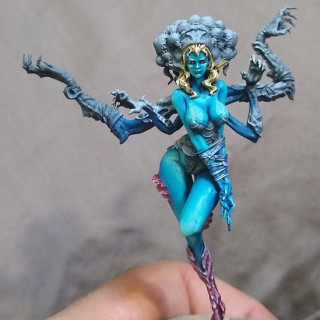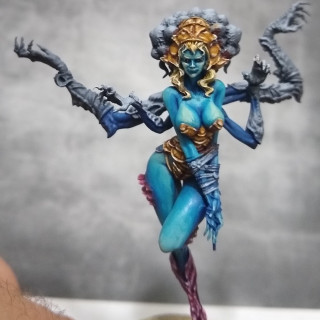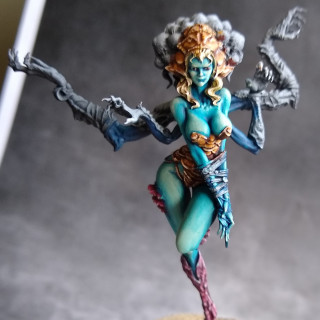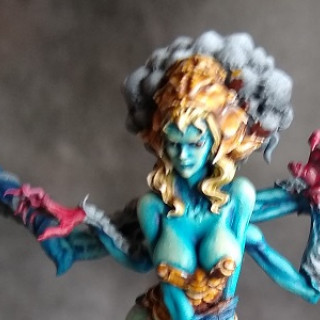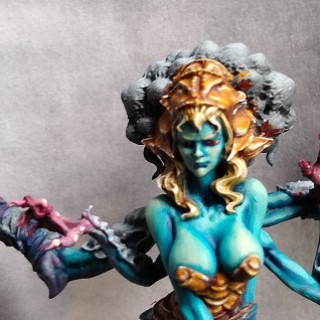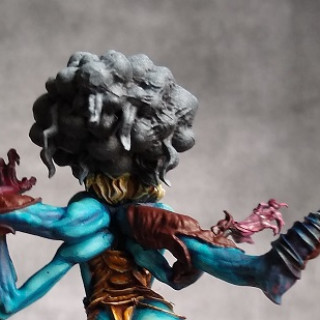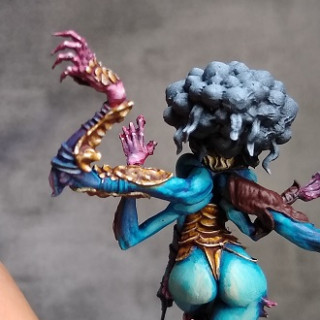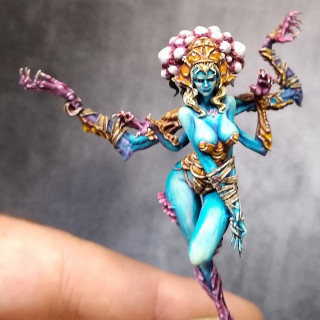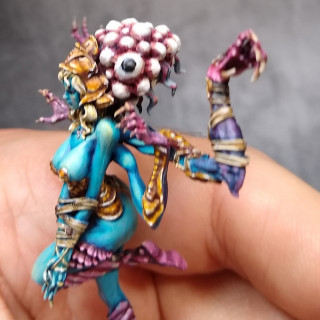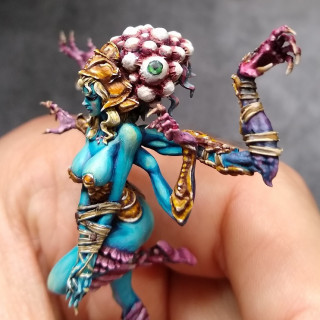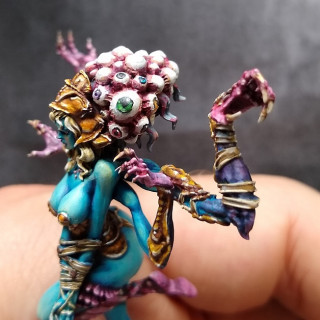
Gokufan’s Celestial Genesis Twilight
Recommendations: 91
About the Project
WIP blog of assembly, painting and basing models from Diemension Games's Celestial Genesis range
Related Company: Diemension Games
Related Genre: Science Fiction
This Project is Completed
Intro
I’ve been painting for about 1.75 years now, and I’ve gotten to the point where I’m reasonably proud of what I’m able to put down on the gaming table. Seeing other people paint large scale models made me think it could be a good way to improve my skills, and news about the Celestial Genesis range here on Beasts of War really caught my eye. Seeing the amazing G’gong model pushed me over the edge so after a few web orders and a trip to Gencon I’ve got Twilight, Uzeon, Jingwe and the man(?) himself G’gong ready to paint in the hopefully not too distant future.
I’m starting with Twilight as she’s maybe the most conventional of the models I have and, perhaps more importantly, I got her first. The only Twilight paintjob I’ve seen online is by the amazing Ben Komets for that $10,000 contest, so thanks for giving me something to shoot for, Ben!
Assembly and Priming
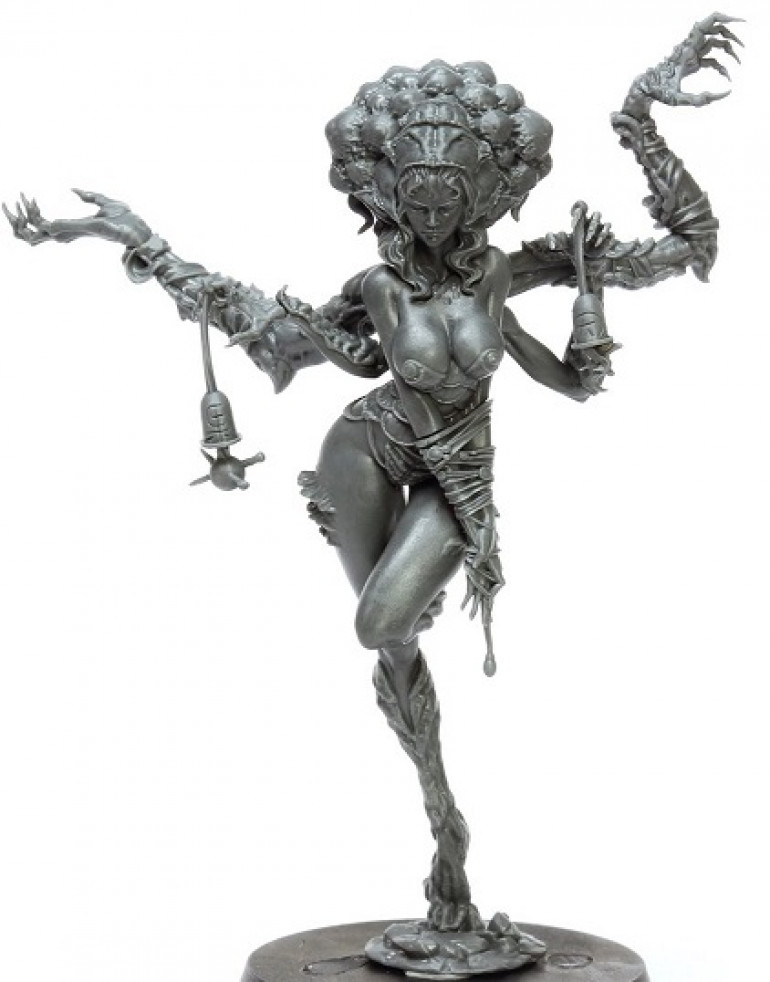
Note: I hadn’t decided to make a blog when I did this step, so the above photo is from the Celestial Genesis website, not my own model.
Assembling this model was a breeze. The mold release came off easily after a 1 hour soak in warm water and Simple Green. Most joins were large, well keyed and fit together snugly. Mold lines were very subtle and there was very little flash. The one casting error I noticed is that her top left arm had a small notch but no socket for it to fit into. A minor problem since I pinned her four rear arms anyway. I assembled her completely aside from her two bells, as they seemed somewhat fragile.
The integral base is quite small, about the size of a penny, and she stands on it on her toes so there’s only really room for one good pin up through her toes. I added another shallow pin the base to keep her from rotating, and stuck the model on a large cork for painting.
I zenithal primed her with an airbrush using Stynlrez black, grey and white.
Painting session 1
Her skin seems like a natural place to start given its size and centrality to the model. I decide on blue skin, since it seems like a good fit for a multi armed Celestial being. I’m also considering doing a sort of “red oni – blue oni” thing with her and Jingwe, we’ll see how that pans out.
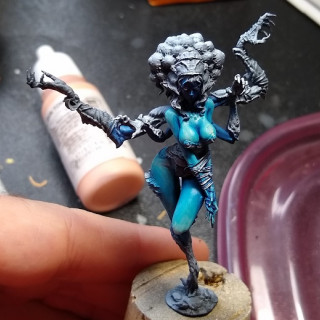
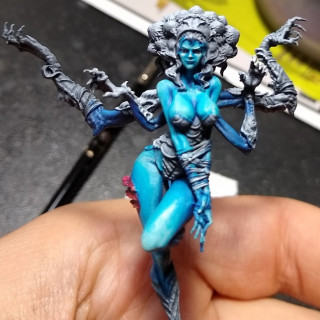
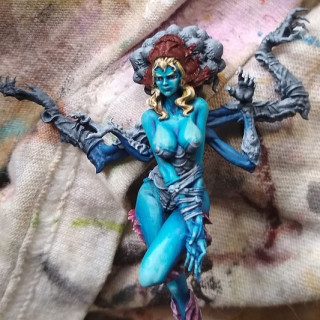
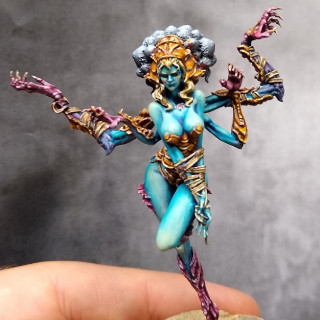
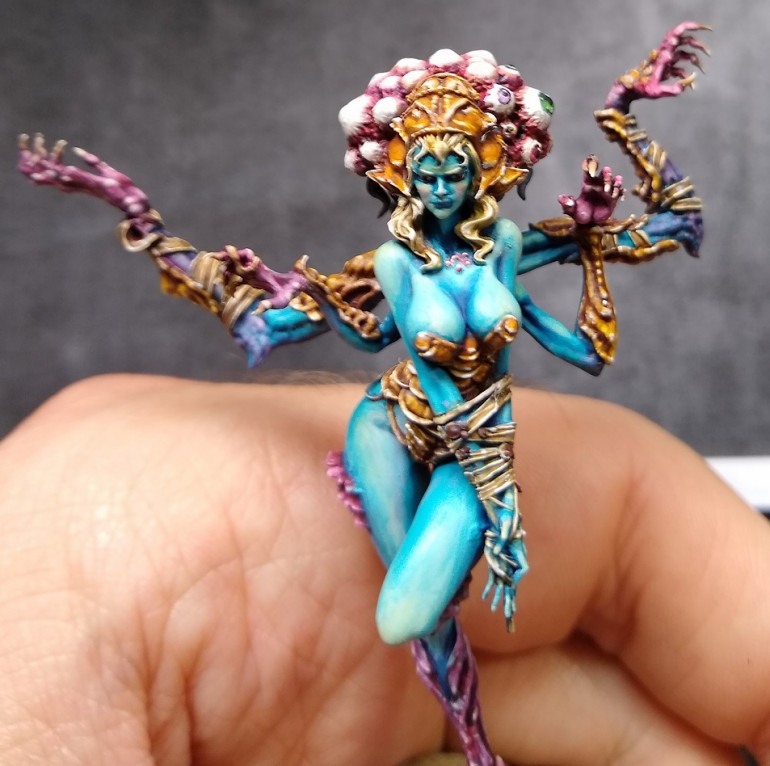
I begin with an undercoat of VMC Dark Prussian Blue. For a midtone, I cover most of the skin with VMC Light Turquoise. Then as a highlight I use VMC Basic Skintone, a light and desaturated pink with a hint of yellow. It does a good job of desaturating and highlighting the turqoise, and I think using an actual skin color gives her more humanity than a purely fantasy color set. Such a large and smooth surface really challenges my blending skills, so I periodically return to the skin when working on other parts if I notice an area should be blended better or highlighted further.
I fuss over her eyes for a bit. The sclera are VMC Ivory, the iris a mix of VMC Hull Red and VGC Hot Orange, and the pupils VMC German Camo Black Brown. I’m not entirely happy with how these turned out so perhaps I’ll return to them later.
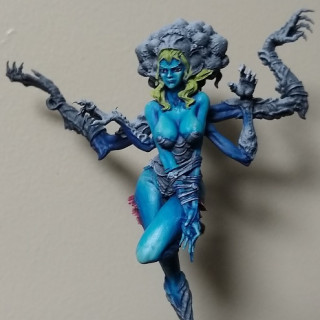
For her hair I decide to go for a platinum blonde so I experiment with a basecoat of VMC Dark Flesh Tone (an interesting desaturated yellow with a hint of pink. If you basecoat someone’s skin with it they’ll look a bit like Homer Simpson) mixed with a combination of VMC Cam. Olive Green and VGC Escorpina Green. The result is a lurid chartreuse which is not at all what I was going for, yikes! It’s at this point that I have to end my painting session, unfortunately.
Painting Session 2
Since I left off with her hair a chartreuse mess, I begin this session by giving it a coat of Army Painter Flesh Wash, to hopefully bring down the green and darken the recesses.
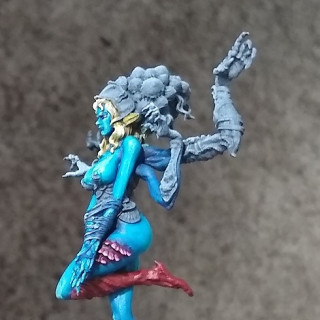
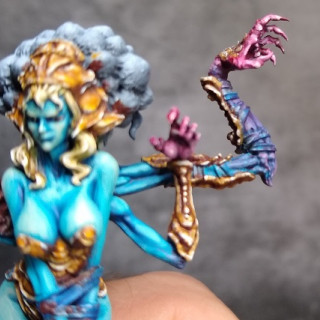
While the hair dries I begin working on some of the more monstrous parts of her flesh, her leg gills and chitinous feet. For these I go for a crusty red-pink look like you might see on a coral reef inhabitant. I start by base coating with VGC Gory Red. I then darken some of the crevices with a mix of gory red and dark Prussian blue. I blend in the surrounding skin with a mix of light turqoise and gory red. Highlights begin with a mix of gory red and VGC Squid Pink, continue with some basic skin tone added to the mixture and are finished with a few points of pure basic skin tone. The highlights are somewhat rough, which I think does a good job of making the area look crusty and chitinous. Of course my blending skill may also have been a factor…
The bottom of her left foot is causing me some consternation. It’s one of the few low details areas on the model and I’m not sure what to do with that. Ben Komets appears to have freehanded some toes in in his version, maybe I’ll give that a shot in the future.
The hair has now dried so I begin highlighting it by overbrushing dark flesh tone, continue with a mix of dark flesh tone and VMC Ivory, and finish with a few points of pure ivory.
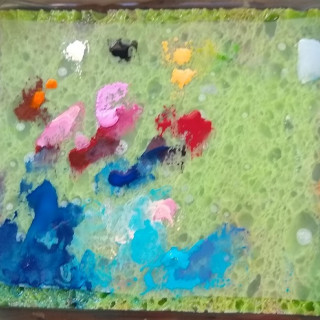
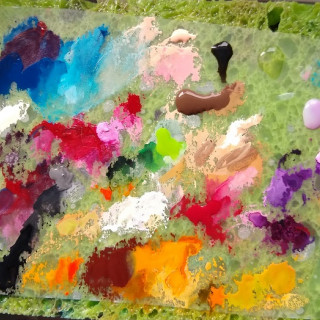
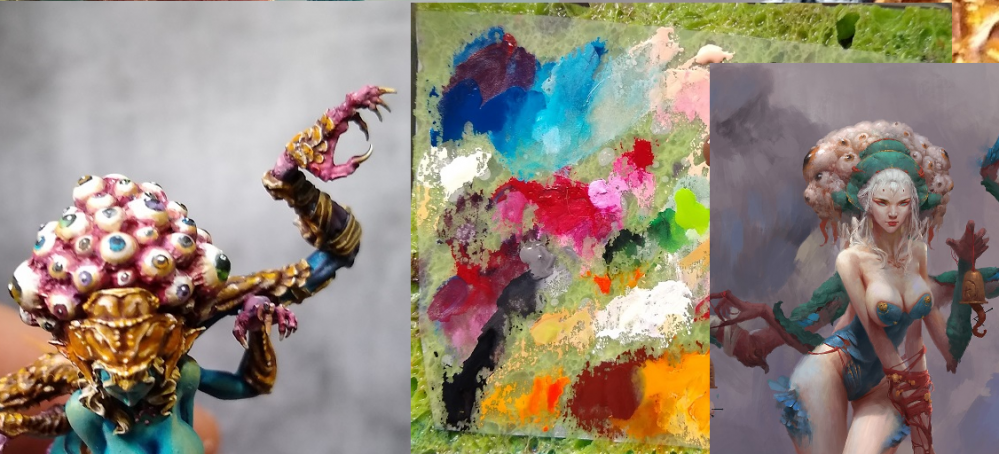
At this point I take a picture of my palette. So messy! Along the bottom you can see the area I used for her skin, the middle has her red leg gills and feet, and the upper left corner is entirely what I used for her eyes. The clear white blob in the upper right is Vallejo Glaze Medium, useful for getting paint nice and thin without it breaking down. Maybe I should invest in a neutral colored sponge…
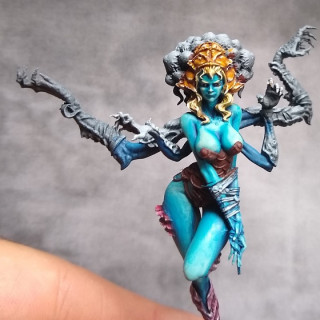
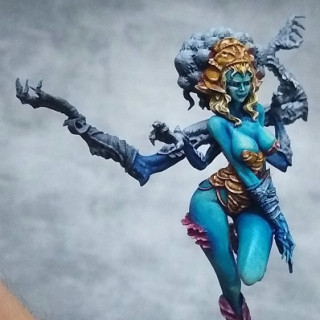
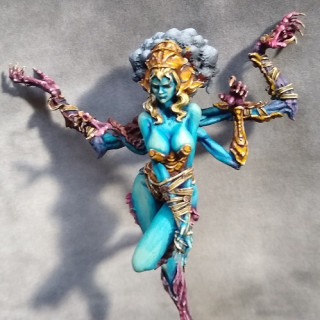
I decide to work on her costume next and try an NMM copper to contrast with her skin. I’ve not done copper before so this is somewhat experimental. After looking at my paints and some reference images I pick a palette of VMC Hull Red (really great red brown paint here, I highly recommend it), VGC Hot Orange, VMC Dark Flesh Tone, and VMC Ivory. This should create a maybe somewhat unrealistically orange copper that I think will go well with the fantasy theme of the model. I start with her headdress as a test area. I slowly start blending up from the hull red undertone into highlights. It takes a bit of monkeying around and I have to reassert the midtone by glazing hot orange, but I quite like the final effect.
I realize the I’m having some difficulty taking good pictures with my new phone, so I grab my printed backdrop which seems to help a good bit. Hopefully the pictures will be better from this point forward.
With her shining headdress and light blond hair her face is looking like a bit of a black hole in comparison. Note to future self: think hard before giving blond hair to darker skinned minis. I brighten her face up to help it claw back some attention. Looking at the pictures I took I think I’ll need to go back and blend it a bit better.
After this I go and apply the copper effect from her headdress to her outfit in much the same way. I feel a possible twinge of regret for attaching her arms before doing this. I always have a hard time telling whether to sub-assemble or not. Nonetheless I’m happy with the finished effect and decide to call it a day here.
Note: I’m still considering how to add more interest to the skin. Normally with skin I’d add red and yellow to create an impression of fleshiness and the reflection of sunlight, but I’m not quite sure how to do this with blue skin.
Painting Session 3
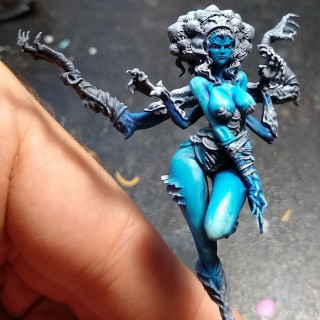
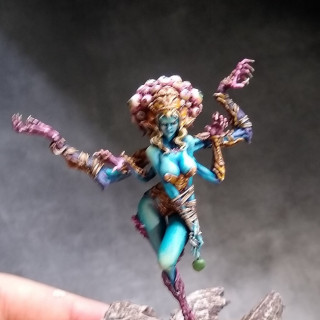
I only had about half an hour today so I took the opportunity to lighten up her skin a good bit. I had been thinking about how I could add to color to her, and came to the conclusion that the light turquoise was just too strong of a color to add to so I’d need to bring more of her skin into basic fleshtone. Even though I didn’t get a chance to add any new colors yet I think she looks better like this. Smurftacular, one might say.
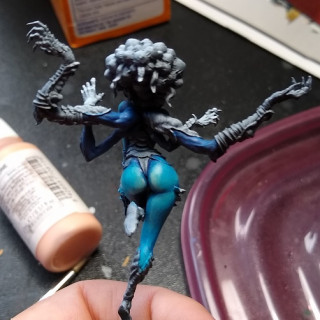
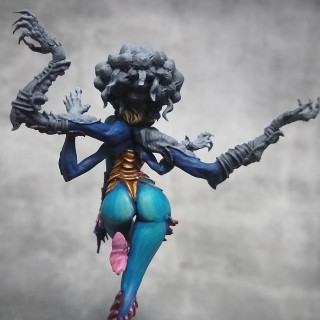
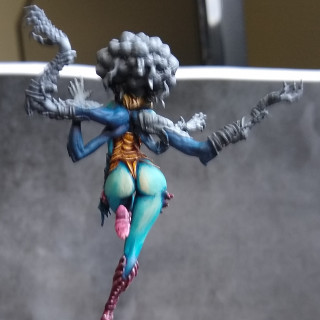
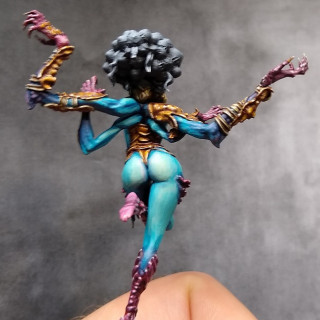
Her butt is positively aglow compared to her rear arms which have only been undercoated.
Painting Session 4
Note: the thumbnails of the images got cropped so you’ll need to actually click them to see the whole picture.
I had some more time for painting today. I decided to work on her rear arms. They’re much more “monstrous” than her front arms so I wanted to make them go from blue skin near her body to chitinous red on her gnarly hands. I highlight the arms near her body similar to the skin I’ve done so far, but not as light. Then I base coat the hands with gory red. I work with a mix of squid pink, gory red, dark prussian blue and light turqoise to try and make a gradient between the red and the blue areas. Then I finish up by highlighting her hands in the same way as the other chitinous areas.
After that I moved on to her arm guards. This is just the same process as I used for her headdress and costume; I start by base coating with hull red and then go for an NMM look using hot orange, dark flesh tone and ivory. The arm guards are extremely textured which makes it a fairly slow, painstaking process, so I decide to pace myself and only do the left ones today.
I’d been thinking about what color to do the various straps/strings on her arms and decided to use VMC Desert Yellow and ivory, which is similar to what I plan to use on her eyeball crown. I base coat everything with desert yellow, wash with Army Painter Strong Tone, overbrush with a mix of ivory and desert yellow, and then finish with a few spots of pure ivory. I also use this scheme for her claws. That’s it for today. Big thanks to everyone who has been commenting, recommending or just reading this, I really appreciate it!
Painting Session 5
I started out today by painting the arm guards on her right arms. Same process as on the left arms from my last post. I also painted her collar bone scales like the other chitinous areas.
Then I tried adding some color to her skin. For sunlight I used a glaze of something like 15% VGC Moon Yellow, 15% desert yellow and 70% basic skin tone. For blush I used a glaze of 15% VGC Hexed Lichen (purple), 15% gory red and 70% basic skin tone. I really liked the effect of the yellows, but the purple blush didn’t work nearly as well so I ended up blending most of it away.
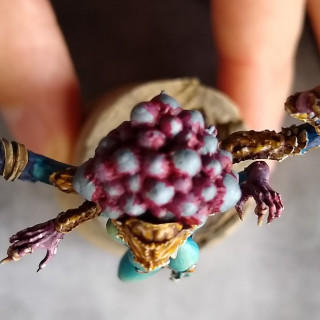
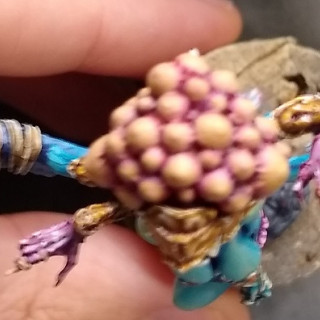
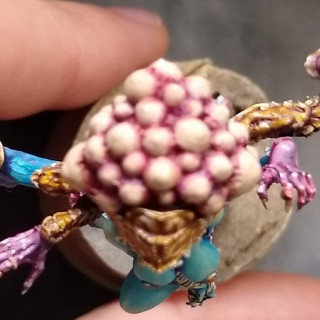
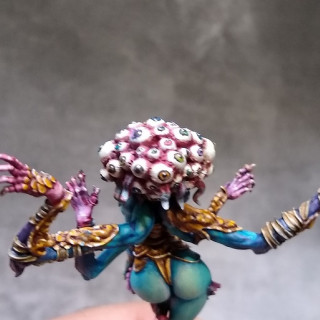
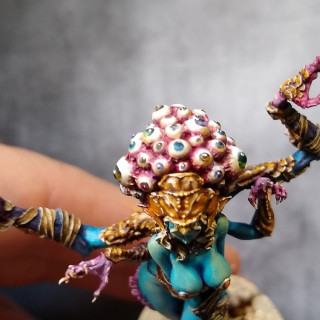
Now, I’ve been saving the best for (almost) last. I’m talking of course about her eyeball crown! The amount of detail here is incredible, I count 40 eyes in all. They’re in a variety of sizes and all attached by webs of stringy connective tissue. Parts like this make me take a moment to appreciate the sculptor’s skill. This model was sculpted by Big Child Creatives, but I don’t see a credit for a specific sculptor(s) anywhere on the box.
Anyway, I start by putting gory red in the crevices. Then do a few layers to shade up to desert yellow, and another few layers to shade up to ivory. I’m going to have to go back and paint all the connective tissue that isn’t in the crevices, but I’m planning to finish the pupils and irises first.
There are corneas sculpted onto the eyes, but they’re a bit smaller than I want so I start by painting a VMC Black circle centered around them but larger than them. For each iris I pick a dark paint and a light paint. For the eyes I’m using a light source from the top/center of her head, so I do a dark to light, top to bottom gradient over the black circle. Then I come back and paint a black pupil in the center, and add a dot of ivory at the top. (Pupil aside, this is the same way I’d paint a GW style round/oval gem.) On the box art all of her irises are yellow but I want a more colorful approach.
My plan is to have no eye adjacent to another eye of the same color. I start out by picking 8 eyes on the left side of her head and painting each a different color.
- Green: VMC Flat Green and VGC Escorpina Green.
- Blue: VMC Dark Prussian Blue and VMC Light Turqoise.
- Grey: VMC Basalt Grey and VMC Ivory.
- Purple: VGC Hexed Lichen and VGC Squid Pink.
- Orange: VGC Hot Orange and VMC Dark Flesh Tone.
- Red: VGC Gory Red and VMC Basic Skin Tone.
- Brown: VMC Leather Brown and VMC Desert Yellow.
- Hazel: VGC Hot Orange and VGC Escorpina Green
This is making me want a bigger palette…
By my count I have 32 eyes left, and there’s still the connective tissue. This isn’t something I’m going to finish in one painting session. I’ll plug away at it for awhile and post another update when I finish.
Eyeballs and Basing Part 1
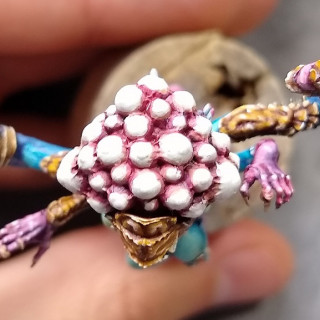
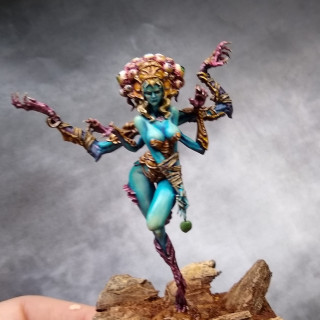
I didn’t have a lot of painting opportunities for a week or so so it took me awhile to finish her eyeballs, but I eventually got through all 40 or so of them.
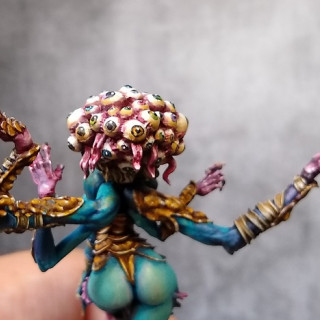
They looked a bit “off” to me, so I checked Ben Komet’s version and realized I hadn’t shaded the scleras at all. I shaded them a bit with some glazes of desert yellow/ivory. (They don’t look nearly as yellow in real life as they do in these photos). I also painted the tongues coming out of the back of her head with gory red and basic skin tone. I used the same colors to touch up the connective tissue between the eyes a bit.
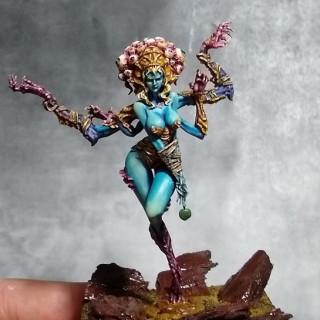
She’s looking almost done at this point, the main thing left to do is her bells. They seem fragile enough that I want to base her first so I don’t accidentally snap them off.
This is my first time making a base from scratch. I’ve only bought gaming or gaming adjacent minis in the past so they’ve always come with bases. I headed to Michael’s and a 50cm wooden cube ended up catching my eye.
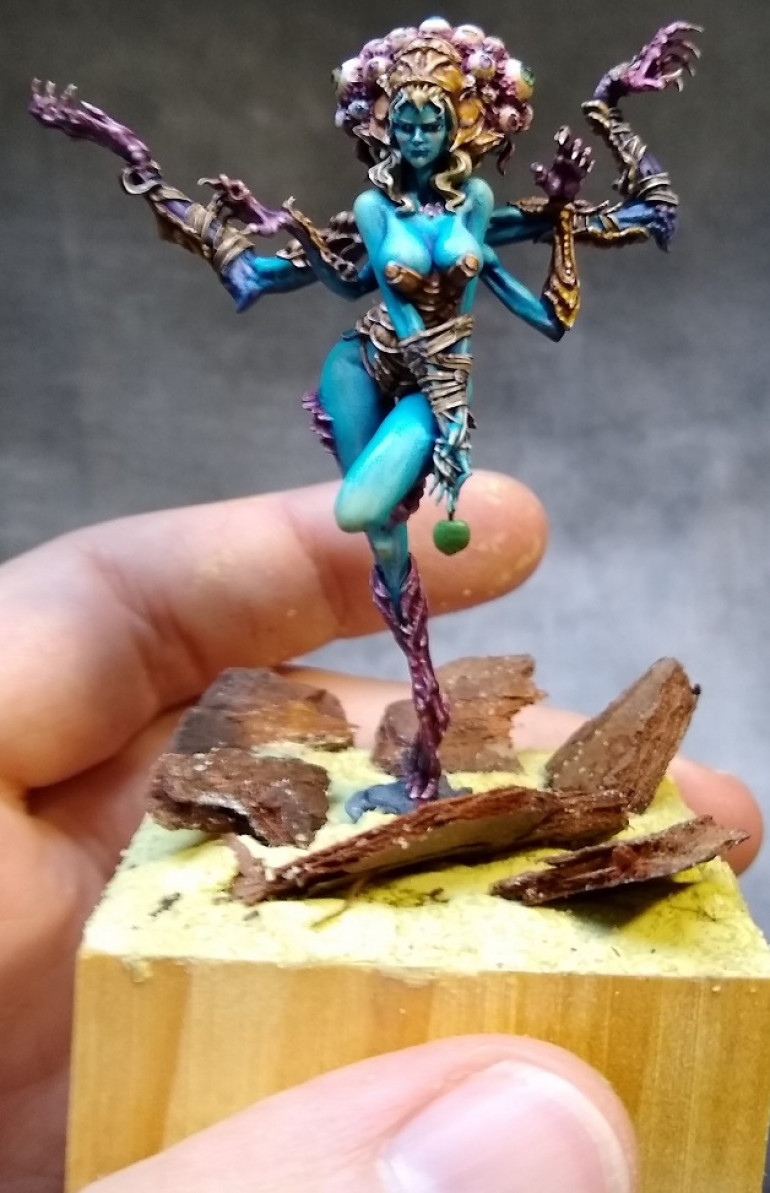
First I measured the cube to find the center, and drilled a hole for her main base pin. The I put a drop of paint on the bottom of her secondary base pin, used it to mark the cube, and drilled another hole there. Then I stuck her on the cube without gluing. I put a layer of miliput on top of the cube to surround her integral base. Then I use my finger to press some grit into the milliput to create some texture. The last thing I did before leaving the milliput to cure was glue down some bark mulch “rocks”.
When I was looking at a reference picture I noticed there was supposed to be a bead hanging from the end of her front arm wrappings. Mine doesn’t have one; I might have thought it was flash and clipped it, broke it off with rough handling or maybe it was a casting error or was damaged during shipping? Whatever the case, I think it adds to the composition of the sculpt so I tried to make my own out of green stuff. My sculpting skills are rudimentary at best so it’s not great, but if I decide I hate it it will be easy to remove. I’ll paint it along with the bells.
After the milliput had cured overnight I primed the whole thing black and added a layer of gloss varnish followed by a layer of matte varnish. Then I basecoated the dirt with VMC Dark Ocher and the rocks with hull red. Then I washed both with AP Strong Tone. It looked comically terrible at this point so I was sure to include a picture.
I drybrushed the whole thing with desert yellow, followed by a mix of desert yellow and basic skin tone, followed by pure basic skin tone. It looks much better at this point but extremely washed out.
I had just bought some Secret Weapon weathering pigments so I thought this would be the perfect time to try them out. I used several red/brown/yellow pigments to get a suitably dusty and earthy look, and then set them with Secret Weapon’s pigment fixer.
(due to the way the thumbnails got cropped here you’ll need to click the pictures to actually see the base)
The base still needs something, but I’m not quite sure what. I’ll think on it a bit and update again once I’ve got it figured out.


