Holly’s Ranch Terrain Challenge “Junior Beast”
Recommendations: 193
About the Project
Now its the Summer Holidays.. My Youngest Cousin Holly is now off school and has been watching me terrain challenge come to life and she has been loving to watch it develop. Holly is a very artistic and creative girl with lots of fantastic ideas that just bubble out and when she saw my collection of horse minis for my Old West games she asked if she could help with the colours for them, OH YEA didn't i mention she is MAD about HORSES!! As i new she had a long summer holiday ahead of her i sat down and we discussed her doing a terrain project along side painting up some horses so she can let out some of her creative ideas on to the table top. After a long ride make of ideas she decided she wanted to make a Old West style Livery/Stables that she could design the lay out and have a home for the painted horses to go along side. Also after looking at my mini collection she loved see of my cowboy undead minis and wanted to add them to so thats how this "The End is Nigh" Terrain challenge begins. Holly hopes you love the project and she will hope to keep you all updated on its progress.
Related Game: Tombstone
Related Company: Mantic Games
Related Genre: Western
This Project is Active
Inside The Stables and more Skeletons
The Stable is all bedded out for the horses and the feed store is filled.
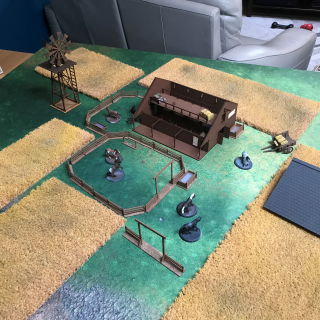
The Undead Ranch.
Time to add some Minis.
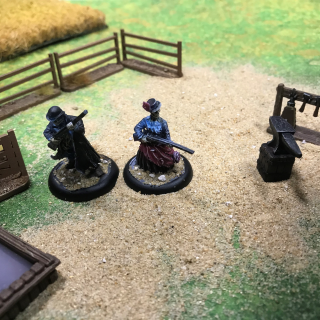
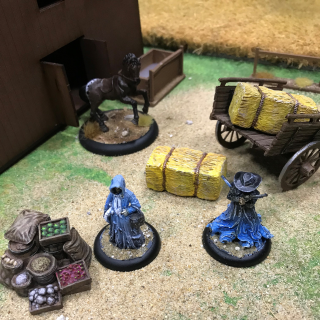
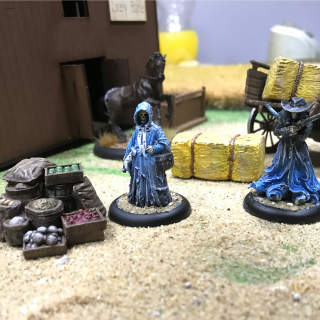
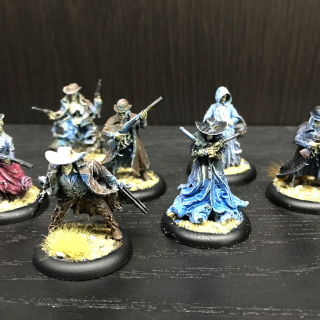
The skeleton cowboys and villages tending to the stables.
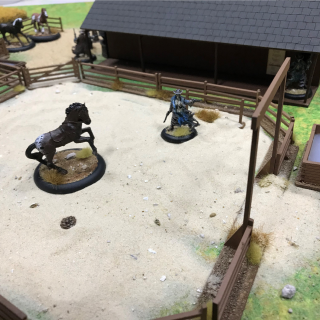
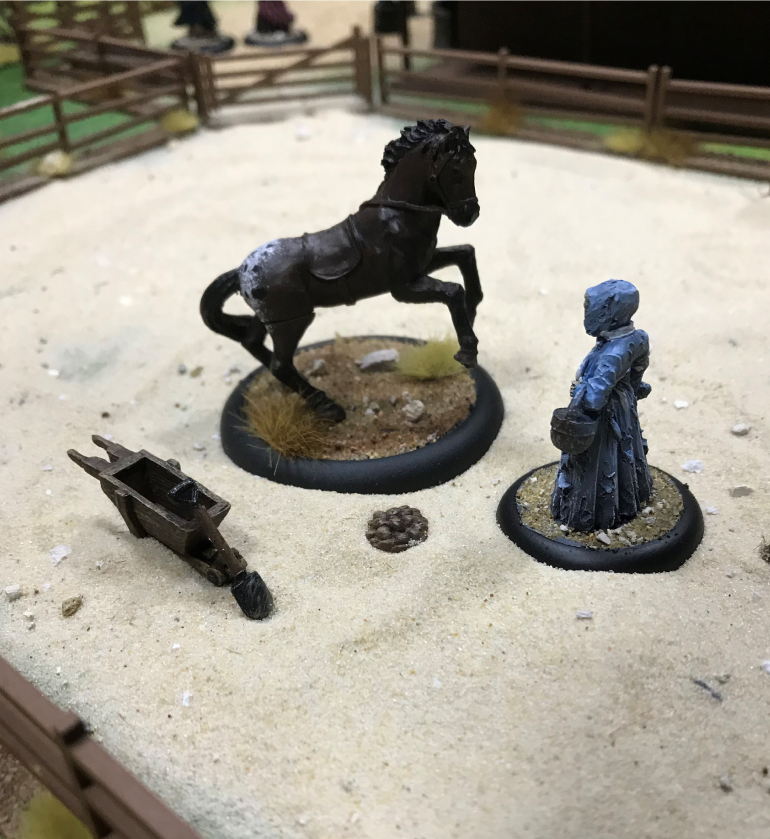
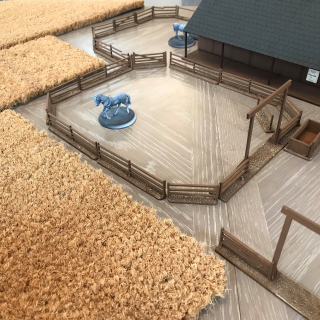
Love seeing the horses on the stables i have made.
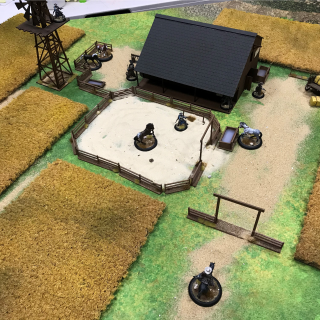
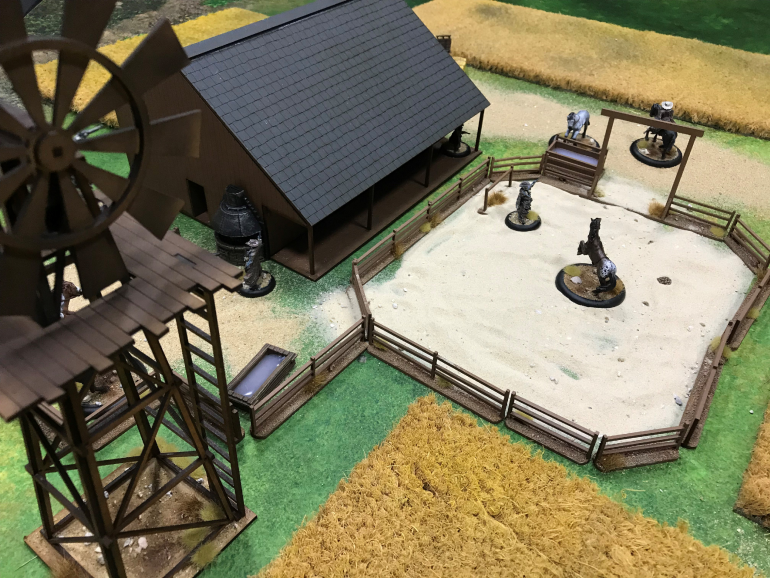
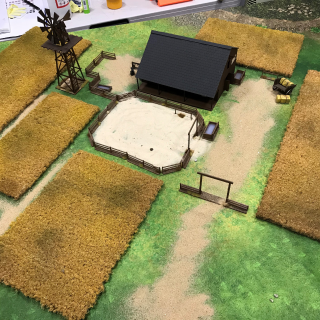
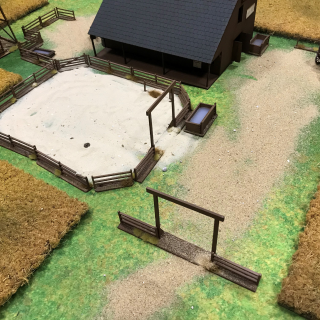
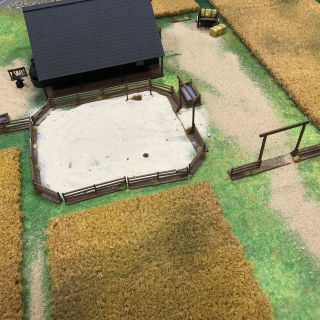
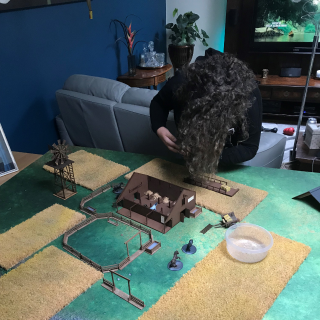
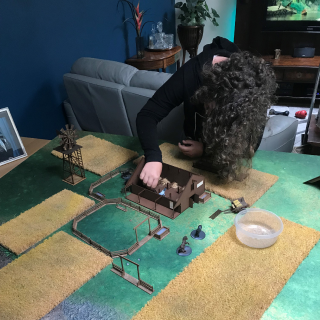
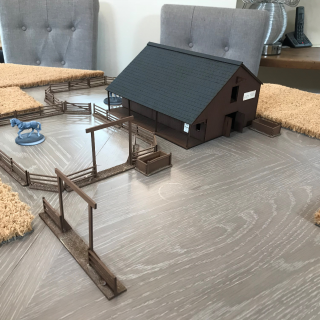
The Final Set Up on the Table.
Now I’m setting up all the parts I’ve done to make my stables.
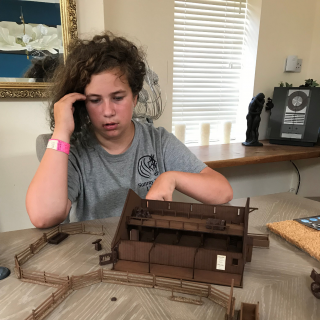
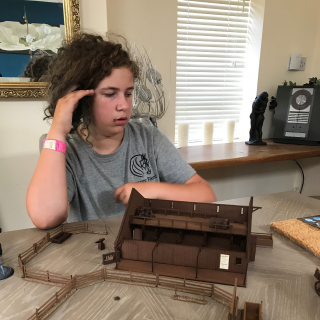
Time to put everything on the Table.
What I've done today.
This is what I’ve done today.
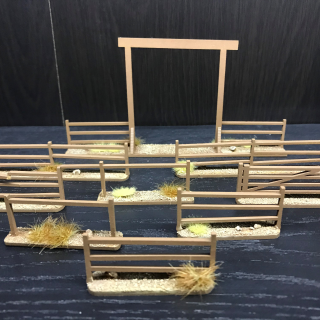
A little showcase of holly’s progress for the day, basing and tufts done and holly thinks it almost time for a final lay out.
TUFF TIME!!
I added grass tufts to the bottom of the fences and the bases of the horses.
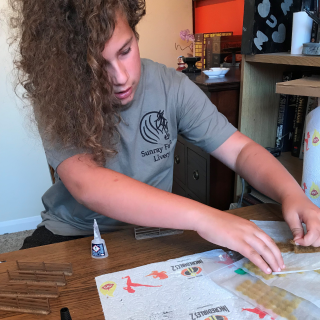
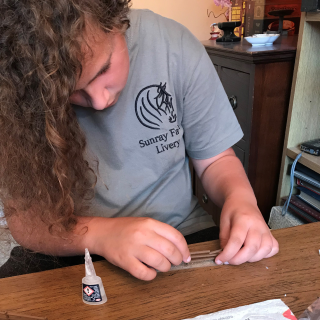
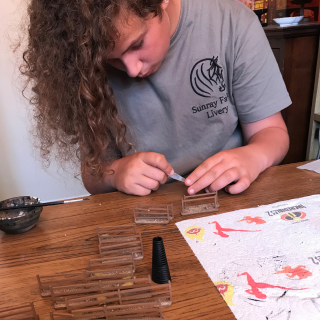
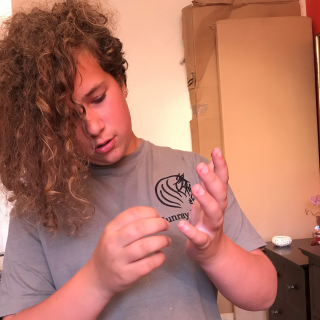
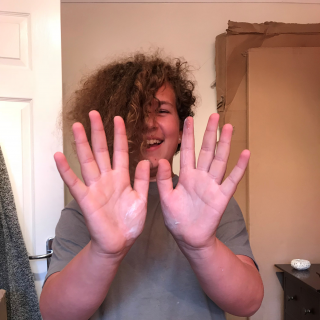
Glue and Mor Glue...
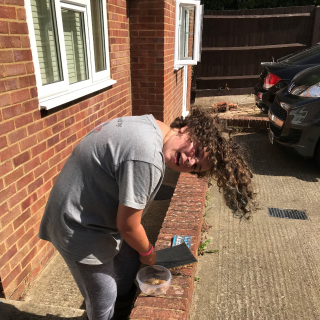
I Should have burnt form before not to let holy play with glue.
i enjoy covering my hands in PVA Glue and peeling it off.
Baseing some minis
William Asked if i could base some of the skeleton models that i could use on my stables.
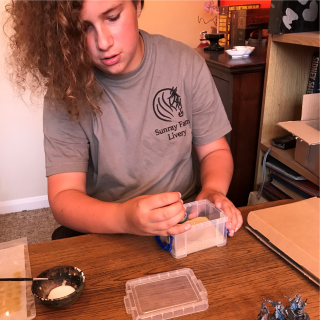
I stuck stones on to the bases and scattered some small ones to then aded sand.
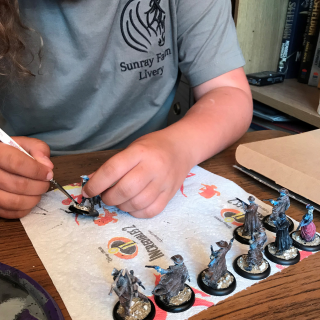
I had been painting some of my tombstone undead minis in the week and asked holly if she could base them for me so they could match here stable terrain.
After that i painted the edge go the bases black
Final Layout for today.
Holly Laying out the table to see todays progress.
Horse Painting Day!
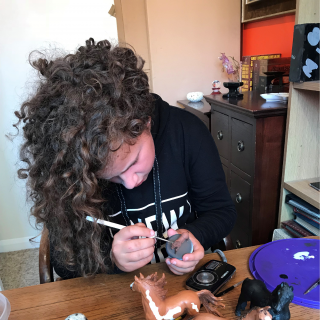
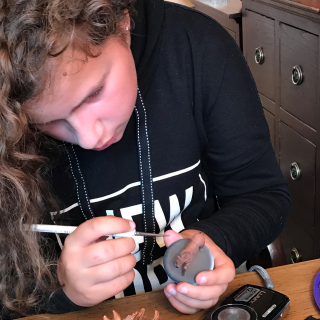
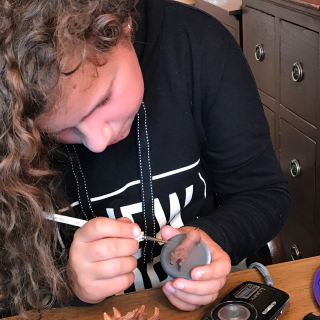
Today its time to paint horses.
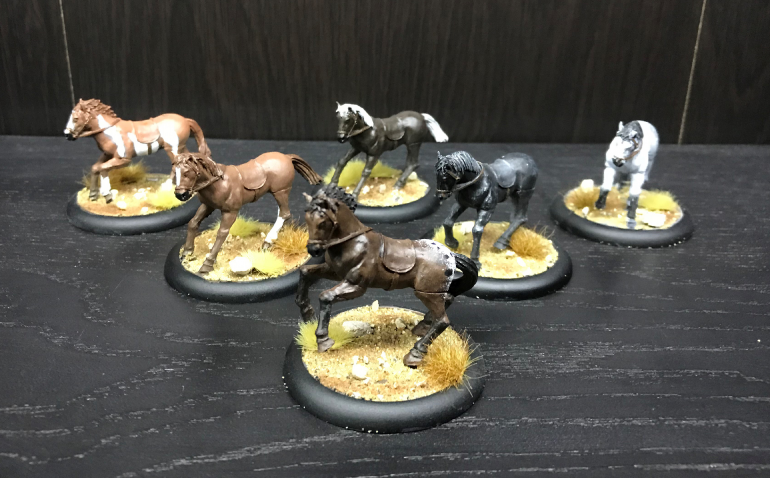
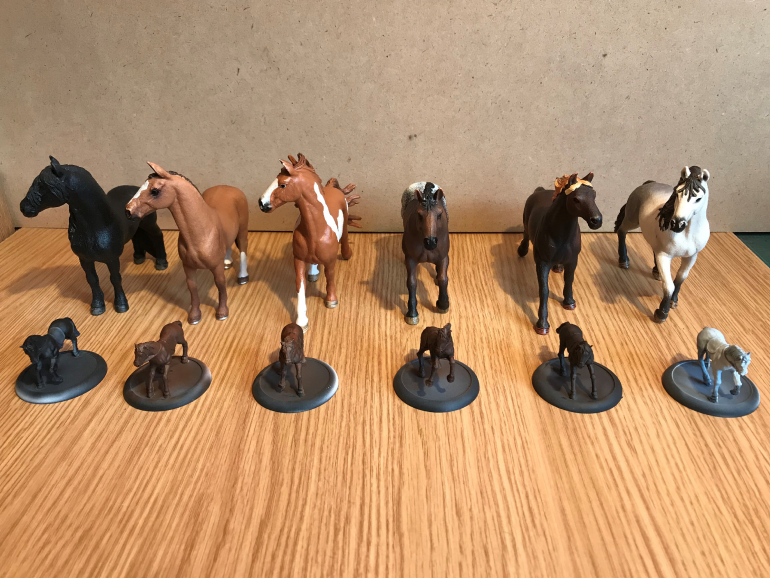
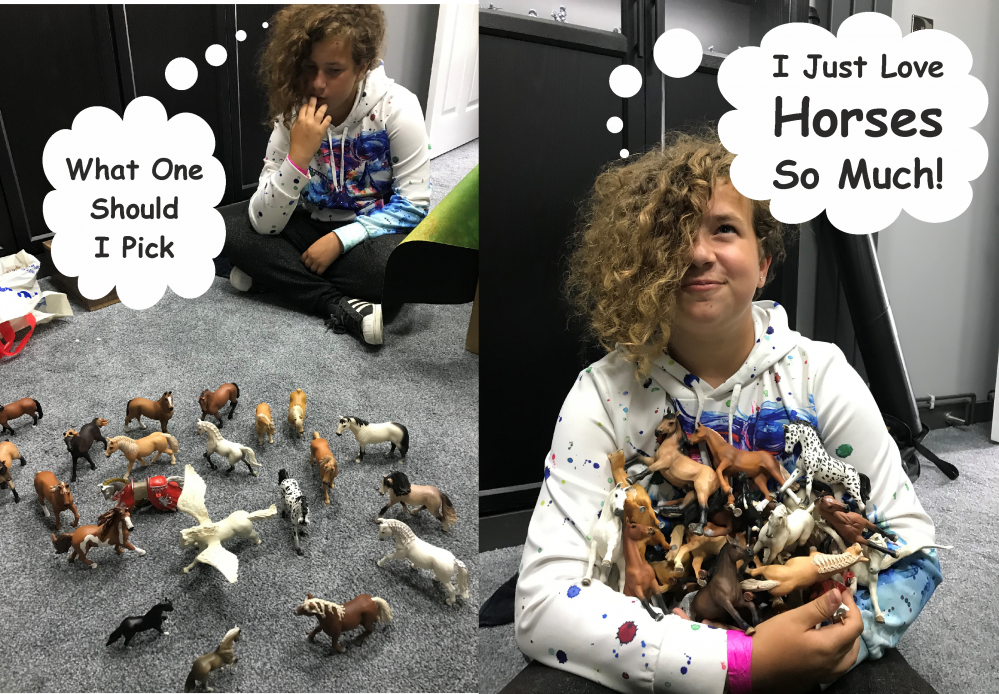
i decided what horse will be painted what colour, i used my horse collection to decided what colour i wanted them to be.
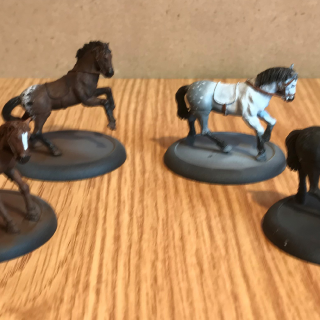
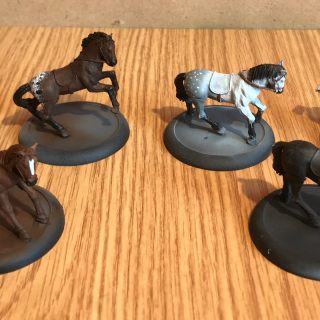
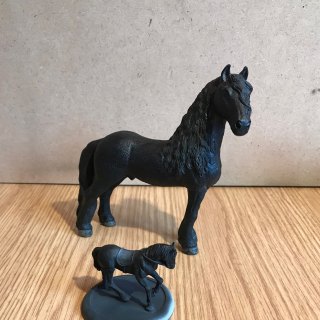
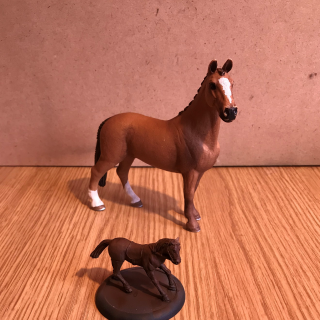
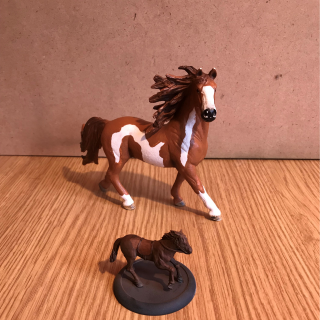
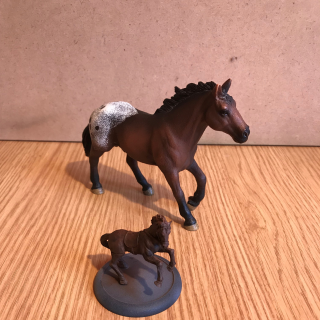
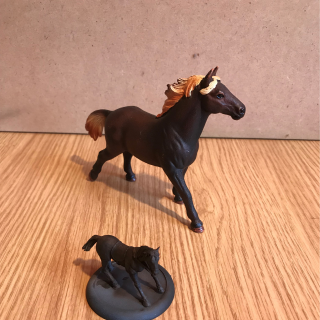
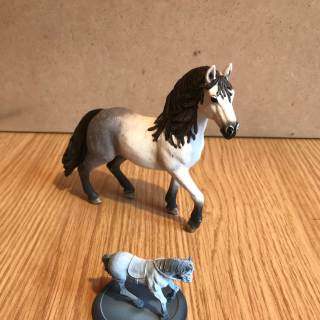
holly chose at the start of the project 6 horses from he collection. she with my help was going to paint the horses in my tombstone collection to mach her 6 horses.
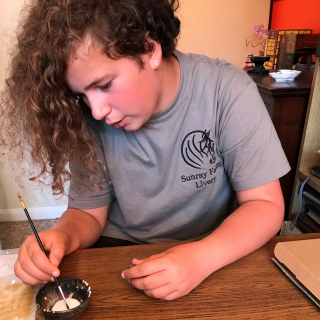
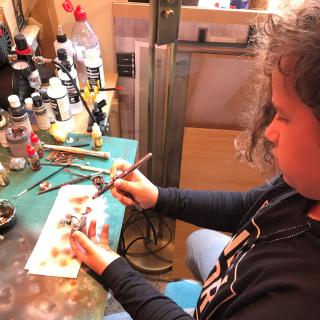
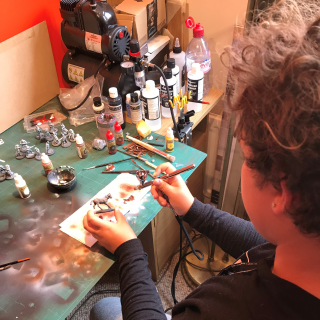
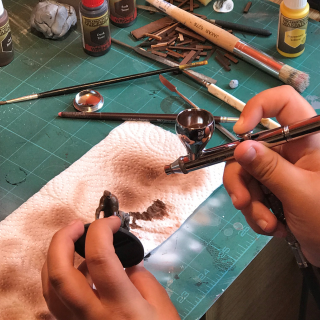
she started by airbrushing the bace colour for each horse on to the pre primed and zenithed horse minis.
More Treats for Holly...
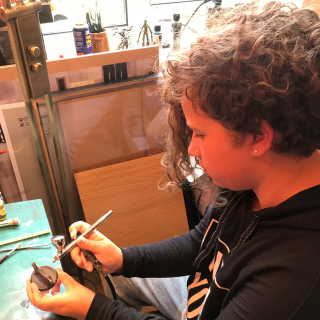
Another treat for holly today as I’m letting her have a go on the airbrush. one of the main inspirations for this project was holly’s love of horses and that she wanted to help me decide what colours horse i should have from my Tombstone Kickstarter minis.
so i have let her help to pain them to.
i got to use the airbrush. it was hard to use at the start but soon got the hang of it. i did get paint on my fingers though.
Glue up the water.
Big day i get to use a Glue gun for the first time ever..
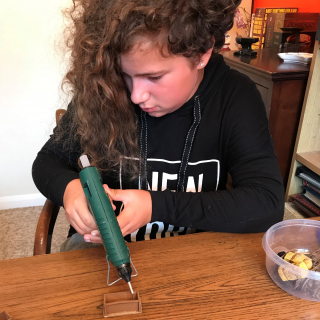
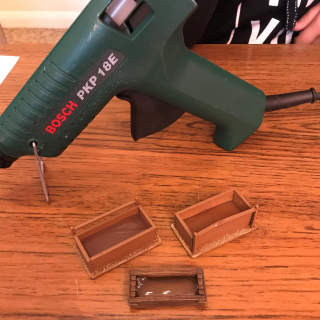
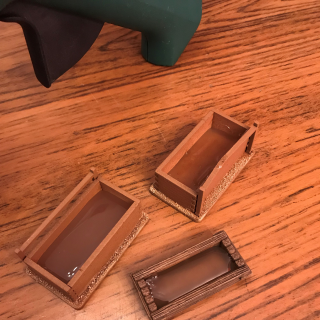
today holly gets to use the glue gun. using the melted glue sticks from the glue gun holly filled the water trough to give the look of water in them
Holly was very excited to use the glue gun.
Building a windmill.
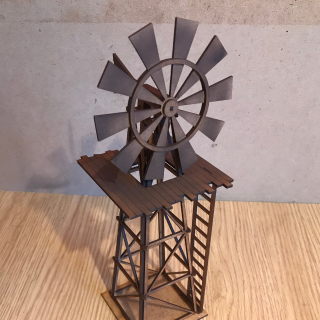
My Cousin William got me another kit to build, this time was a windmill. i saw it when we were looking for the stables and i really liked it.
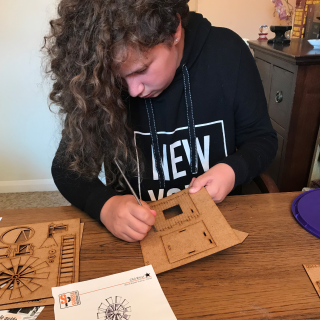
when i saw how much holly enjoyed building the stable/livery kit i looked up the kit she saw in her research for a old west windmill water pump for her.
she enjoyed building this to and loves that the windmill also turns.
HAY DAY...
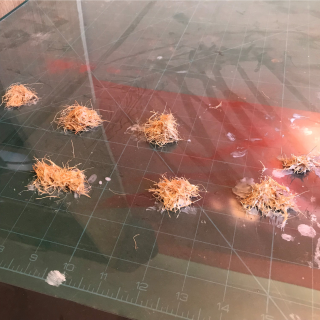
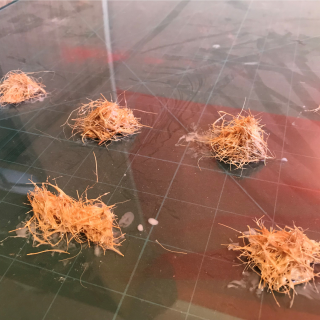
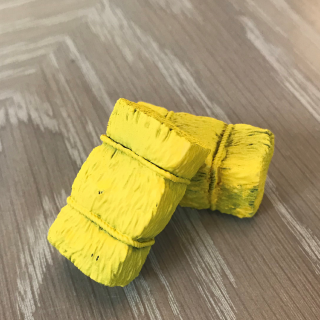
Using the bits that came off the mat we added it to some glue and mixed it to make hay for the horses bedding.
we mixed the door mat fibres with some PVA and made small bundles on a move surface and once dried they came off to make bedding each of the stools.
Washing and Dry Brushing
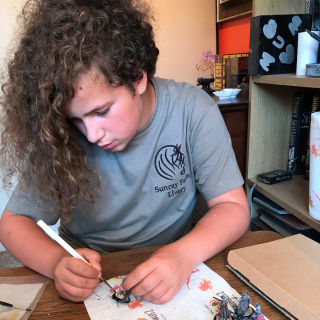
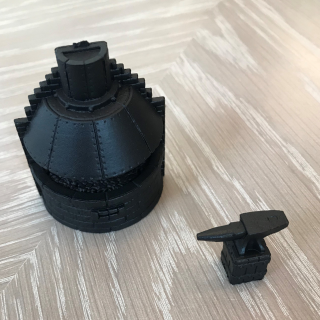
My cousin William showed me how to do washes and how to dry brush, i love the way i painted the forge with the silver paint i got the part and dated it on some paper then brushed it all over the forge and it looks so cool
I showed holly how to apply the Army Painter soft town on to the hay bales and the wood effects and how to dry brush the forge, she really loved how the forge came out.
Spraying Time.
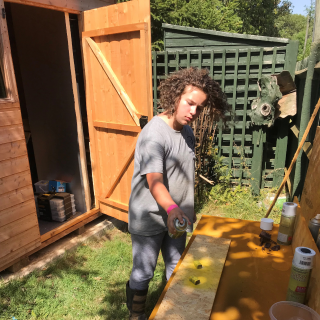
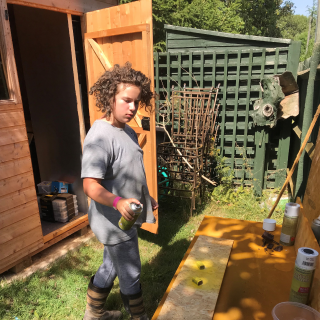
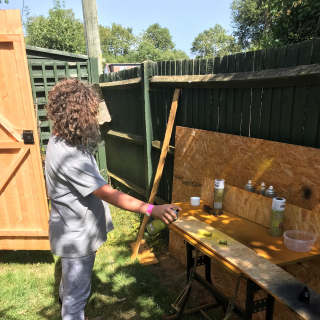
I was so excited that i got to spray paint.
Next Holly Premiered the skater parts of the terrain in there base colours using some Army Painter Coloured Primer Sprays.
Stand Off!
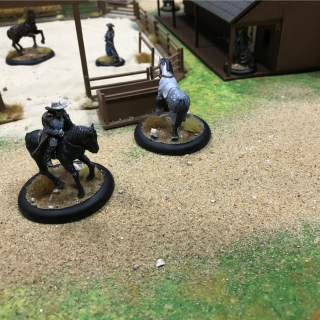
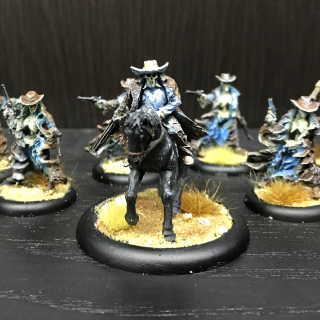
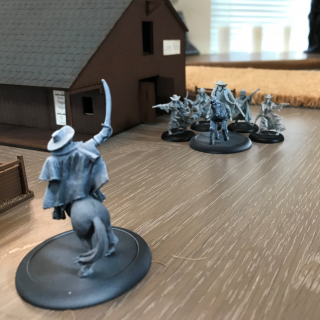
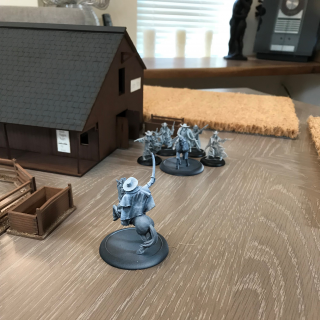
I wanted to see the good guys and the bad guy with the stables and see the goody on the horse and bad guy on his horse
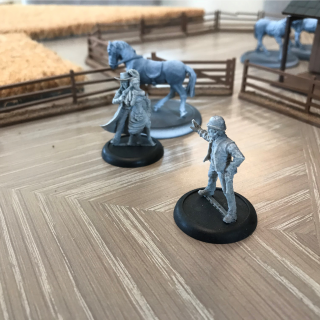
we played out some minis to see how they look on the terrain so far.
Lay Out 2
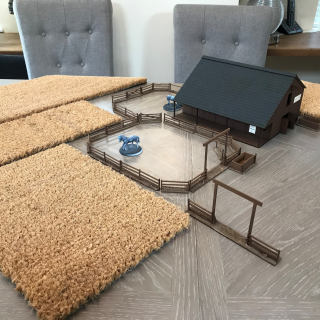
Once the fields were cut out holly look her time to decide how to position them on the table around the stabbles.
Nothing going to waist..
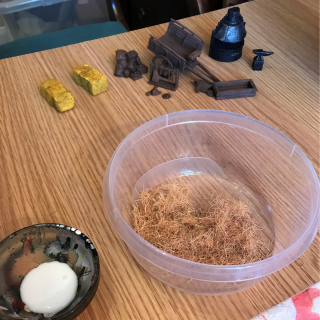
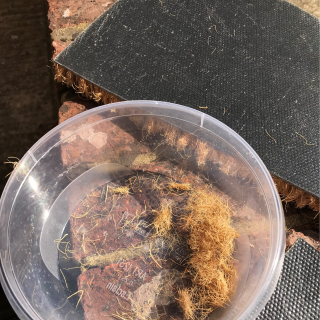
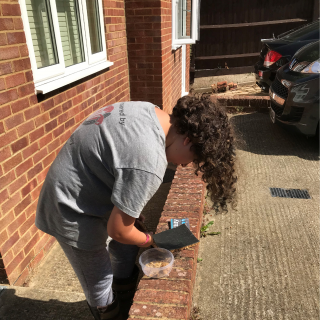
When cutting the door mat holly noticed that a lot of the fibres were coming out along the edges.
she thought it would make goos straw to go in the stables as horse bedding.
I collected the straw in a plastic pot to use later for the horse bedding in the stables.
The First Lay Out
We decided to lay out what we have on a table to see that the project was taking shape. the next job was to cut up a mat we got a homebase to make fields of grain around the livery (Cutting the mat was a job for me but holly was very bossy about how she wanted it cut)
I wanted the fields to be in lines like the cart had been puled down it.


