144artist paints Mantic’s Terrain Crate
Recommendations: 1615
About the Project
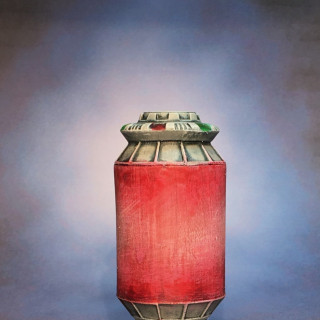
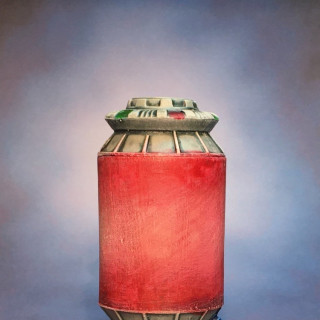
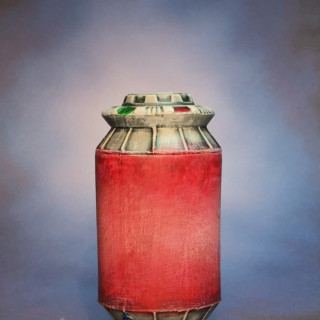
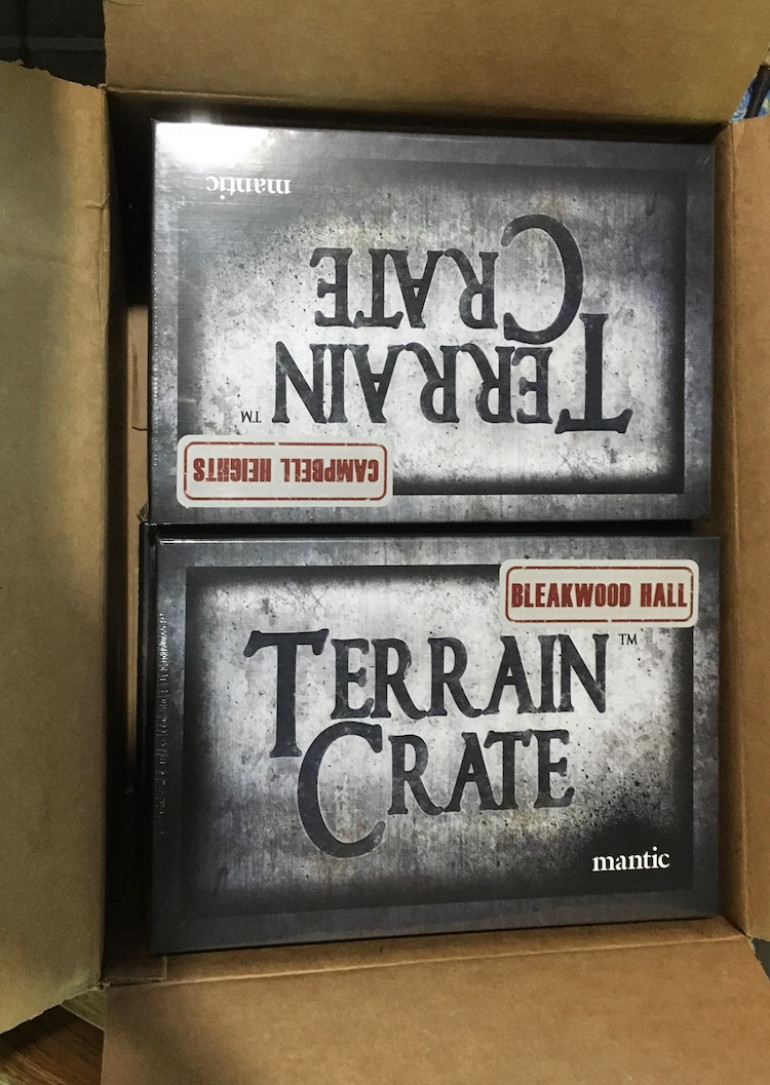
My Mantic Terrain Crate Kickstart rewards arrived and there is a lot of stuff there. Even though they are cast in color plastic that makes them fairly table ready I want to paint them. I tend to want to paint everything, truth be told but these look to be a lot of fun. Not only is there a lot of stuff there but a huge variety as well so this Project Blog could be going on for a while.
Related Game: Kings Of War: Vanguard
Related Company: Mantic Games
Related Genre: Game Aid
This Project is Active
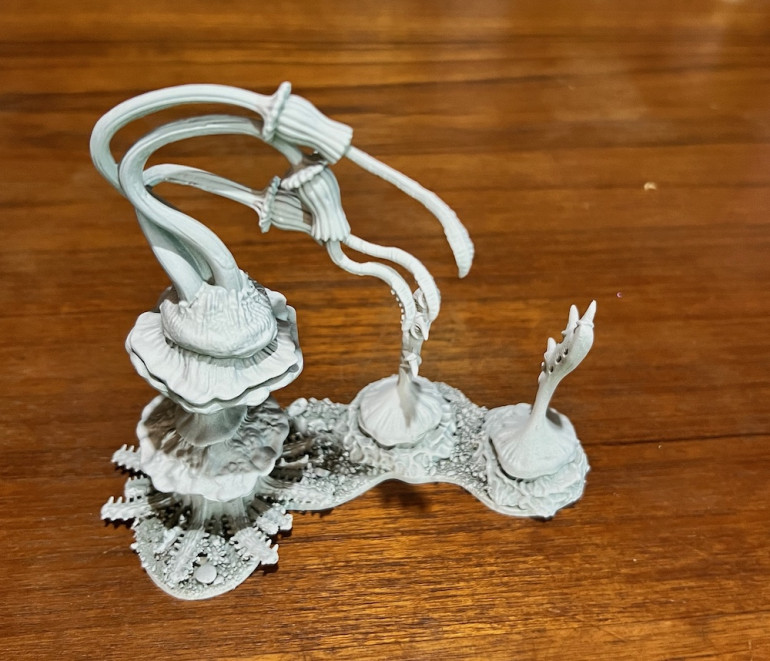
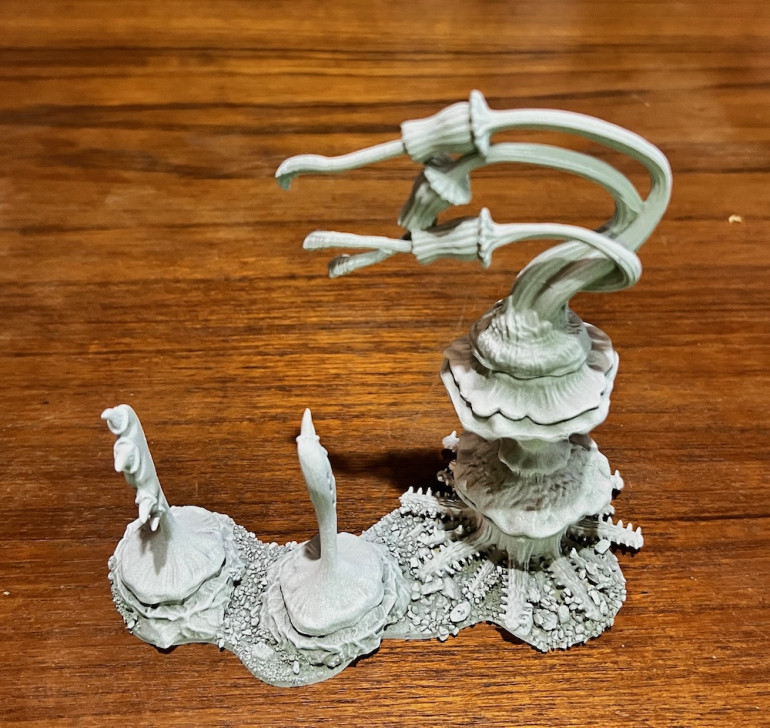
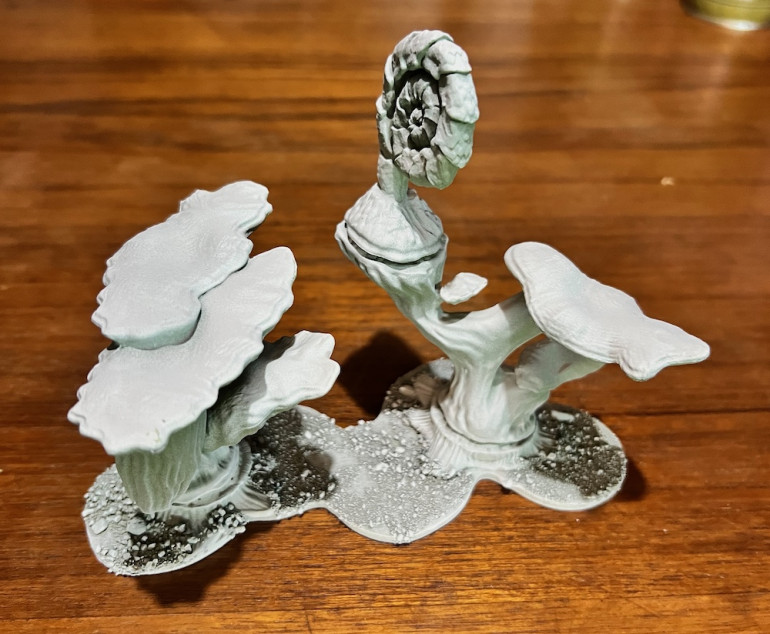
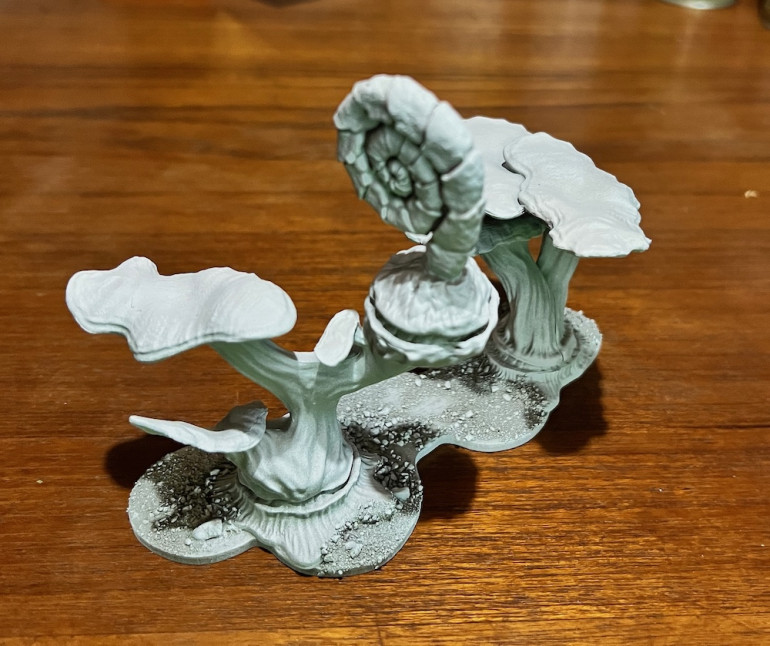
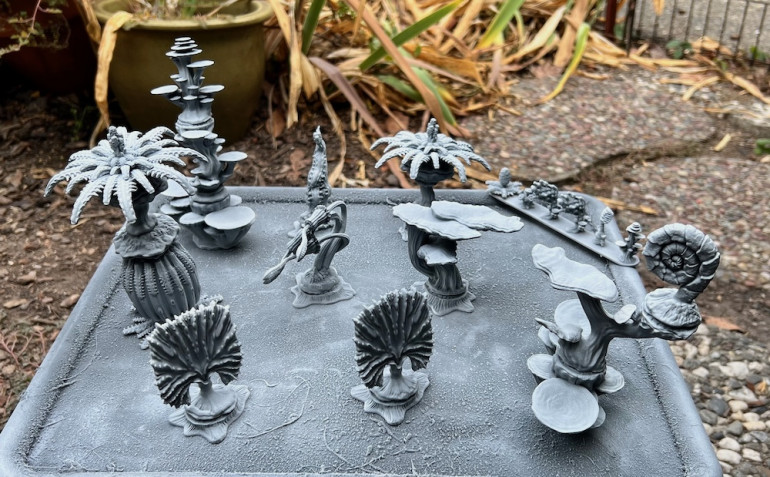
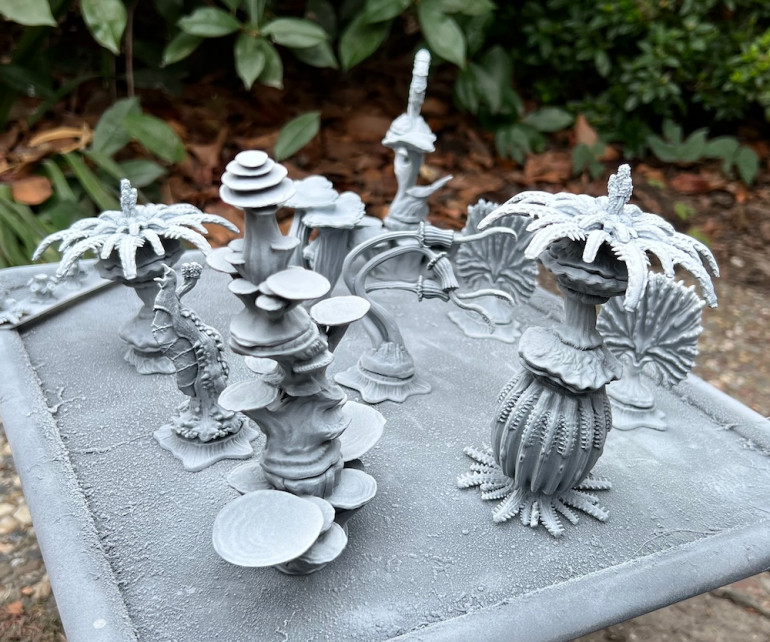
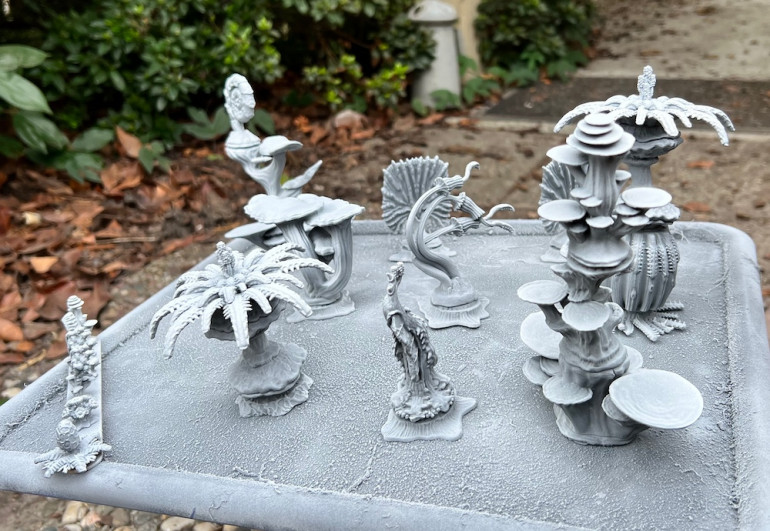
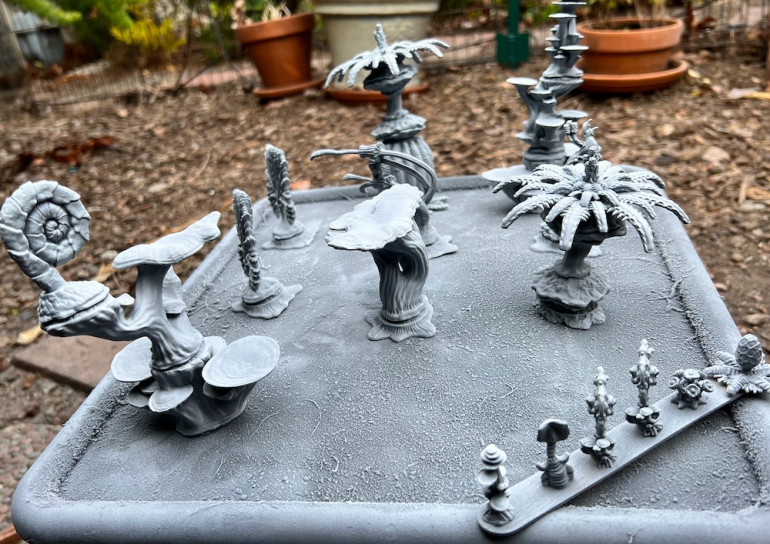
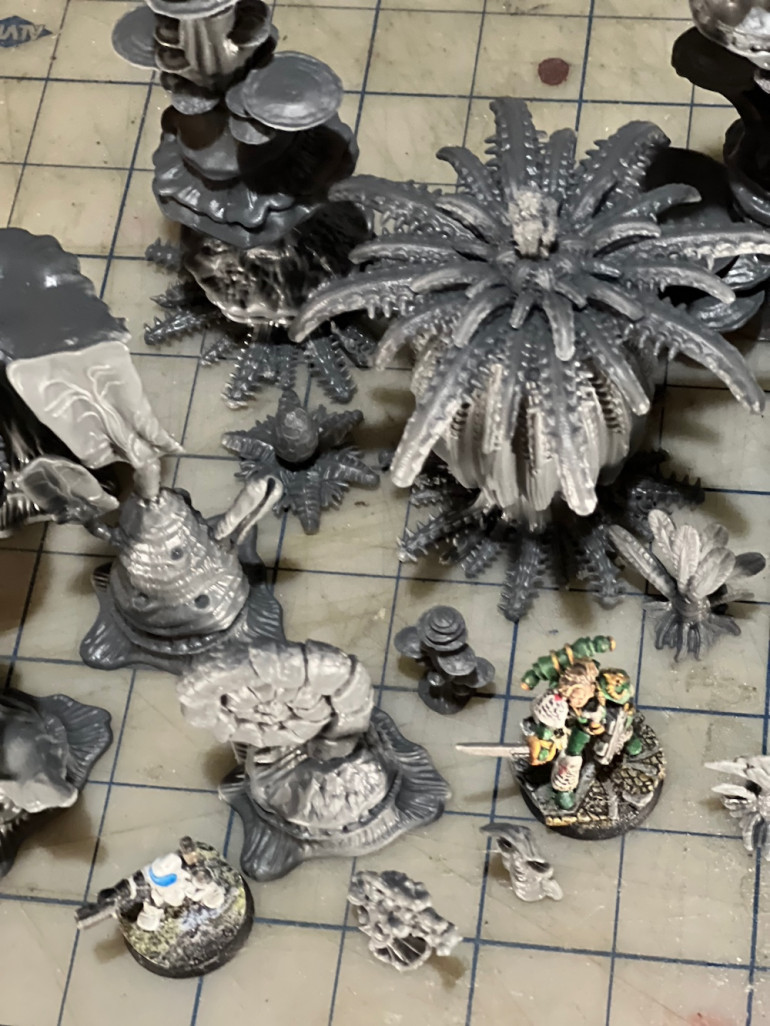
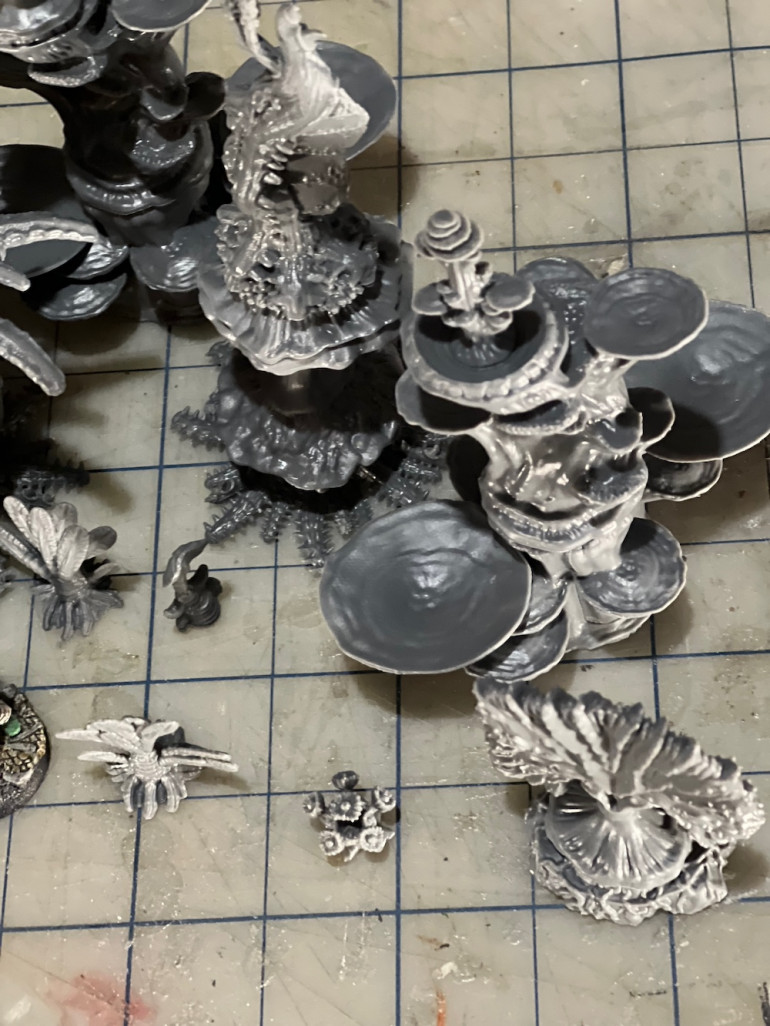
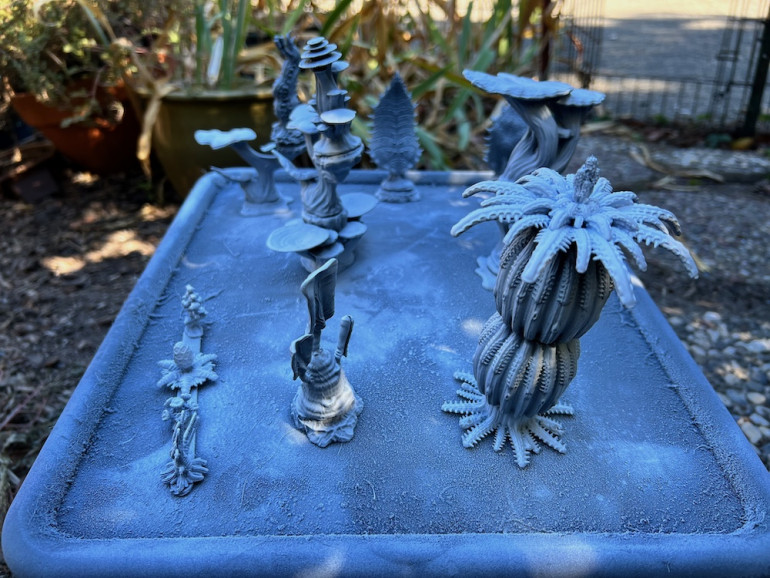
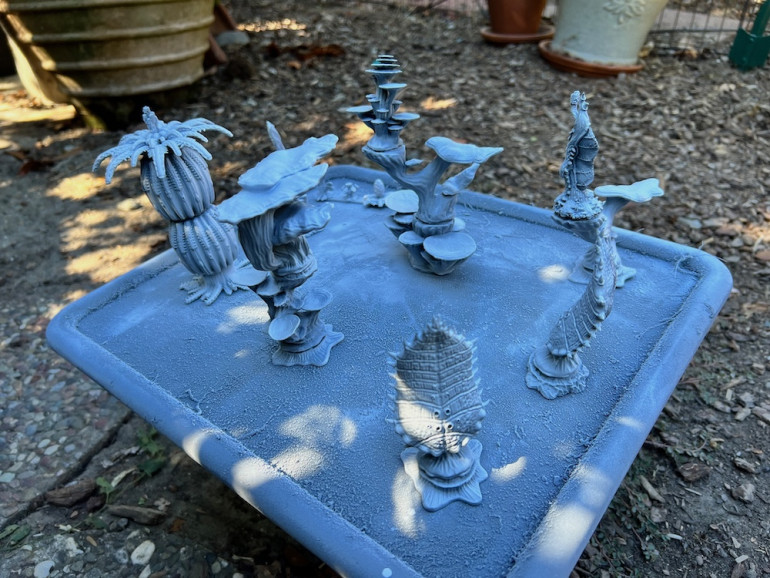
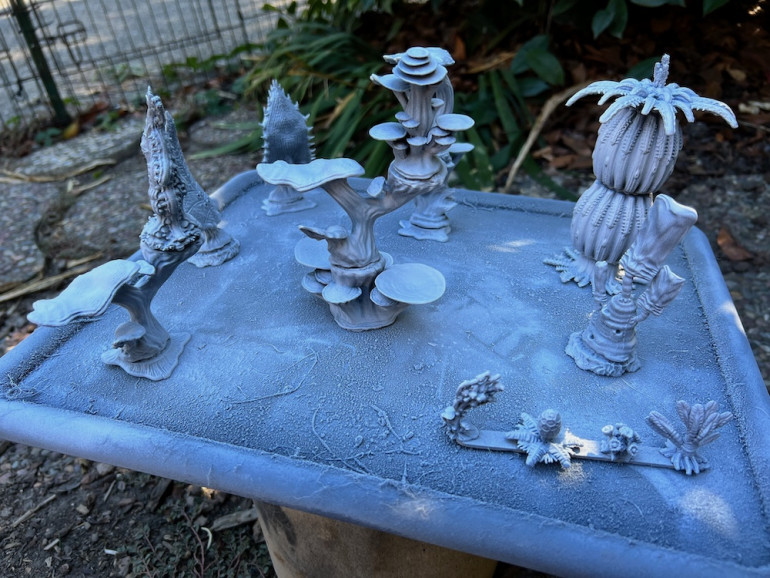
Third Group of Plants Primed
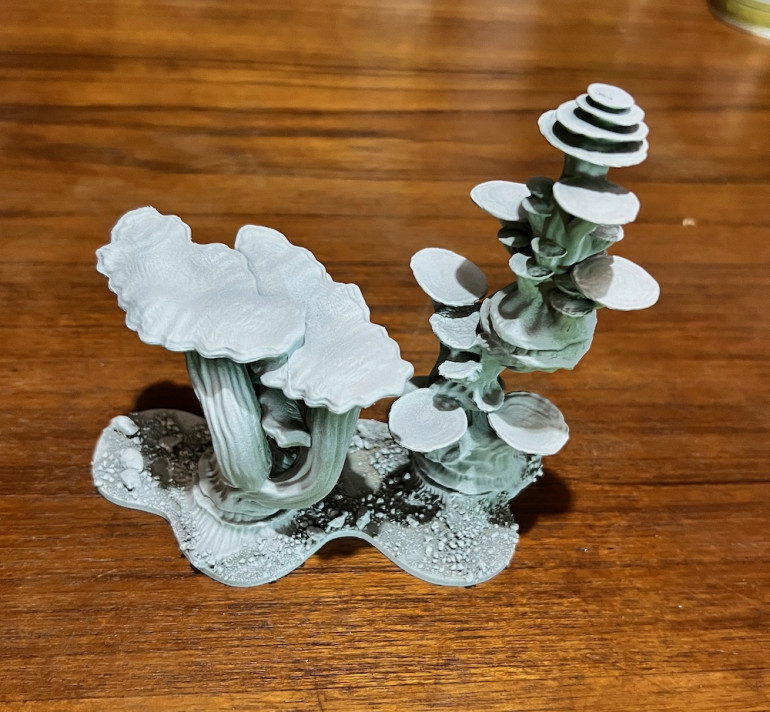
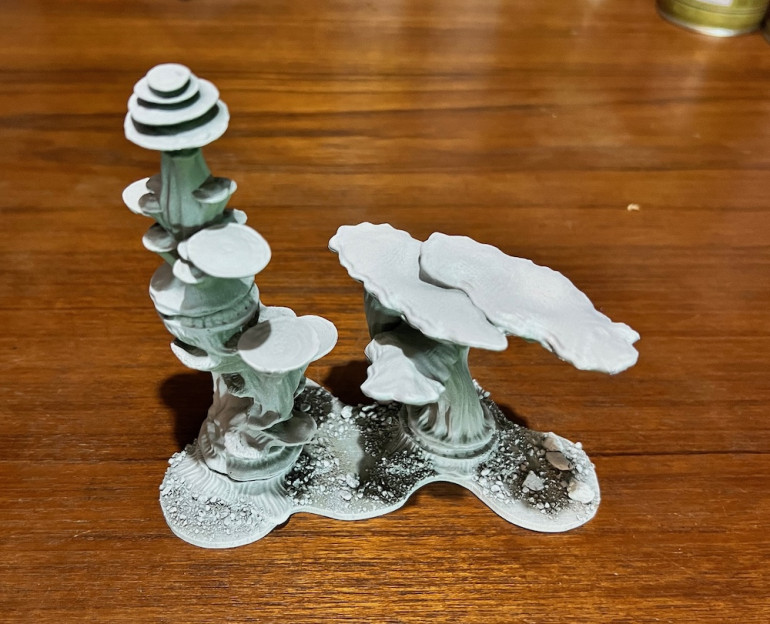
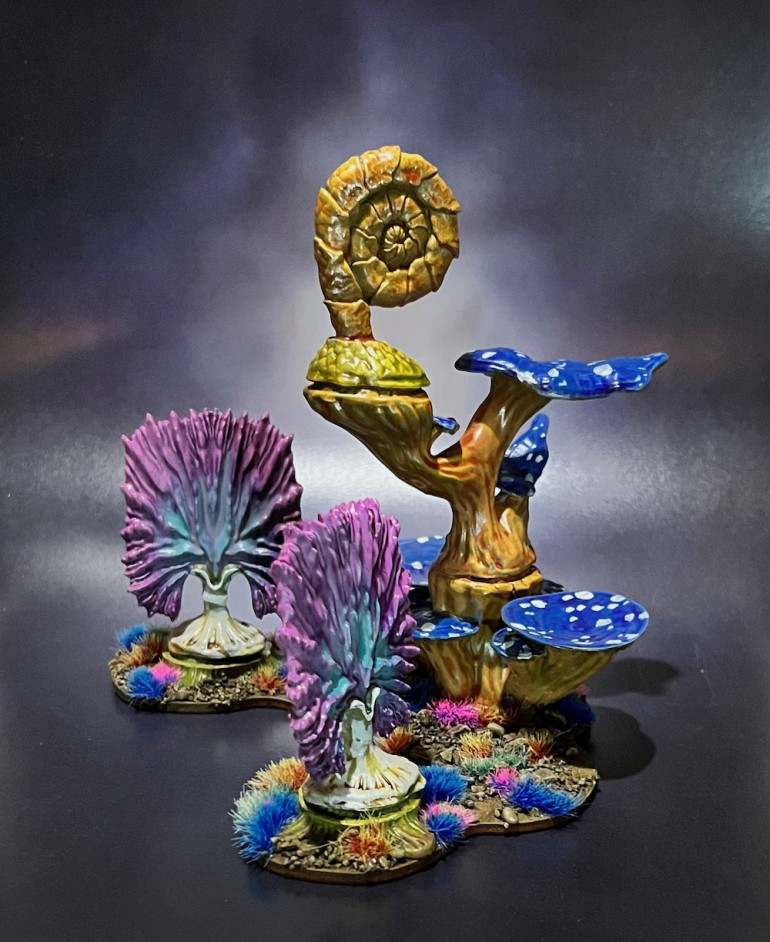
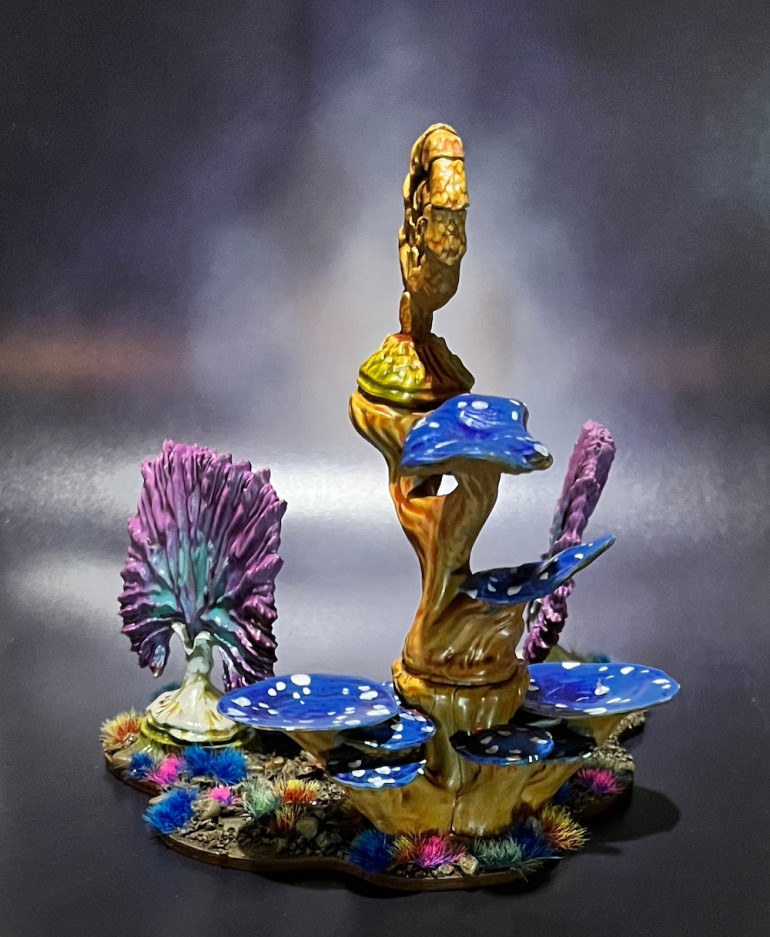
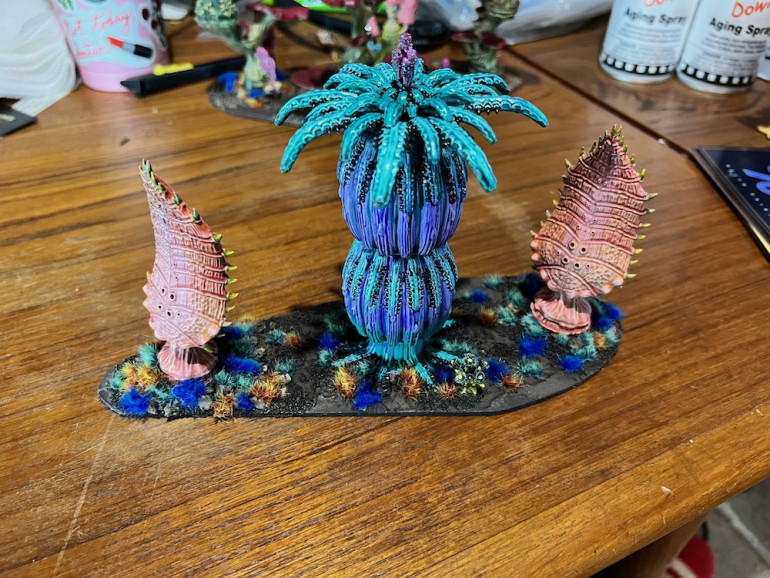
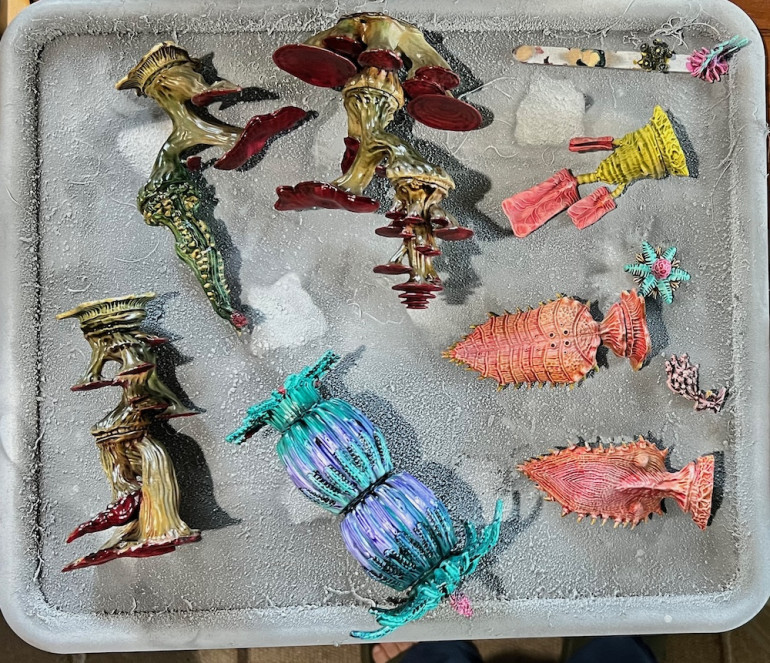
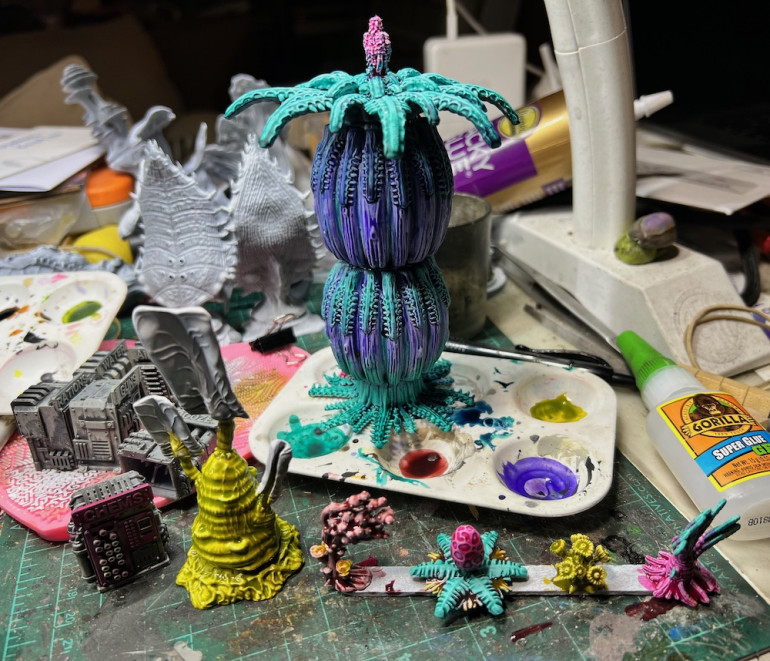
I’m closing in on the last of the contents of my first Terrain Crate3 crate. As I have mentioned, I have another, blissfully unopened one waiting under the desk. I’ll be adding the remnants of this crate to that before I start work on a couple of very large forest bases. I started with an all over Army Painter Army Green as the base and then sprayed Games Workshop white from above for the zenith effect. I really like using washes, dips, and stains to paint these and am especially pleased with how the wet blending comes out.
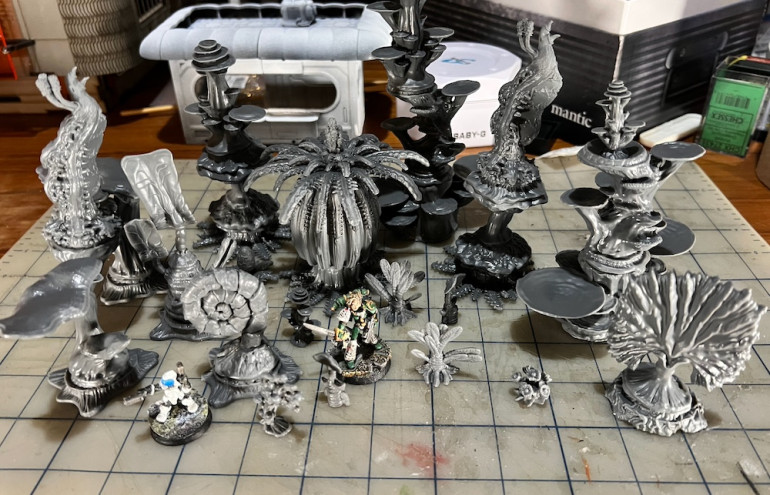
Second Group of Fungal Trees Finished
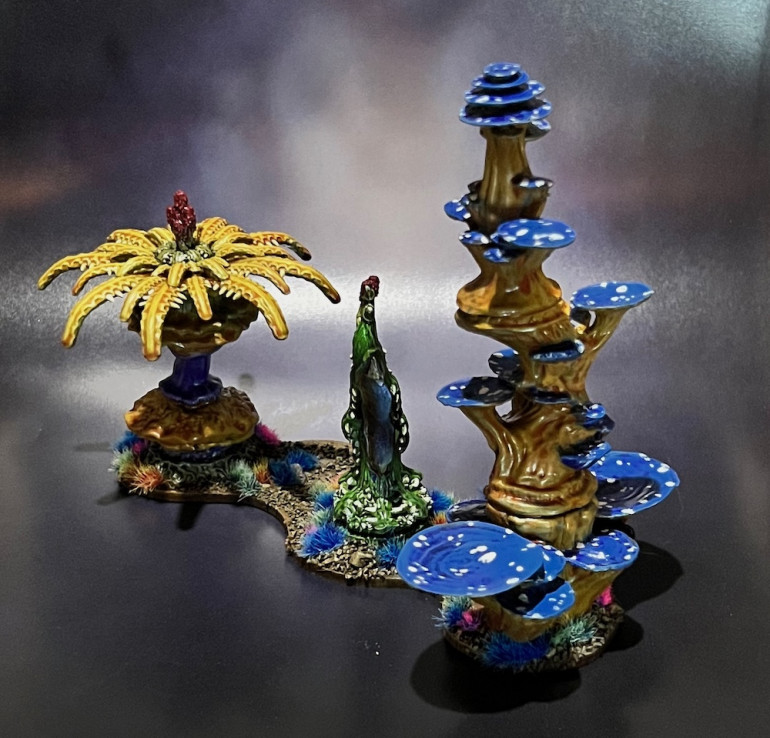
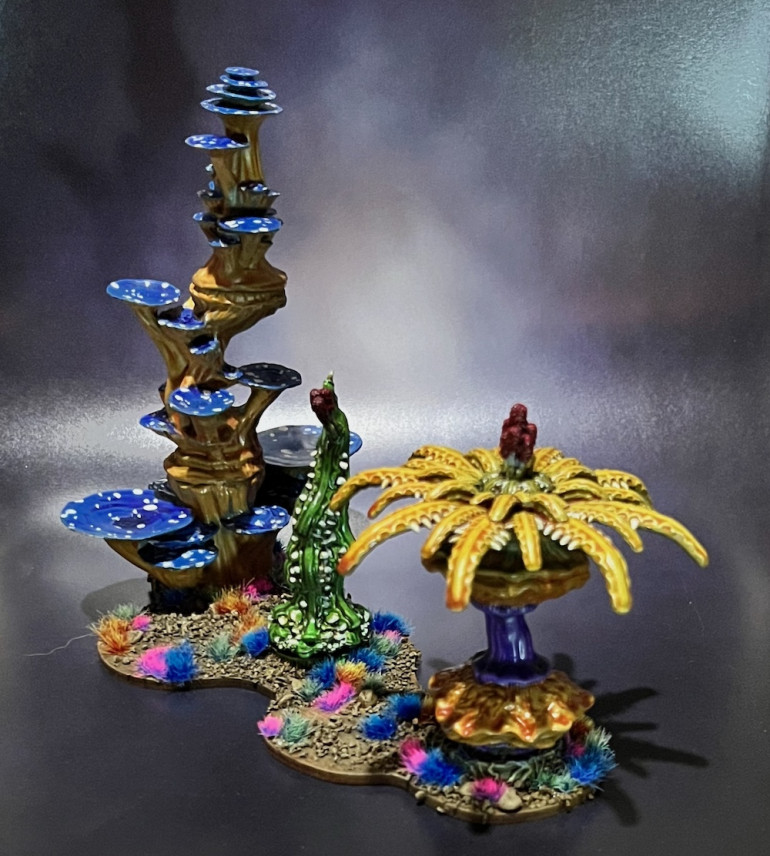
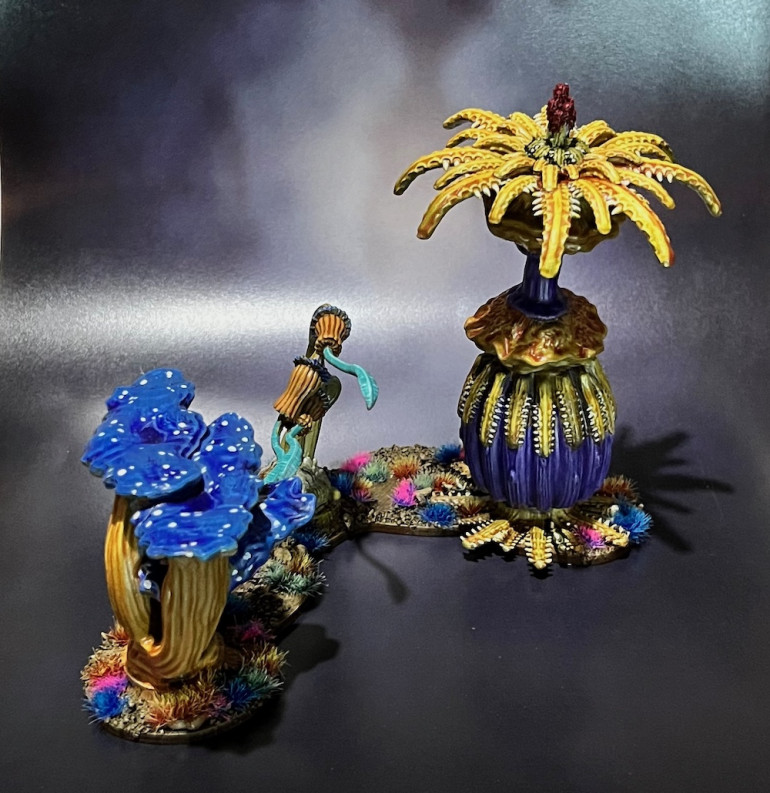
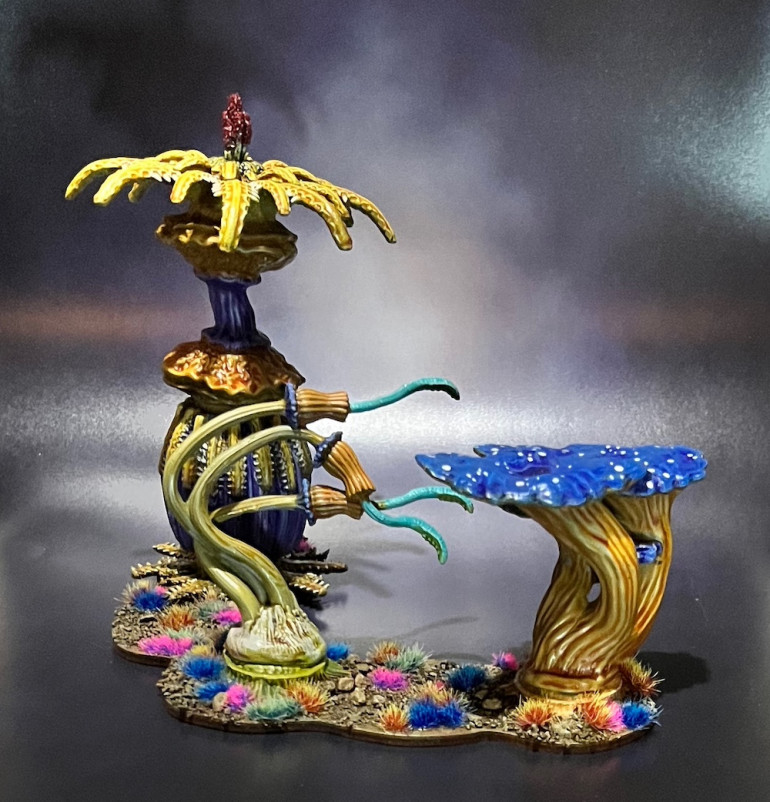
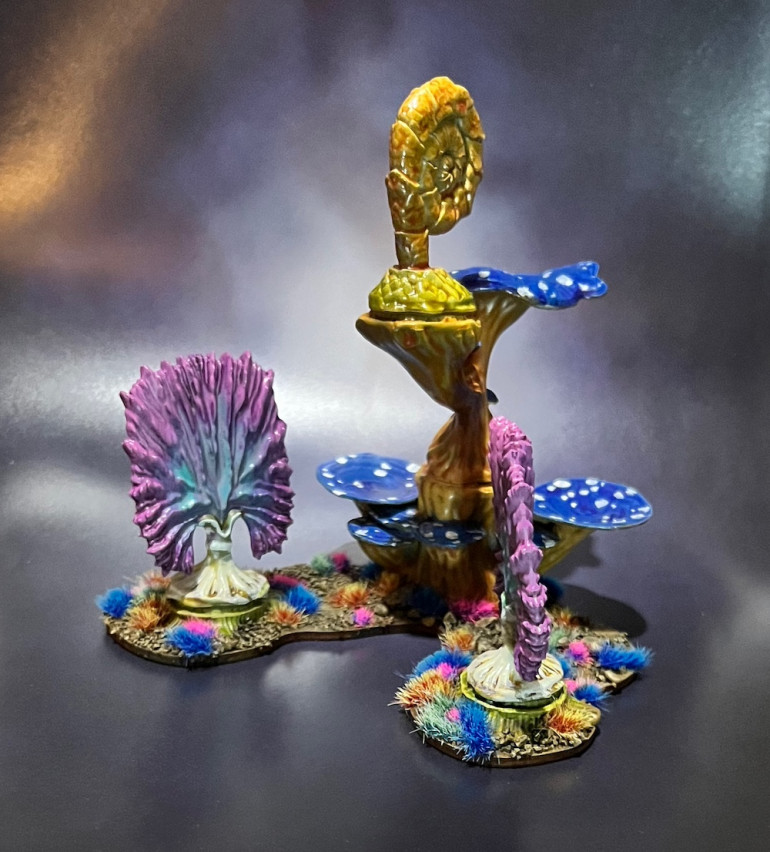
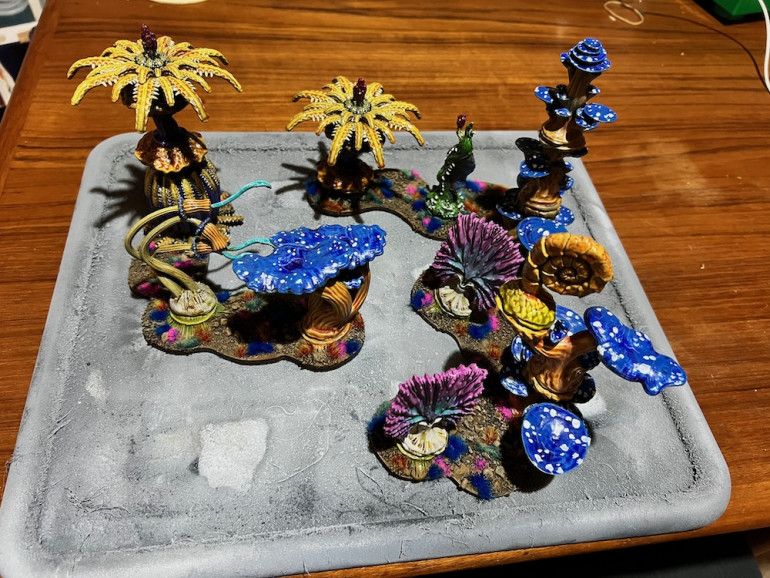
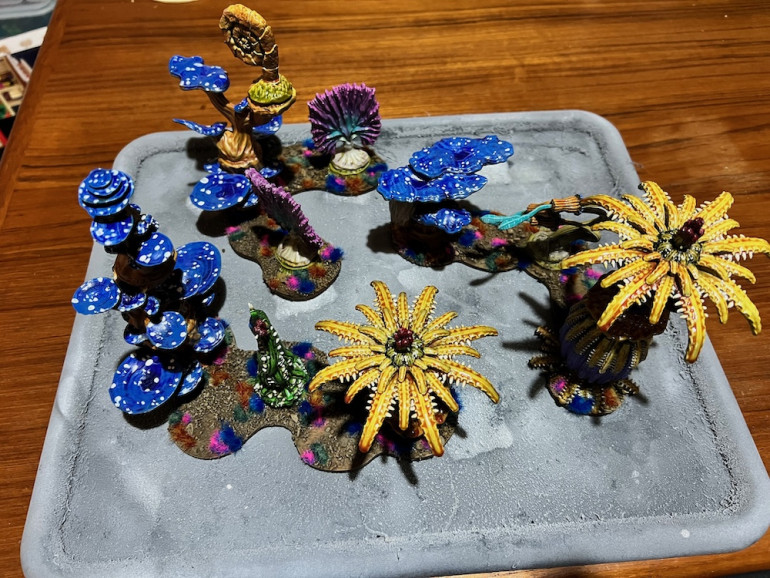
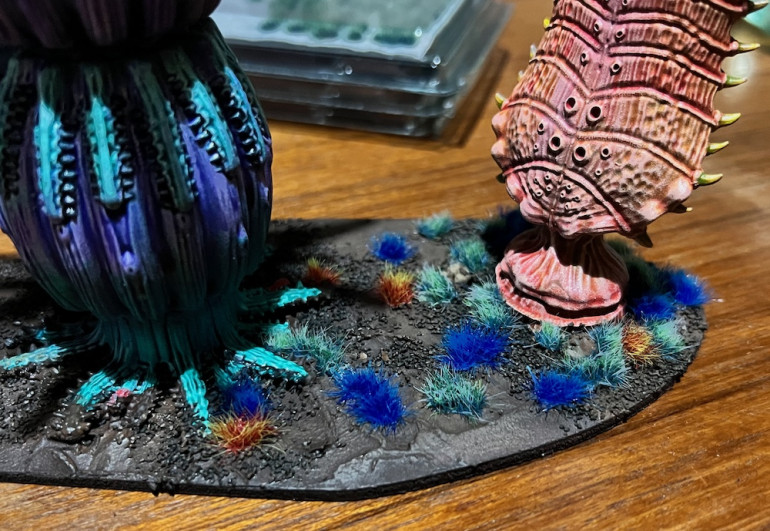
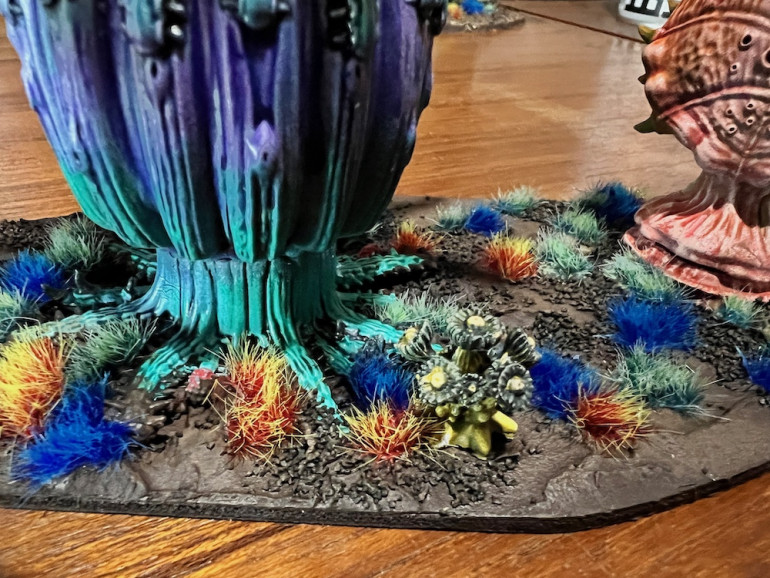
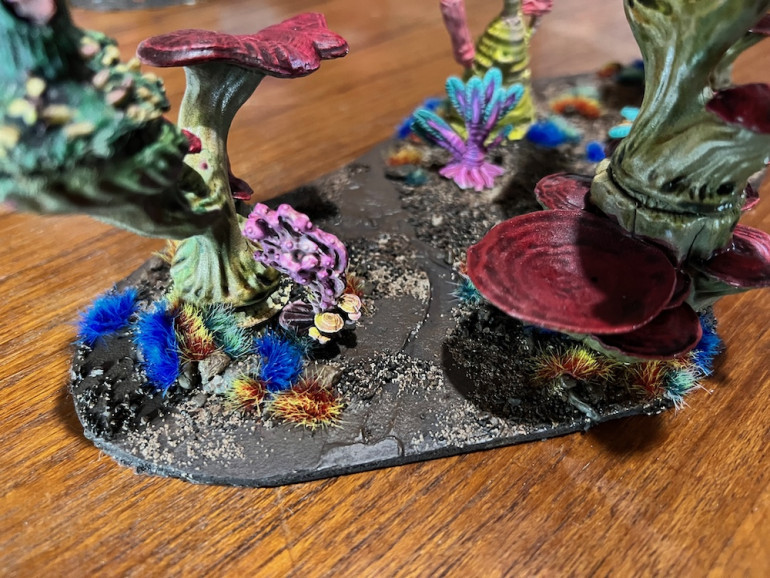
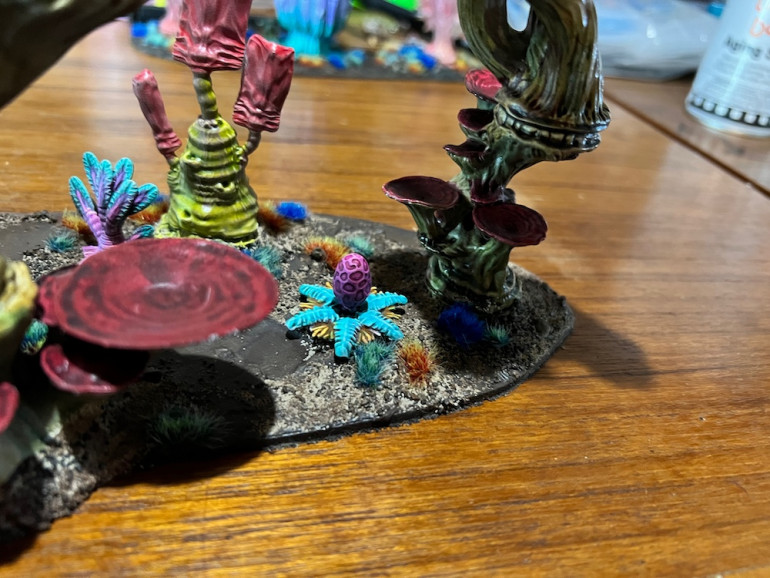
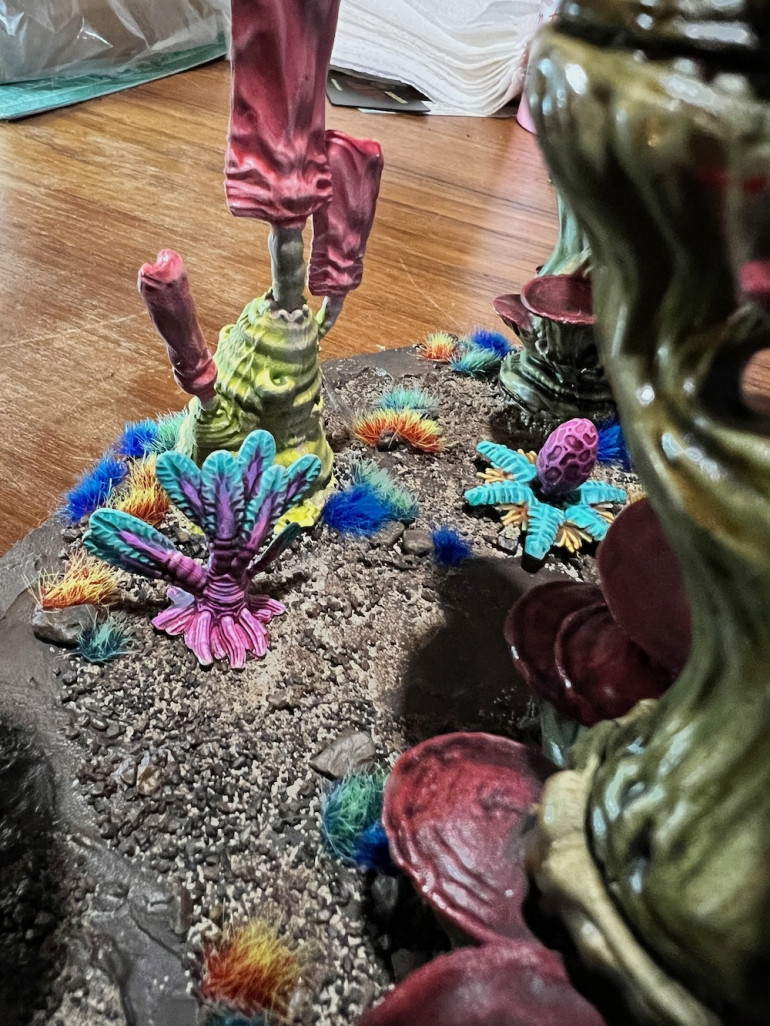
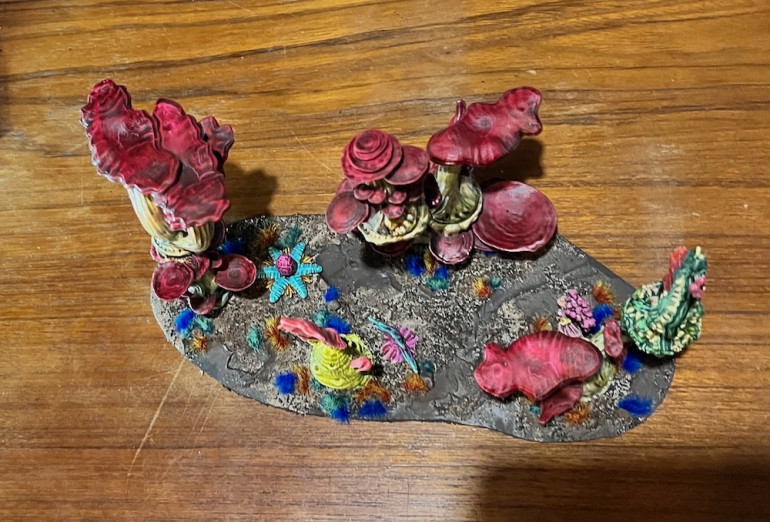
While I may have forgotten to glue on any of the tiny plants I am calling these bases finished. I was unsure at first if bright colors were the right choice but the more I work on them and look at them, the more I like them. They are so unlike anything else in the collection that they will definitely read as “alien” on the table.
More Fungal Forest.
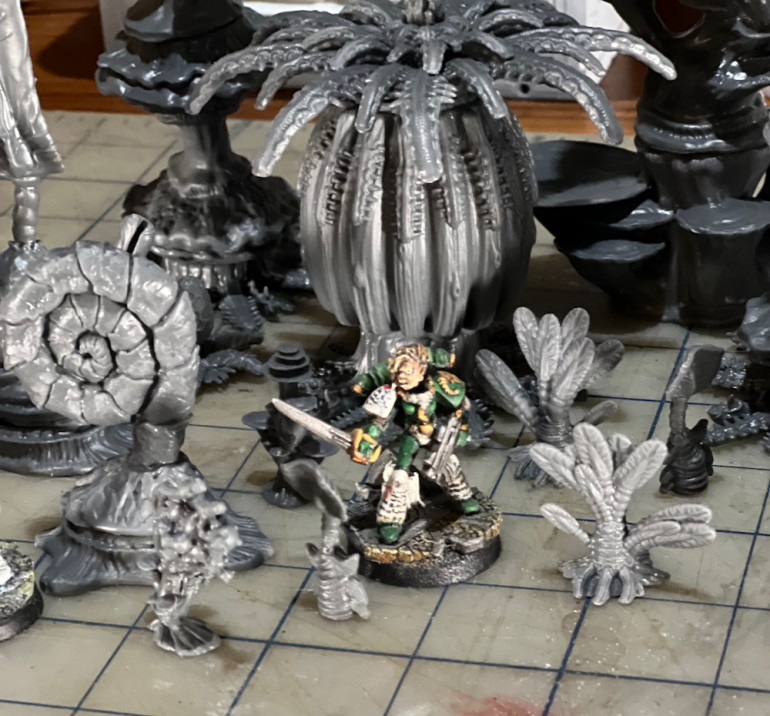
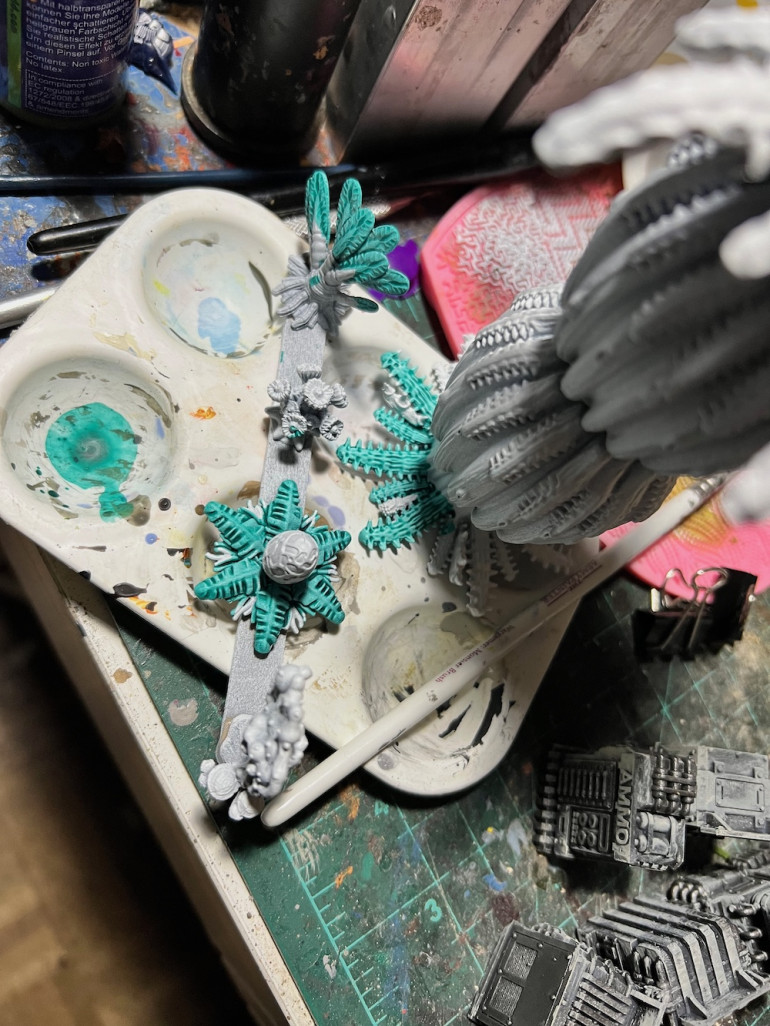
I finished painting the second set of plants I had primed. I’ve stuck to GW Contrast paints, Army Painter Speed Paint, and Green Stuff World Dipping Inks for the most part. There is some dry brushing of standard acrylic paint but mostly wet blends. I used the same brightly colored alien tufts I had decorated the first set with. I really think they look good and go well together. Now I need to glue more plants together as I have enough parts to make another dozen or so still left in the box. When those are gone… I’ll start the second box because of course I ordered two crates. Let’s just say Gerry and I understand each other.
I will be getting more environmental shots once more are finished.
Planting Some Ground Cover
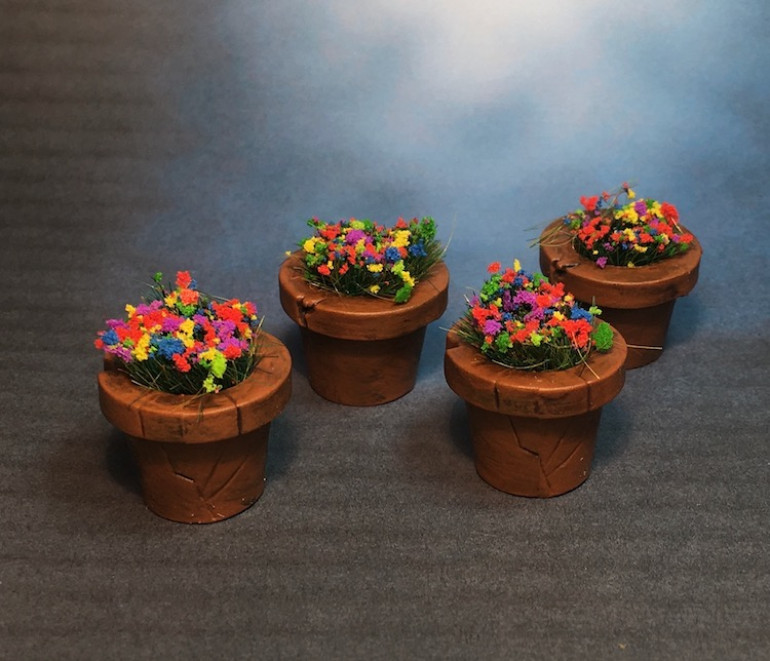
Once I had the plants painted and based I realized the green and brown tufts I own just didn’t look alien enough to go with them. Fortunately there are any number of companies making ground cover for just such a dilemma. I picked up a trio of Gamers Grass bright colors to try out. While I was unsure about them at first I’ve really grown fond of them. I ordered more to fill out the next bases I assemble. They add a real Star Trek: Original Series feel to everything and definitely look alien.
Found My Bases
I found the Litko bases I had picked up at a convention ages ago. They are smaller than my memory said they were which is why I never fully trust what it has to say. The biggest three will work fine but I’m not sure of the smaller ones. Perhaps some groupings of the medium to small plants mixed with rocks or other terrain bits. I have to admit I am a little overwhelmed at how many pieces came in a Kickstart Crate. While I have come to expect a massive pile of tiny plastic bits from Mantic’s campaigns, when it is all interchangeable and interlocking it somehow seems like even more. After all the “trees” I’ve assembled so far I still have about a third of the crate left, enough to make nine or ten more. That will be quite a toxic jungle on the table. Good thing I have one more unopened forest crate to build even more of them.
I finished painting the first group I had built and primed. They have been sealed and are now waiting to be glued to their own bases.
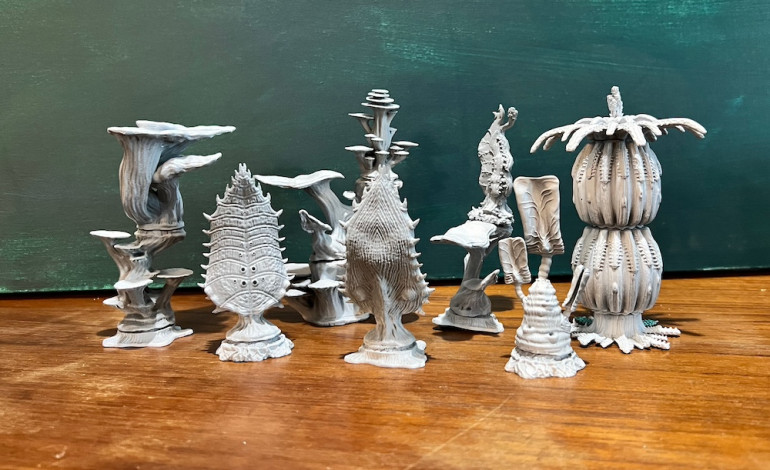
Terrain Crate 3 Has Arrived and is Getting Color
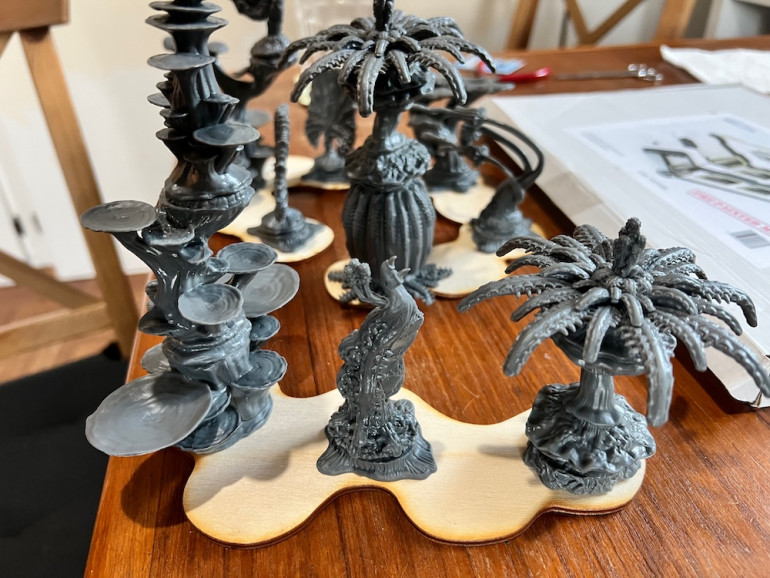
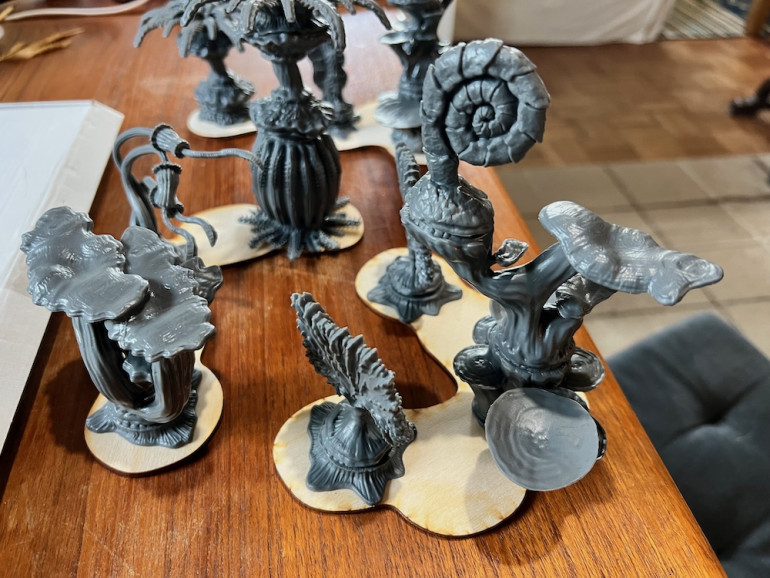
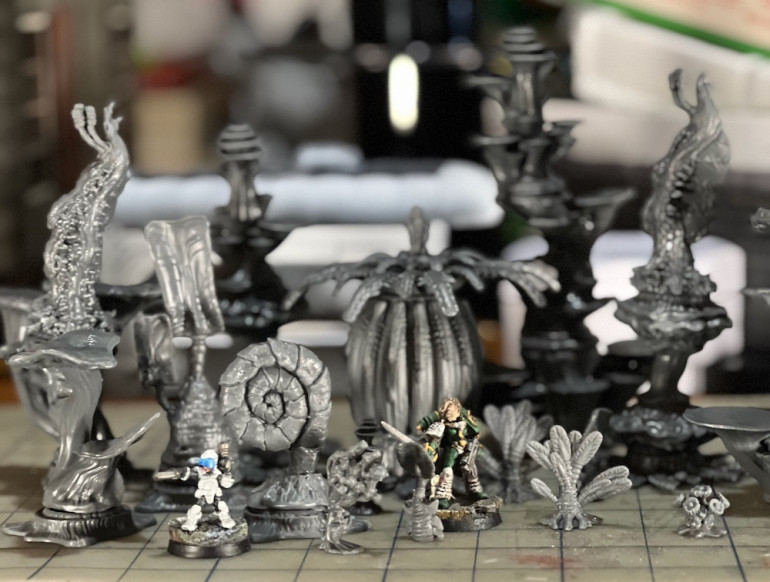
For those who didn’t follow October’s Terrain Challenge, I received my rewards from the third Mantic Terrain Crate Kickstart. There were three different sets available but as I have lots of alien ruins and plenty of battle torn town stuff I only opted for the Fungus Forest. Of course I “needed” two sets as one would just not do for a terrain glutton such as myself.
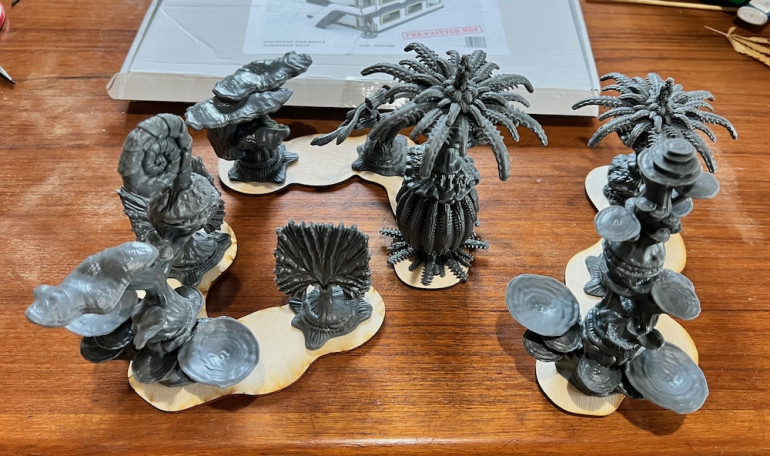
I love the grey plastic everything is cast in. I believe it is the same as Reaper’s Bones Black miniatures are cast in. It holds detail well and is much less flexible than the earlier pieces. I foresee less of the bendy bits we found in TC1.
Some Non-Campaign Terrain Crate
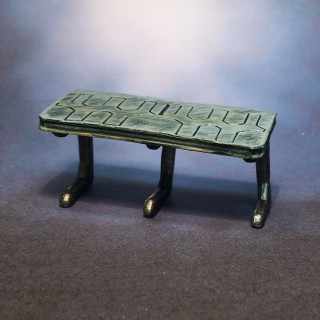
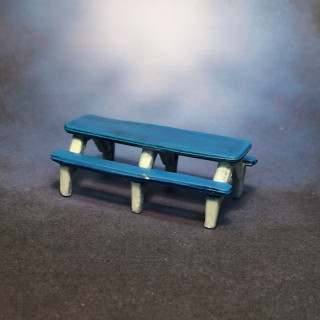
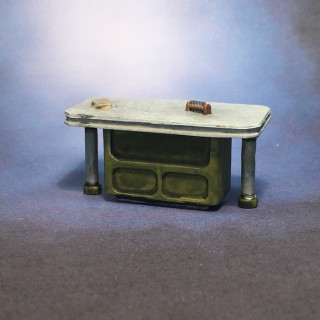
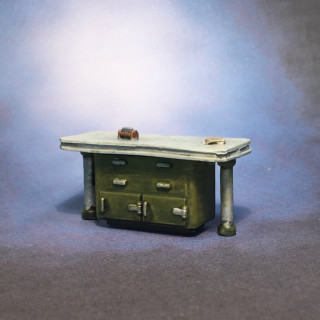
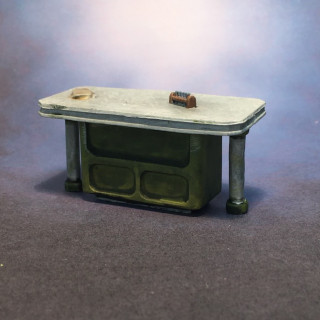
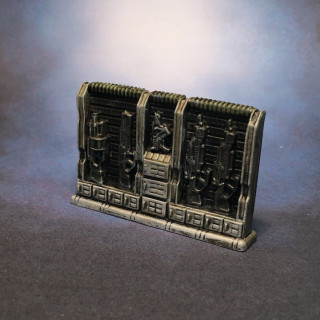
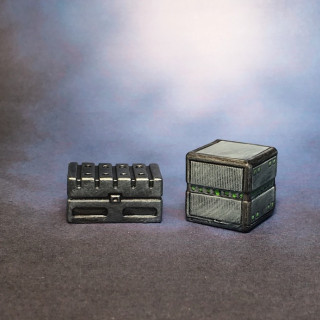
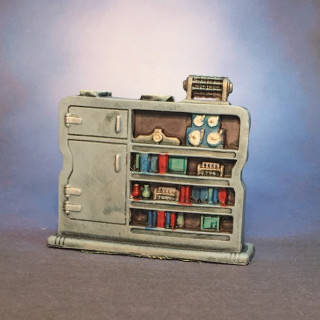
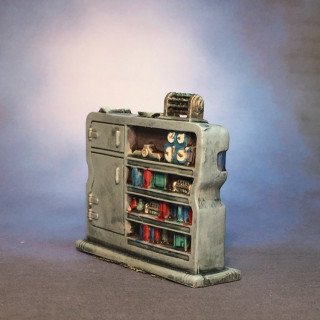
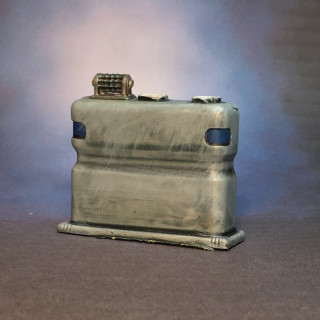
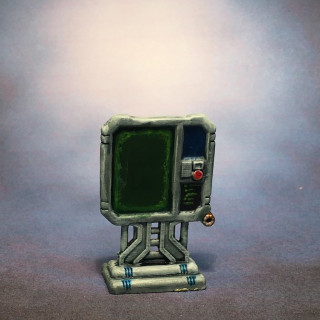
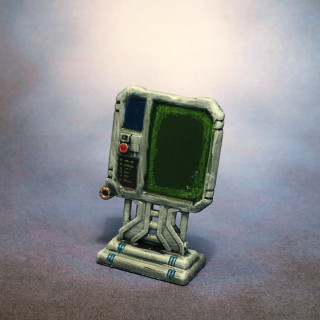
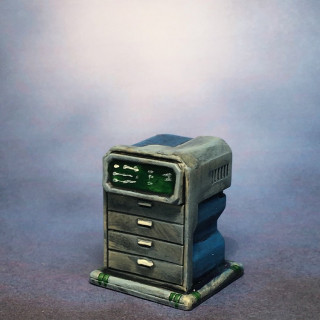
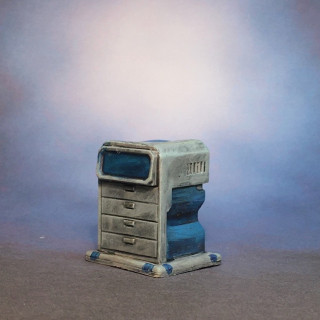
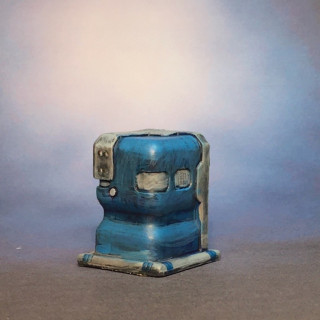
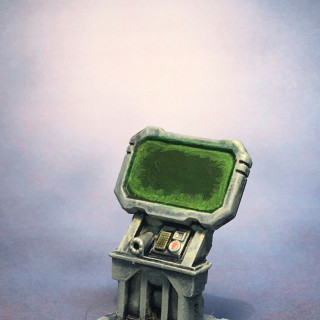
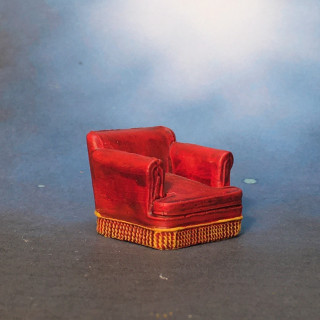
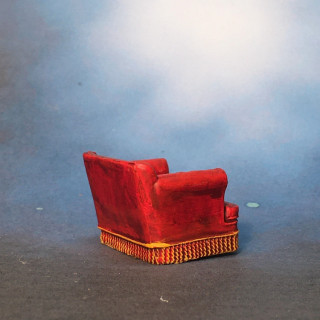
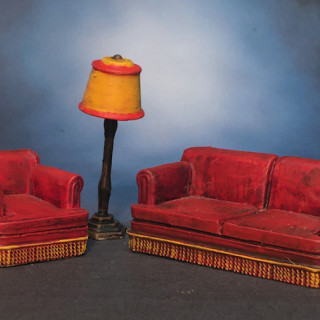
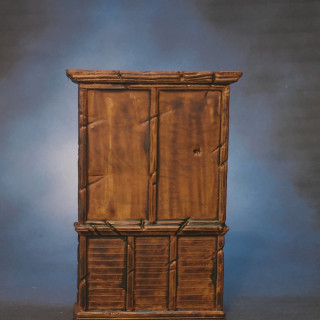
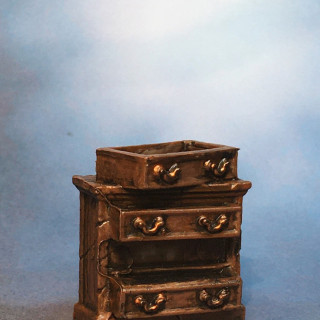
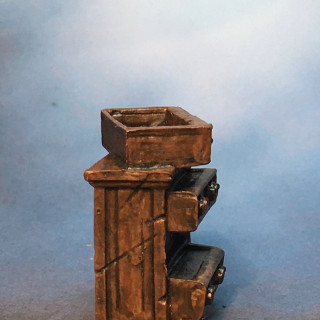
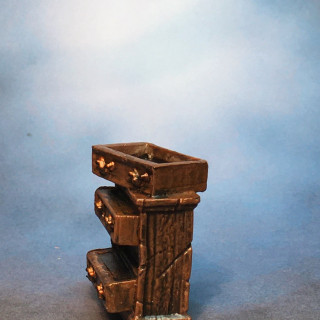
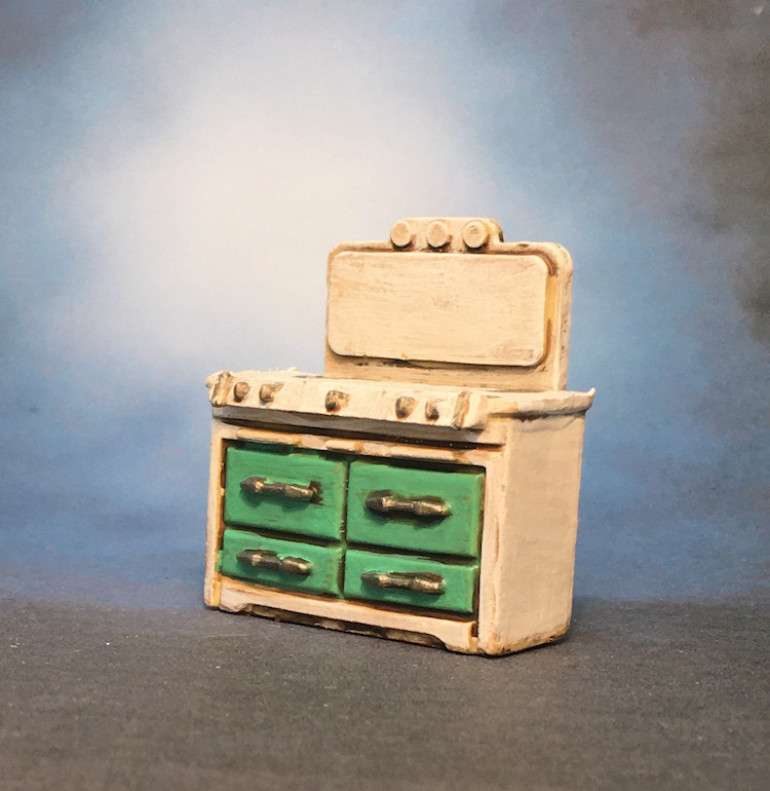
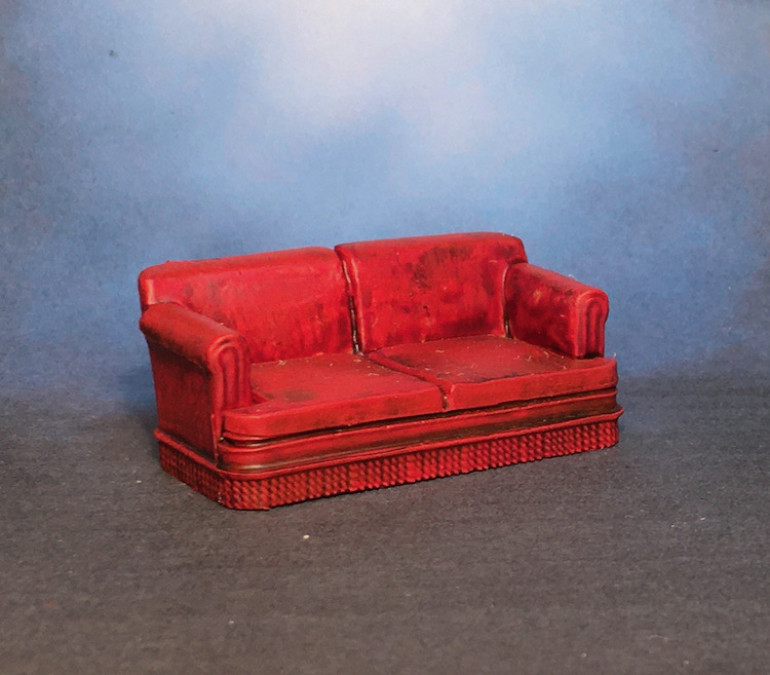
With all the science fiction minis and terrain I’ve been painting for Stargrave and the like I realized I needed furniture. Luckily Mantic makes a nice kit filled with two sets of the pieces from Star Saga which are quite nice. Here is the first set I finished.
A Cozy Crumbling Cottage
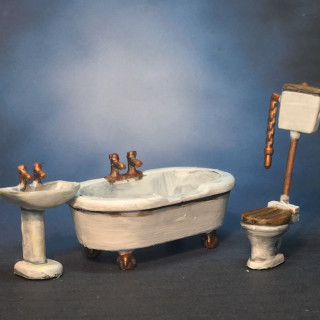
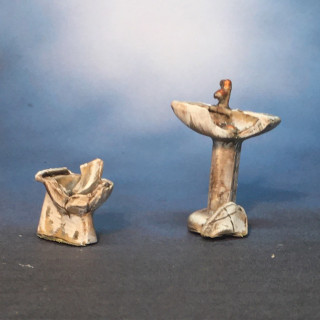
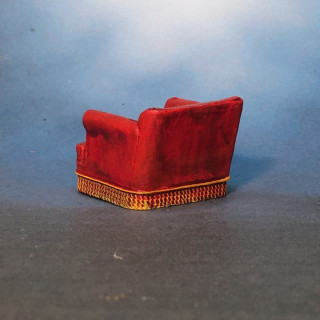
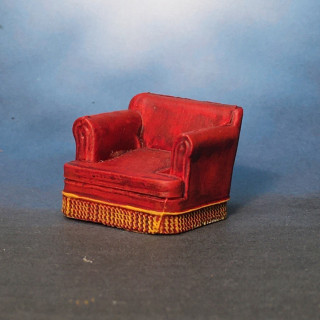
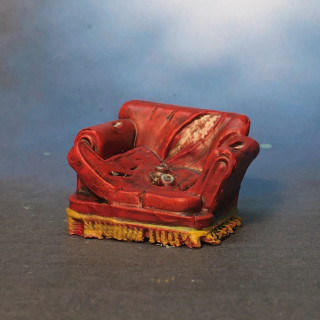
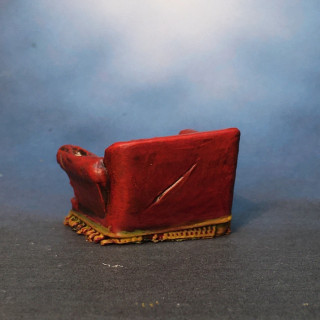
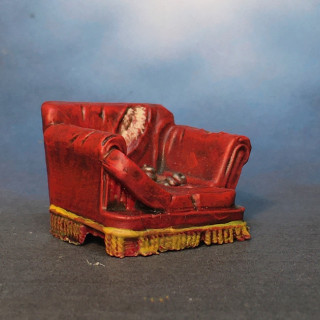
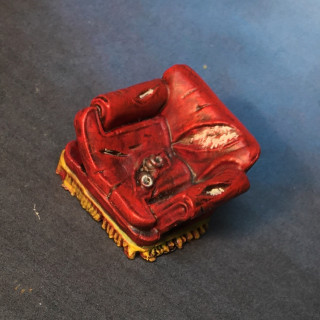
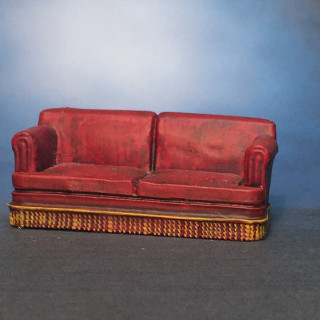
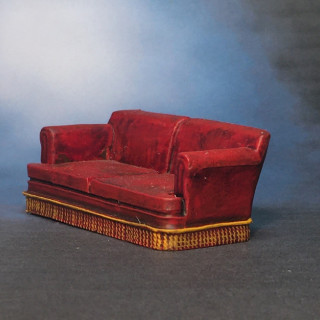
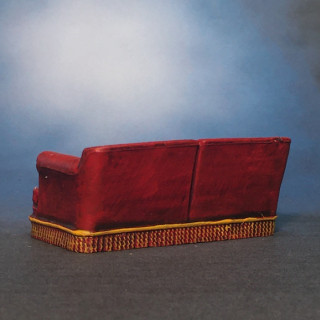
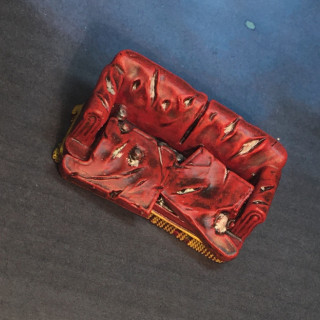
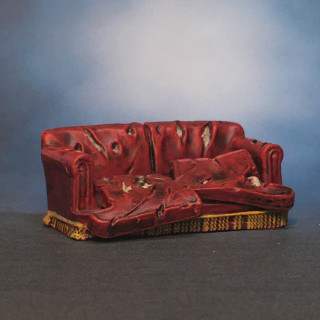
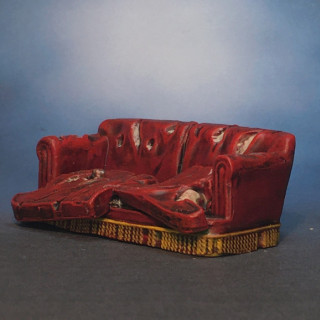
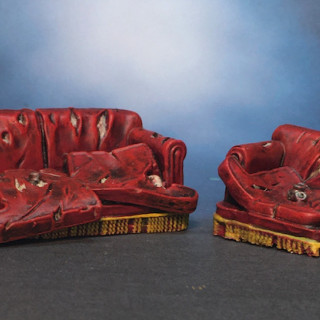
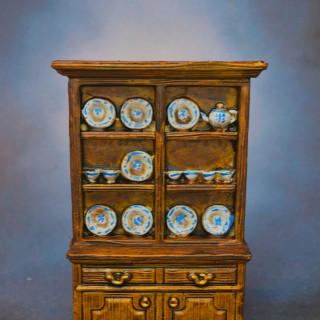
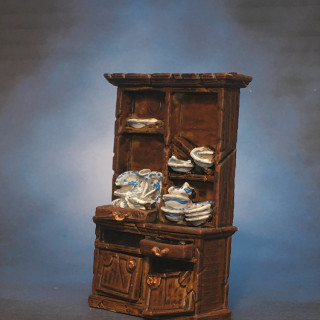
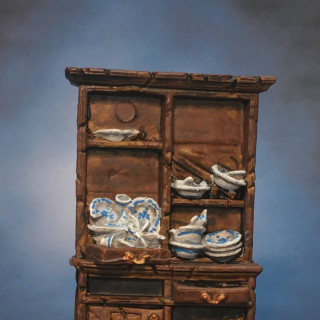
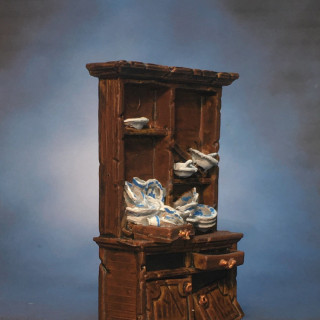
I’ve mentioned before how entertaining I find it that Mantic has created both pristine and wrecked versions of much of their furniture in Terrain Crate2. The galleries below show some of the Before and Afters, if you will.
Wreck, Ruin, and a Crumbling Cottage
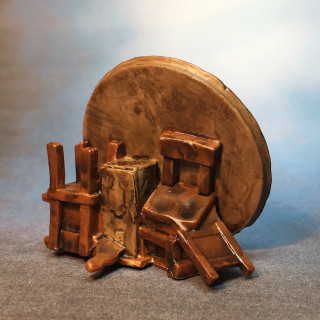
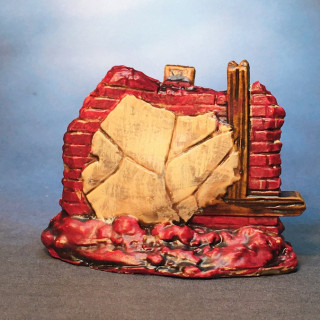
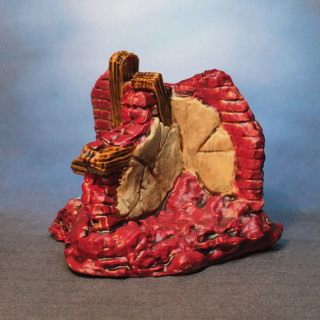
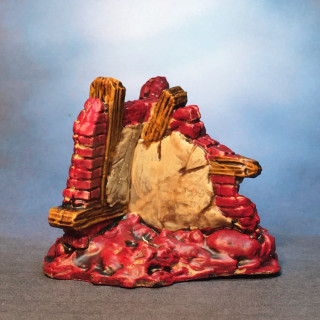
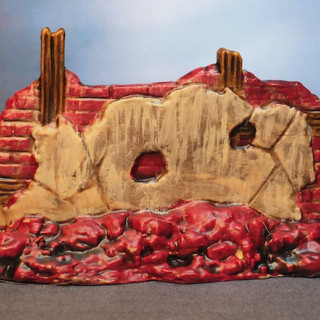
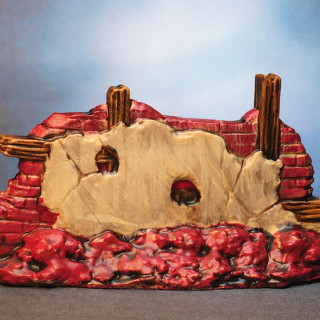
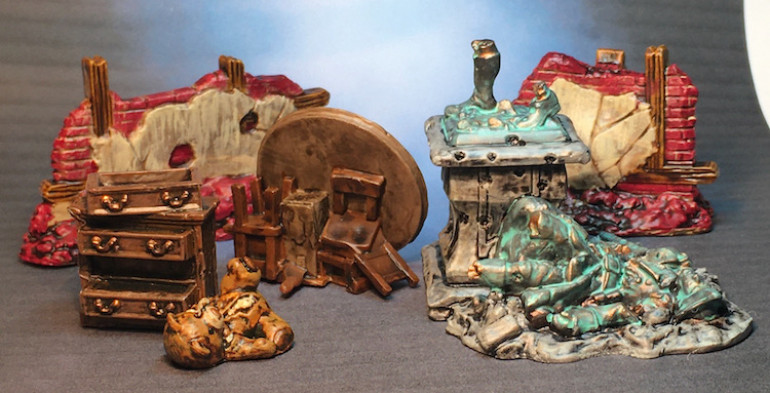
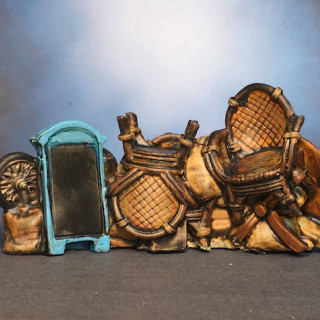
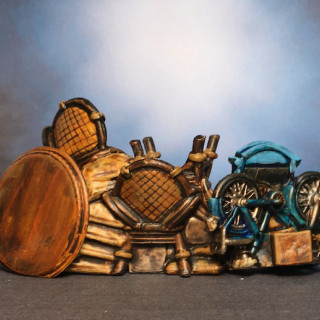
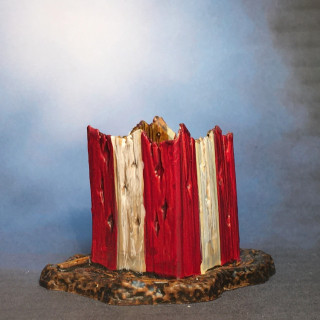
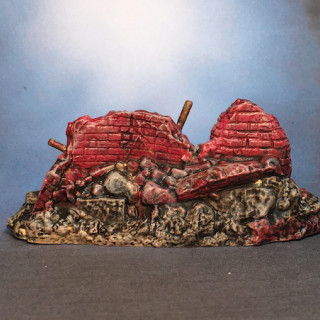
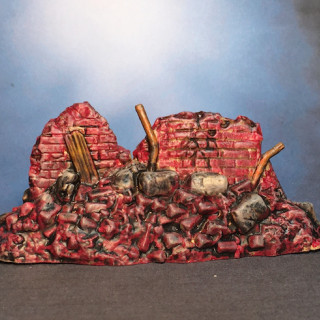
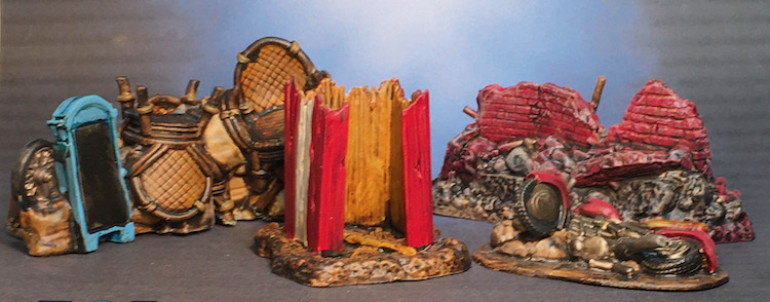
Having finished a set of Wreck and Ruin as well as one from the Crumbling Cottage of the Mourneville Ruins Box I photographed them together. I really like how Mantic has made wrecked versions of their other terrain pieces. Could make for some interesting Before and After table set ups as well as objective markers.
Falling into Wrecks and Ruins
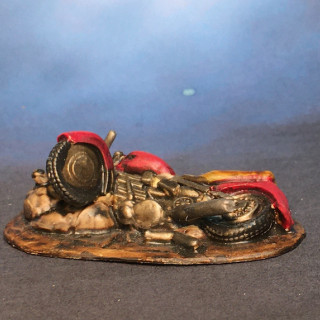
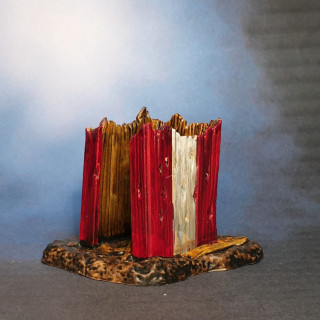
A quick detour into the Mourneville Ruins box led to a bag of Wrecks and Ruins. I like how Mantic has made destroyed or repurposed versions of the pieces from the other sets. The blown apart guard post and furniture barricade are nice examples of this. One could even do before and after versions of a scene.
Cozier Cottage
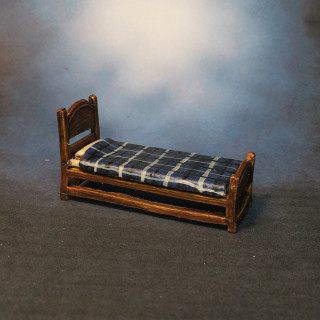
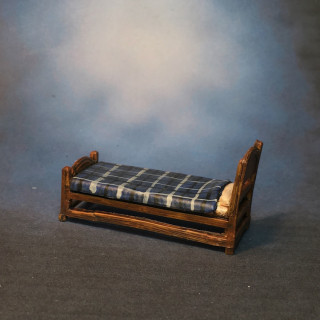
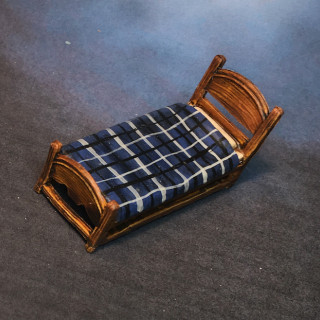
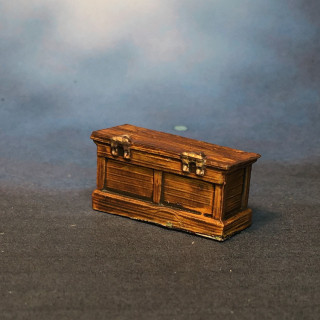
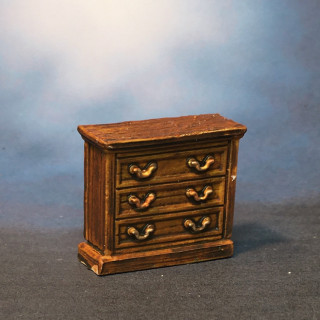
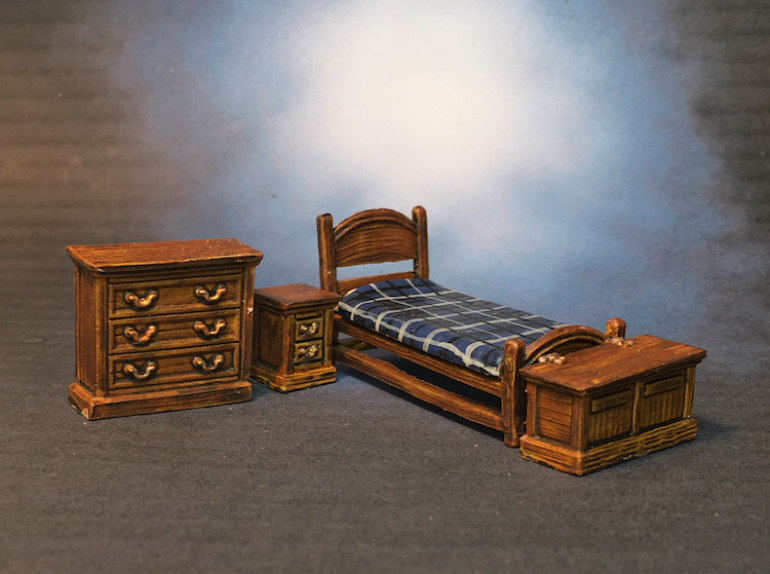
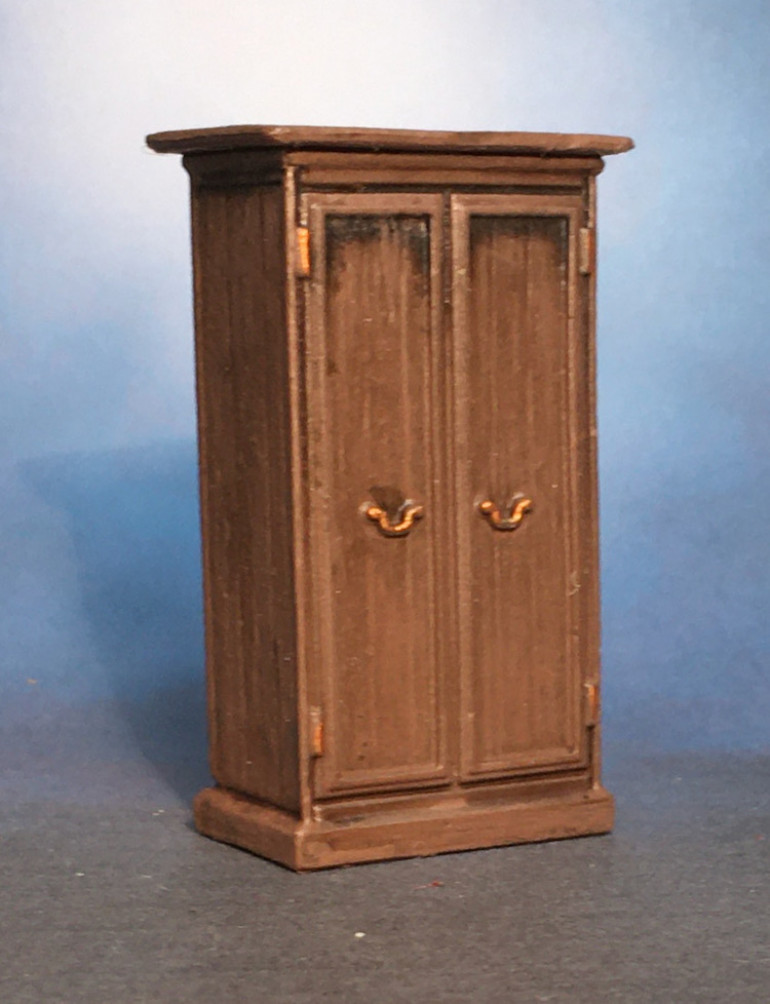
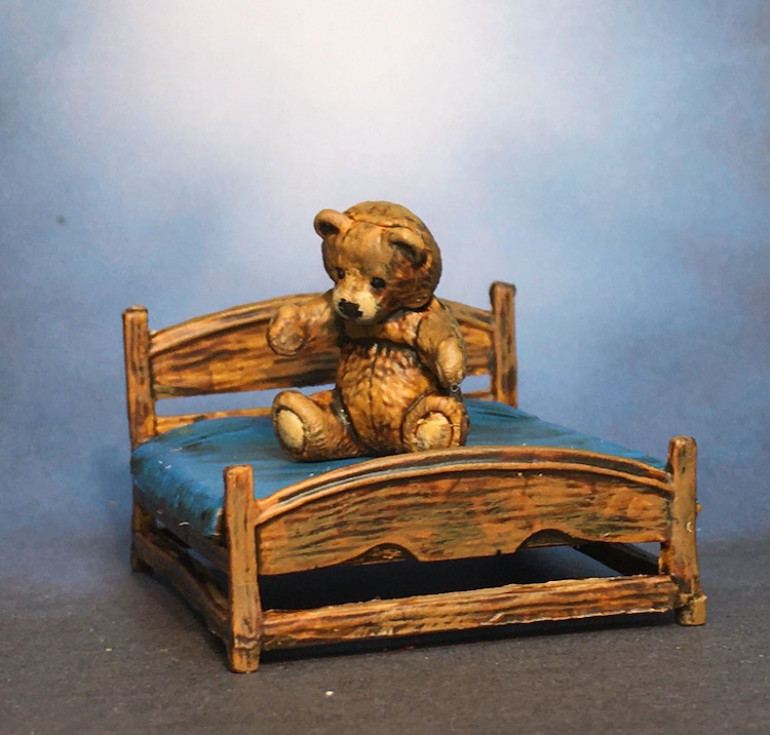
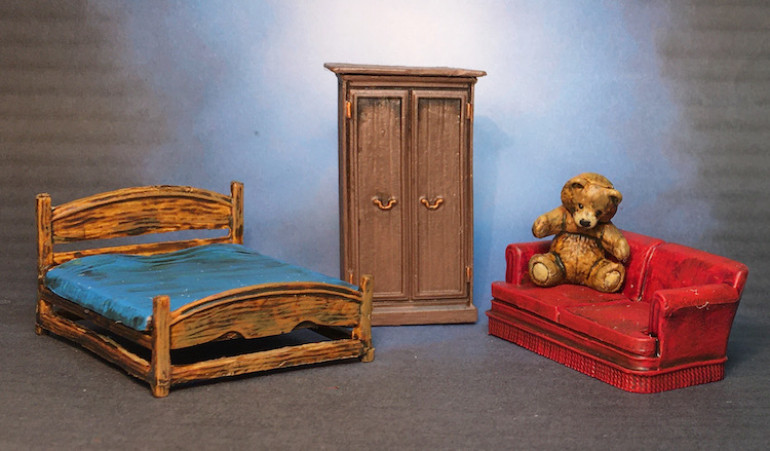
I’ve finished up the small bed and bedroom furniture set from Cozy Cottage. The plaid I put on the bed was easy and made me pull out the large bed to receive a similar treatment. I’ll document that on my Freehand blog. I’m making good progress one these sets and have now washed the last pieces from the Bellevue Square set. Keep in mind this doesn’t mean they are painted just ready to be painted. Of course this does mean they are in line and not in the Closet of Potential so it will happen soon.
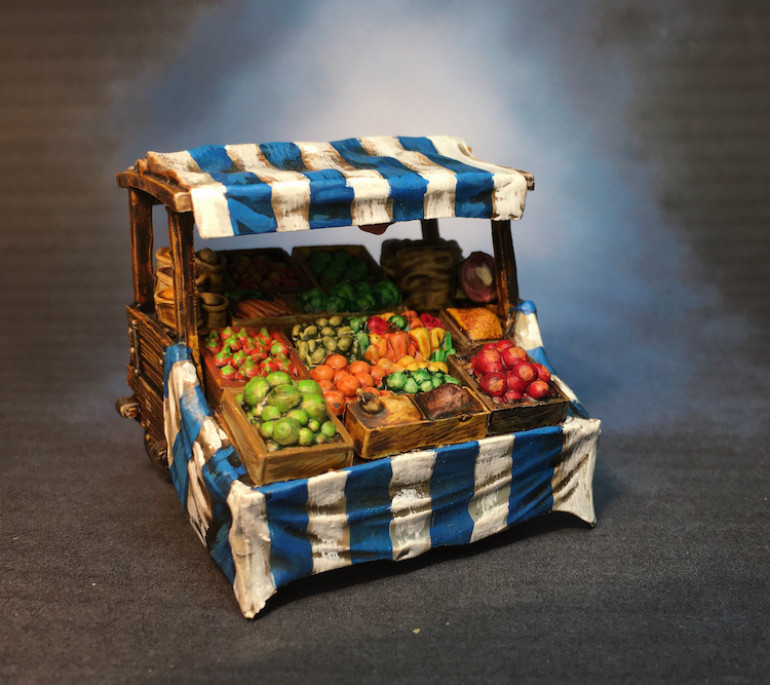
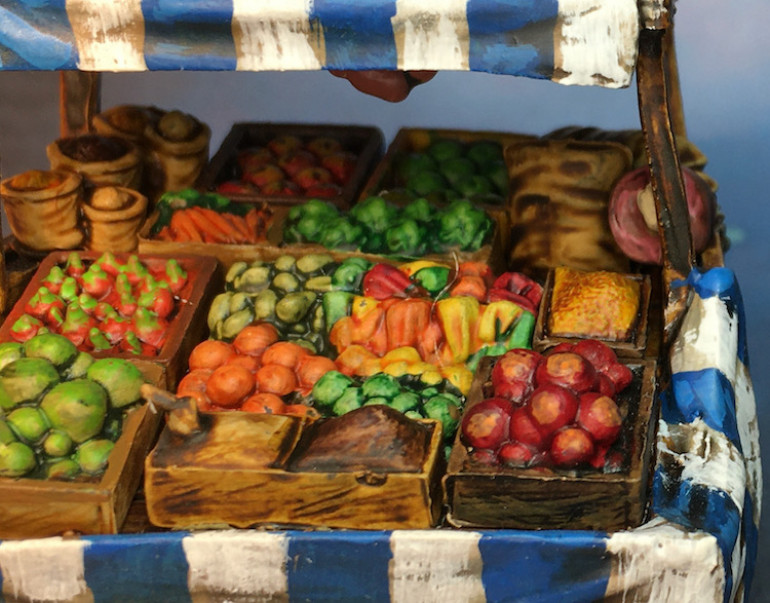
Market Place is Open for Business
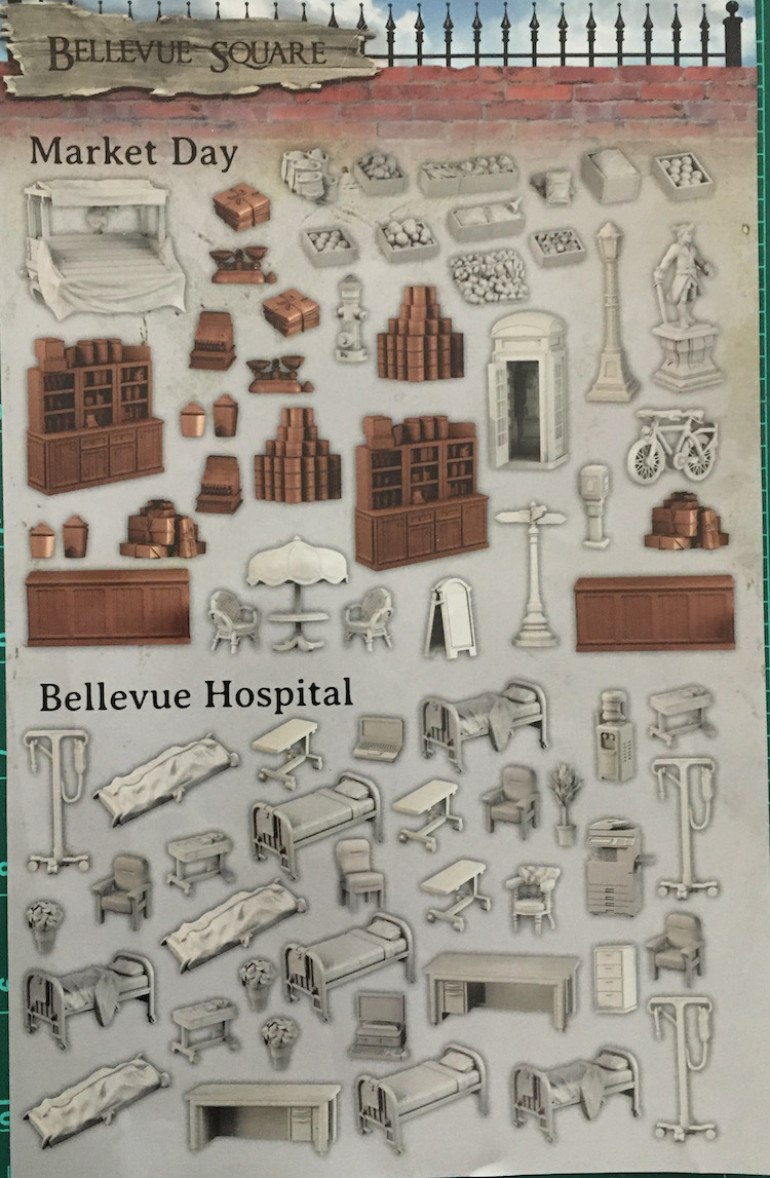
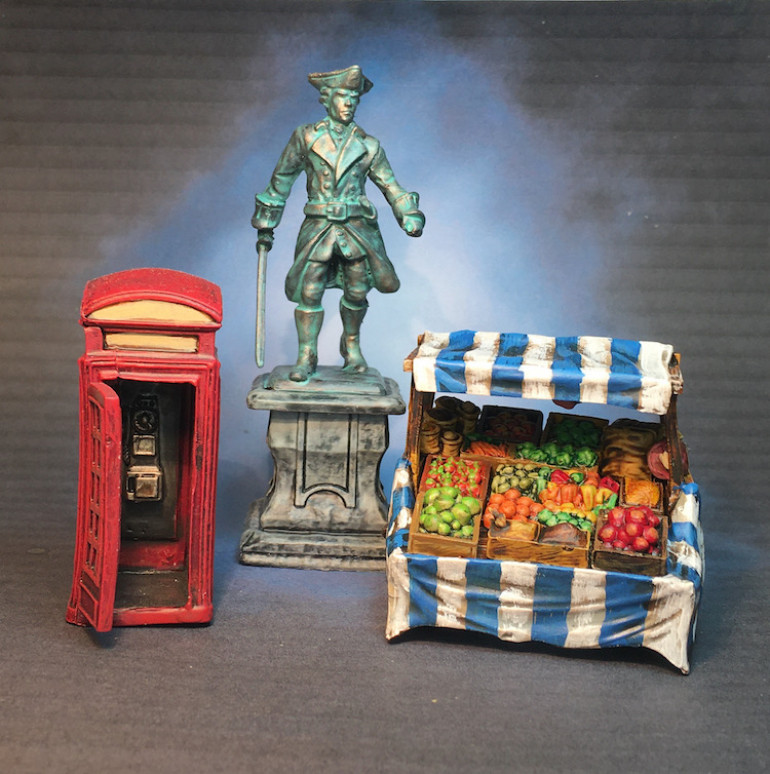
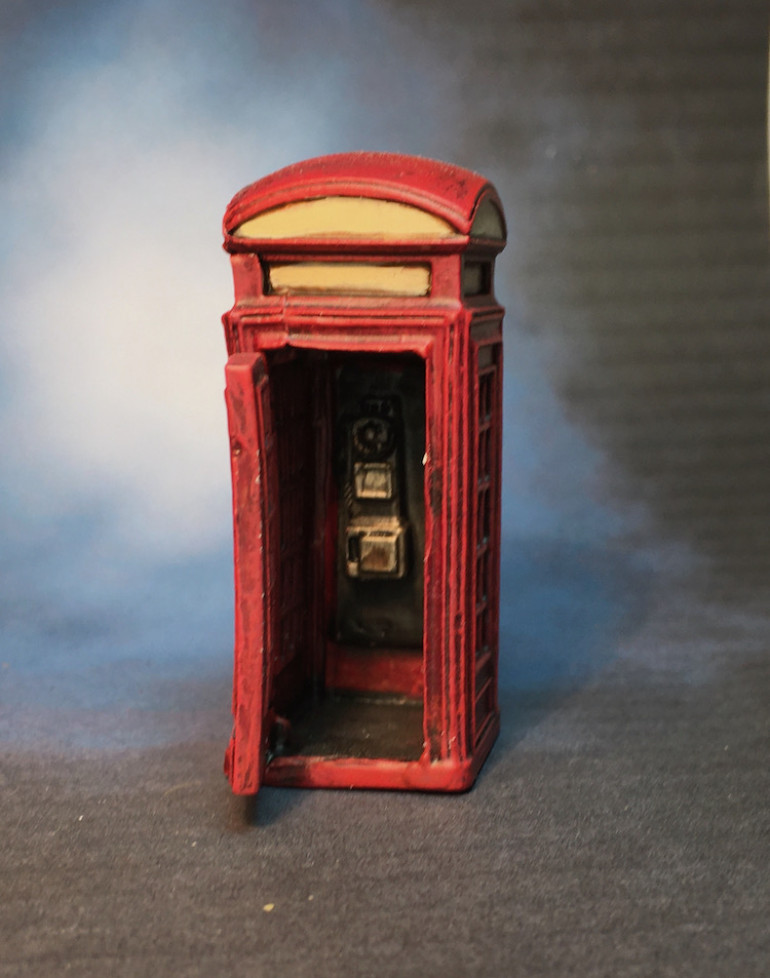
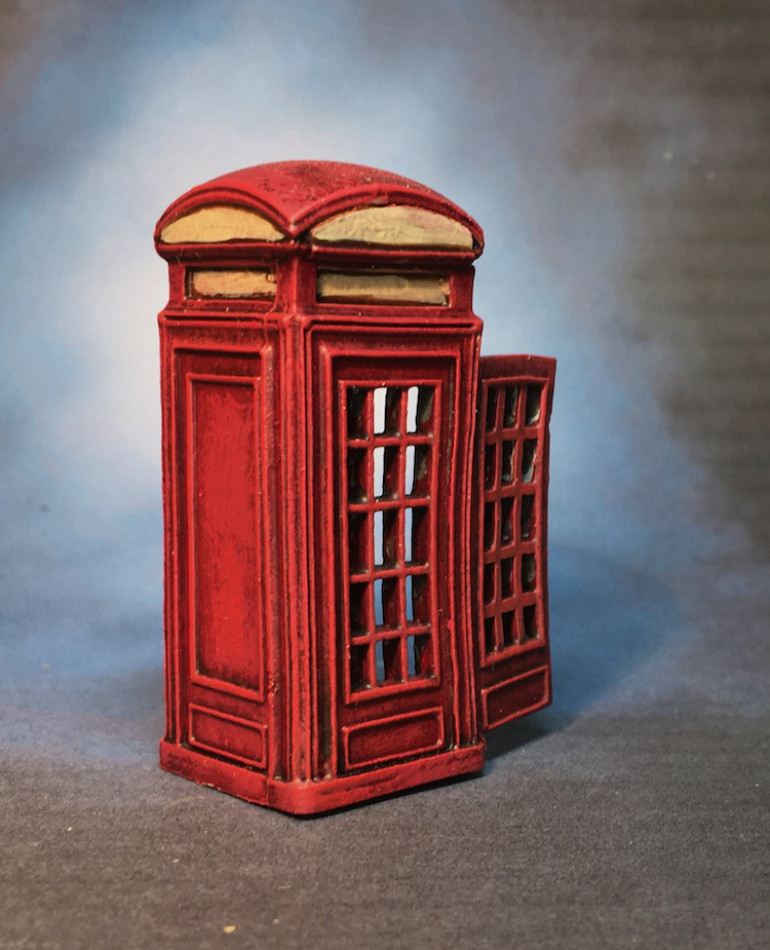
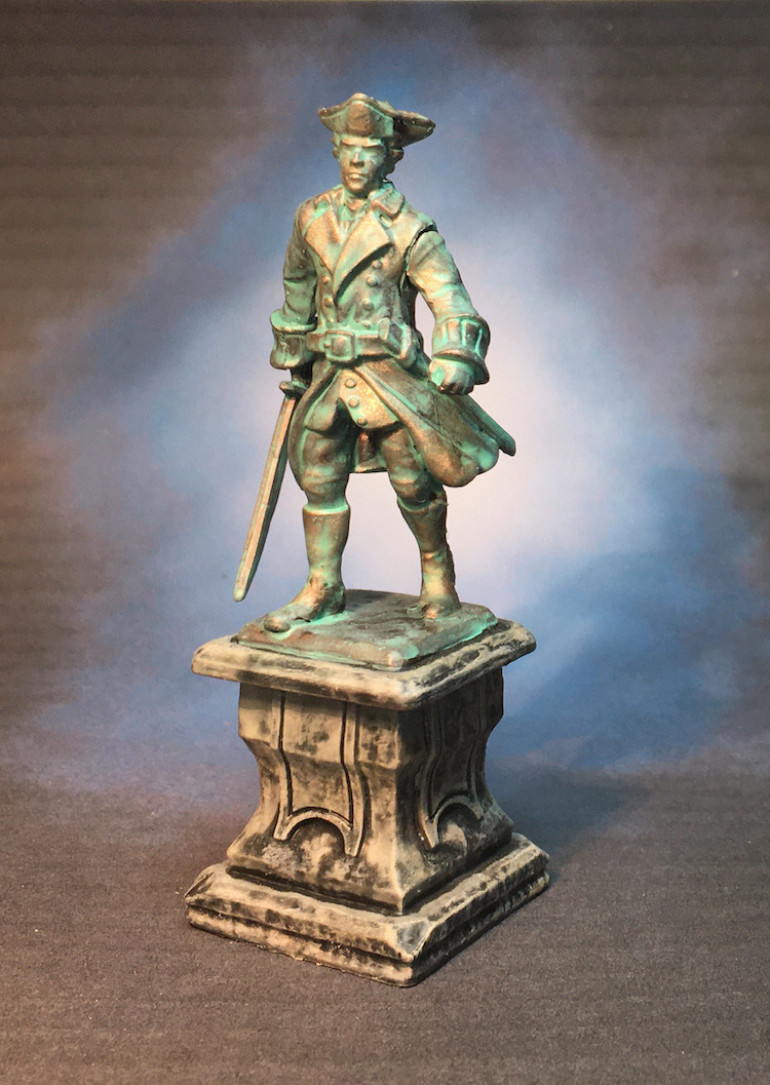
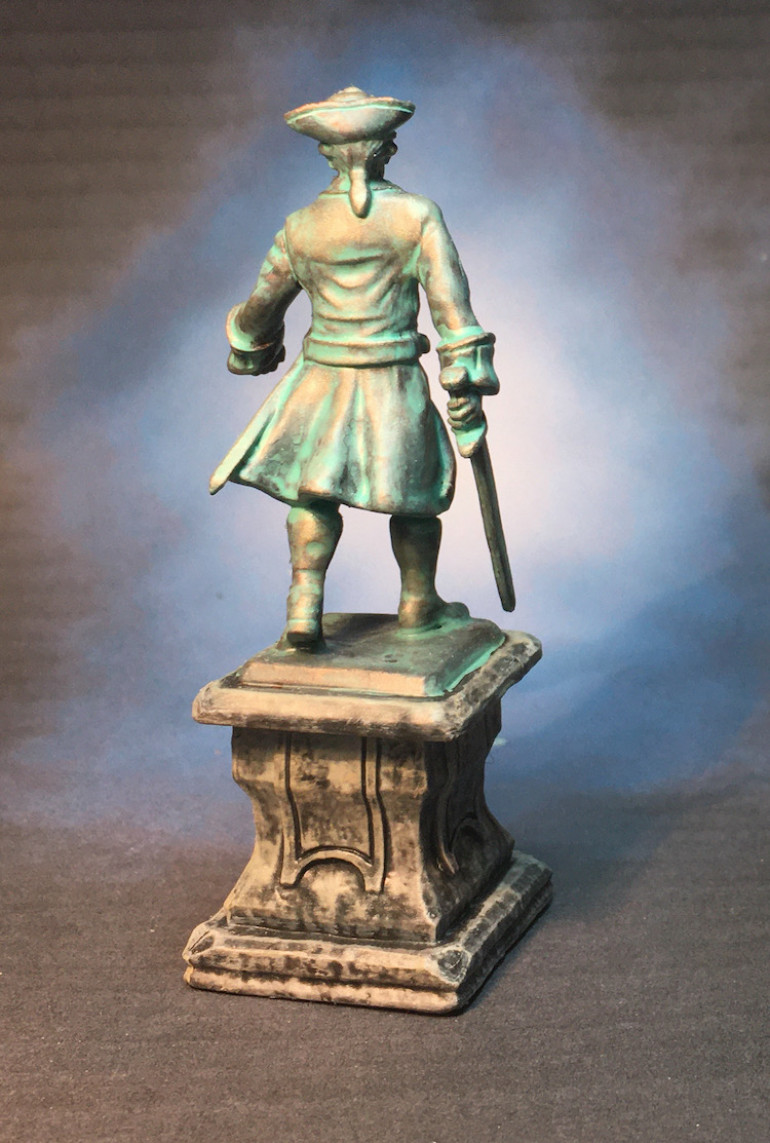
Bellevue Square is the location of the Market and I can’t resist a chance to paint tiny produce. The bronze statue and British phone box were bonus.
Getting Cozy in a Cottage
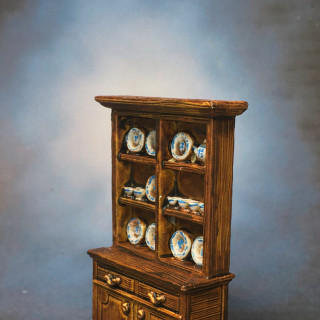
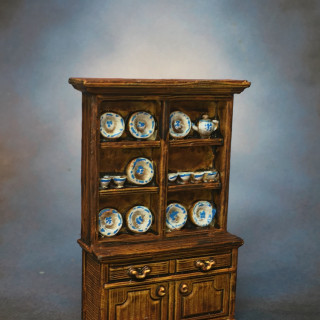
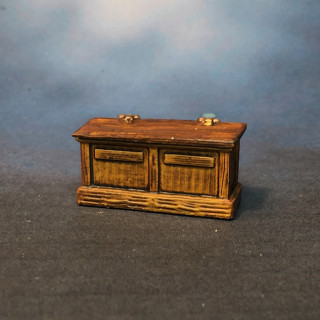
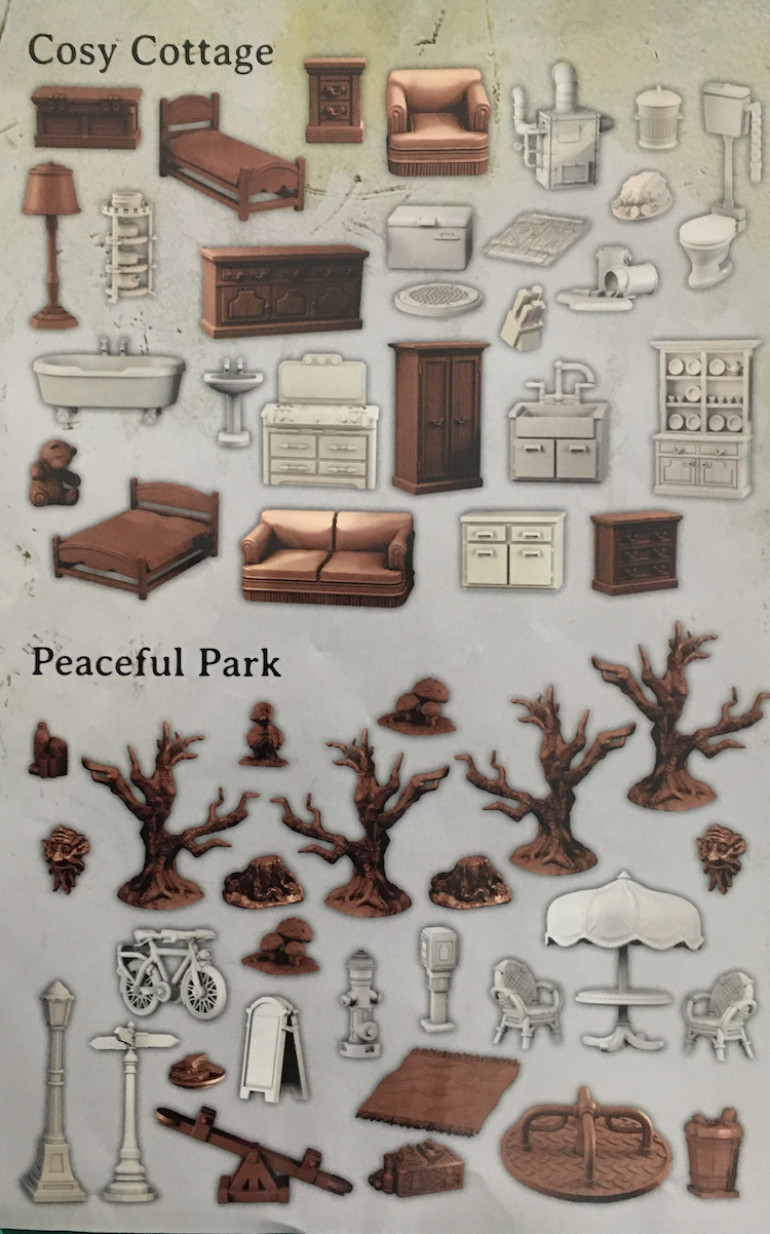
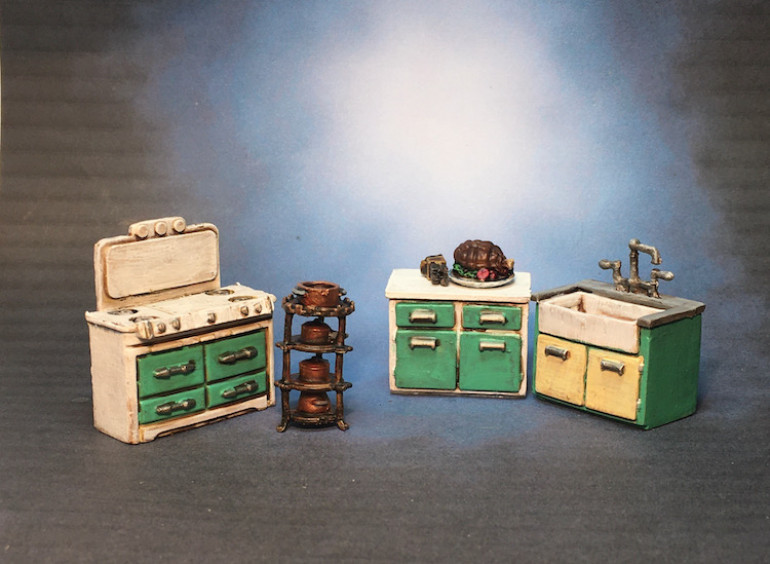
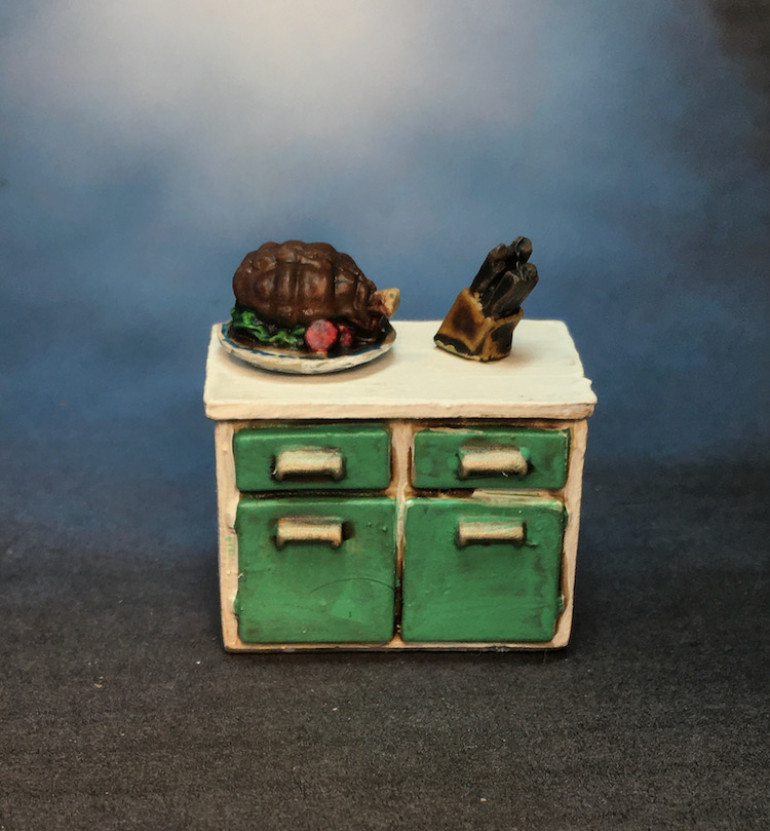
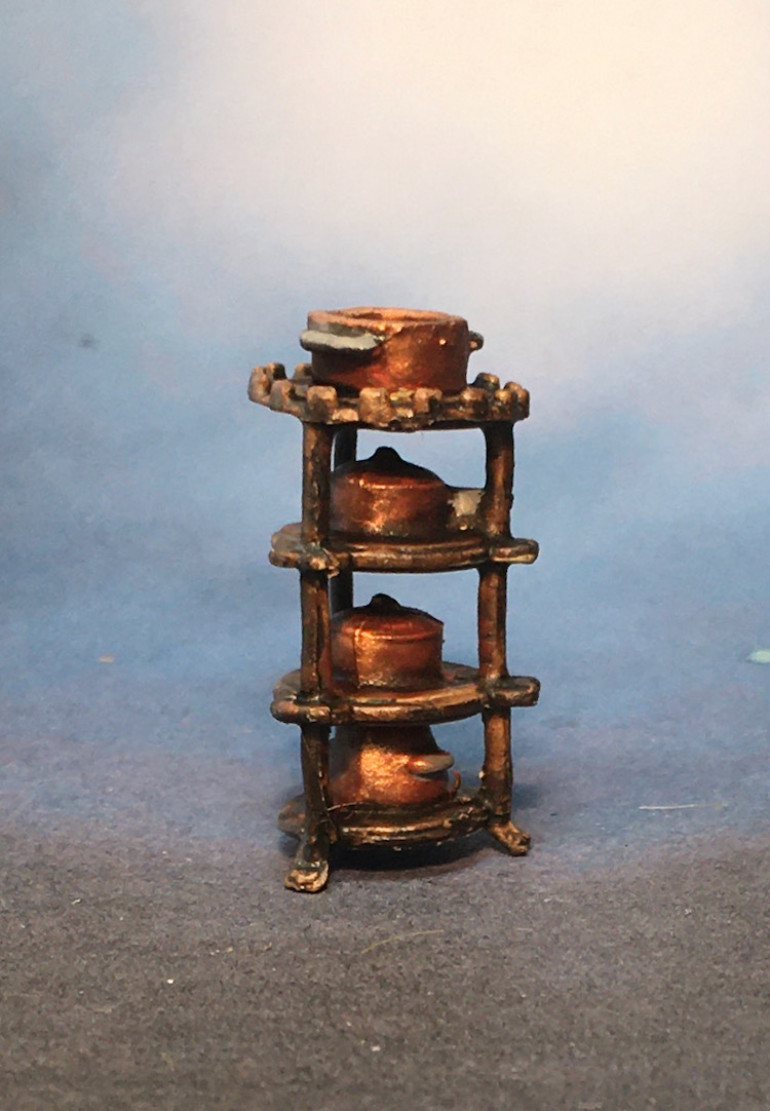
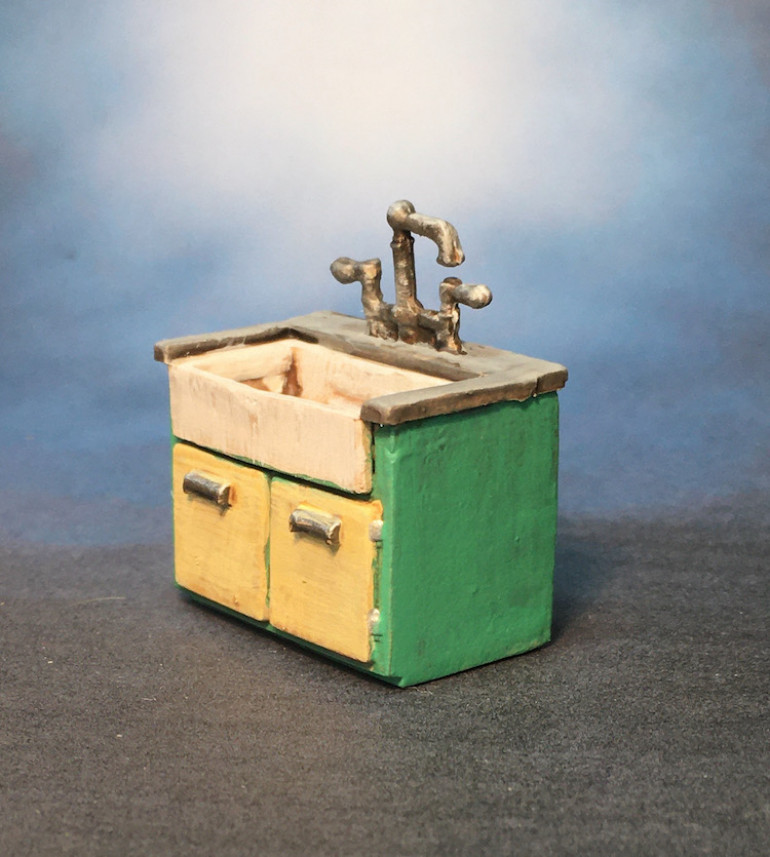
Continuing to work on the Bellevue Square crate from Mantic’s second Terrain Crate Kickstart I’ve painted some of the Cozy Cottage pieces. The kitchen and the master bedroom now have finished furniture. I really like the tiny details like the knife block and roast beef dinner.
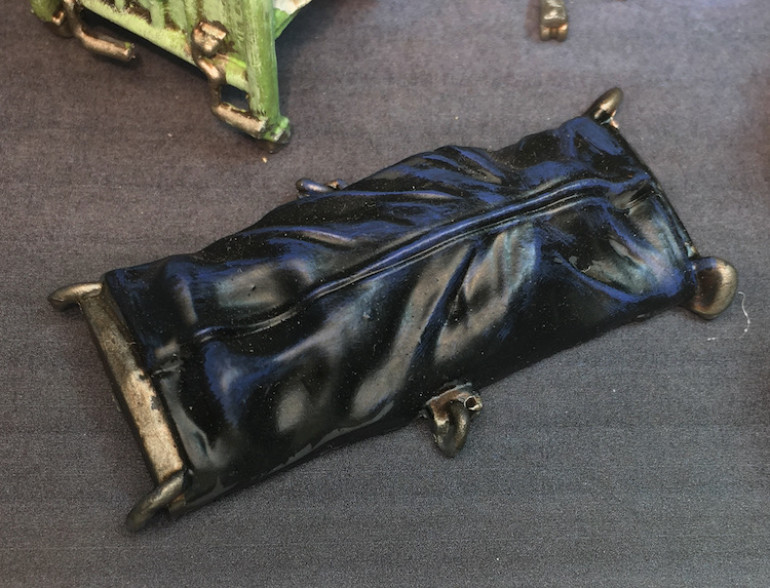
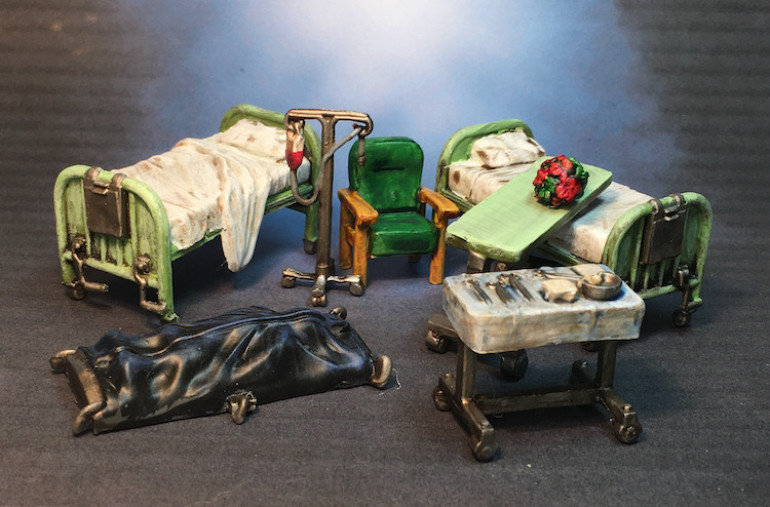
Bellevue Hospital Opens to Patients
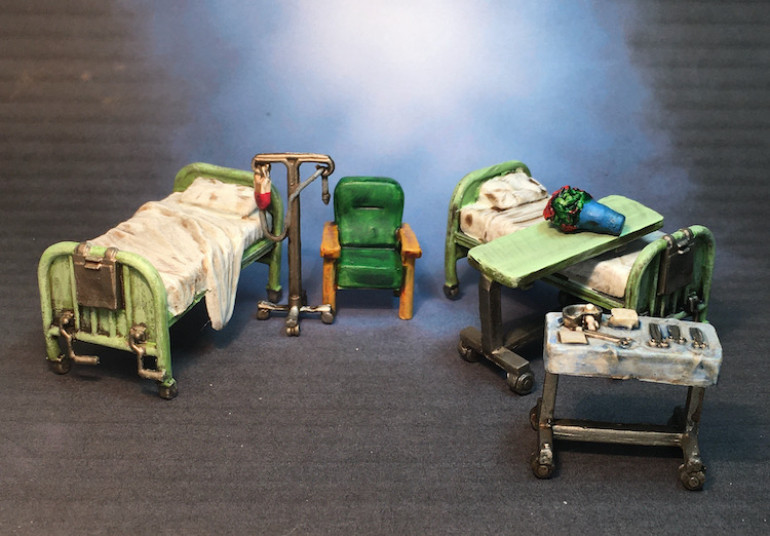
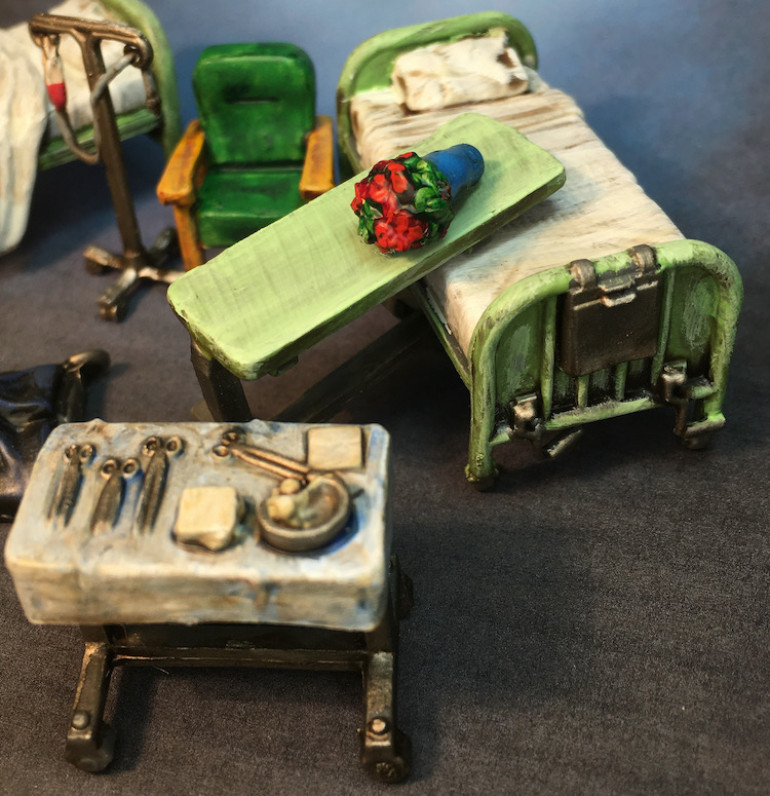
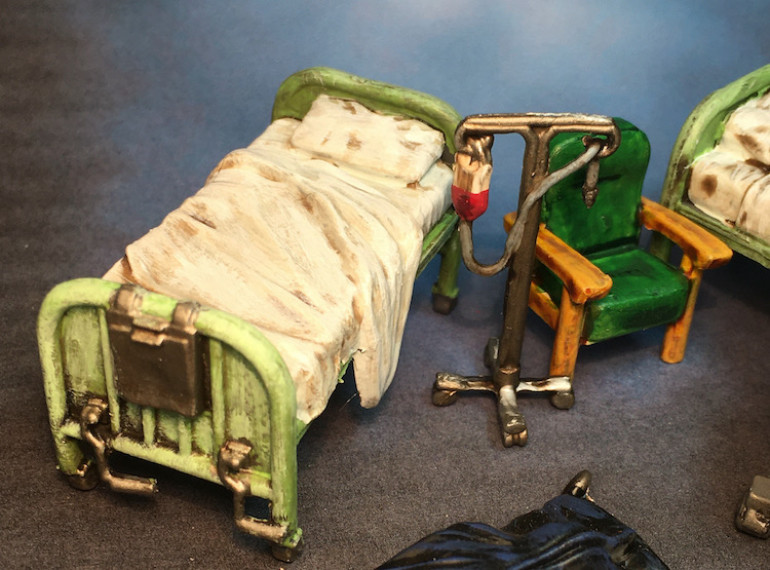
I finished up the first bag of pieces from the Bellevue Hospital set. There are two more of this set as well as another which looks to be the nurses station. While these are cast in a firmer plastic than the first campaign there are some bent bits, though these are really easy to fix with hot water
Peaceful Park Begins
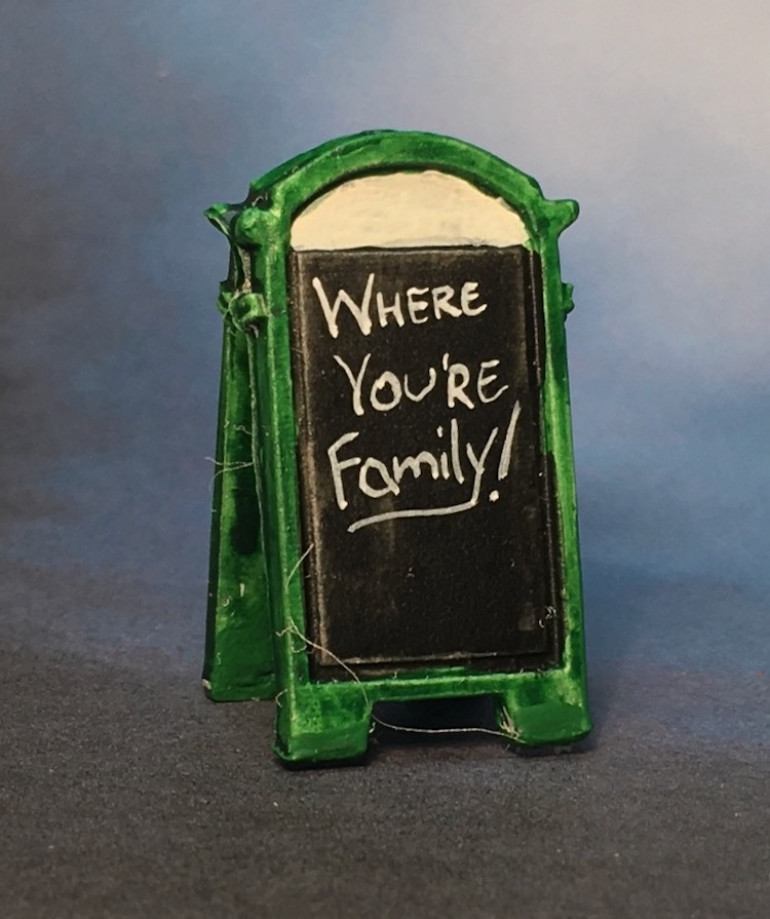
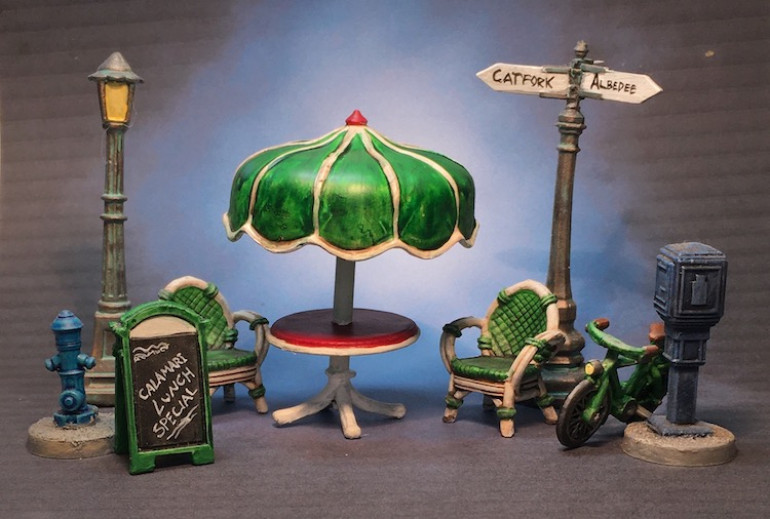
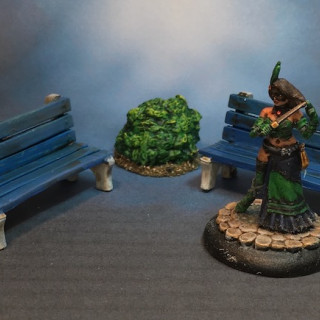
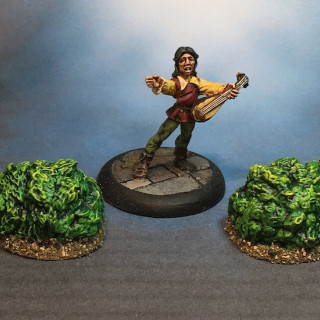
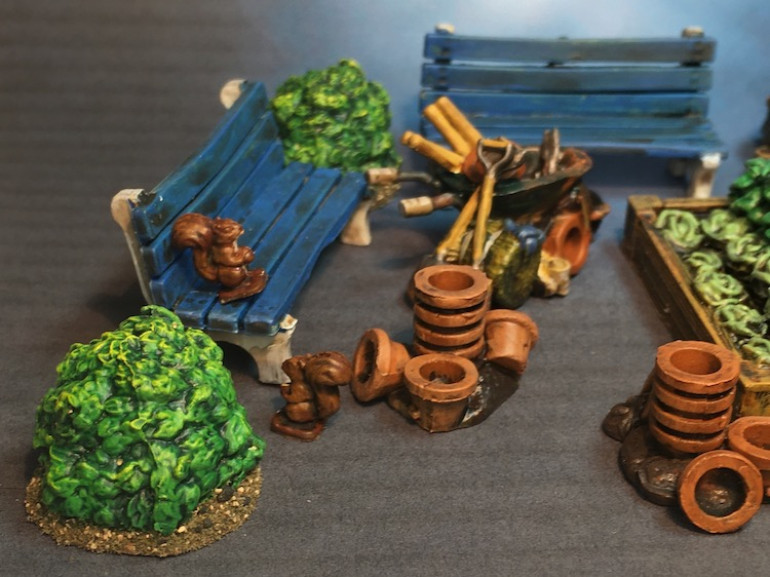
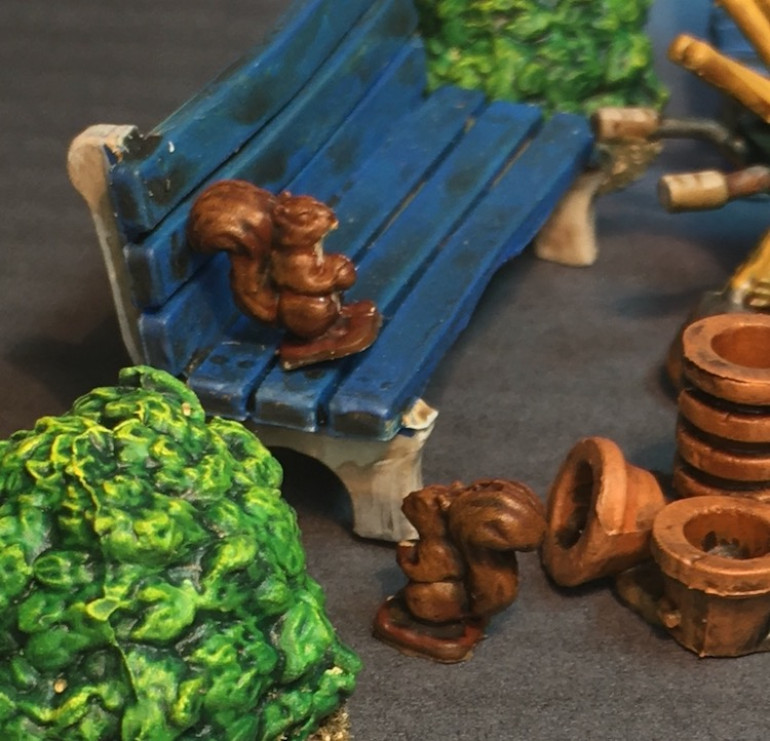
It’s been a while since I finished any Terrain Crate pieces so I’m happy to say part of Peaceful Park is finished. I painted it to go with my Wolsung cafe run by Italian halflings.
Grim Gardens is Half Finished and Terrain Crate 2 has Begun.
I thought I would take a break from Terrain Crate once I had finished painting all the rewards from the first Kickstart campaign, maybe store the new pieces away for a while. Nope, as soon as I started going through various packs of miniature terrain I was hooked again. The new pieces are made of a slightly firmer plastic than before and the detail is sharper. Plastic bags worth of pieces have been emptied into my soapy water solution, scrubbed, dried, and put into the Painting Queue.
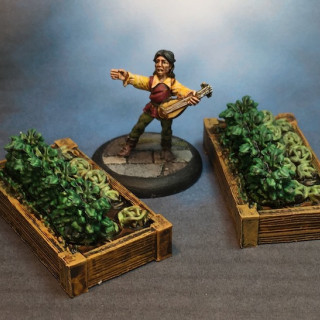
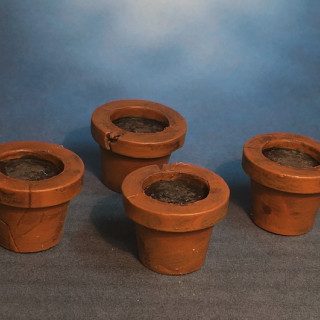
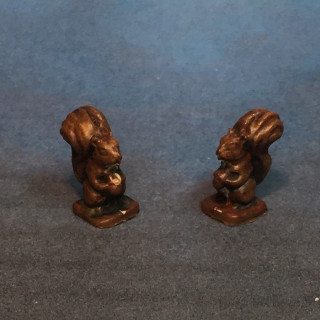
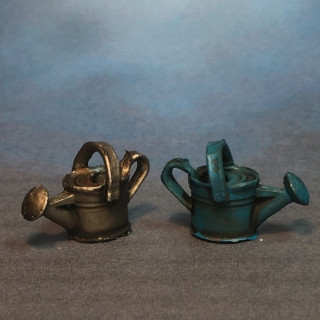
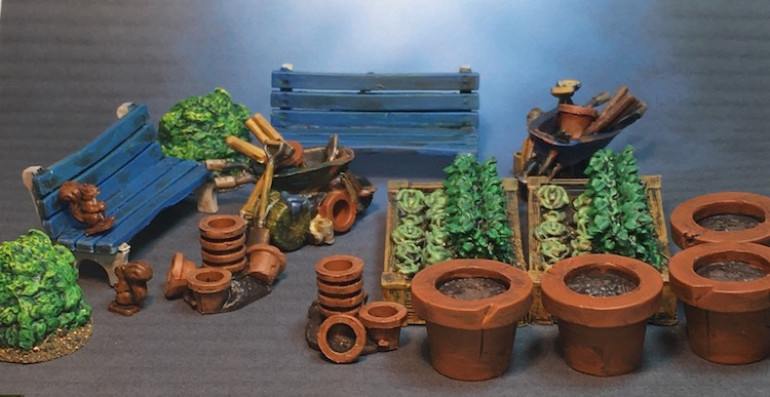
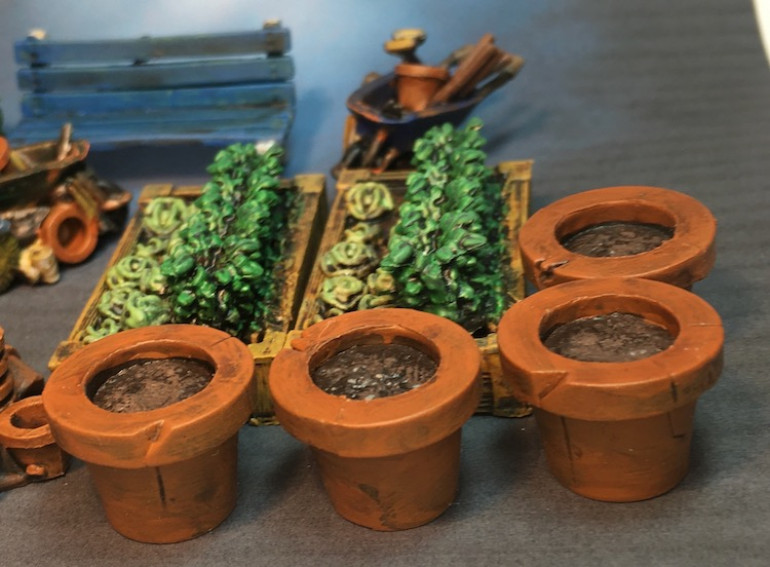
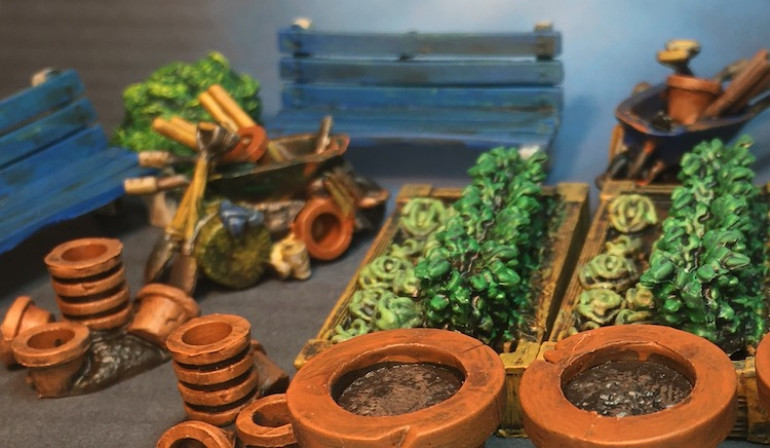
Coming off the Spring Cleaning Challenge and all the urban gardening I had done it is not surprising that the first set to grab my attention was Grim Garden from the Bleakwood Hall crate. The pieces fit right in perfectly with what I’ve built AND answer my problem of how to replicate tiny lettuce gardens. No really, I’ve been puzzling that one for a while. So the gallery is made up of pictures of individual bits while the single images are group shots. Somehow the watering cans got left out of those but I will make sure they are part of the complete documentation once the trees are complete.
Dungeons and Dragons Books Ready For Game Night
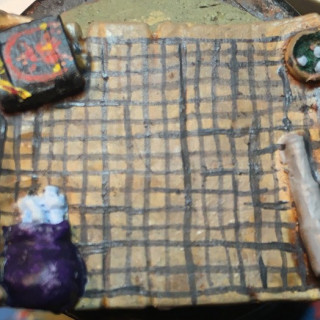
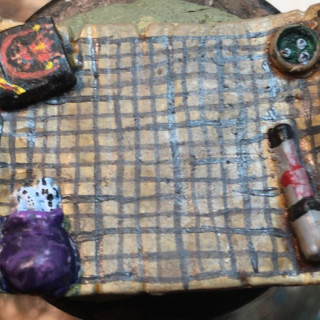
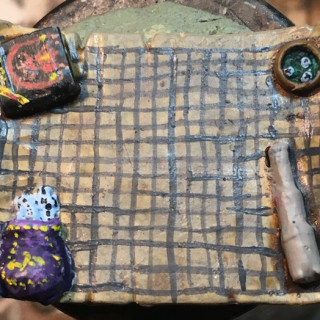
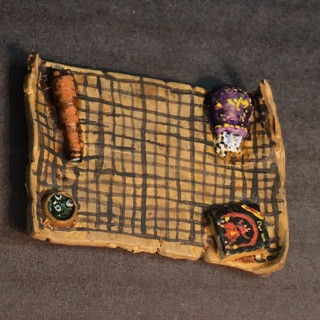
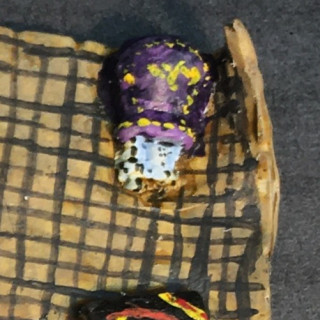
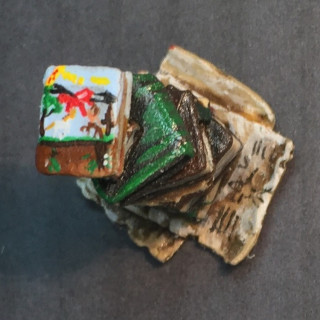
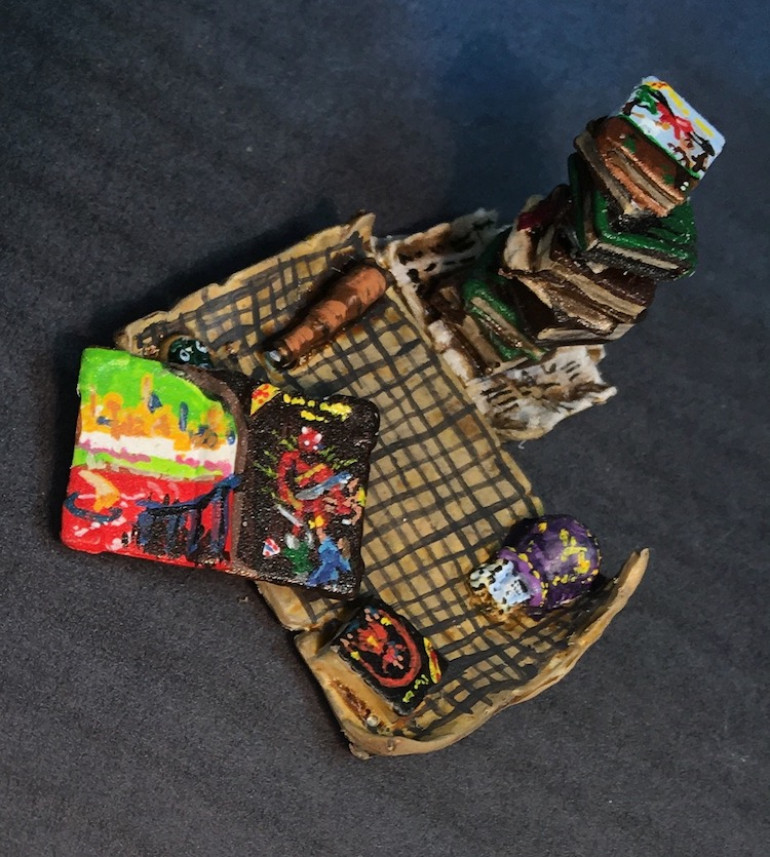
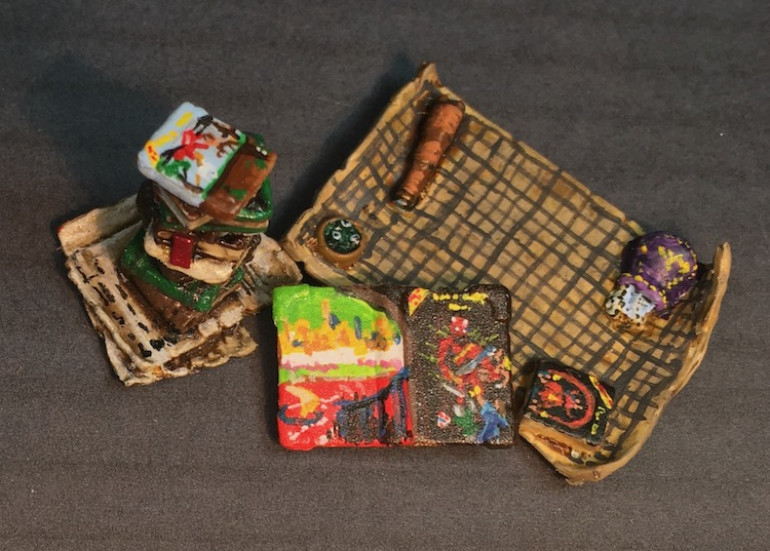
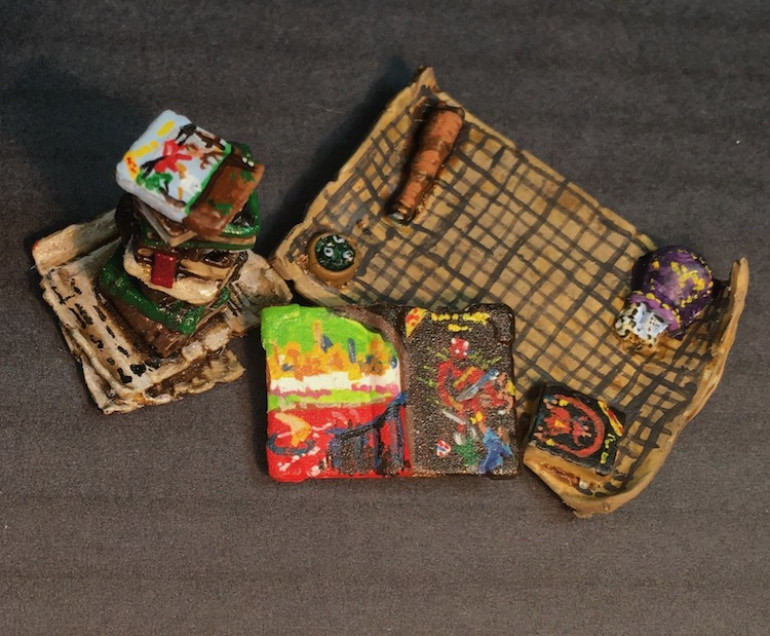
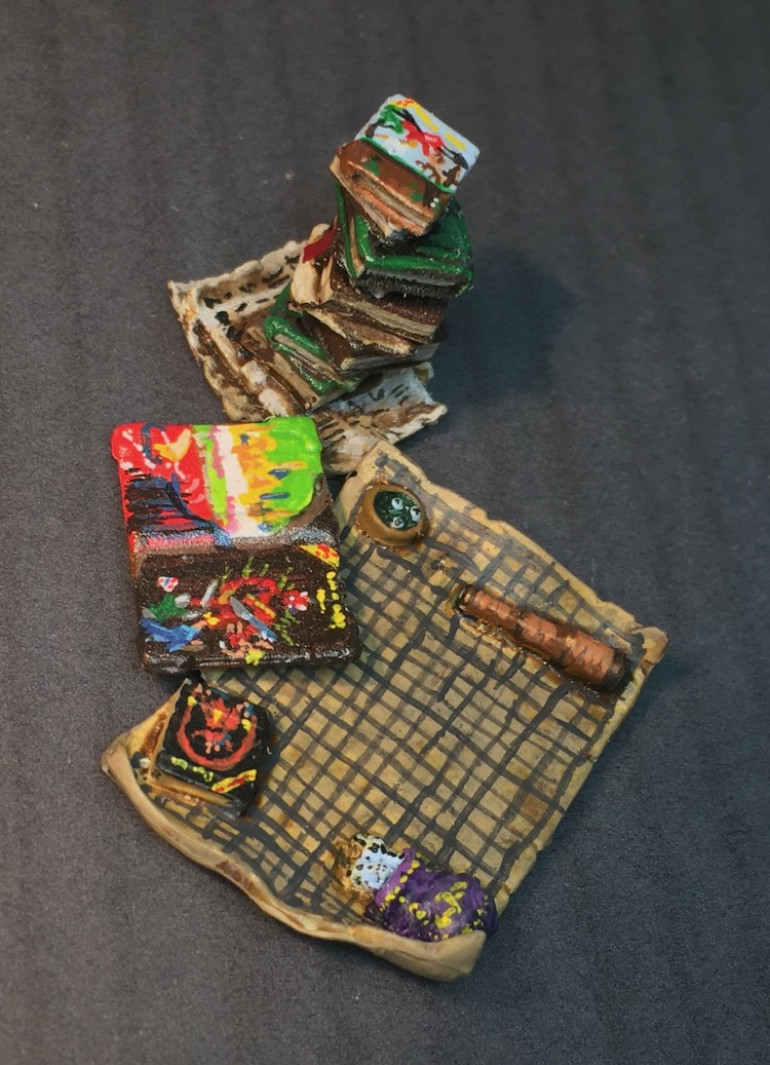
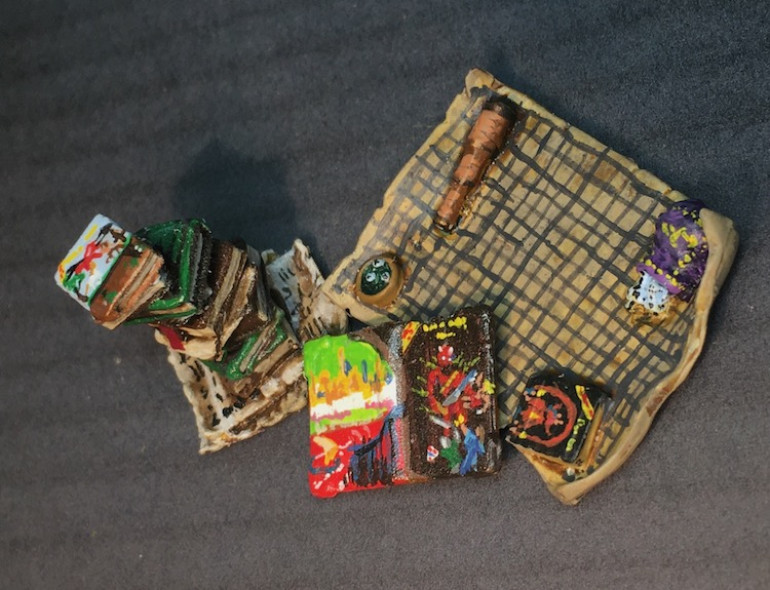
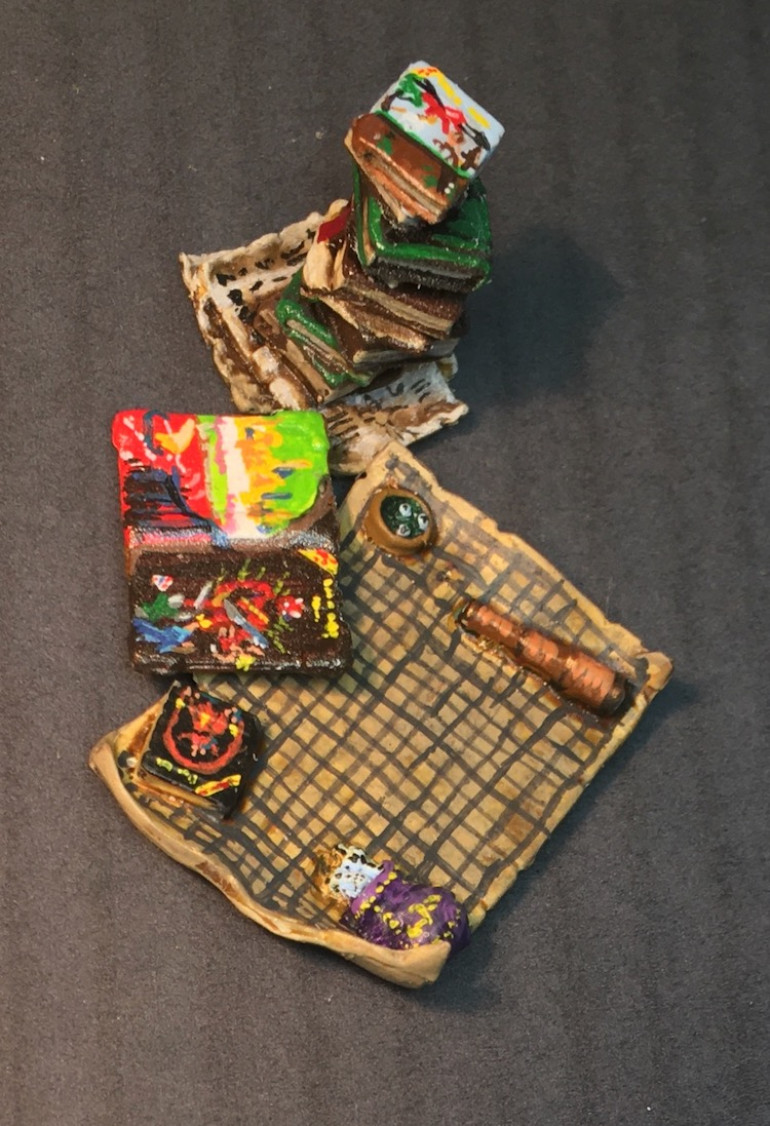
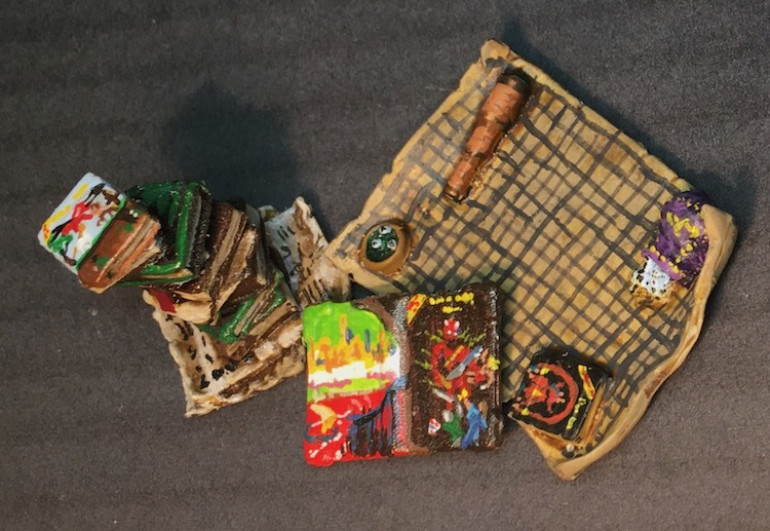
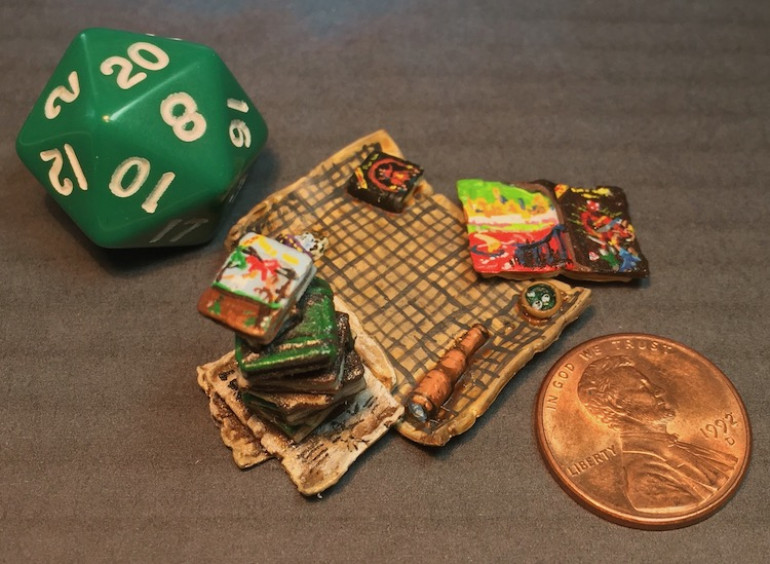
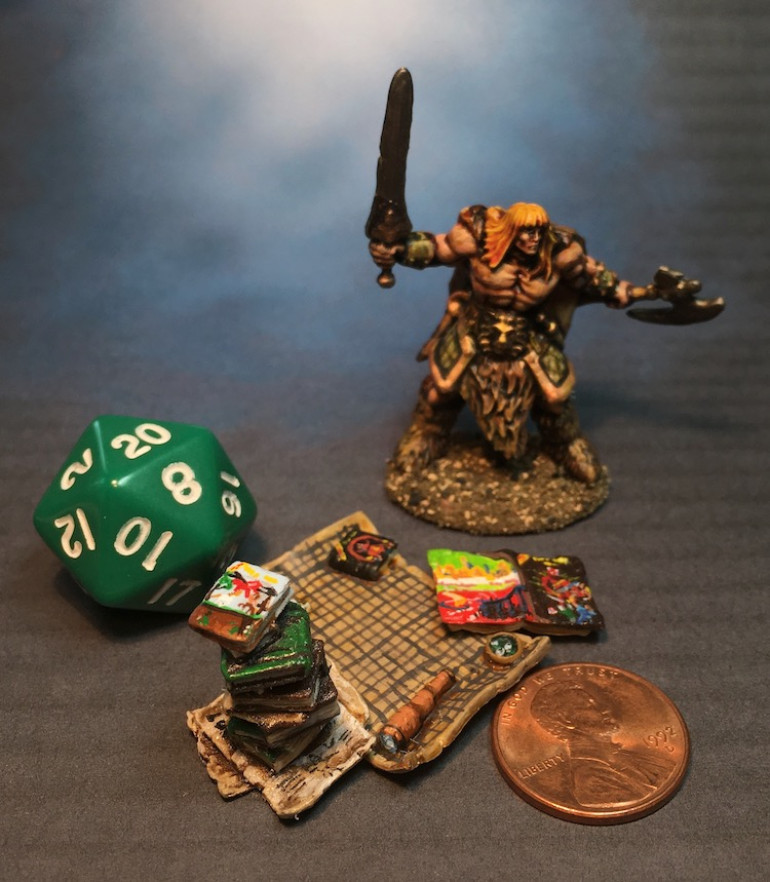
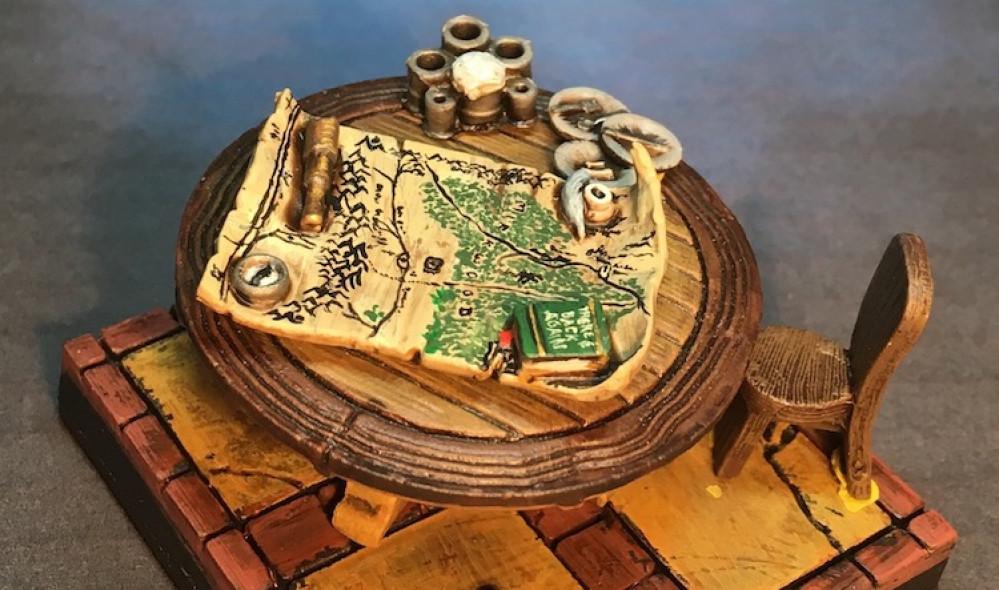
With all the tiny books included in the various Terrain Crate sets I found my imagination going into overdrive. The open tome with the Temple set was the spark that made me want to create a complete setup of the First Edition Dungeons and Dragons game books that had such a huge impact on my youth, an impact that continues to this day, obviously. I took one of the book stacks I had completed with a generic scheme and created a tiny Monster Manual as well as a character sheet under the stack. The final parchment I had to paint was perfect for a Chessex gaming mat which left that book to be the Players Handbook. It was my good friend @aronbc that pointed out that I needed to bisect every row I’d painted to really take it over the top. As usual, he was right. I cut the dial out of the compass to make it into a dice tray. Inspired by “Gerry Can: Blue Stuff the Basics” I sculpted a spilled dice bag over the quill pen and ink bottle and added a few dice to the tray. Ony when I neared the end of painting did I realize I would need to add dots to some die faces. Gotta say I got lucky there and I think they mostly read. Not wanting to try and carve or file the soft plastic, I tried to turn the telescope into a couple of markers but in the end gave up and kept it a telescope.
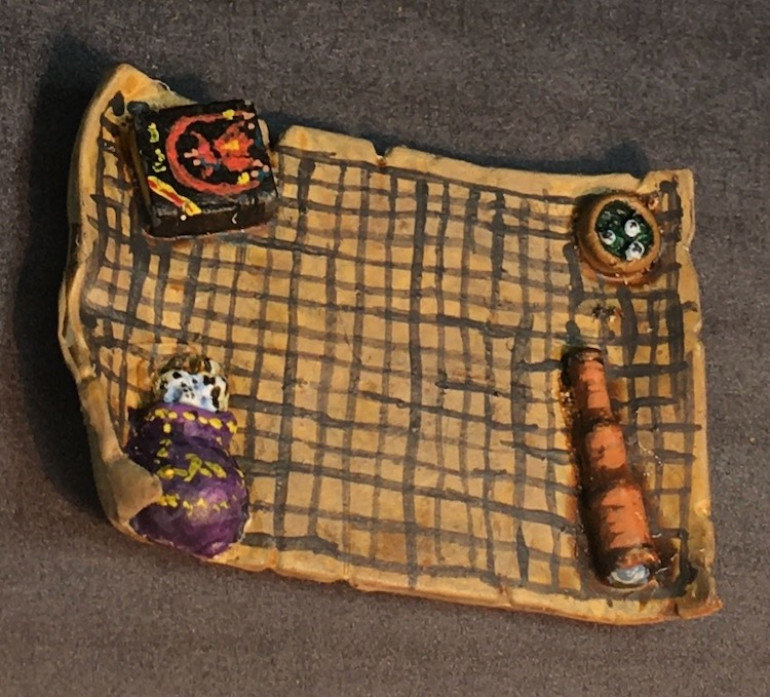 When I was a kid, polyhedral dice were hard to come by and dice bags didn't exist. It seems like everyone of my generation used a Crown Royal bag which came wrapped around a bottle of whiskey. Not sure where I got one as my parents didn't drink but that's what I tried to paint this one as.
We Have Crossed the Finish Line!
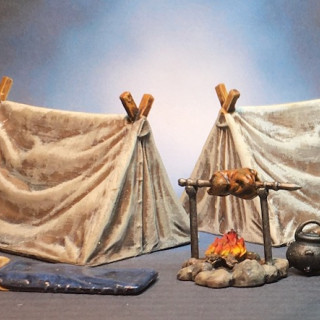
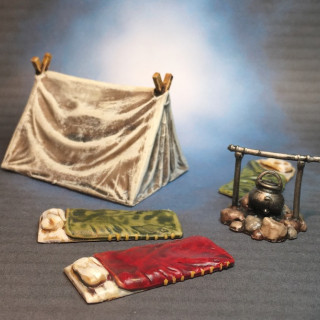
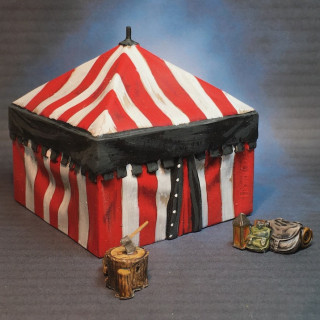
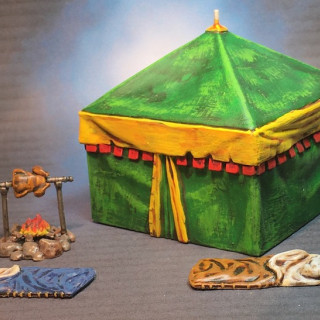
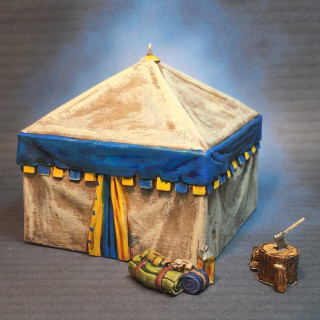
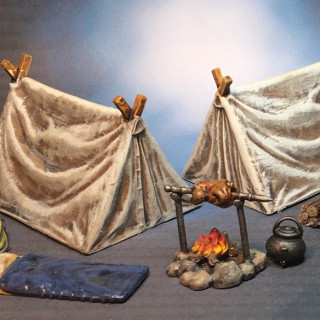
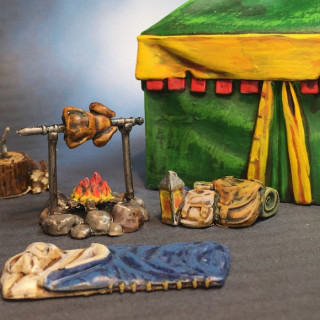
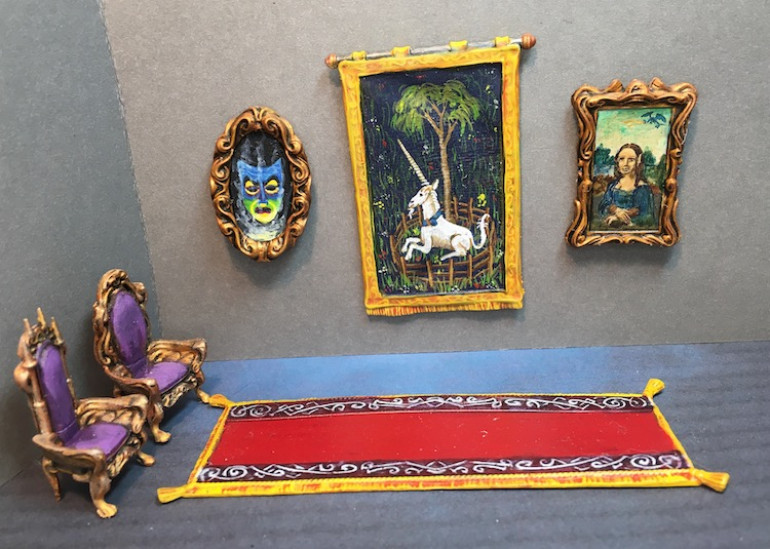
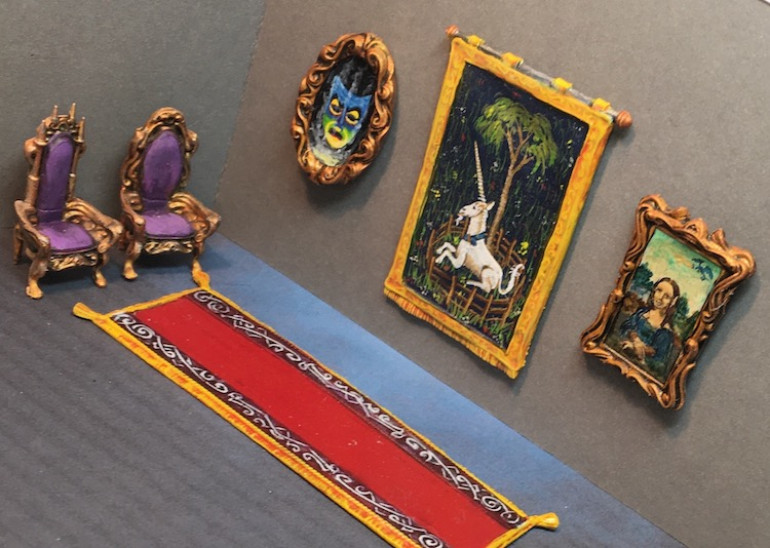
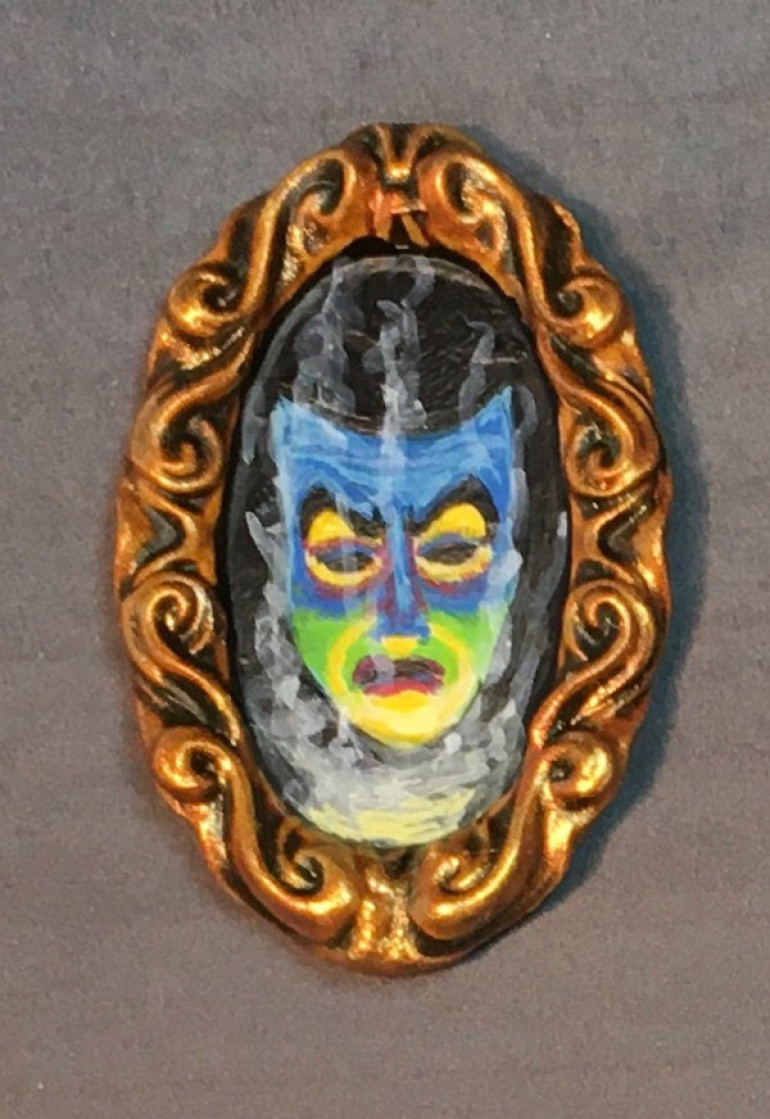
The three Campsite sets are finished as well as the Throne Room. I mixed and matched the tents and supplies in the first gallery as I found it more interesting to photograph them that way. Two of the axe handles on the chopping stumps were already broken off when I got them so were replaced with brass wire. In the end they look fine. The Throne Room came out even better than I had hoped and I believe the three pieces of artwork took my own painting skills to a new level. It is always exciting when one sees growth in one’s own work especially as we artists are notoriously hard on ourselves. The last two parchments from the Barracks sets aren’t ready to be photographed (I’m working on a little vignette) but the entire Terrain Crate 1 rewards are finished. Not sure how important that is really but the artificial goal helped get me through this time of isolation so I am thankful for it.
Decision Made
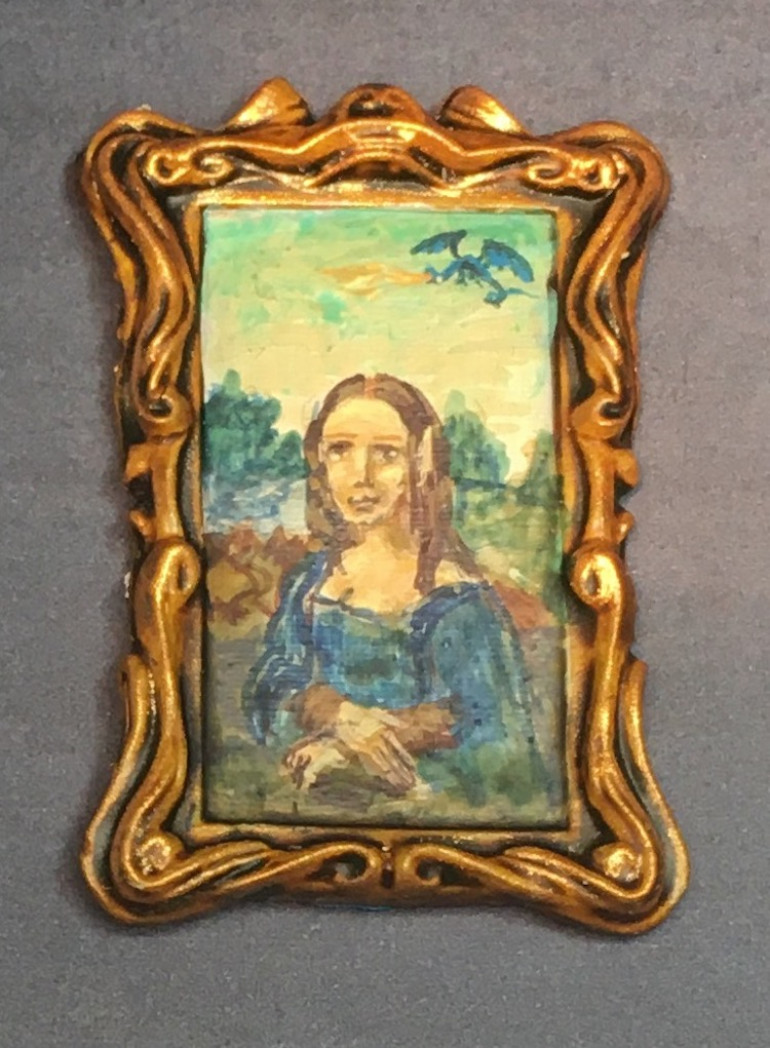
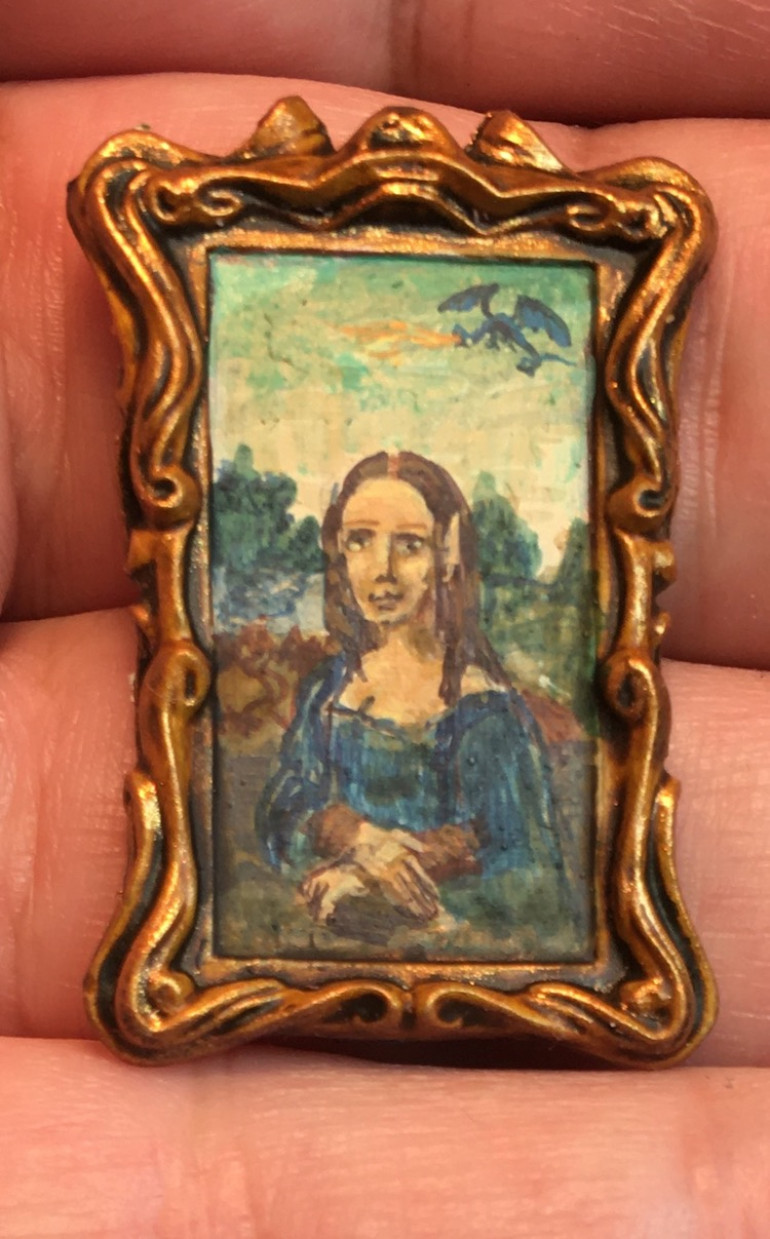
Even as my Elven Mona Lisa was drying, a big box of Terrain Crate 2 arrived on my doorstep. Even though I have two of the map/parchments to complete I am calling the first set of Terrain Crate complete. I still have to take pictures of the last three sets of Campsites but will post those soon.
I have decided to just roll my work on the new pieces into this blog rather than start a new one. I like seeing the progression in my work, if truth be told. I did think I was going to take a break from terrain pieces for a while but immediately scrubbed two bags of plastic stuff and added them to my painting queue.
Mona Lisa Goes Fantasy
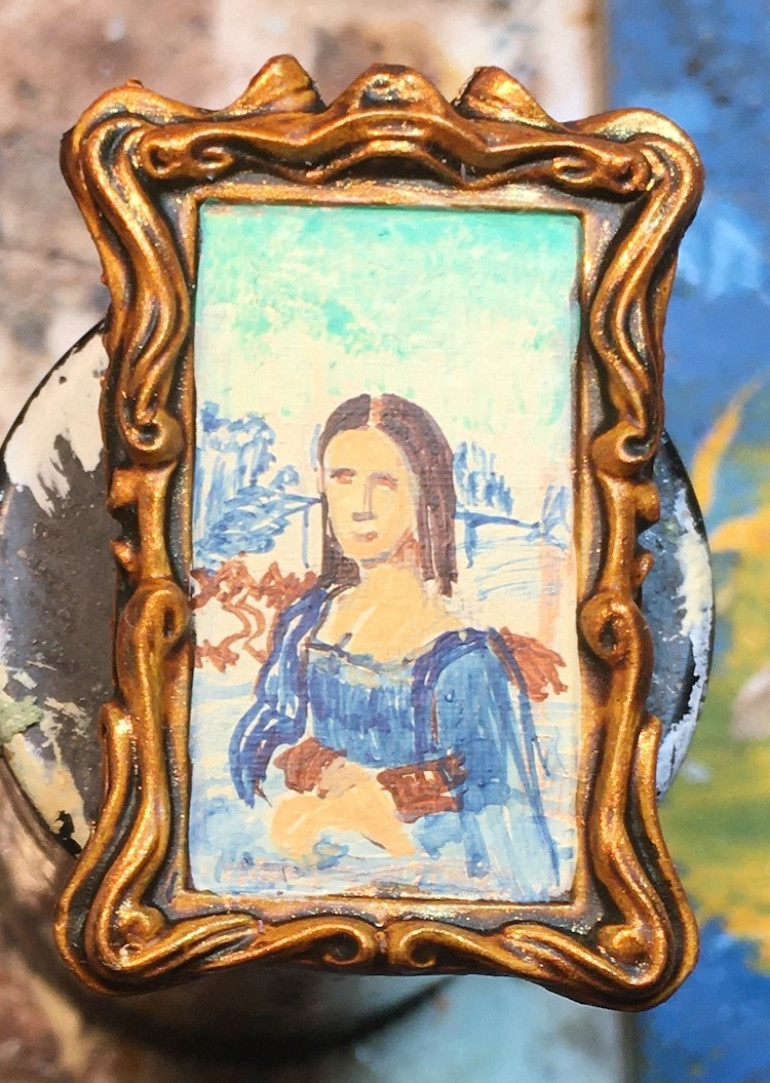
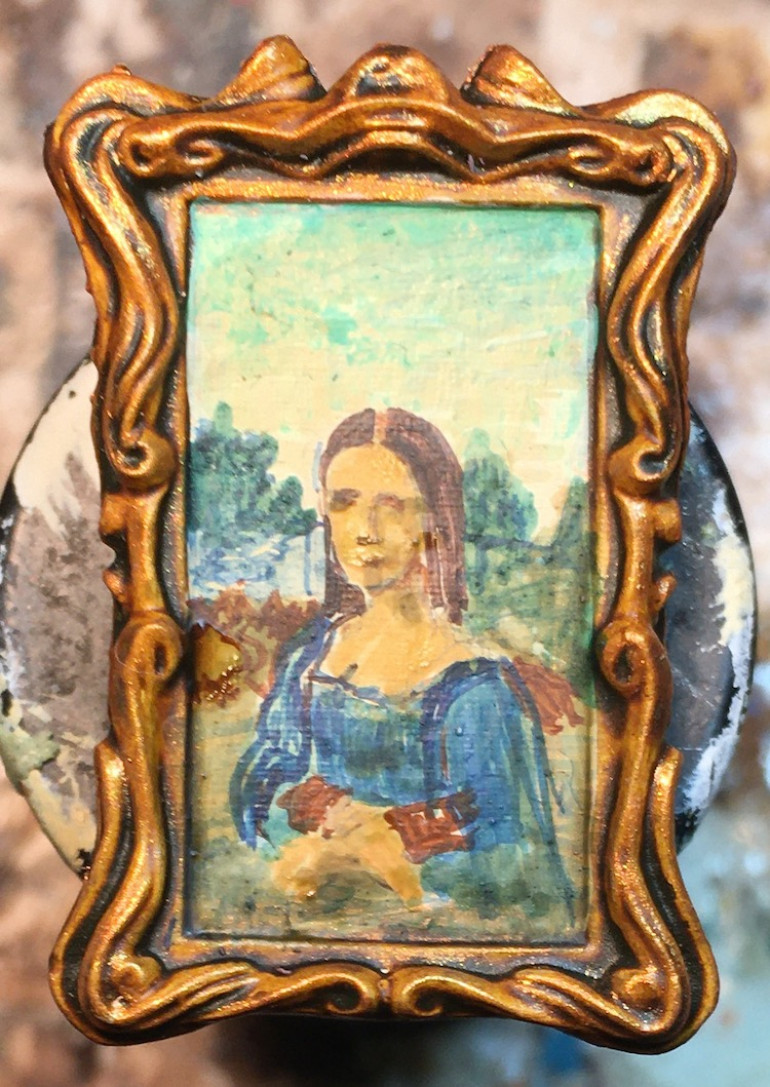
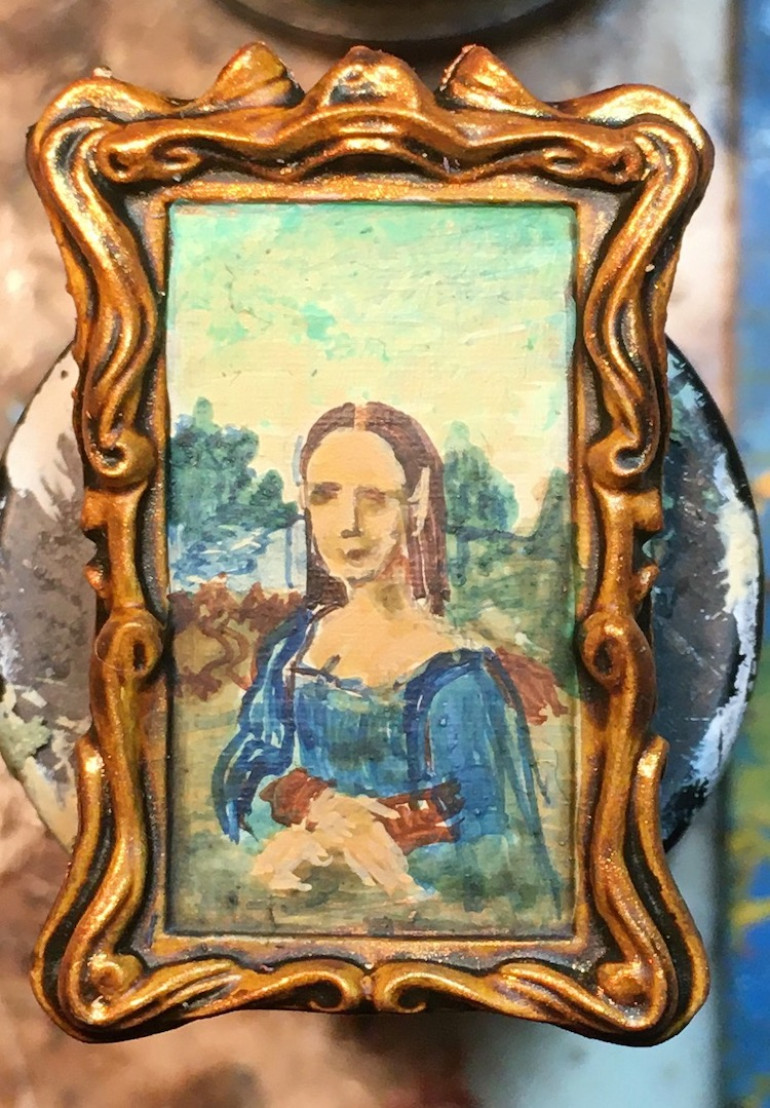
Gerry noticed my sketched Mona Lisa during the last Hobby Hangout and I mentioned I call her Mona Elfsa as she would be finished as a fantasy version of Leonardo’s masterpiece. I’ve included my reference as it is so much easier to copy something you can look at. I wanted a dragon in the sky so knew I would have to make that area a little bigger than in Leo’s but I wanted to match both the style he painted in and the look of age. He painted in many thin, blended layers, a technique called sfumato so I did the same. It is a lot like wet blending, to put it in mini painting terms, and, after drawing the rough shapes in pencil, I worked in washes and inks for the most part. I wasn’t trying to make an exact tiny copy as I have neither the skills nor tools for such an endeavour and I value what little sanity I have remaining. The key, I find, is to match the main shapes and colors.
I aged the painting once she was complete as I think she will make a wonderful McGuffin for a Wolsung game.
 Here is a picture of the original. His countless transperant layers really paid off as her skin, if you ever see her in person, echoes the transluscence of real skin, almost glowing from within.
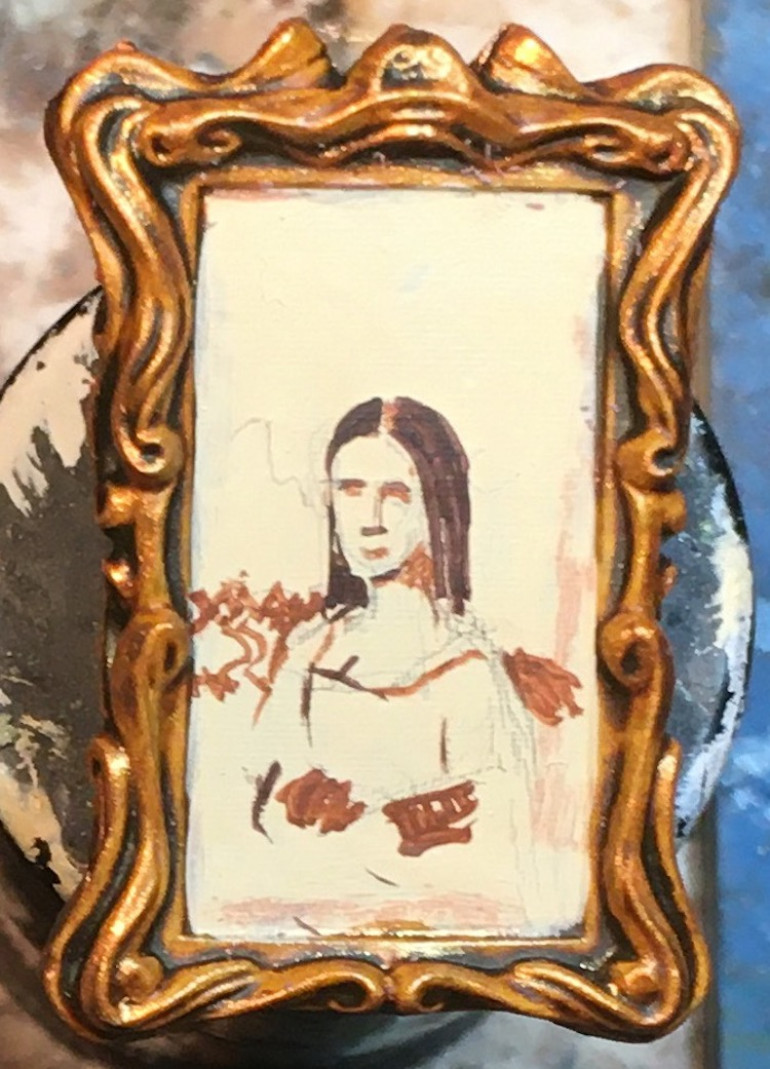 I drew the basic shapes in pencil then using two shades of brown roughed in some key color blocks like her hair, face, forearms, and a band across the background.


