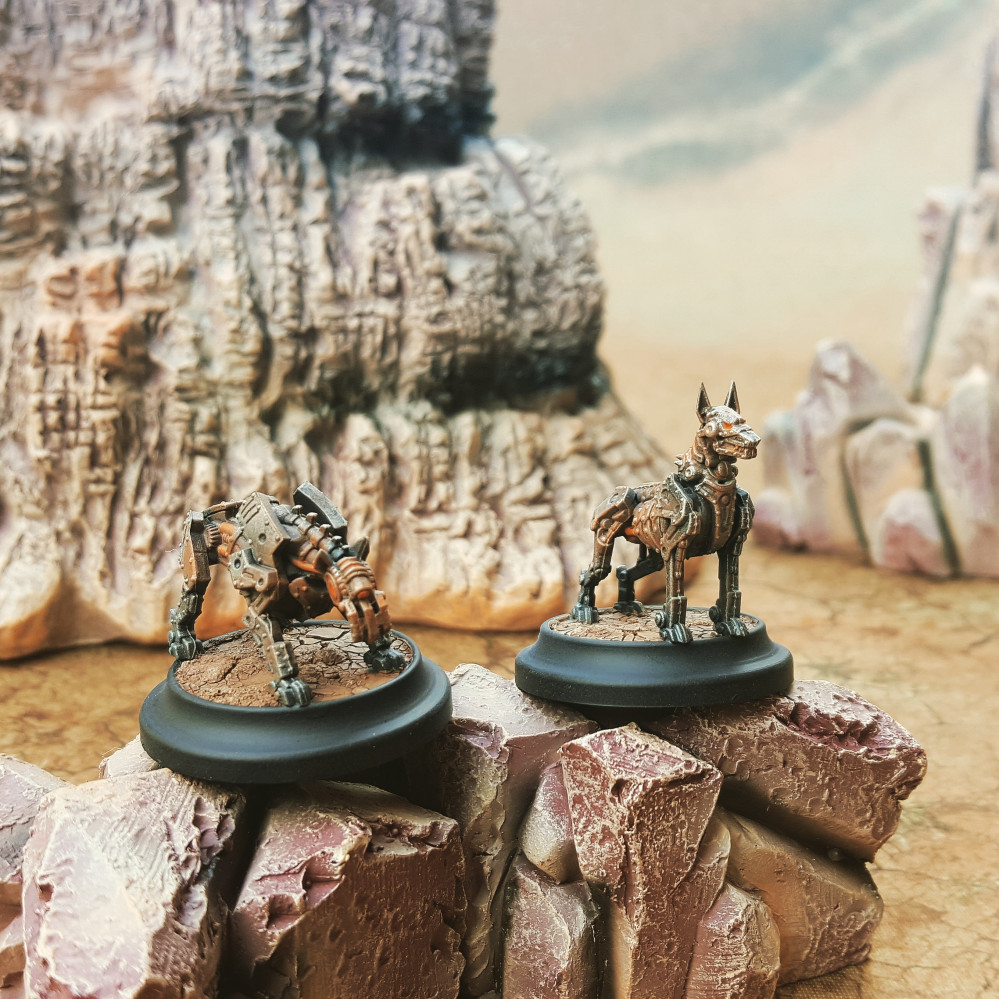
Wild West Exodus Attack Dog Speed Paint
Recommendations: 19
About the Project
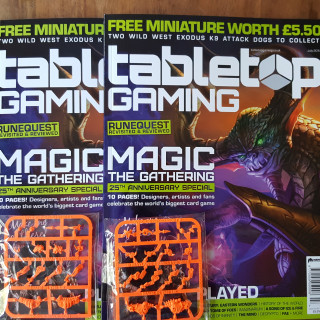
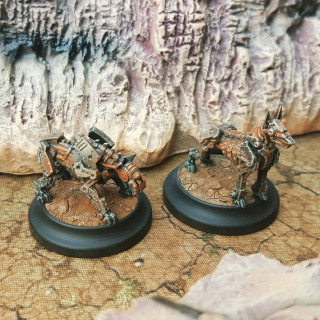
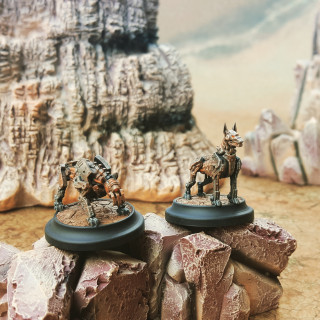
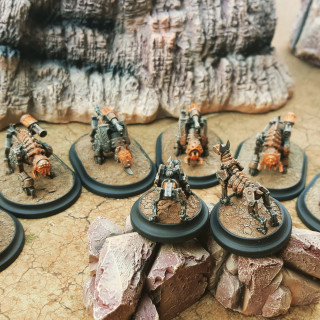
Free attack dogs on the cover of the latest Tabletop Gaming magazine. I thought I'd see how quickly I could paint them to a decent gaming standard!
Related Game: Wild West Exodus
Related Company: Warcradle Studios
Related Genre: Western
This Project is Completed
From Prime to Varnish in 2 hours? Let's do this!
I had previously painted up the WWX Gun Dogs which came on the cover of Miniature Wargames magazine, and contrary to my usual plodding painting style, I found I was able to paint them pretty quickly to tabletop standard. So when Tabletop Gaming Magazine came out with Attack Dogs on the cover, I immediately picked up both variants. The plan here is to step out of my plodding comfort zone even further and see how quickly I could get these done!
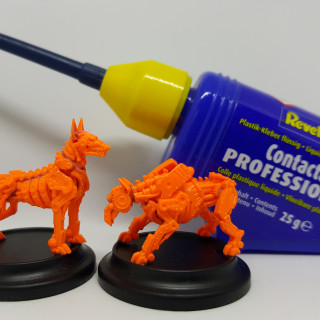
Once assembled (with regular plastic glue) we were ready to go.
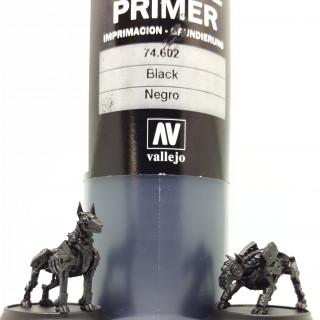
For priming, I have seen some comment that it may be best to prime these on the sprue. This is because the bright orange plastic can be hard to cover up once assembled. I wasn’t too worried because in WWX, all the machinery and weapons are powered by RJ-1027 which has a trademark orange glow. I felt if some showed through it might help the effect. As it happened, with an airbrush, I was able to cover it all fine. With a rattle can this may be a consideration depending on your preference.
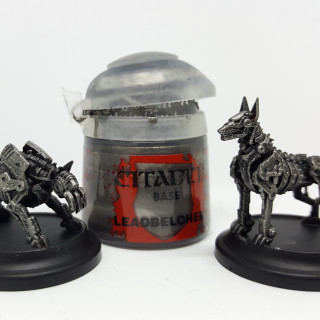
Next up, a heavy drybrush with Leadbelcher to start the metallic effect.
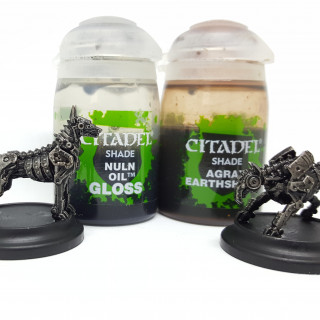
Then an all over wash with a Nuln Oil / Agrax Earthshade mix.
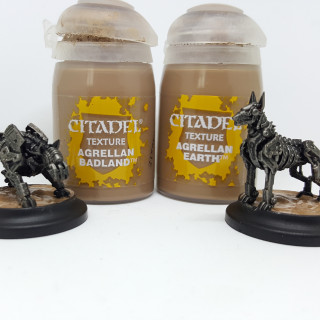
Now time for the first cheeky shortcut. Wash takes time to dry and I didn’t want to stop. I also wanted to use texture paints on the base and these take even longer to dry. So I gave it a minute then mopped up any pooling around the feet, then went straight in with my texture paints on the base. I used a combination of Agrellan Earth and Agrellan Badland blobbed on randomly.
I skipped my usual step of putting a base colour under the texture paint (Zandri Dust or a brown) and in hindsight I wouldn’t skip it again. It really helps the texture paint stick and adds depth to the colour.
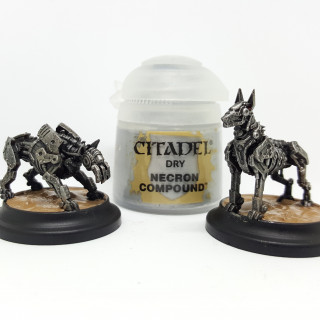
Once done, I felt the wash had dried sufficiently (it’s really warm indoors!) to take a quick blast of the hair dryer to finish it off, so I could do a light drybrush of Necron Compound to bring out the edge detail.
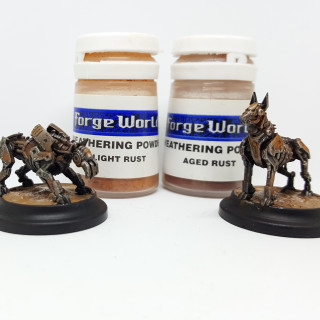
Time for some weathering effects. Firstly I used two weathering powders from Forgeworld. I just took an old brush and smooshed on small amounts of each colour fairly randomly – wherever it looked right to have rust. I find it works to smoosh a small bit on blow away any excess, and then the varnish later on will seal it into place.
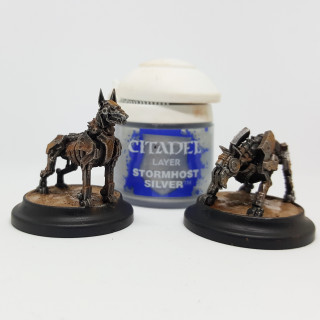
I then took very small amounts of Stormhost Silver to bring back some edge highlight where the weathering powder killed it too much (and to simulate new wear and tear).
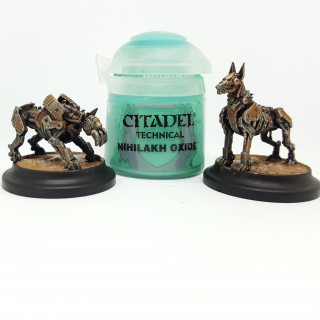
Then some Nihilakh Oxide in very small amounts around some of the rivets and crevices. This adds another level of weathering realism and creates a nice contrast with the orange rust.
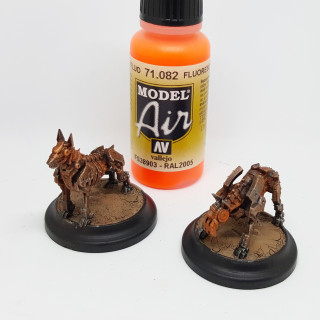
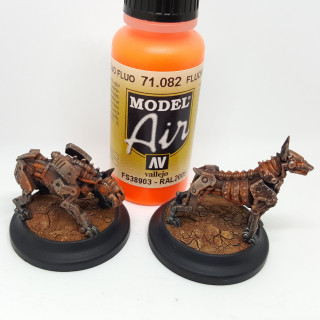
I then put small amount of Vallejo Fluoro Red through the airbrush to create patches of the signature Wild West Exodus RJ-1027 glow. This will work fine with a paintbrush as well, just water it down to a glaze and build it up until it looks good.
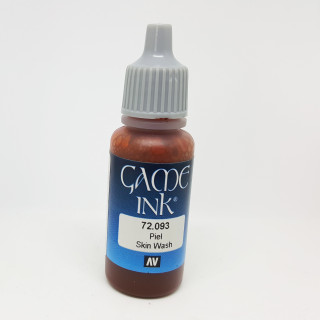
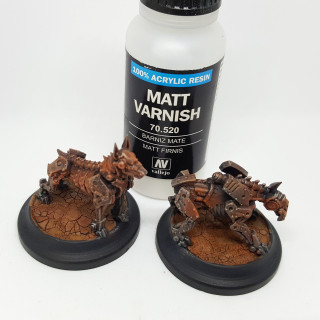
Time to finish the base. You’ll see from the previous images that the texture paint still isn’t dry at this point (just to prove that this was all done in one 2 hour sitting!!). Back to the trusty hairdryer to finish it off. Now, I find the hairdrying process makes the paint crack even more than air drying. This made me a bit worried about it flaking off when drybrushing later on (especially as per earlier comment I hadn’t put a base colour under it). So after a wash (3:1 water to Skin Wash Ink) and another blast of hairdryer, I gave it a matt varnish to help seal it down.
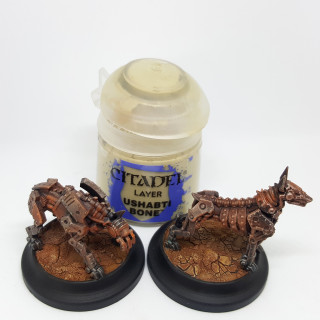
Then a drybrush of Ushabti Bone over the texture paint, and I then used the remaining Skin Wash mix to paint over it to tone it down where it was too heavy.
Finally, some more Fluoro Red painted neat from the bottle onto small areas to emphasise the orange glow. Details like eyes, cables and inner workings got a small dab to finish the effect.
A final matt varnish and a coat of your favourite black around the base rim and that’s done!
I started at 10:47am and finished at 12:49 so almost exactly 2 hours to get them onto the tabletop. I’m not sure whether this is truly speed painting, or just speed painting for me, but it felt fast and furious and was a lot of fun!
Semi Finalist!
My speed paint made it to semi finals in a Tabletop Gaming Magazine competition.
https://m.facebook.com/story.php?story_fbid=832281616942216&id=209006432603074
Any likes on the picture itself would be greatly appreciated ! Thanks!







![Very Cool! Make Your Own Star Wars: Legion Imperial Agent & Officer | Review [7 Days Early Access]](https://images.beastsofwar.com/2025/12/Star-Wars-Imperial-Agent-_-Officer-coverimage-V3-225-127.jpg)


