Manda’s (Amachan) Post-Apocalyptic Terrain
Recommendations: 238
About the Project
This project is following through my building, painting, etc. of terrain pieces for a post-apocalyptic setting and will mostly be aimed towards Fallout: Wasteland Warfare.
Related Game: Fallout: Wasteland Warfare
Related Genre: Post-Apocalyptic
This Project is On Hold
Some of the TT Combat Accessoires are Finished.
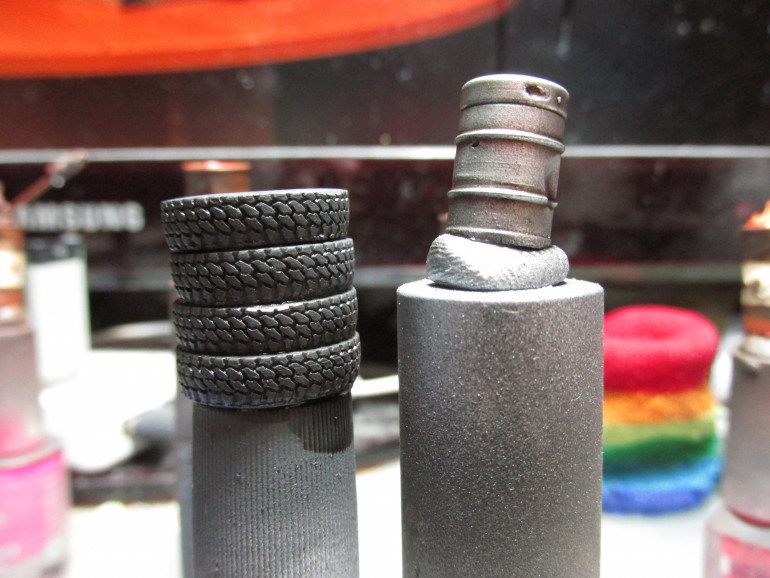
I glued the tyres together to form a stack, just easier to paint and use as scatter terrain on the table. I basecoated it with Vallejo Panzer Aces Dark Rubber (70.306) and added a mix of Citadel Shade Agrax Earthshade (99189953018), Citadel Shade Nuln Oil (99189953017) & Vallejo Glaze Medium (70.596) over it to give it depth and shade.
The keg was basecoated with Vallejo Model Air Steel (71.065) and the same mix was used to shade it.
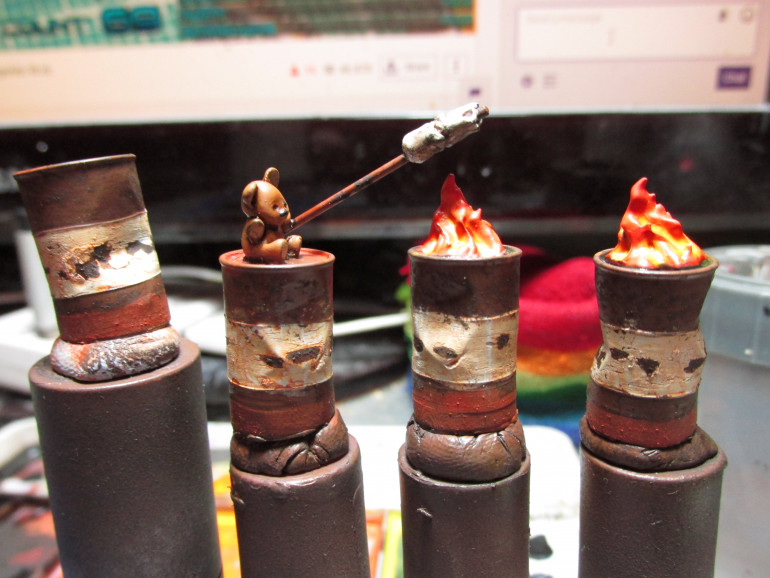
For the barrels I used the same method as used in my Happy Radiation Pond as described here. Except that I added some Vallejo Chipping Medium (73.214) over the middle rim and coated that with some Vallejo Model Air White Grey (71.119). When dry I chipped away at it a bit with a wet brush and painted in the gaps in the white paint with some Citadel Technical Typhus Corrosion (99189956010).
For the flames I used a basecoat of Vallejo Model Color Amaranth Red (70.829), when dry I added some Vallejo Model Color Light Orange (70.911) in the recesses and blended a bit of Vallejo Model Air Medium Yellow (71.002) in the deepest recesses. Both the Light Orange and the Medium Yellow were diluted with water.
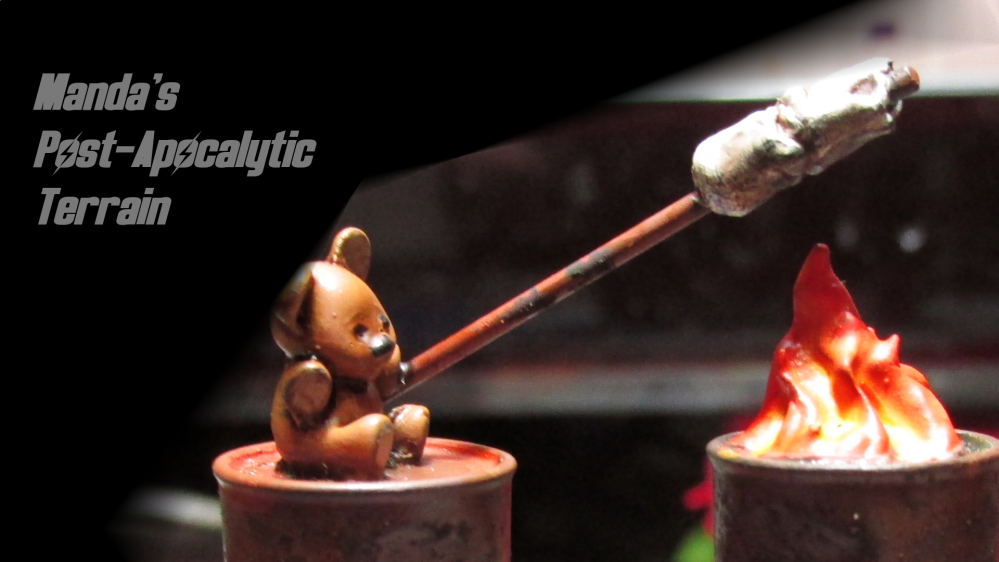
For the teddy bear I used a basecoat of Vallejo Panzer Aces New Wood (70.311), applied a coat of Vallejo Game Color Black (72.051) on the eye and the nose, followed by a coat of Vallejo Panzer Aces Light Mud (70.315) on the paws and the inside of the ears. On the back bit I painted the stuffing that was coming out slightly in Vallejo Model Color Ivory (70.918). To finish him off I applied a coat of Citadel Shade Agrax Earthshade (99189953018). The marshmallows where basecoated in the same Ivory I used before, with a dry brush of the black used before focused on the lower half and a light coat of Agrax Earthshade to finish them off. The stick is painted in a very similar manner to the barrels.
Rusty Barrel Rolls
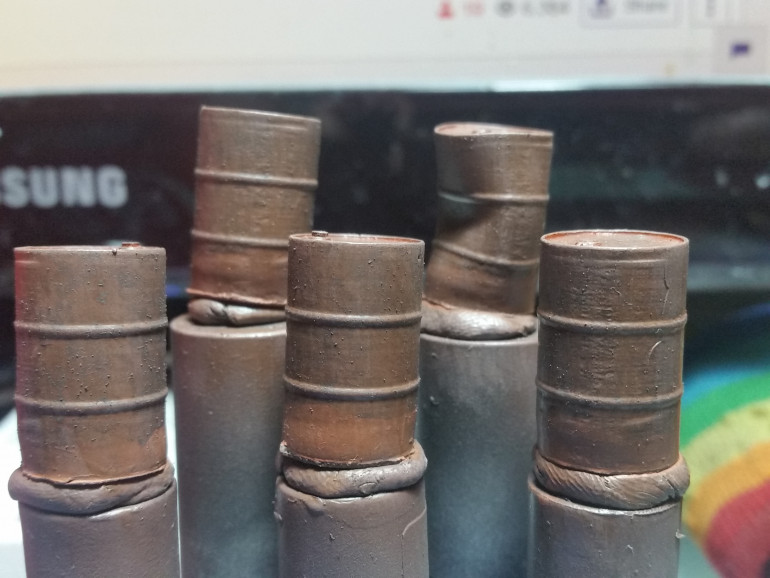
I got some more rusty barrels painted, but this time they’re just for scatter terrain. The technique I used is the same as I used on my Happy Radiation Pond, have a look here.
Road Barriers
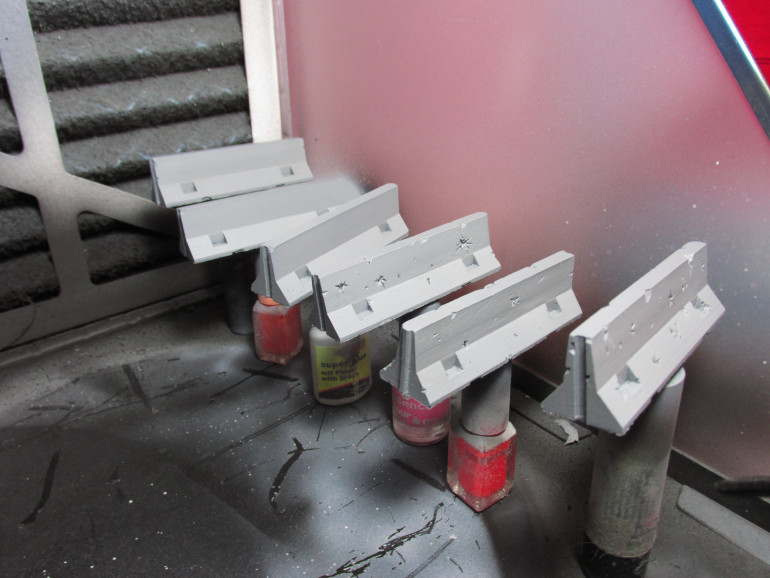
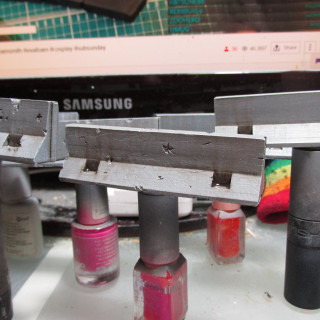
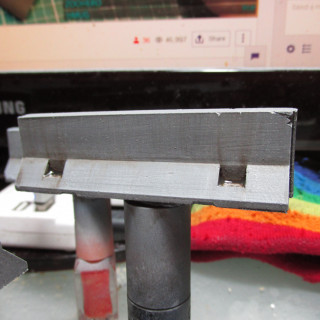
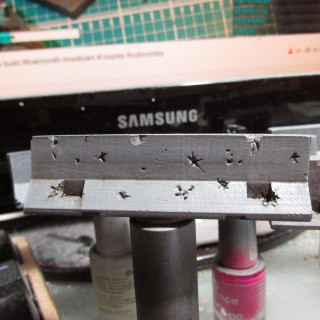
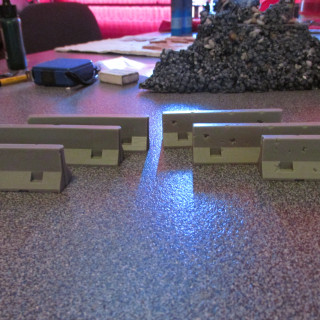
I decided to paint the road barriers from Micro Art Studios first. I primed them black and the applied a basecoat of Vallejo Model Color Medium Sea Grey (70.870) with my airbrush over the barriers.
I then slapped on quite a bit of Citadel Shade Agrax Earthshade (99189953018) which I then wiped off using a bit of kitchen paper in a downwards motion. I left it dry a little, but not completely and applied a drybrush of Vallejo Model Air White Grey (71.119) in a up & down motion. Due to the shade not being fully dry the drybrush dragged some of it along the barriers. After I apply a varnish they’ll be ready for the tabletop.
Clean up and some prep work.
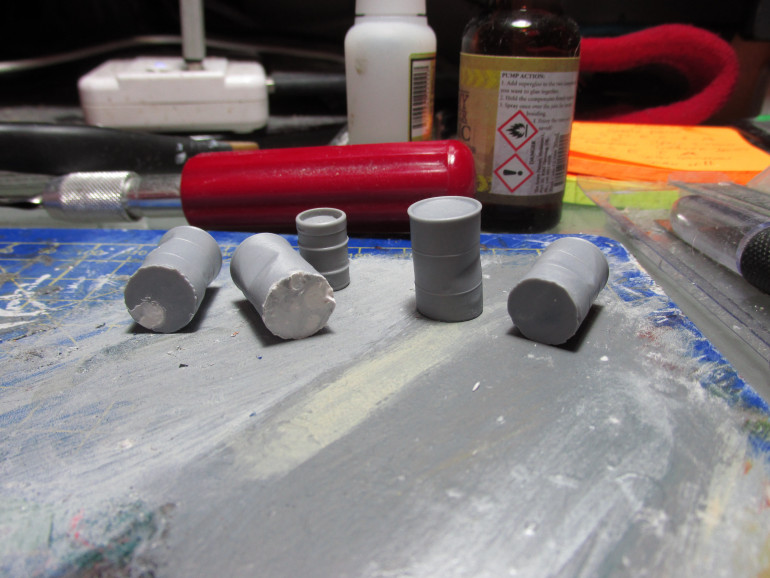
Since barrels aren’t always standing up I filled in some of the airbubbles at the bottom of the barrels with some Vallejo Plastic Putty (70.401)
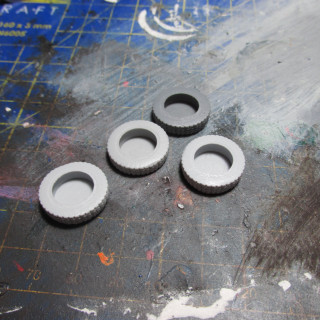
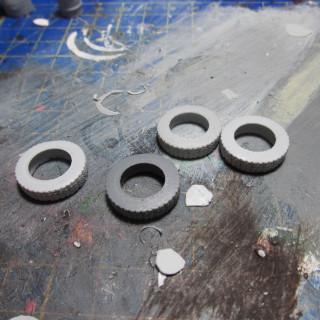
The tires have a bit of filling in them, this probably makes them easier to cast. So those had to be removed carefully and than filed down the edges to make it smooth.
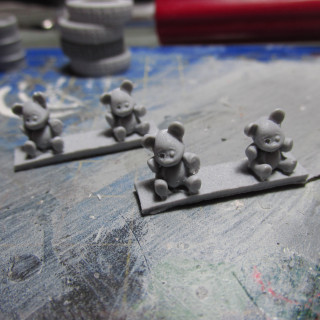
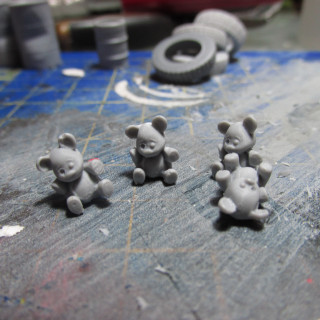
The teddy bears came mounted on a plank of resin. To get them off I placed a sharp knife in between the bear and the plank slightly angled towards the plank. I pushed down and they came flying off, literally. So after collecting all the teddy bears I cleaned of the flashing on them and shaped the bottom so they will sit nice.
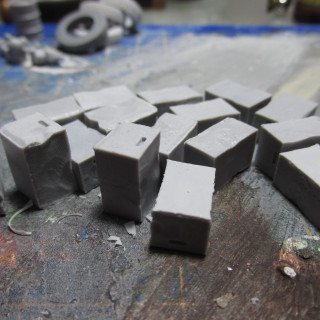
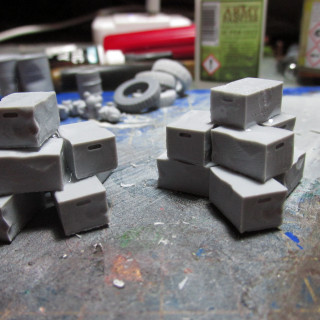
The cardboard boxes are fairly bland and small and there are 16 of them. To make it easier to use on the table and to paint I glued them together in 2 stacks of 8.
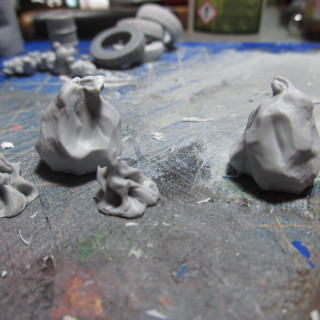
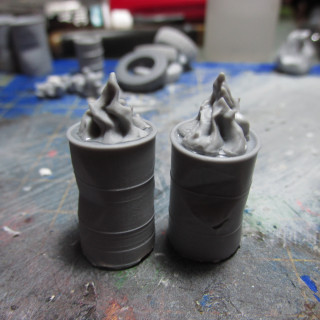
The garbage bags and the flames had very little flashing to clean up and were done quite quickly. I glued the flames on top of the barrels as they are a nice fit on these barrels and it makes these barrels need to stand up so the bottom actually isn’t as much of an issue.
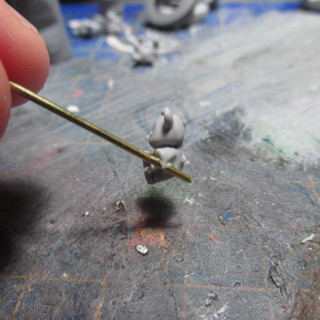
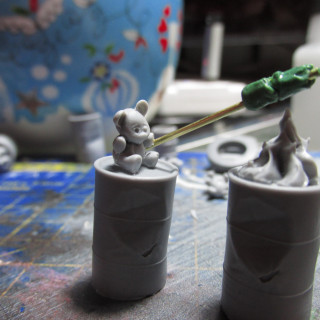
Then I decided to get a bit more creative and take some inspiration from Fallout. I drilled a small hole in the paws of one of the teddy bears and glued in a bit of 1mm bras rod. I then tried to sculpt some marshmallows on the rod and glued him on one of the barrels as well. Now he can set next to a fire roasting his marshmallows.
Acquisitions #1
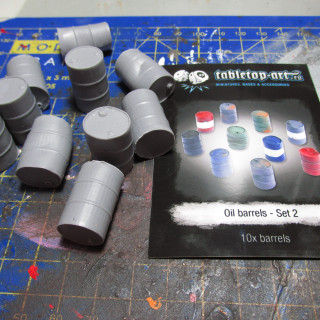
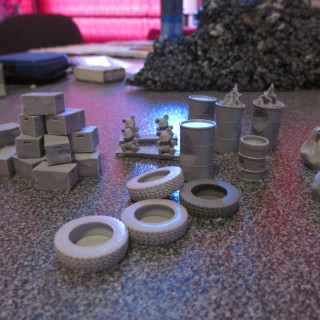
The first sets I have for this project are the barrels from Tabletop-Art that I also used in my Happy Radiation Pond. Not all of them will be used in there so some will be here as well. I then have the Back Alley Accessories 2 set from TT Combat Which includes some barrels as well, but also some teddy bears, tires and cardboard boxes. And finally I have 6 Road Barriers from Micro Art Studios.


