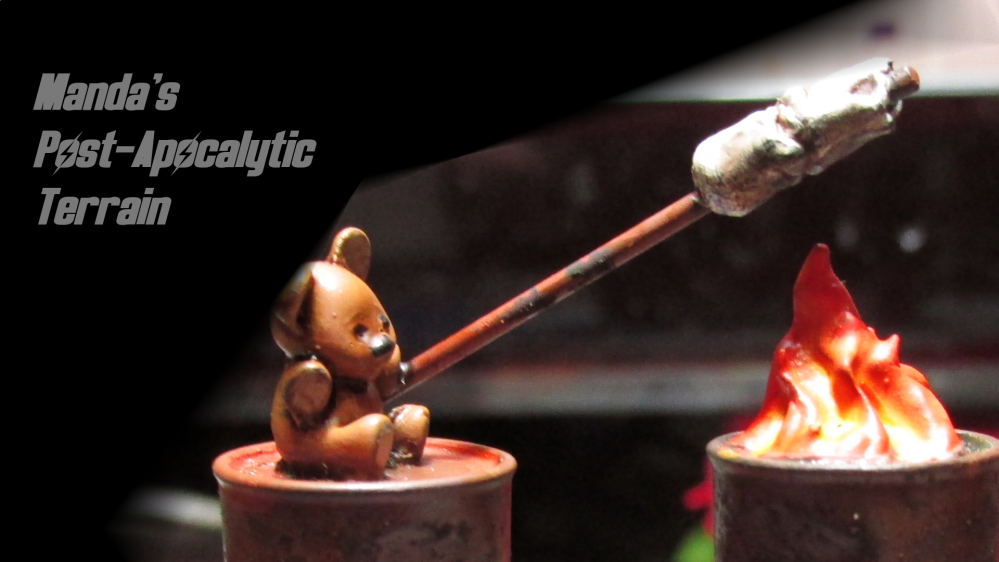
Manda’s (Amachan) Post-Apocalyptic Terrain
Recommendations: 238
About the Project
This project is following through my building, painting, etc. of terrain pieces for a post-apocalyptic setting and will mostly be aimed towards Fallout: Wasteland Warfare.
Related Game: Fallout: Wasteland Warfare
Related Genre: Post-Apocalyptic
This Project is On Hold
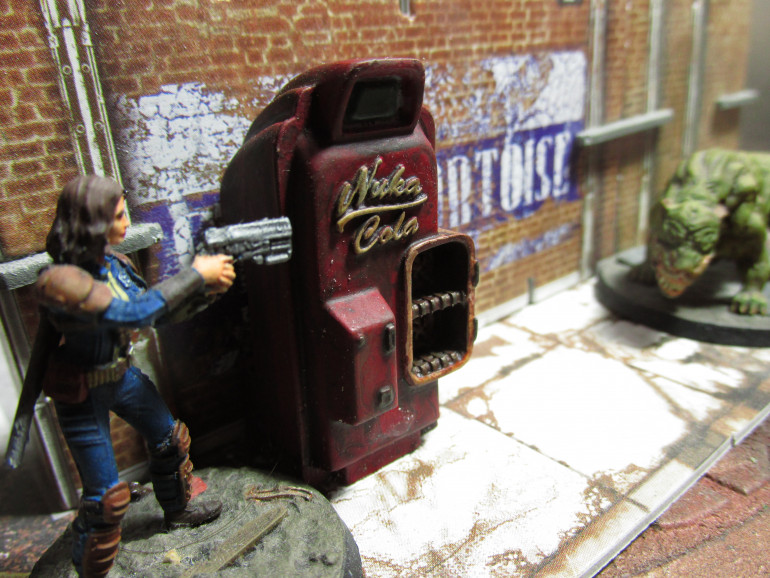
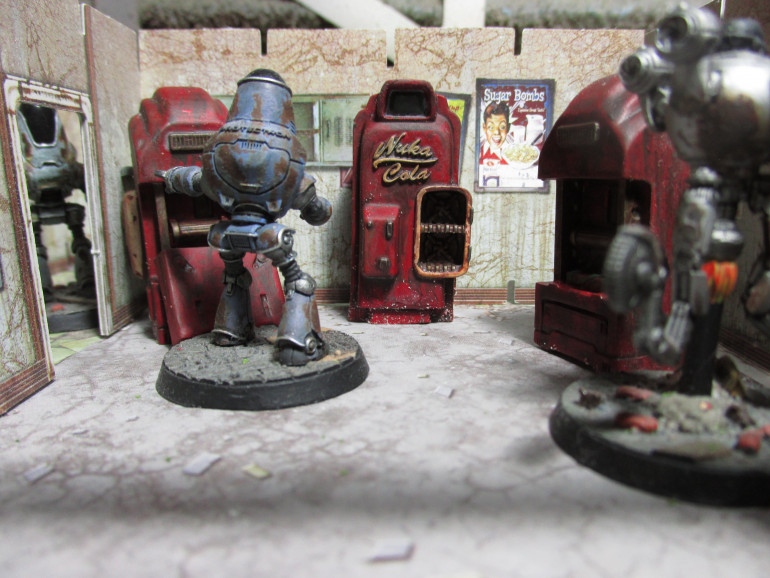
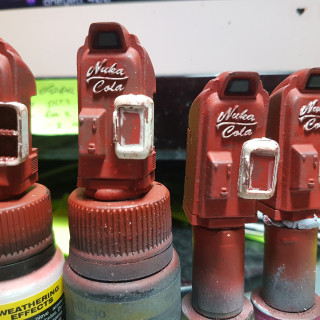
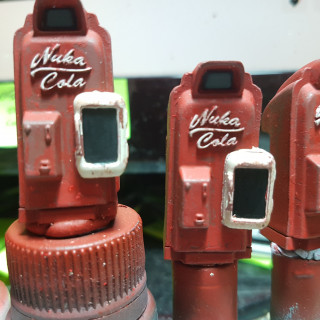
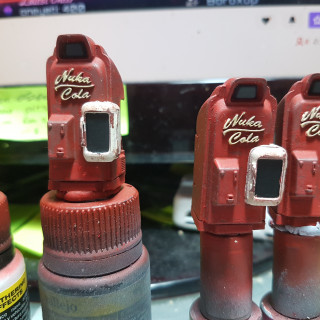
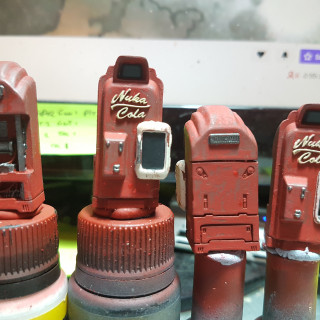
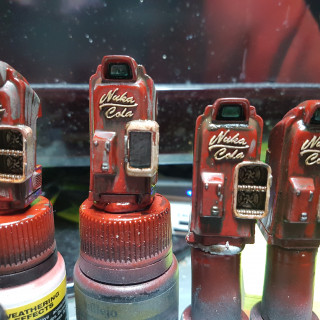
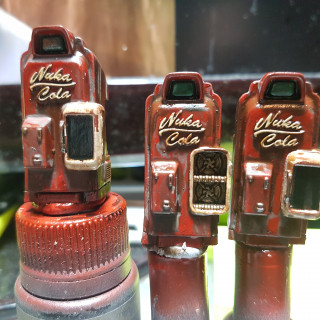
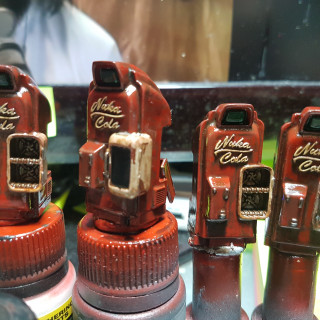
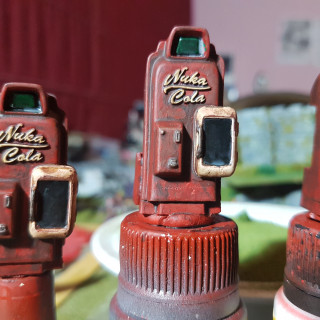
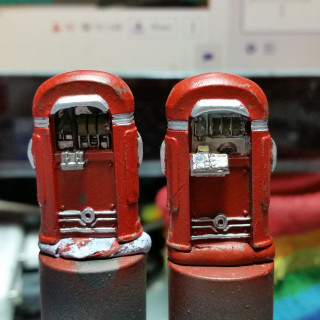
Nuka-Cola Machines
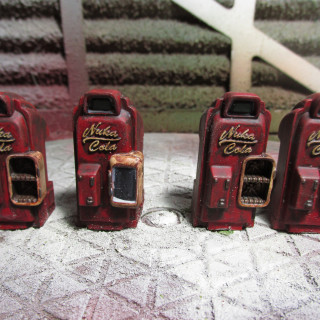
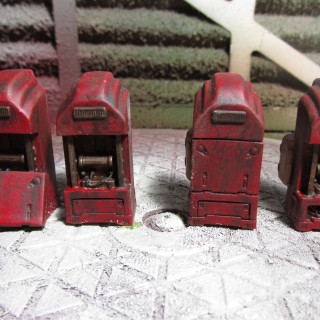
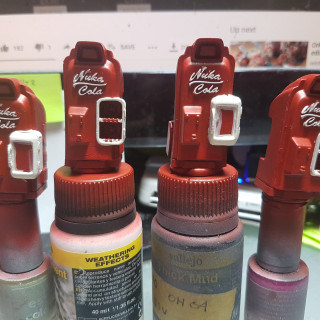
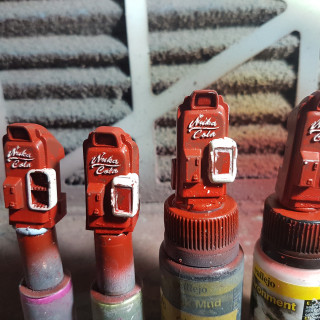
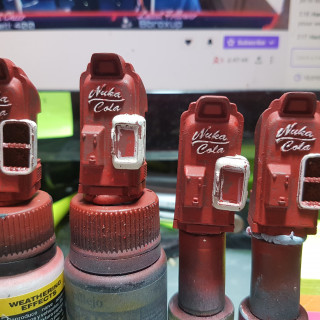
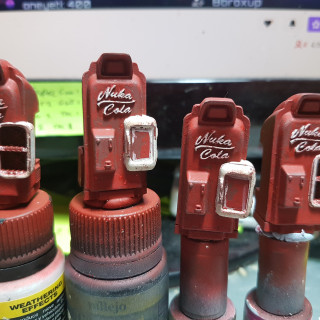
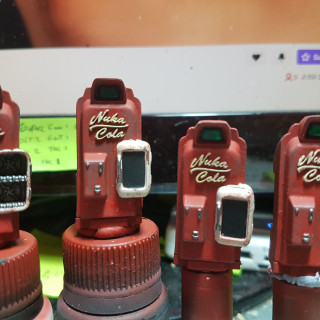
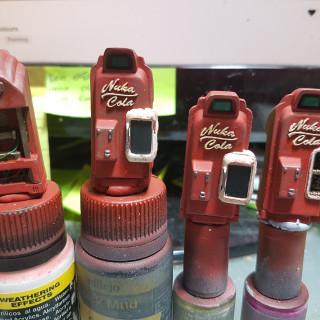
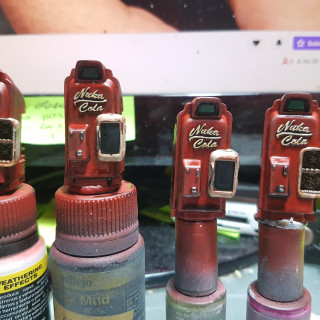
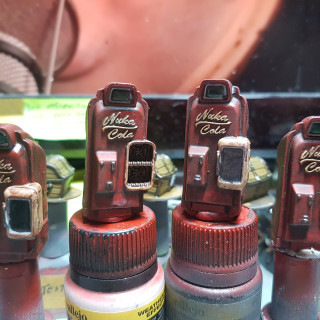
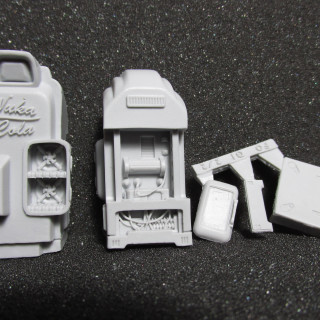
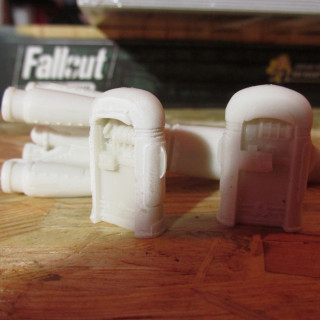
These are my finished Nuka-Cola Machines for Fallout: Wasteland Warfare.
Nuka-Cola Machines Progress
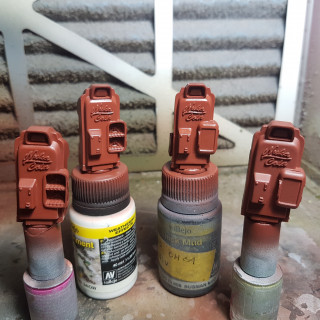
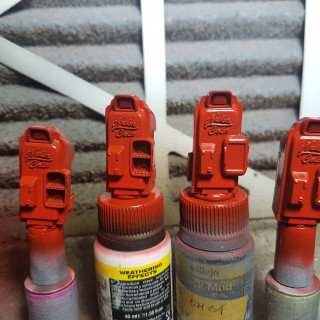
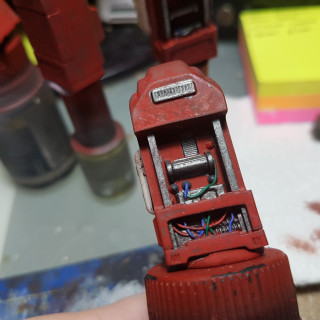
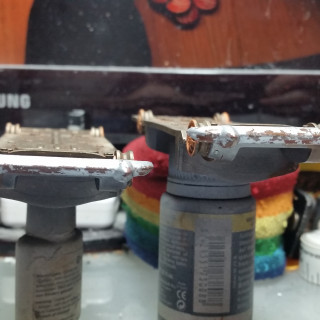
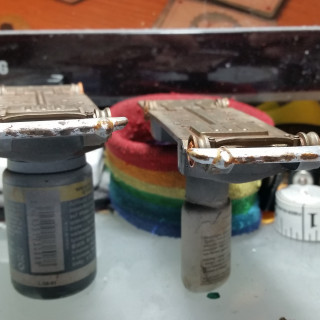
I primed the Nuka-Cola Machines in Vallejo Surface Primer German Red Brown (73.605) as this will provide me with a nice base colour for the rust chipping I am going to do later. After the primer dried I applied a coat of gloss varnish over the models and when that was cured a liberal coat of Vallejo Chipping Medium (73.214) applied with a brush. I feel that applying the chipping medium with a brush gets a far better coat on the model and gives a better effect. Now for the basecoat, I airbrushed on a coat of Vallejo Model Air Red RLM23 (71.003). I then painted the coolbox and the nameplate with Vallejo Model Air Aged White (71.132). I then soaked each machine in water for like 30 seconds or so and started scrubbing the paint off with a toothbrush. Unfortunately the white barely got chipped, this was kind of to be expected as the paint layer on there would be too thick. I finished it off with a matt coat to protect the what I had done and to help the next layers of paint stick better to the model than they would on a gloss coat.
On to detailing. First off, a couple of touch-ups with some Vallejo Model Air Red RLM23 (71.003) & Vallejo Model Air Aged White (71.132) and then some stippling with some Vallejo Model Air Rust (71.080) to add a bit more detail. I did the screens in the top with Vallejo Model Color Black Grey (70.862) and the windows with Vallejo Game Color Black (72.051). I then looked up some pictures of the Nuka-Cola machines in Fallout 4 to see what I would paint in metallics and noticed that the Nuka-Cola logo was more yellow than I first thought, so I painted the name plates with some Vallejo Model Color Beige (70.917) to correct it. I painted all the metal bits in Vallejo Metal Color Burnt Iron (77.721). I then put a coat of Vallejo Model Color Transparent Green (70.936) over the screen in the top. I did the nubs in the back with Vallejo Panzer Aces Dark Rubber (70.306) and followed up by the doing the wires in various colours using Vallejo Game Color Ultramarine Blue (72.022), Vallejo Model Color Deep Green (70.970) & Vallejo Model Color Flat Red (70.957).
Now for some washes, I start by putting some Vallejo Model Wash Rust (76.506) over the larger exposed metal bits and did the rest of the models with Citadel Shade Agrax Earthshade (99189953018). I then applied a gloss coat to protect the what I had done. I then started to apply some streaks with some AK Interactive Streaking Grime (AK 012) followed by some streaks with AK Interactive Rust Streaks (AK 013). I then took a cotton bud with some thinner and ran it over the models from top to bottom to create streaks.
After I matt coated the models, I added a gloss coat over the windows and the screens on the machines. I then added a coat of AK Interactive Dust Effects (AK 015) over the windows and screens. I let this dry for about 30 minutes or so and then started rubbing it off with a cotton bud covered in odourless thinner. After this was cured they were done.
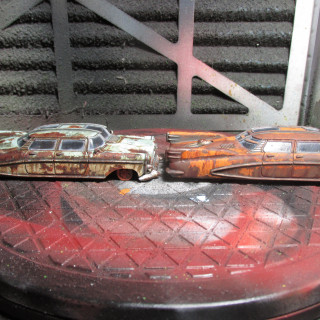
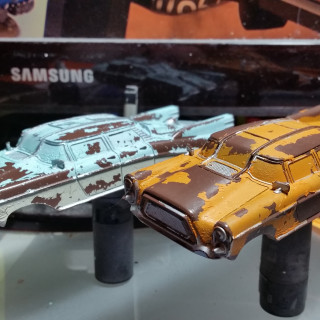
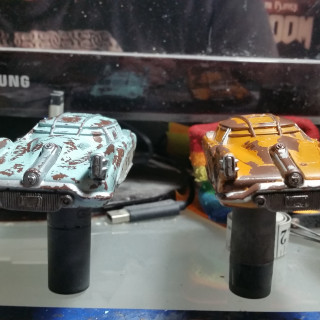
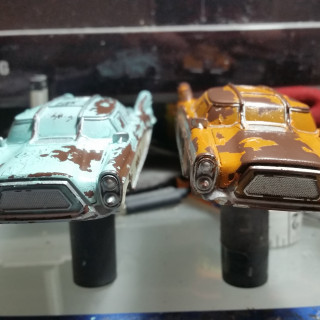
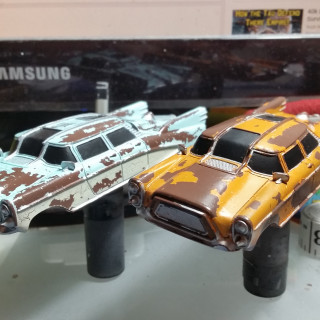
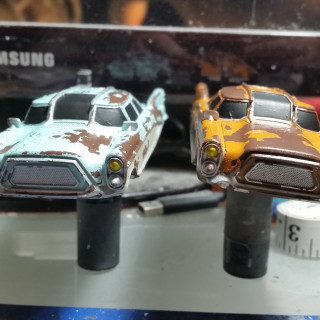
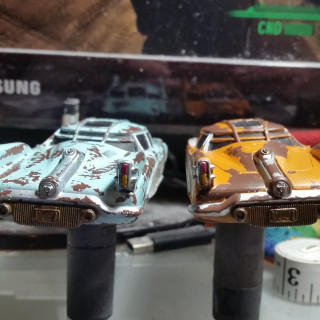
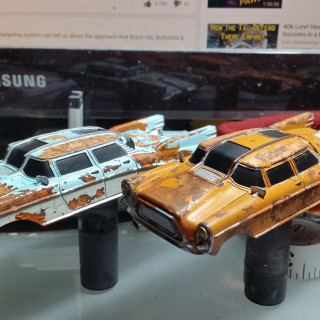
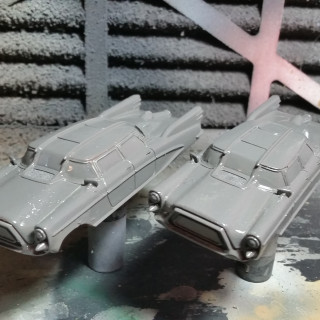
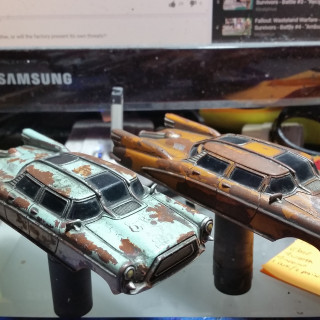
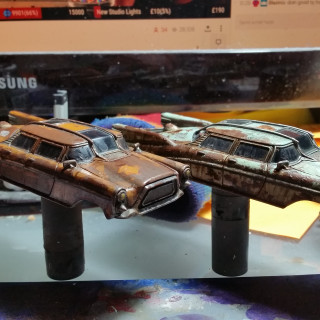
Corvega's
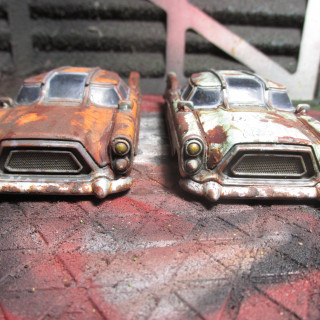
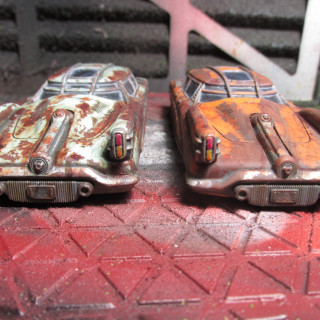
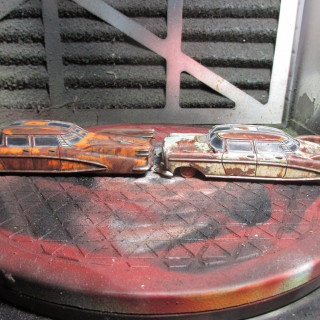
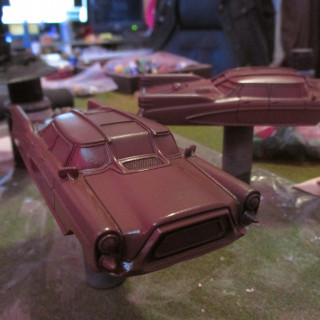
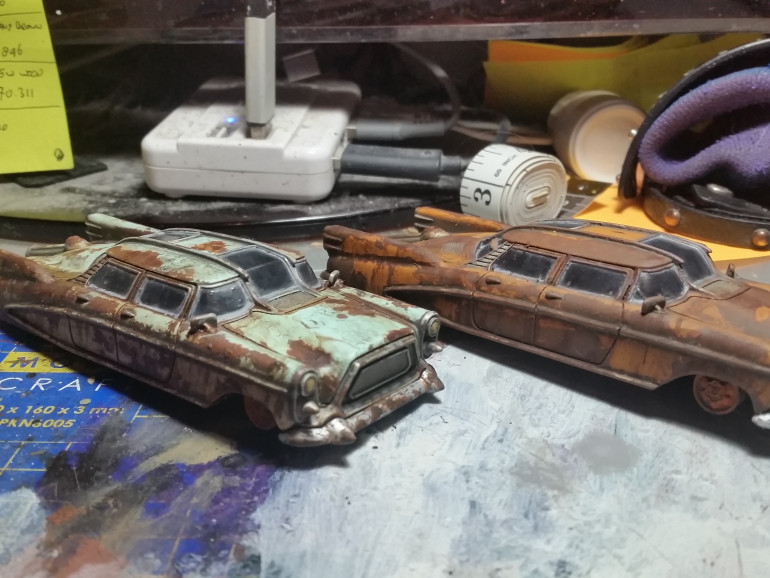
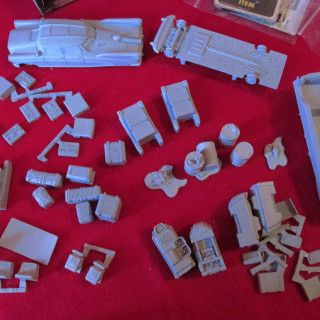
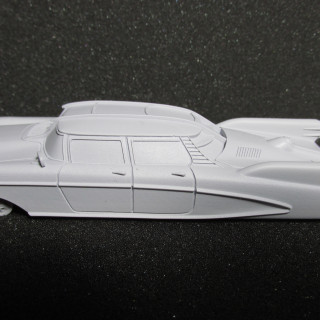
These are the Corvega’s for Fallout: Wasteland Warfare by Modiphius.
Corvega Progress
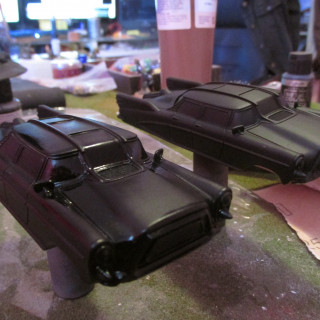
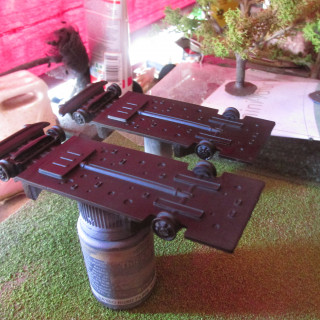
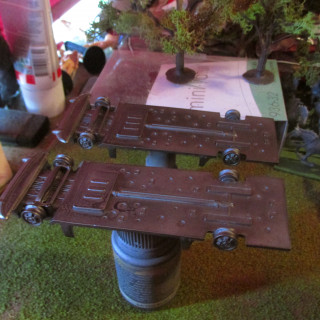
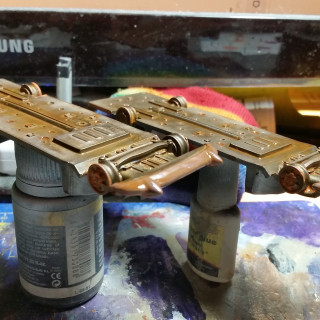
These are the Corvega’s from Modiphius for Fallout: Wasteland Warfare. I primed both the top and the bottom in black. I painted the top in Vallejo Model Air Rust (71.080) and the bottom in Vallejo Metal Color Burnt Iron (77.721). I then gloss coated the top and then that was dry I painted a layer of Vallejo Chipping Medium (73.214) over that.
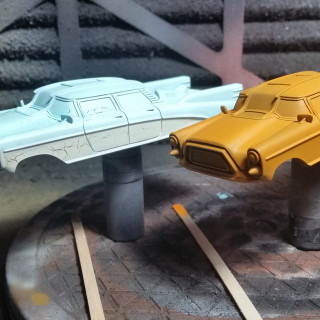
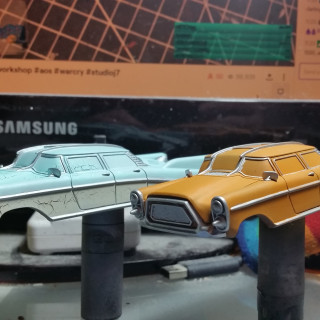
With the chipping medium dry, I started to basecoat the Corvega’s. The orange one is painted in Vallejo Model Color Light Orange (70.911) and blue/green one is painted in Vallejo Game Color Verdigris (72.096) with the white panel being Vallejo Model Air Aged White (71.132). These were done with the airbrush and because they are a relatively thin coat the chipping medium is starting to crack the paint a bit. I then painted the chrome bits with Vallejo Model Air Chrome (71.064). After dry, I went over it with a wet brush, rubbing it until I was happy with the amount of paint that has come off. When dry, I will coat them with a gloss varnish to protect the now very fragile paint.
With a gloss coat done, I coated the rear radiator thingy in Vallejo Metal Color Burnt Iron (77.721) and the head and tail lights in Vallejo Model Air Silver RLM01 (71.063). I then painted all of the windows with Vallejo Game Color Black (72.051). I then coated the radiator thingy with Vallejo Model Wash Rust (76.506) and the head and tail lights with Vallejo Model Color Transparent Yellow (70.937), Vallejo Model Color Transparent Orange (70.935) & Vallejo Model Color Transparent Red (70.934) on the different lights. I then stippled on some Vallejo Pigments New Rust (73.118) with a little bit Vallejo Model Wash Rust (76.506) on the exposed spots to add some texture and colour to the rust effects. This however makes me think why the hell did I choose orange for one of the cars.
After another gloss coat I applied a coat of MIG Neutral Wash (P222) with my airbrush over both Corvega’s. I let that dry for about an hour and then rubbed most of it off using an old piece of cloth. After another gloss coat I started applying some weathering streaks on the Corvegas using AK Interactive Rust Streaks (AK 013), AK Interactive Streaking Grime (AK 012) and AK Interactive Dust Effects (AK 015). After applying them I thinned and streaked them out with some odourless thinner to create this effect.
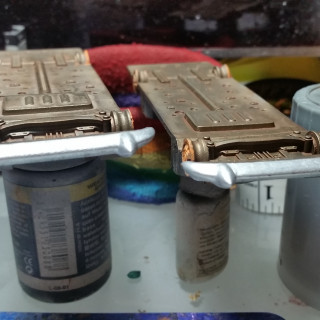
For the bottoms I painted the front bumper in Vallejo Model Air Rust (71.080) and covered that with a gloss coat when dry. I covered the rest of the bottoms with a coat of Vallejo Model Wash Rust (76.506) and dabbed a bit of the wash with some Vallejo Panzer Aces Light Rust (70.301) into the wheel hubs. I coated the bumper in Vallejo Chipping Medium (73.214) and when dry painted it with Vallejo Model Air Chrome (71.064). After that had dried I wet the surface and started chipping the surface with a wet brush and then removed the excess water from the model. I let that dry a little and added bits of Citadel Technical Typhus Corrosion (99189956010) in the exposed areas followed by some Vallejo Model Wash Rust (76.506) over that and a couple of corners.
After completely varnishing the assembled models I covered the windows with a gloss varnish. When dry I covered the windows with AK Interactive Dust Effects (AK 015) and let that dry for about an hour and wiped most of it away for a nice dusty effect on the windows. Once that is fully cured the Corvega’s are done.
Rubble Piles.
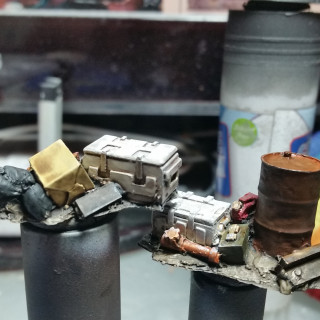
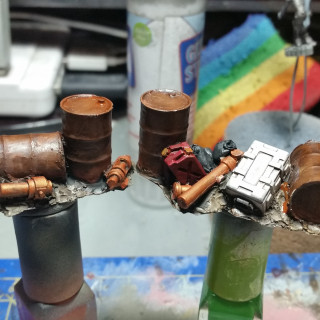
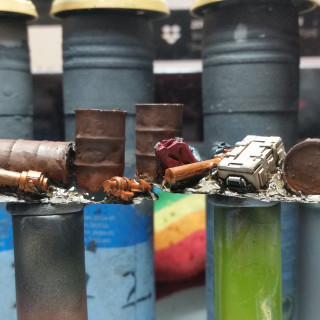
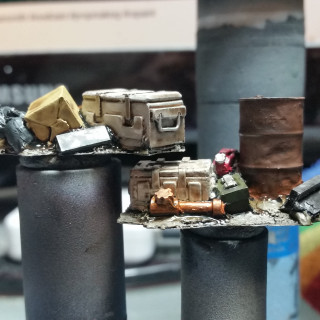
I did a little bit more work on the rubble piles from Crooked Dice and I’m calling them done and get them ready to get a couple of coats of varnish.
Rubble Piles.
I started on some of the rubble piles from Crooked Dice.
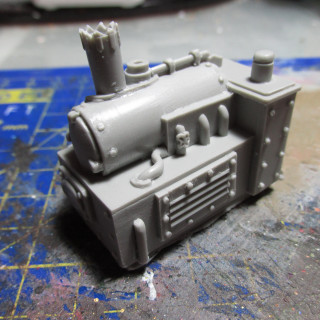
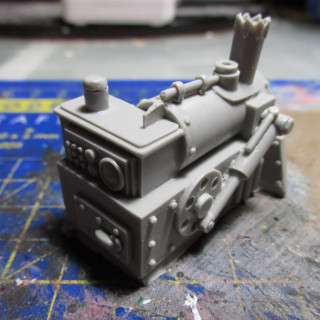
Steam Pump.
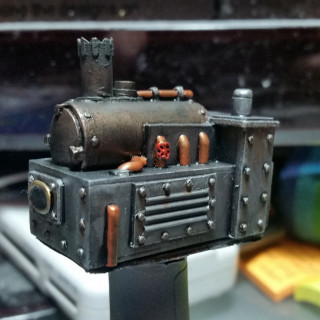
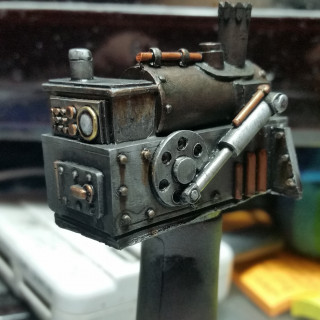
I got the quite a lot of work done on the steam pump from Crooked Dice.
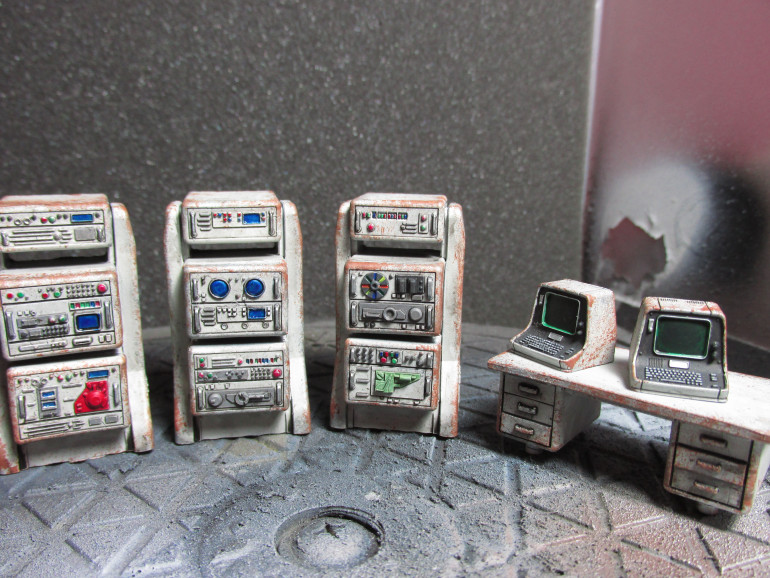
Desk, Terminals & Mainframes
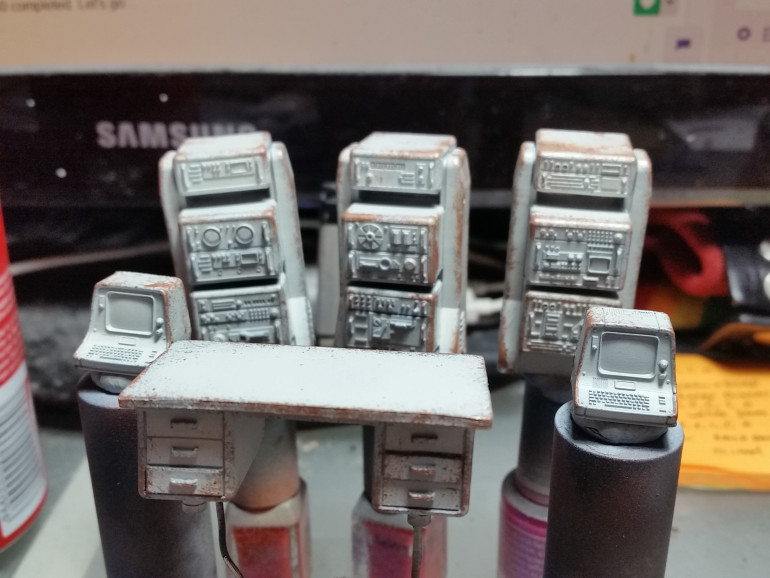
The finished desk, terminals and mainframes for Fallout: Wasteland Warfare by Modiphius.
Progress Update.
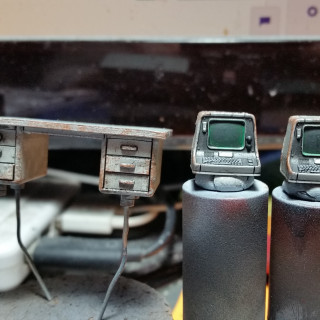
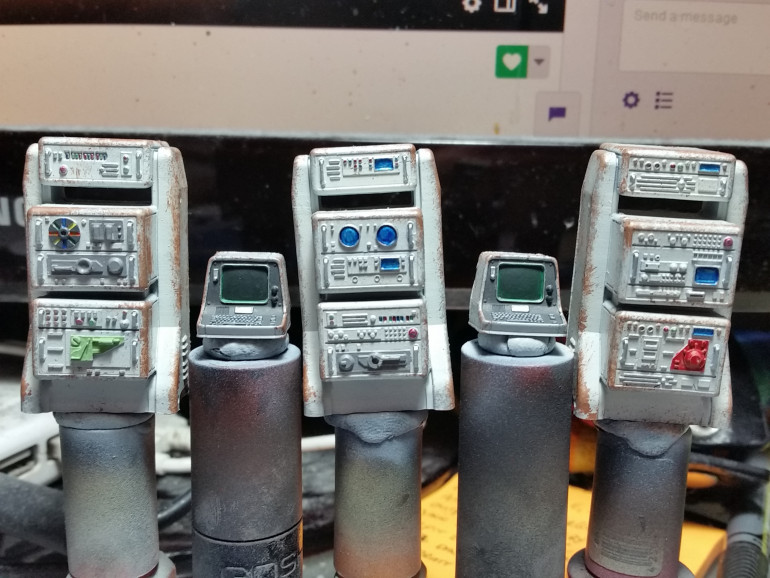
Here is another update on my Terminals, Mainframes and desk for Fallout: Wasteland Warfare by Modiphius.
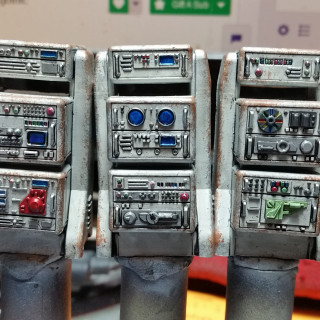
I finished the detailing and added a wash of Citadel Shade Nuln Oil (99189953017) and rubbed most of the excess off before it dried.
They are now ready for some varnishes and then some finishing touches.
Progress Update.
I made quite a bit of progress on the detailing for the terminals and mainframes for Fallout: Wasteland Warfare by Modiphius.
Progress Update.
I started work on the desk, terminals and the mainframes for Fallout: Wasteland Warfare. I simply stippled on some Vallejo Model Air Steel (71.065) followed by some Vallejo Panzer Aces Light Rust (70.301) around the edges.
New Acquisitions.
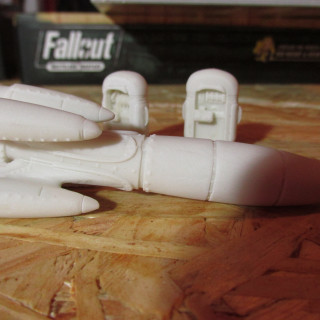
I got one of the scrap walls, the small junk piles and the steam pump from Crooked Dice in today. And by the look of this I’m definitely going to buy more terrain from them to flesh out my table.
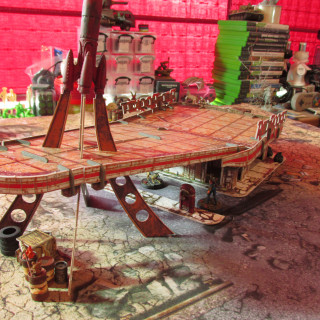
Red Rocket truck stop and some barrels that are oozing all over the place.
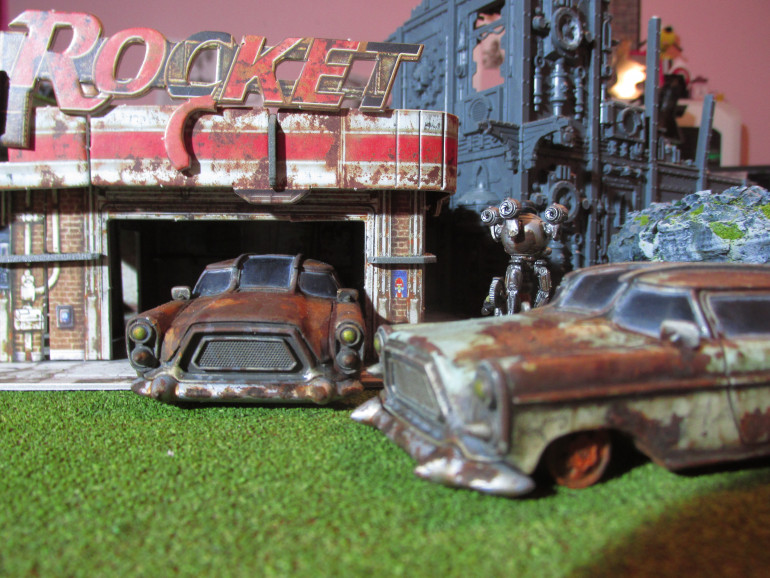
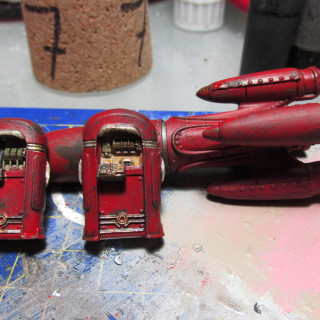
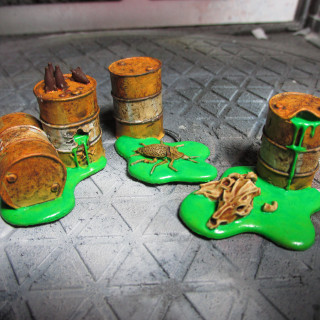
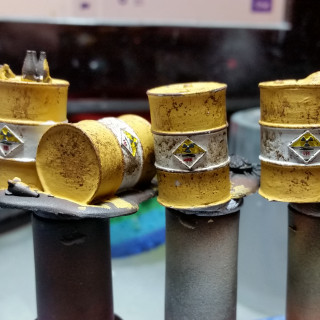
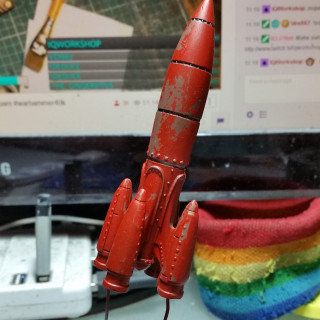
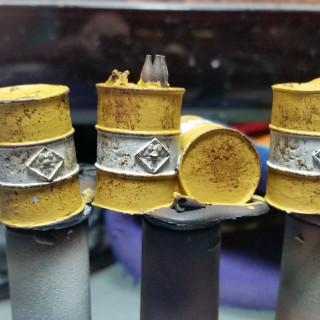
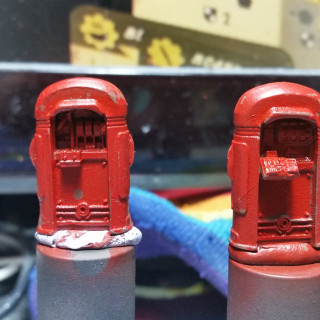
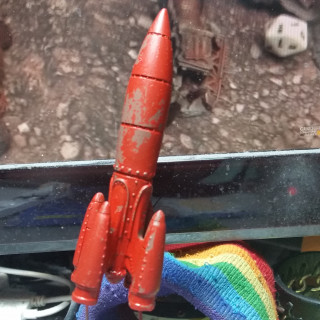
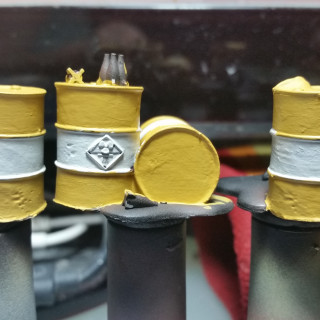
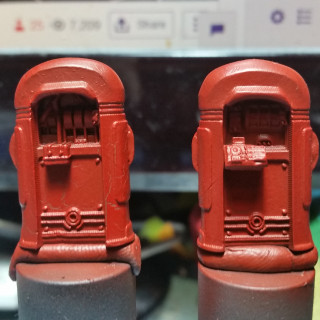
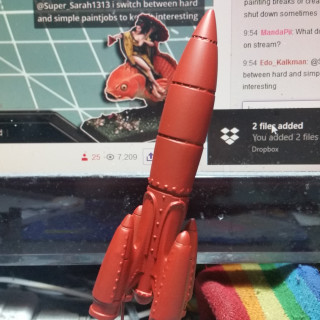
The Red Rocket truck stop has been finished. The coolant pumps and the rocket is fully painted and ready for the table. I also finished the barrels with the toxic ooze.
I’m hoping to post more regular updates on the next terrain pieces that I’m painting though.
Project Update.
Fallout: Wasteland Warfare scenarios do often have a table set-up with terrain pieces that fit the scenario. Due to this I have cancelled my table build and converted my Scatter Terrain project into my Post-Apocalyptic Terrain project. This will include all of my Post-Apocalyptic terrain pieces (including buildings etc.) that I use for mostly Fallout: Wasteland Warfare. This will allow me to set-up a table for every scenario and thus have varied table set-ups to play with.
And I will also hopefully update more frequently as my life is getting back to what is normal for me.
Progress Update.
While I was sick the past couple of days I did manage to get some painting done on the rocket, the coolant pumps and the barrels for Fallout: Wasteland Warfare. I unfortunately don’t exactly remember what I’ve all done so sorry for that.
Chip, chip, chipping away.
With a wet brush I wet the rocket and the coolant pumps to get some of the Vallejo Chipping Medium (73.214) to react and thus some of the red paint to come off. Unfortunately the paint on the barrels was a bit too thick for it too work, so I stippled on some Citadel Technical Typhus Corrosion (99189956010). I might do some of that on the rocket and the coolant pumps as well, not entirely sure yet.
Ready for the chipper.
Yesterday I covered the barrels, the coolant pumps and the rocket in a coat of Vallejo Chipping Medium (73.214). Earlier today I covered the coolant pumps and the rocket in a coat of Vallejo Model Air Red RLM23 (71.003) and just about now I painted on a coat of Vallejo Model Color Yellow Ochre (70.913) and Vallejo Model Air White Grey (71.119) to the barrels. When this is all dry I’m going to start chipping off the paint.
Everything is Brown!
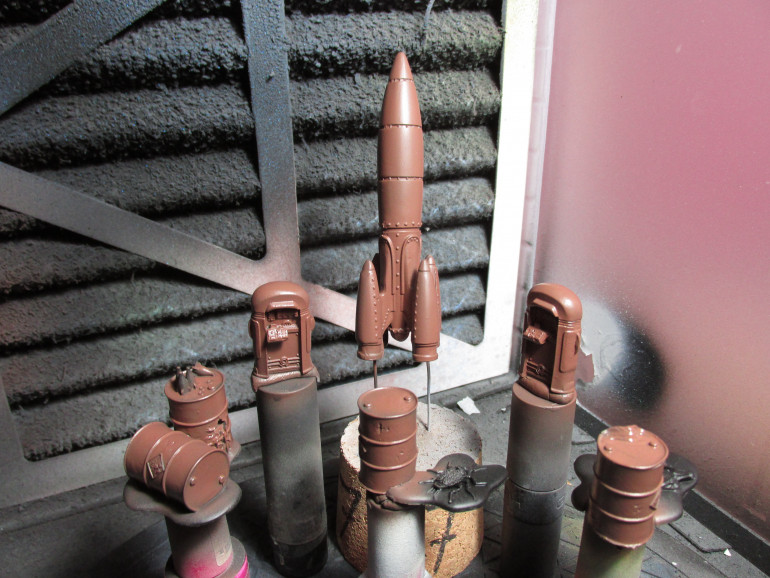
I started with the rocket and the coolant pumps from the Red Rocket scenic set and the barrels from the scenic starter set. I primed them all black and then applied a base coat of Vallejo Model Air Rust (71.080) with my airbrush.
New Stuff.
With my recent arrival of Fallout: Wasteland Warfare I have a couple of new items to add to my array of scatter terrain. Mainly stuff from the starter scenic set and some from the Red Rocket scenic set. For all the stuff I got for Fallout: Wasteland Warfare check my unboxing pictures over in my project here: https://www.beastsofwar.com/project/1187099/
More Stuff Done.
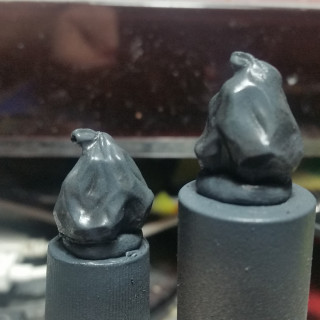
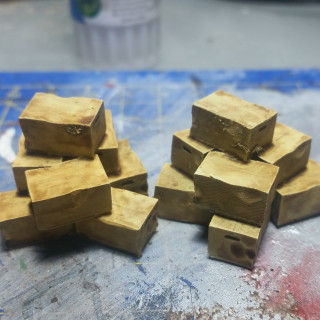
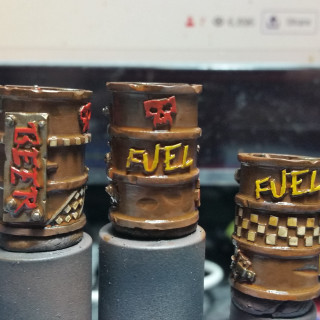
I got the bin bags and the cardboard boxes from TT Combat done. I also had some Ork barrels from Kromlech laying around and painted them up as well.
Sorry for not putting up anything on how I painted these, some were done weeks ago and I can’t remember and for the Ork barrels which I did today, I just can’t focus on writing that right now and won’t remember later.


