Into The Badlands – Hero Forge Customised Miniatures
Recommendations: 50
About the Project
Creating and painting customised miniatures using Heroforge.com based on iconic characters from Into The Badlands, the post-apocalyptic AMC TV series
Related Genre: Post-Apocalyptic
This Project is Active
Part 5 : Priming the Miniatures, plus New Character Designs in Hero Forge
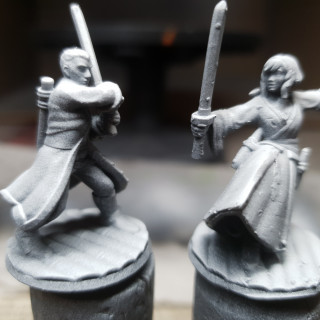
I applied my standard zenithal priming technique to the Into The Badlands heroes using an Iwata Eclipse airbrush. I sprayed them all over with Vallejo Surface Primer Black, followed by Vallejo Surface Primer Grey sprayed from above at a 60 degree angle, then finally Vallejo Surface Primer White sprayed directly from above at a 90 degree angle. I used a Tamiya turntable to get a nice smooth prime without needing to touch the models:
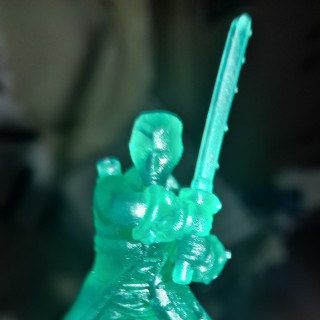
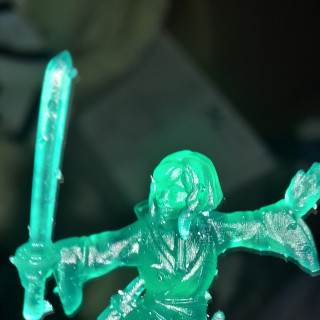
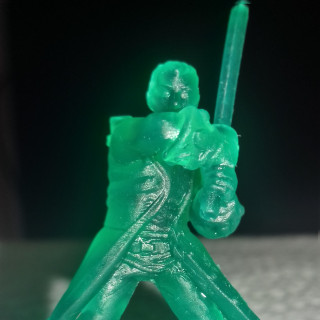
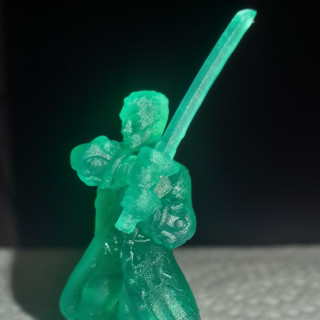
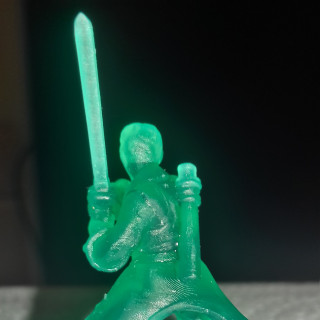
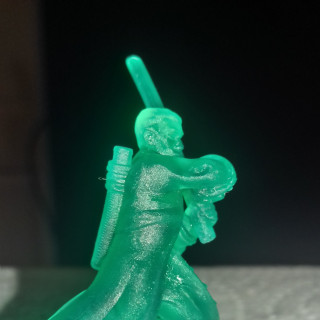
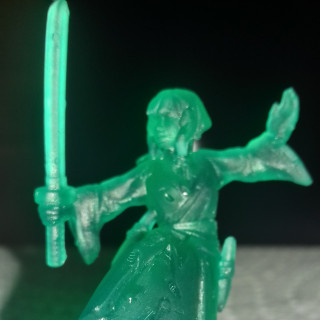
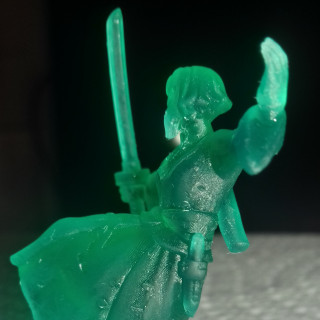
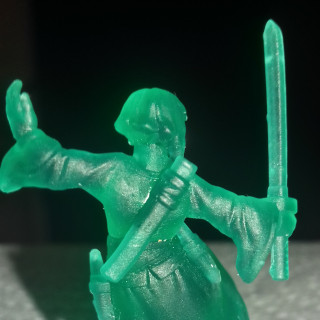
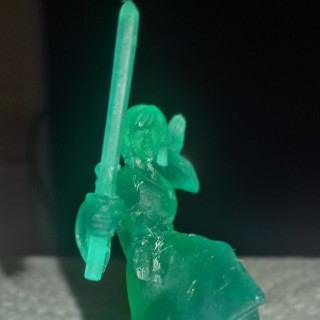
The result is quite effective, although with the primer now applied it became glaringly obvious that there was still a fair amount of clean-up work required, especially on Minerva (“The Widow”). The translucent green resin used to print the models makes it difficult to see all the rough spots and minor surface flaws until a coat or two of primer has been applied. So further filing/sanding plus some green stuff work to fill in one or two holes will be required, followed by another spritz or two of surface primer, before the actual painting can begin.
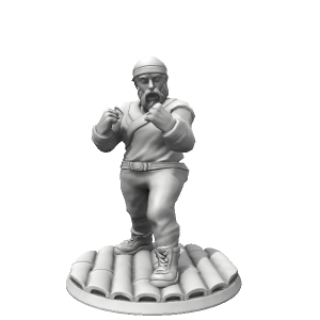
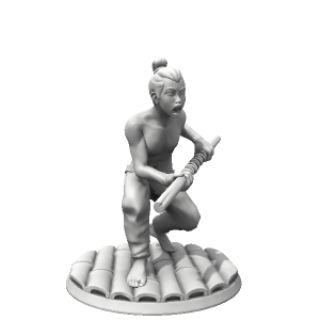
In the meantime, I’ve also been working on designing a couple more characters from the show using the Hero Forge website, again in mounted and “on foot” versions. So here are the renders of Bajie, a prison escapee with a secret past (portrayed by the inimitable Nick Frost) who joins Sunny in his travels in the second season of the show, together with M.K. (played by Aramis Knight), a teenage boy with a dark “Gift” who turns into a black-eyed berserker whenever he is hurt or in danger:
I hope to acquire the STL files for these new models for 3D printing in the near future. I’ve also had the mounted versions of Sunny and Minerva re-printed and should be able to pick them up soon. In the next episode, I’m looking forward to finally getting my paint on, so join me next time as our intrepid journey through the Badlands continues!
Part 4 : Cleaning Up the Miniatures
Here are the tools I used to clean up the 3D printed models:
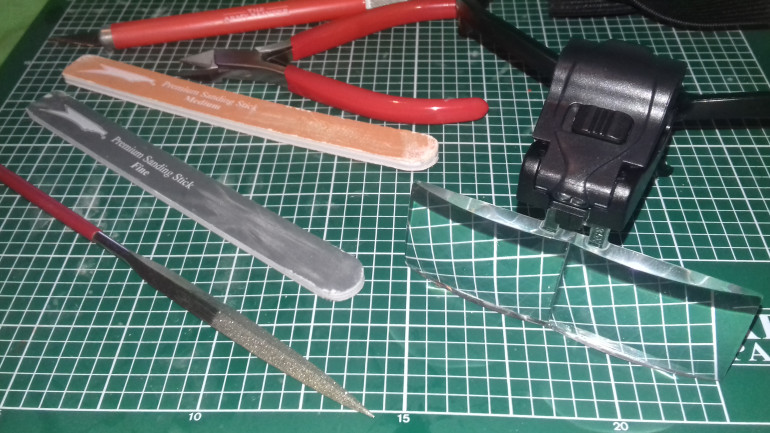 Cutting Mat, Craft Knife, Plastic Sprue Cutters, Sanding Sticks (Medium/Fine), Diamond File, Magnifier
I almost always use some form of magnification when cleaning or painting models nowadays, as I find it incredibly helpful when working with very fine details. Optivisors are great if you have the budget, but I find the relatively inexpensive lens magnifier with built-in LED lights pictured above to be perfectly serviceable.
Having washed the models in warm soapy water, I began by carefully removing the support structures using the plastic sprue cutters and craft knife. I kept a container of water on hand over which I worked as far as possible in order to minimise harmful resin dust getting into the air (it’s also a good idea to wear a respirator or dust mask to prevent the dust getting into your lungs).
Here’s how the models looked following the initial removal of the supports – as you can see, there’s still a fair amount to do in terms of cleaning up spots such as the contact points between the supports and the model (most clearly visible along the edge of the weapon blades):
I continued painstakingly cleaning up any rough spots on the models using the craft knife, diamond file and sanding sticks to achieve a nice smooth finish. This part is definitely a chore and took quite some time, but after a while I got into a zen-like state and tried to enjoy the process of gradually bringing the models closer and closer to a state of perfection (while accepting that total perfection is, of course, an unattainable ideal!)
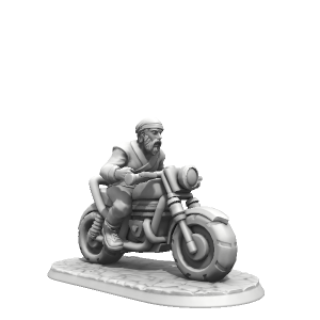
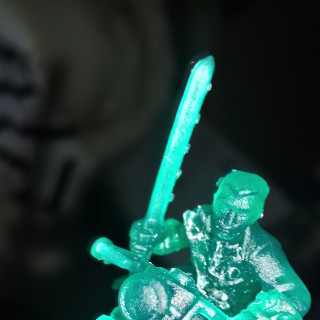
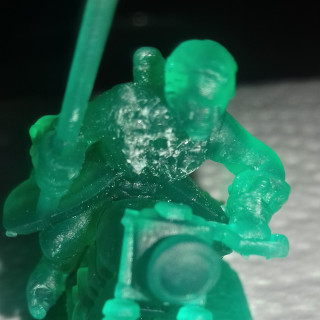
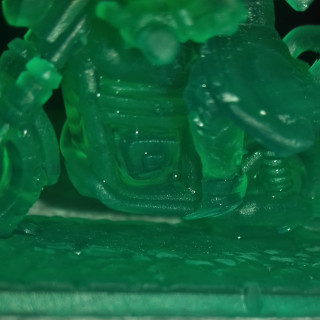
Unfortunately, I had several difficulties with the Sunny on Motorbike model. During the cleanup process I managed accidentally to snap off one of the handlebars; resin is brittle stuff and needs careful handling. I then had a lot of trouble trying to cut away a support from below his chin and ended up butchering the fine details on his chest. I also realised that one of his feet had not properly printed:
Again, I decided to take this model out of scope for now and revisit it later on. The mounted versions of the characters are very cool looking and I definitely want to include them at some point, but at present I am going to focus on their footsoldier equivalents due to the various issues experienced so far.
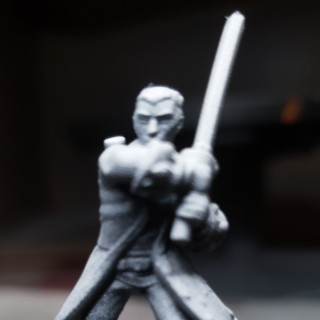
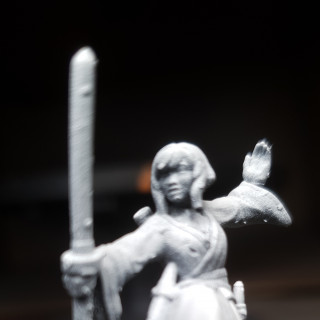
Speaking of which… I think that Sunny and Minerva on foot cleaned up very nicely indeed, and will hopefully look even better once I get them primed:
So finally our heroes are ready to be primed and painted… stay tuned for the next episode of Into The Badlands!
Part 3 : 3D Printing the Miniatures
Big shout out this time to my brother Dan, who not only 3D printed my Into The Badlands models for free, but who I also have to thank for getting me back into the hobby a few years ago following a decades-long hiatus. He invited me along to Salute, where I was blown away by how much the industry had moved on since my school days, and while there he bought me a surprise gift of the (now sadly defunct) Judge Dredd Miniatures Game – we were both huge 2000AD fans in our youth. Many thanks Dan!
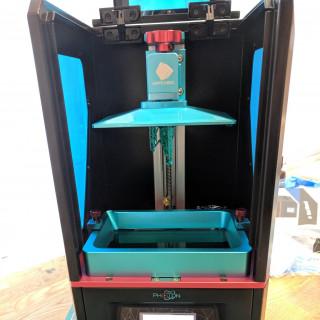
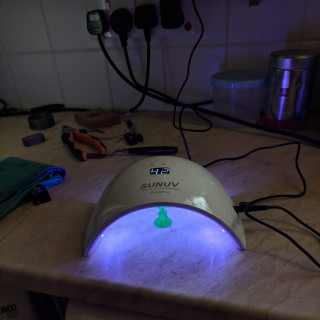
The models were printed using the amazing Anycubic Photon UV Resin SLA DLP 3D Printer (http://www.anycubic3d.com/products/show/1022.html). For anyone not versed in 3D printing tech (i.e. me!!), SLA = Stereolithography and DLP = Digital Light Processing. In simple terms, the printer builds up the models in a bath of liquid resin which, when complete, are then cured under a UV light source:
Multiple models can be printed in a single run without increasing the overall print time (in this case, around 9 hours).
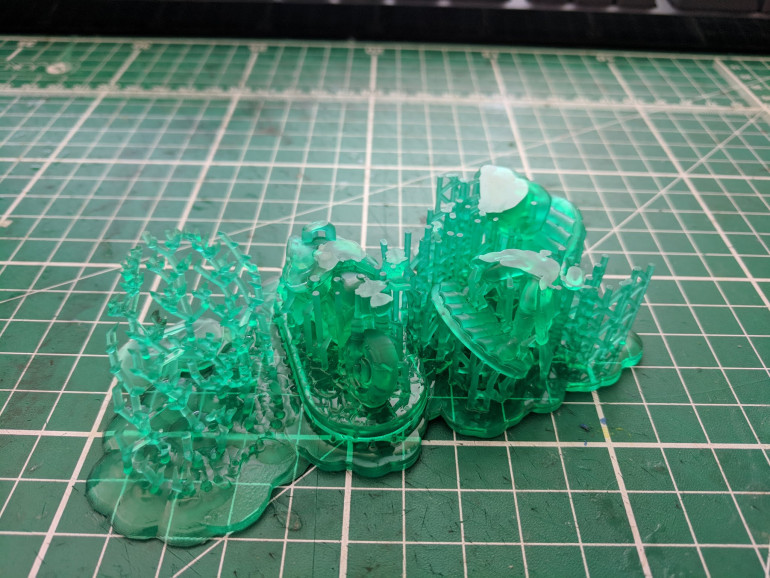
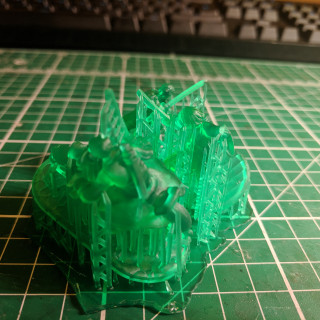
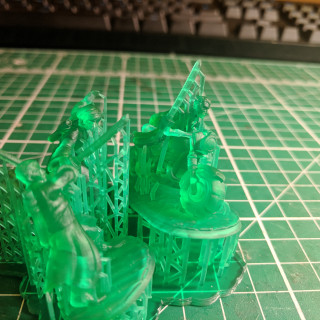
Unfortunately, the initial print run had to be aborted partway through due to a power supply issue (a dodgy desk lamp plugged into the same power block…) Fascinating to see the partially constructed block of models complete with support structures:
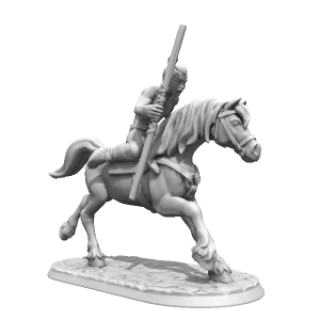
A second print run proved vastly more successful, although unfortunately the Minerva on Horseback model did not quite come out right (the base was not fully formed):
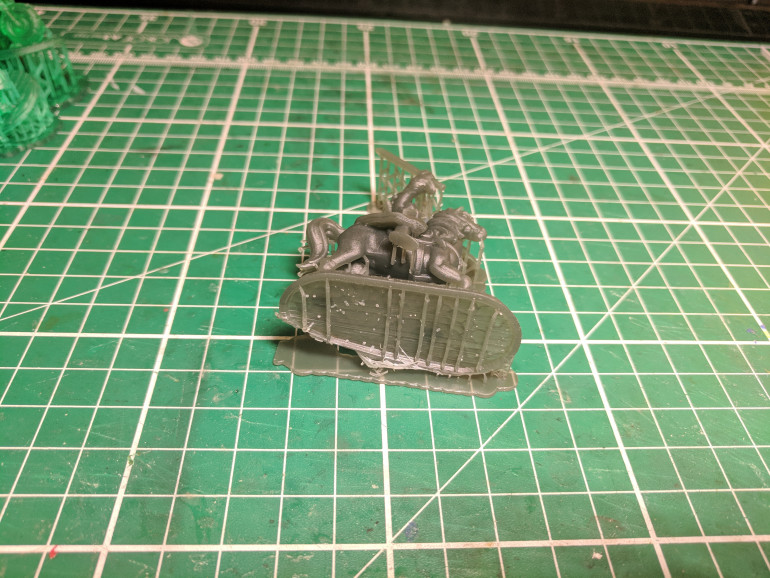
Dan tried again to print the mounted Minerva (this time using grey resin as he had used up all of the translucent green resin), but unfortunately the problem with the base recurred:
So for right now, I decided to leave this model out of scope. We may try again to print it at a later date, or alternatively I might order a physical copy from HeroForge (would be interesting to see how their premium plastic option stacks up alongside the Anycubic resin version).
Next step: cleaning up the models ready for painting…
Part 2 : Designing the Miniatures in Hero Forge
This was my first time using Hero Forge (www.heroforge.com), and I have to say that I thoroughly enjoyed it. For anyone unfamiliar with the site, it’s similar to those character design features in video games like Skyrim, where you start with a basic human figure and build up the various elements of the character’s appearance from there. It took me a couple of hours to come up with four figure designs and cost me about $10 per design to purchase the STL files for 3D printing (you can also have Hero Forge themselves print the models in various different materials, but you would then be waiting a couple of weeks for them to be shipped from the US).
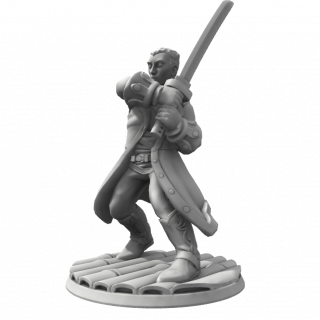
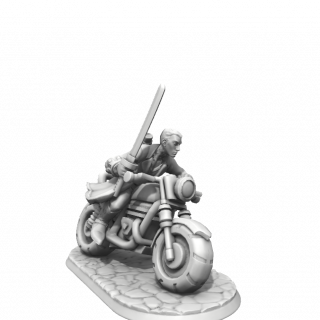
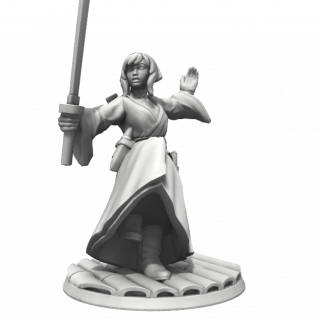
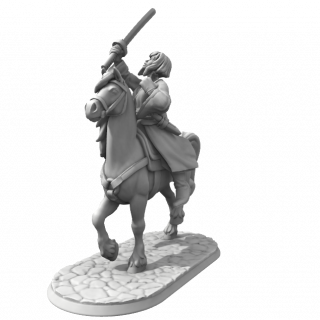
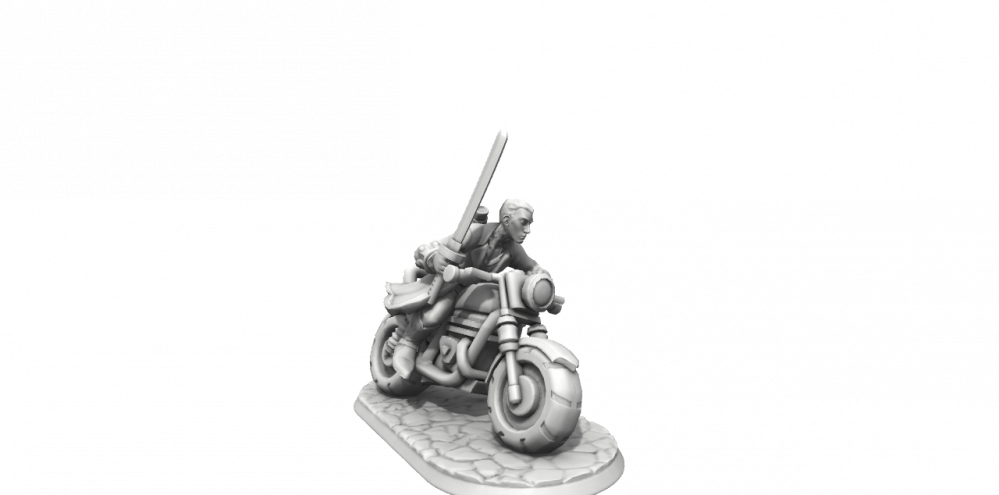
As a starting point, I decided to try and design two iconic characters from the TV show, namely Sunny (a badass Clipper played by Daniel Wu and basically the hero of the whole affair) and Minerva (an equally badass female character played by the lovely Emily Beecham, who I won’t say too much about here so as not to spoil anything in the show – seriously, if you haven’t watched it yet, give it a go!). Since Hero Forge offers the option to add a mount to a figure, I decided it would be fun to design each character both on foot and in a mounted version. Sunny is occasionally depicted in the show riding a motorbike, so his mounted version was a no-brainer. Minerva doesn’t really do mounts as far as I can recall, so I decided to put her on horseback because, well, it looks cool, OK! In the post-apocalypse there aren’t too many working vehicles left, so horses would be a natural option for getting around anyway.
So… a couple of hours’ work later, here are the end results. I had to compromise on a few details (Minerva has a very distinctive hairstyle in the show which I just couldn’t replicate exactly, and she also invariably wears stiletto heels which, for obvious reasons, there was not an option for, so I gave her some sturdy riding boots instead). For me the most fun part came at the end, selecting the best pose to use (each one entirely alters the impact of the model), and especially adding the mounts – I’m extremely impressed with how easy and fun to use this website is!
OK, that’s all for today. Next step, getting the models printed. I don’t personally own a 3D printer, but my brother recently acquired a very good one and has kindly agreed to try and print these out for me. I look forward to sharing the results!
Part 1 : Introduction & Scope of the "Into The Badlands" Project
One of my favourite TV shows at the moment is AMC’s “Into The Badlands”. Currently in its third season, it has gone from strength to strength and provides an entertainingly heady mix of furious (and at times extremely bloody!) martial arts action, political manoeuvrings and fantastical elements set in a post-apocalyptic America 500 years in the future.
It struck me that the Badlands setting and mythos provides the perfect basis for a tabletop miniatures-based skirmish game. All the elements are in place: the diverse rival factions and mercenaries; the hierarchies within those factions (Barons at the top of the pyramid, assisted by their Regents (right-hand men and women), Clippers (trained assassins) and Cogs (grunts)); the wildly over-the-top martial arts combat with plenty of parkour-style flying around the table; the potential for cinematic feats (e.g. certain characters possess a dark “gift” whereby their eyes turn black when enraged and they then proceed to slaughter their foes wholesale while in a berserk state…), all in a post-apocalyptic setting for which all kinds of terrain options are readily available.
(At this point I should probably just add that I hope there will be no IP-related issues with my posting this project – given that I am not seeking to profit from it in any way I would hope not – but I am sure someone will tell me soon enough if otherwise!)
Being neither a miniature sculptor nor a game designer, just an avid gamer and amateur miniature painter with about a year’s experience under my belt, I decided to start a mini-project where I would initially look to create a few of the iconic characters from the show in suitably epic poses using the Hero Forge custom miniature design website (www.heroforge.com). I would then attempt to paint them up to a reasonable standard. Down the line, I might even attempt to come up with a basic custom ruleset for a Badlands skirmish game, though that is definitely some way off yet (if at all!).
So… on with the show! First step, designing some figures in Hero Forge…


