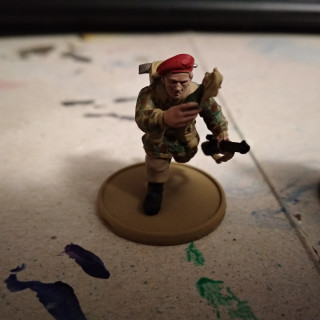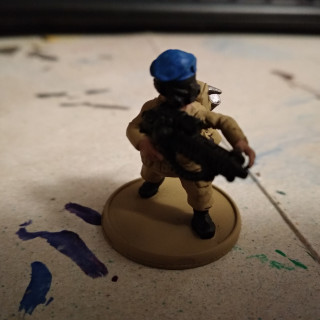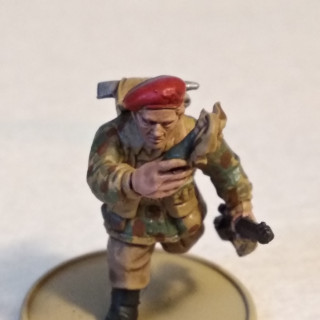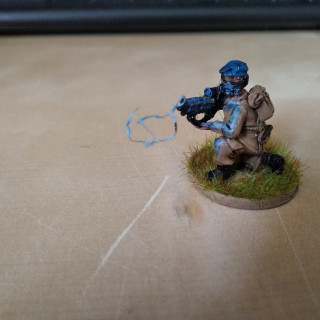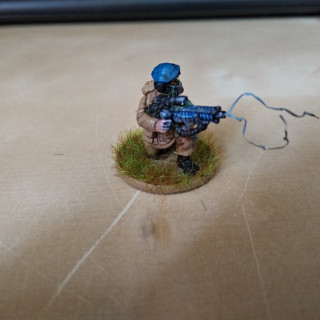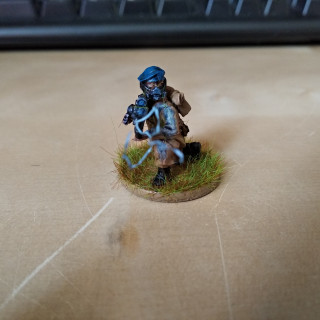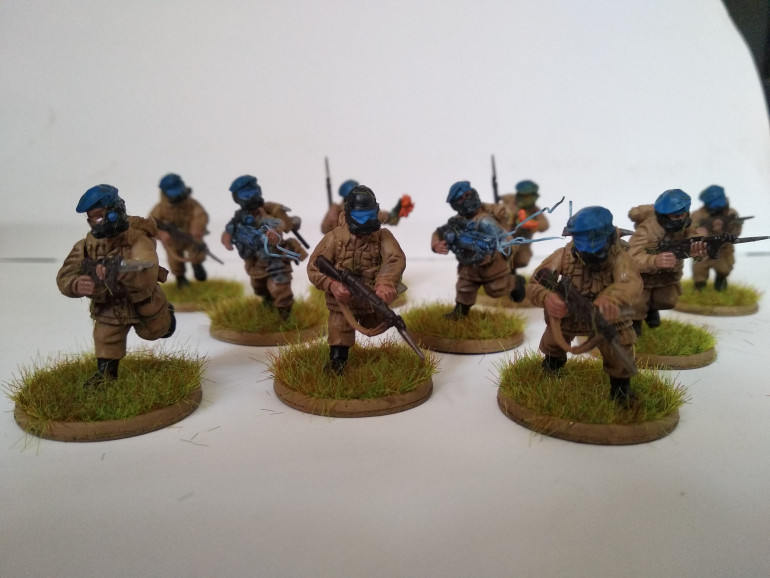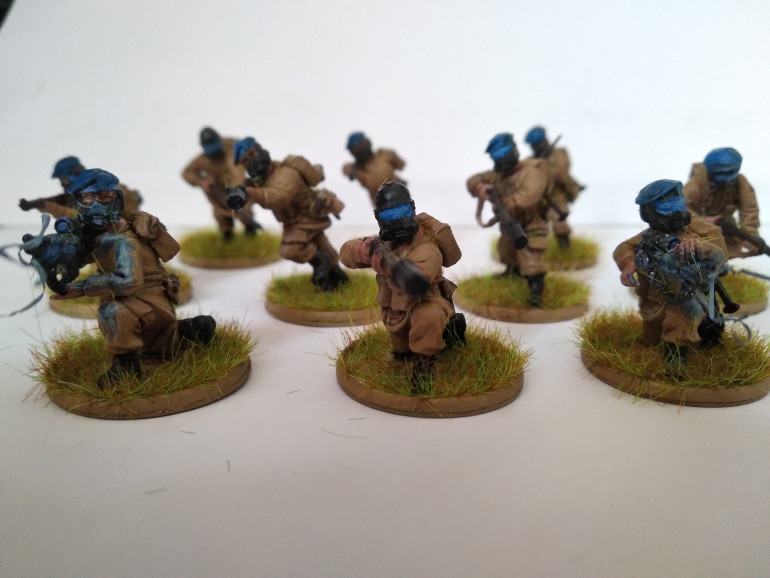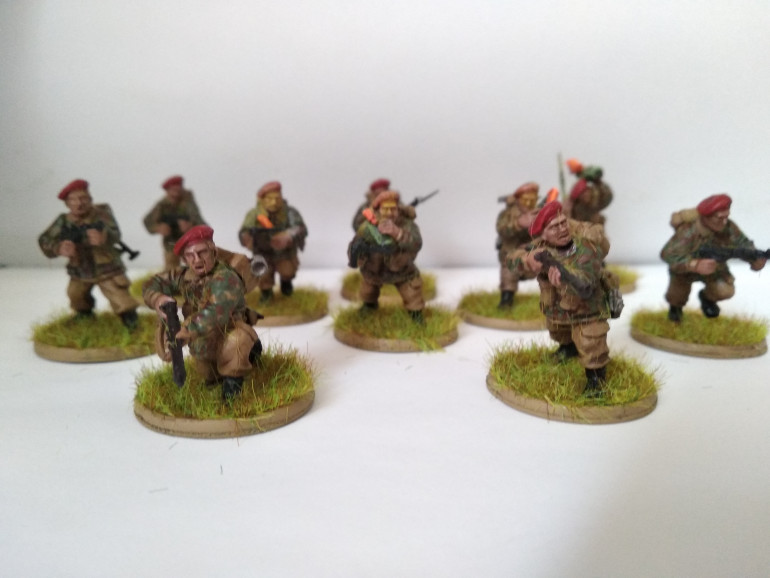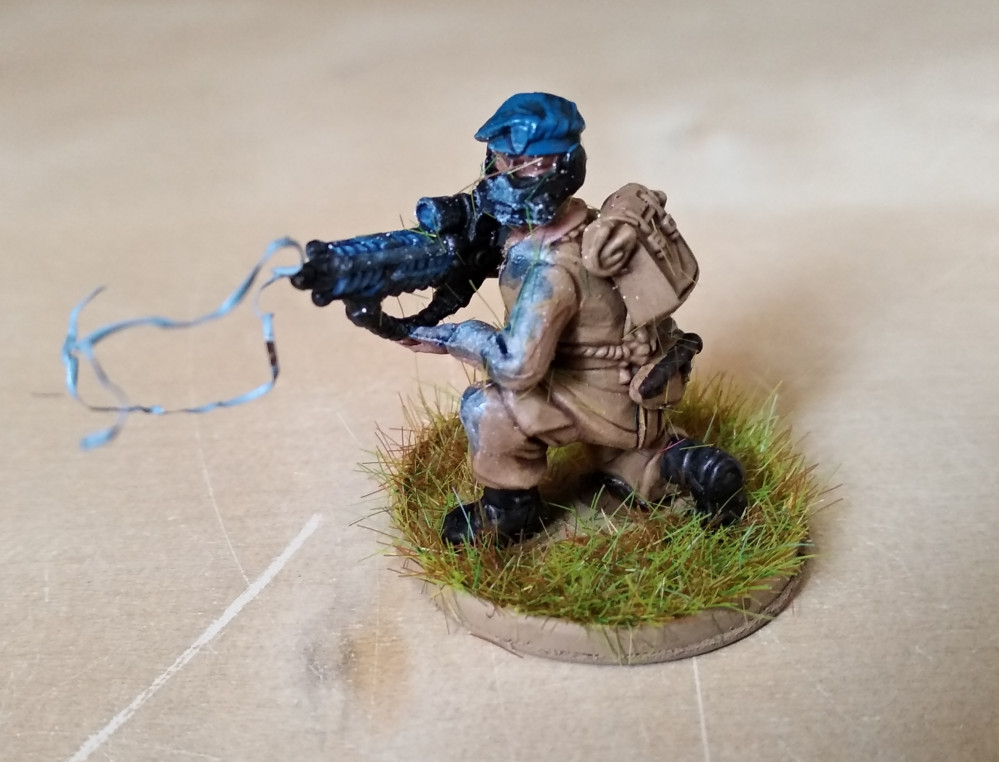
K47 Grenadier Sections with lightning effect
Recommendations: 94
About the Project
I'm taking a box of Warlord Games' British Airborne and building two Grenadier Sections for K47 and one section of British Airborne for use in K47 and Bolt Action 2. Once built and painted I plan to add some simple object source lighting to the tesla weapons and then add a lightning effect.
Related Game: Konflikt '47
Related Company: Warlord Games
Related Genre: Weird
This Project is Completed
Starting plan
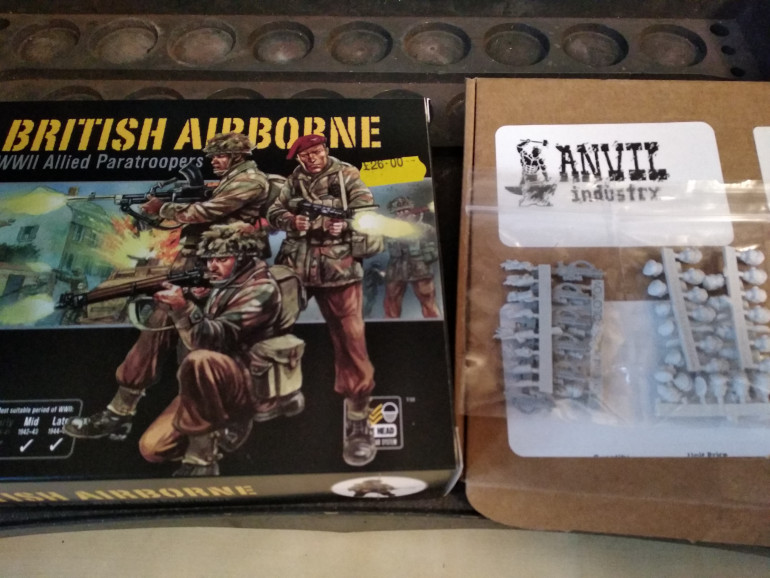
The British Airborne box from Warlord Games comes with enough parts to make 30 infantry. By combining these parts with some Tesla Disintegrators and Molotov Cocktails from Anvil Industries I plan to build three 10 man sections. I also bought Beret/ Gasmask Veteran Heads to make the Grenadier Section troops look more Weird World War.
One unit will have 5 SMG’s and 5 riflemen, with some carrying Molotov’s, to represent a British Airborne section with anti-tank grenades that will be legal in both K47 and Bolt Action 2.
The second unit will be a Grenadier Section and have two tesla rifles, three rifle grenades and five riflemen. This is a unit designed to sit back and provide a medium range firebase.
The third unit will have two tesla rifles and eight assault rifles, with some models carrying Molatov’s, to represent a Grenadier Section more geared towards rapid advancement and assault. With anti-tank grenades and all those assault weapons they should pose a threat to any unit.
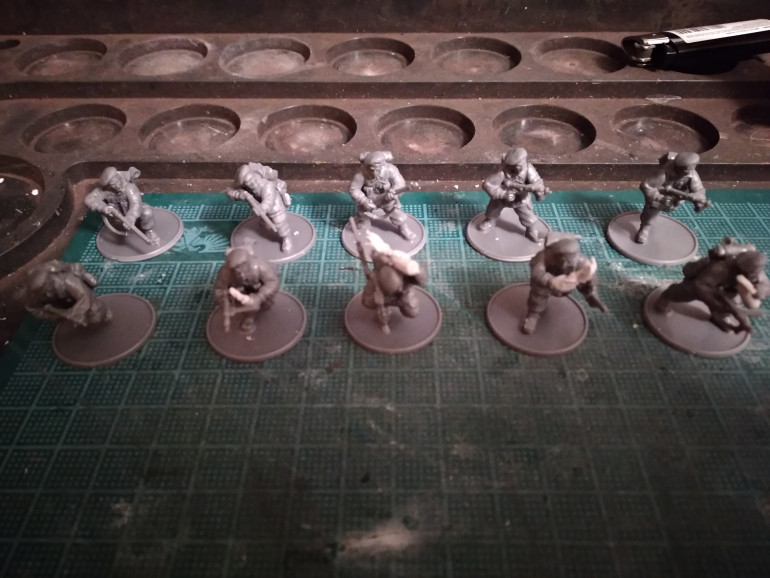
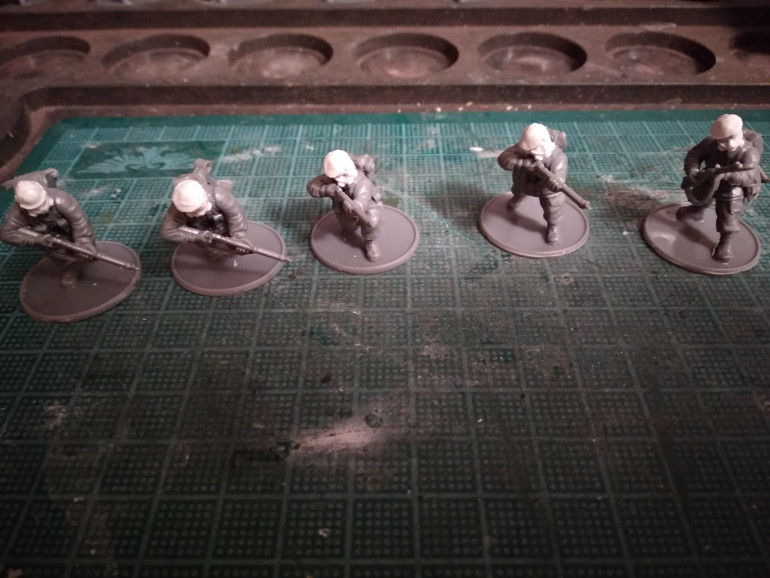
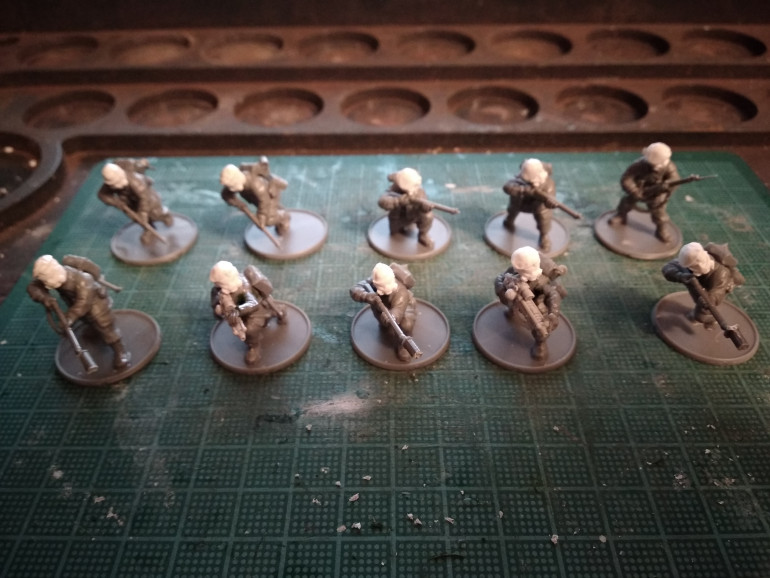
Airborne section and five Grenadier rifleman built
After a couple of evenings work the Airborne unit and five Grenadier rifleman have been built.
I built the Airborne unit first so that I could get used to the sprues and what components were on them. The smaller Molotov’s fitted in to an open left hand piece easily enough but I had to bend the hands open a bit to fit in the bigger bottles.
For the Grenadiers I found that the gas masked heads are a little big. I’m guessing the Anvil Industries parts are heroic scale while the Warlord Games models are true scale. I clipped off the bottom of the necks so that the heads didn’t stand too proud of the shoulders. I don’t think the heads will look too big once they’re painted up. The fact the heads are wearing gas masks should be able justify the heads appearing a little bit bigger than other heads in the army.
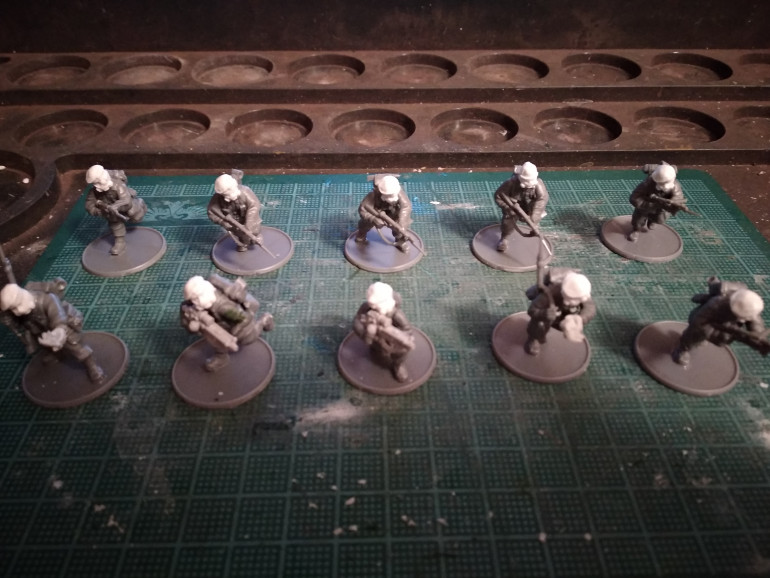
All models built now
All the models are done now.
I made the grenade rifles by clipping off the very end of the barrels and then gluing on some short lengths of plastic cylinders that I found in my bits box (I think it was a PIAT ammo piece).
The tesla rifles didn’t work very well with the arms in the airborne sprue, but the normal British infantry sprue has weapons and arms separate so I had loads of arms in my bits box. I mounted the rifles on right arms easily enough but then had to reposition left arms and fill the gaps with liquid greenstuff to make them work. The tesla rifles also got in the way of some of the heads so more liquid greenstuff was needed to fill holes in the necks.
There are no assault rifles in either the British infantry of British Airborne sprues so I have just used SMG’s. Normally I paint my rifles brown and my SMG’s black, so I’ll paint my “SMG” assault rifles brown to distinguish them from true SMG’s and I should be ok. A also changed the composition of this Grenadier unit slightly as there is no point giving the Tesla rifle loaders assault rifles as they should never fire them. This meant I could give them rifles and Molotov’s to make sure I had at least a couple of models with anti-tank grenades showing.
I’ve also attached pre-cut magnetic sheet discs to the bases so the next step is to research/decide on the colour scheme for British Airborne and Grenadier sections from 1947 so I can undercoat the models appropriately.
Colour scheme research/decisions
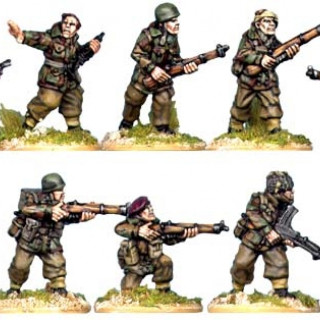
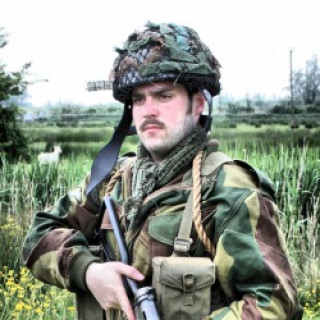
Looking at pictures of Airborne models and reenactors on the internet it looks like the key factors for painting are the red berets and the camouflaged coats. The trousers, boots and weapons I can paint as I have for the rest of my British infantry – that is in a variety of browns and black.
The K47 Resurgence book says that Grenadier Sections were formed from the 7th Bn Grenadier Guards. In terms of uniform it appears that the Grenadier Guards were equipped in the same way as “normal” British infantry. So brown is the way to go.
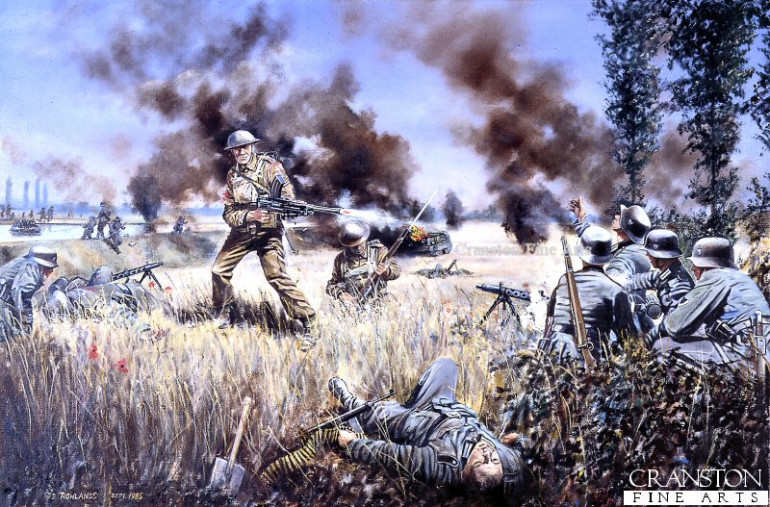
I found this artwork which is supposedly of Lance Corporal Harry Nicholls of the 3rd battalion grenadier guards.
The standard beret colours for Grenadier sections are Khaki these days, but during WW2 berets were usually black, except for Commandos, Airborne, and a few other branches of the military. I want my Grenadiers to stand out as being assigned to work with Rift Tech though so I’m thinking I’ll give them a unique beret colour for the time period – probably a blue to match the tesla weapons.
Base colours down
I’ve now finished the base colours which is probably the most time consuming part of the project.
The colours used are all from the Games Workshop range:
Zandri dust spray base coat.
Tallarn flesh on the hands and faces.
Rhinox hide on rifles, entrenching tools, and other bits of wood.
Abaddon black on SMG’s, automatic rifles, tesla rifles, boots and gas masks.
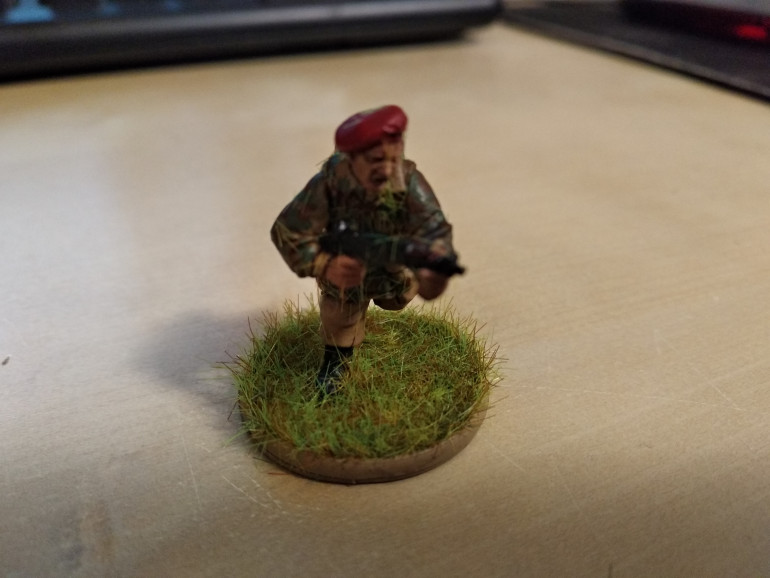
The airborne camouflaged jackets were stippled with death world forest, knarloc green and then mournfang brown.
Bayonets, water cans and mugs were painted leadbelcher.
The bottles of the anti-tank grenades were painted castellan green.
Finally berets were either painted mephiston red or mordian blue.
Next stages are an all over wash of agrax earthshade. Then I will highlight the bottles to make them look transparent, paint the flames, paint visors blue and paint a blue glow effect on the tesla rifles.
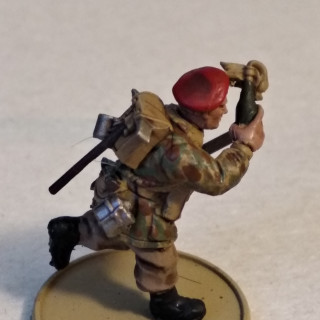
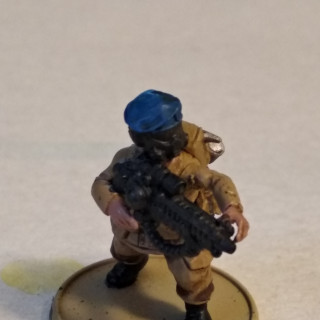
Wash done
With the agrax earthshade wash applied most of the models are finished. For my Bolt Action and K47 army I made the decision to just stick to base colours and a brown wash across the entire force to keep the painting simple and also to give them a more gritty and drab feel. On the vehicles I also apply weathering but there aren’t any vehicles in this project.
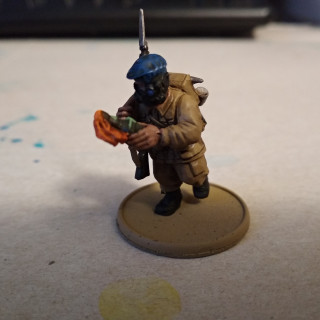
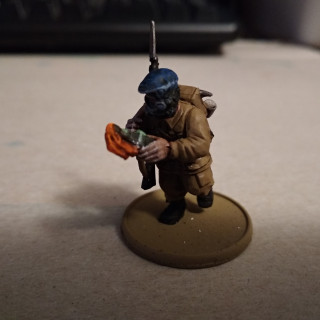
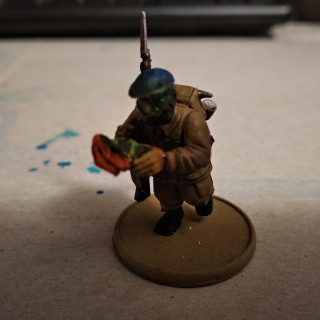
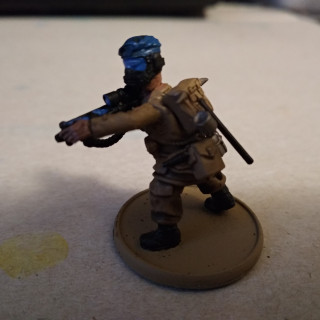
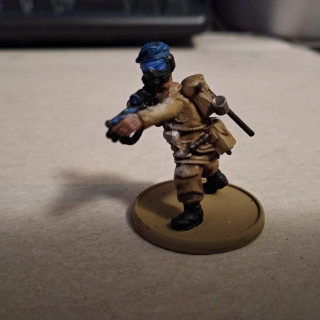
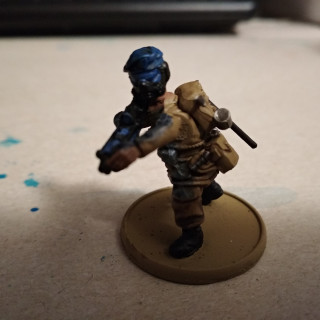
Below you can see the same models I showed before but with the wash applied. There is also a side shot to give a better view of the airborne camouflaged jacket, which I’m particularly happy with.
The colour of lightning
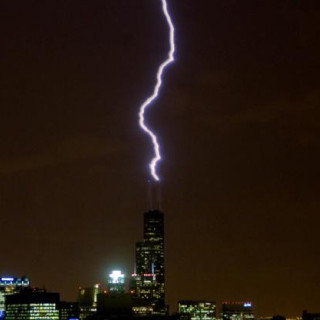
Before I began I did some research into lightning so that I could establish what my lightning should look like. Fulminology (the study of lightning) tells us that the colour that we see when lightning occurs in nature is based on two things, the environment in which the lightning is generated and the weather between the lightning and the viewer. Since the lightning on our models is being viewed up close I’m going to ignore the intervening weather aspect of the colour.
Lightning is a massive discharge of electricity. This sudden discharge raises the temperature along the path of the lightning to a massive 30,000 degrees Kelvin (the surface of the sun is only 5,000 Kelvin). This causes all the atoms along the lightning’s path to get excited and gain energy, when they relax and loose this energy they give off light which is characteristic of the atom (a process called incandescence).
The atmosphere is mostly formed from nitrogen, which emits a blue-white light; therefore “pure” lightning bolts are blue-white. But if other atoms or particles are present in abundance then they can change the colour of the lightning.
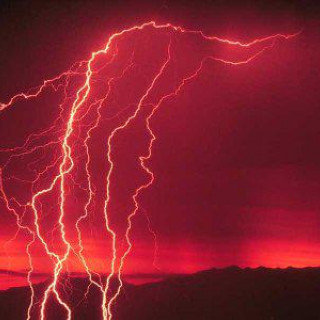
Water contains lots of hydrogen which gives off red light, so if the lightning occurs where there is lots of water vapour in the air the lightning can be red, pink, or purple depending on how strongly the red mixes with the blue-white.
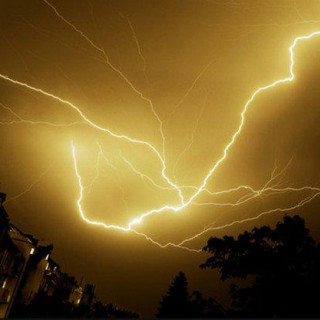
Similarly dust in the air produces a yellow light, so the lightning can end up being anywhere from yellow to orange or pale green. So even naturally occurring lightning can have a wide range of colours. When we enter a sci-fi or fantasy setting any colour is reasonable.
As my force is based on the British 8th Army fighting in Italy the climate is temperate and I have chosen to go with a blue lightning effect.
Quick object source lighting
A few years ago when I was first looking into painting object source lighting on to my minis I read an interesting article. It basically said that if doing OSL on a light coloured mini you can get away with using glazes over the painted model to produce the OSL effect, but if the model is painted darkly you need to mix the light colour in with the base colour and layer on the OSL effect. The latter method sounds too difficult and time consuming for my tastes, but I had the idea by getting the best of both worlds by drybrushing white over darker miniatures first, then using a glaze as if the mini had a light colour scheme.
This is how I do my OSL:
- Paint the mini as normal, including weathering and decals if they are being used.
- Use a small drybrush to drybrush Praxeti White on to the miniature. Start with the brush close to the light source and move away in the path the light would follow. This ensures you highlights catch the same places that the light should catch.
- Apply a glaze or two of your chosen light source colour. In this case I used Lamenters Yellow for the flames OSL and Asurmen Blue for the blue lightning OSL. I should have used Guilliman Blue but picked up the wrong pot so my blue is a bit dark, but that makes the effect easier to see in the pictures.
Static grass
All of my Bolt Action and K47 miniatures are based with static grass applied using a Flockbox from warpainter.net. I use a roughly 50/50 blend of 2mm green grass and 4mm marsh grass, again both from warpainter.net.
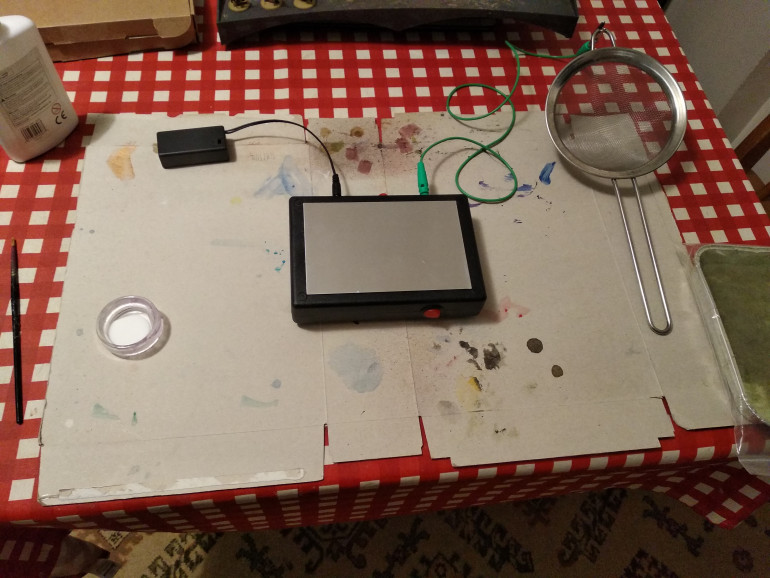
Here’s the setup I use:
I connect a metal sieve to the flockbox and use it to drop my grass from above. I started off keeping the flock in a metal tray on the flockbox and holding the model upside down above the flockbox, but I found this was harder to pull off. I would lower the model to try and get better coverage and it would end up touching the tray – at which point the grass just jumps to the model’s head.
An opened up cereal box under the setup is a good way of collecting all the grass that falls on your worktop. It is easy to use it to funnel everything back into your container when you are finished.
In the picture I am using a 12V battery, but after taking the photo I remembered that this doesn’t work as well as using a 12V mains plug. This provides a much stronger force on the grass but I have already blown one power supply up doing this.
Finally it’s worth pointing out that I do this wearing rubber gloves to avoid shocks!
I start by painting the model base with a thin layer of PVA. I don’t water the PVA down.
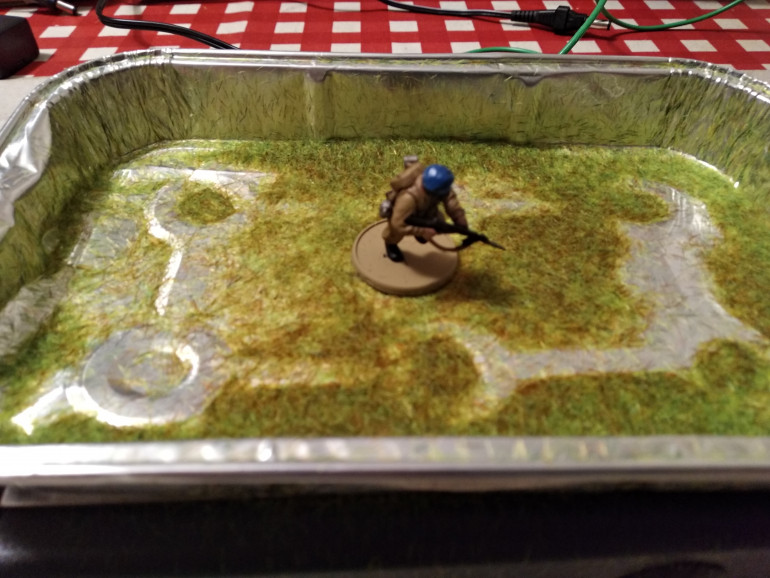
I then put the model in the middle of my metal tray, turn the flockbox on, and wave the sieve over the model for a few seconds.
Then the flockbox is turned off, the model turned upside down and patted a few times to shake off excess grass, and I move on the next model.
Lightning effect
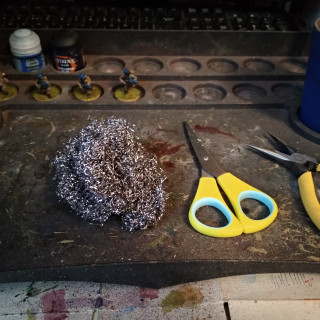
For the lightning effect I use an old scourer, scissors, pliers or tweezers, super glue, and Fenrisian Grey paint.
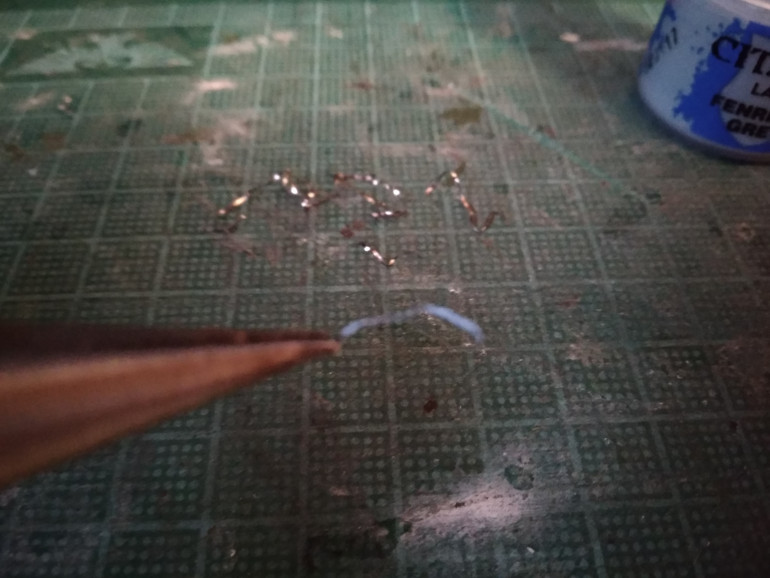
Using the pliers I pull out lengths of the scourer wire to a couple of centimeter in length and then cut them off. Old scourers work better than new ones as the wire shape tends to be more straight and “lightning like”. New scourers tend to be very curly.
I then hold the lengths of scourer wire in the pliers to paint them my chosen lightning colour – in this case Fenrisian Grey.
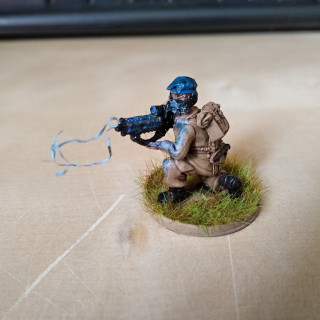
Once the paint is dry I use a very small dab of superglue to secure the “lightning bolts” in to place.
Here’s the end result.


