


A quick and easy gaming table for home


Recommendations: 149
About the Project
I play most of my games at my FLGS but occasionally this is not possible so my aim is to create a gaming table for use at home that can be easily stored.
Related Game: Wild West Exodus
Related Genre: Western
This Project is Completed
Acquiring the materials
So to start this project I needed some materials.
This game board will initially be used to play Wild West Exodus so I needed a 3×3 playing area.
The material I decided upon was 6mm MDF
For ease of Storage I wanted the board cut into segments.
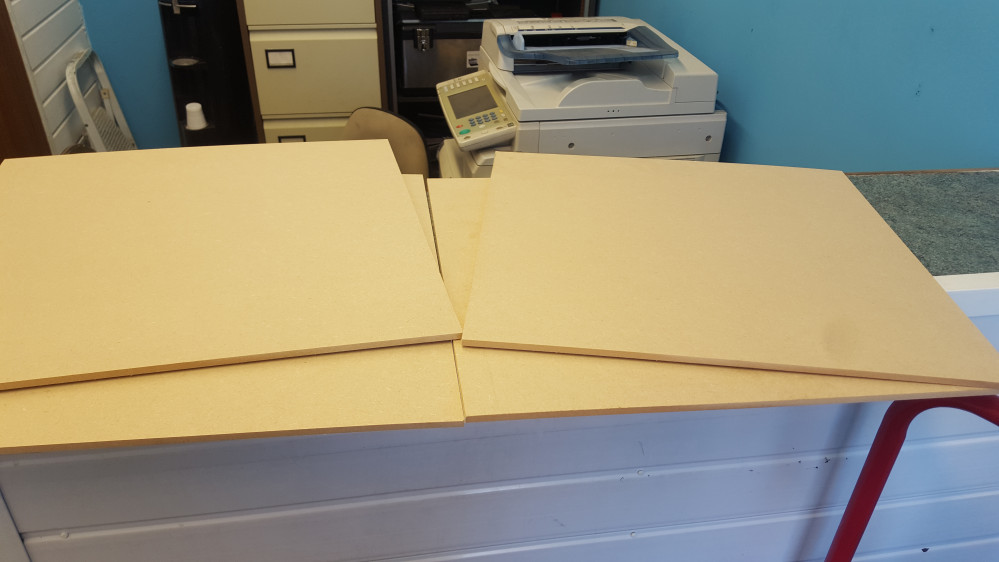
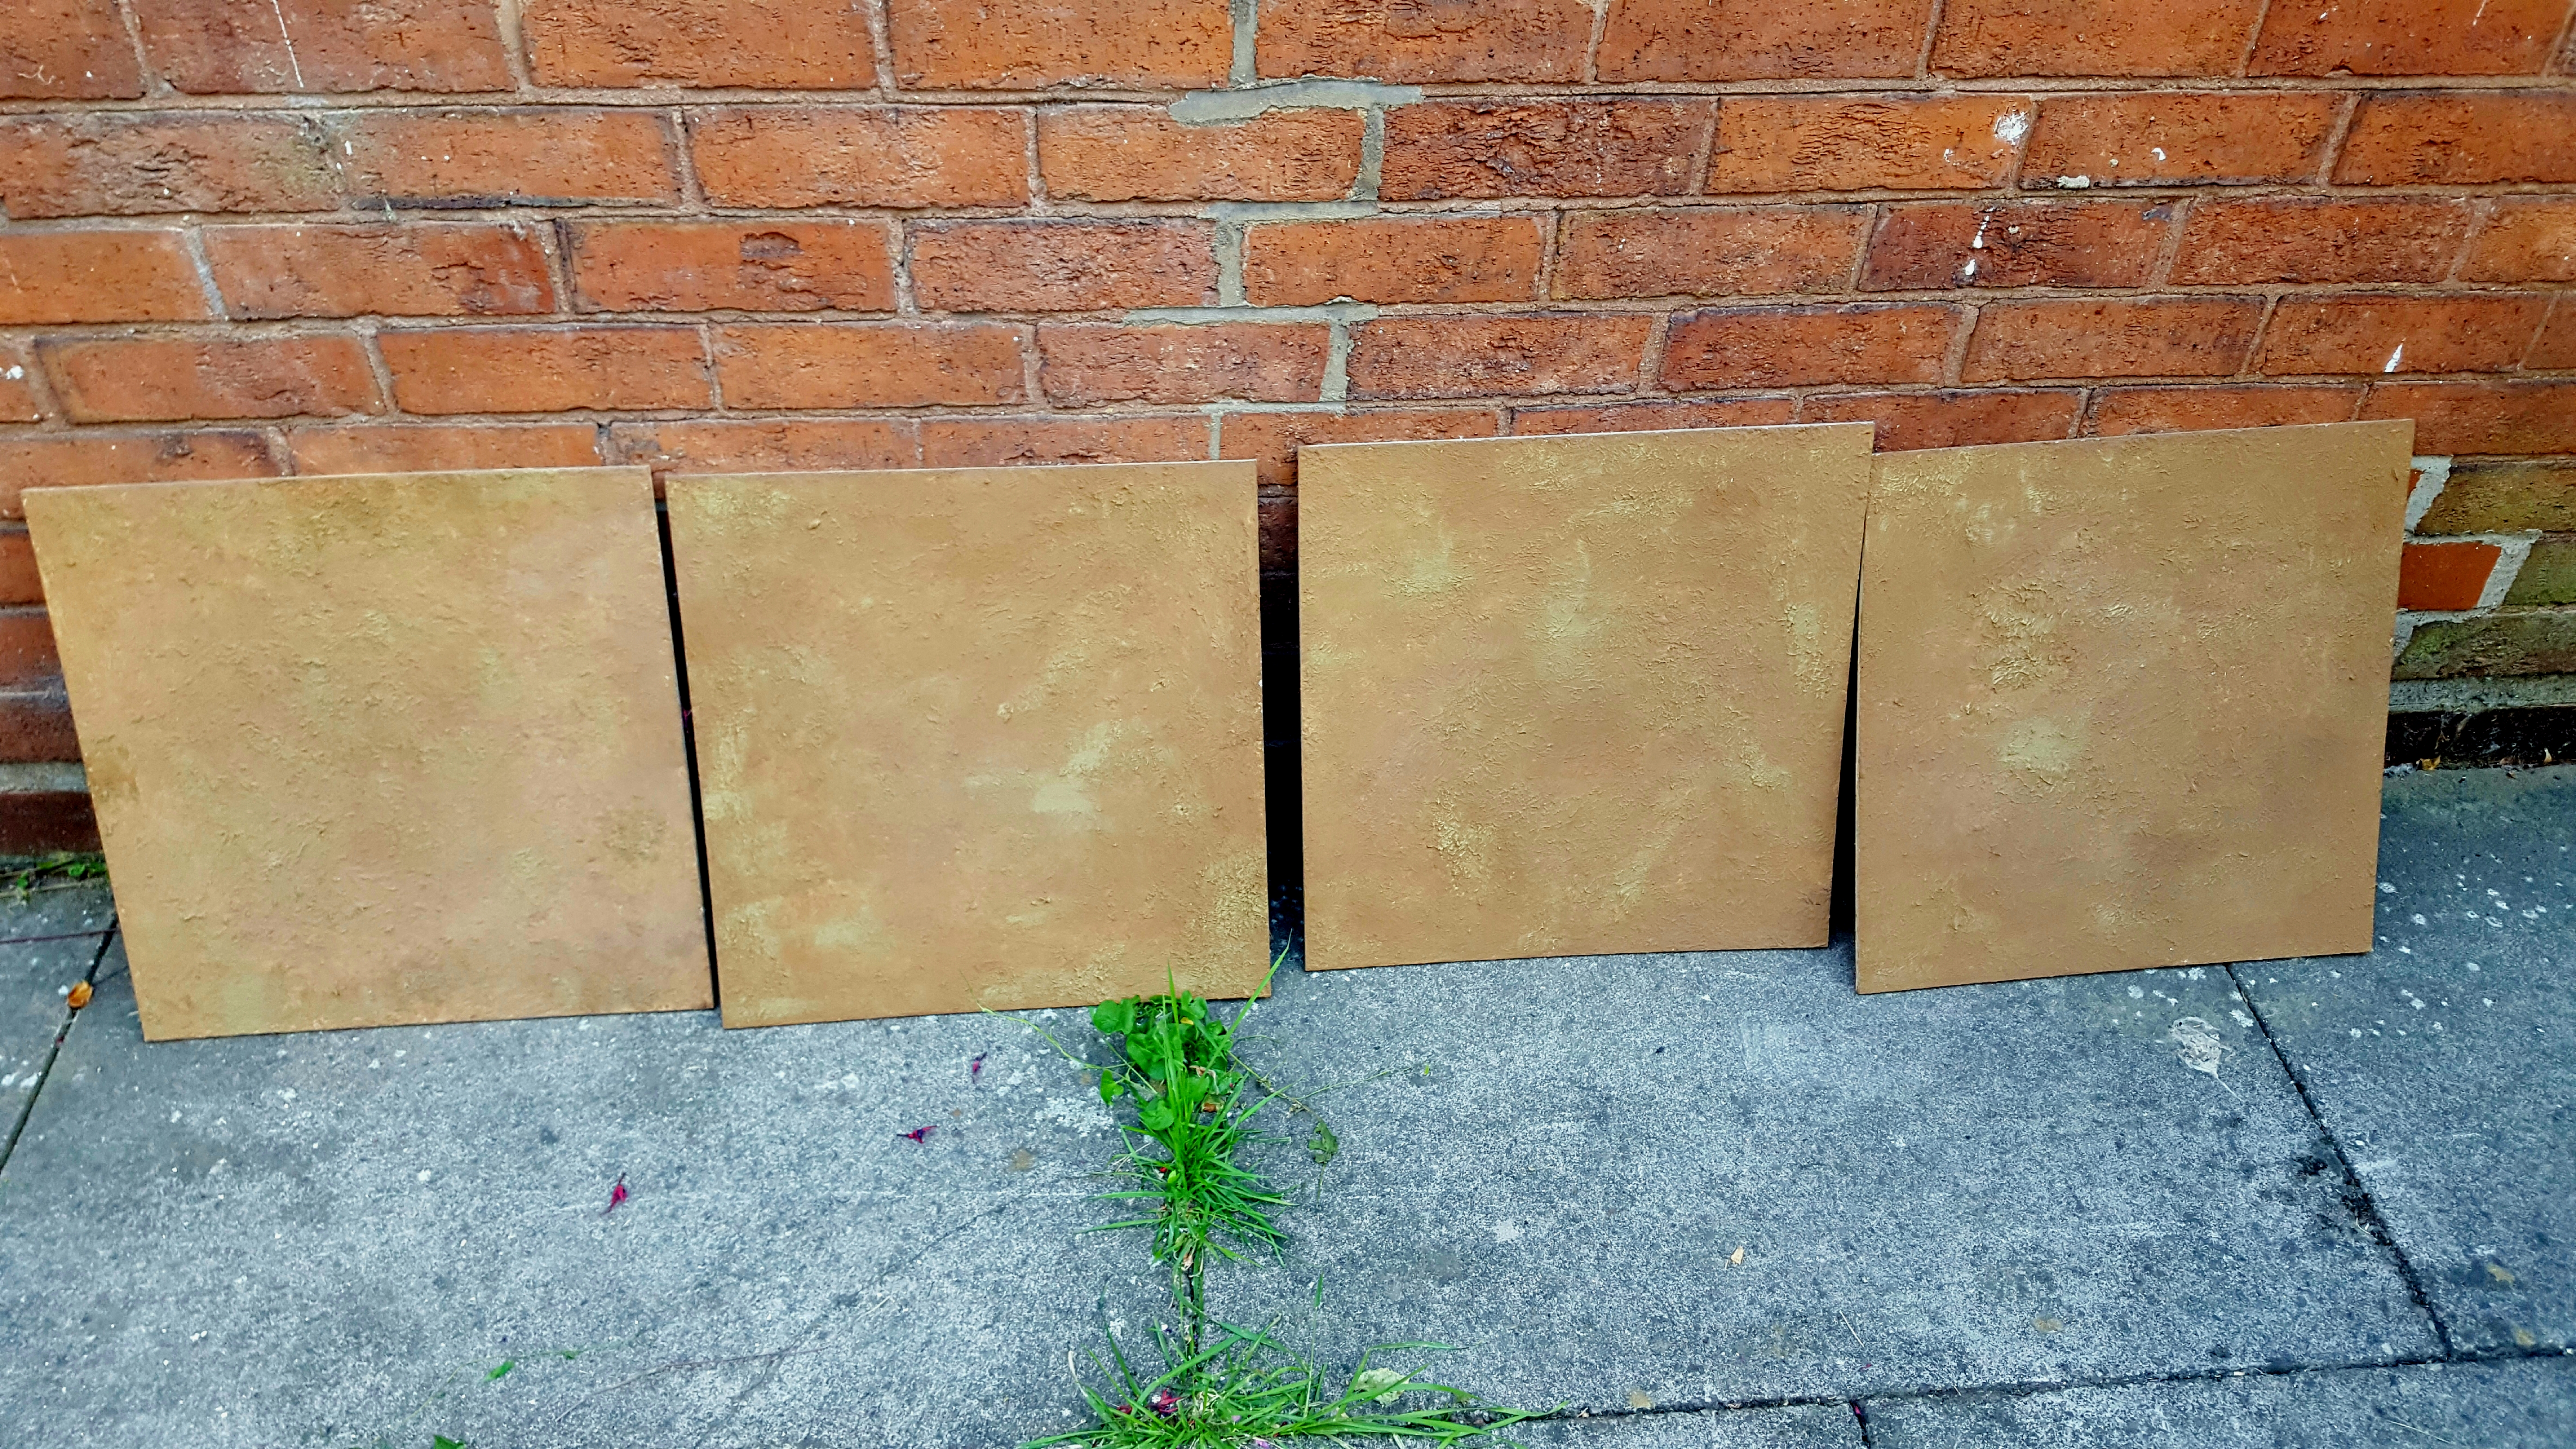
So off I went to my local hardware store where I purchased my MDF and got them to cut it into 45cm x 45cm squares for me.
Total cost including the cutting £4.80
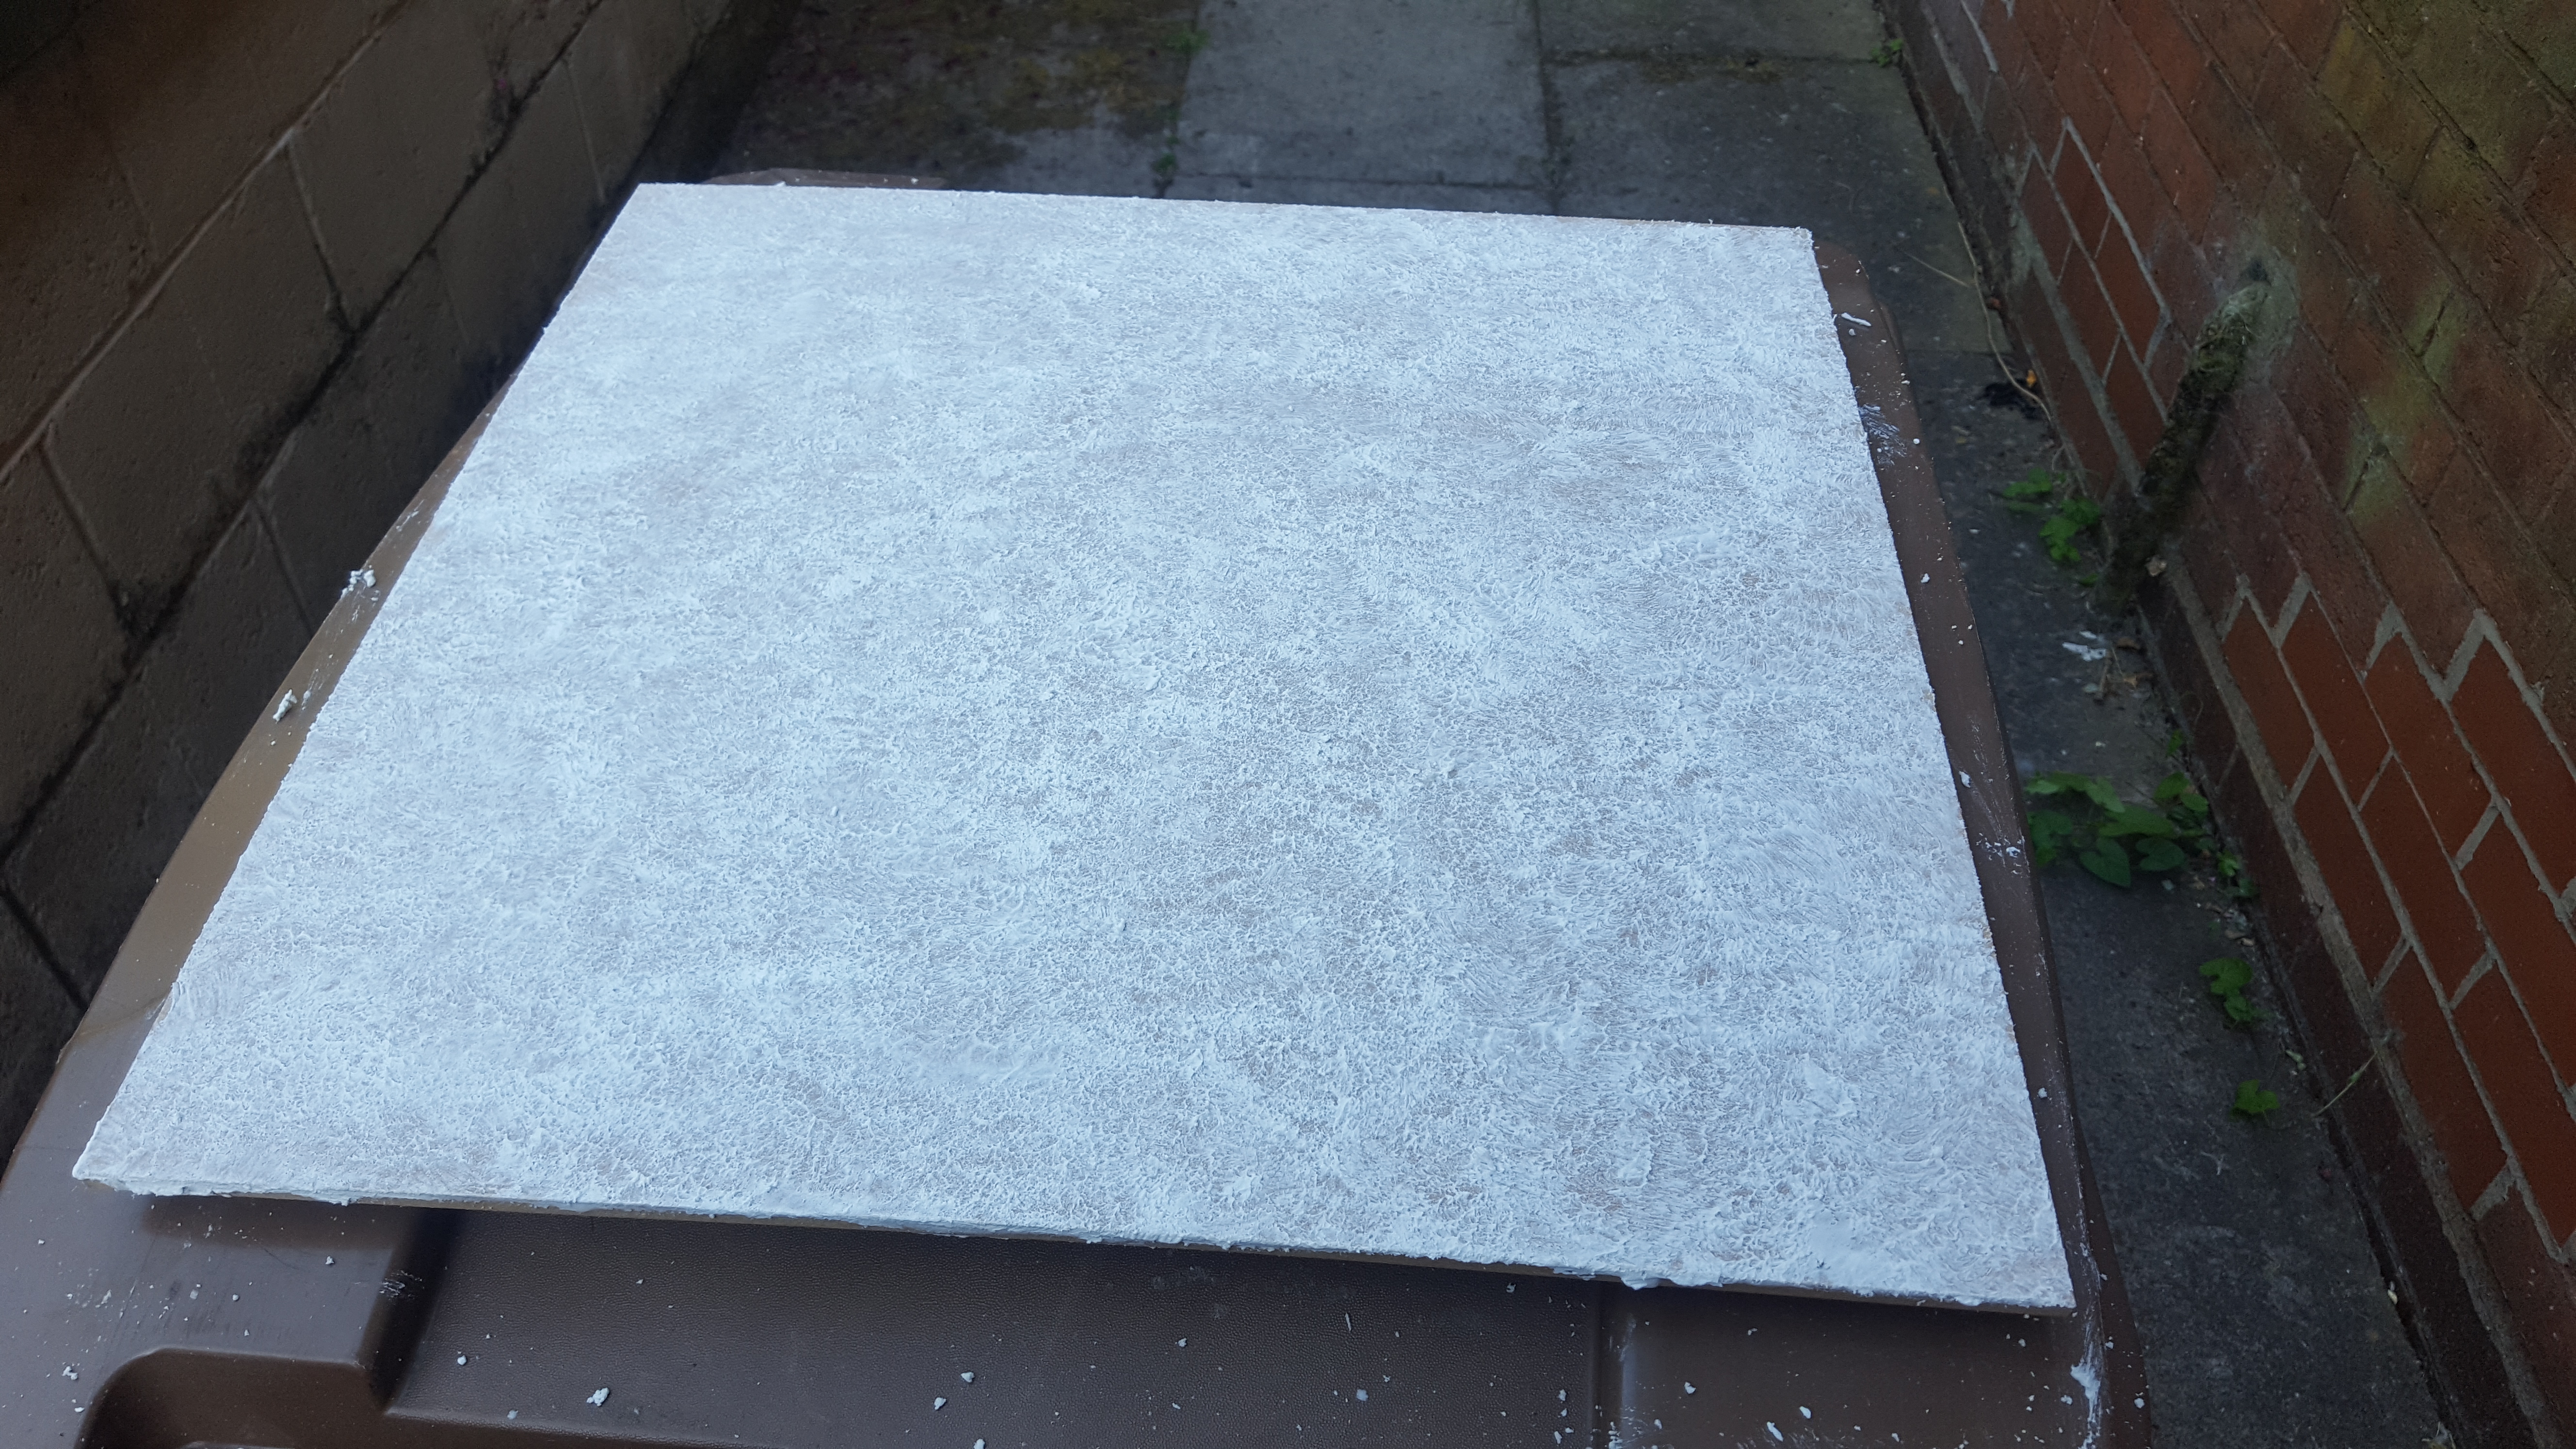
 My MDF Squares
Preparing the boards
I used a great tutorial by the Terrain Tutor on creating textured boards to help me with this project.
https://www.youtube.com/watch?v=PZ7Nizz1lNU
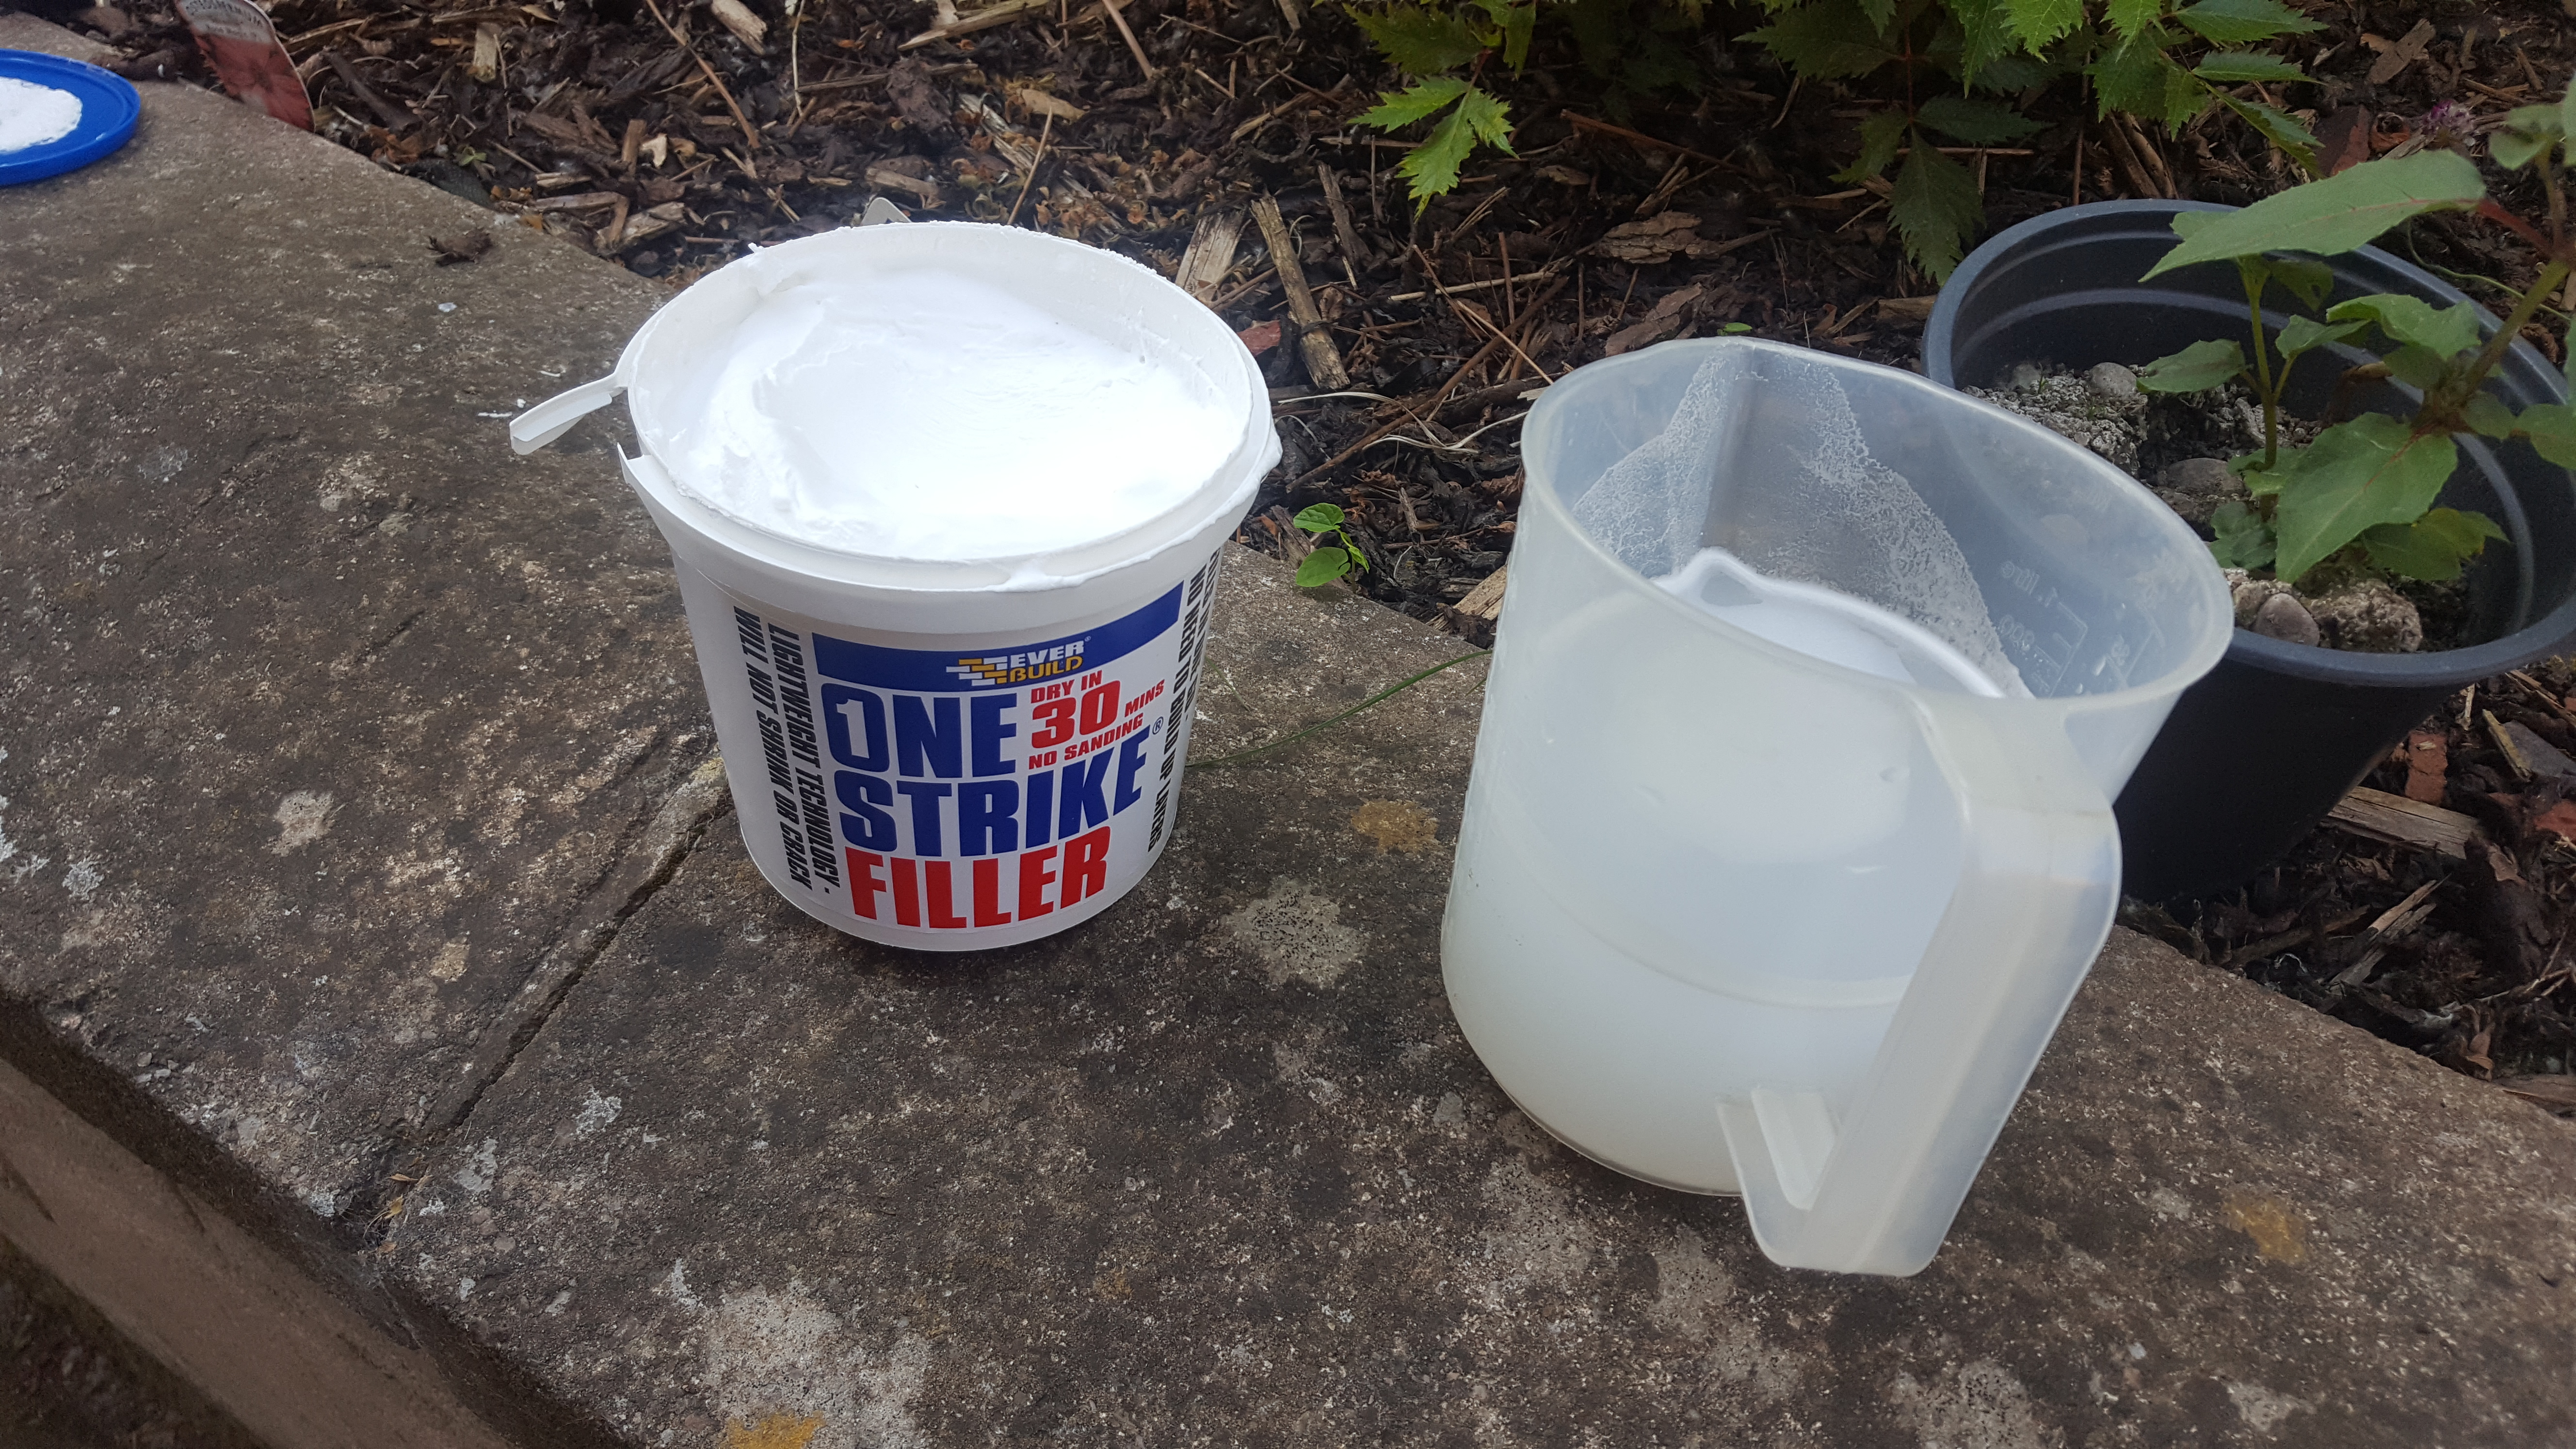
I purchased a tub of filler from a local DIY shop for £2.99
I watered down this filler and applied 2 thin coats (where have I heard that before) as a sort of undercoat on my MDF
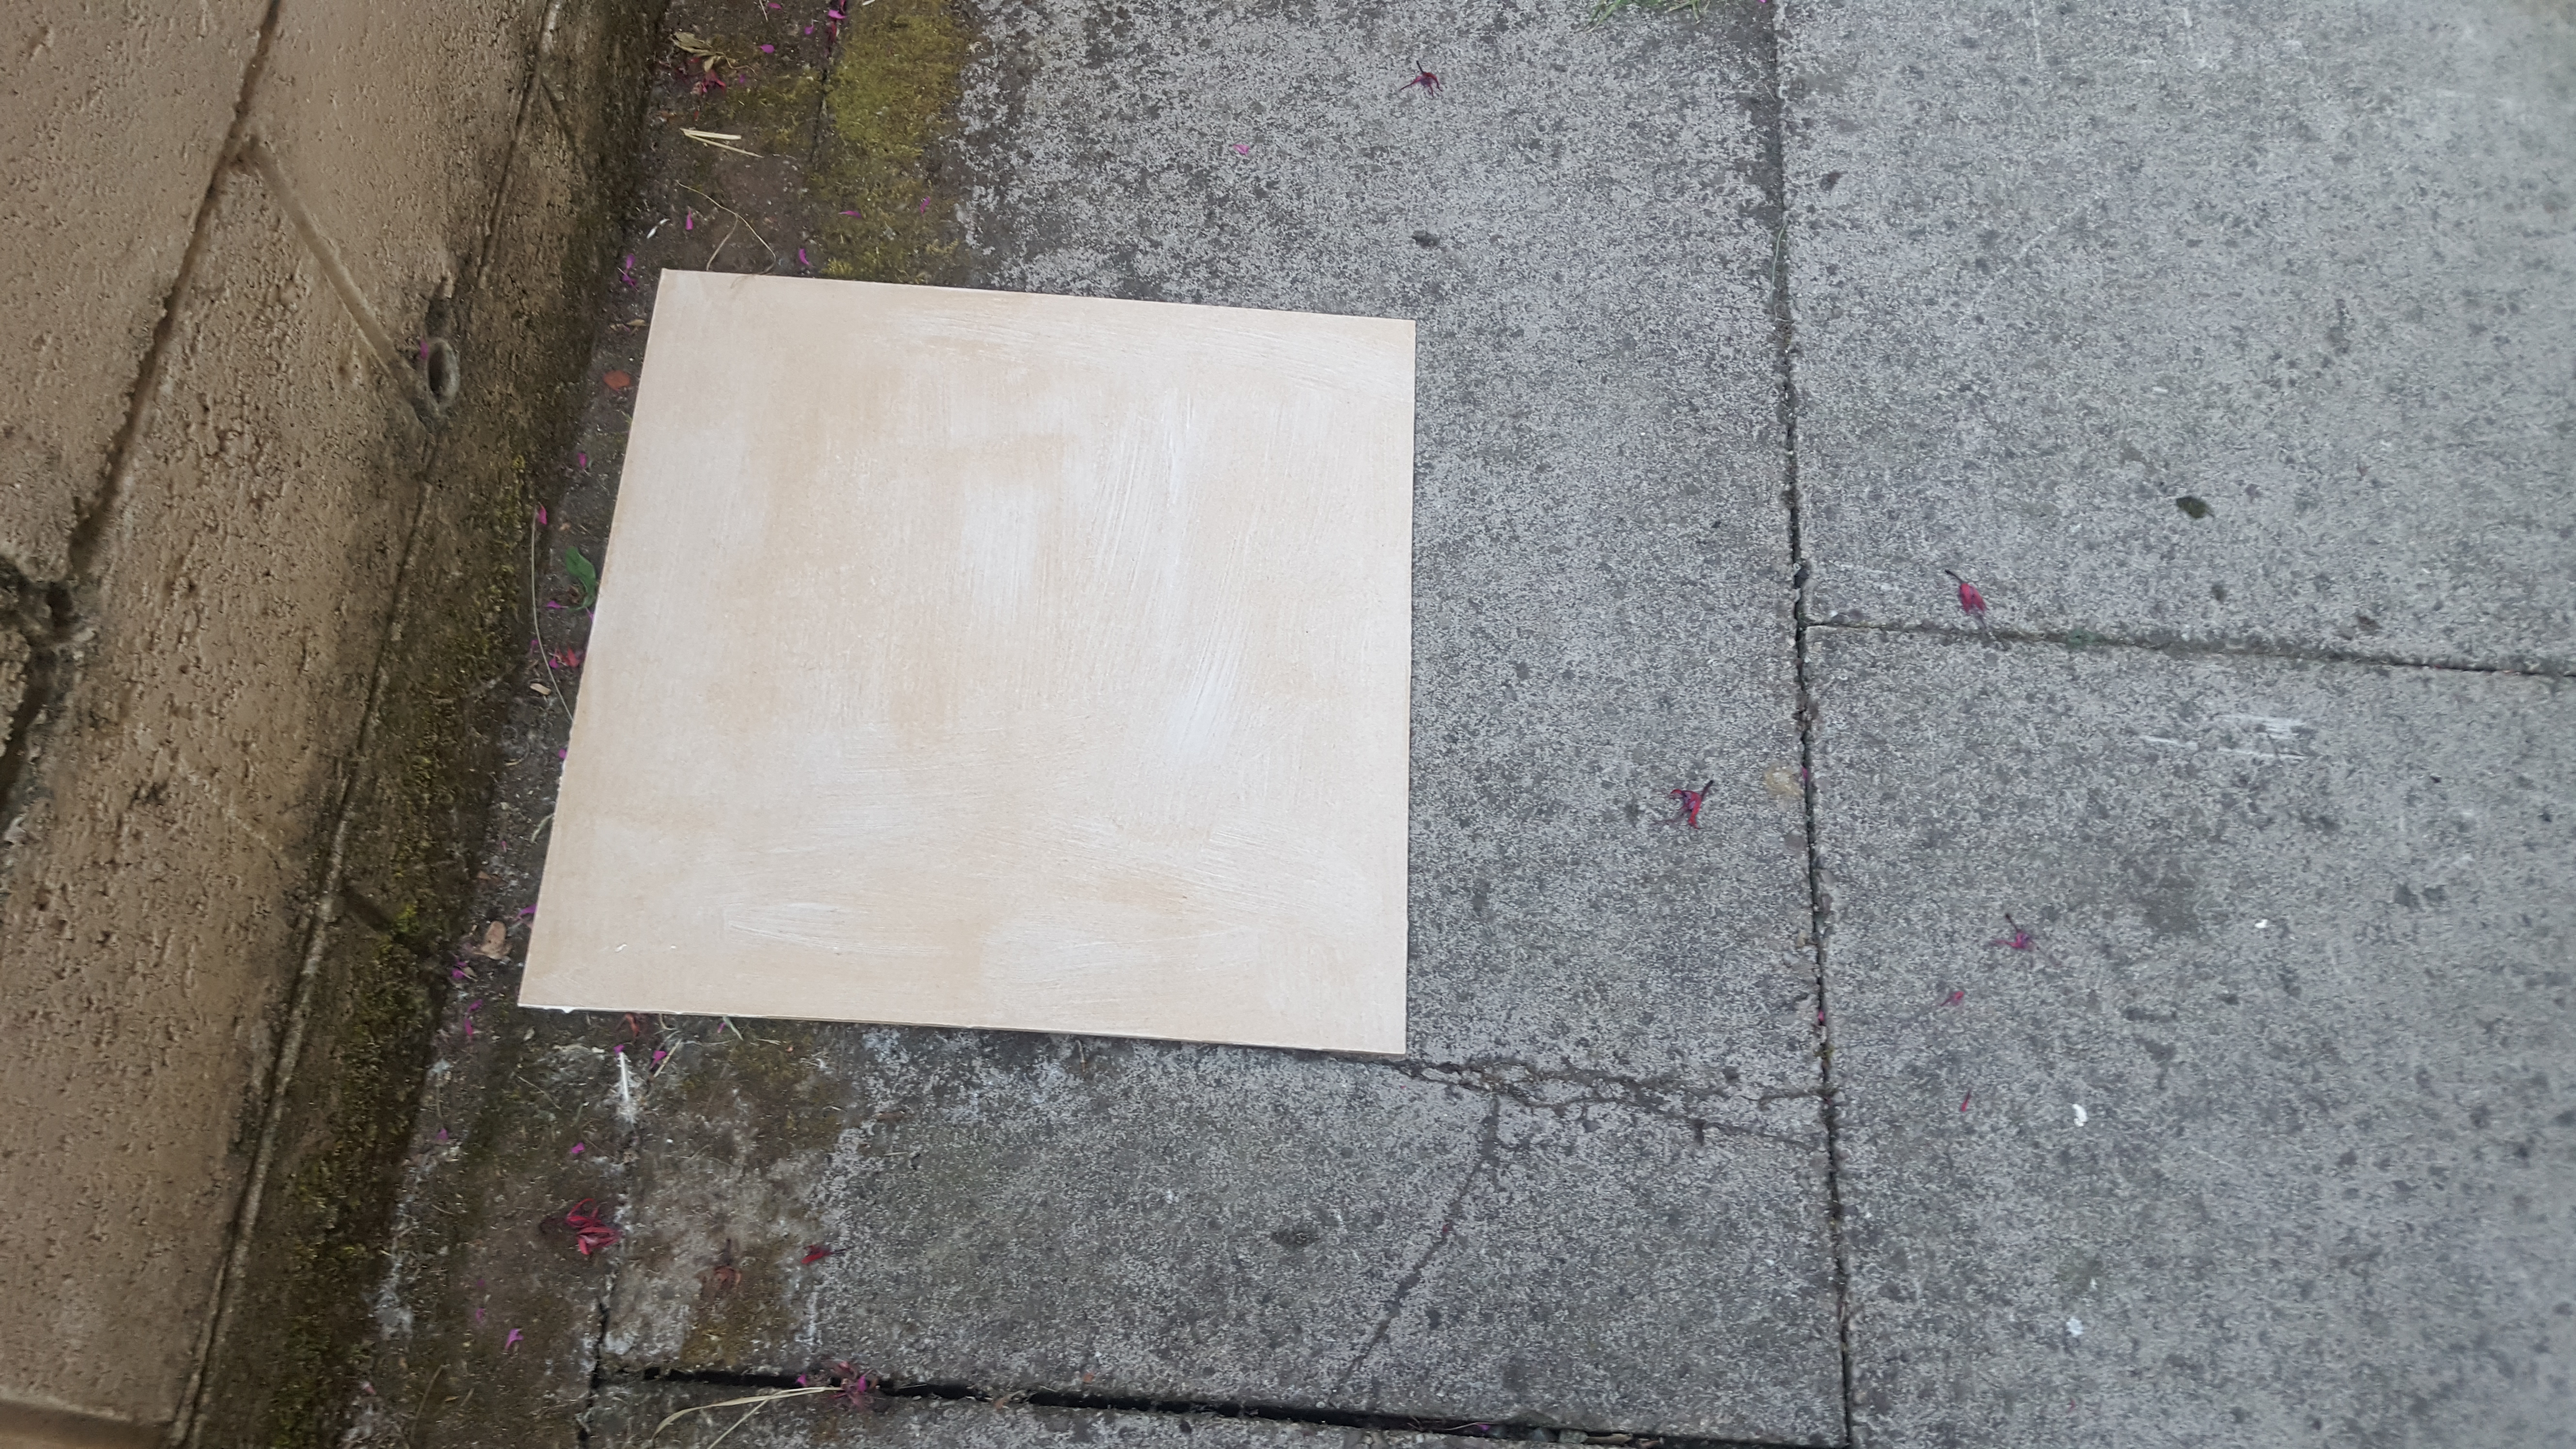
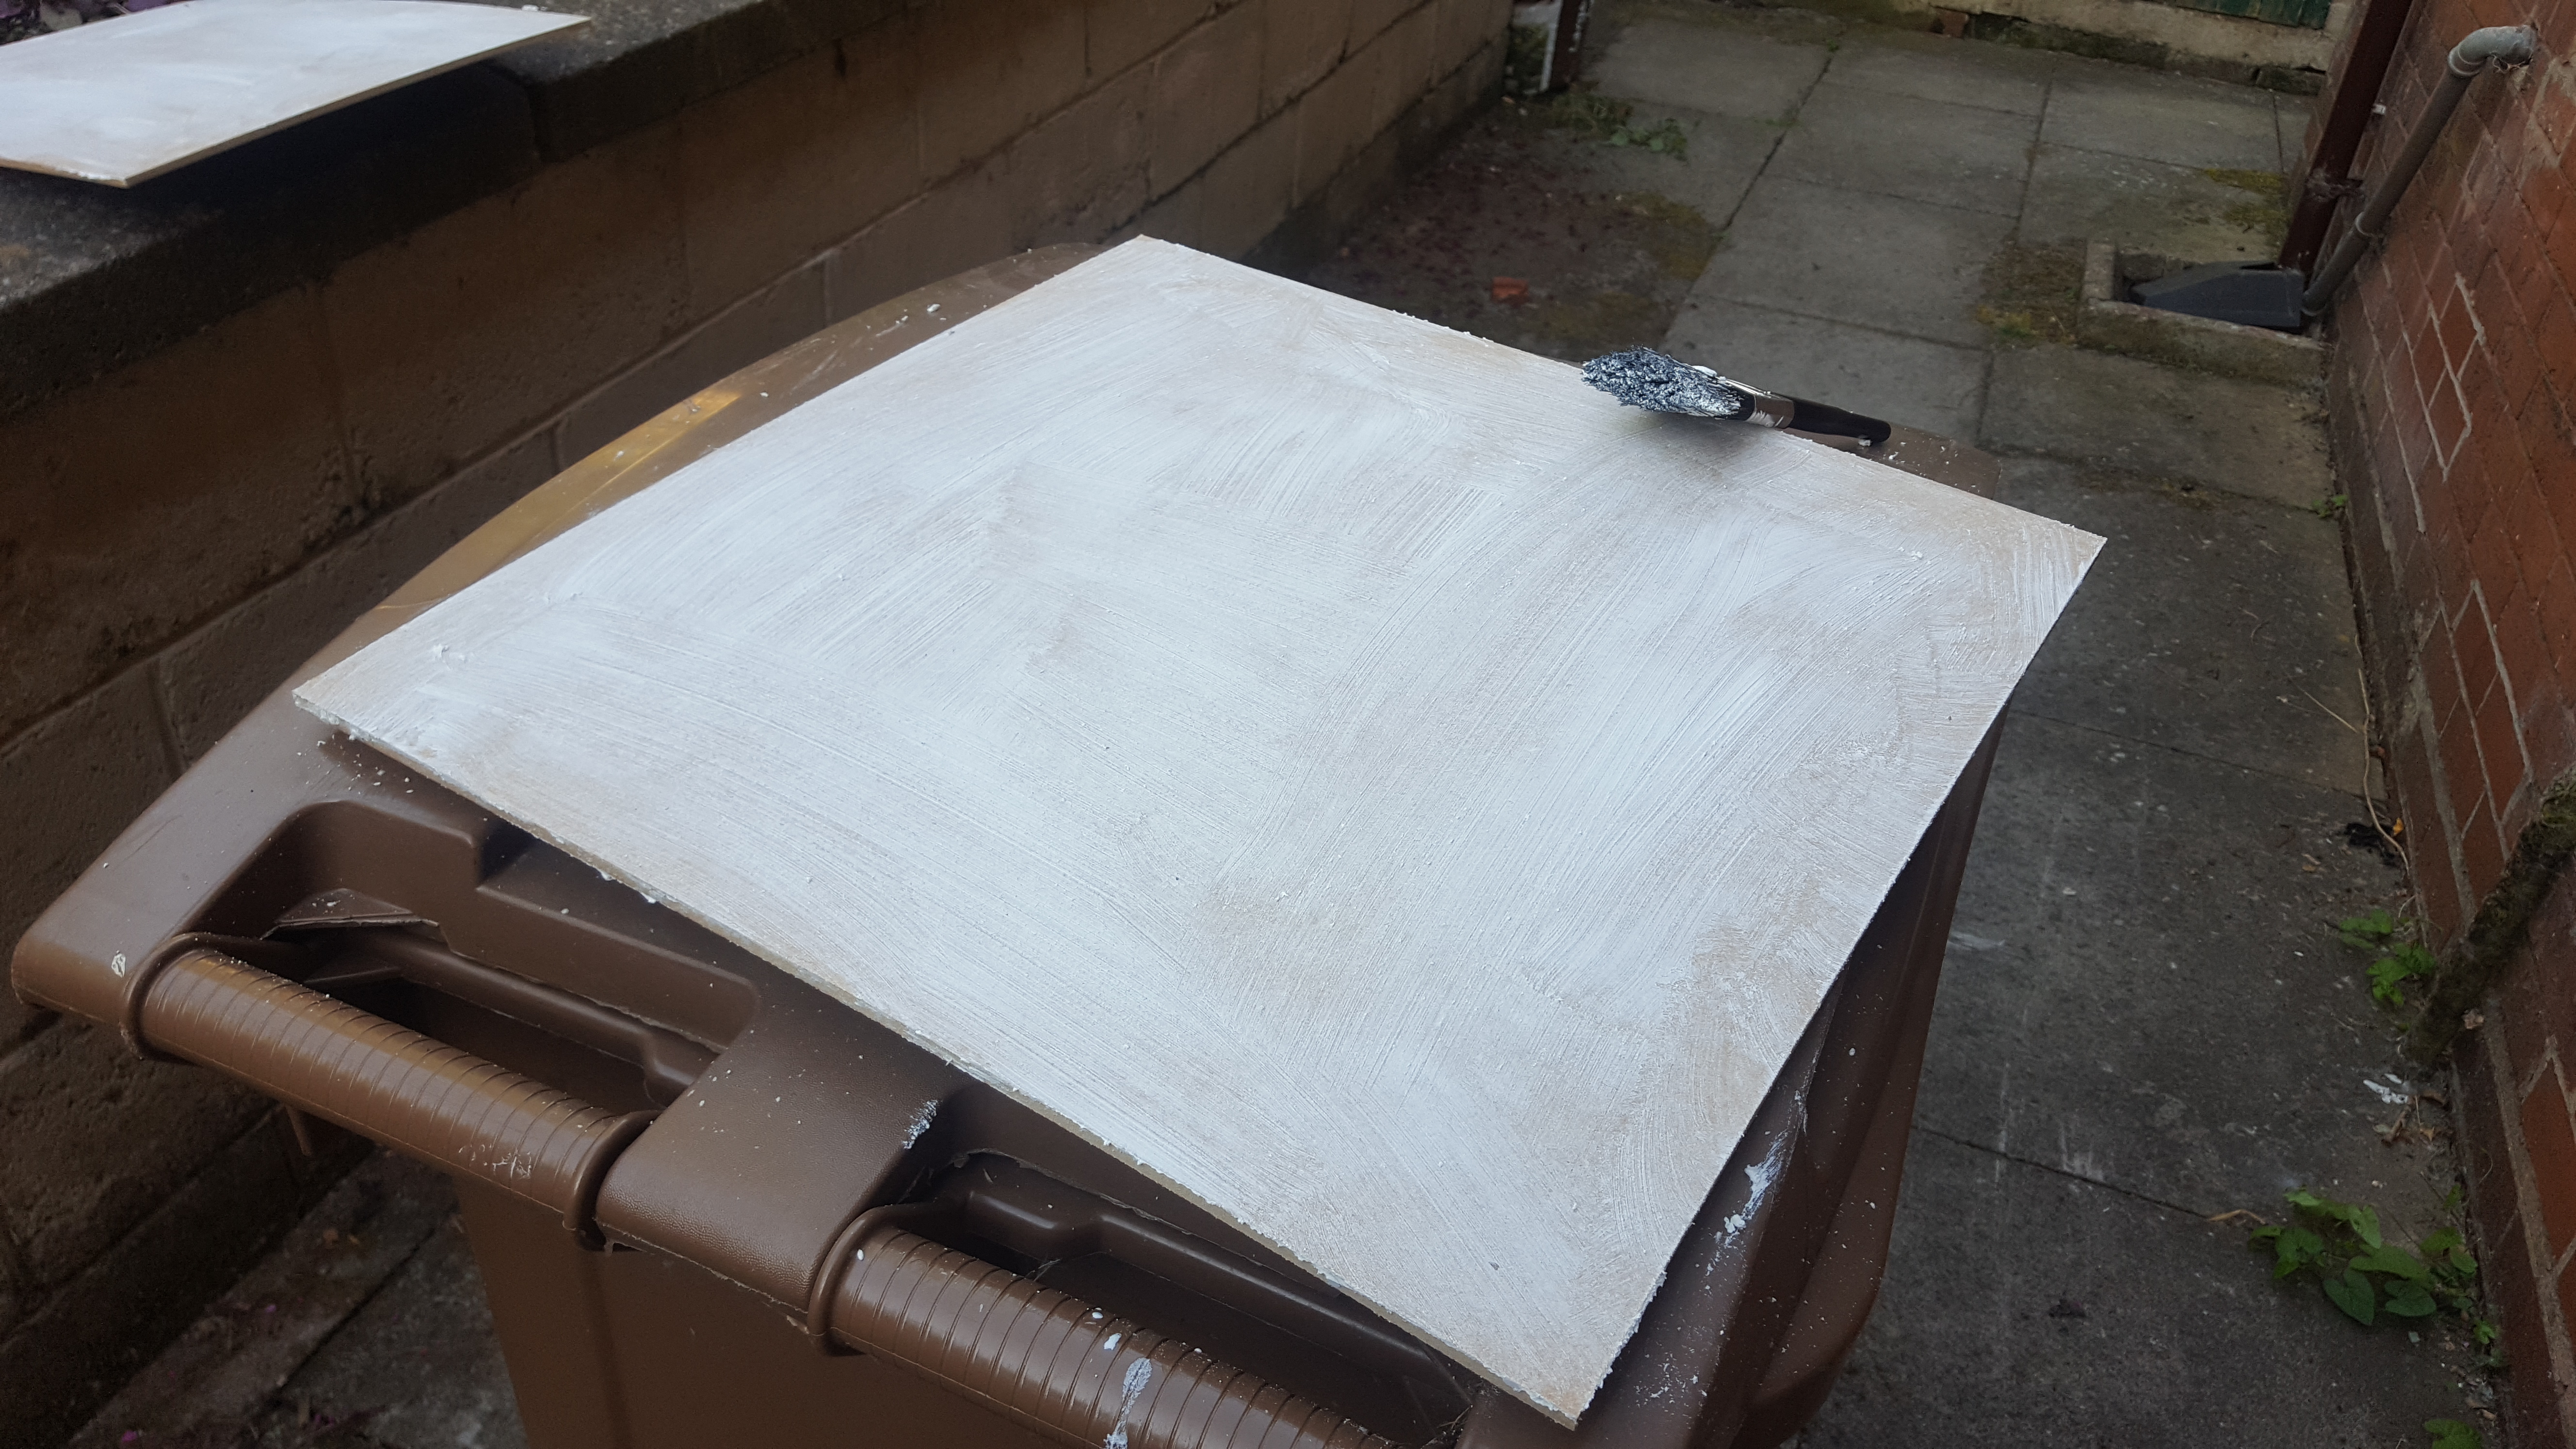
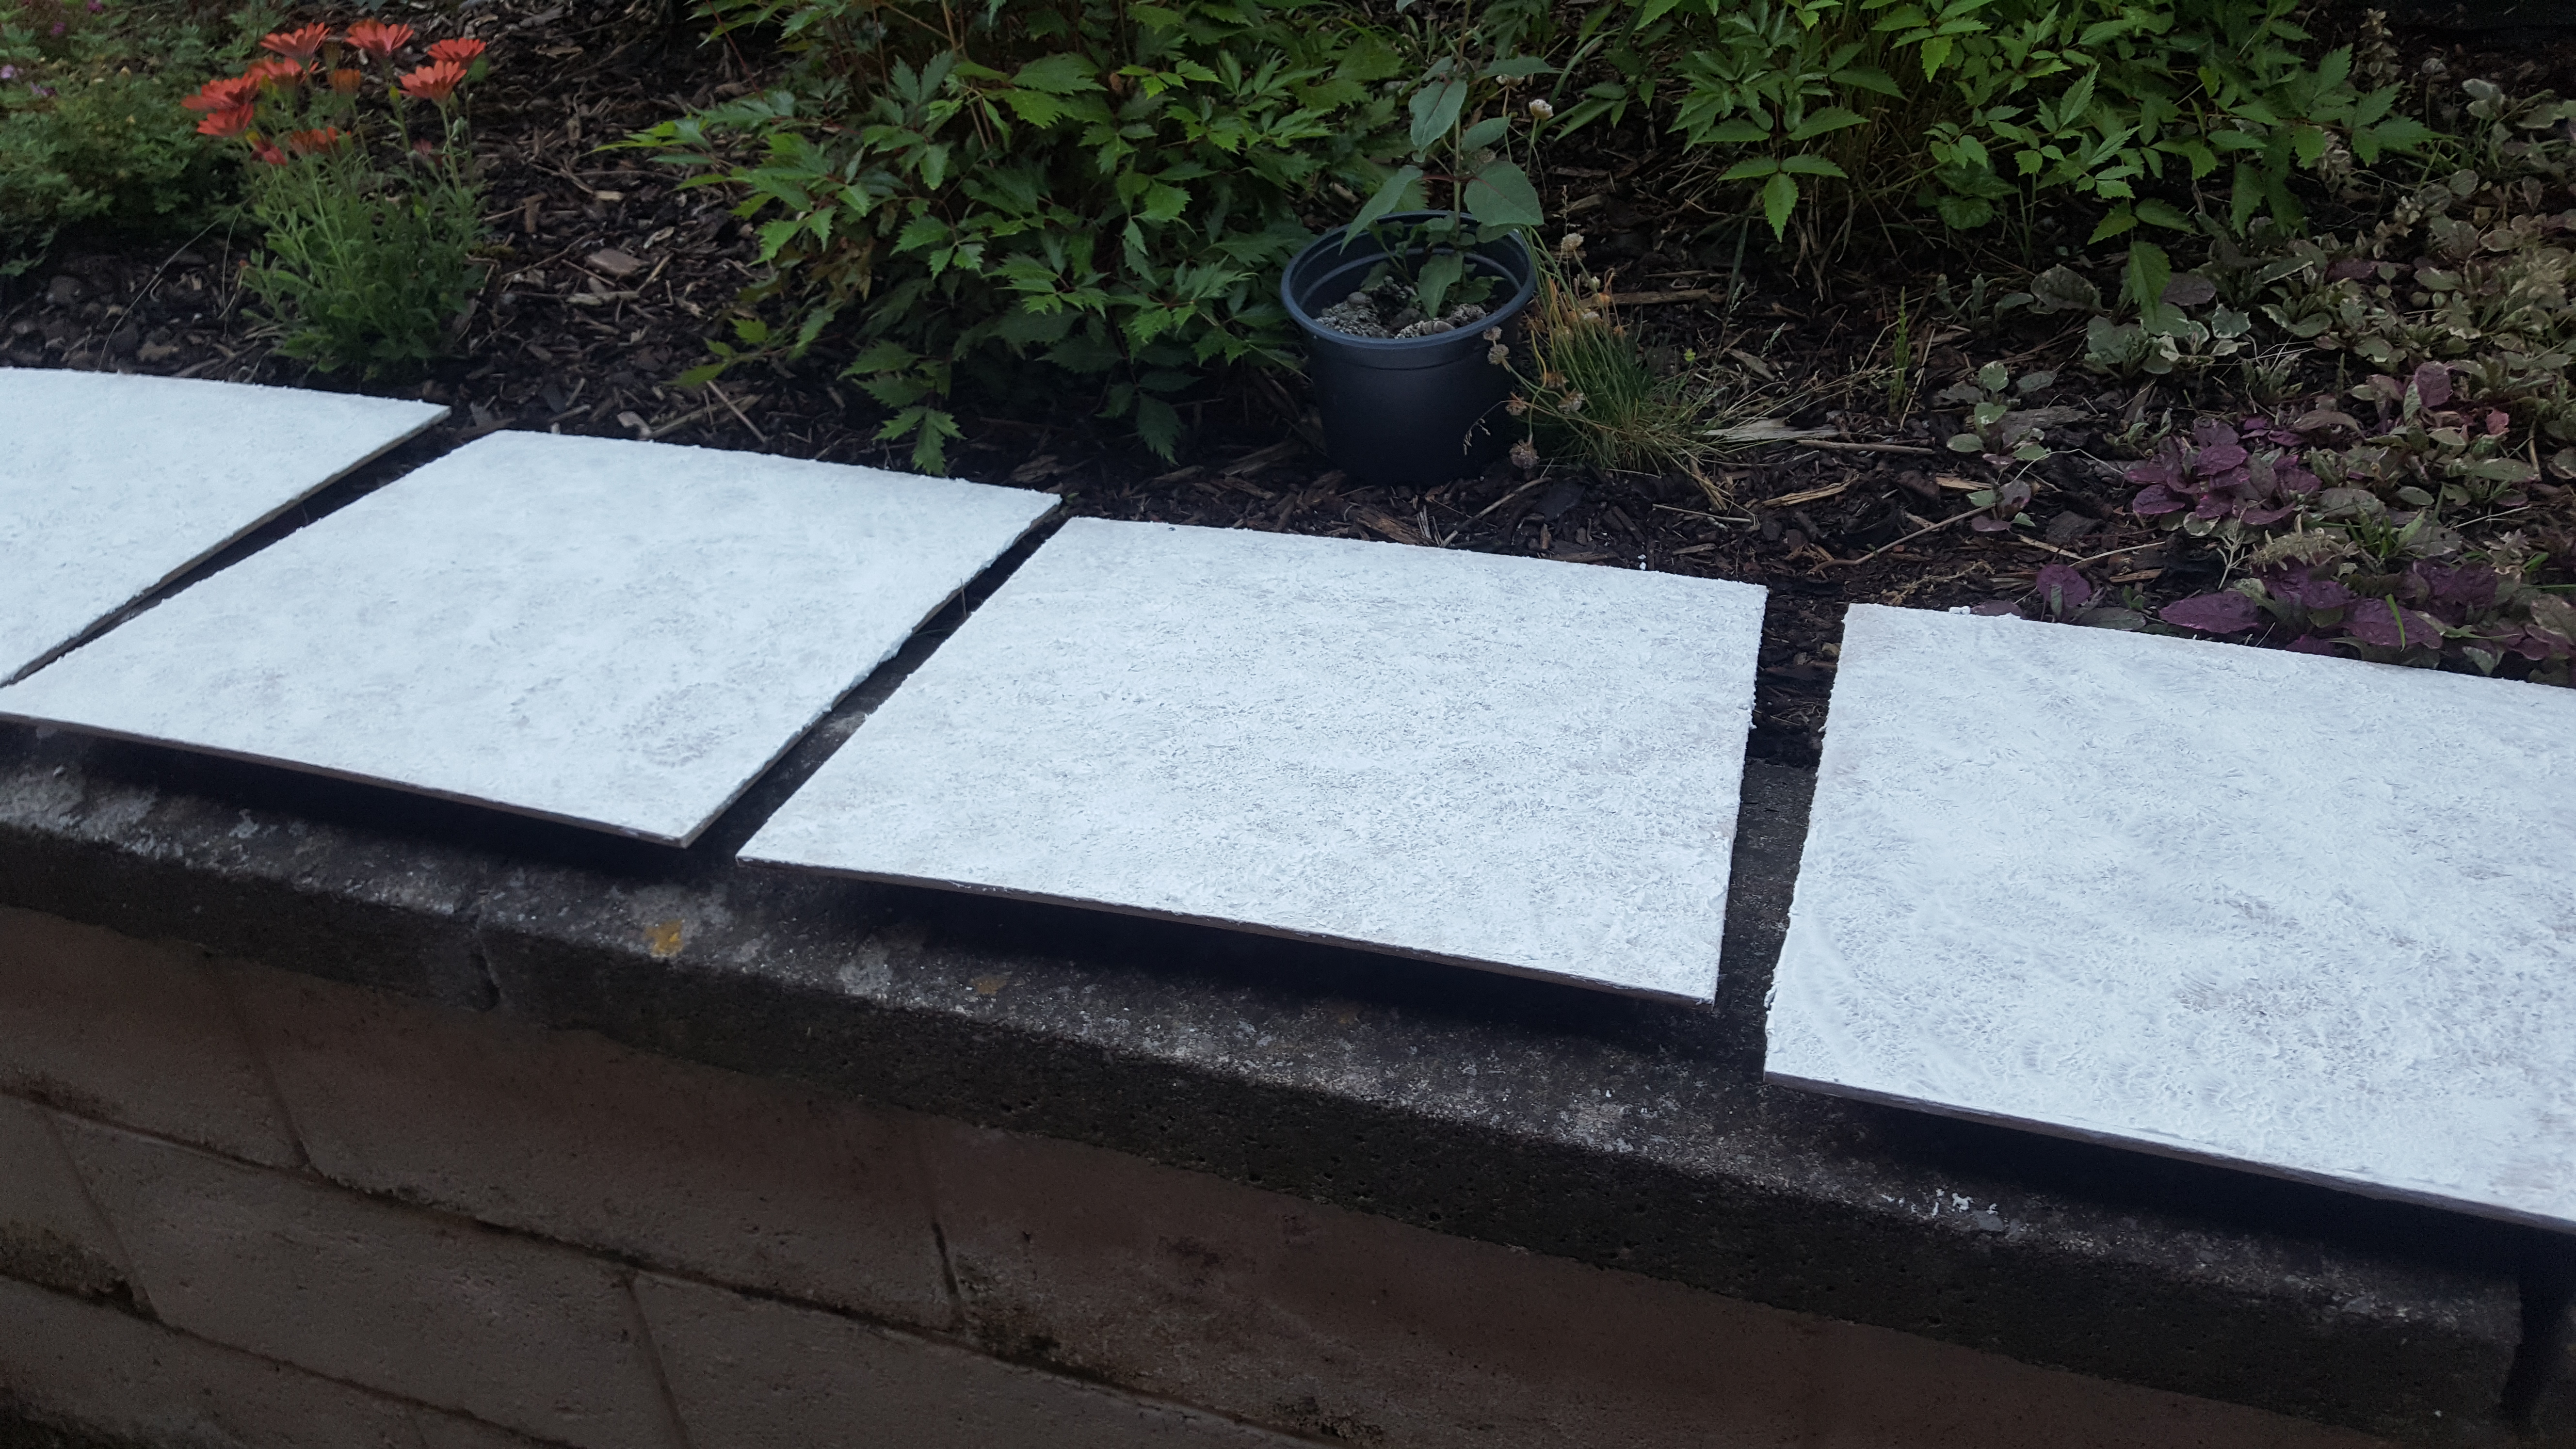
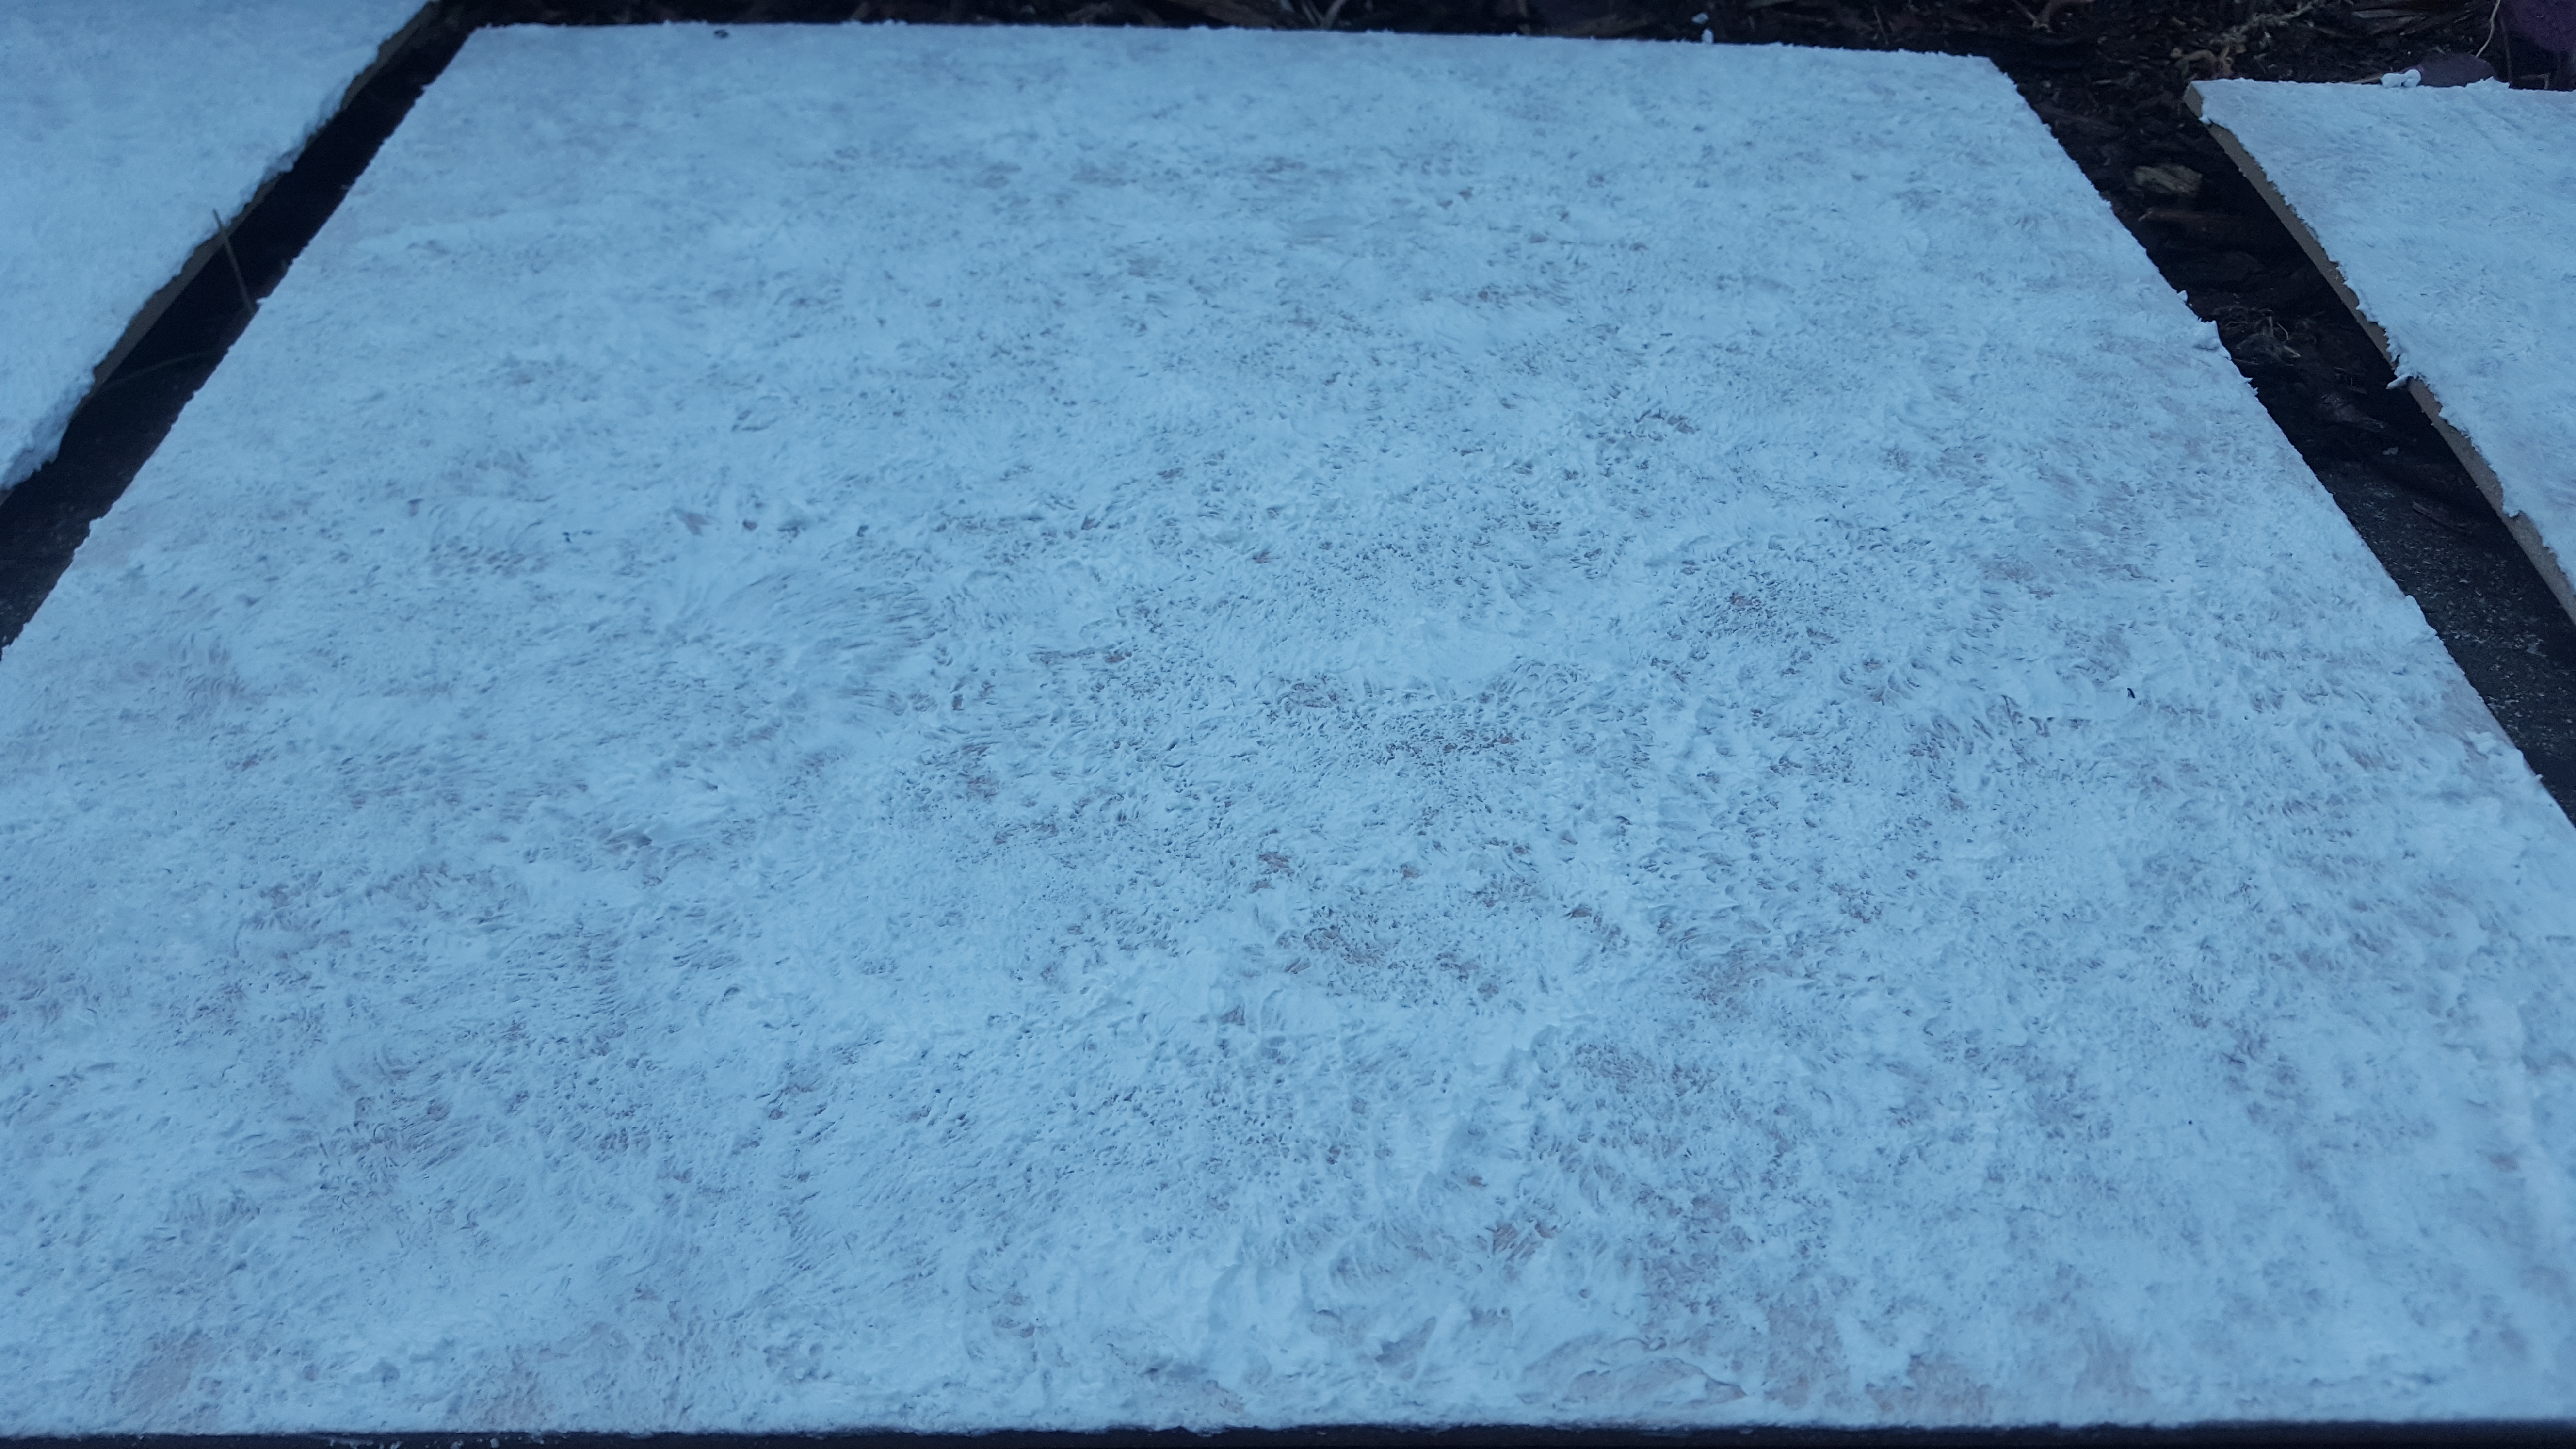
Adding a bit of texture
The next stage was to add a bit of texture.
This was attempted by again using the filler but not as watered down as before and dappling it on with a brush.
There was a bit of a knack to getting the consistency right, too much water and it was too runny, too little and it was too powdery.
Again 2 coats were required with 45 mins drying time.
Some Colour
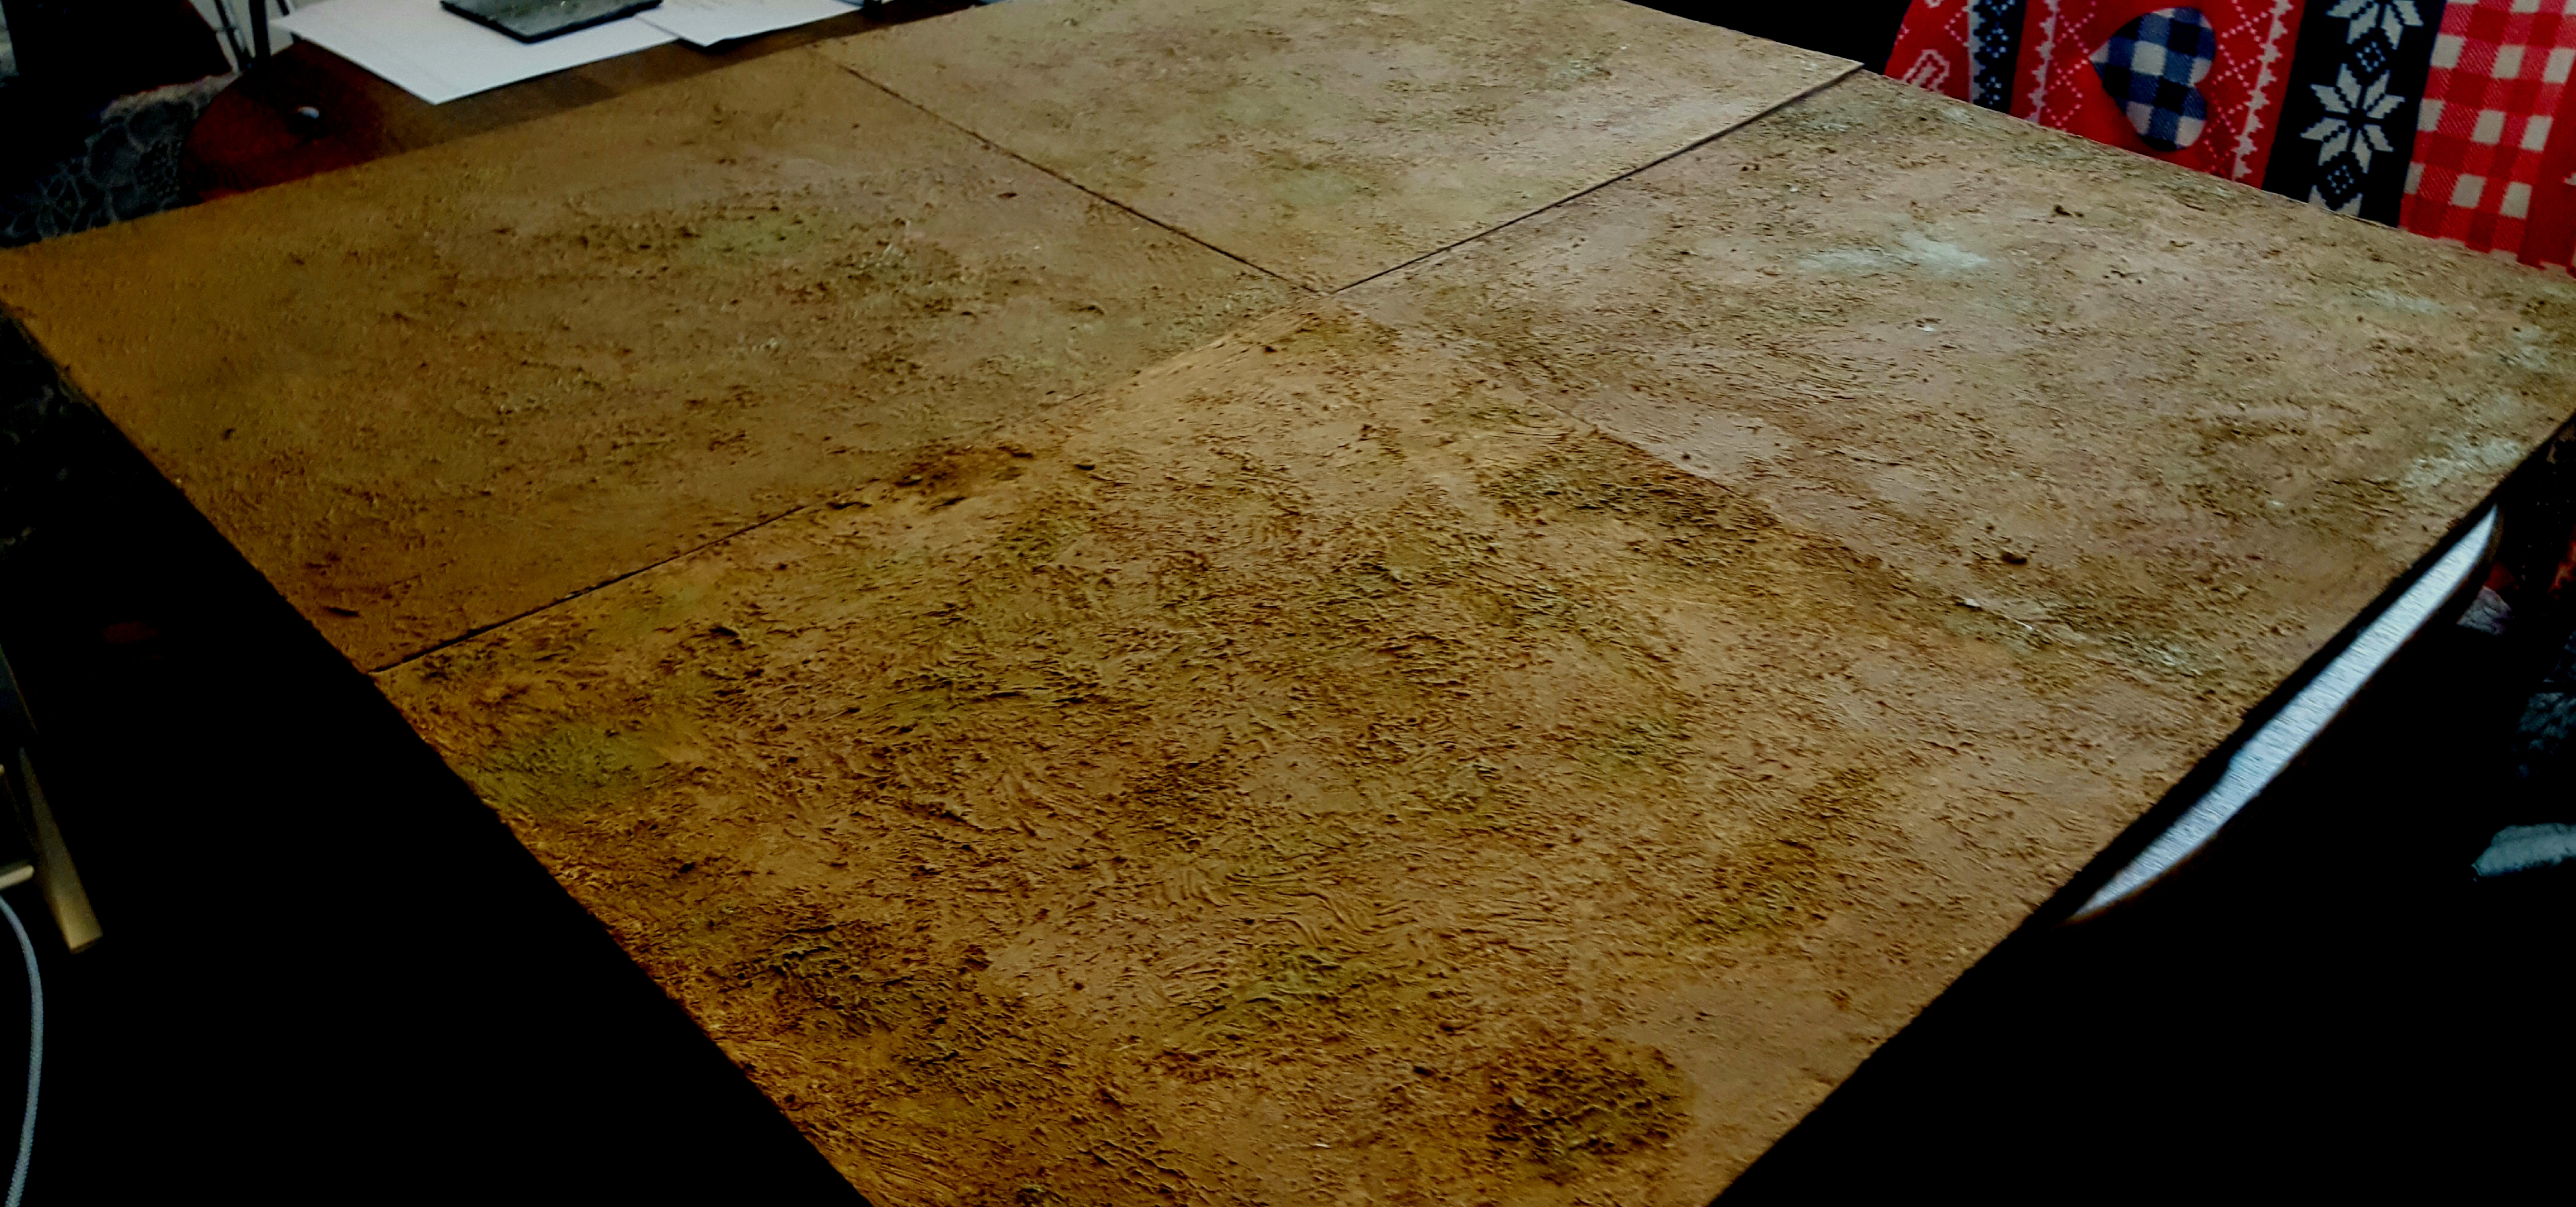
After 45 mins drying time I added some colour using Vallejo Brown earth texture paint £8.50 a tub (used around 1/2).
This needed to be watered down a lot as it was very difficult to apply straight from the pot.
Again 2 coats were applied and the paint was dappled on.
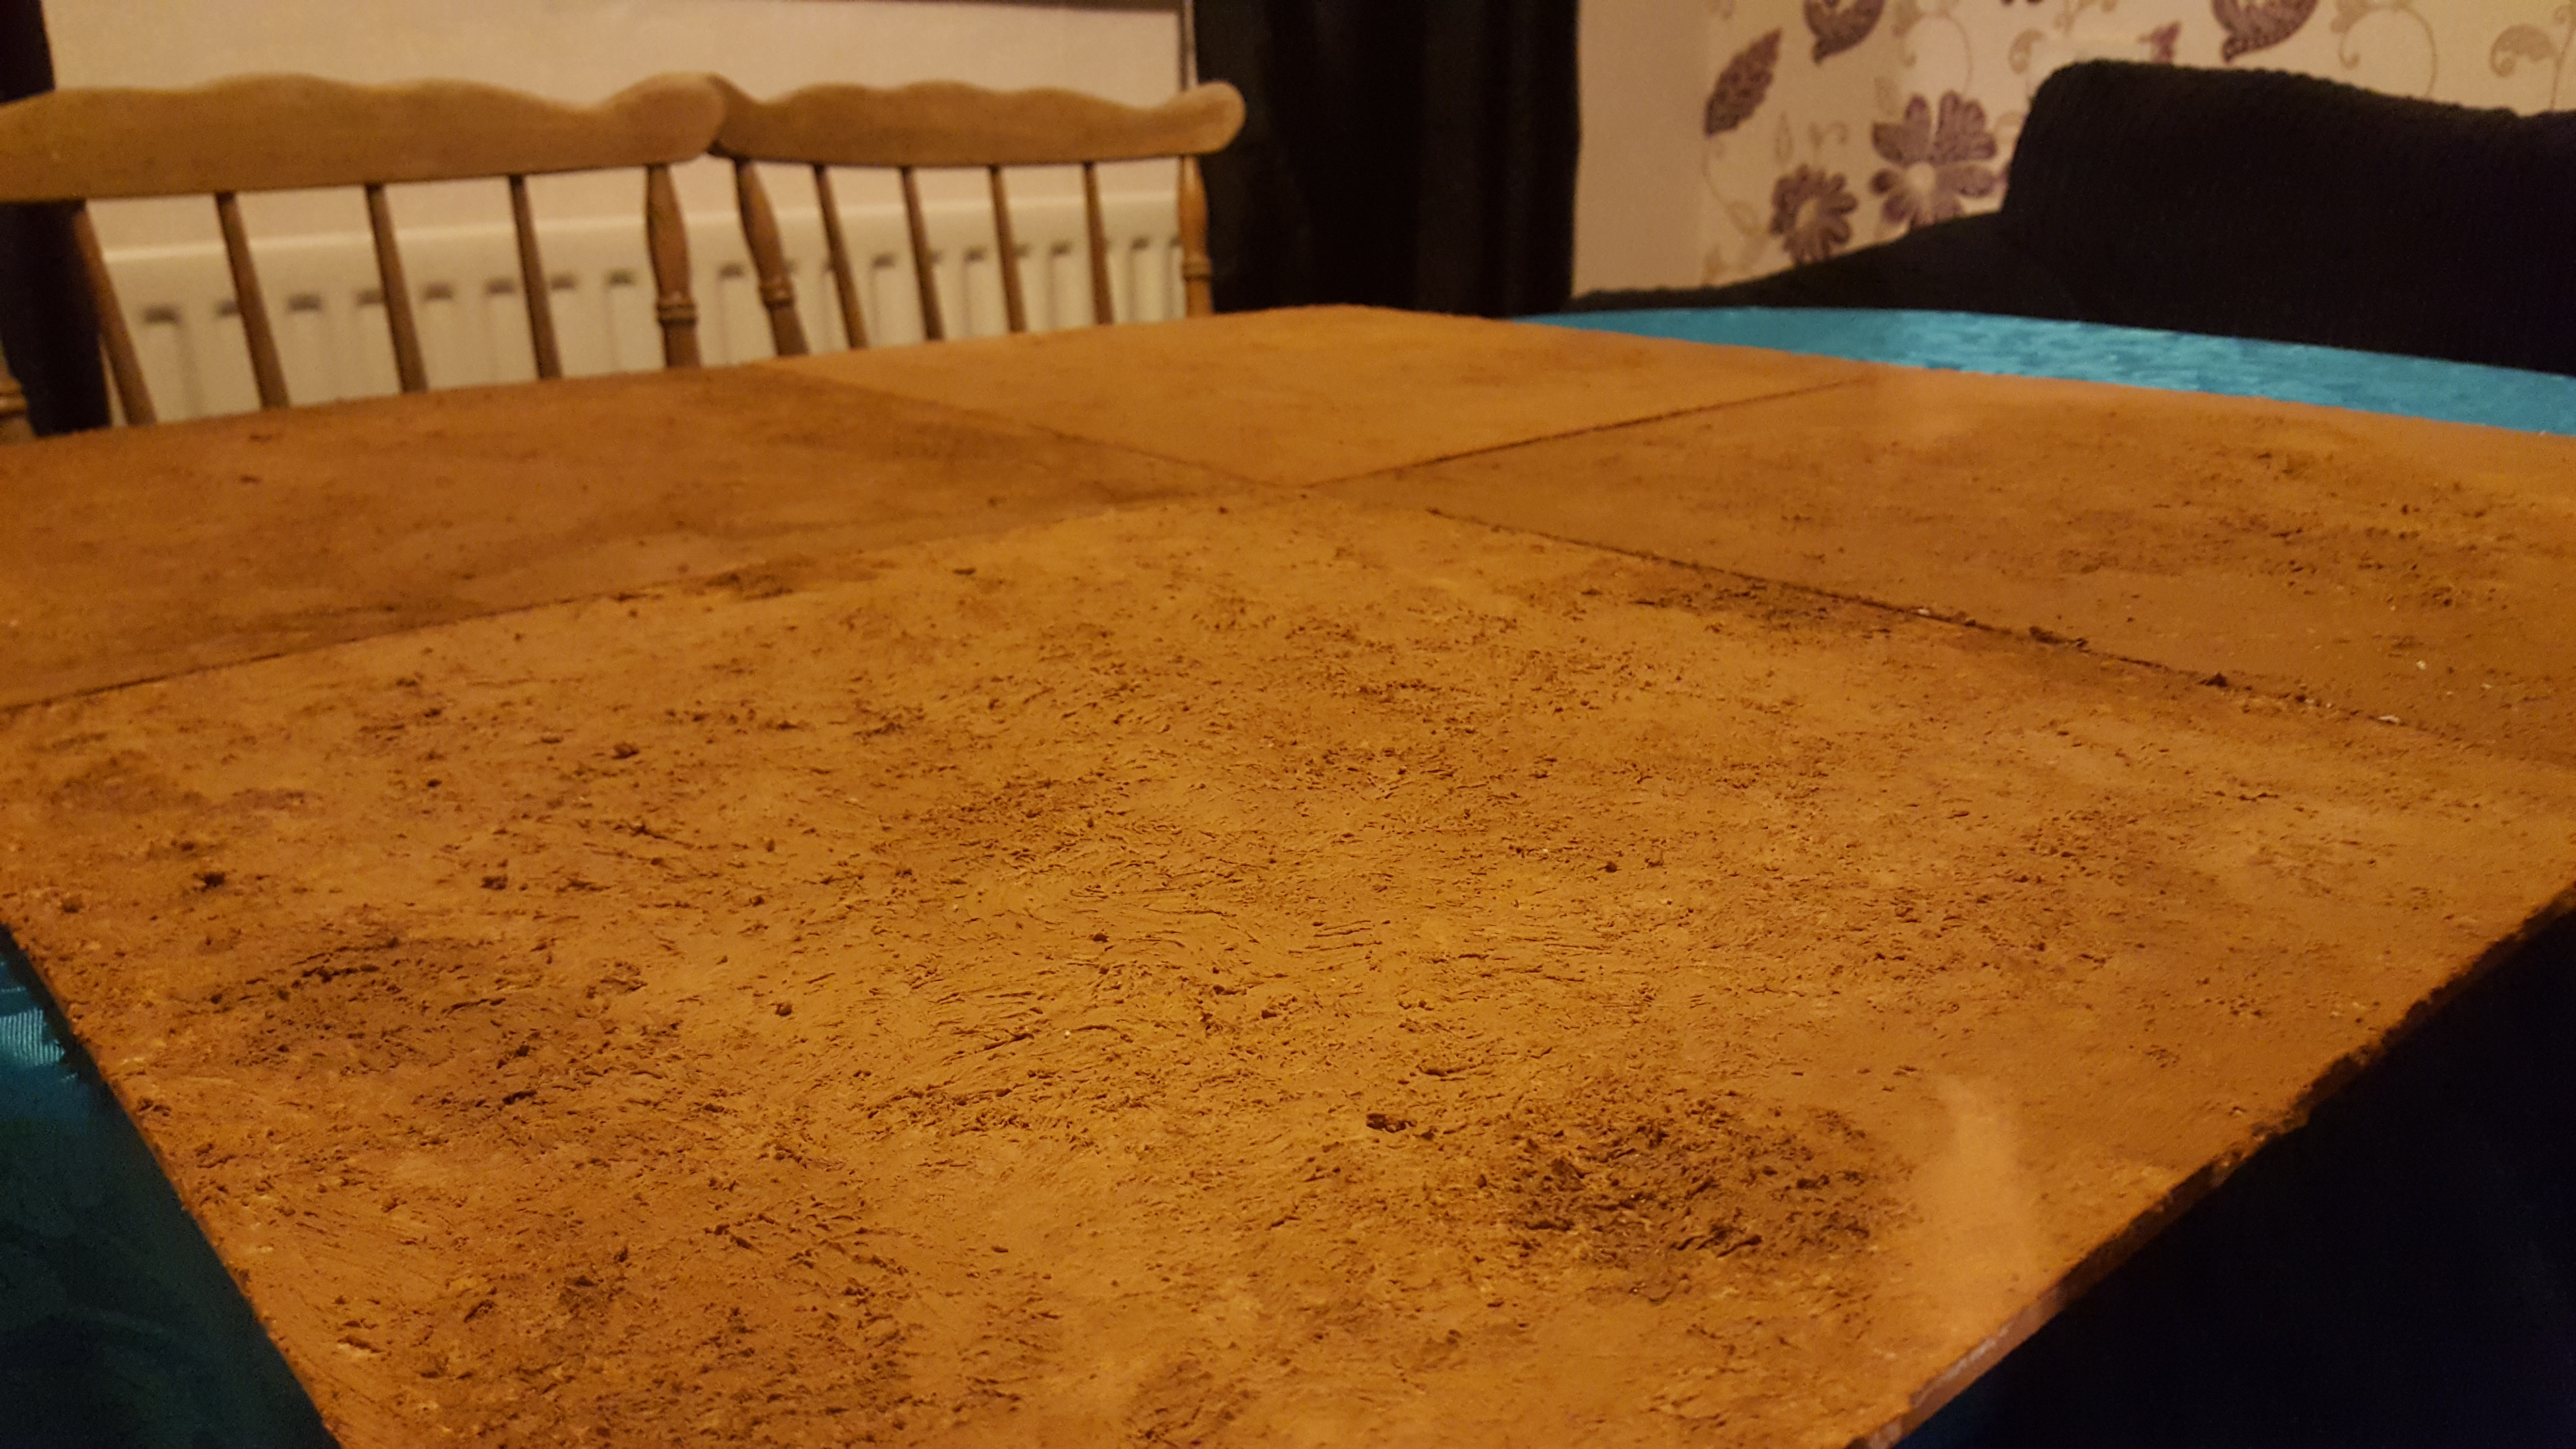
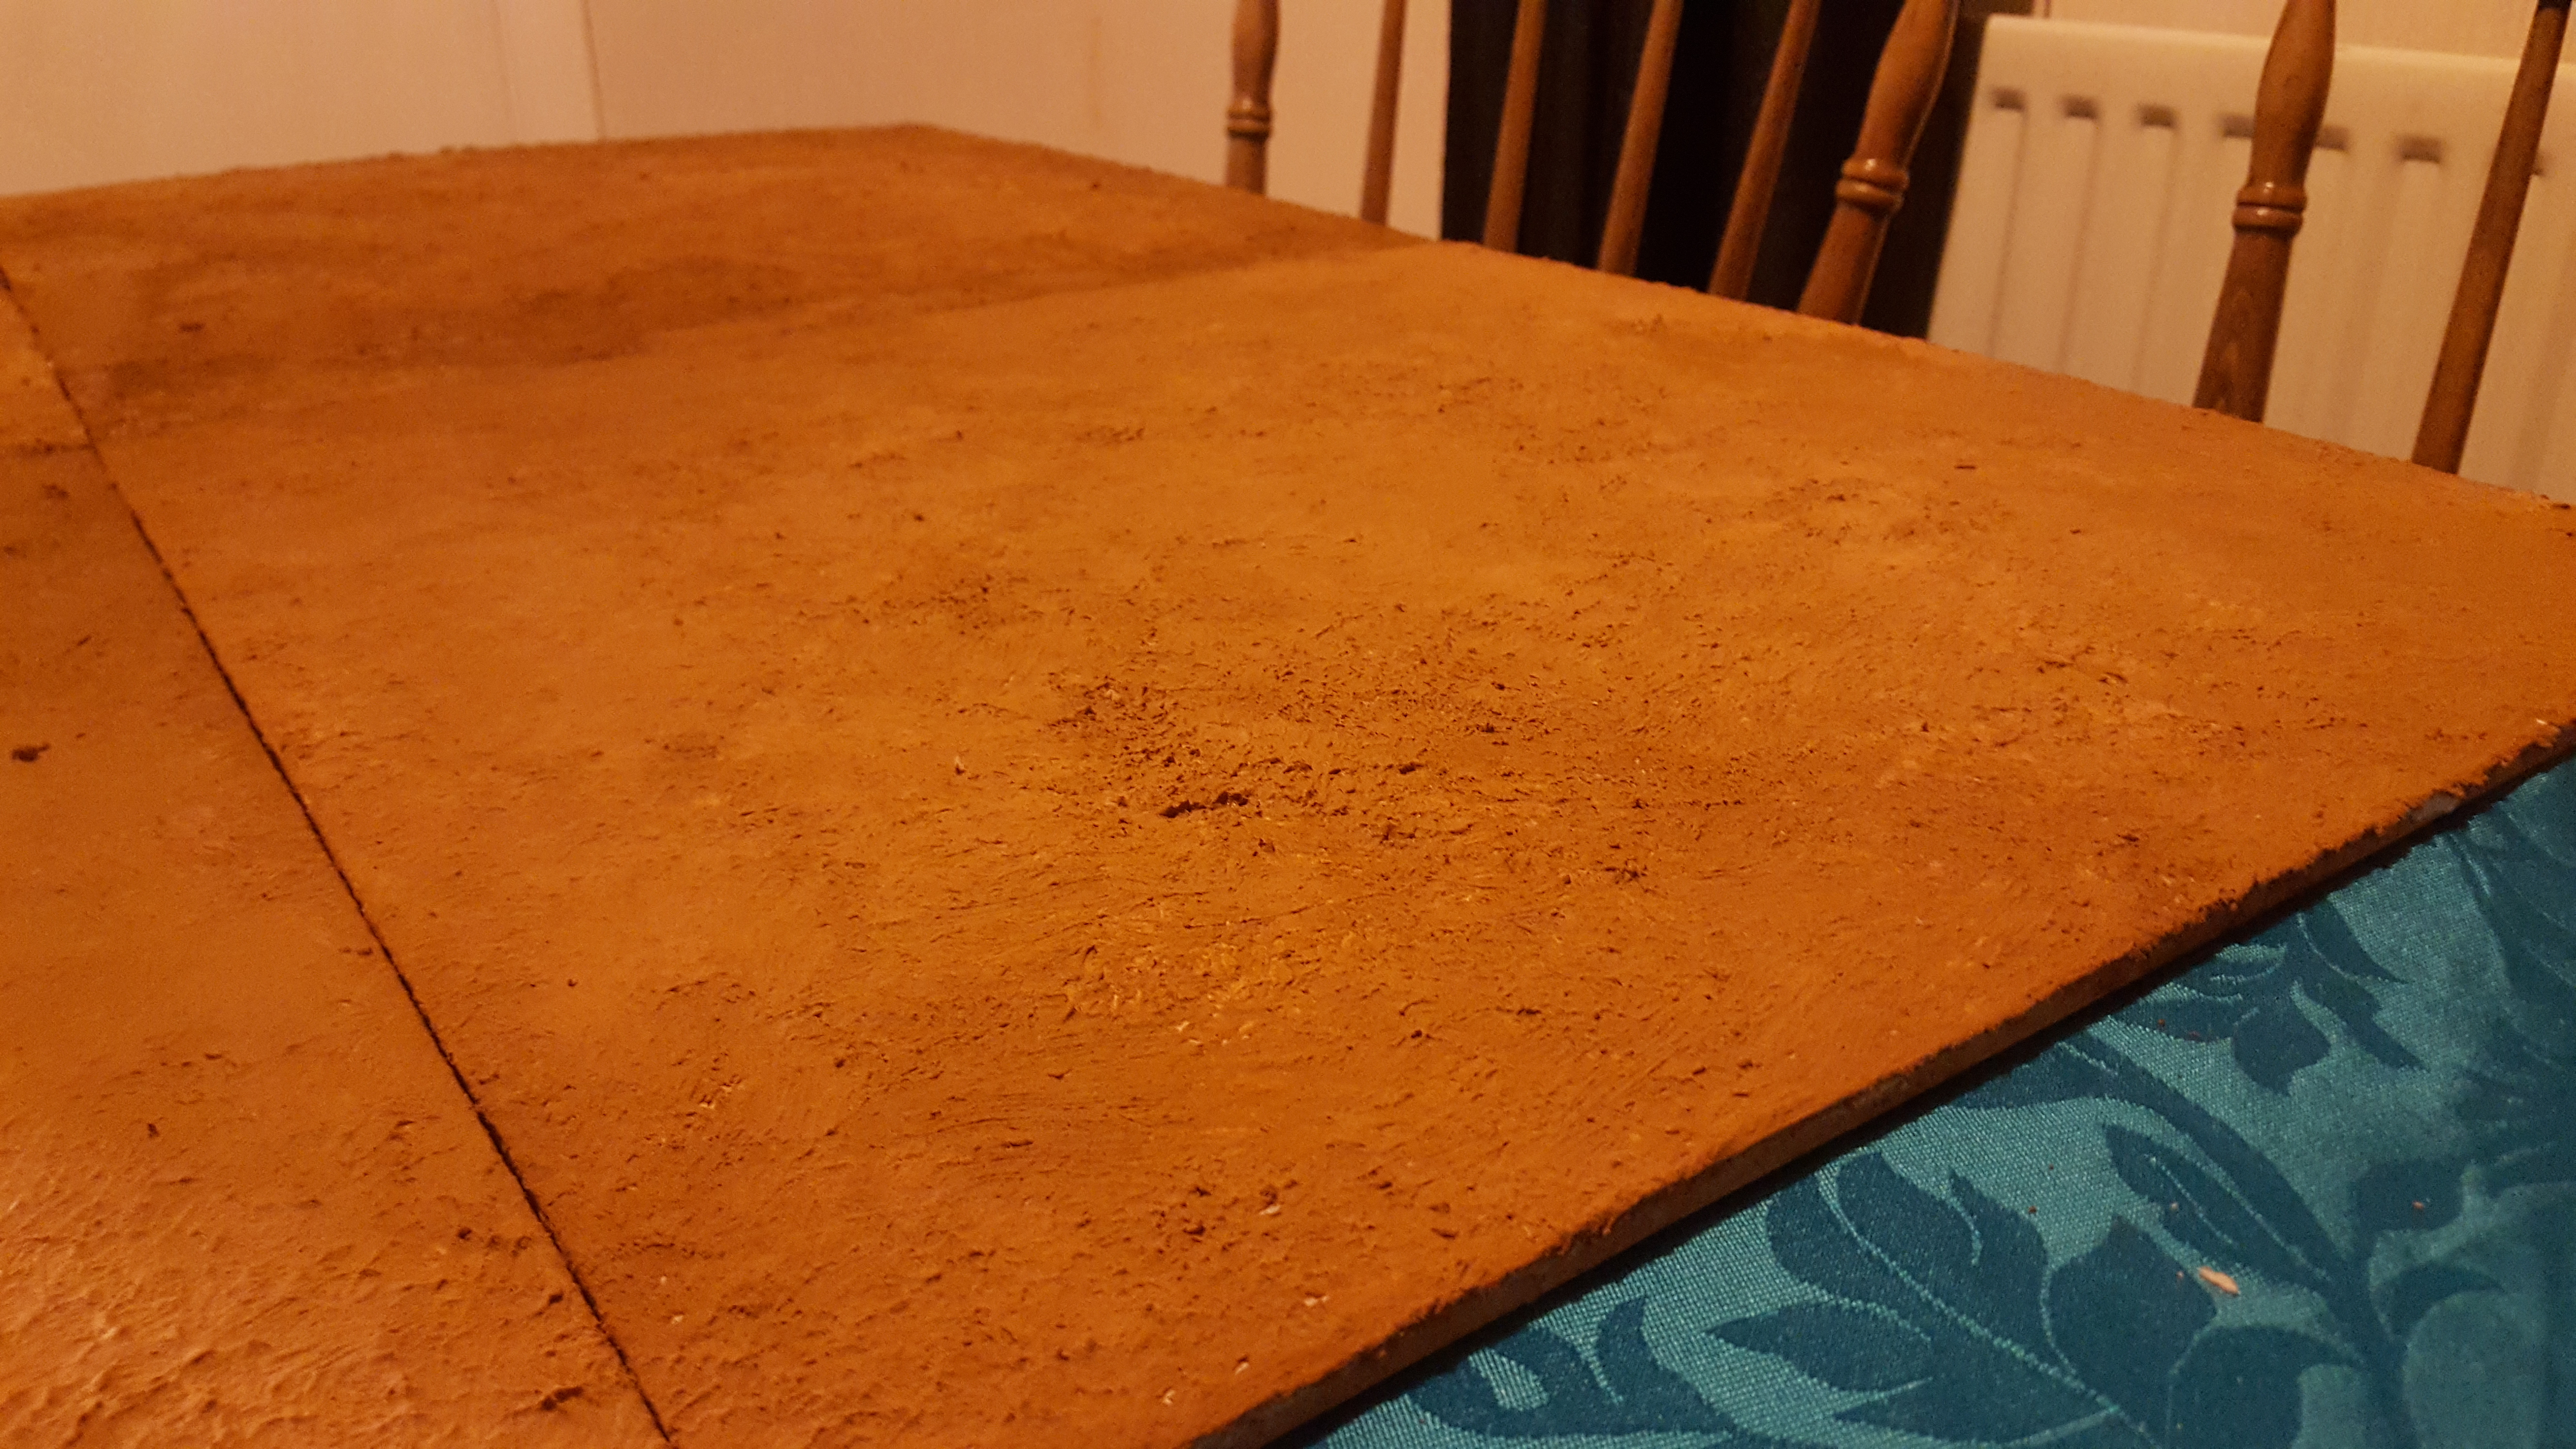
What I have now is a perfectly usable, easy to store board that I made in around 4 hours and cost around £12 -£13
I intend to wash and drybrush the board a bit in the future and will add pictures when I get round to this.
Tonight however the board will be used as is for a game of Wild West Exodus.
Tidying up the edges
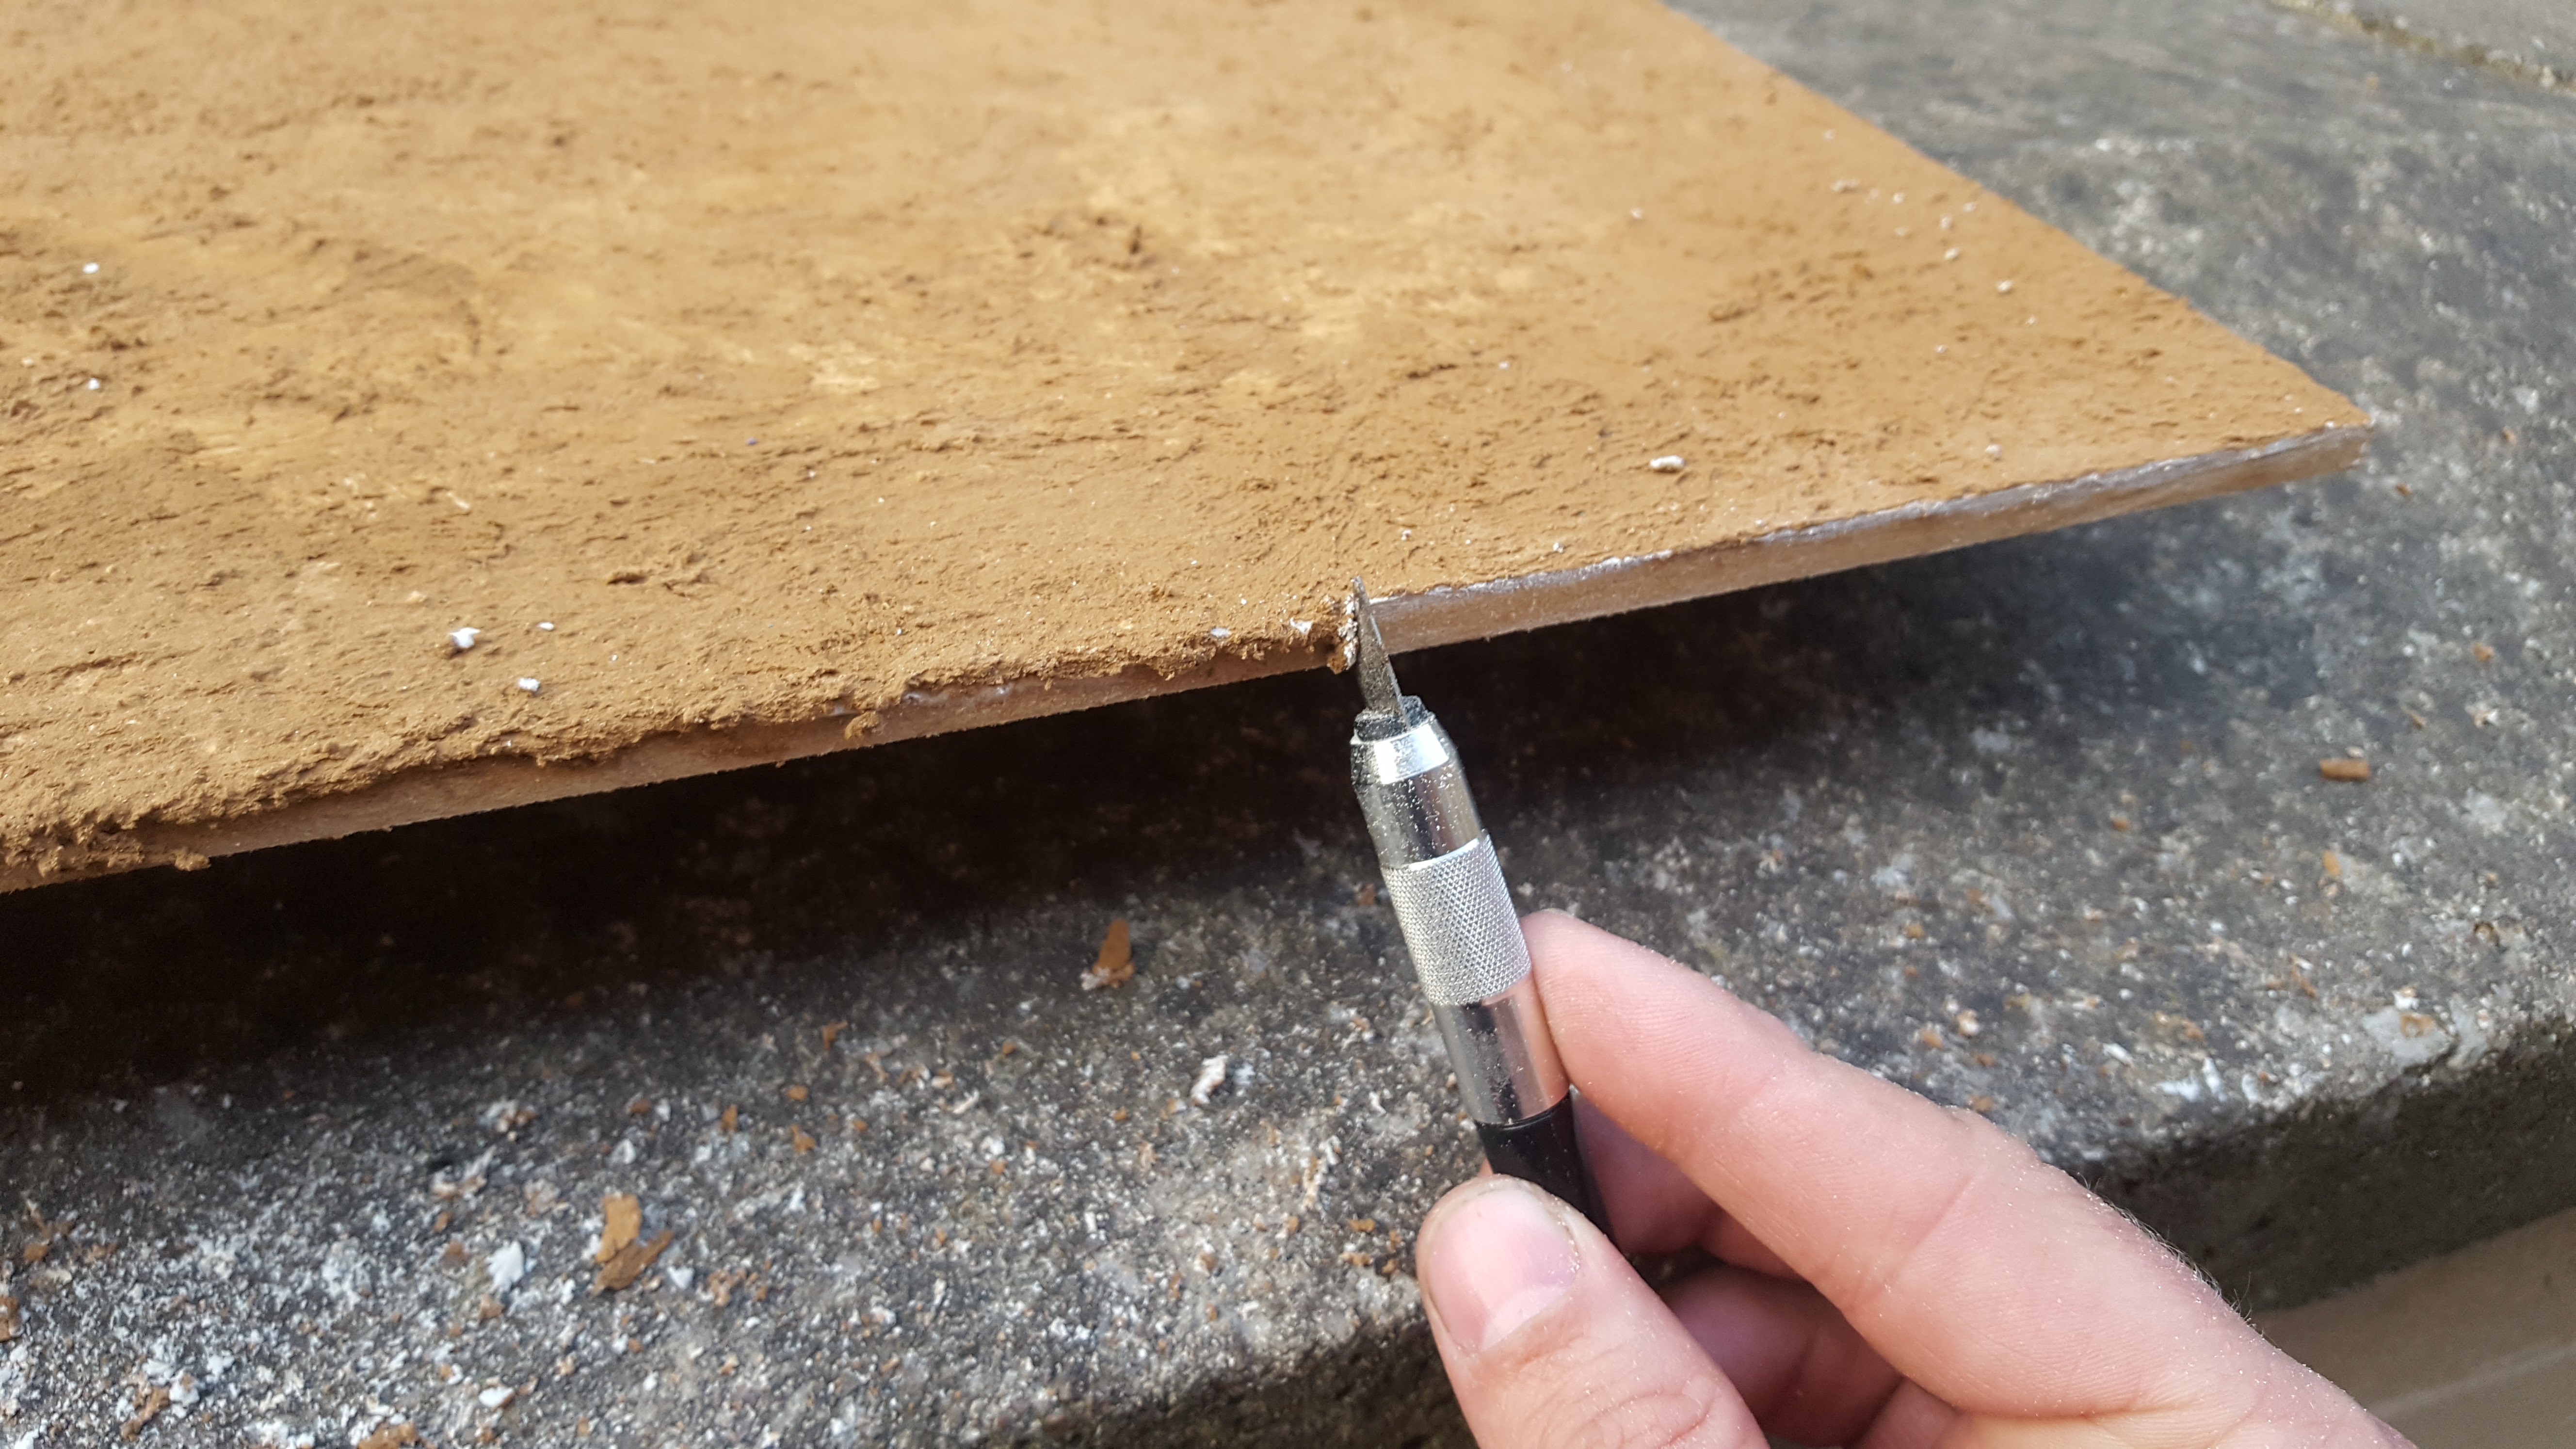
Taking a small blade I set about smoothing all of the board edges, removing any excess paint and filler.
- This will allow all the board pieces to fit flush together.
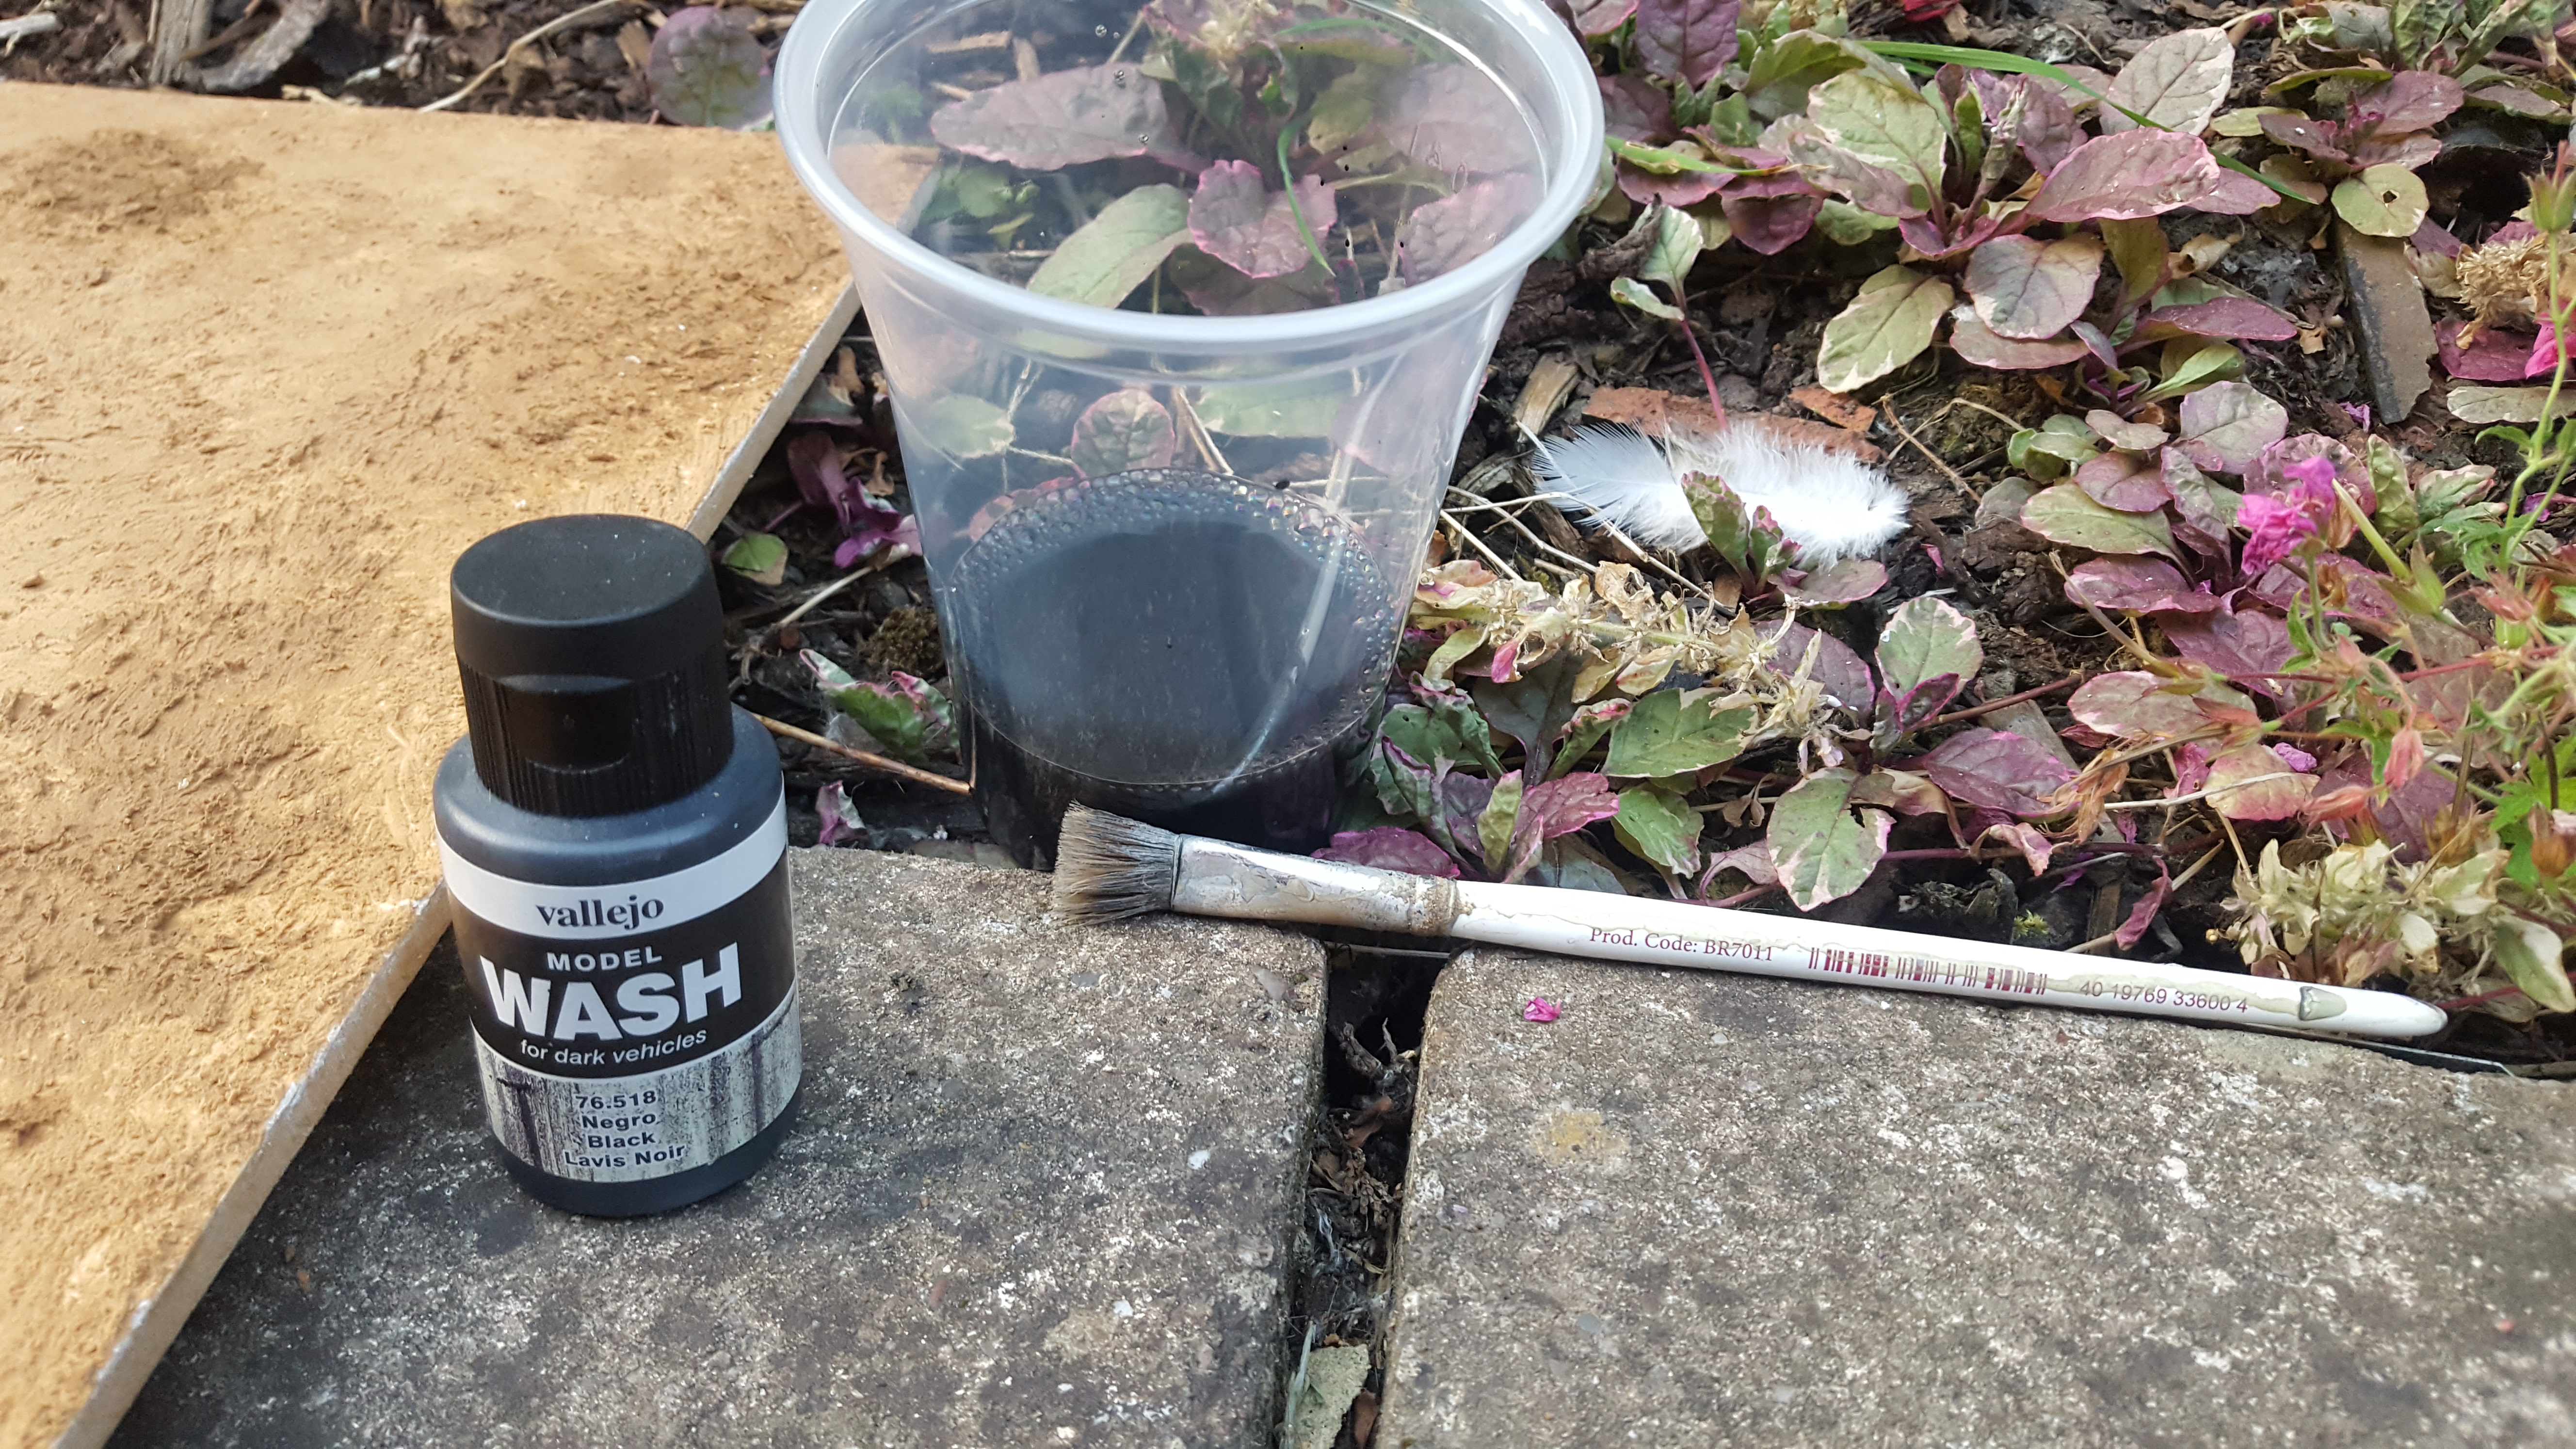
A good wash and unexpected guest
So the next thing I wanted to do was add a bit of wash. Just enough for a few shadows.
I mixed 1 part Vallejo black vehicle wash to 10 parts water as I wanted the wash very thin.
Almost done and I hear a russeling from the Brambles beside me.
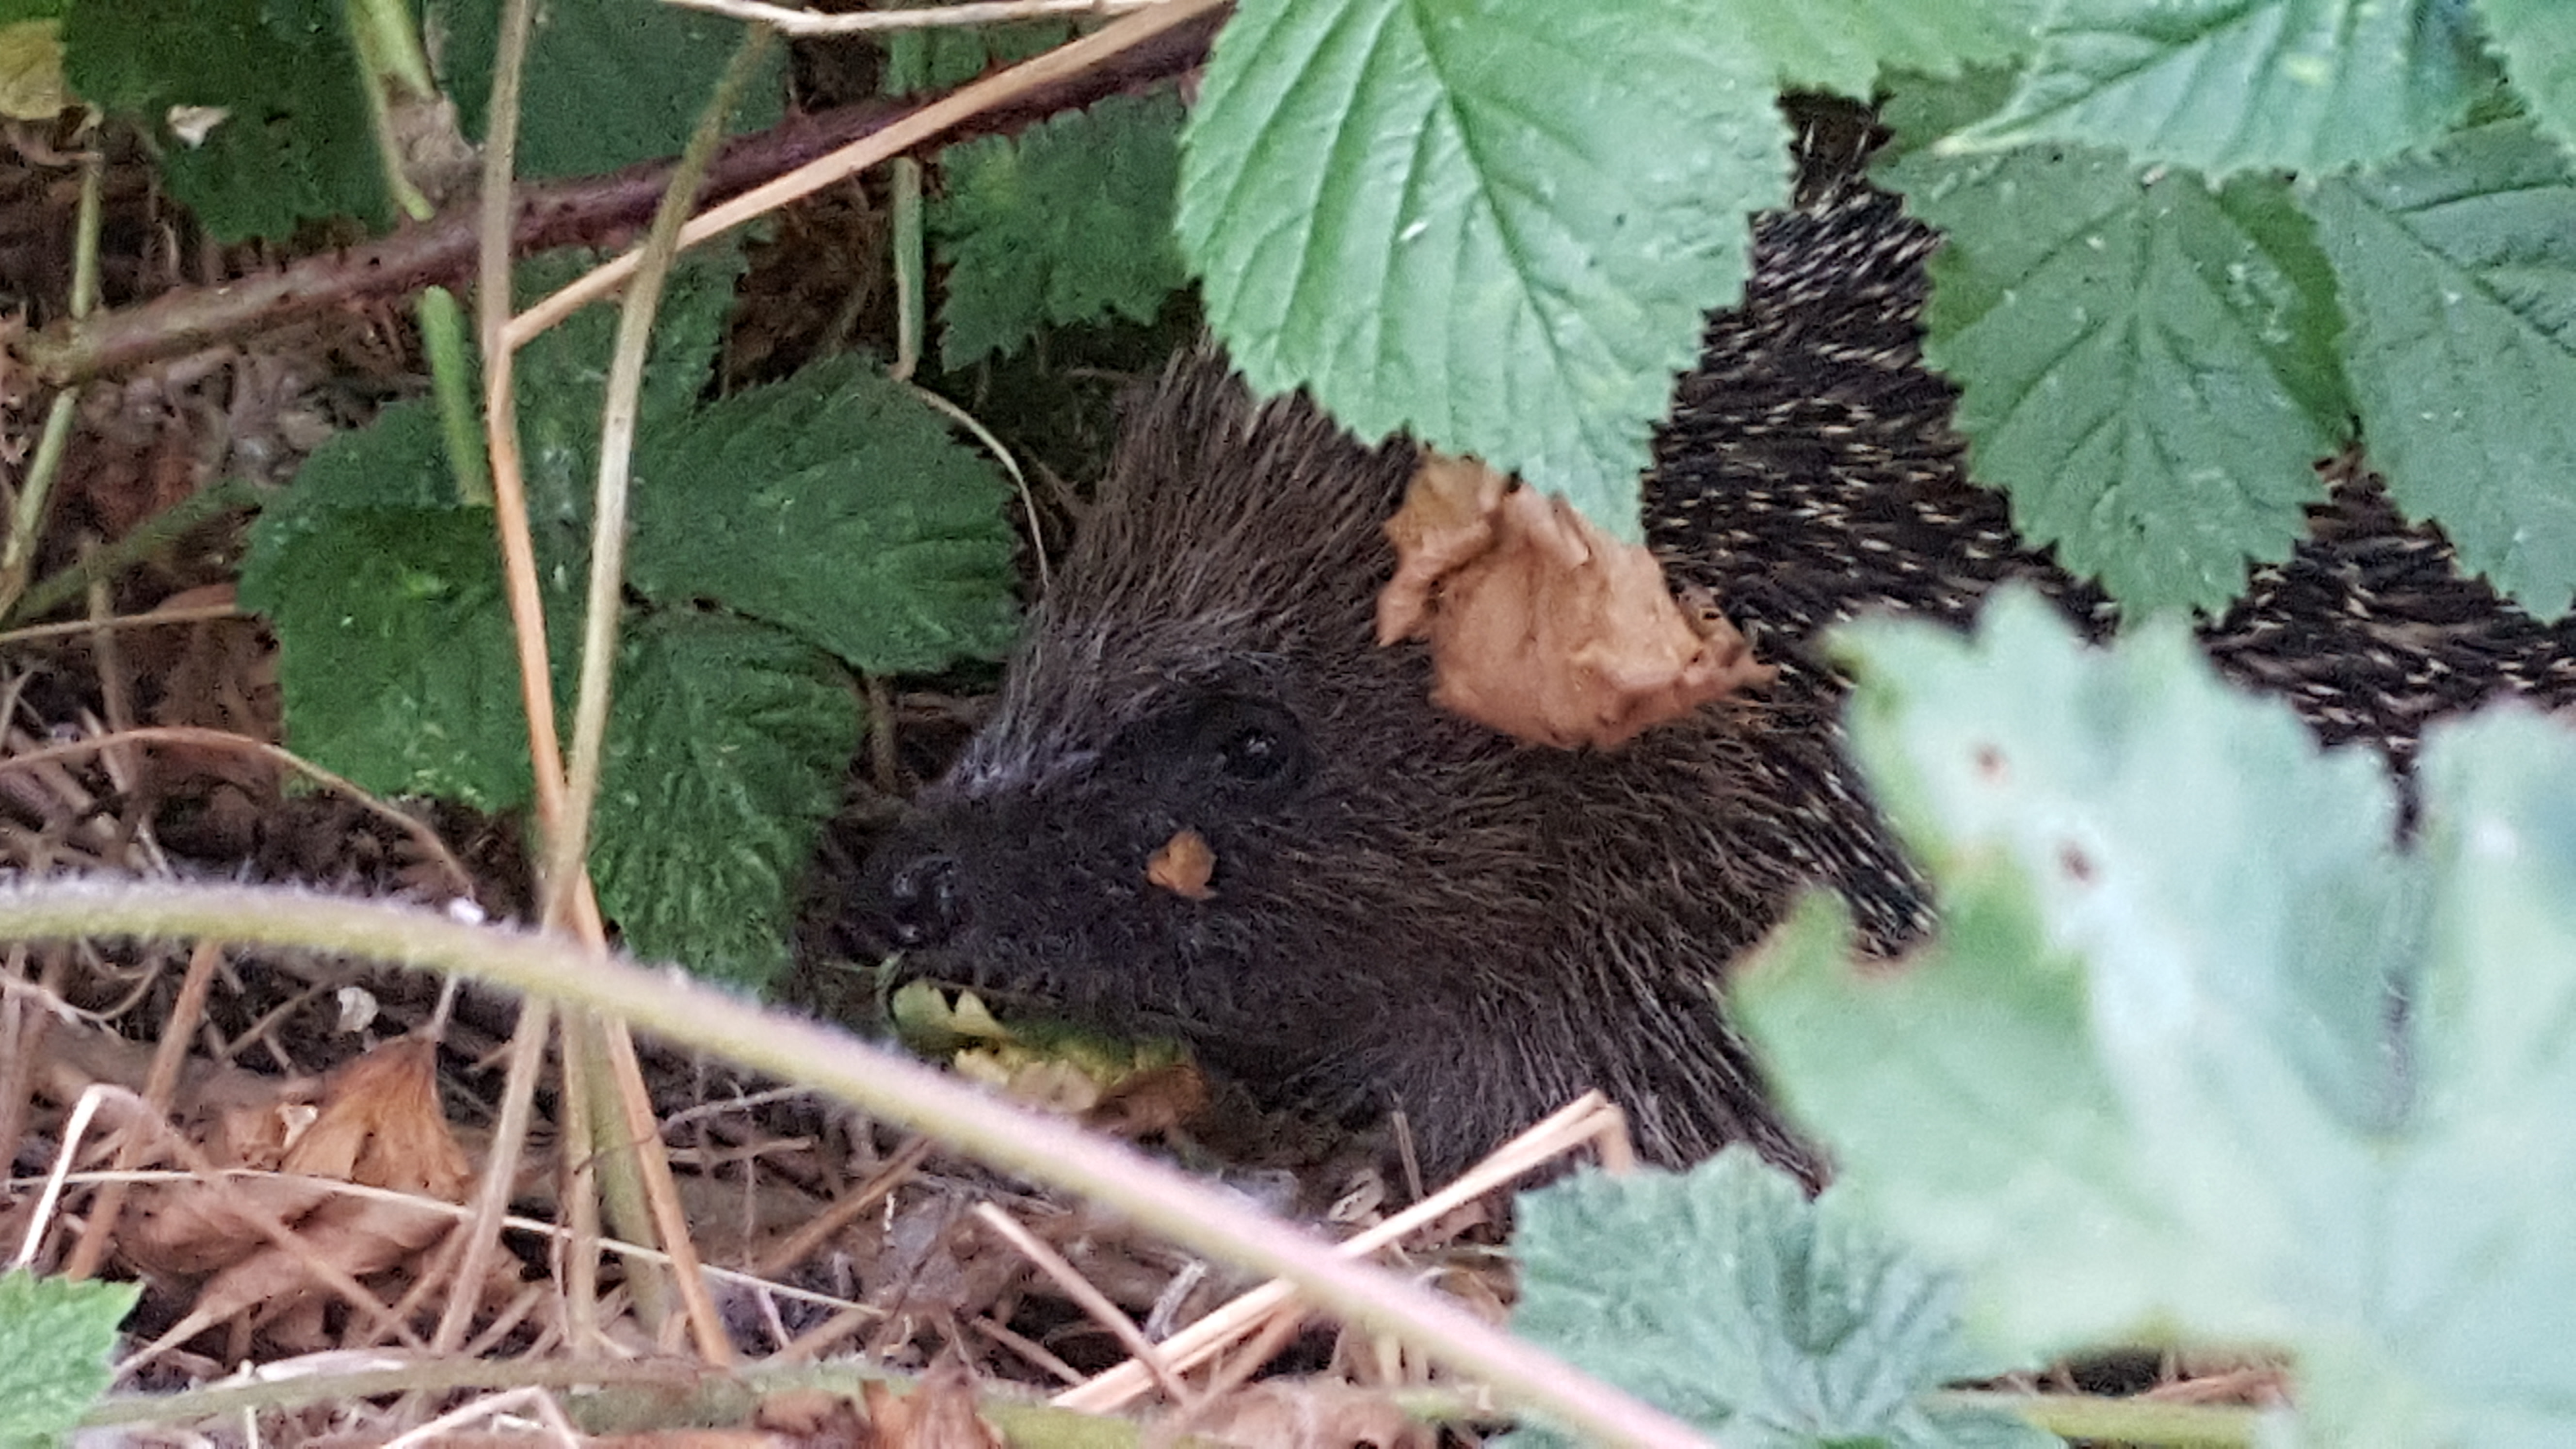 Mr Schnaffles
 Just a bit of drybrushing highlights and I think I am there.
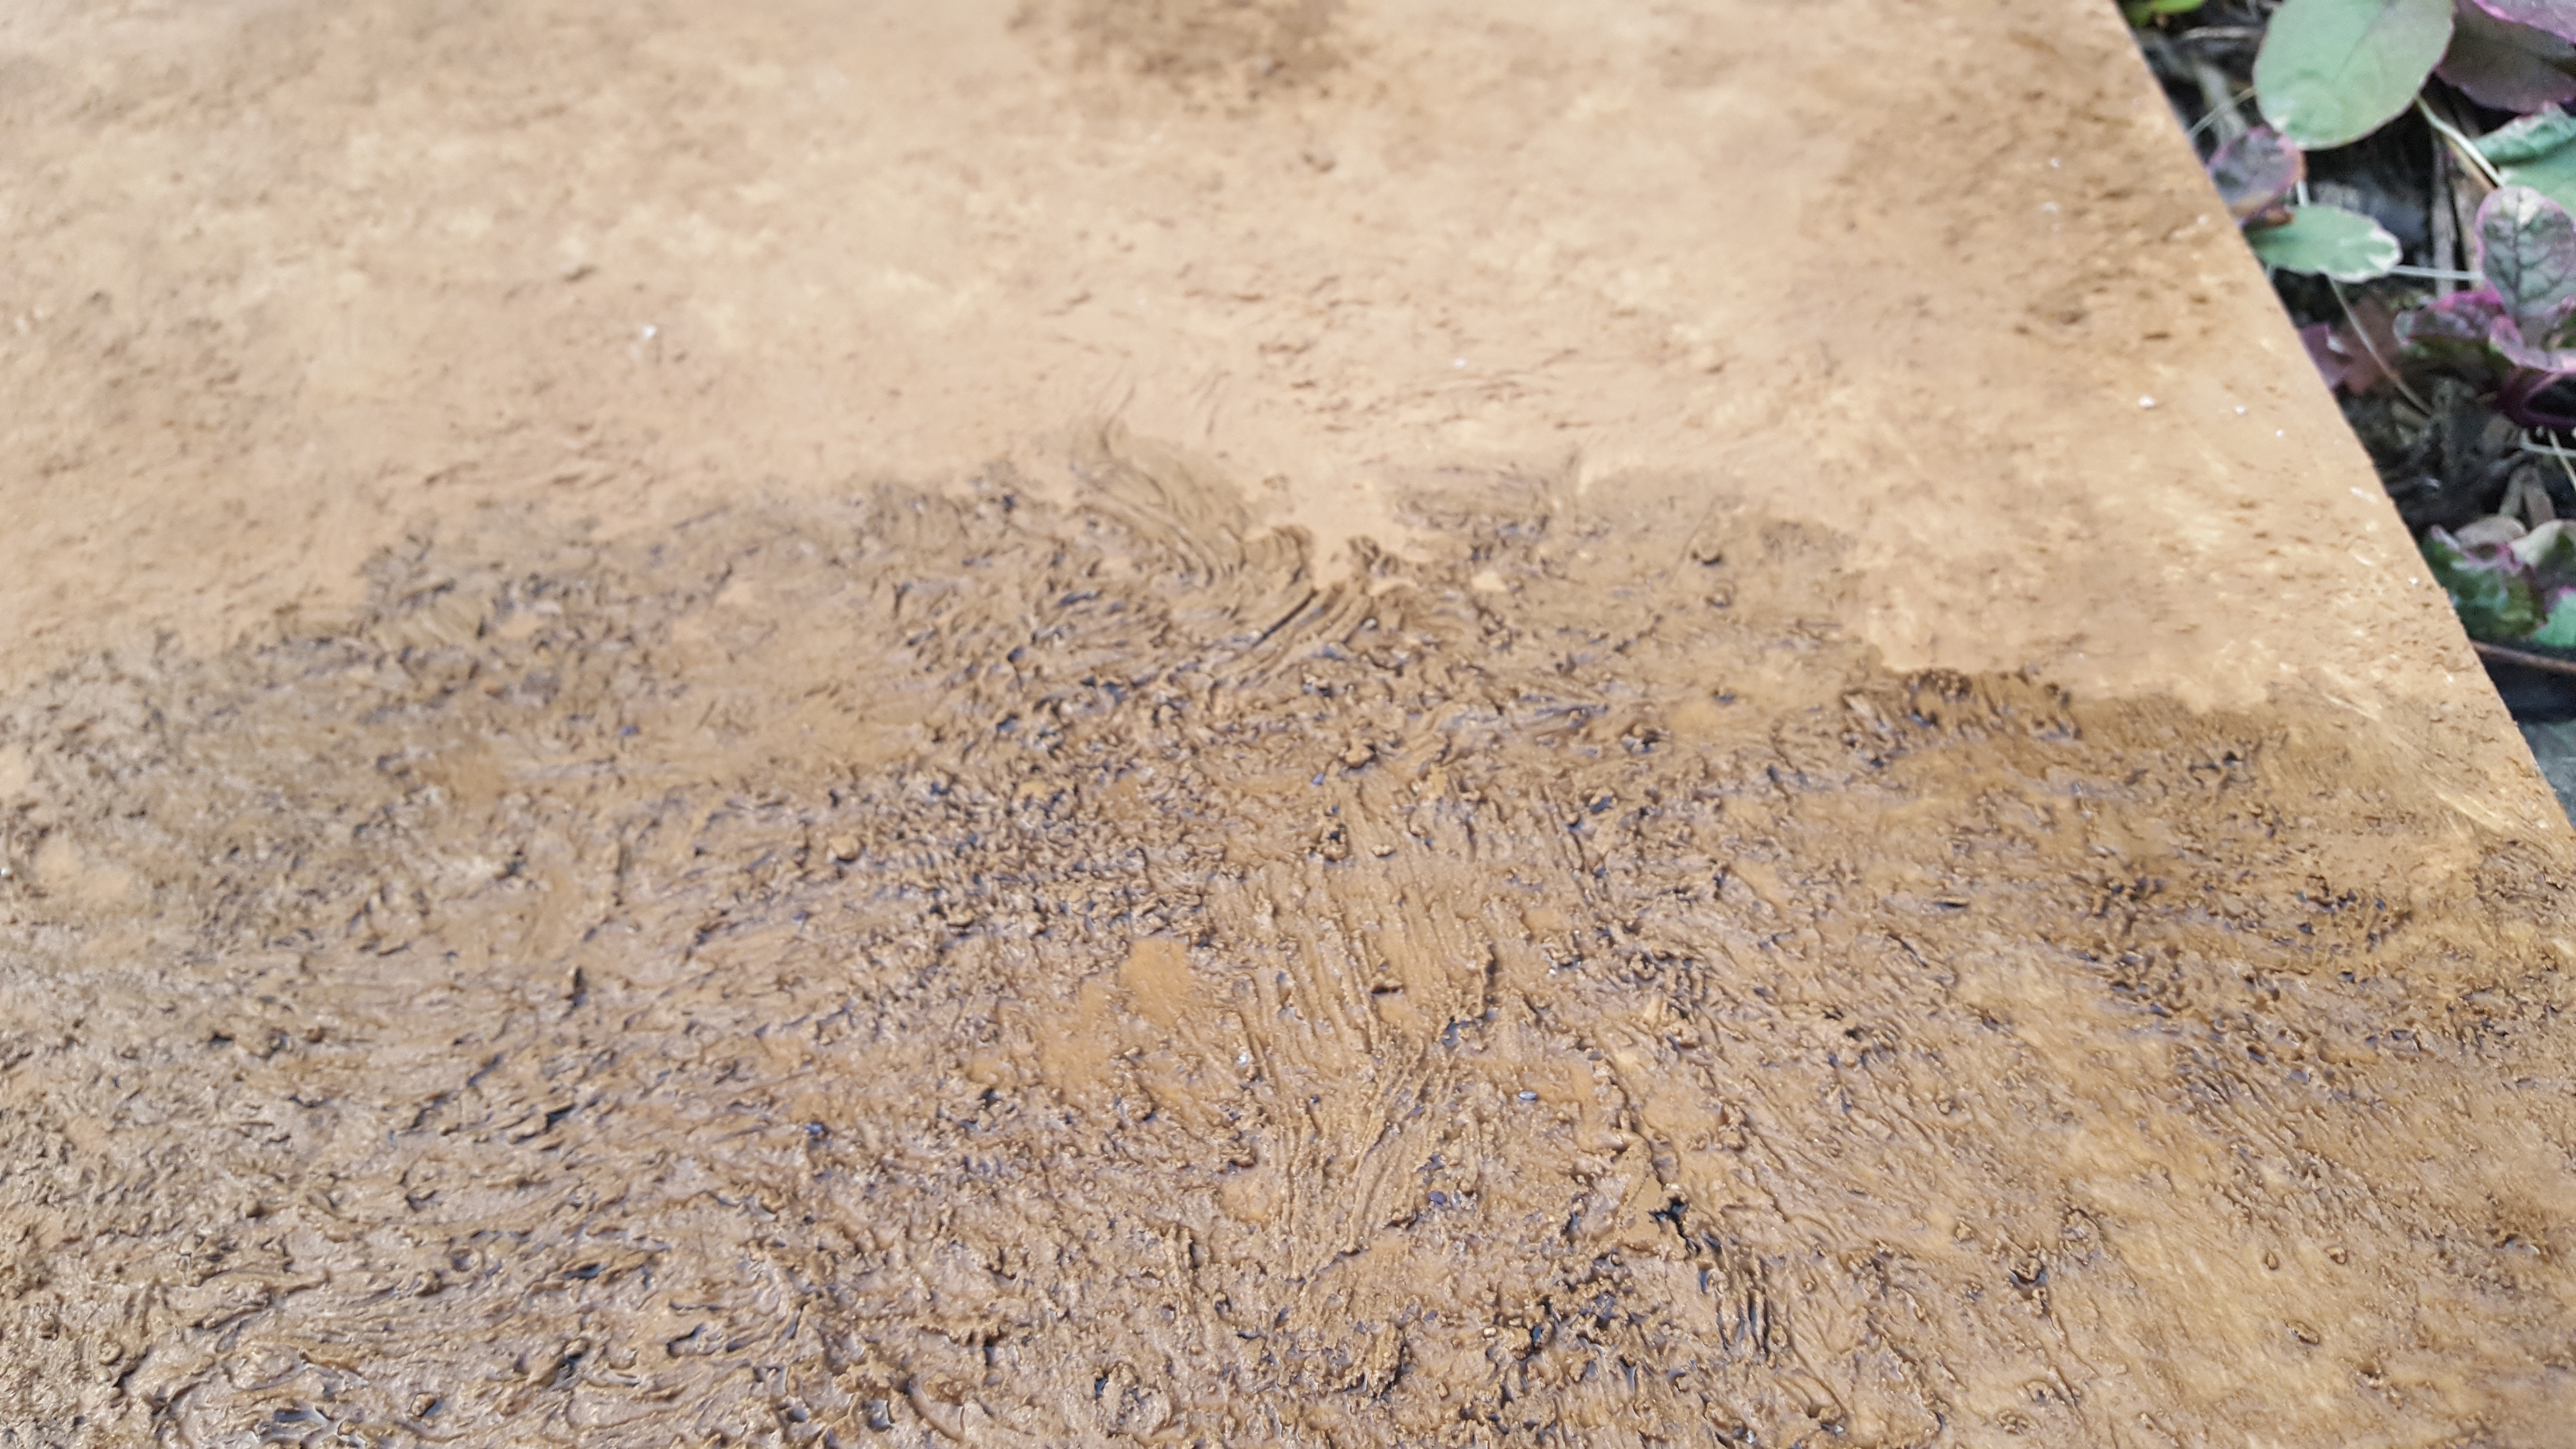
The End
So tonight I grabbed my Terrain Brush and finished off my board.
My aim was to create parched areas and highlight higher ground.
This was achieved as well as creating a better contrast on the board.
The Finished Product
That concludes my little project.
Thank you very much for looking and rating it means a lot to me.
Hoping to start a new project very soon.


