Laughingboy’s Hobby Lodge
Recommendations: 423
About the Project
I have been into the hobby since around 2015 and very quickly started to build quite a large collection of things, I was storing all of this stuff in cupboards, the garage and under the bed. I eventually got some storage space in my children's playroom, as they get old the room was being used less and less. But whilst storage was becoming less of a problem me and my kids still didn't have a decent enough space to play and whilst there was always the dining room table it was of course constrained by a time limit. So we decided to embark on building a hobby lodge in the garden to meet the needs of the growing hobby. And this is what we did.. with a little help from the guys at https://www.johnsonsgardenbuildings.co.uk
Related Genre: Game Aid
This Project is Active
First things first some work space
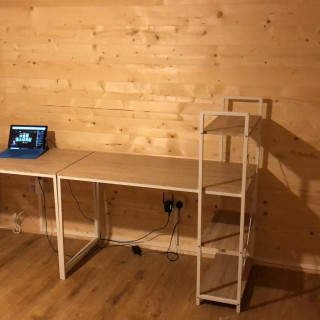
I knew storage and workspace was key so I did some hunting around for desk space. Ikea was my first thought but they just did not have the kind of thing I was looking for and what they did have was quite expensive.
So, in the end, I bought these two bench desk with a shelving unit attached, I simply built one to match the end of the other. I think these were less than £100 each on Amazon.
Time to move
Ok now it was time to move and say goodbye to the old space that up to now had served me very well…
The next few post I will show you what I did with the new place and some of the choices I had to make.
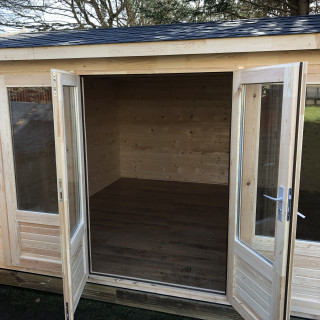
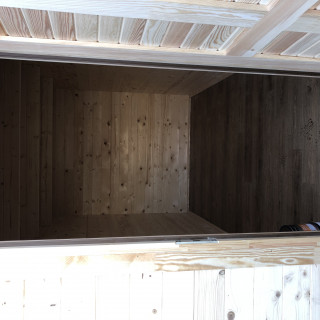
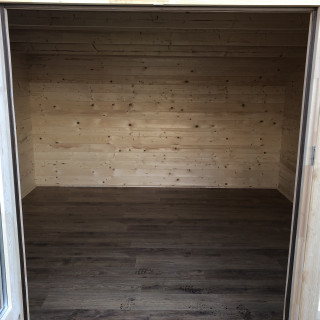
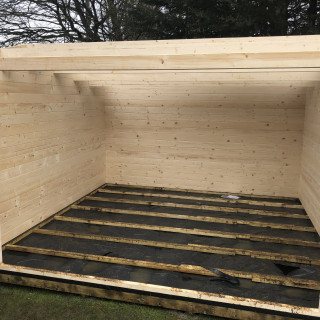
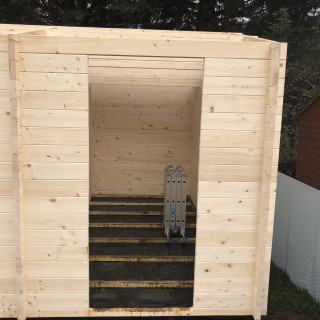
Just a hollow shell....
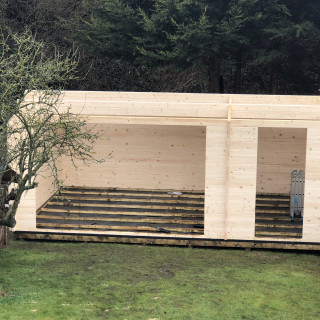
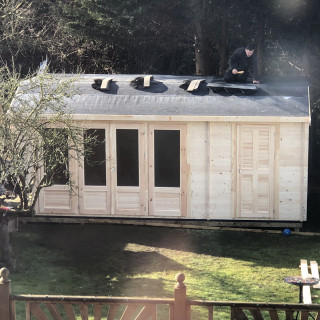
True to their word 2 and half days later it was up.
I loved it.
The build begins
The day comes and the build begins, the company believed they could get this all up in just 2-3 days which I found quite hard to believe but actually the team was amazing.
Clearly, they had done this time and time again, they hack a crack routine and was impressive to see. I only wish now that I had set up some kind of time lapse.
First some graft is needed
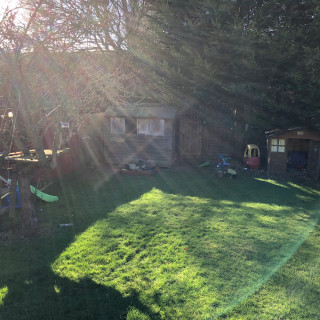
So one of the first jobs to be done was to clear the space so the build could be completed. This included breaking down 2 old sheds, moving a children’s playhouse (mini cabin) and clear down enough branches from the trees to slot the cabin in beneath.
This was all fine except when we found beneath the old sheds there was 40 (yes I counted and so did my back) concrete slabs that needed to come up, be carried through the garden and house to a skip probably a 100 metres away.
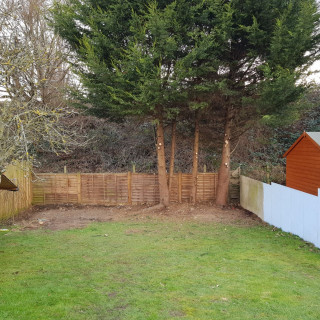
Anyway, we got there and the open space looked great.
Time to find the right space
So I knew I could never build anything that would meet the standards I wanted. I wanted something that would stand the test of time, have power, networking and keep everything safe and secure.
So I started to look at local suppliers for purpose-built wood cabins and came across these guys very local to me “https://www.johnsonsgardenbuildings.co.uk”
After visiting the showroom and looking around I was very impressed by the products and their attention to detail.
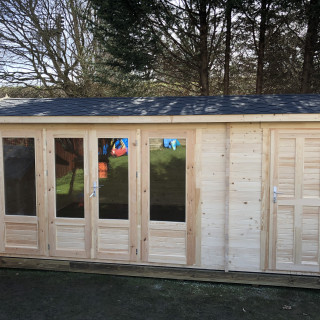
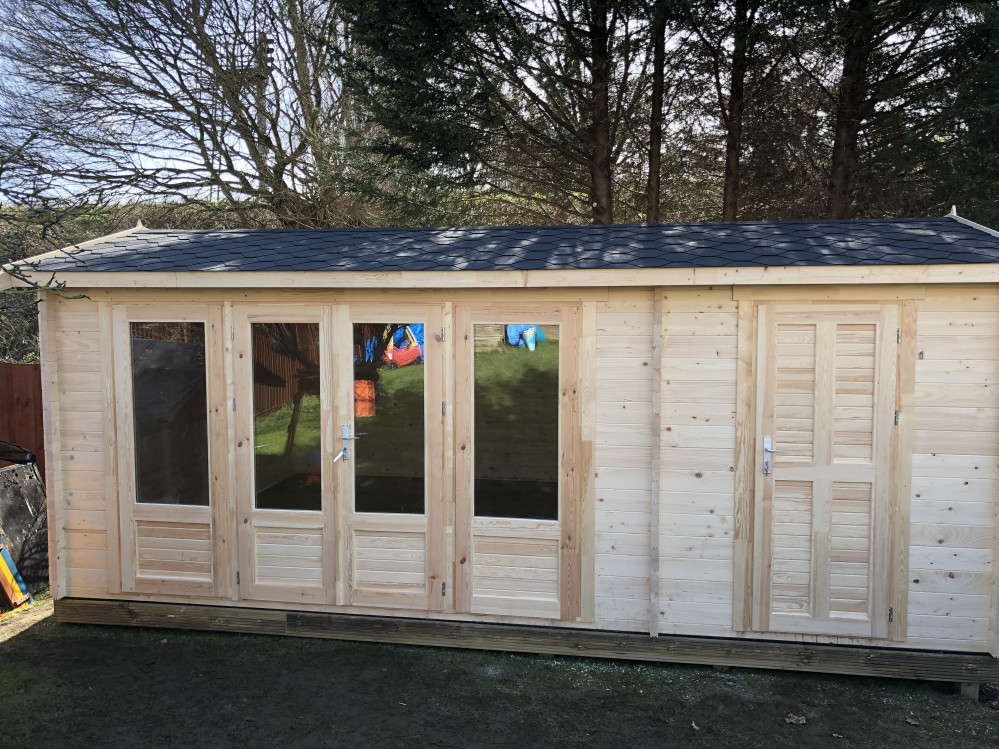
I decided on the Hempstead Plus which was 6m by 4m giving me (once you took the shed part out, because we also needed a new garden shed) a hobby space of 4×4 metres or a 13foot square.
“https://www.johnsonsgardenbuildings.co.uk/cabins/hempstead-st/”
There were lots of options and we took most of them because again I wanted it done well, so electrics, insulation, flooring etc.
Placed the order and now the waiting game as they said it takes 4 weeks to prep.
The kids gave me some space
I then got a big of an upgrade to sharing the kids playroom, this was really good because it meant it was warm and dry and there was a lot more storage and space to work in.
It allowed me to really ramp up the storage for models and my awesome wife got me a 3d Printer that year for my birthday.
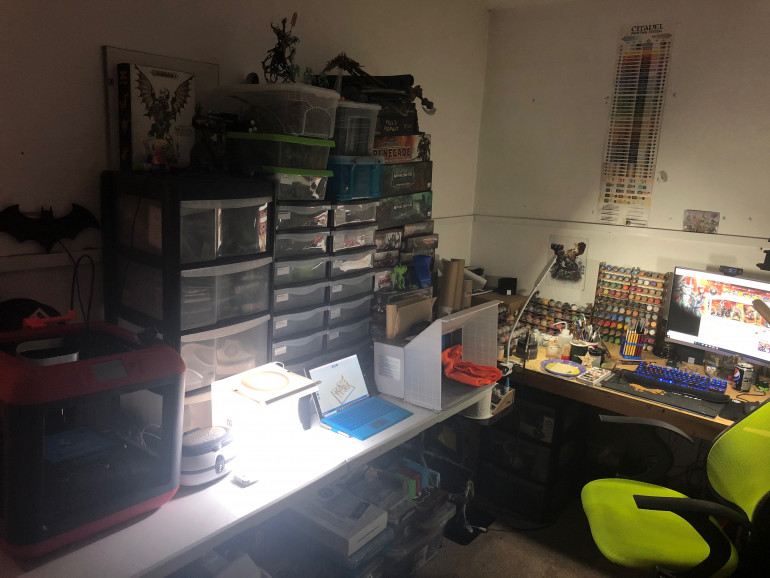
Like Jenny from the block I remember where I came from.
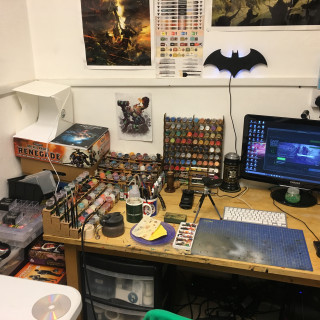
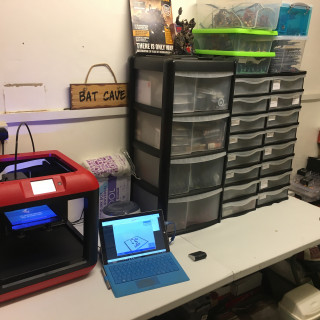
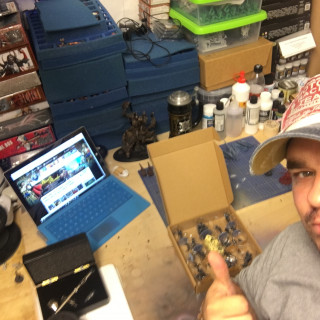
This was my first little hobby space in the garage, it was cold and sometimes wet but I loved it and I got around 200+ models in the year painted here. I even did some early streams here just using the MS Surface and a webcam it was actually not bad.


![How To Paint Moonstone’s Nanny | Goblin King Games [7 Days Early Access]](https://images.beastsofwar.com/2024/12/3CU-Gobin-King-Games-Moonstone-Shades-Nanny-coverimage-225-127.jpg)


