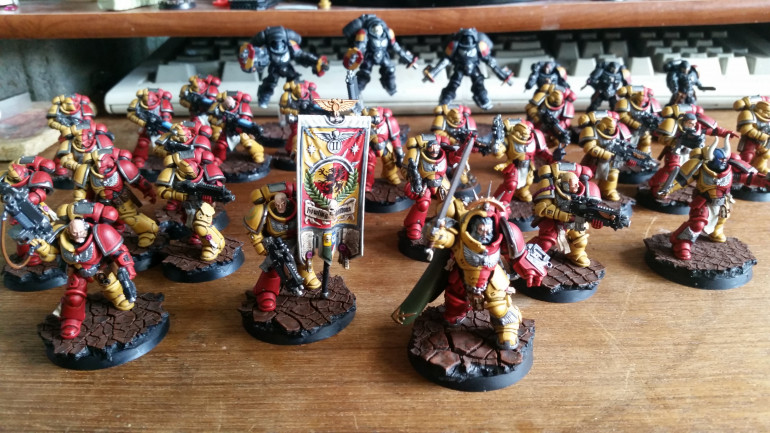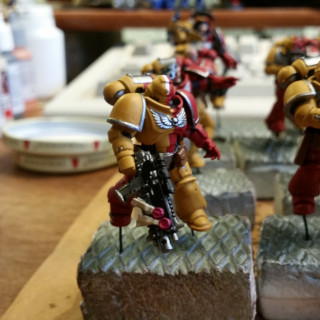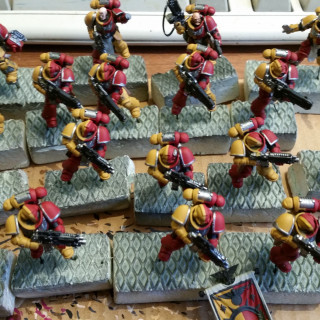
Dr. Tortenkopf’s Howling Griffons
Recommendations: 47
About the Project
In summer 2017 when Dark Imperium was released, I first saw the primaris marines at Nord Con in Hamburg, Germany. Shortly after I watched the Beasts of War coverage of the Dark Imperium Starter Box and decided, that I liked the new space marines and the fact that Games Workshop had decided to finally make space marines with proper legs and torsos. I have never played Warhammer 40k before, but I have always liked the world and the lore. I am very slowly getting started now. I think it was Warren who commented in one of the videos, that halved and quarterd colour schemes would look good on them. I have to agree with him.
Related Game: Warhammer 40,000
Related Company: Games Workshop
Related Genre: Science Fiction
This Project is Active
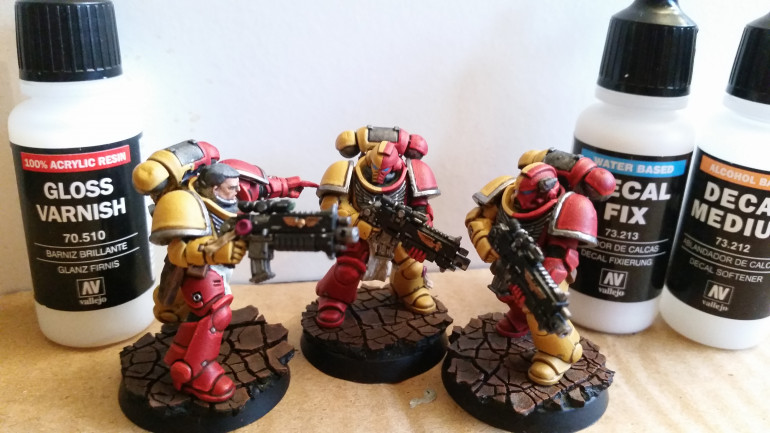
Putting on the Decals using Decal Fix and Decal Medium
I have now finished putting the decals on all of the figures. Pictures of the finished figures will follow as soon as I am done varnishing all of them.
But I have learned a few things about working with self printed decals, which I would like to share:
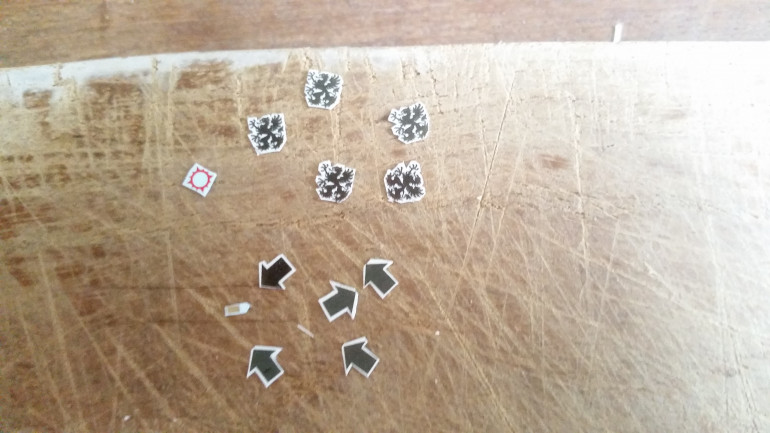
- Self printed decals are thicker than the factory made ones and do not bend that easily. By themselves they hardly bend at all and can be almost impossible to apply to rounded surfaces like shoulder pads.
- Since hey are printed with water soluble ink, any water, that seeps in between the transfer foil and the sealing varnish, will make the ink run and ruin the decal.
To get around these two problems I have used Vallejo’s decal system to apply them and it has worked out quite well. Here is how I did it:
First I applied a coat of gloss varnish onto the target area. This makes sure that the area if perfectly smooth and will more easily take the decal.
After that had dried I applied a thin coat of Decal Fix to the area. Decal Fix acts like the glue, that is already on the back of the transfer foil. It is water based and reactivates when it gets in contact with water even after it has dried. In this way it helps a stiffer decal to adhere to a surface, using just the minuscule amount of water that is on the decal anyway, after sliding it of the carrier paper. After applying the Decal Fix I let it dry for about 20 Minutes until it is only slightly tacky to the touch. The reason for that will follow.
After applying the decals to the dried layer of Decal Fix i press them down at the bottom to get the still rather stiff foil to adhere. Then using a brush I added a slight amount of Decal Medium, but did not yet press the decal down. It is still too stiff for that.
Decal Medium is alcohol based and softens both the gloss varnish on top of the decals as well as their transfer foil. This takes about five minutes to come into full effect. Then the decal can be pressed down and easily smoothed out over the shoulder pad.
Using too much Decal Medium however, can completely dissolve either the transfer foil, or the varnish covering the ink. This is why it has to be using sparingly and excess Medium needs to be dabbed of using a piece of tissue or a cotton swab. If the Decal Fix under the decal has not been allowed to dry it will still contain enough moisture to seep through the softened carrier and dissolve the ink.
Letting the Decal Fix dry and dabbing of excess Decal Medium turned out to be vital to receiving a good result.
In optimal cases, the carrier foil almost completely dissolved onto the surface leaving only the ink and almost no visible step between the decal and the paint below. This did not always work perfectly, but it would still have been impossible to apply these self printed decals without using the Decal Fix and the Decal Medium.
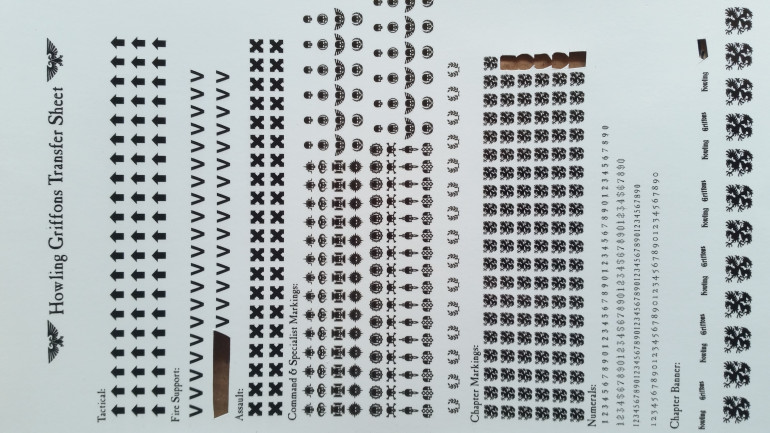
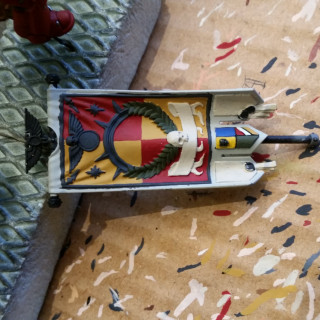
The Howling Griffons Transfer Sheet
The sheet was assembled from multiple fonts containing 40K specific symbols as well as some PDFs I found online that contained vector shapes which I extracted using Libre Office Draw.
Using vector shapes and font data is important because any image you will find just will not scale down to be printed at 300 dpi into an area that is supposed to go onto the shoulder pad of a space marine. Especially if that picture is line art of a griffon rampant which has lots of feathers and long fur.
I used Inkjet printable transfer paper bough on amazon and printed on it using the printer setting for photo paper. It took me a few tries to get the resolution that I wanted, but I am quite happy with the outcome.
After printing the paper needs to be sealed with spray varnish and after 24 hours can the be used just like commercial decals. It really works surprisingly well and I can only recommend the process.
My next step will be to add decals to all the remaining marines, after which I will post pictures of how the decals actually look on the figures and the by then hopefully finished starter army.
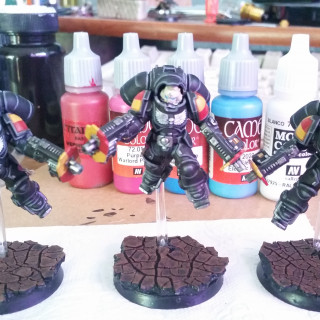
Engines on the Intercesptors
After spending the last few weeks on eyes and faces I spent all morning today on cleaning up a lot of minor things I had overlooked until now shaded all the guns.
And I did not take pictures of any of it. I want to get into the habit of changing that so here is a more detailed report of the last detail I did before I will add all the decals and the final varnish.
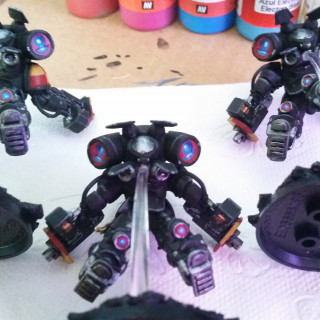
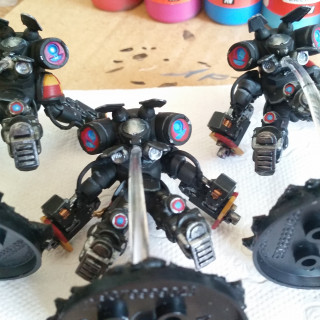
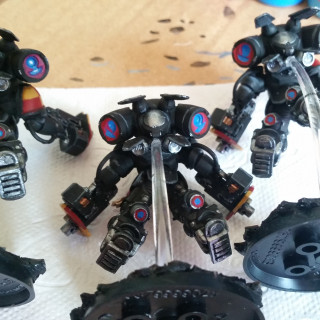
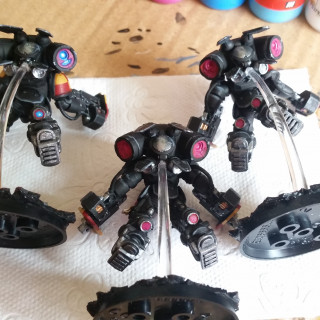
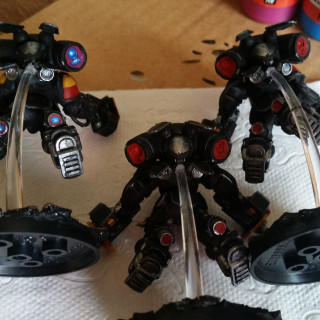
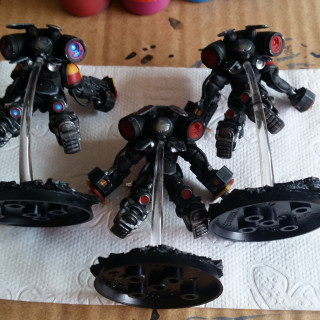
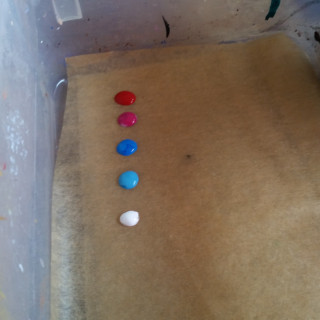
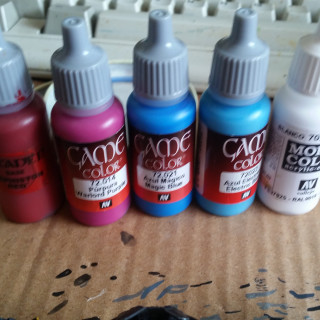
I replicated my test for colouring the engines on the Interceptors onto all three models. I will let the pictures speak for themselves.
Shadows and Highliting
My first step were line shadows using Citadell Agrax Earthshade.
For the Highlights on the yellow half I took a warmer tone of yellow (Vallejo Gold Yellow) and mixed it with a bone white colour.
The red highlights are pure Vallejo Bloody Red.
Highlighting yellow is pretty tricky and it took me quite some time time research a way that I liked and that looked like what I wanted to achieve.
I did not want the highlights to become too cold as that makes them look like lemons and I also did not want them to be too dark as that quickly looks brown or blue-green.
Basecoating
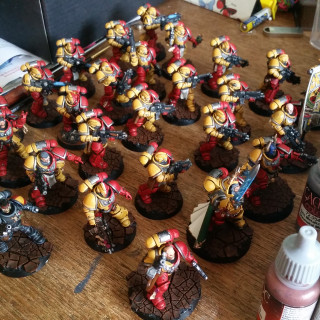
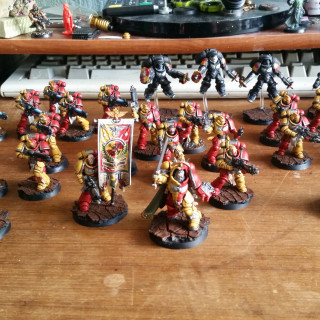
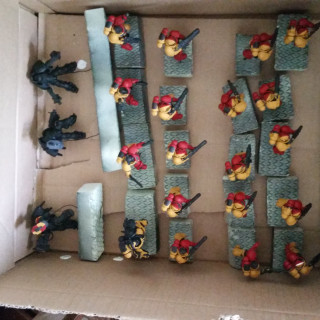
Basecoating was done using the citadel colours averland sunset and mephiston red.
First a rough coat of yellow on the respective sides followed by the red to mark out the separating line down the middle.
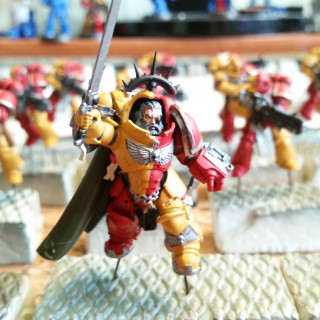
I particularly like how that line shifts with the armor plates on the captain as he turns his hip. That effect is more pronounced on his heavier armor, than on the regular power armor and I liked being able to use that to bring out the dynamic of the sculpts.
Finally I used some Vallejo Gunmetal Metal for weapon parts and the trim on the pauldrons, as well as that access door part on their backpacks, which I have been doing that way on all other space marines I ever painted (Those aren’t too many and I will probably make a project on here for them as well at some point.) . I just find it makes it look more mechanical and breaks the colour pattern up nicely, as having that long red and yellow separation down the entire back of the model might seem overwhelming.
Priming and Base Coating
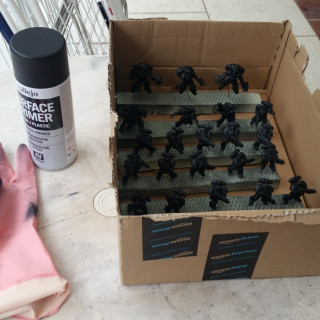
I primed and base coated the minis in late summer 2017. Priming them in black was in hindsight a mistake. Even citadel base colours have a hard time covering black when they happen to be yellow.
I ended up having to strip one of the squads this spring and primed that using an averland sunset rattle can. I took less than half the time base coating those, including the red half, than I had taken for a single squad with black primer.
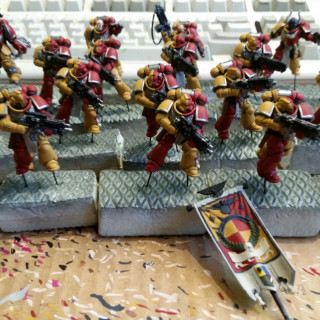
After assembly I drilled holes into the mini’s feet with a hand operated drill. I have seen people do that with power drills and find that horribly scary to watch. Please stop doing that everyone.
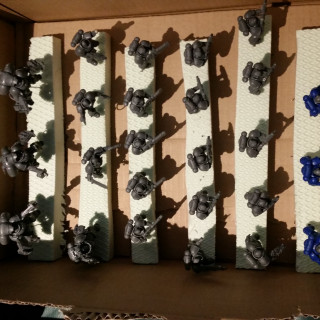
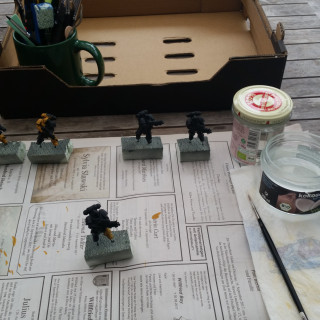
I then glued wires into the holes and drove those through bars I had cut from a sheet of Styrodur (An insulation material. More on that stuff later). The bars worked great as paint sticks and were easy to cut into separate blocks afterwards, which I could use as paint handles.
The same wires were also used to mount the figures onto the bases towards the end of the painting process.


