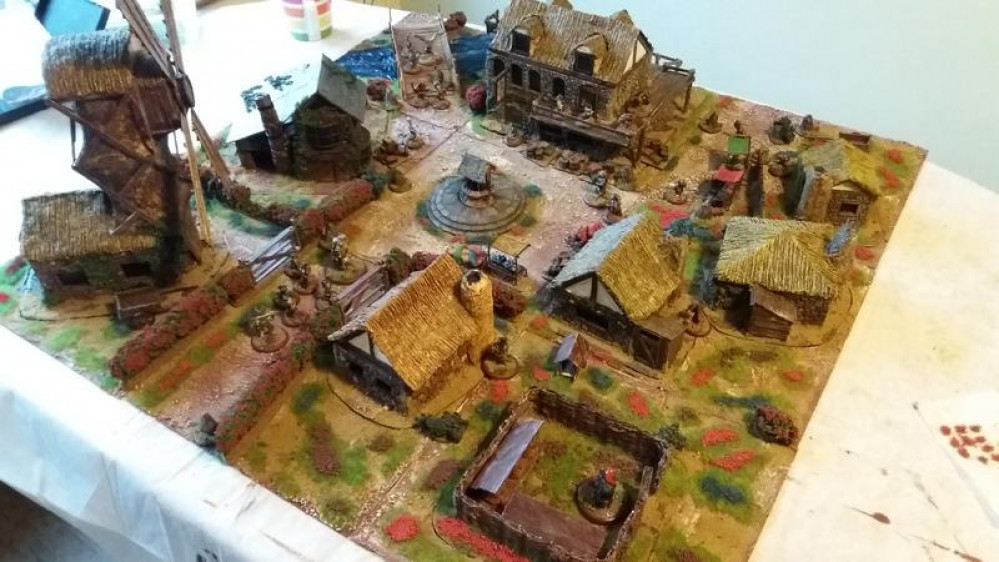
Soldado’s Burrows and Badgers terrain – Part the second! The Mansion of Marneous Blackwick!
Recommendations: 914
About the Project
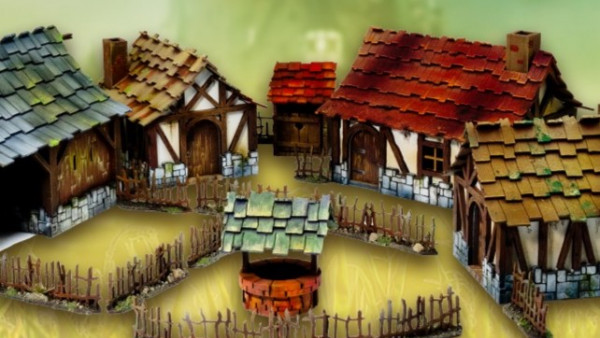
This project started out as me building some terrain for use at home to get my wife and daughter into gaming, now its become a bit of a monster part one (the village of Nutting Hill) went to Salute '19 and because people liked it, it has spawned part 2 "The Mansion of Marneous Blackwick!" Im hoping that I will again be able to take this to Salute for 2020.
Related Game: Burrows & Badgers
Related Company: Oathsworn Miniatures
Related Genre: Fantasy
This Project is Active
Hedging my bets...
So back to it I think..
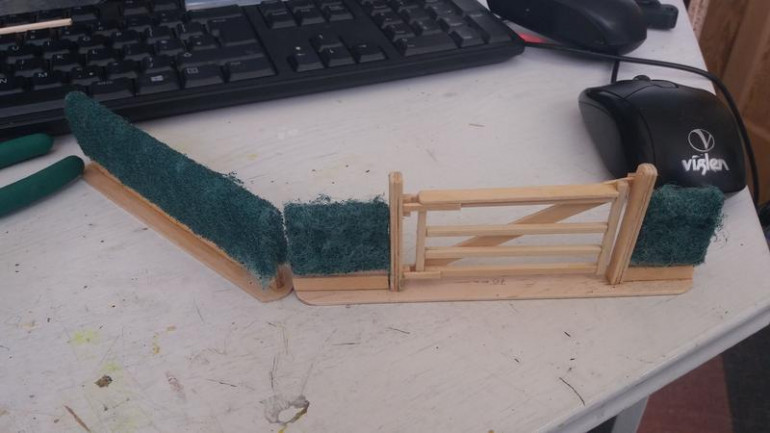
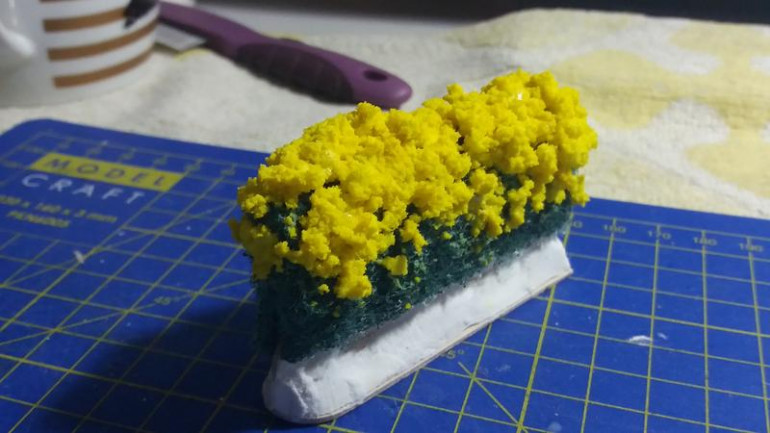
Time to revisit the hedges, Im not overly fond of what I was doing before so I sat back decided that I’d try a different way.
Tongue depressors and scouring pads to the rescue….
Project going on hold...
Dnag nabit and thundering tarnations…!
Real life has kind of got in the way and Im having to move house and other annoyances, so this project goes on hold while that happens.
But One last painted mini before everything starts getting boxed up and lost tidied up.
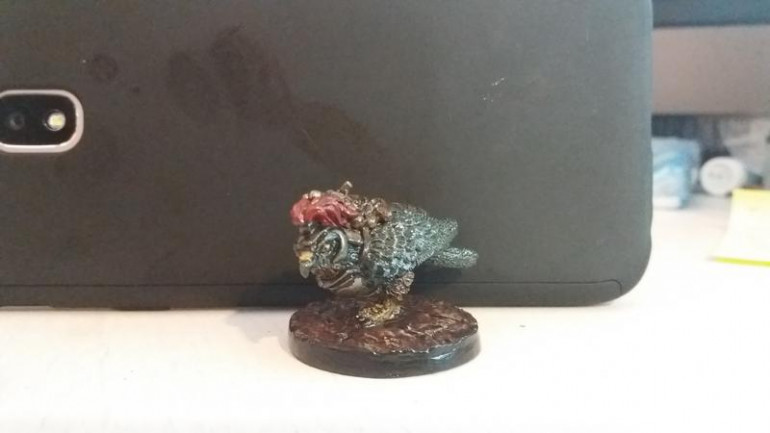 Oathsworns Peregrin Falcon, sorry its shiny but my matt spray ran out, no point buying more in until were sorted at the new place.
So on hold we go, back soonish I hope.
An idea begins to form - TREEHOUSES!
So on the drive to work this morning, my brain started turning over a couple of things, a really nice project on creating giant trees:
And the forest hideout from Robin Hood – Prince of thieves
so instead of actually working I started drawing out the initial ideas…
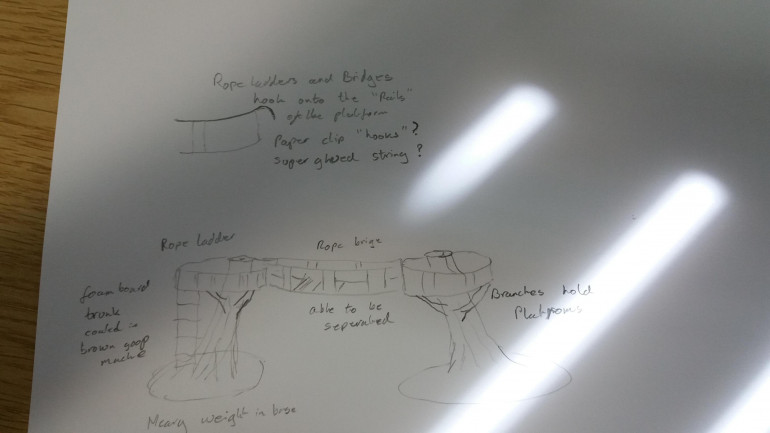 Im no artist so bear with me here, im unlikely to use the same method of building the trunk as @sotf but will have to see if my foamcore structure idea will support the platforms and minis once constructed, fingers crossed.
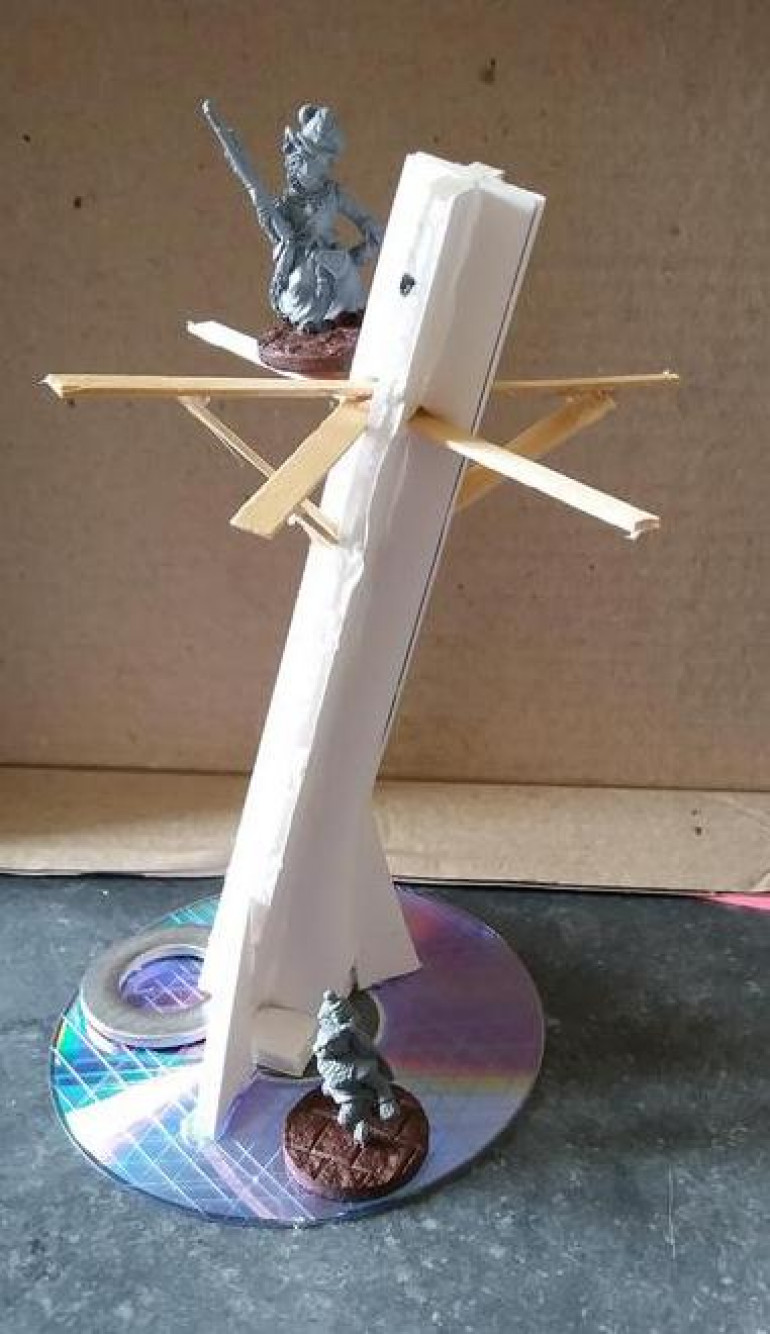
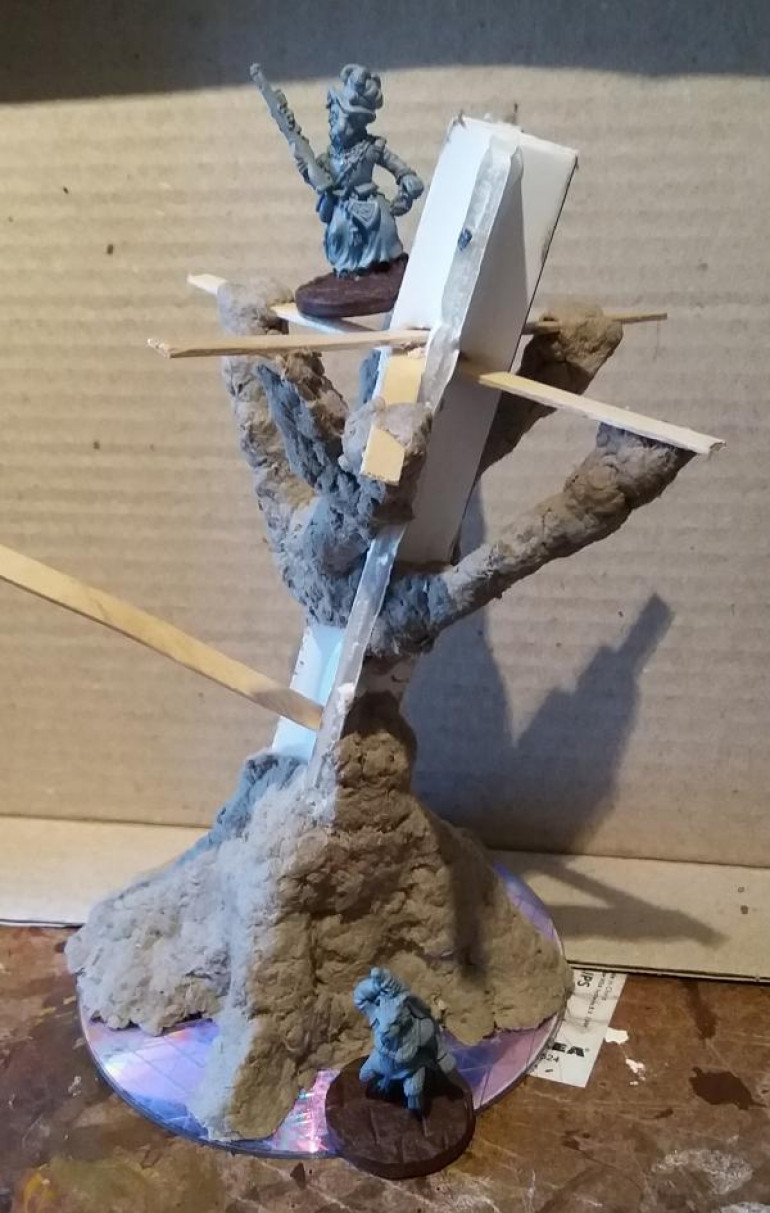
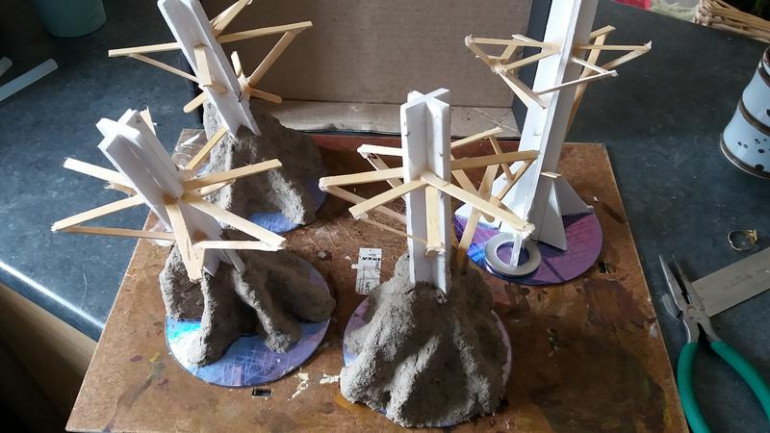
I have created my tree form from strips of foamcore hot glued so that they form a cross in profile. then stuck this at a suitably rakish angle to an old CD. I’ve added a heavy washer at the rear of the tree to provide a counter balance.
then at a random height I have skewered the form with 3 planks, these will form the supports for the platform, I have then added more coffee stirrer support to act as forms for branches.
More supports were added after the picture was taken…
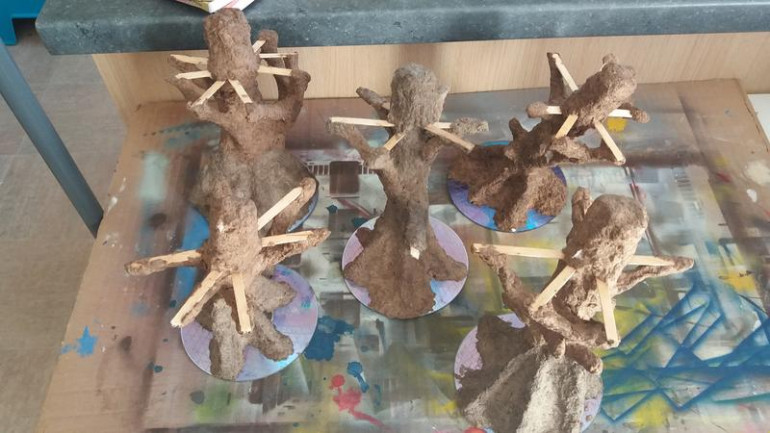
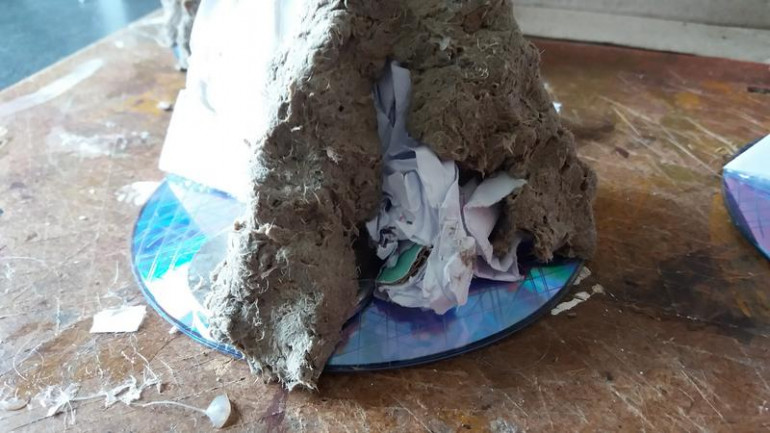
Here we begin added the brown goop to the roots and branches, I’m gonna let these dry before adding more for 2 reasons:
1: Its heavy at this point and I dont want to break the form while manhandling it.
2: I’ve run out of goop 🙁 silly boy.
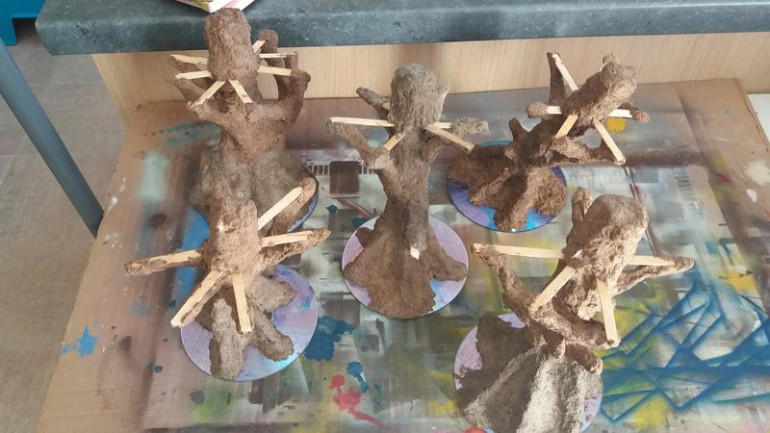
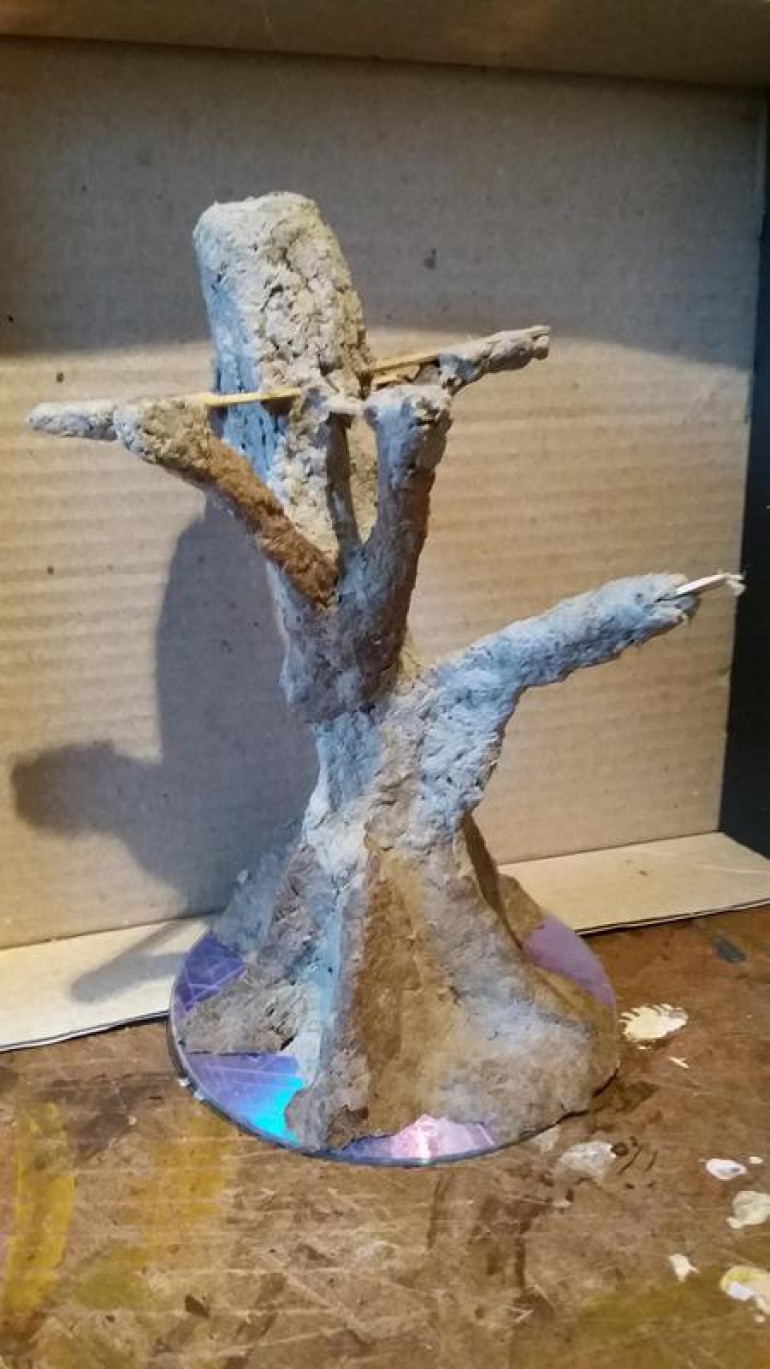 So I made some more goop and finished off the tree, now its gonna be waiting for it to dry so I'll get on and build a couple more as Im happy with how this bit works.
And some figures to actually play with...
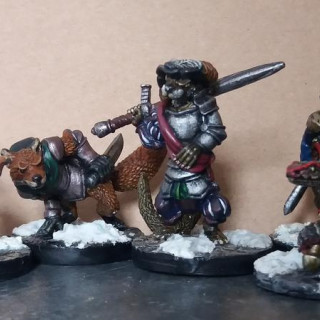
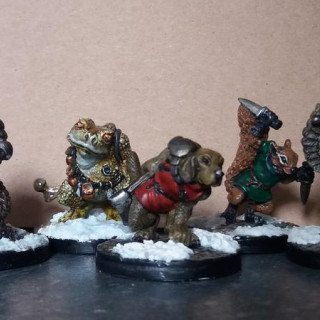
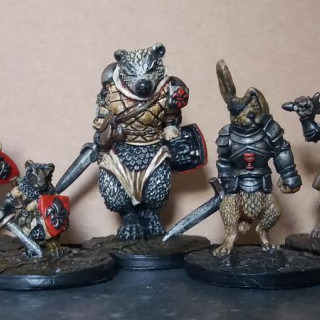
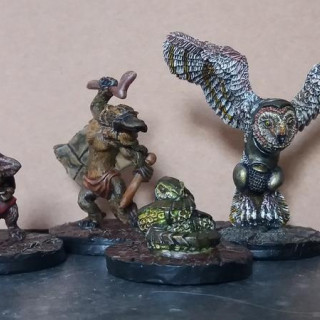
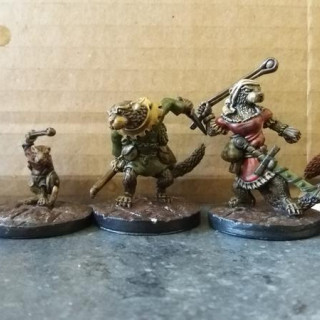
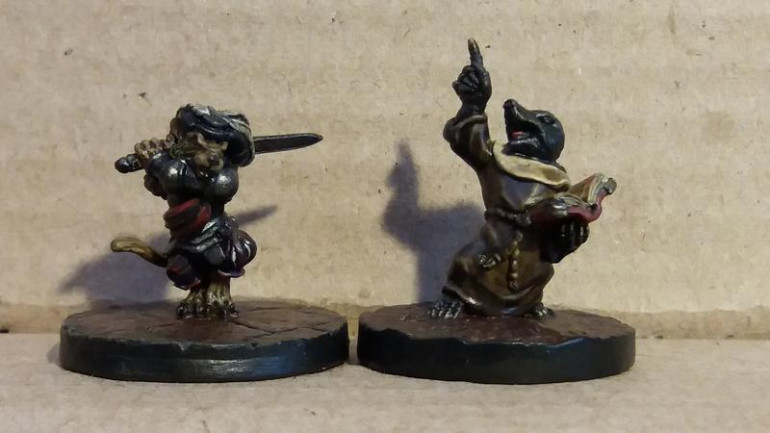
Some figures some painted a couple of years ago for a frostgrave campaign with snowy bases
And some more recent efforts
Im getting a real "buzz" out if this piece...
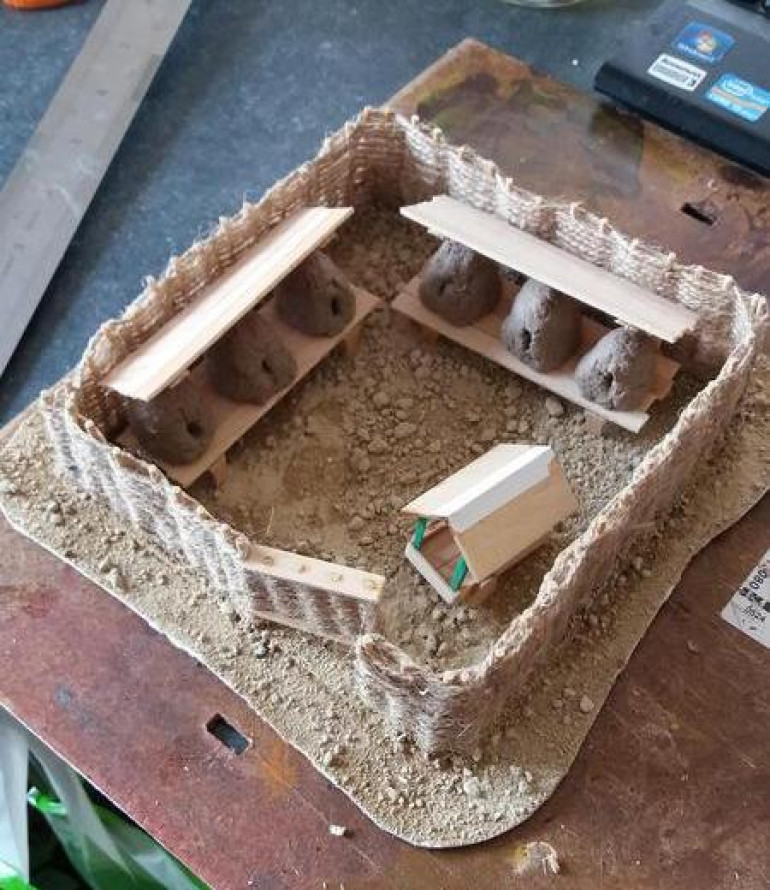 So at a friends suggestion I have started an apiary, situated behind a sturdy Wattle fence 6 hives sit on their sheltered tables and the apiarists covered cart is ready haul the honey to market.
The fence was made by drilling holes in coffee stirrers and supergluing cocktail sticks in, once the four sections were glued into place on a base, I wove brown garden string inbetween. Painting the string in PVA once it was in place.
The tables are simply coffee stirrers (what else 🙂 ) assembled with hotglue. Same with the little cart.
The hives are the usual brown cardboard goop.
A couple of days for the hives to dry and then I can start painting it all.
A couple of shots showing the scale
Making the papier Mache goop
Here is a little guide on how I go about making the papier mache goop, this stuff has made this project possible for me especially as its really cheap to make.
Hopefully this is helpful to others with their projects.
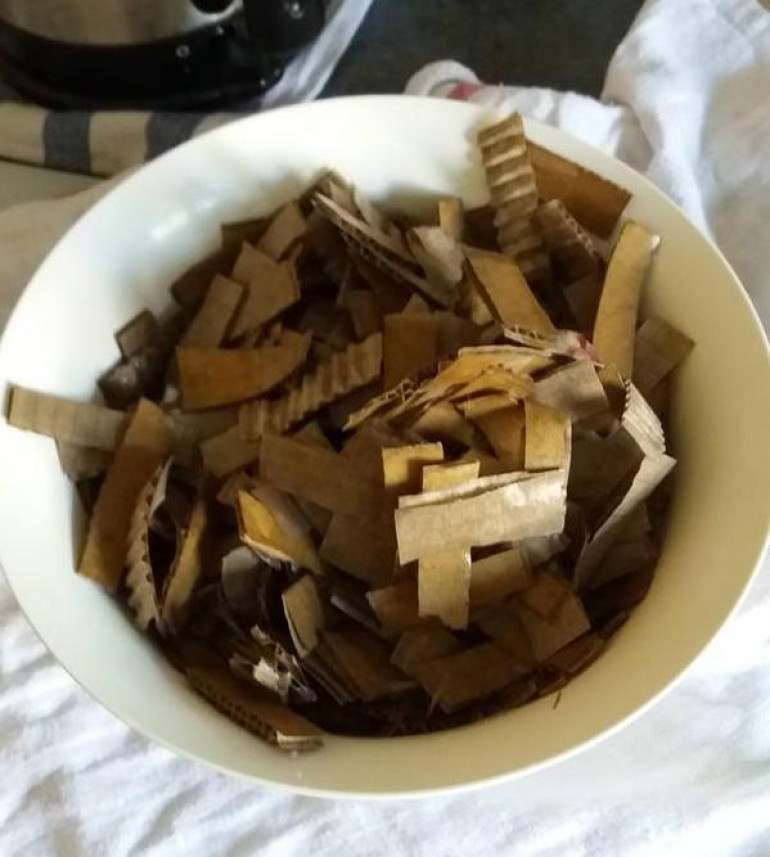
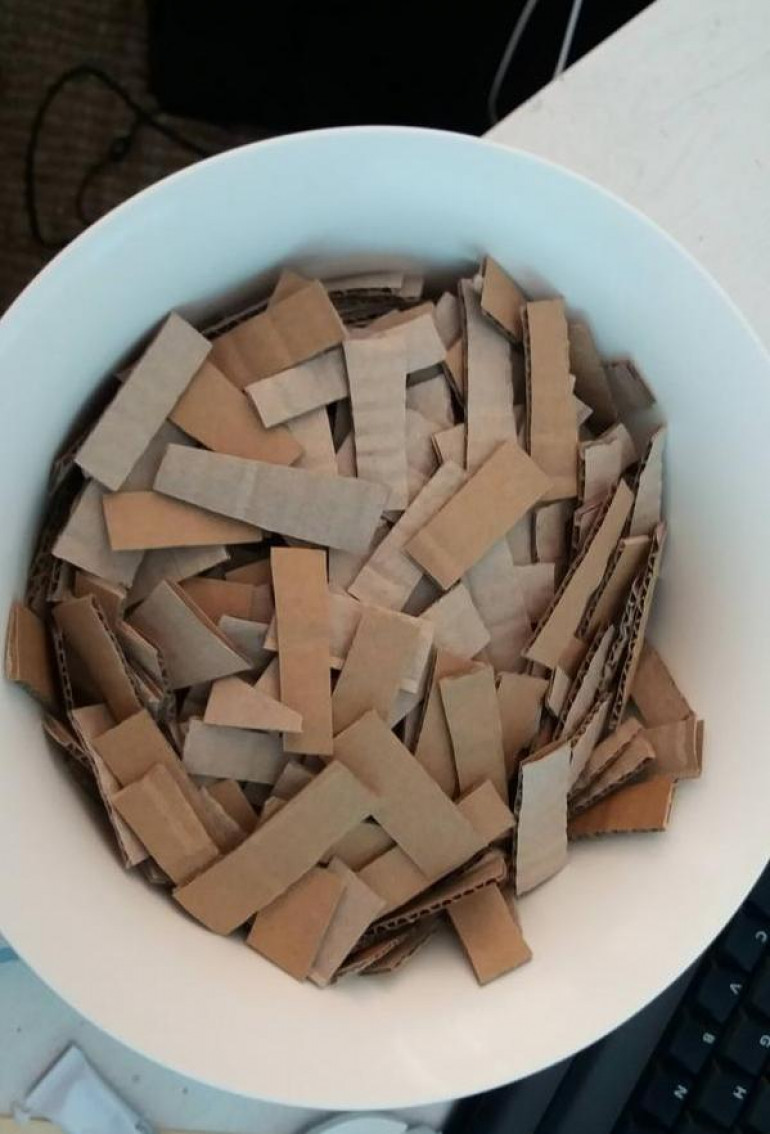 So the first bit is to cut up your cardboard into a managable size for your blender, these bits are about 25x 15mm roughly. Beware, a small cardboard box creates a lot of goop, so dont go to nuts here unless you need lots all at once..
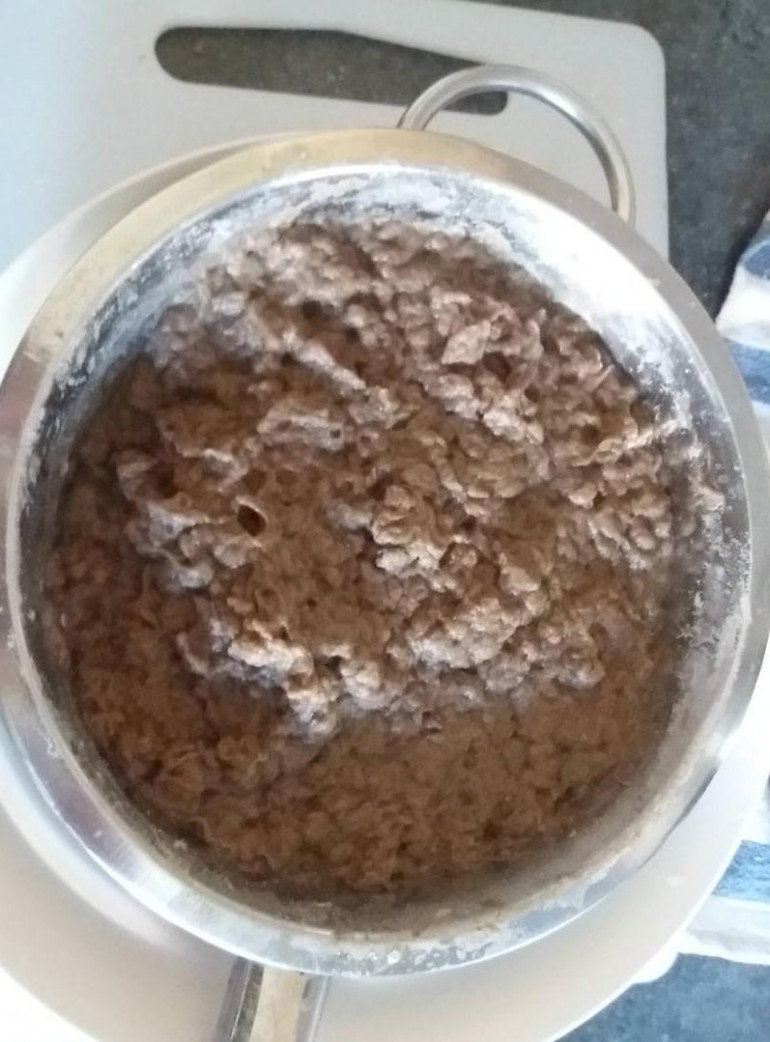 Blend handfuls at a time, do to much and you'll blowup your blender (trust me on this) use 1 part cardboard to 2 parts water in the blender, the more water the easier it will mush up.
Imagine an image here if you will….
No image of this bit, after you blend it, pour it out into a sieve/ colander/ cheese cloth, whatever you’ve got.
Squeeze out as much water as you can until you end up with fairly solid brickettes.
——————————-
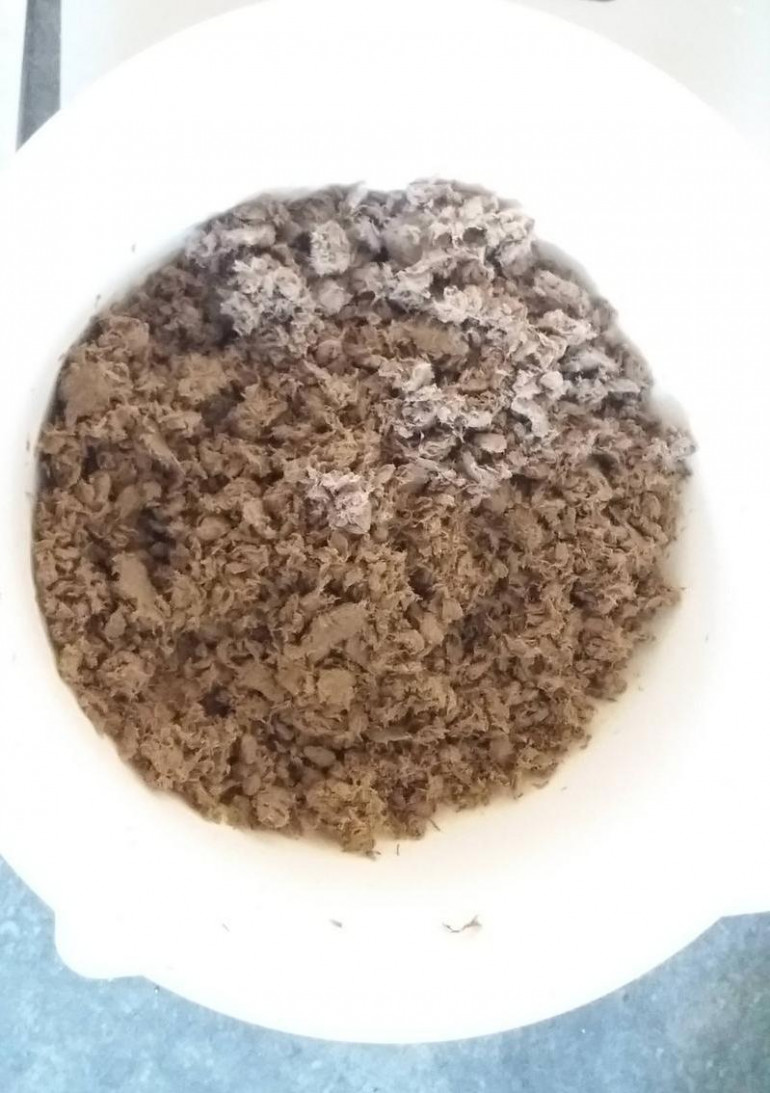 Take the brickettes and break them up by hand then stick it handful by handful through the blender again, this time without water.
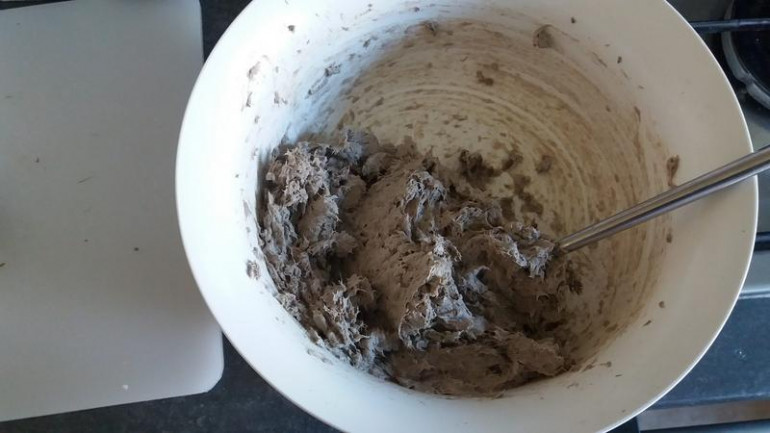 Take the resulting damp mulch and mix in lots of PVA glue until you get a soft paste, its fine to have lumpy bits. I find that storing the mixture in a sandwich/ freezer bag in the fridge means the mixture keeps fine for a few weeks, just let everyone know its not Tuna mayo!.
So there you have it. That is how I make the goop, apart from soaking the process takes less than an hour all in to make enough to roof about 3 – 4 houses.
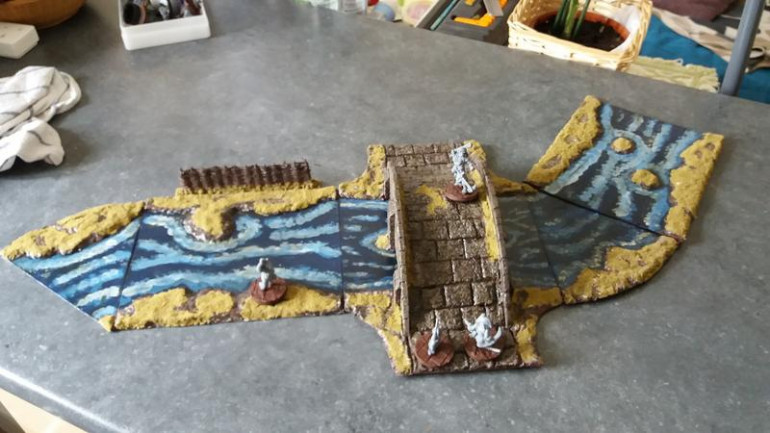
A Bridge to far..?
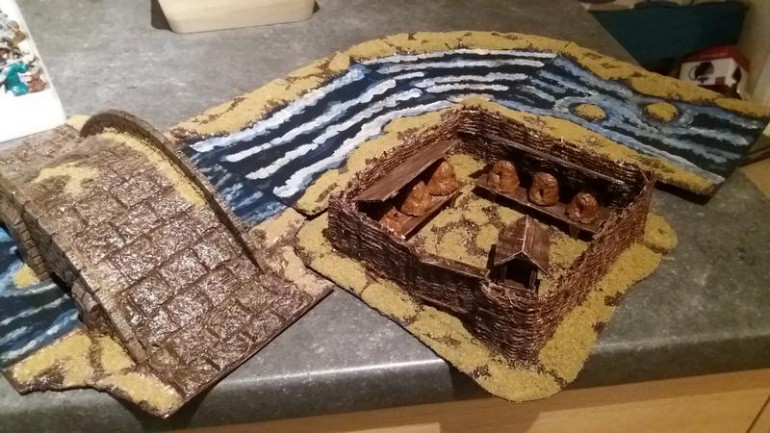
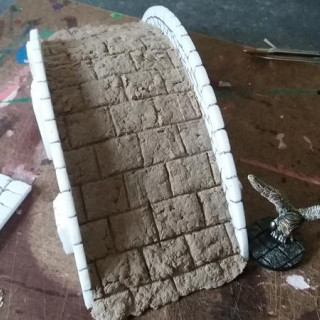
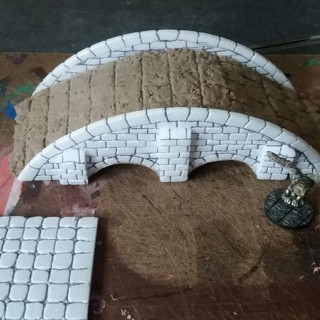
After being away for a few days, I got around to making a start building a bridge last night, here the near completed span, once this has dried I’ll build the base then it will need a river to go with it
I’ll update this entry as I go along…
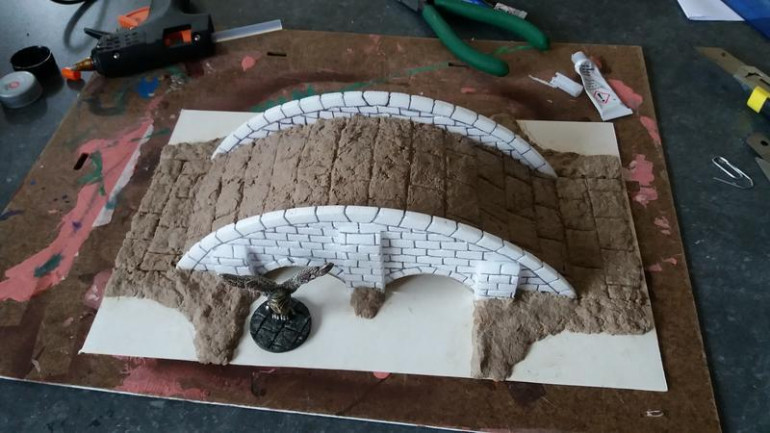 A little bit later in the day and here is the base and bridge glued together with the banks added these again are papier mache, once its dried i'll trim the corners out, this should help keep any warping to a minimum (I hope!)
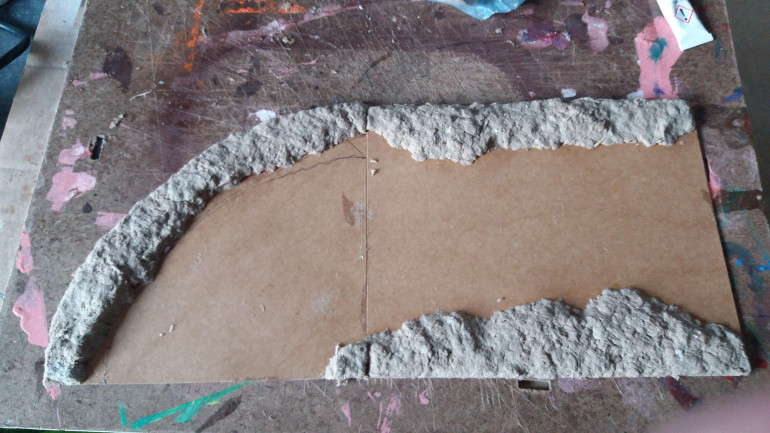
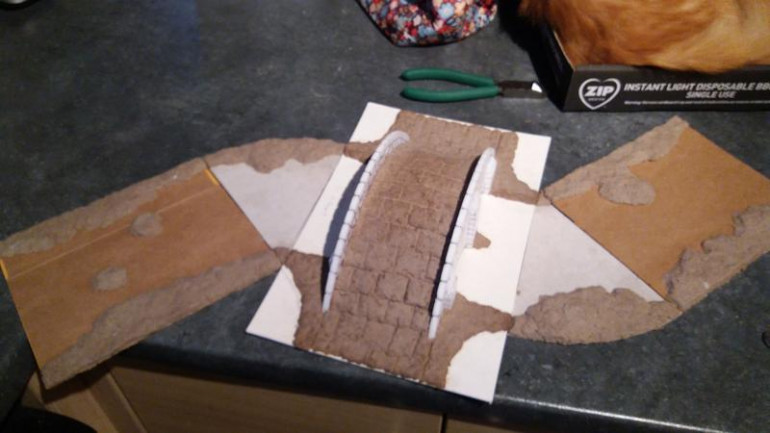 Here are some experimental river sections, or rather the beginnings of them, not sure how these will turn out yet, the weather sucks at the moment so everythings taking an age to dry.
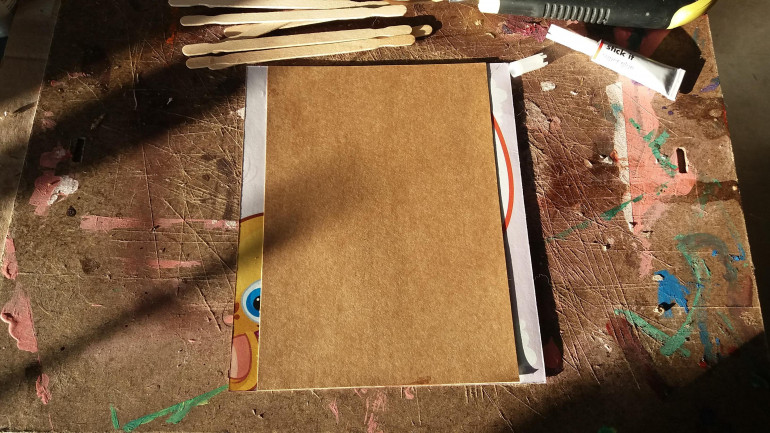
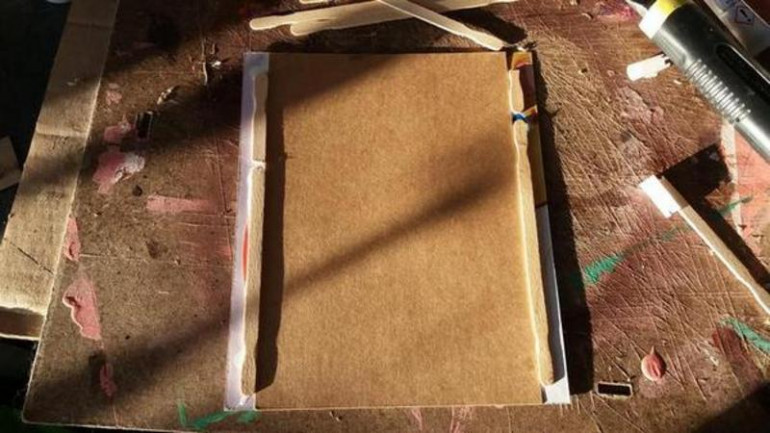
A little how to on how I create the river sections
Allow the “goop” to dry slowly, any attempt to speed the process up either by putting the piece in the sun or in an airing cupboard just means the piece warps more 🙁
I hope this helps..


