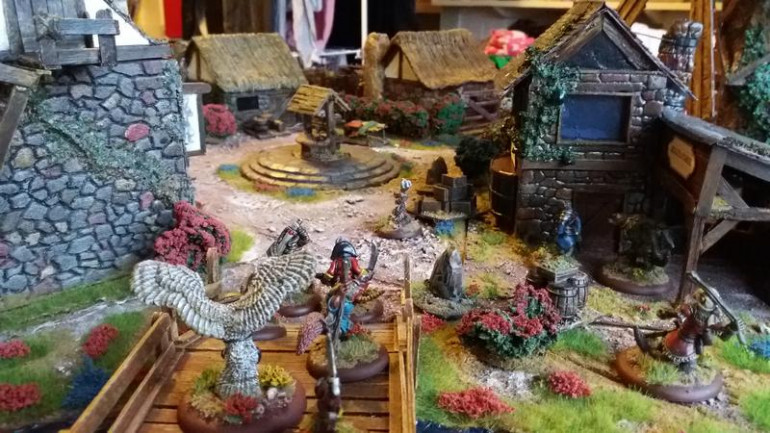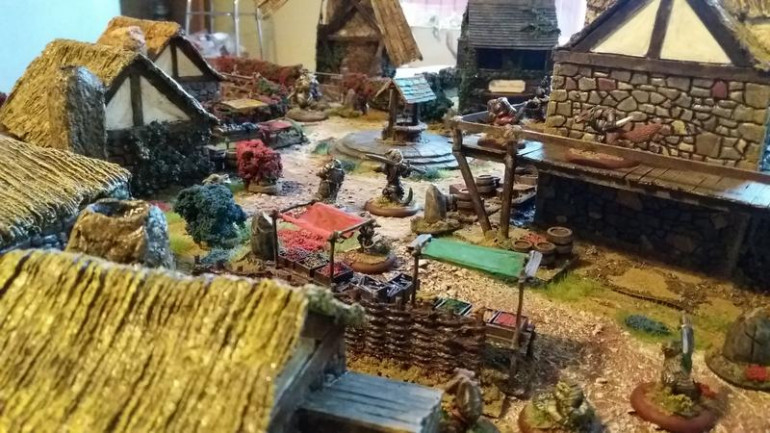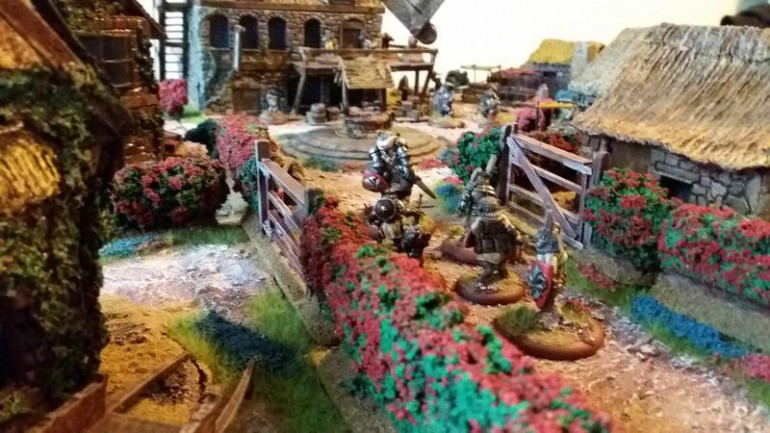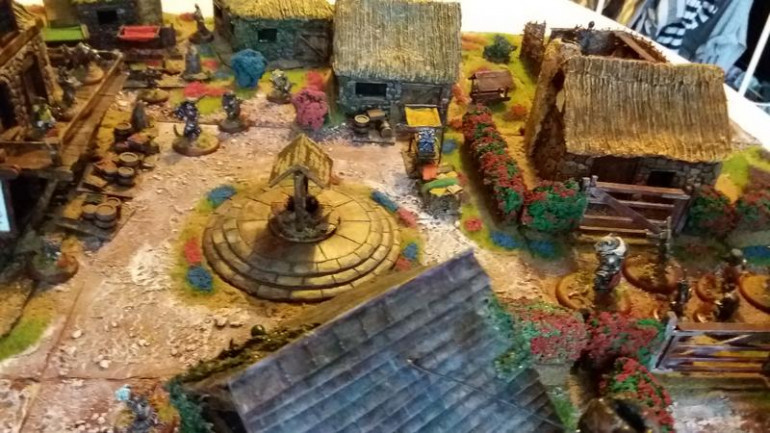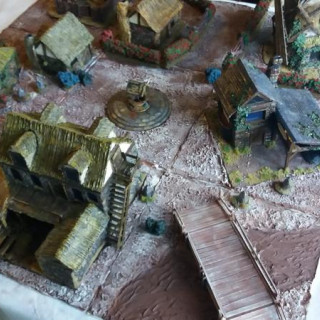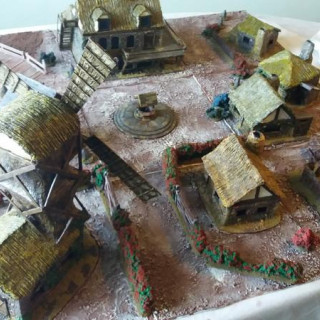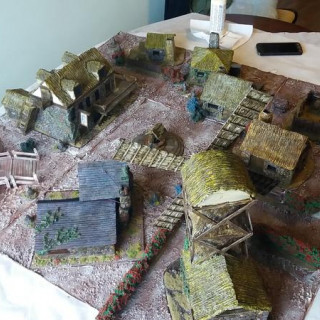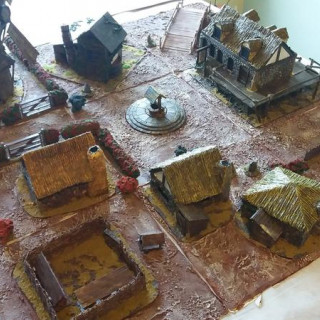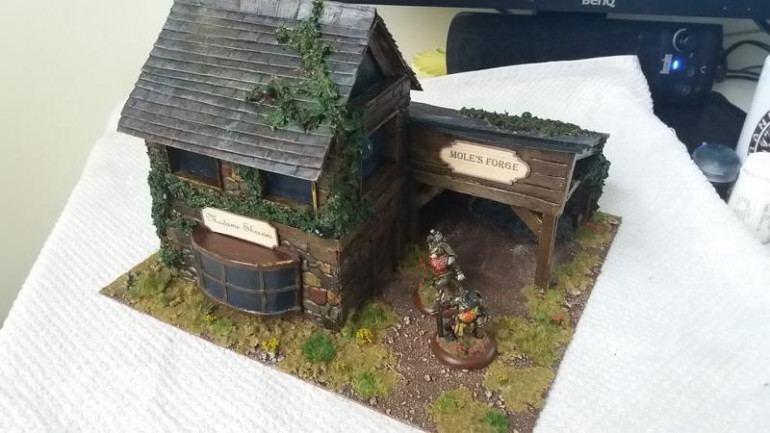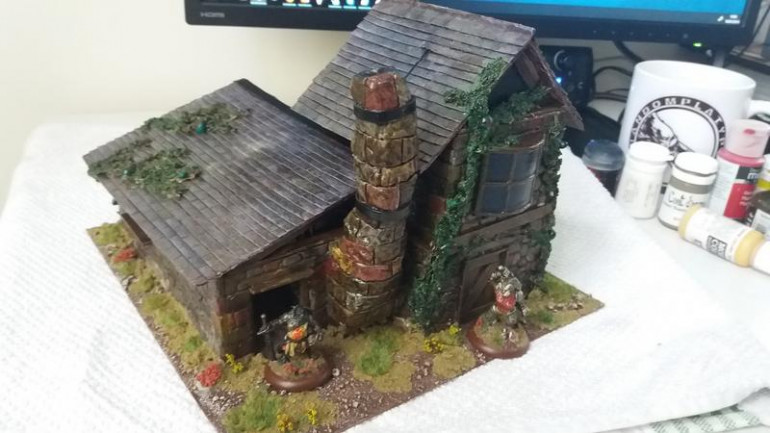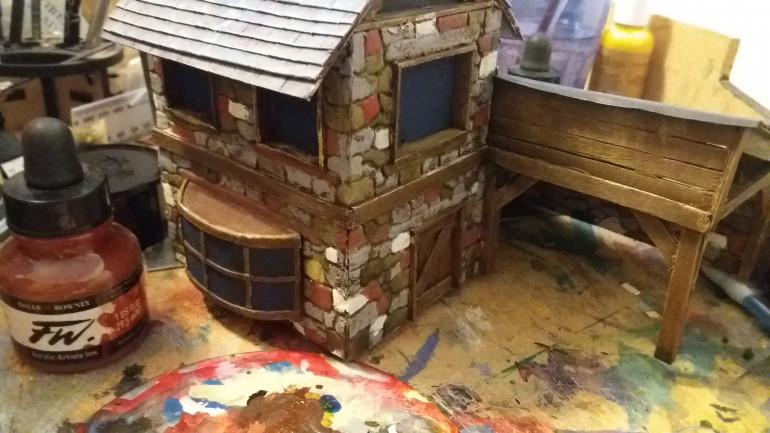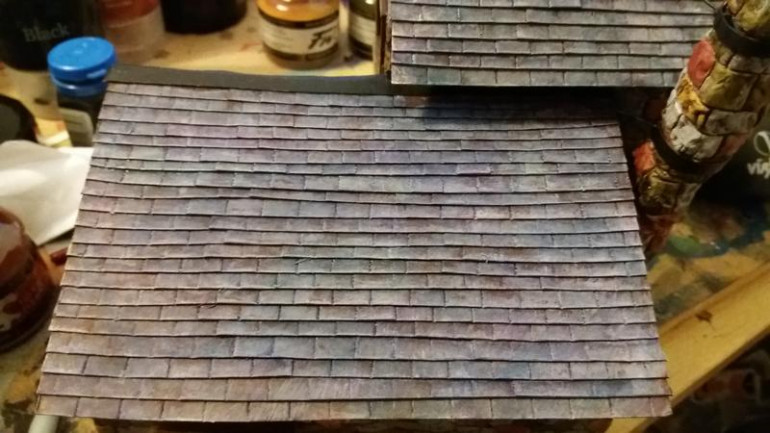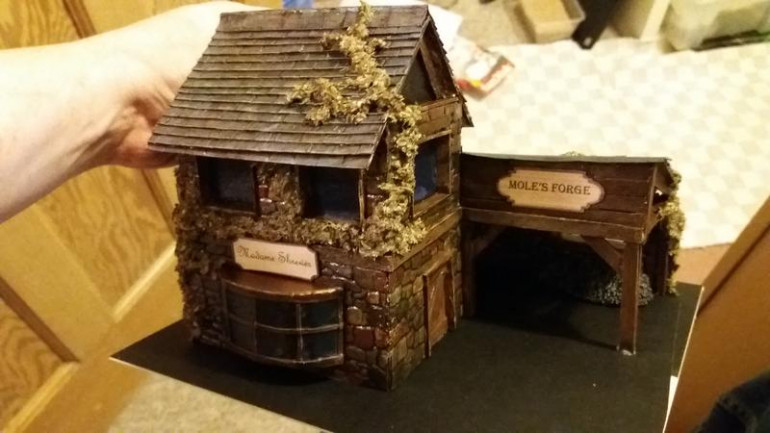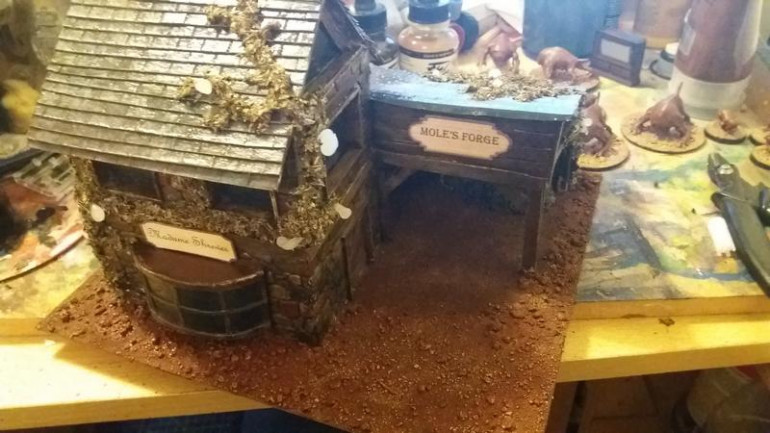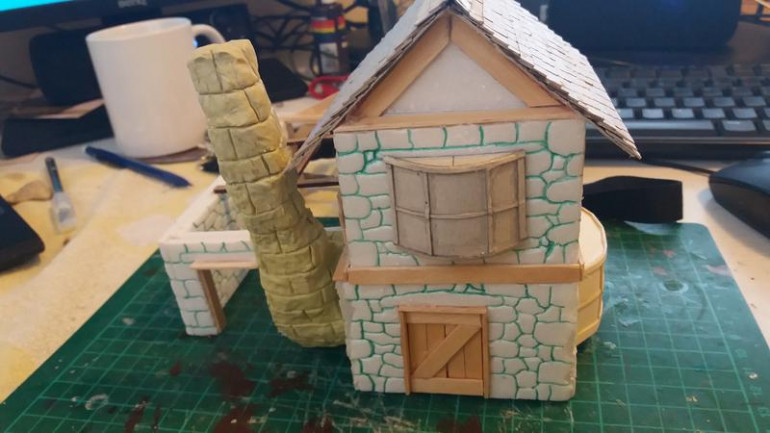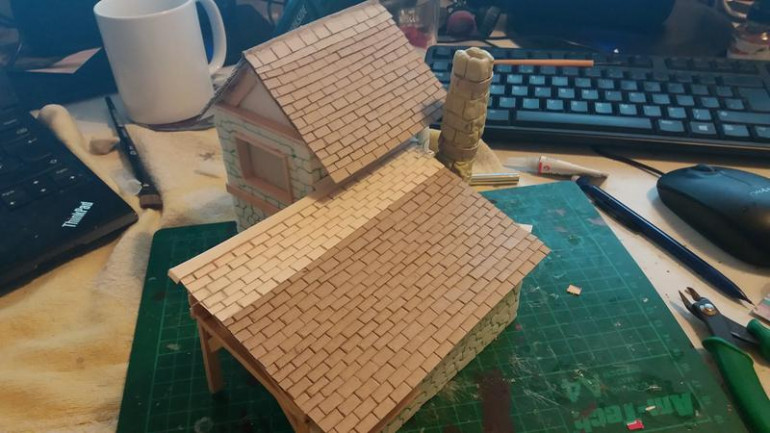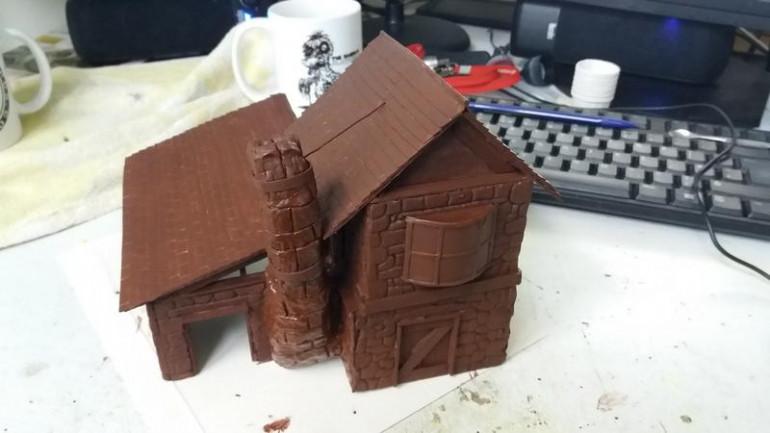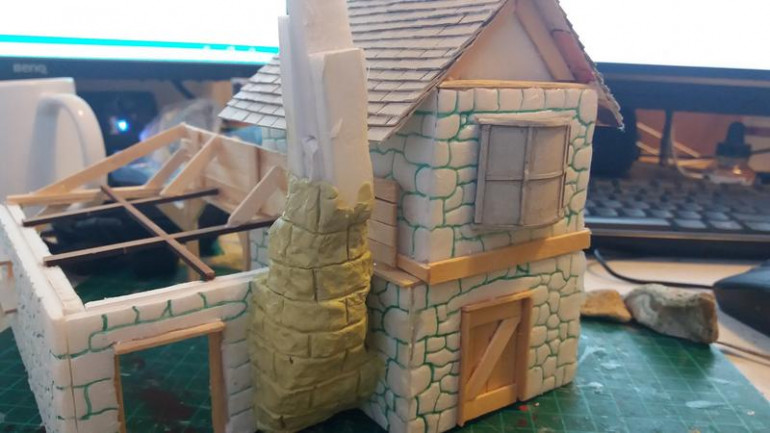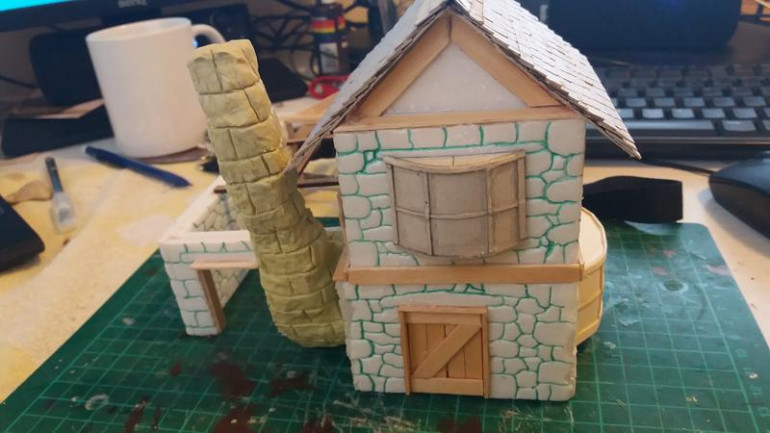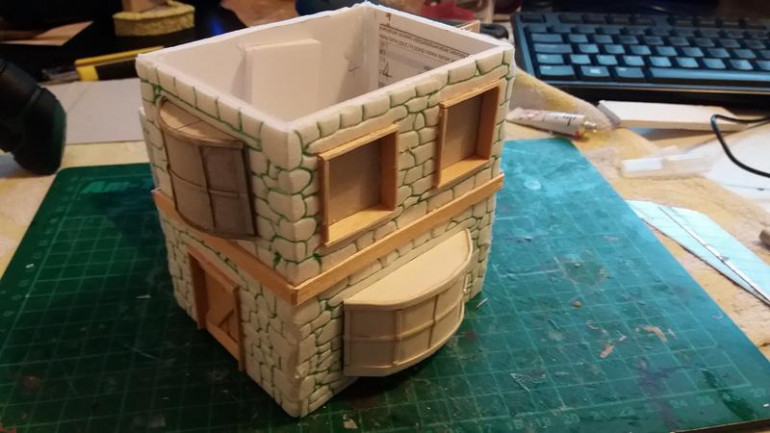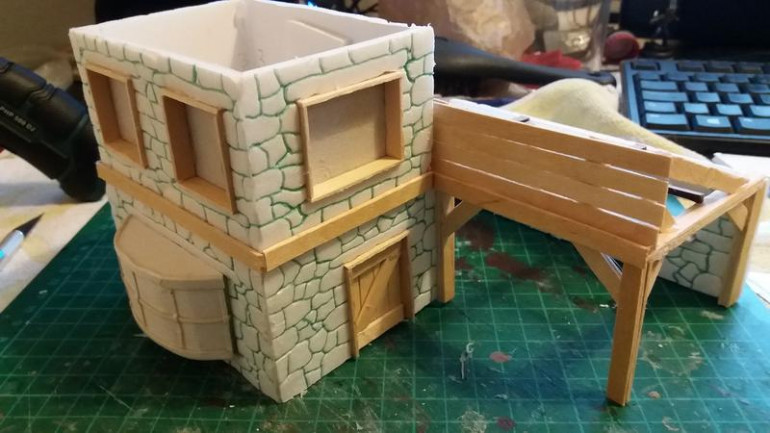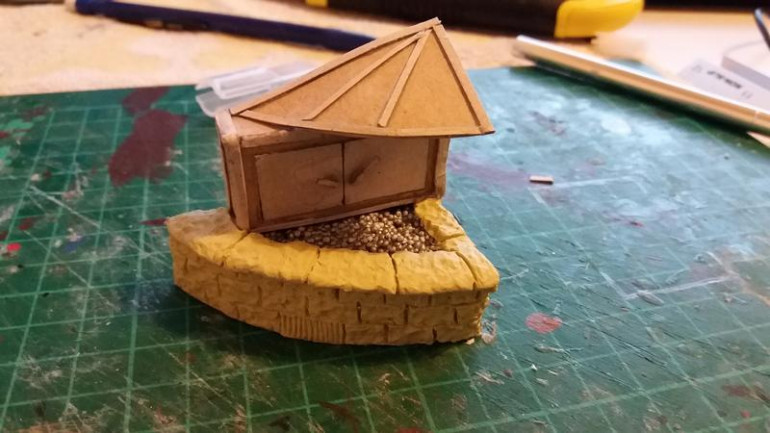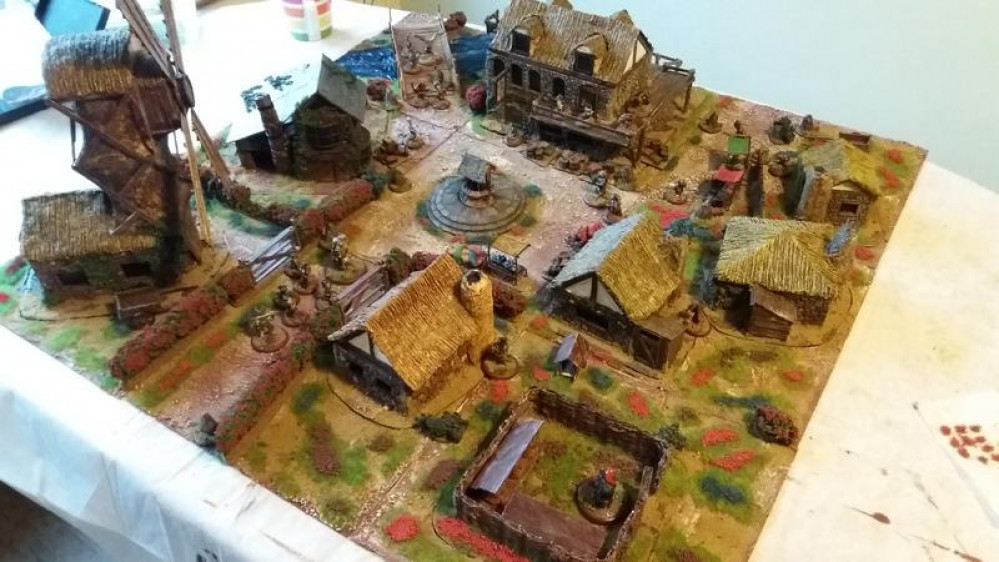
Soldado’s Burrows and Badgers terrain – Part the second! The Mansion of Marneous Blackwick!
Recommendations: 914
About the Project
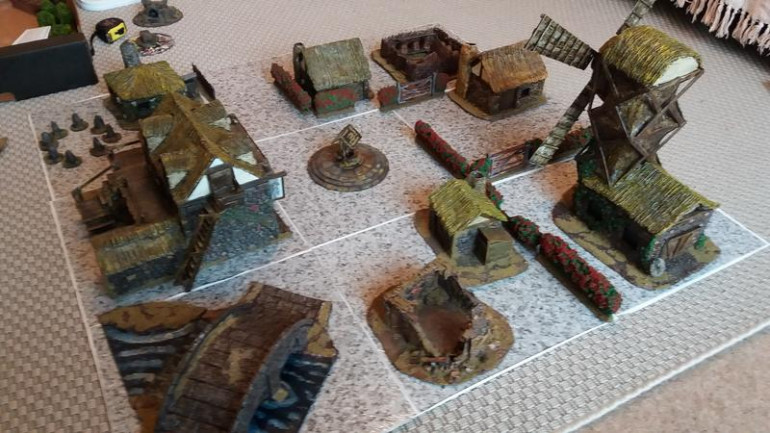
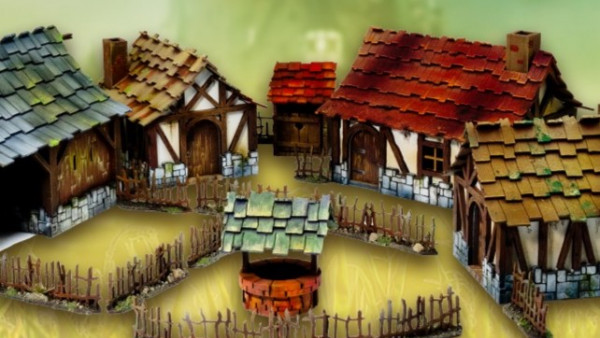
This project started out as me building some terrain for use at home to get my wife and daughter into gaming, now its become a bit of a monster part one (the village of Nutting Hill) went to Salute '19 and because people liked it, it has spawned part 2 "The Mansion of Marneous Blackwick!" Im hoping that I will again be able to take this to Salute for 2020.
Related Game: Burrows & Badgers
Related Company: Oathsworn Miniatures
Related Genre: Fantasy
This Project is Active
To Salute! and beyond...
So while the salute table is complete, this terrain wasnt ever really meant for this which is why the buildings were such a faff to get to sit in the boards properly. So moving on Im thinking what other building will be of use and so Im doing an Armoury/ Watch house from which Billy the stout, valiant town watchmouse can sally forth and crack some heads when they need cracking…
The chosen have arrived!
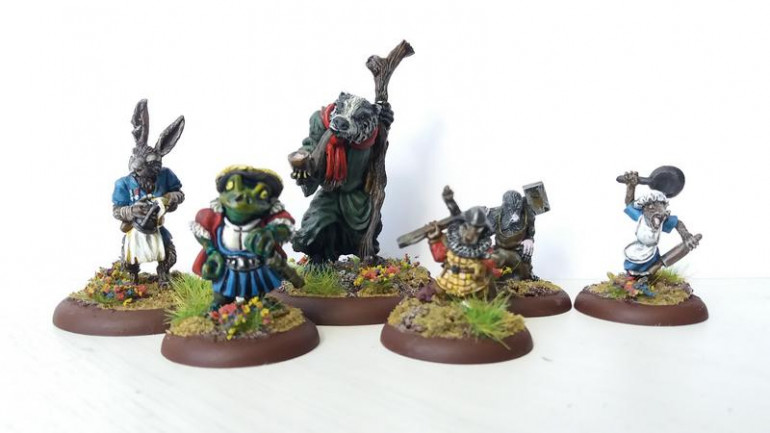
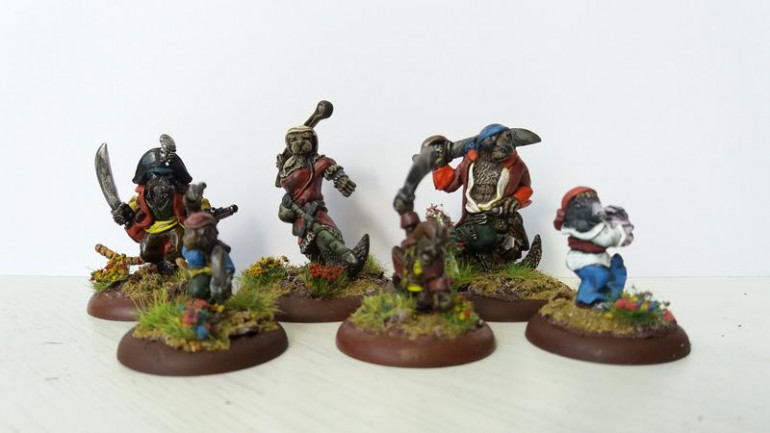
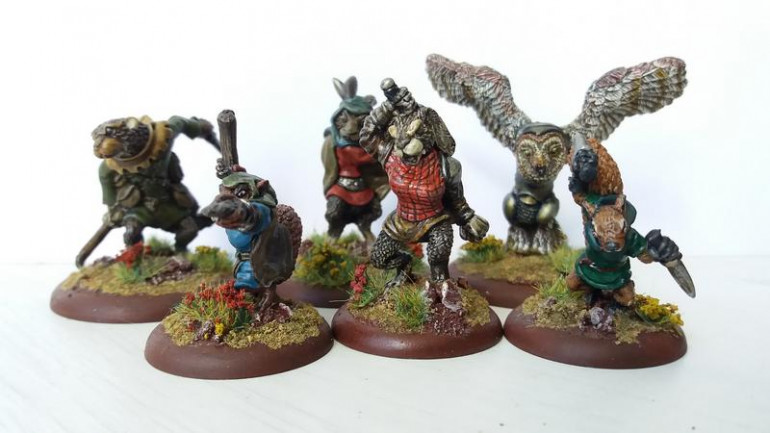
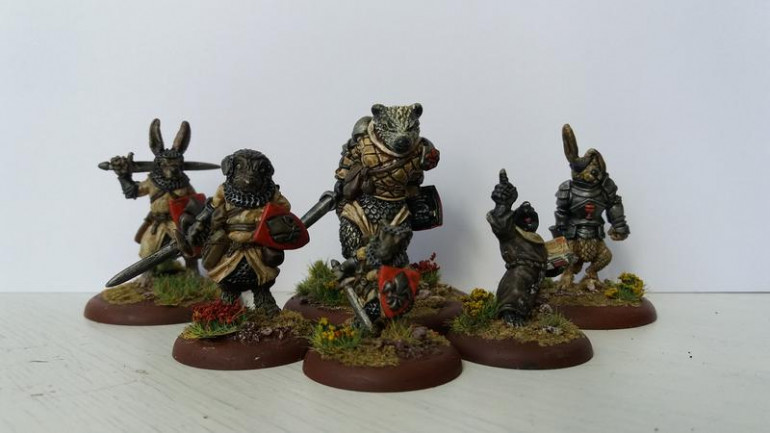
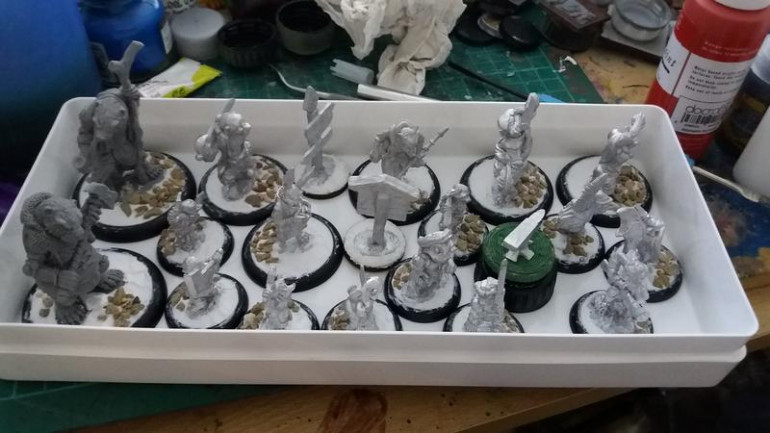
So after sitting down and looking at what minis I had in the collection (and tbh what actually could pass muster for a participation game!) I have chosen the 4 warbands.
So these bands add upto around 350 pennies each except the kings guard who come in closer to 400 but they’ll be the target of 3 other warbands so I felt they might need the extra oomph, we’ll have to see.
Saying it with flowers....
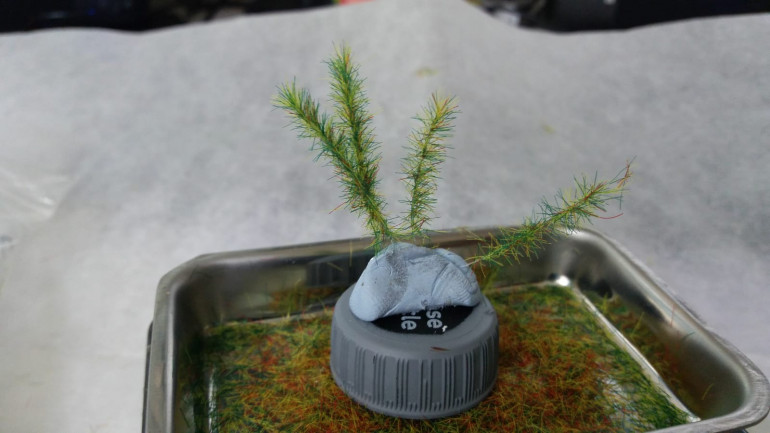
So I was making some more tufts as im running out, and I was thinking about how to make taller flower stems.
The idea I came up with was nylon thread or fishing line if you have it.
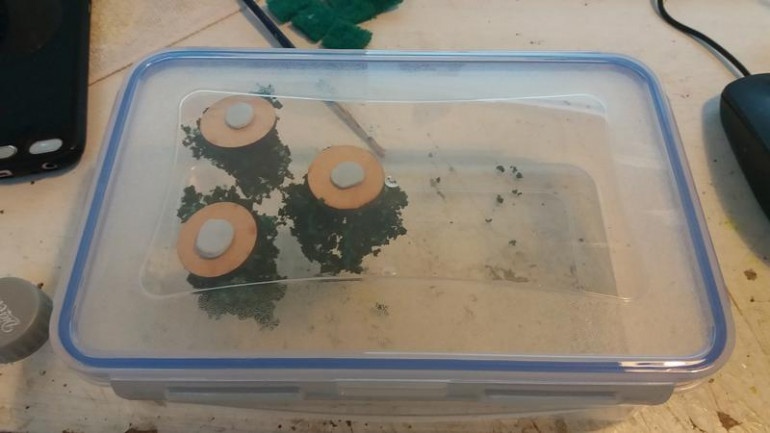
Trim to length, coat in pva and wave over the magic box, all there is to it really. once its dried dab with glue and add coloured flock.
Once ready, add a spot of super glue to the end and jab it into an existing tuft to hide the base.
The Village People
These Citizens of the World…
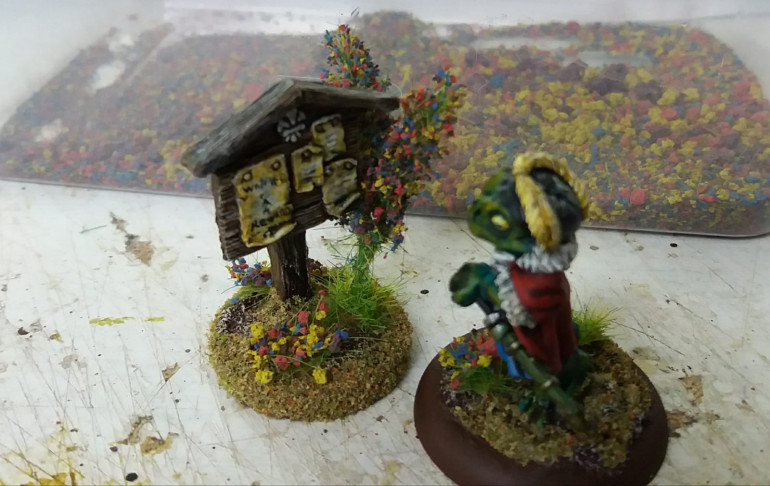
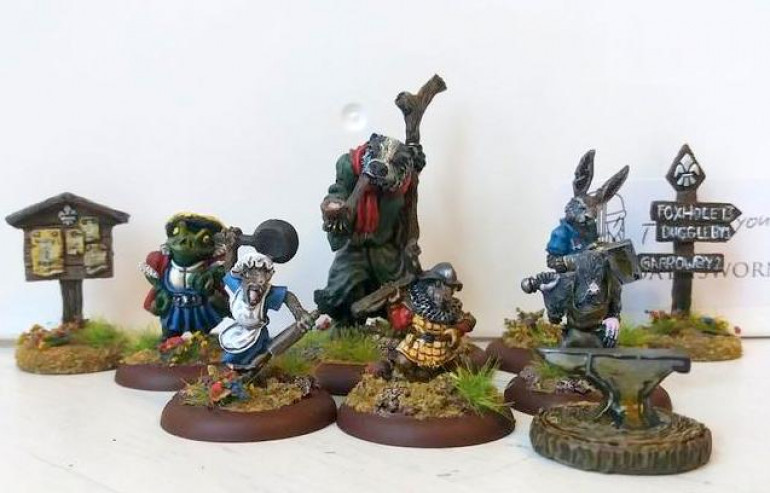
So the Villagers warband is complete, all of these comes from the latest Kickstarter including the little scenery pieces.
So just need to finish the minis for the Pirates, then gather the other warbands together and photograph them.
what do you reckon?
Stone the Crows!
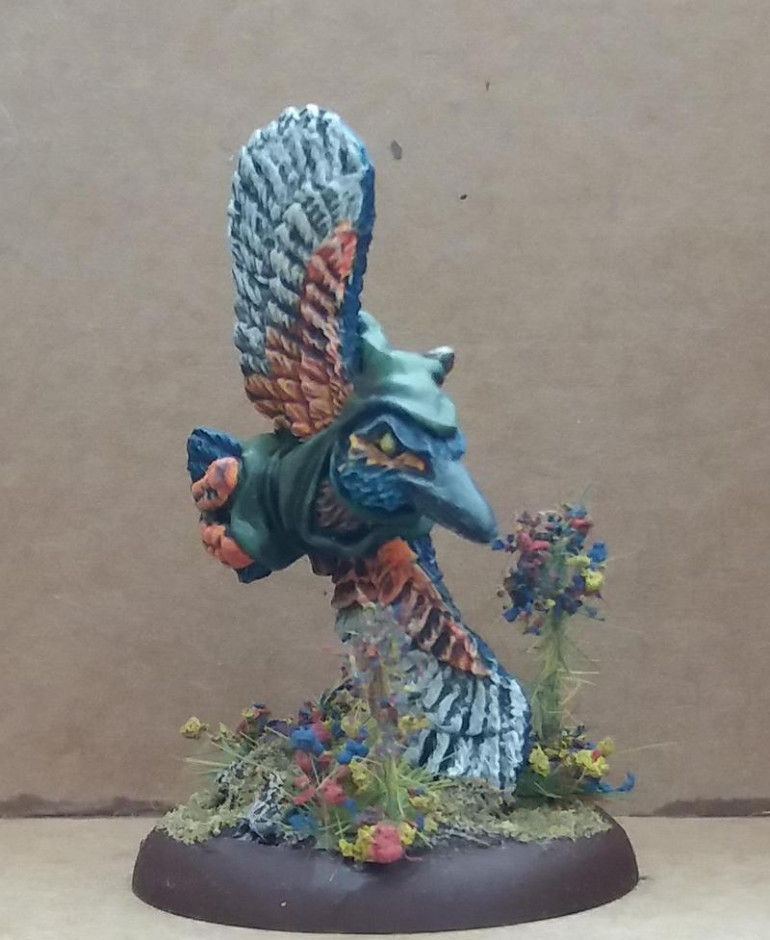
Well maybe not given the size of Ravens in B&B unless you happen to have trebuchet!
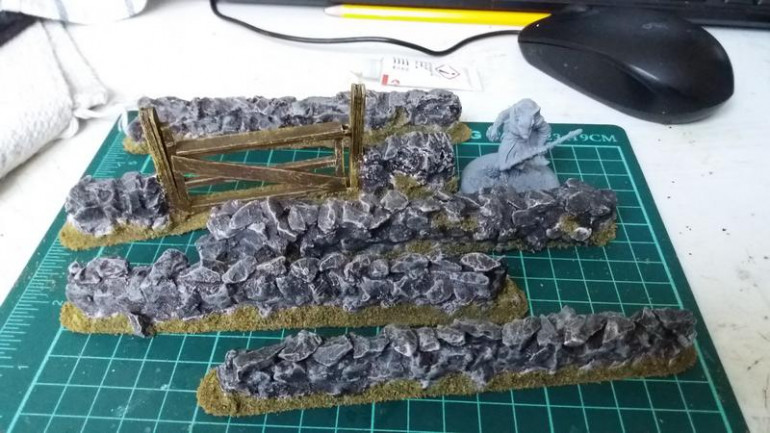
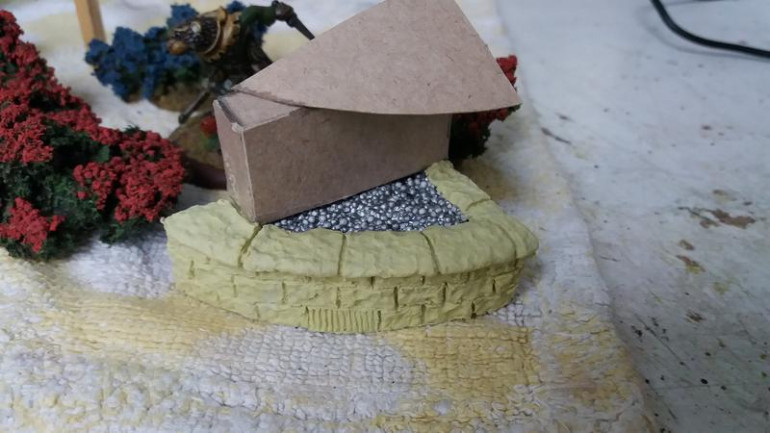
To provide some variety on the non salute game table I have been making some stone walls.
These arent my idea I used the tutorial at the crooked staff blog here
http://crookedstaff.blogspot.com/2015/06/cheap-and-easy-to-make-stone-walls.html
Mine dont look quite so nice as theirs I think because the gravel they used is finer chips than the stuff I have. ho hum Im happy with mine, and I’ll be building more soon enough.
Flocking heck!
I was asked elsewhere about the flower tufts as I make them myself (Im way to much of a cheap skate to buy them, and yes it shows :D)
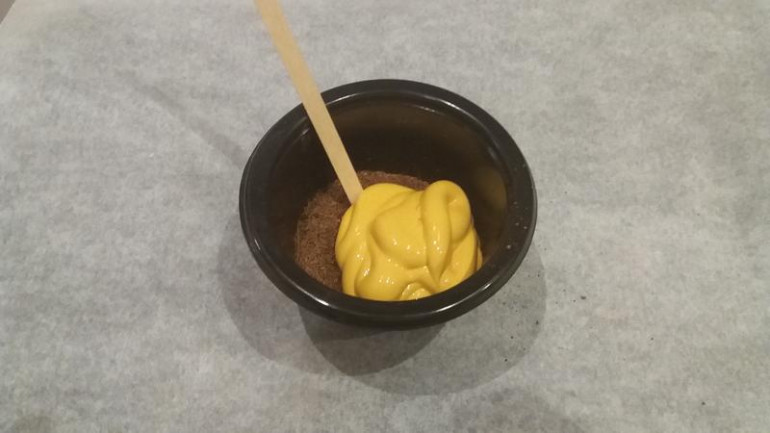
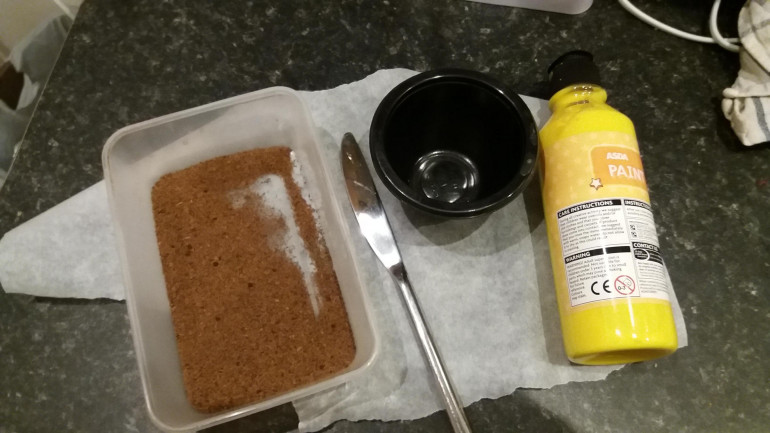 Ingredients: cheap kiddies paint, dried tea (wash and empty out used teabags and leave to dry in a tub on a radiator), a mixing pot and stirrer and baking paper, User the cheap poster paint rather than artists acrylic as thats to thick and glues the dried tea together into large balls which cant be broken up.
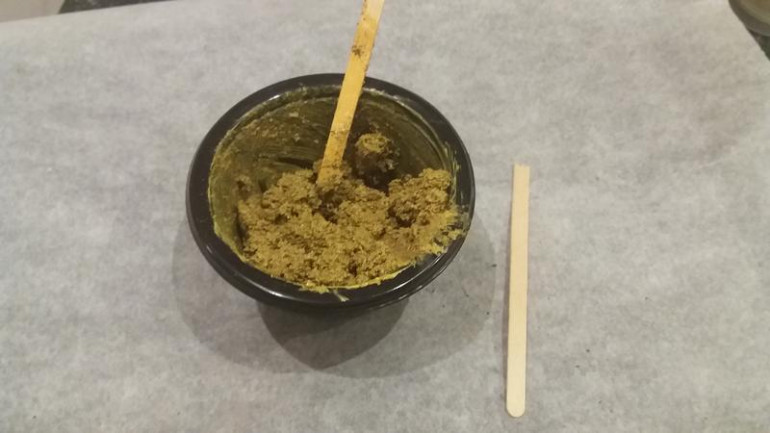 Mix it up, my missus frowned at me using the knife so I used a coffee stirrer, it broke so i went back to the knife :)
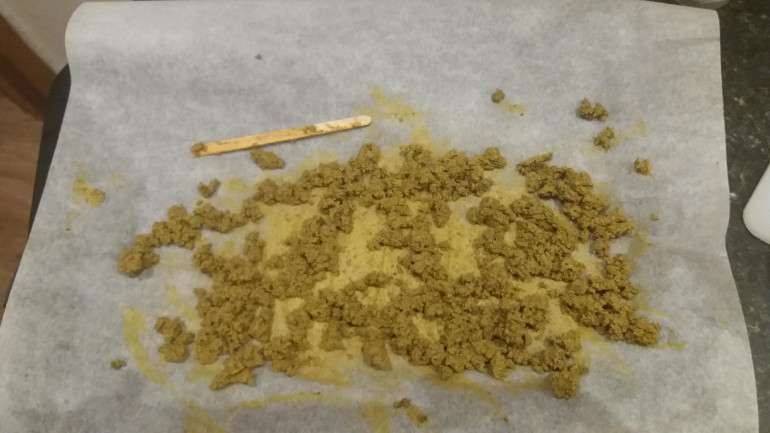 Once mixed spread out on the baking paper try and spread it out and keep doing that as often as you can over the next 24hrs until it dries
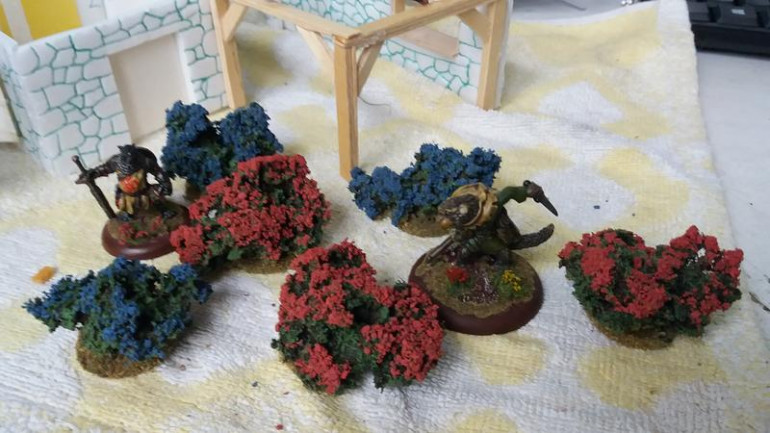
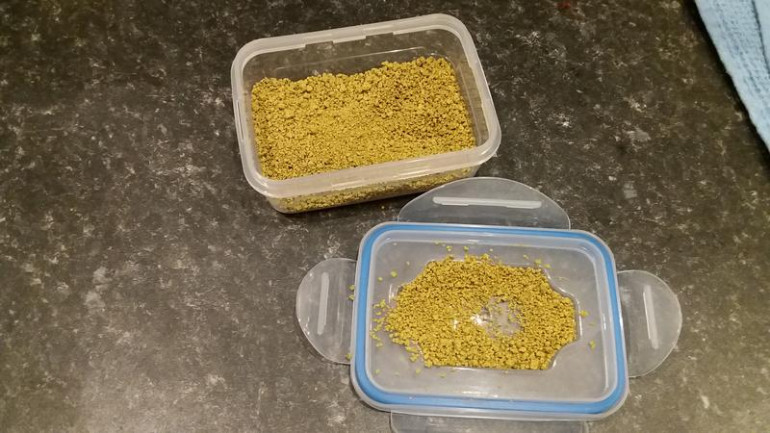 And heres the result ready to make flower tufts or add to bushes, are gorse bushes counted as difficult terrain?
Use any colours you like, Ive made Yellow, Red, Blue and purple dont be put off that while its being mixed and while its drying that it looks a little brown, the pigment will be dominant once the paints dried out.
Does it work for you?
ooooh, look whats turned up!
Oathsworn have delivered the most recent KS.
Also included are a couple of older minis I need but mostly its the latest KS.
crisp casts, and the resin badger and beaver are stunning, very little flash and no mould lines at all.
This gives me all the minis I need to complete the 4 warbands I need at salute.
Its done!
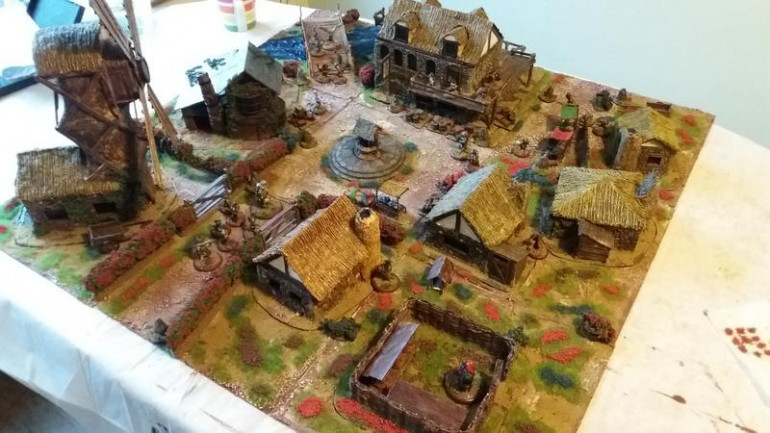
eh, how’d that happen? so after faffing around for so long, the table came together in such a rush that I didnt realise it was so close until I sat back and thought “what next? Oh, thats it then!”
Nutting Hill is ready for Salute 19, now theres a scary thought 😀
Whats left? well I need a few more minis from the latest kickstarter that Oathsworn ran and the main objective cart. but other than that im good, I can sit back and read the rule book and even get some games in so that I dont look like a real pleb in front of everyone on the day.
Where next?
After salute I may well start expanding the terrain types, theres also the treehouses to finish, ideas of what to build next are always welcome.
Another day and another step closer to..
..sort of completion.
Whats left? well trimming the board edges so they sit neatly, tidying up the edges around the terrain elements so they sit nicely. Then start on the greenery.
Oh yeah and paint the river section!
—————————————————————————
Were baking now!
So the forge/ bakery is all done…
Its been a while....
5 weeks give or take…
between xmas and another project taking over this needed to be sidelined, but here we go again.
Sorry, This entry has been edited for typos and putting the correct description below the fotos, really should proof read what I write when Im half asleep 😀
Hmmm, chocolate...
well not really..
Its going up in smoke!
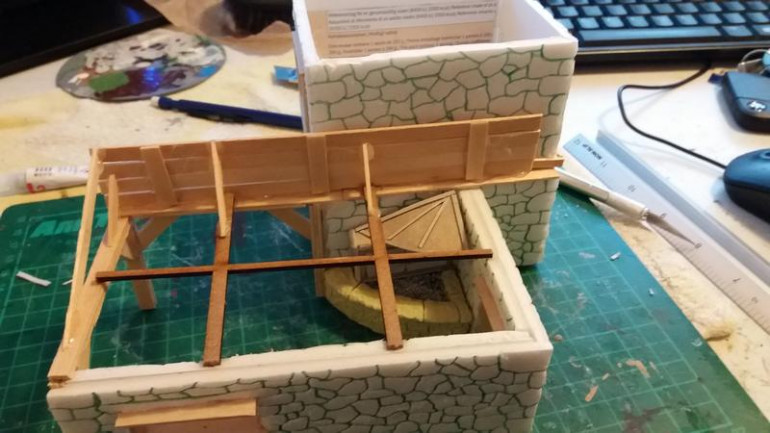
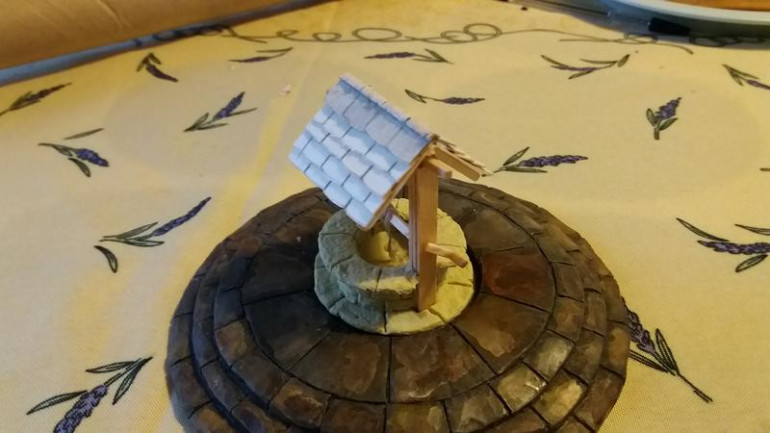
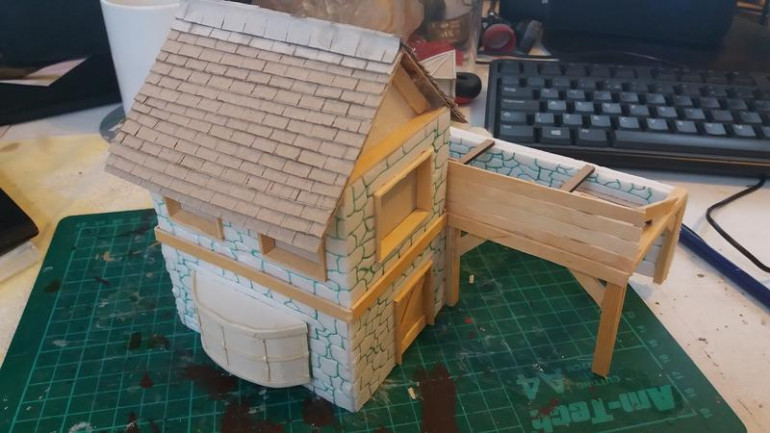 So the roof is done, in the same way as the well, but without the rounding provided by the nail clippers
Buildin on up...
Progress continuemmms
Forging on...
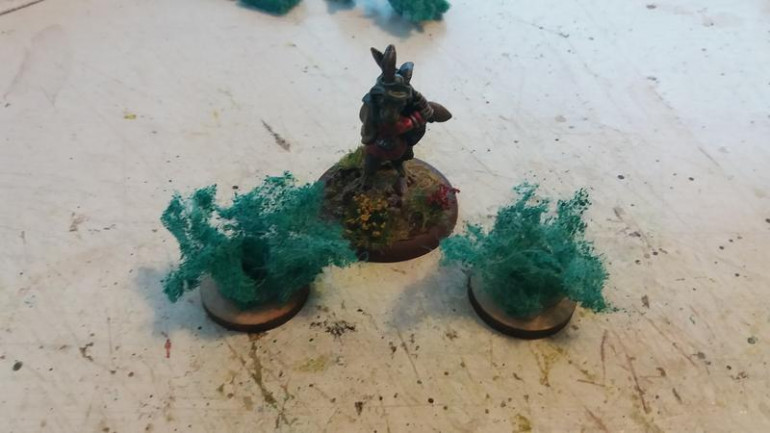
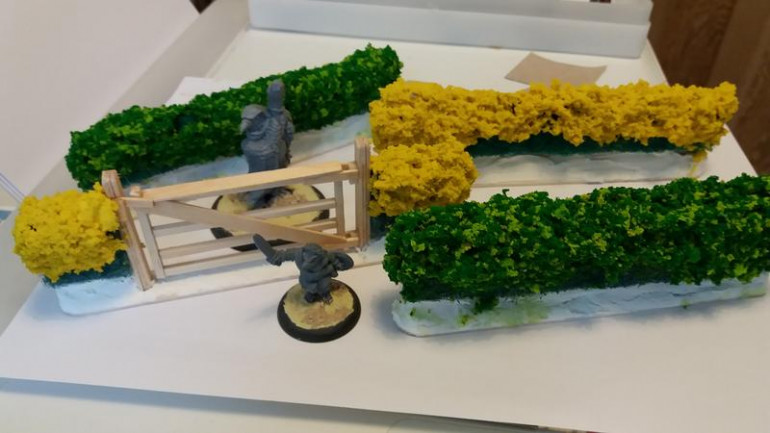
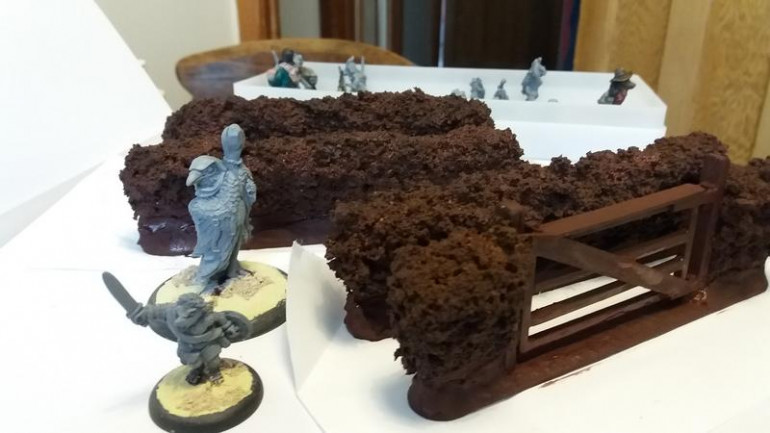
And beating about the bush….
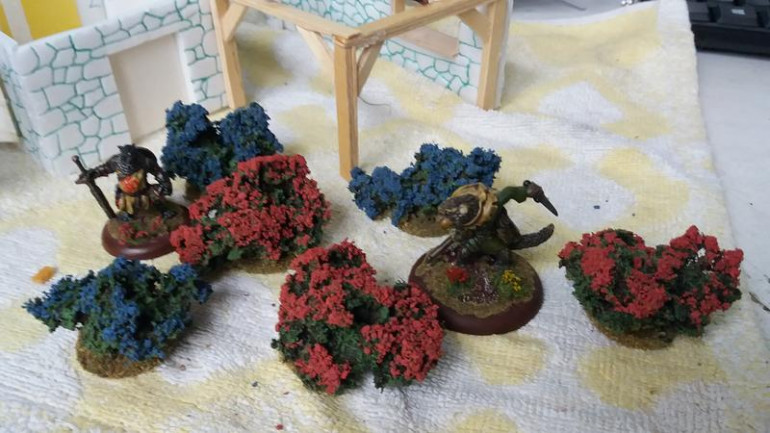
So while I prevaricate on how to do the terrain board itself heres some bushes
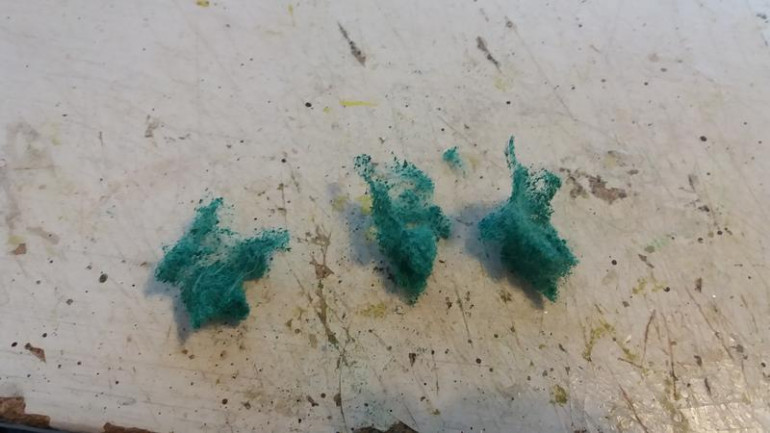
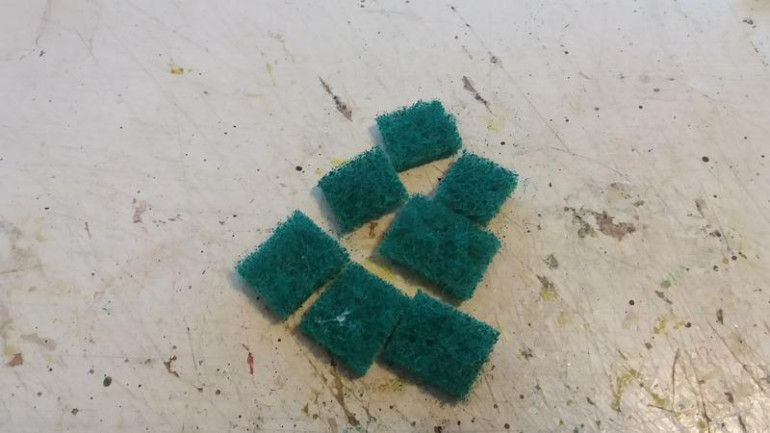 Then cut into not quite squares, the bigger the bushier but over 20mm and theyre awkawrd to keep upright while the glue dries
Hammer time, duh duh duh do do....
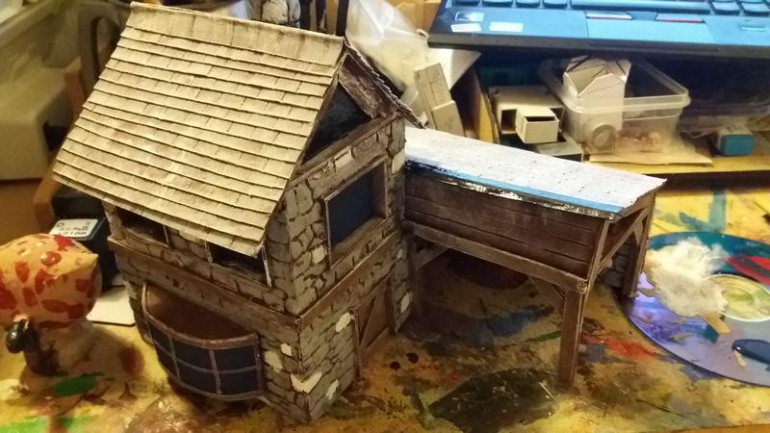
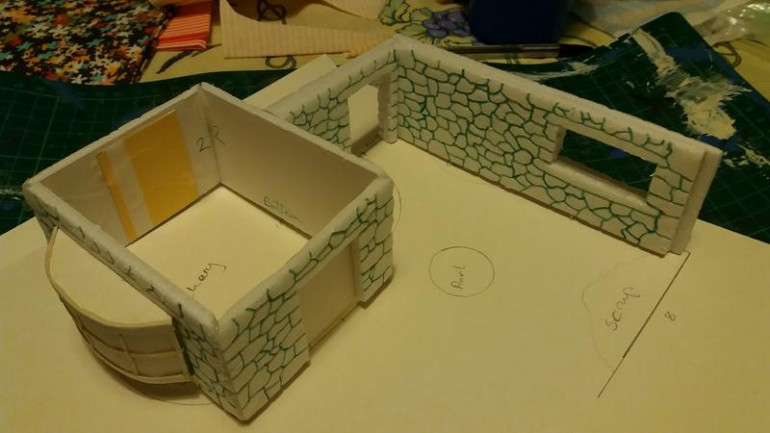
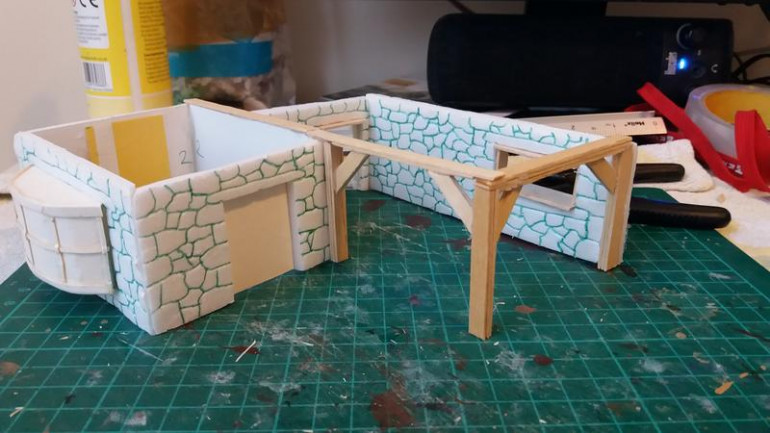
So plans for the salute board continue and Im thinking to field one warband as the villagers from the latest KS. 2 of which are a baker and blacksmith, I have neither a bakery nor a smithy so why not make both? or indeed combine them into one piece? so I have (or am as its not finished 🙂 )
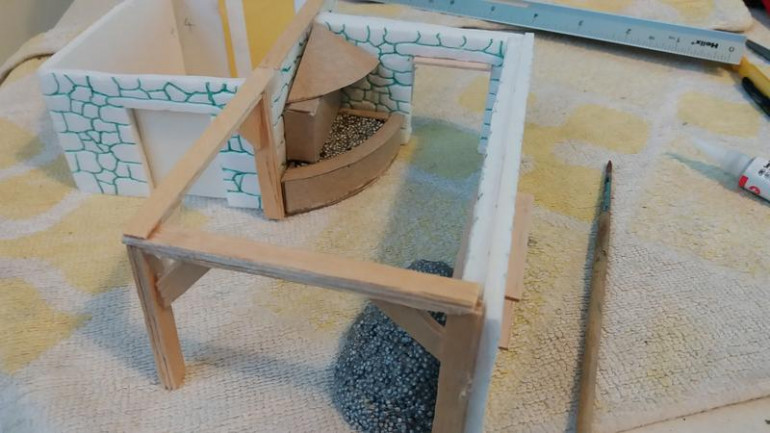 I have started the forge "form" I will texture this in the same way as I did the well with milliput to create the stone texture. The coal stuff in the pile and the forge is called "foam clay" marketted towards kids but it smells horrendous and my daughter wanted nothing to do with it, so now its mine :D useful for coal or even fruits etc.
Long way up, short way down....
Well heres news, my terrain and painted minis will be making an appearance at Salute 2019! yikes….
“The Nutting Hill Job”: The Kings guard are transporting a paychest, they’ve got it, you want it! 3 players must compete to get the paychest off the table, The guard will fight to keep you off!
Well, well, well...
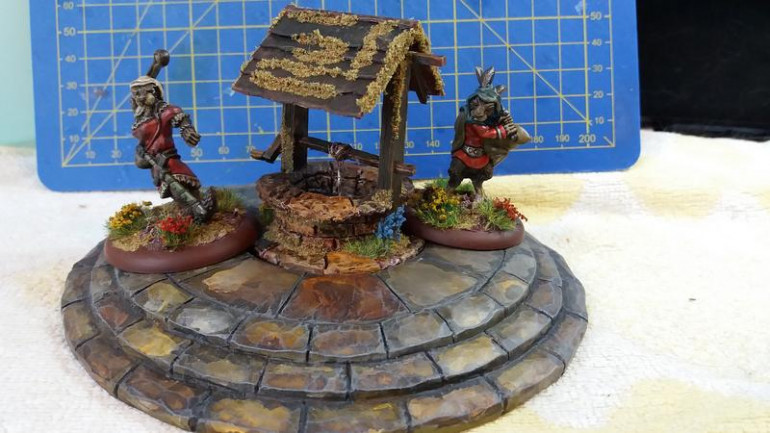
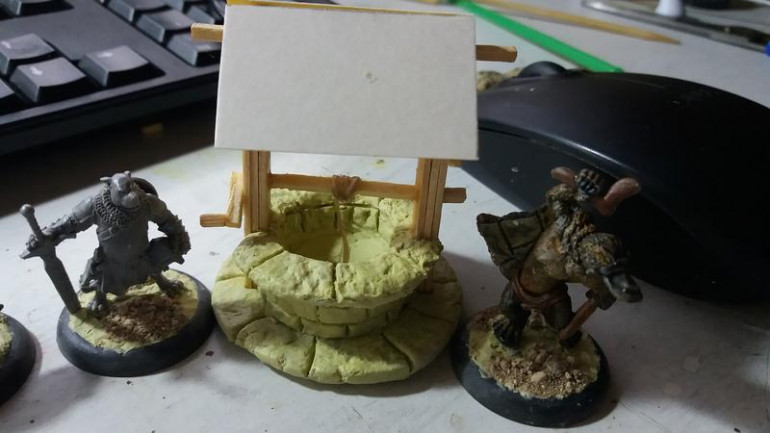
On one of Oathsworn’s KS they offered an “arcane circle”, a lovely piece that had 3 inserts, one had runes, another was bubbling liquid and the third was an altar. very nice, but not a lot of use to me (except in pulp games). Now I want to use the circle as the village center piece (think of it as a roundabout outside the inn) but with the above inserts still not a lot of use so I decided to make a well…
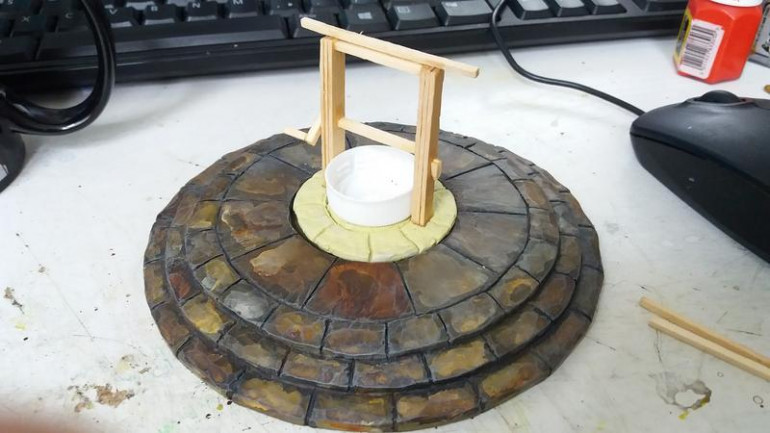 So initial build, I made a circle of milliput the right diameter and textured it and created the flag stones, then while still wet I placed the well wall form (an old bottle cap) and the coffee stirrer uprights.
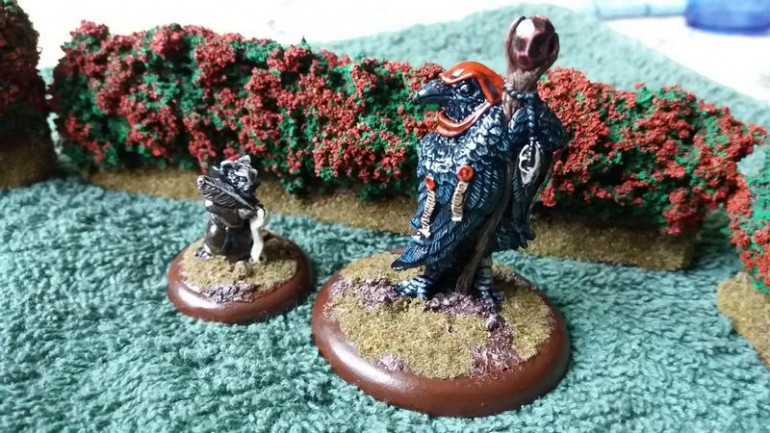
A bird in the bush .....
And the results are in.....
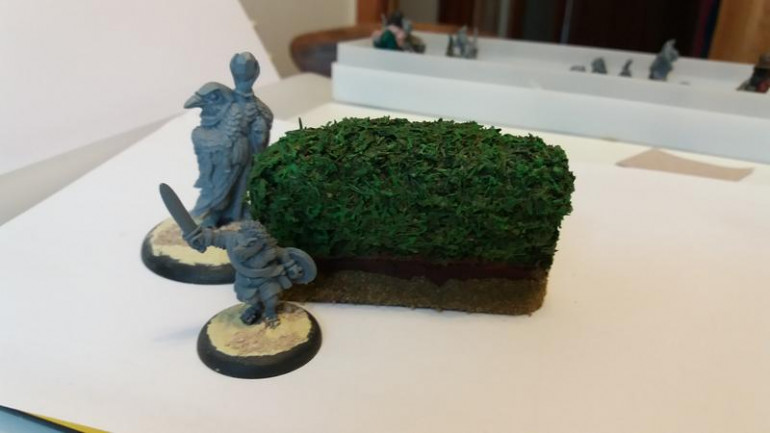 I think it works quite well, certainly better than the last versions. sorry for the rubbish lighting
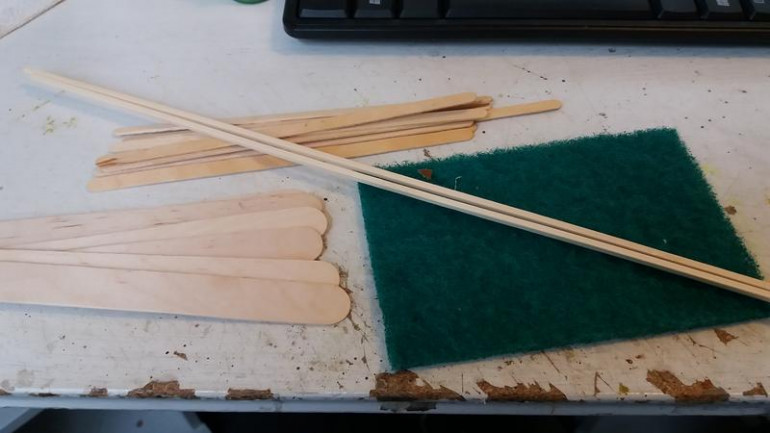
 What follows is a little how to, its not exhaustive, if youd like more detail on something, drop me a comment and I’ll get back to you.
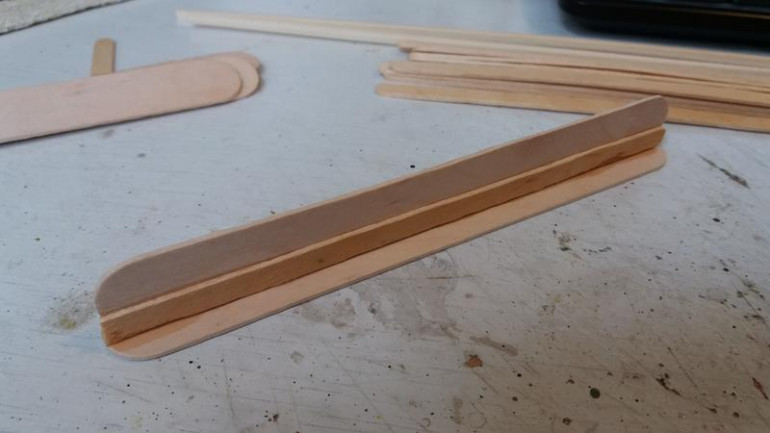 with super glue stick a coffee stirrer to eac side of one edge of a tongue depressor, glue that edge to another TD gining you a stable foundation.
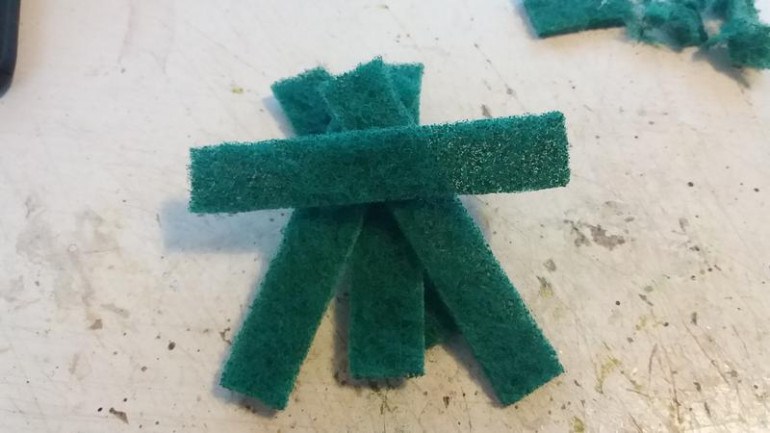
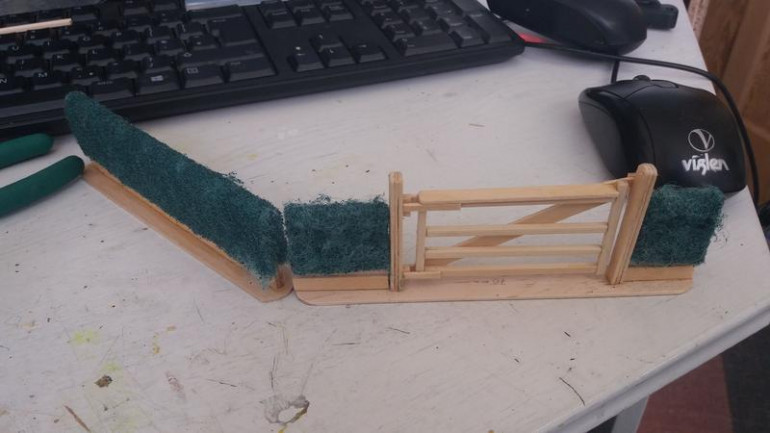
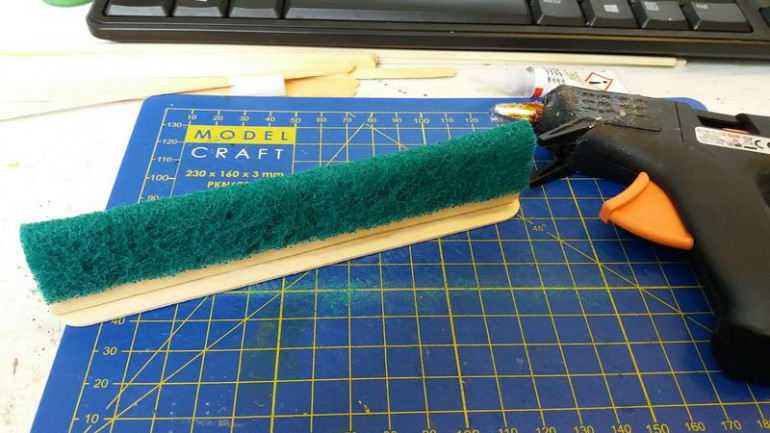 the scouring pads I have are 10cm wide and almost exactly the same length as the TDs (sheer luck) cut the SP in half so that you have 2 5cm wide sections, using hot glue attach to your foundation, BOOM! basic form done.
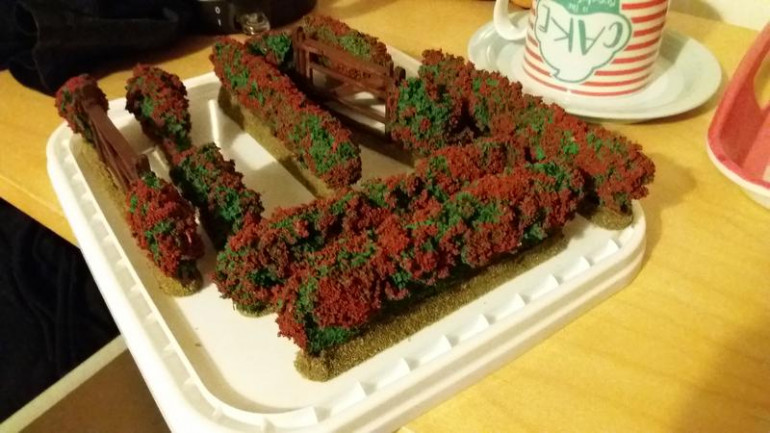
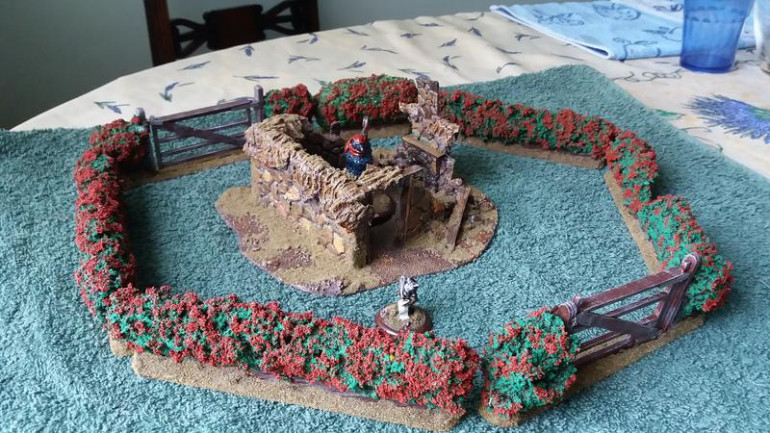
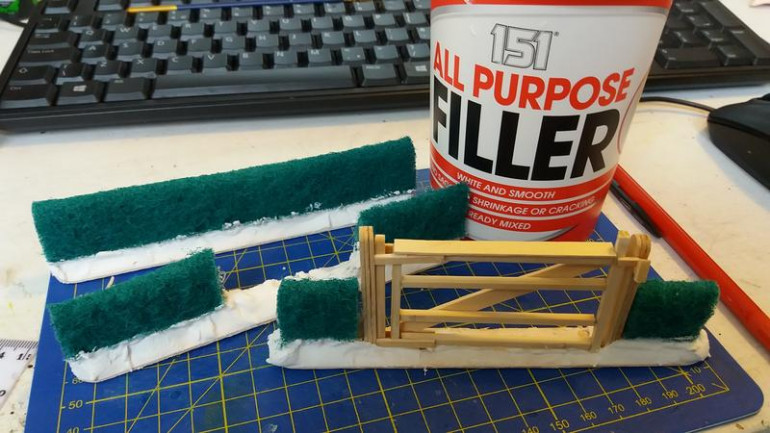
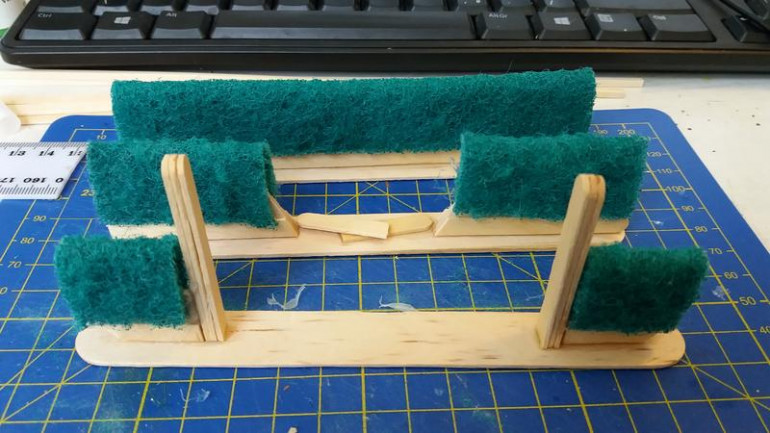 3 different types, back, basic solid hedge, middle a broken through section (man that badger was miffed!), front a gateway section sans gate.
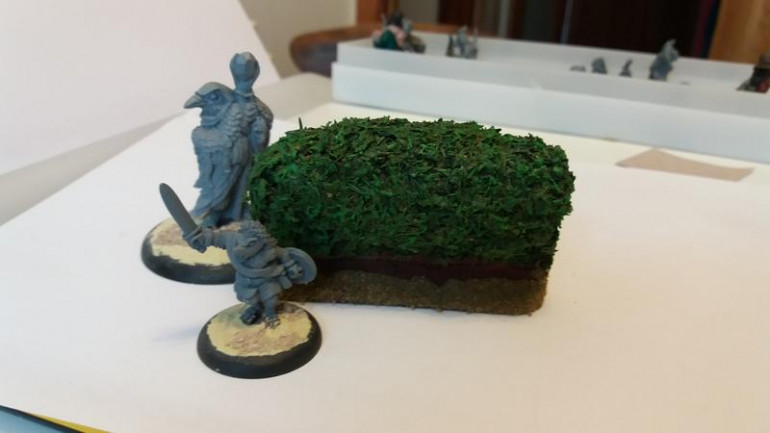
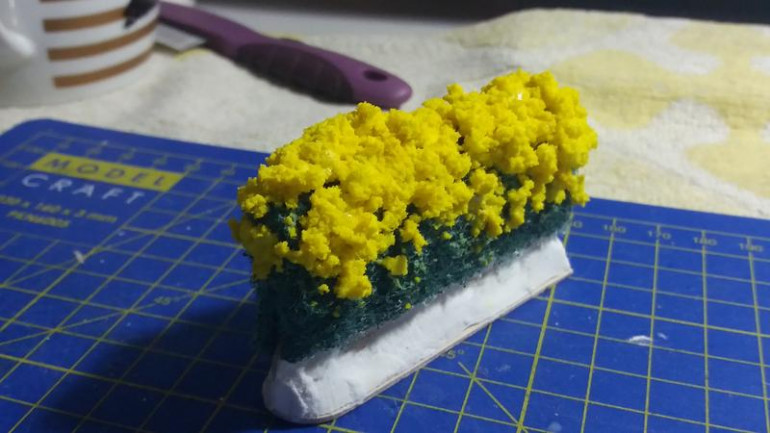 Test section, I glued some foam flock stuff using PVA onto the section to give it a less uniform appearance.


