Gorram's Grand Army Project
November Project: Night Goblins Part 5
Technically this is a spillover into December now but thanks to a bad bout of illness it was pushed back. I’m determined to finish it before the year is out though so let’s get into basing.
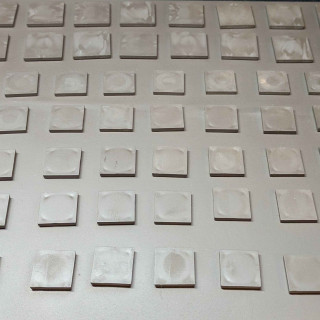
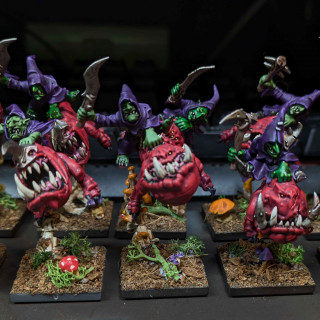
I don’t really have plans to play with this army but if it does ever get to the table, I want it to be flexible about game system. I love the multibasing aspect of Kings of War but these guys are going to be individually based. By putting the infantry on 20mm squares they can work easily for KoW or Old World with some spacer trays. The squig hoppers count as cav but in OW that means 25mm squares (light cav) or in KoW 25x50mms. The models aren’t really big enough to justify the 50mm depth so I’ll work on some filler bases to help them out.
Basing steps:
- After getting all my bases magnetised, I gave them all a spray prime in brown. This is mainly so no grey shows through the final look. Black would also work.
- The exception to this was the fanatics. The models are so top heavy that I needed to add extra weight to the base in the form of a penny. Once this was glued on, I used some brown texture paint to hide it before continuing to…
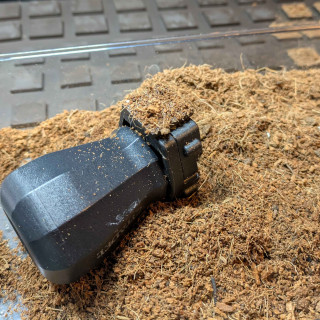
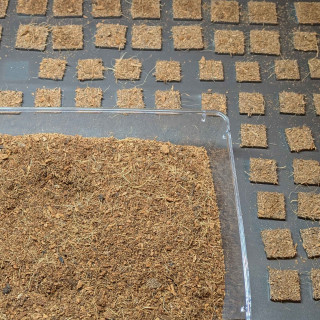
- The main part of the basing is going to be forest floor made out of coco fibre, the kind sold as a soil rather than as a hanging basket liner. It comes compressed in bricks and after some effort with a saw, I got a small chunk broken off and into some water to rehydrate it. Then I dried it out again. Yes, this was a necessary waste of a few days 😆
- I used superglue to get a good layer onto the bases. This is a messy step. Or it was until I realised I could mount the base on the magnet at the side of an old GW painting handle… fingers spared!
- Time to mount goblins, more super glue but less mess. Some of the models needed an extra application of the coco fibre at this point to blend their mounting points in better.
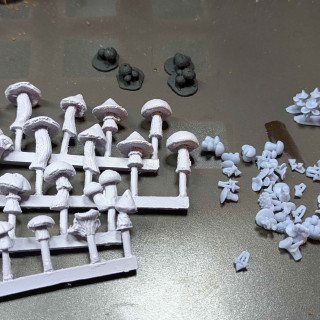
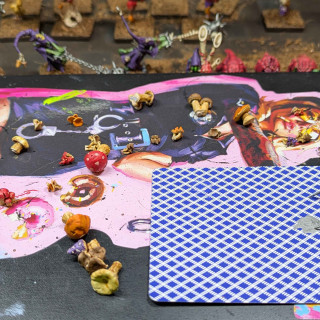
- Over the months, I’ve collected mushrooms for basing. There’s some great ones from Bad Squiddo, some less great ones from a 3D printer on eBay, some from various GW goblin and troll kits in the bits box, and then there some I printed myself.
- I looked at a lot of online images of mushrooms to get some colours. I was going to do lots of different ones but in the end I thought maybe sticking to a few across the army would look a little more cohesive.
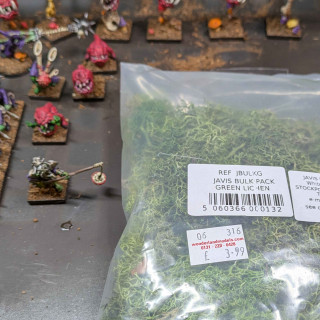
- At this point I was going to use a bunch of autumnal leaf litter to finish the bases off but, after seeing them all at this stage, I decided a little green was needed instead. Looking through the flock box, I found some reindeer moss. Little scissors and little tweezers deployed and I think it’s a much better look.
- Can’t paint an army and not rim the bases so I spent a tedious 90 minutes or so going round each base with a couple of layers of dark brown because it looked better with the basing scheme.
- Lastly everything got a soak of isopropyl alcohol and then watered down pva to stop the coco fibre from shedding. In the future the whole army will need to be hit with a matte varnish but the weather here isn’t likely to be conducive to that between now and late spring!







A thought on your filler bases for the 25×50 footprint. If you’re already on the 25 squares you could jump into Tinkercad and possibly offset how far back and forward each Killer Tomato sits so you don’t end up with bits overhanging and hitting each other. Put a magnet into the bases and it should be useful for transport and securing the 25s to the 25x50s.