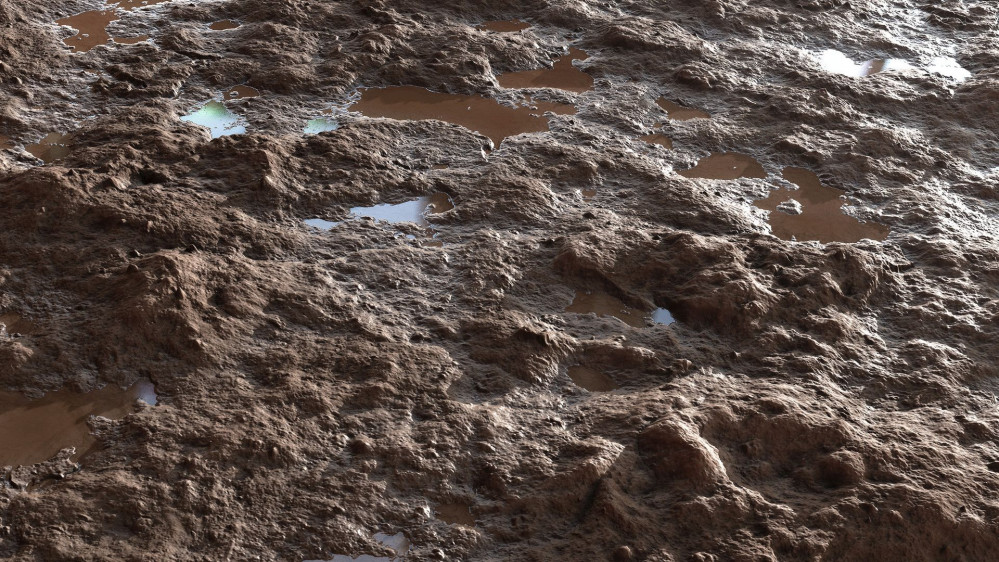
Making sludge for Sludge
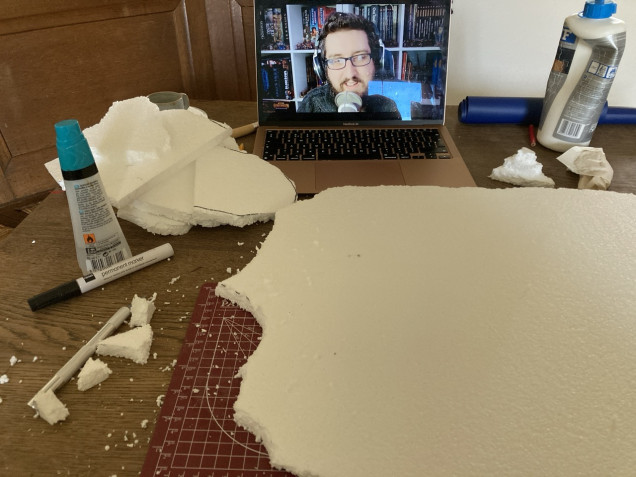
I found some styrofoam!
Last post I made a list of things I wanted for my Sludge wargaming table. Hills are not among them. I don’t know why. I love a good hill in a wargame. Not in real life. Nooooo. I’m Dutch.
Anyhow, I went out looking for styrofoam, since somehow I didn’t have any of the stuff in my home. I went to various hardware stores where you had to buy 6m2 of the stuff at the minimum, which was a bit much for me.
Feeling somewhat down, I got back on my bike (as we Dutch tend to do) and went on my way home. I breaked not even a hundred meters later. There, next to the hardware stores where I’d been I saw a big old dumpster, belonging to the neighbouring bathroom shop (or whatever it’s call in English).
My Dutch frugality winning from my shame, I parked my bike, clambered over the hedge and quickly snatched a nice big sheet of styrofoam, and cycled back home!
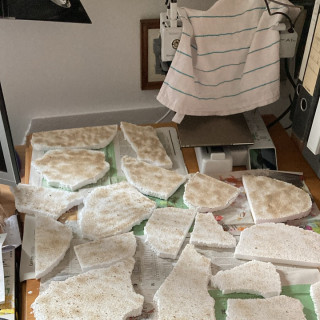
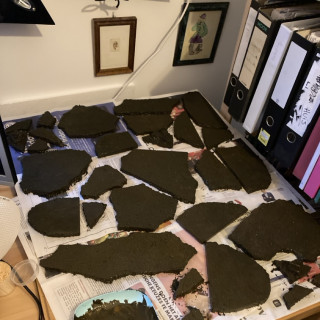
Reinventing the wheel, I found out that cutting styrofoam is an utter pain. Breaking it was a lot less messy and much quicker! So I did, in parts of various sizes.
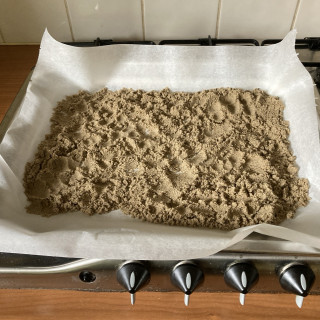
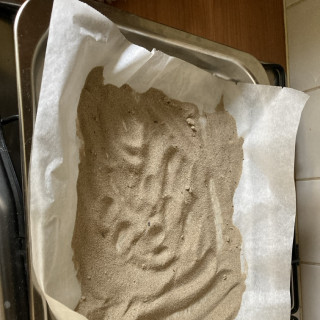
I then made a mixture of 50/50 water and wood glue and applied this to the tops of the foam bits. I found out, however, that I was out of sand to lightly cover it with. I still had some in my garage, but this was a bit wet.
I thus took a few scoops, put them on a baking tray and dried it in the oven at 150C for twenty minutes. C’etait parfait! <chef’s kiss>
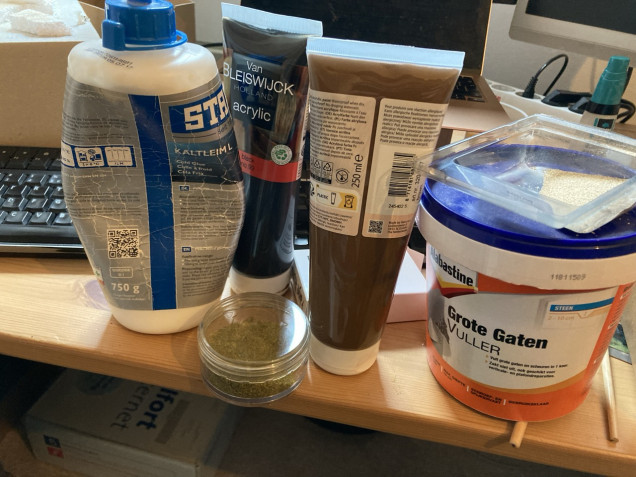
This then needed to dry overnight. In the meanwhile, I tried to make myself some mud! I had found somewhere that you could mix wood glue, wall filler, paint and some extra flock to make something mud like.
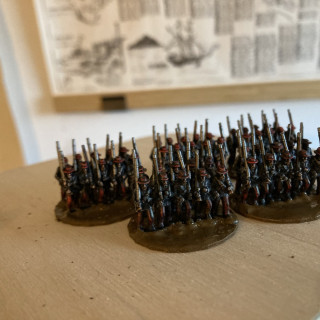
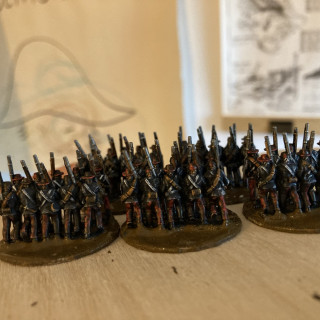
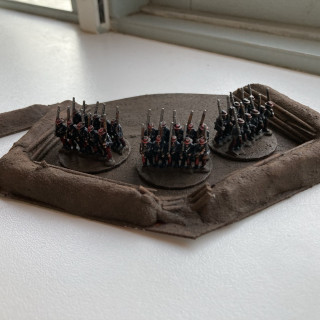
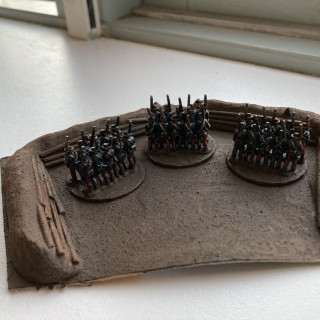
I used this to base the minis I had painted for my main Sludge project. When wet, it looked VERY muddy, as you can see in the first two images below.
Once dry, however, it looked more like mud that was a bit dry. Those of you who know my other projects will know my answer to this: good enough! I just added a little drybrush of some lighter brown and that’s that.
By now the styrofoam had dried and it was time to add some paint to it. I made a happy mixture of brown and black. It may have been a bit on the dark side, but hey, Sludge is all about dark ‘n stark.
Again, I gave it a quick drybrush with some lighter brown to finish it off.
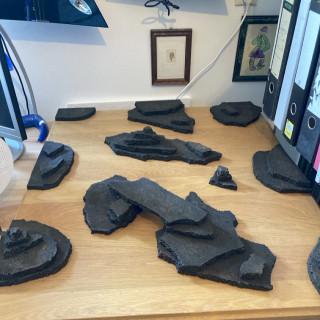
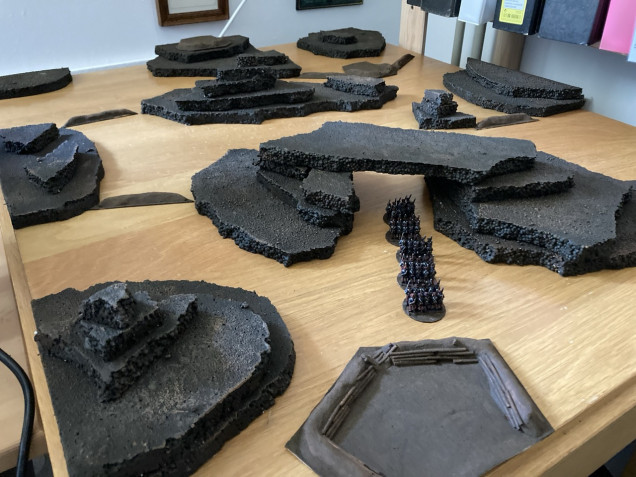
As you can see from the images below, the finished product can be stacked to create higher hill/rock formations. Only the smallest rocky pillars were glued together, other than that they’re all separate.
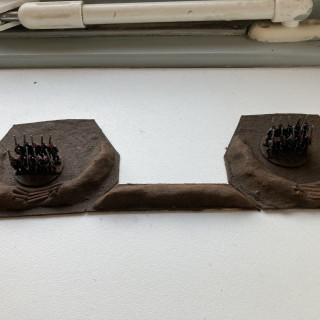
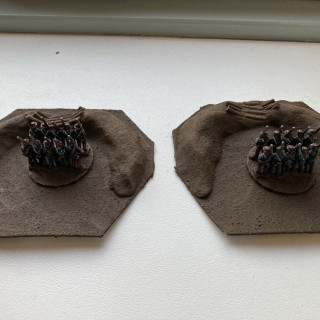
Bringing the hasty earth works, the based miniatures and the hills together, you get the following, which is starting to look pretty cool I think.
The only downside is that I don’t have a nice cloth, mat or table to go with it. I will have to think about this. I have looked at some mats, but none have the print I’m looking for really…








Great looking terrain in the making 👍 @lonkelo
Thanks a lot 🙂