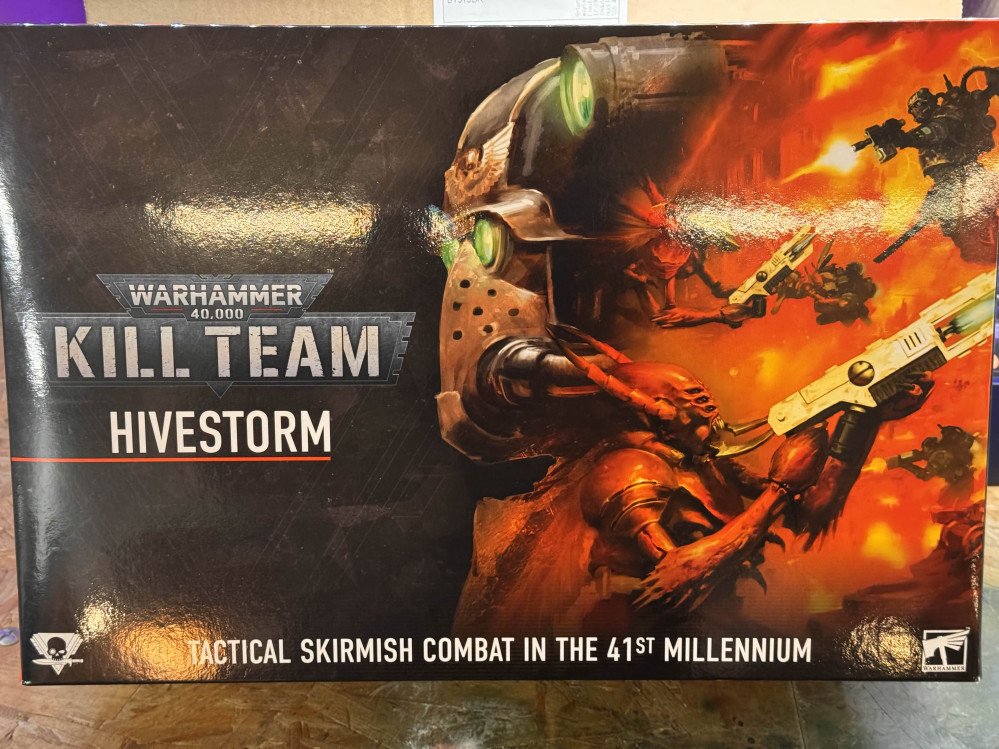
So I won a copy of Hivestorm in a raffle...
Staying GROUNDED
The next “layer” my head wanted to add was textures.
Specifically rubble, detritus and ground.
So… I didn’t take pictures of every material I used, but I will layout what each element entails.
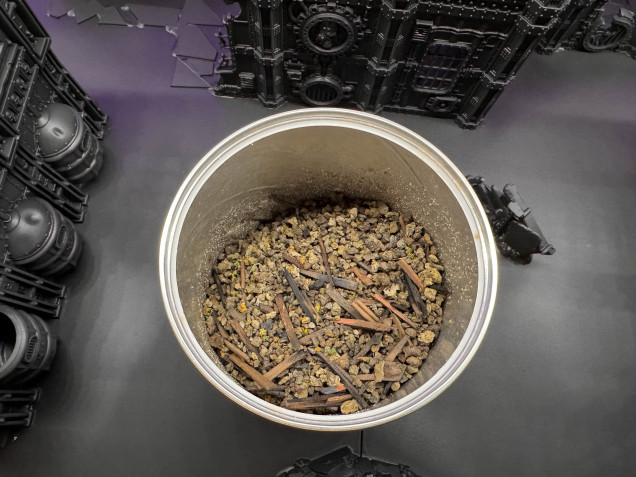
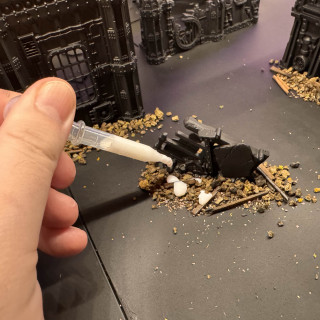
For the rubble/detritus around the walls and footprint of the buildings and terrain elements I used this stuff in the tub. This is a mix we used in the studio years ago for dressing tables. Now there wasn’t a lot of it in the studio but I recall that we made kilos of this mix so I didn’t see the harm in using this one tub for my board.
It consists largely of crushed cork, broken up coffee stirring sticks, some flock and a little bit of lichen. All mixed up it’ll work well for that abandoned ruins look I am aiming for with my earlier narrative idea.
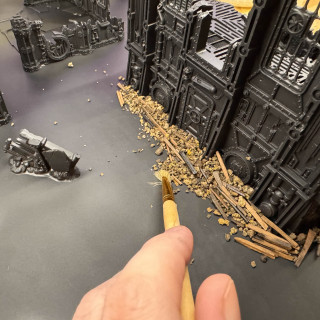
scattering it out of the tub and using a brush to push the rubble mix up against the walls of the buildings gives a sense of larger bits of junk having been pushed out of the way or having fallen from the buildings over time.
Once this was in place I thinned down some PVA glue with water and a few drops of floor cleaner (the theory was the floor cleaner would help break surface tension and allow the glue mix so soak into the rubble and help give good contact with the black primer on the board.
Then I stopped taking pictures…………………….
…………………then I started again.
Yes yes, I know. I missed about six, or more, steps. But let me explain…
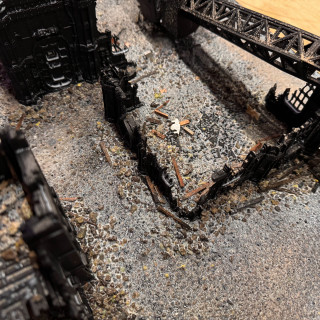
Once the rubble was in place and glued I started on the ground texture itself.
I rummaged through every tub and drawer I could find for anything that would work.
the materials I found were:
fine sand
small grey stone (looks like model railway ballast)
bicarbonate of soda
random lumps of broken MDF (from other terrain kit runners that we broke up into small pieces)
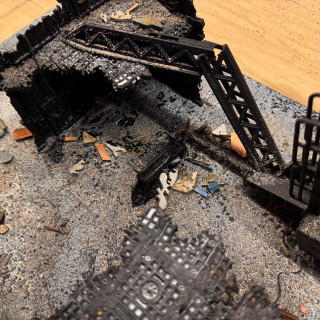
All of this was applied rather haphazardly, with a focus for the grey stone around the edges of the building footprints and the MDF chunks throw in and around the building (kinda like remnants of some old machinery or some-such!)
After all this was placed down, I used an old spray bottle and filled with with more heavily watered down PVA and started the whole board until all the scatter and texture elements were completely saturated. Then I left it over the weekend to dry!
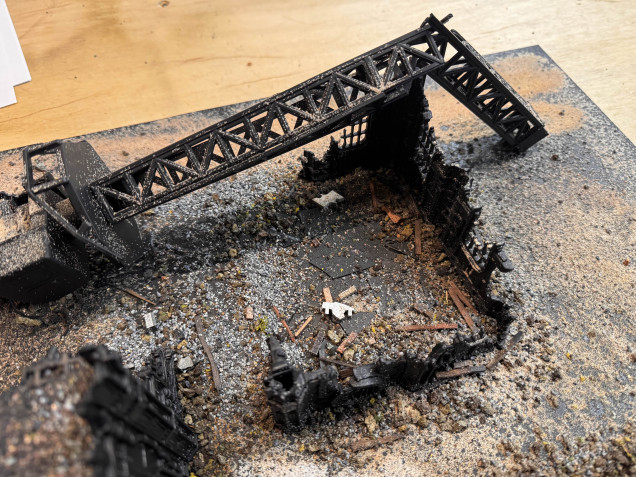
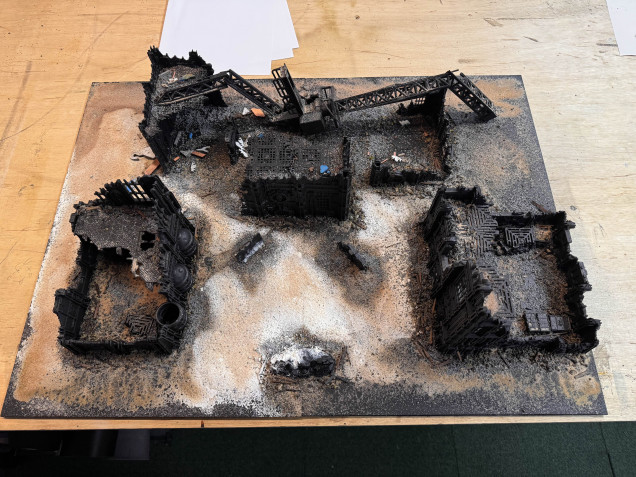
Now you can see the whole board, dry and ready to move on.
Beyond what I mentioned above, there was really no method or through process for how I added the texture for the actual ground. I kind of let the material gather and lay how it landed. I think that approach makes it look more natural in its lack of order.
Anyway! moving on…
















Leave a Reply