


Dan's Frostpunk Terrain


Kit assembly
I built an MDF kit for Dungeonalia last year, but this kit is much bigger and more complex. The instructions didn’t come with the kit but can be downloaded from the TT Combat online store.
The instructions are simply a sequence of images showing the addition of one or two pieces at a time. They’re not too hard to follow, but I would have found it useful if they stated how many of each part I’m supposed to have found before assembly. To cram as many pieces on to each piece of MDF as possible some of the parts you need are spread out. At the same time I can see why they didn’t do that. It allows them to use the same instructions for other kits which may have the same sub-assembly but in a different quantity.
To build an MDF kit, you need a nice sharp hobby knife and some sort of “poker” for poking out small pieces. Assembly uses PVA glue, nest applied with an old brush.
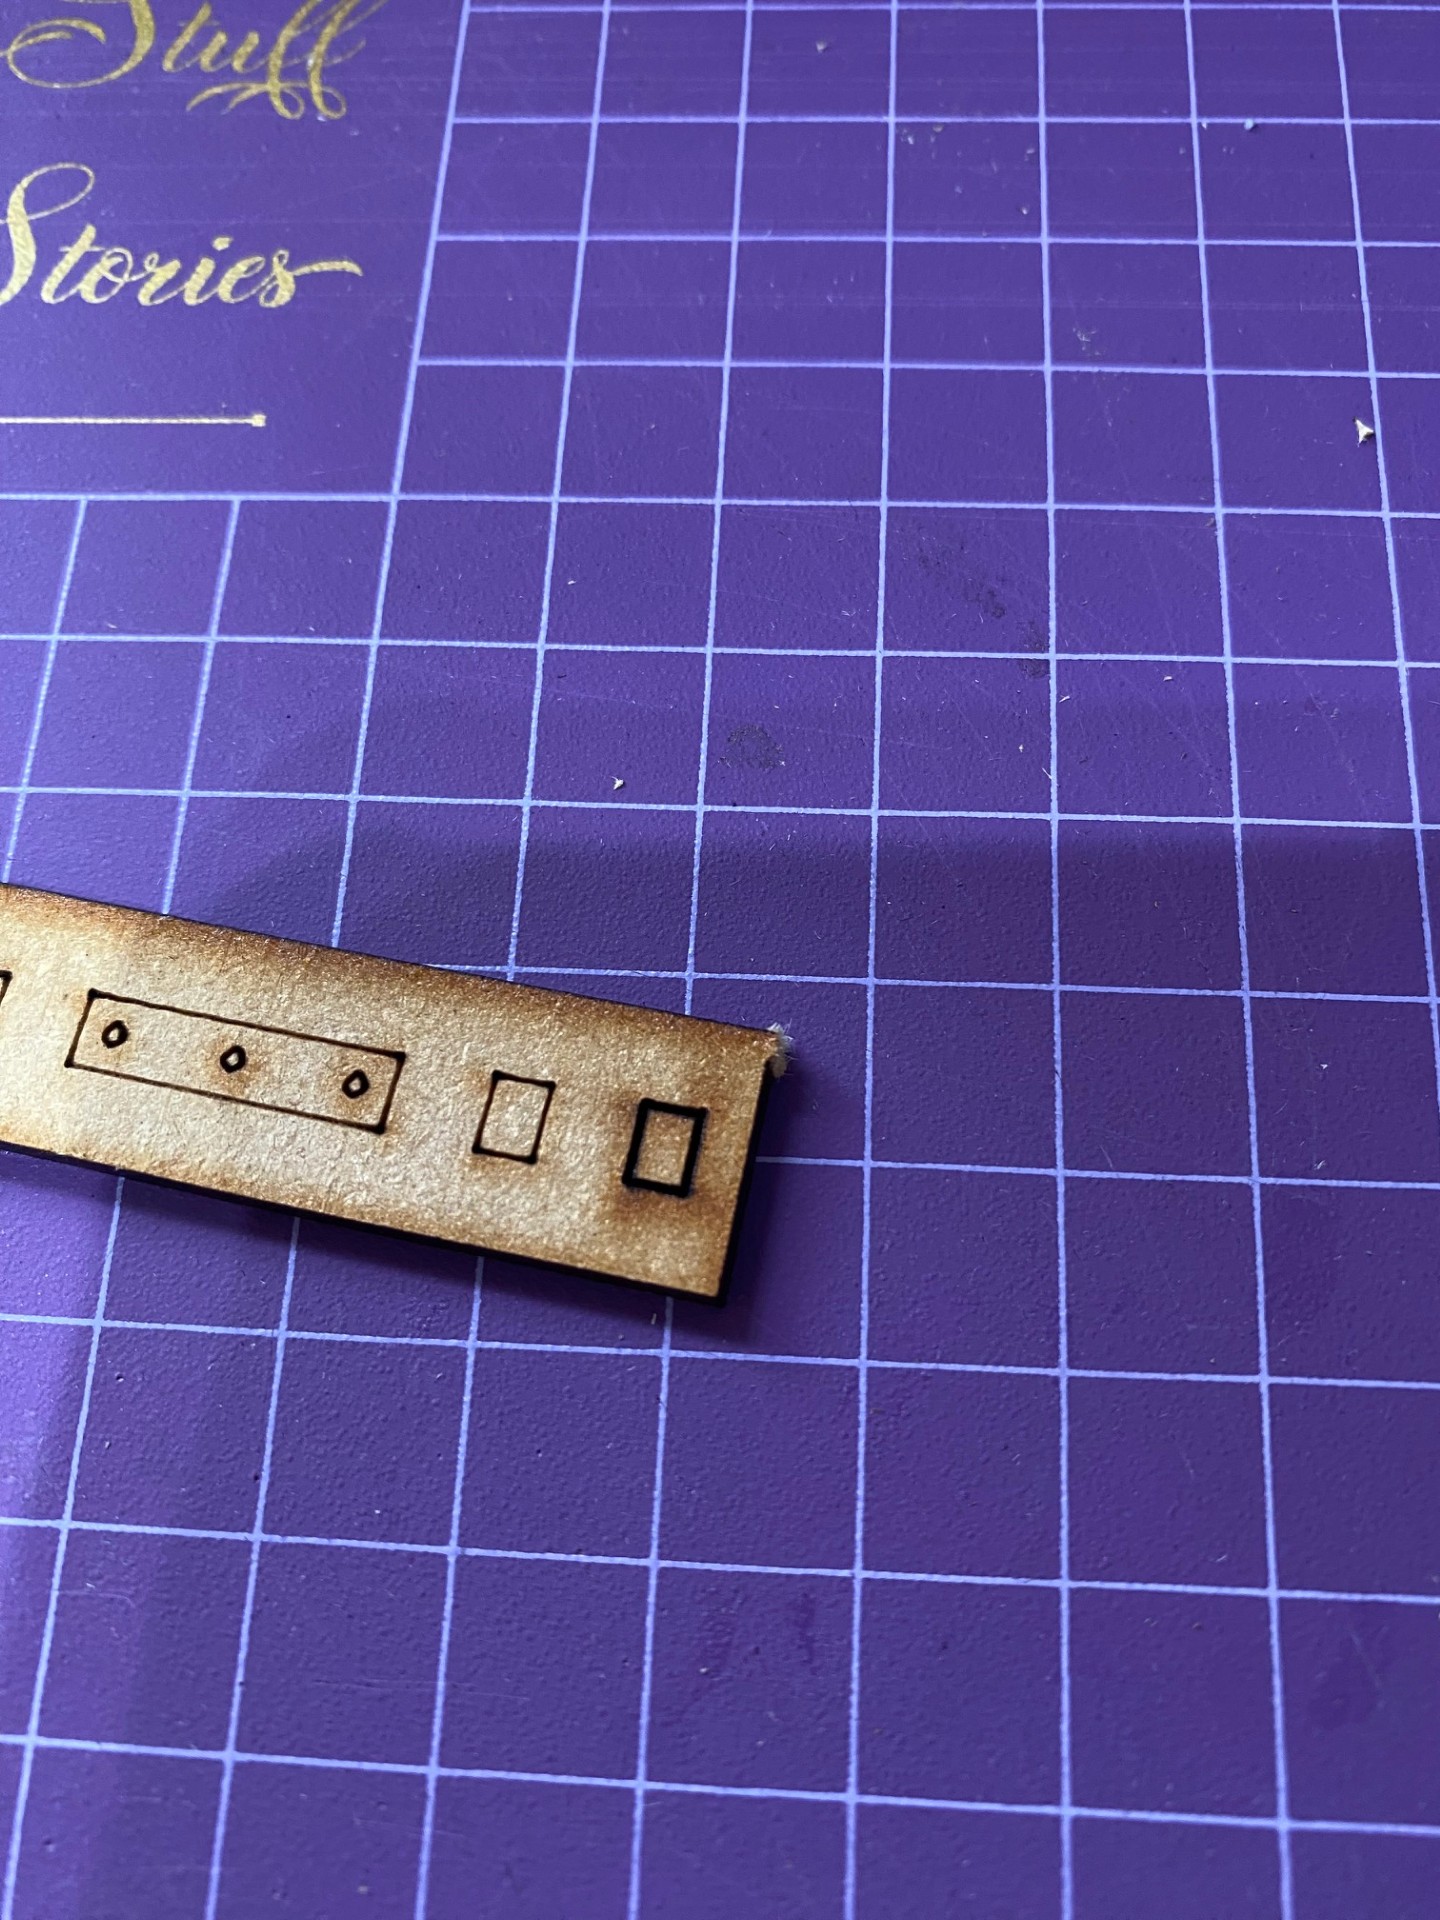
First, twist off the pieces you need for your current sub-assembly. It looks like you could use a hobby knife to cut out the pieces, but I found this too difficult and feared if I kept trying that I’d end up with a bad cut. Usually you can just twist the piece and they pop out.
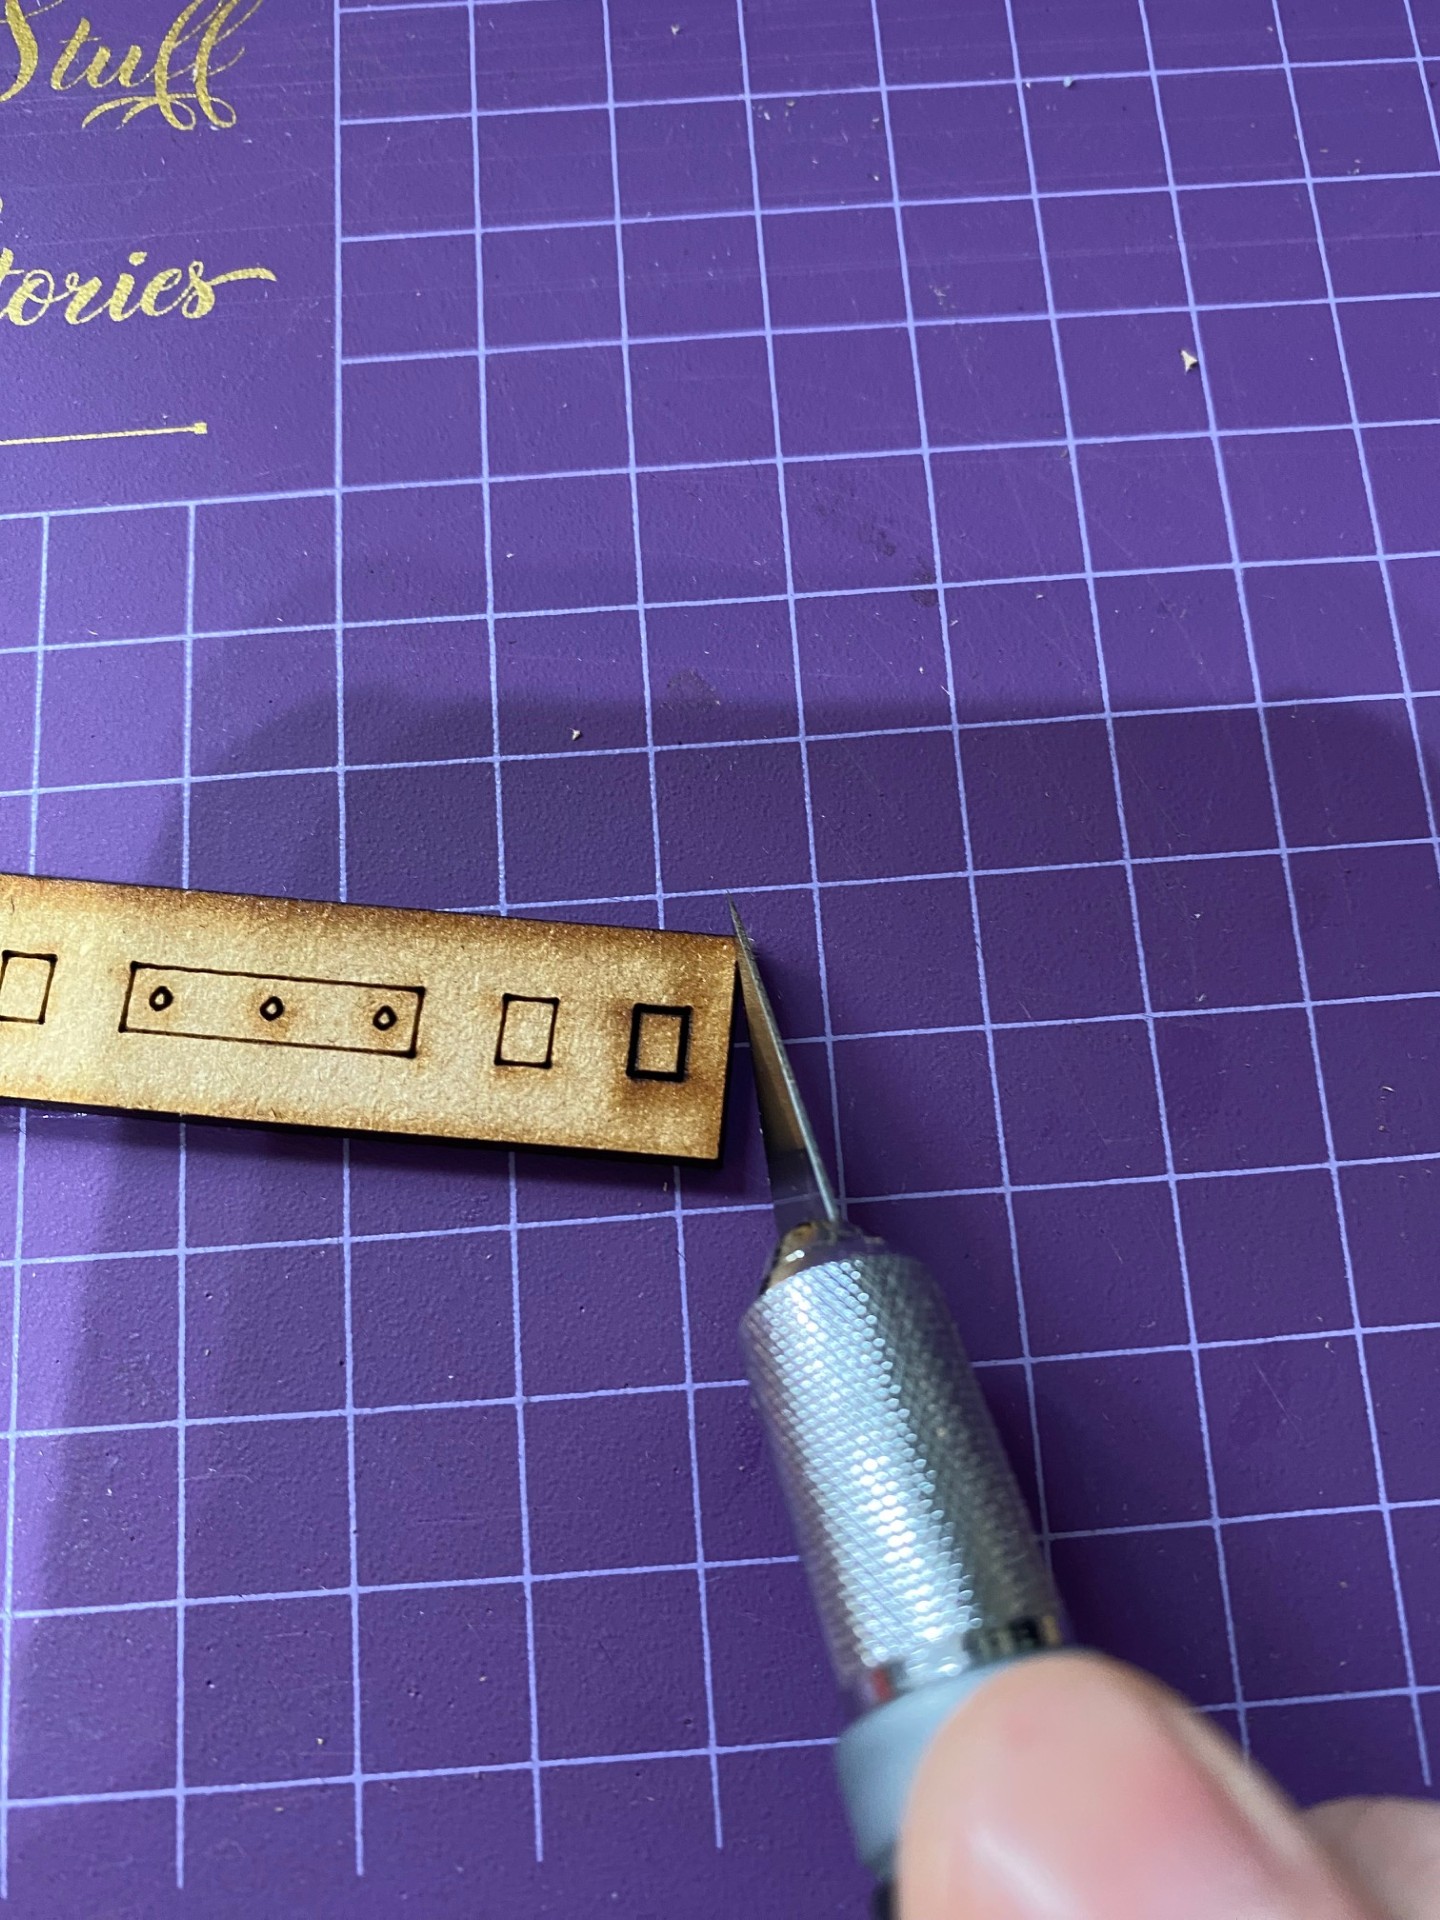
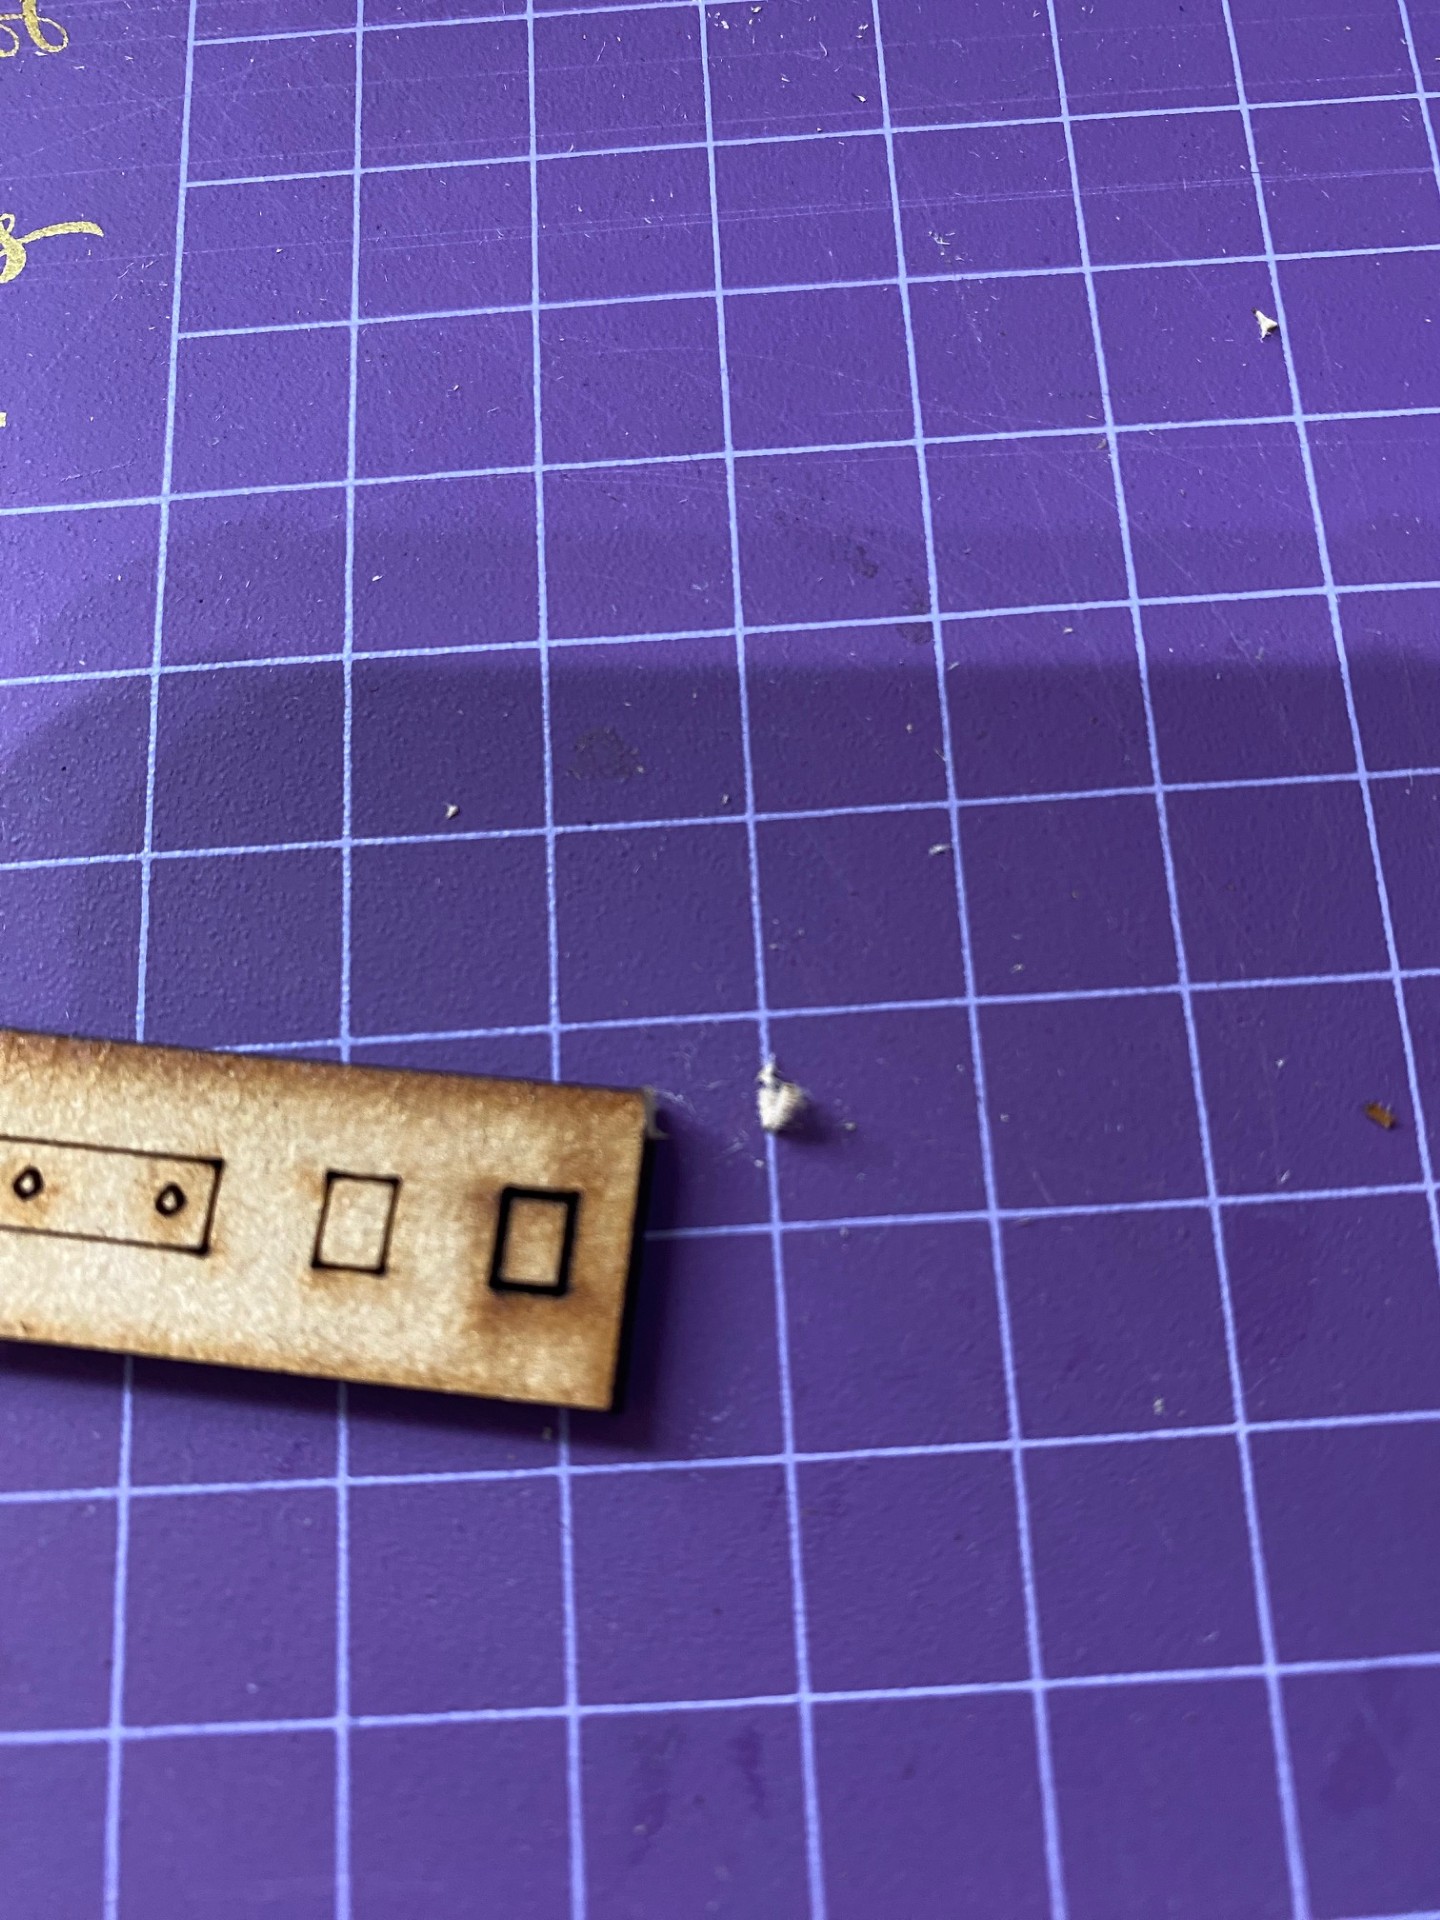
Where each part tears off, you get some frayed MDF that needs trimming off with a hobby knife. This soon dulls the blade, so be prepared to swap them out often as a sharp blade is easier to control and therefore is safer.
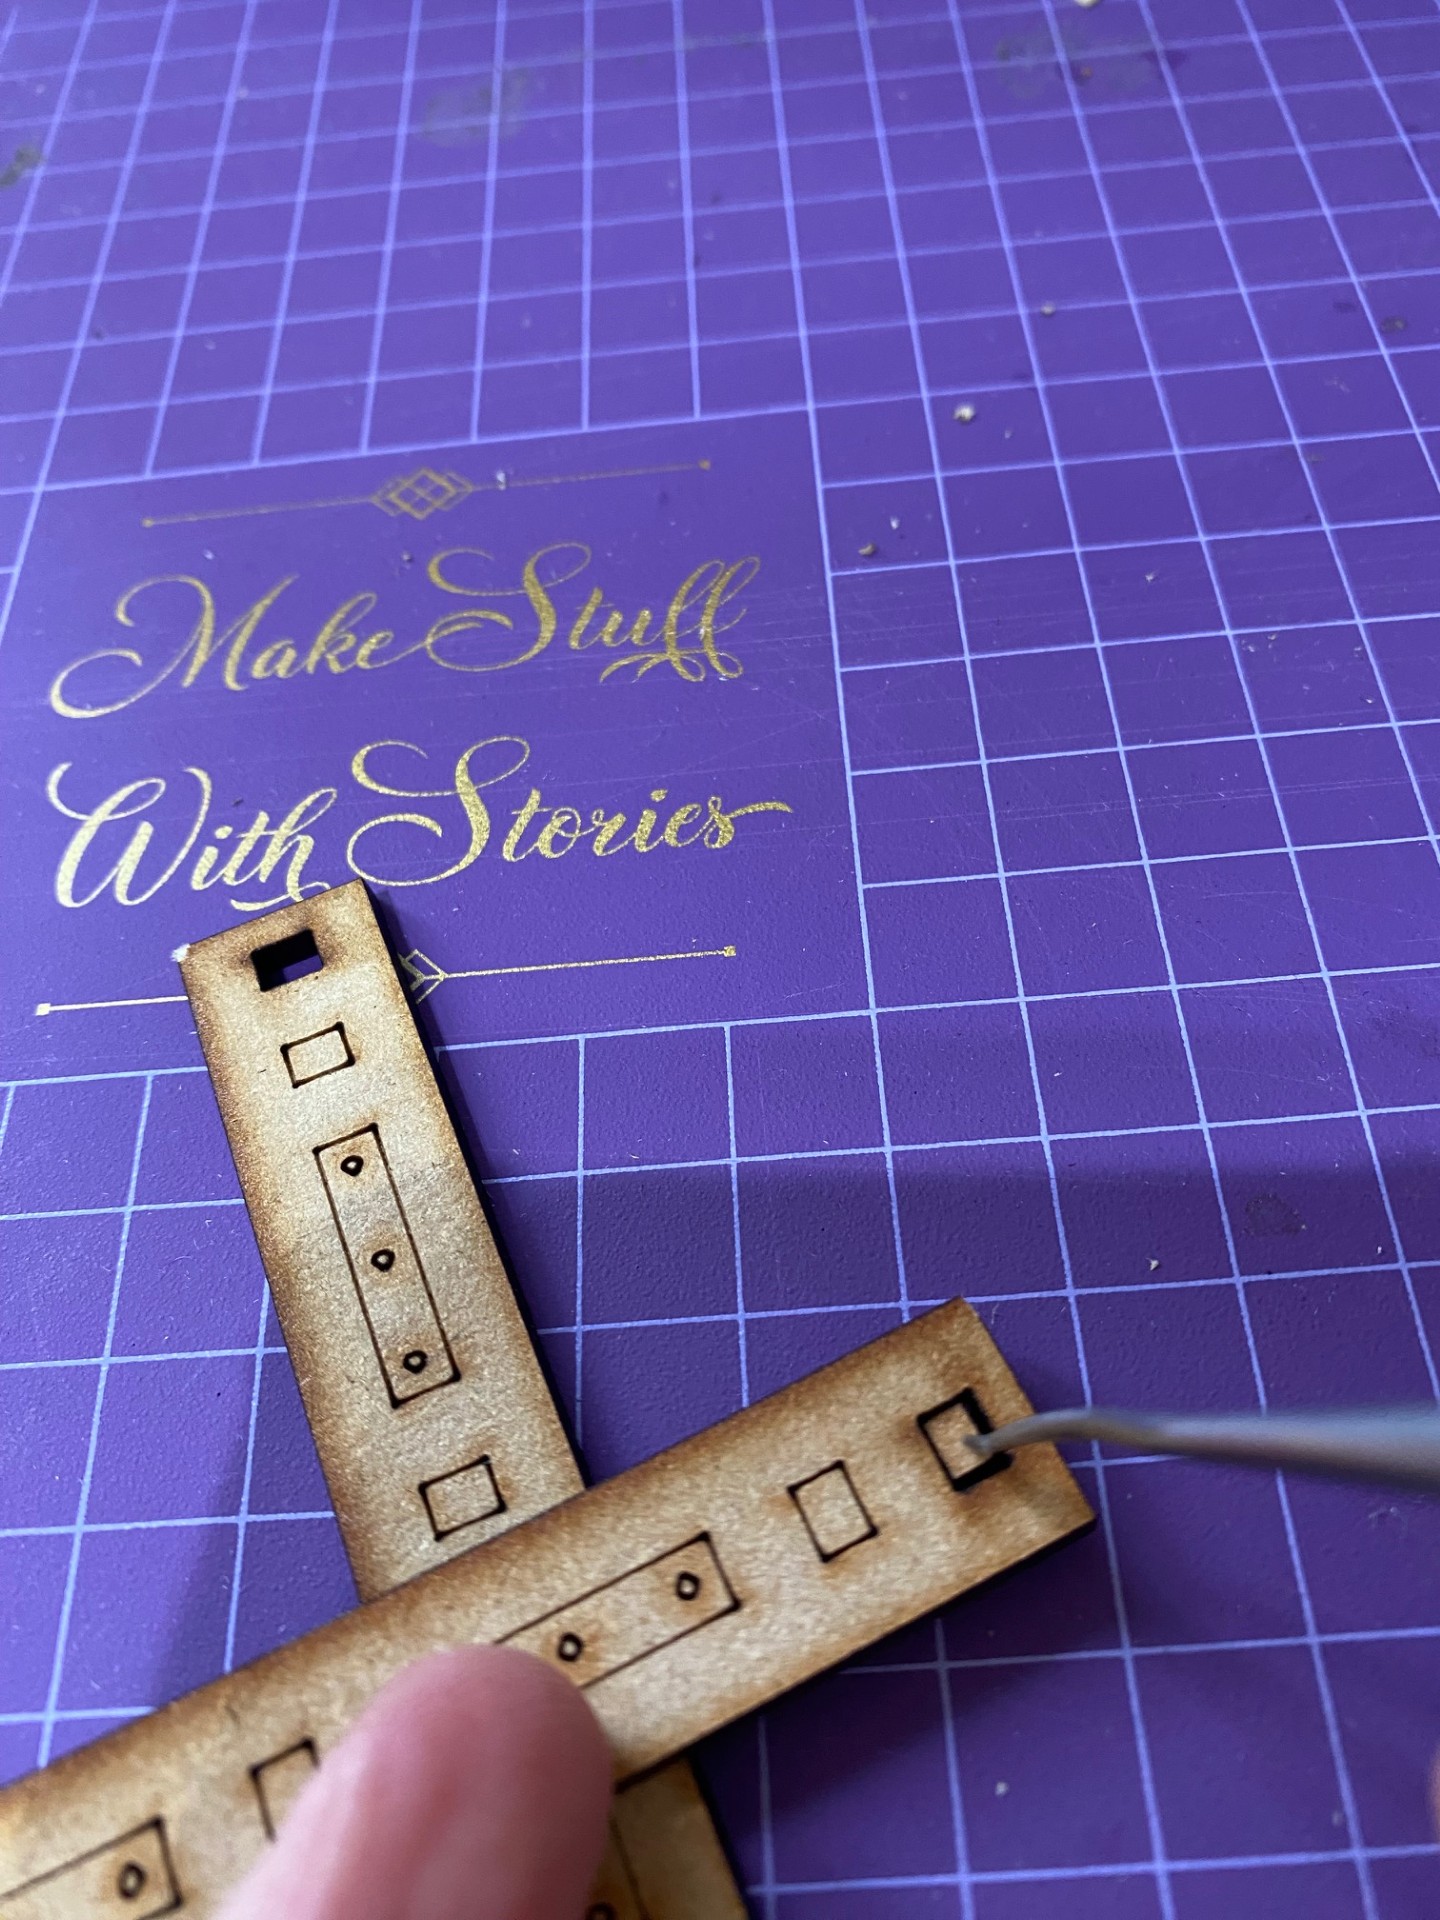
There are quite a lot of holes that have been cut into the pieces by the laser but where the piece in the hole is still in place. These just need popping out with a suitable “poker”. I used a sculpting tool.
Once you have all the pieces for your sub-assembly, put them together in a dry fit so you can figure out how they go together. TT Combat kits have patters etched on one side, but these aren’t shown on the instructions. Be careful that you don’t accidentally hide a pattern on the inside.
Once you know how to put a sub-assembly together, take it apart and put it back together again with glue. My kit is only intended for display so I was quite sparing with the glue.
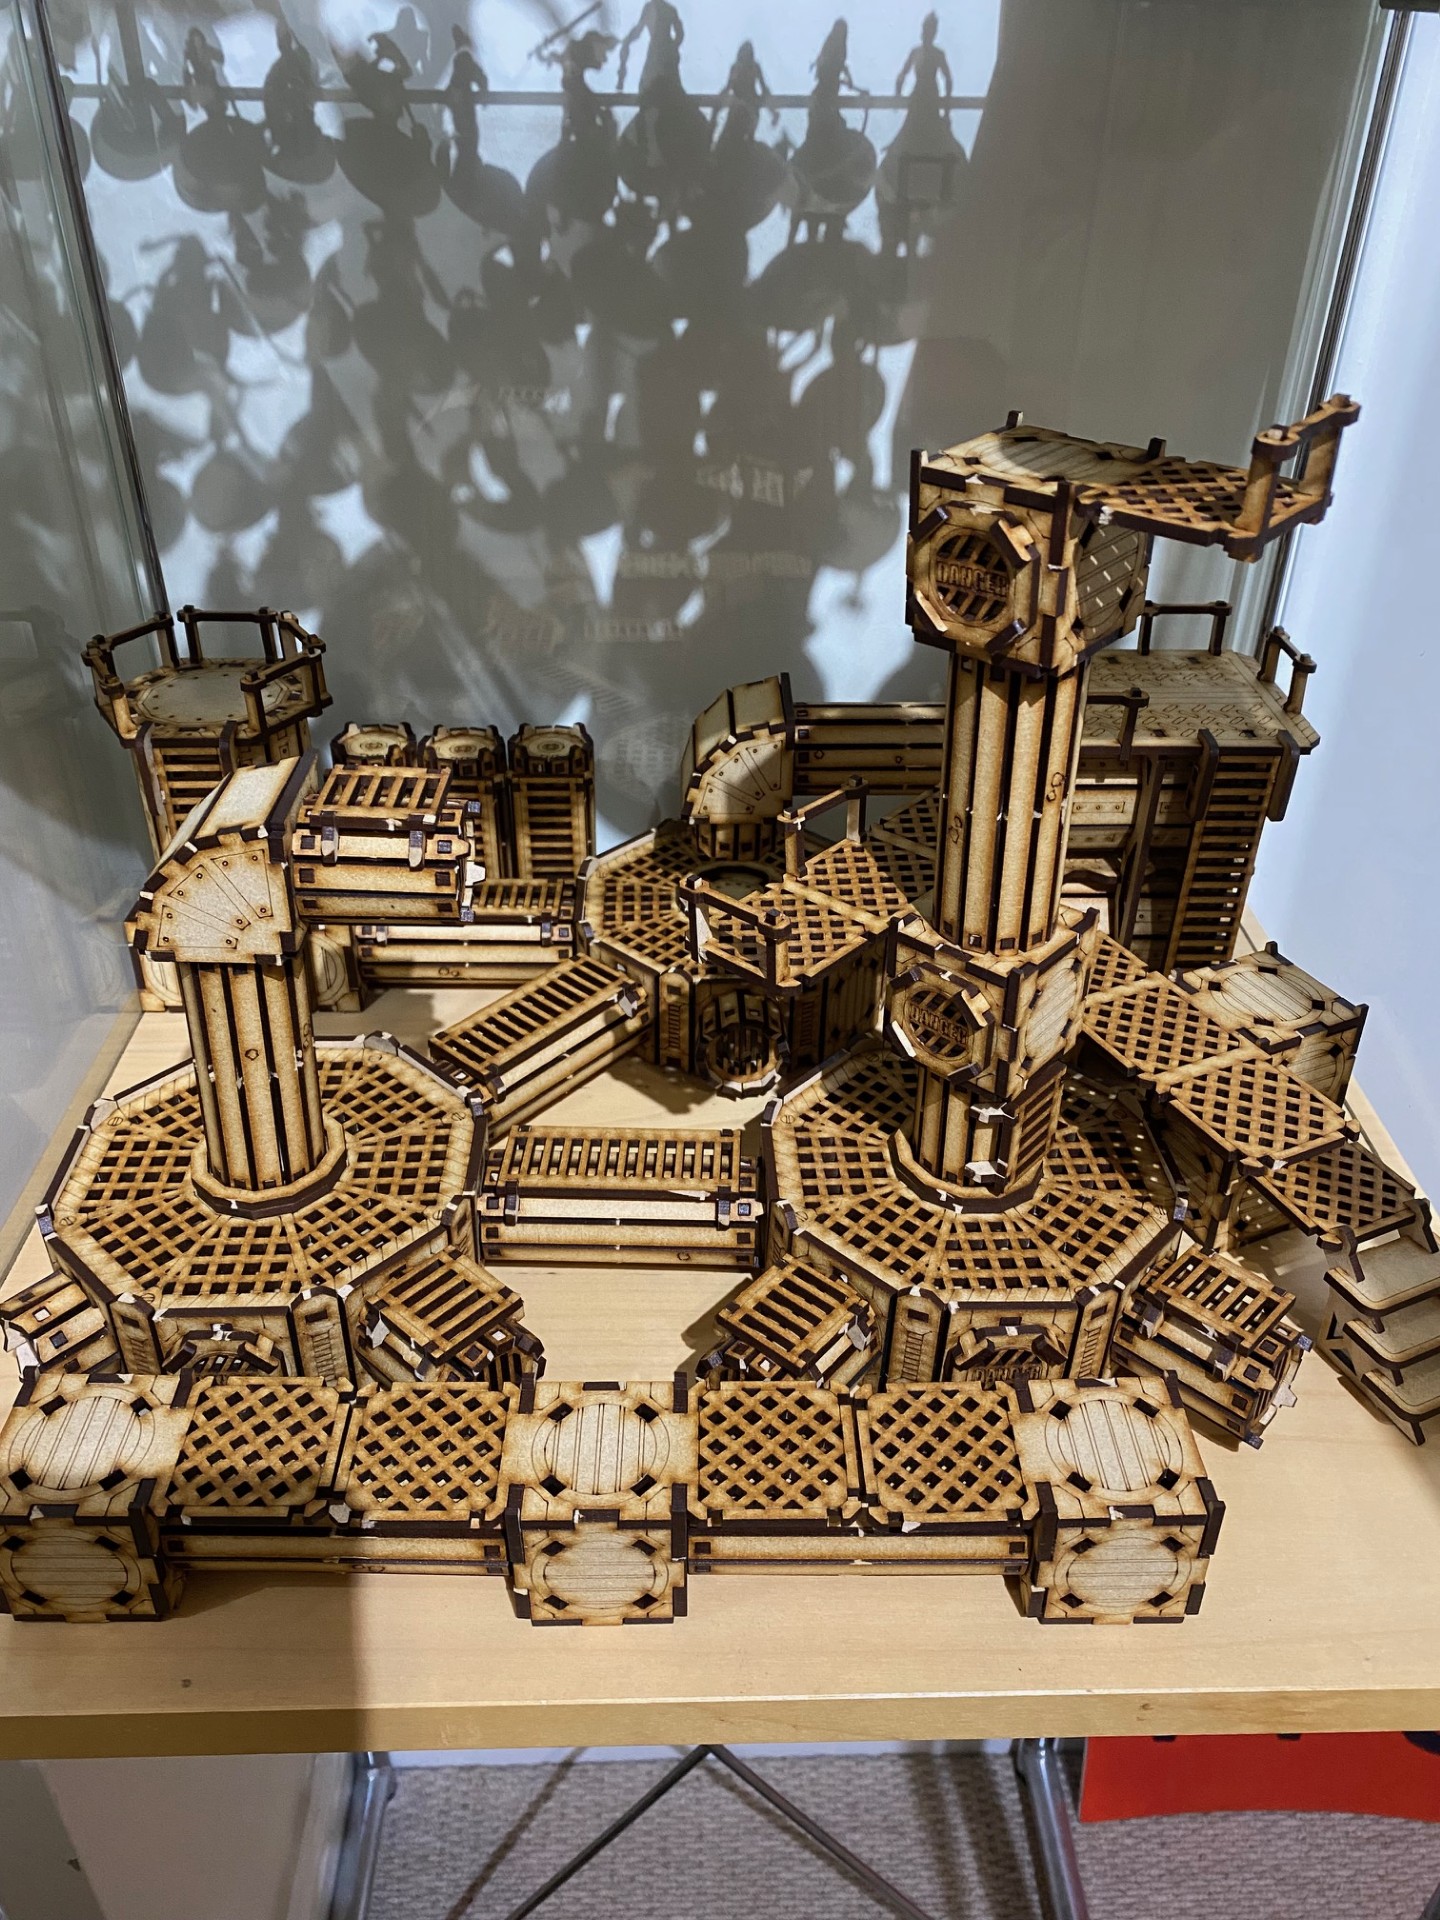
Here’s the fully built kit on my display cabinet’s bottom shelf. This is my first setup. The various sub-assemblies aren’t glued together so I can change the layout. I may try adding more height to free up more floor space.


Leave a Reply