


![TerrainFest 2024! Build Terrain With OnTableTop & Win A £300 Prize [Extended!]](https://images.beastsofwar.com/2024/10/TerrainFEST-2024-Social-Media-Post-Square-225-127.jpg)


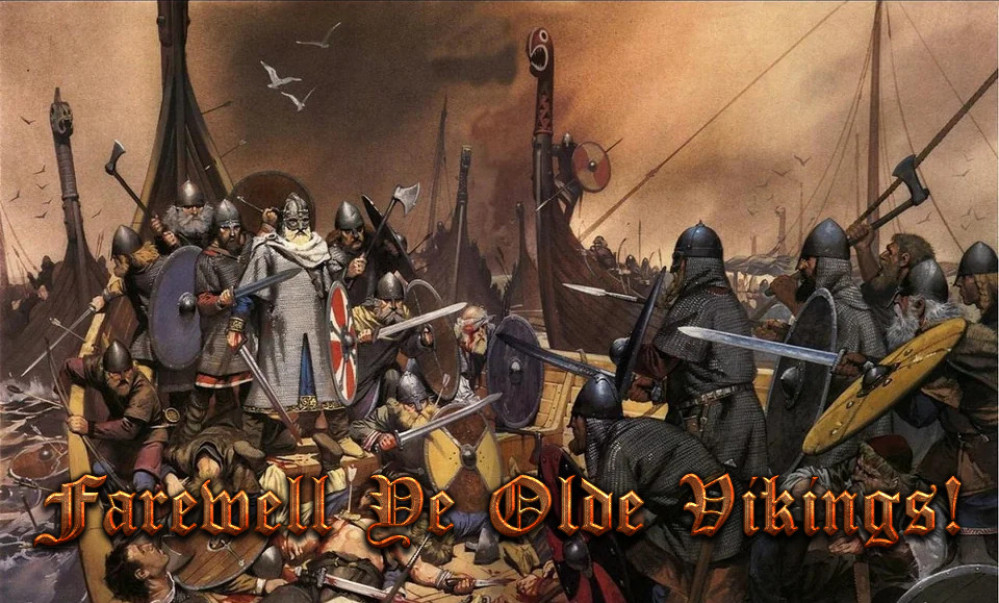
Farewell Ye Olde Vikings!


Building The Sea
Hi everyone,
I started this project with the base, so I decided to continue with it. The next step was to build an under-structure for it that fit the ship. Then I filled the base with air-drying clay and let it dry properly.
When all the cracks came out, I filled them with milliput, and added more miliput to build up some waves and once again let the whole thing dry.
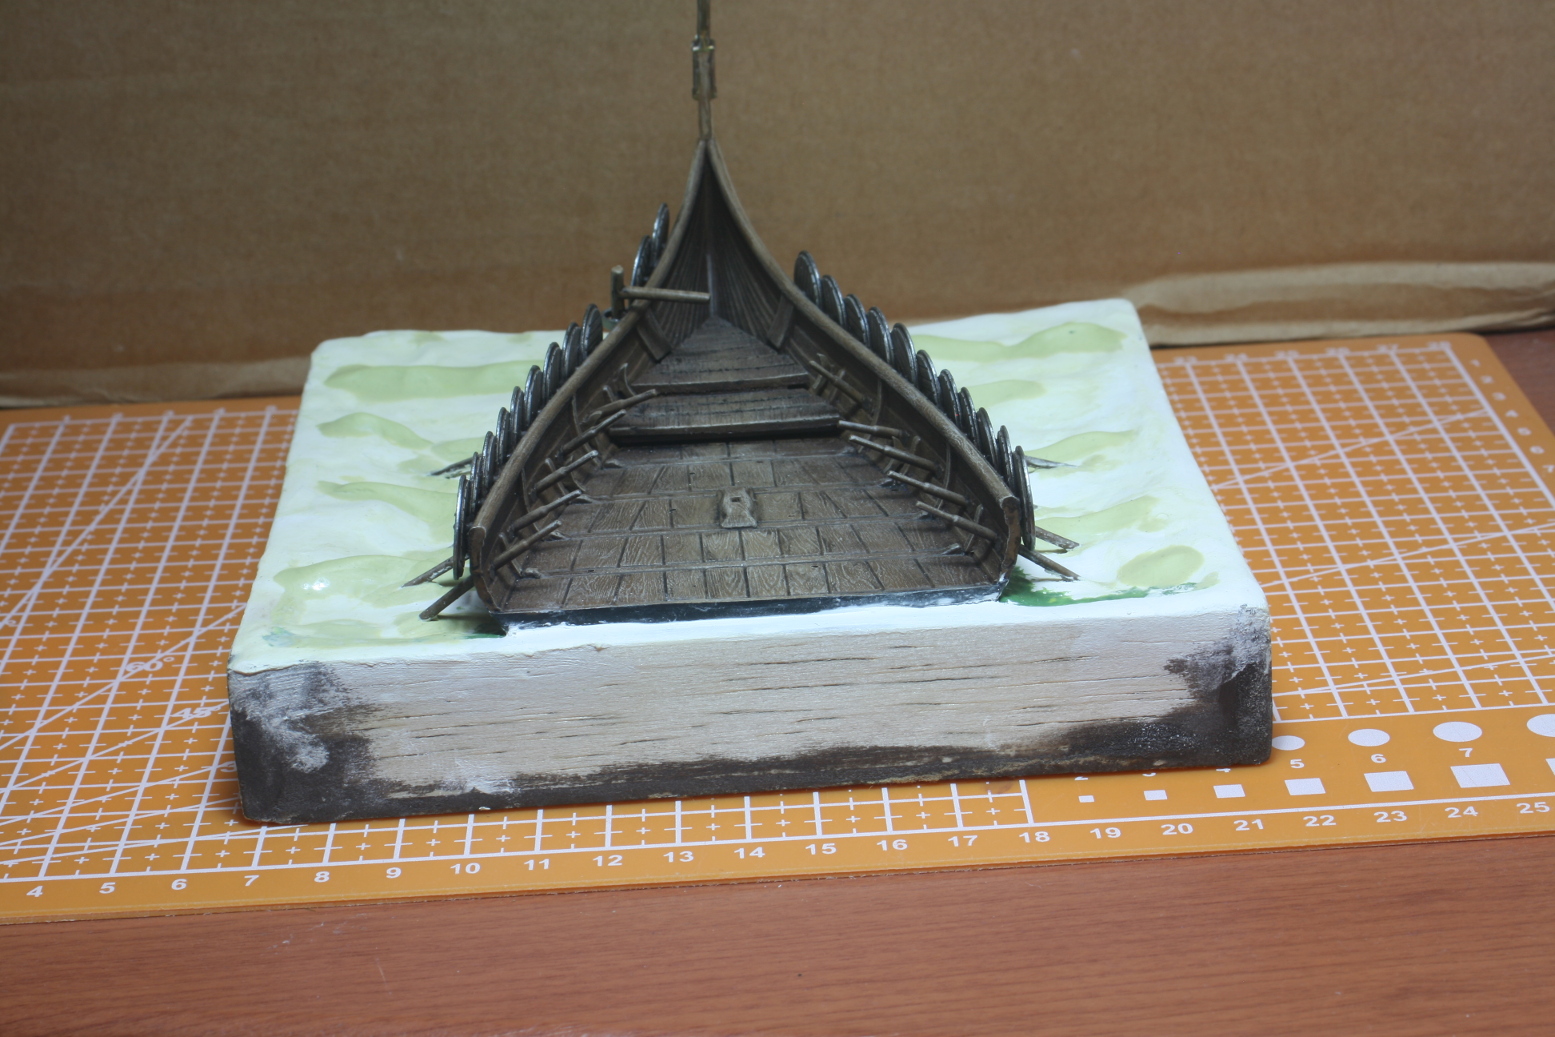 After the clay dried I filled out the cracks and waves with milliput.
After drying, I took some rolled-out-cotton roll that is used for plaster casting. I took a piece and pulled it opened. This is very cheap and can be found in most pharmacies.
N.B. I did paint the ship before setting it in place, but I forgot to take pictures – my bad!
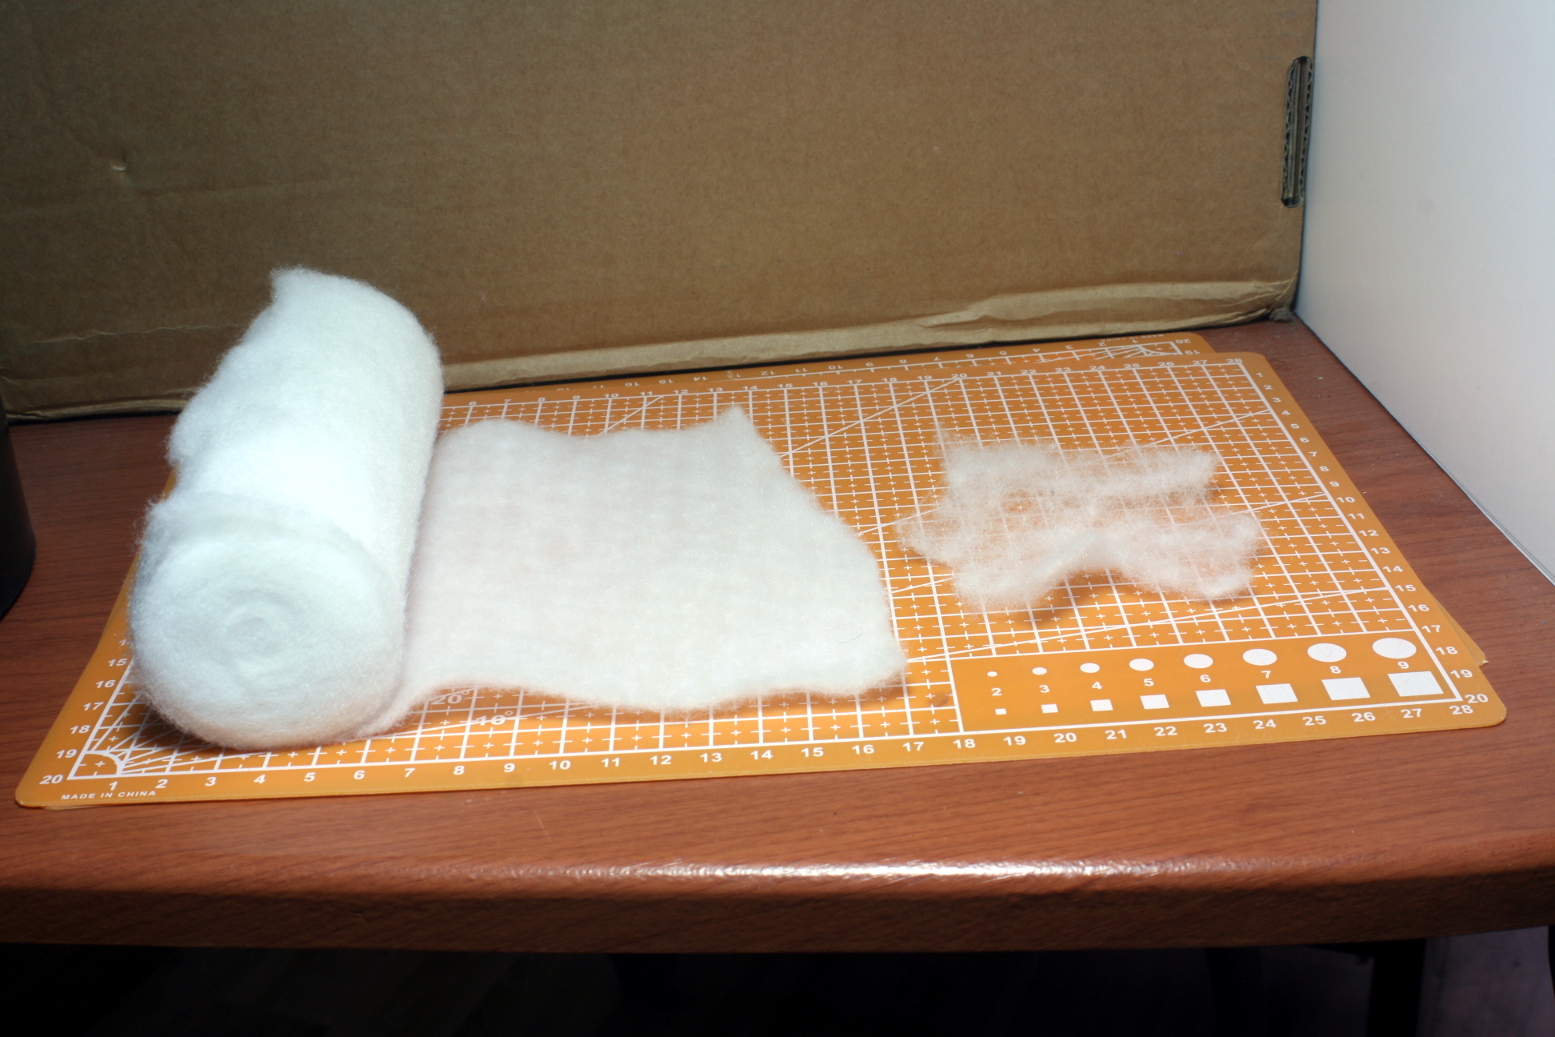 The cotton roll is pulled out and widened before gluing it to the clay-sea surface.
Slowly, with the liberal application of PVA glue, I placed the cotton sheet onto the clay-sea surface to create micro-ripples on the surface.
When the glue dried, I added several applications of matte gel medium to create even more texture.
When the gel has dried, it is ready for painting, so I gave it a light grey primer.
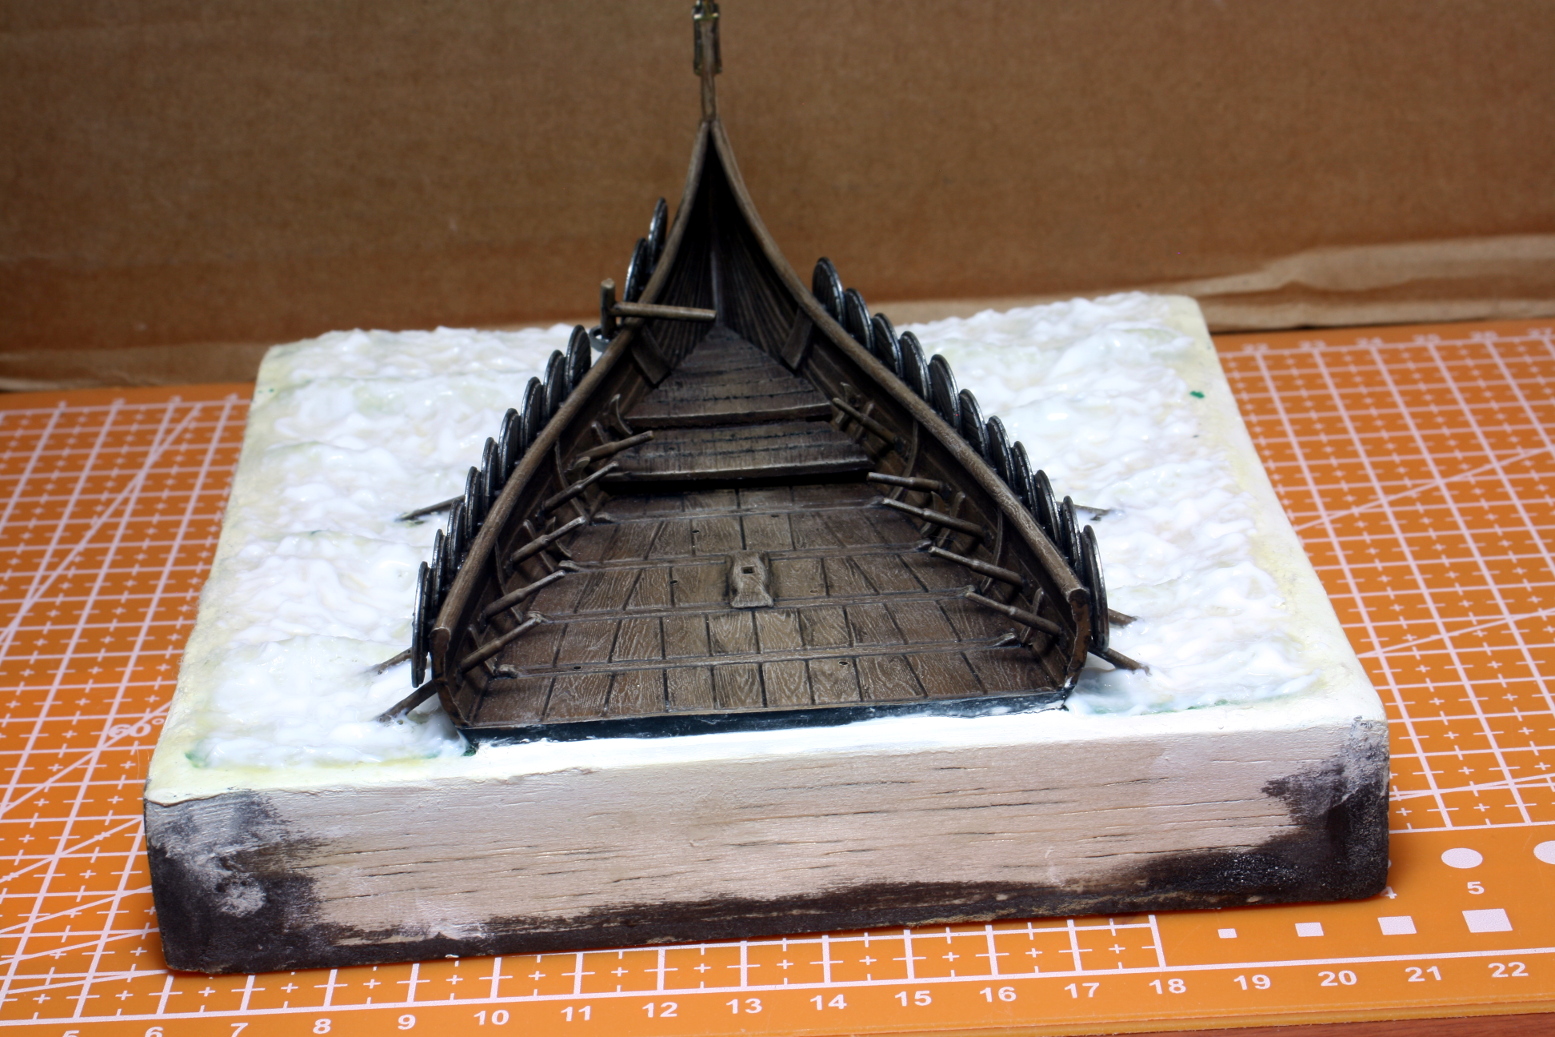 The sea is given two coats of gel medium after the glue and cotton have dried, to accentuate surface rippling.
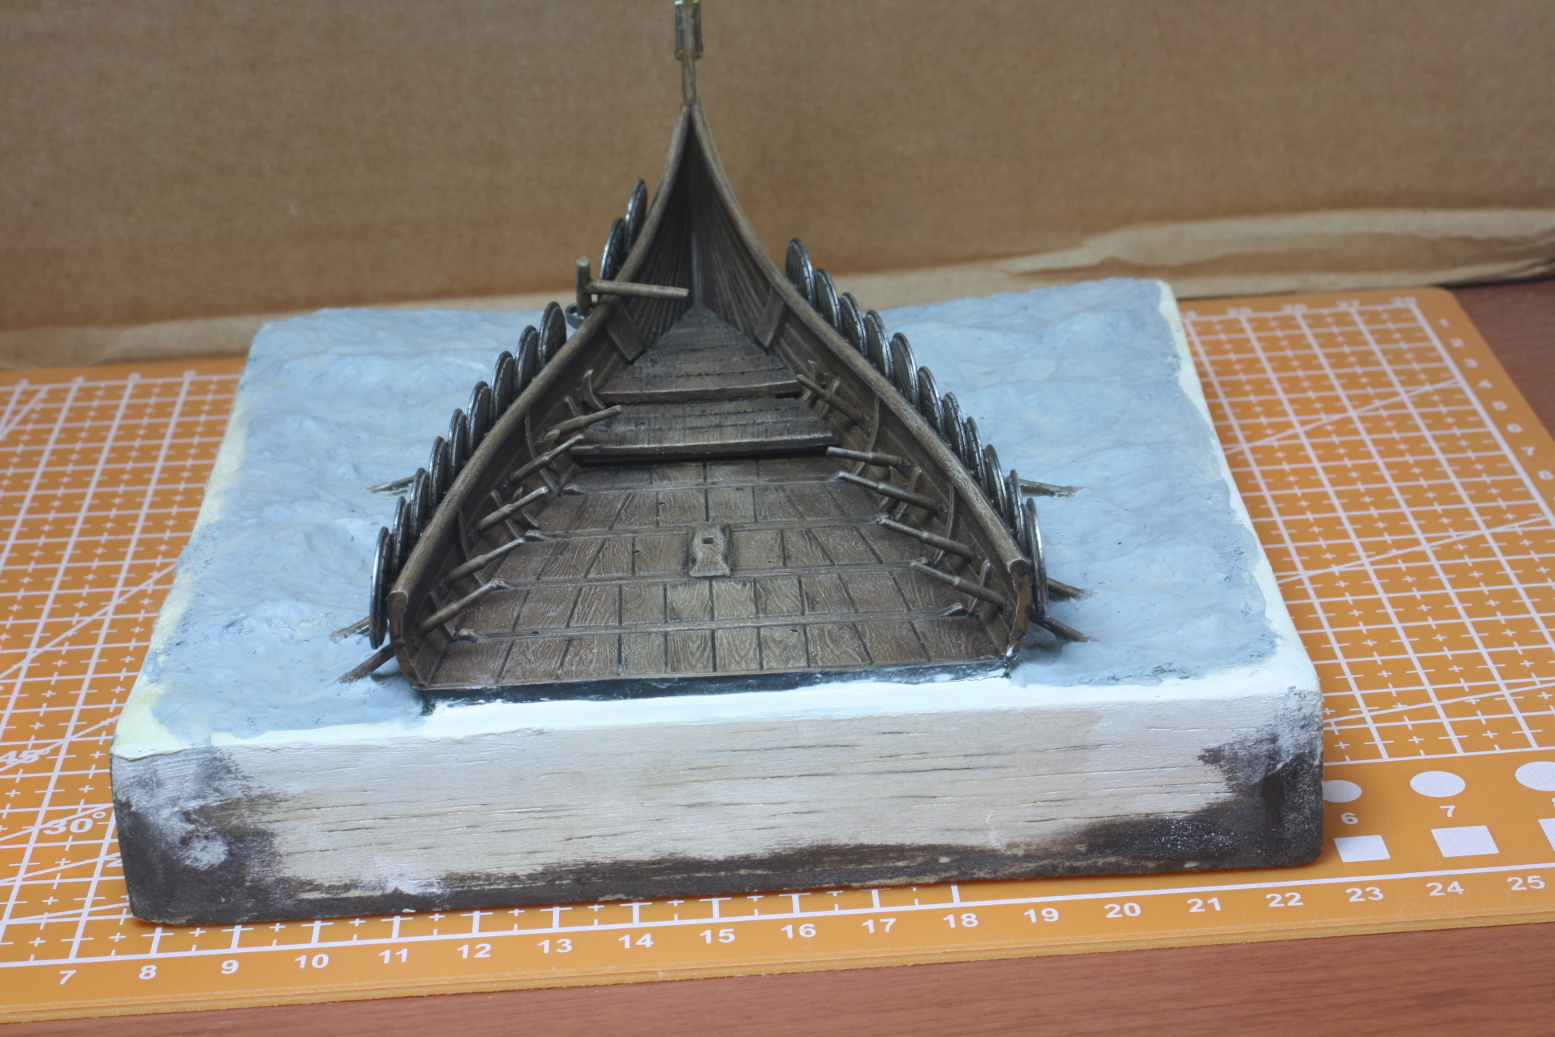 Primed and ready for paint.
In the next post, I will start painting the whole thing and add extra water detail.
Until then, stay safe and have fun.
NR.


Leave a Reply