


Kira's Club Terrain - A Spring Clean Challenge


Week 11? - Results
It’s been a while since I last posted: a mix of work being what it is with a bunch of overtime and some boring everyday stuff taking up life things had slowed right down and the project entered somewhat of a lull.
So I checked the last entry and did some sums (used my fingers and my toes) and I believe that this is week 11. So here we are…
But whilst that is not necessarily all behind me (especially the work stuff…) I did manage to get all of the pieces and bits and gubbins all cleaned up and ready to go and that at least has me feeling pretty good.
 Seems like gifs work on the entry editor but not when ready the entry. It's the Yzma I win gif, Click on it to see it, or not: I'm not your dad.
Having the bits ready, I decided to start playing around with the bits and pieces like a Lego set and see what I could come up with. It started out as largely little uncoordinated blobs as I was going “I wonder what happens if I put these together?” and “how does that attach to that?” and “could I put this with this?” and “how do I do that?”.
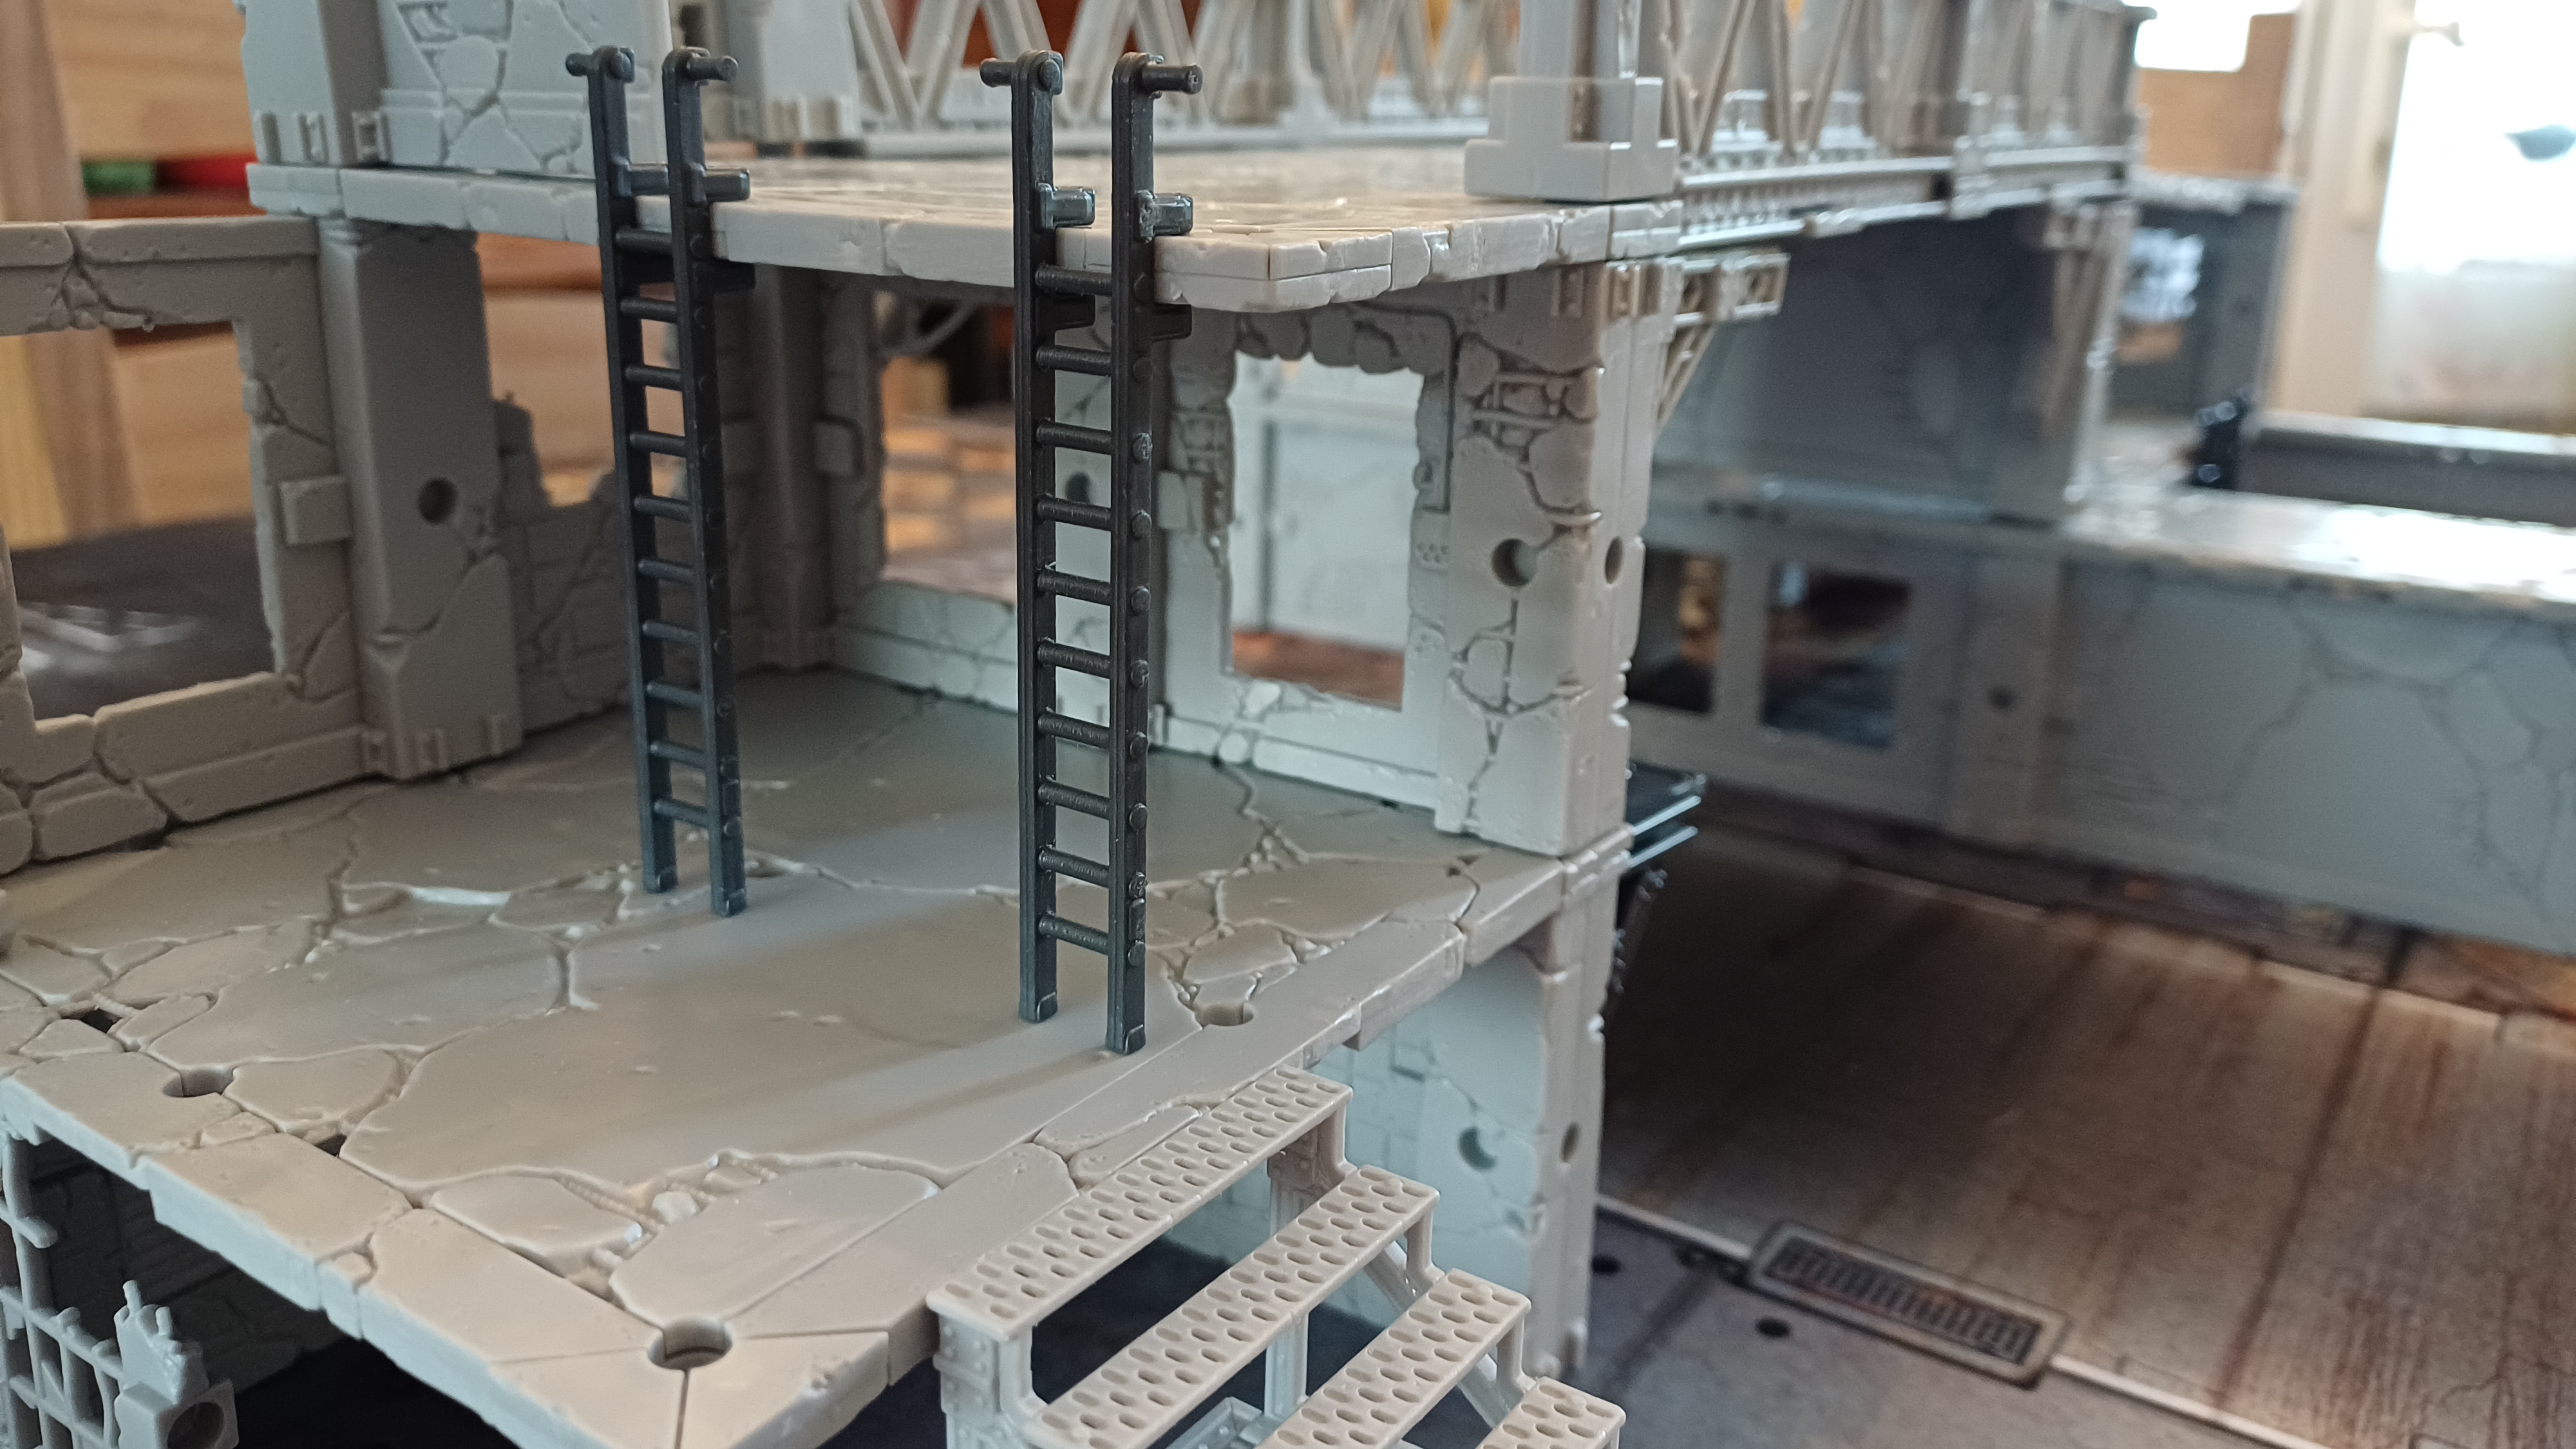
I didn’t really take any photos of this as I was just playing around with abstract clumps but it taught me a fair bit about how the system worked and all the bits fit together. Most importantly, I ended up squinting at the website and working out how to build the bridge.
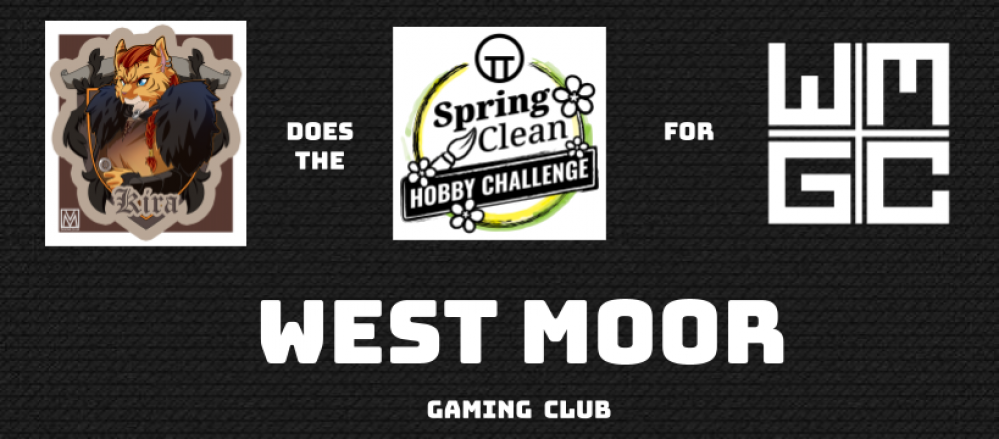
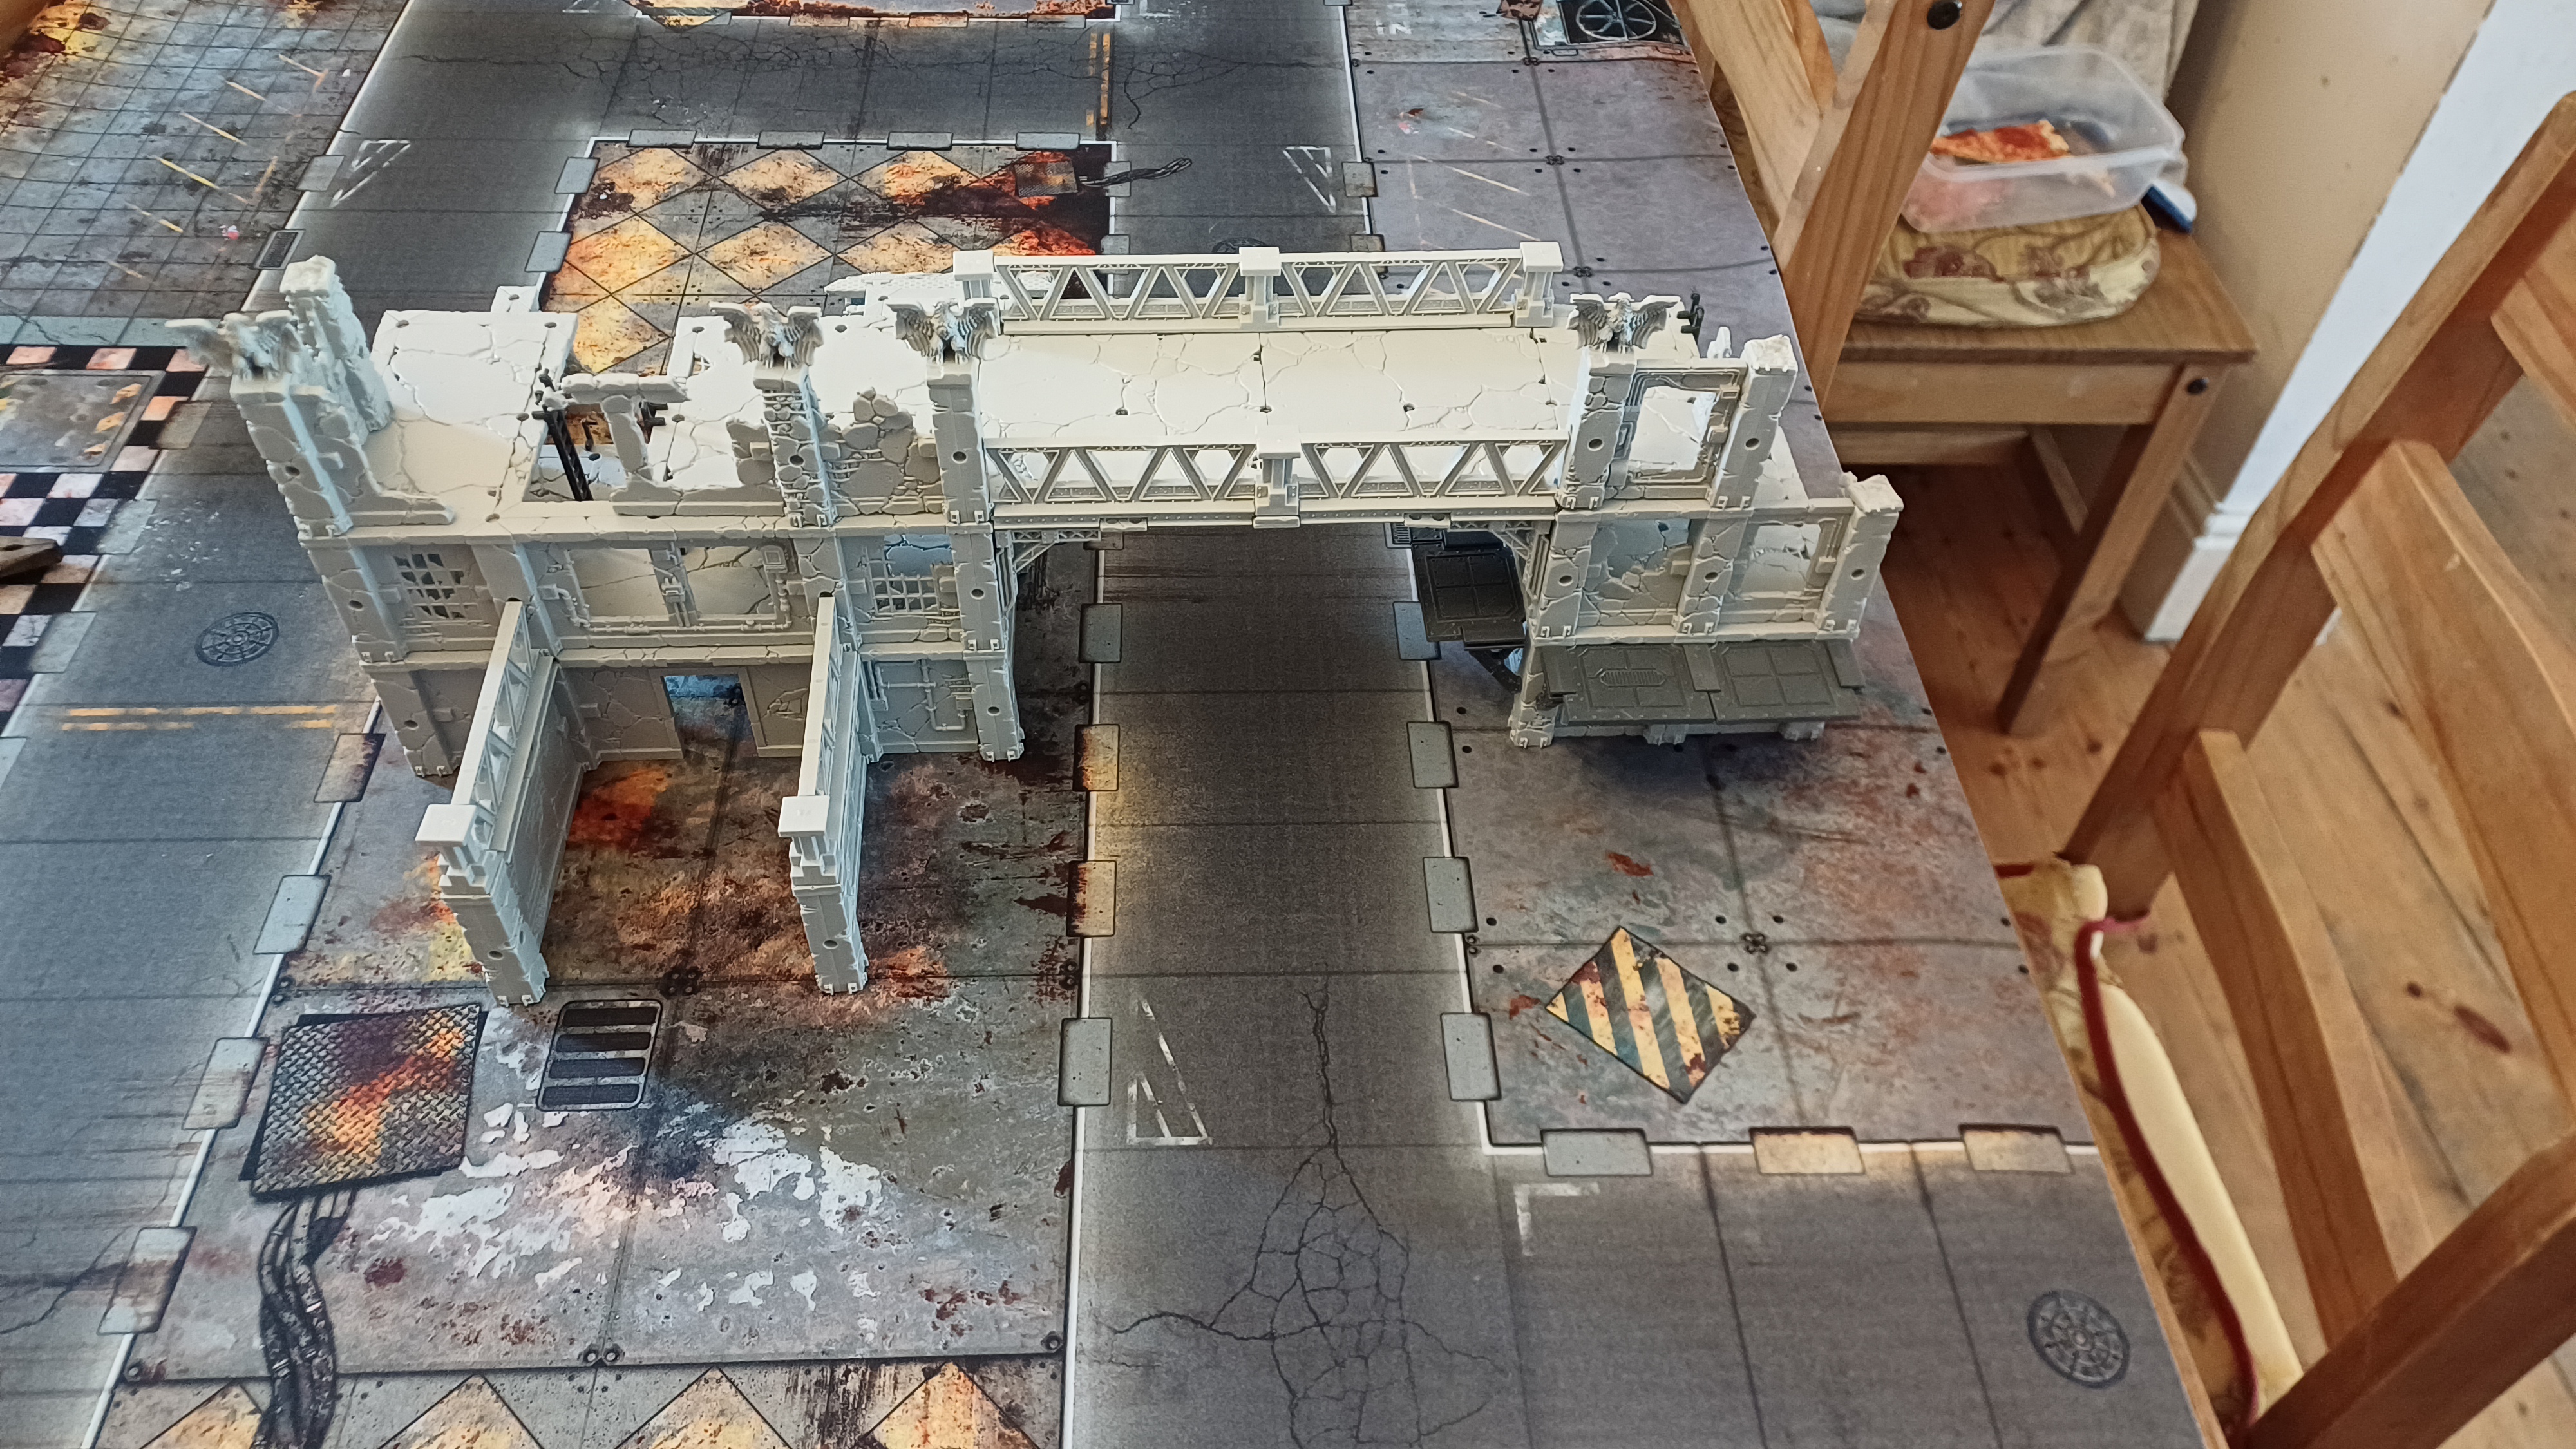
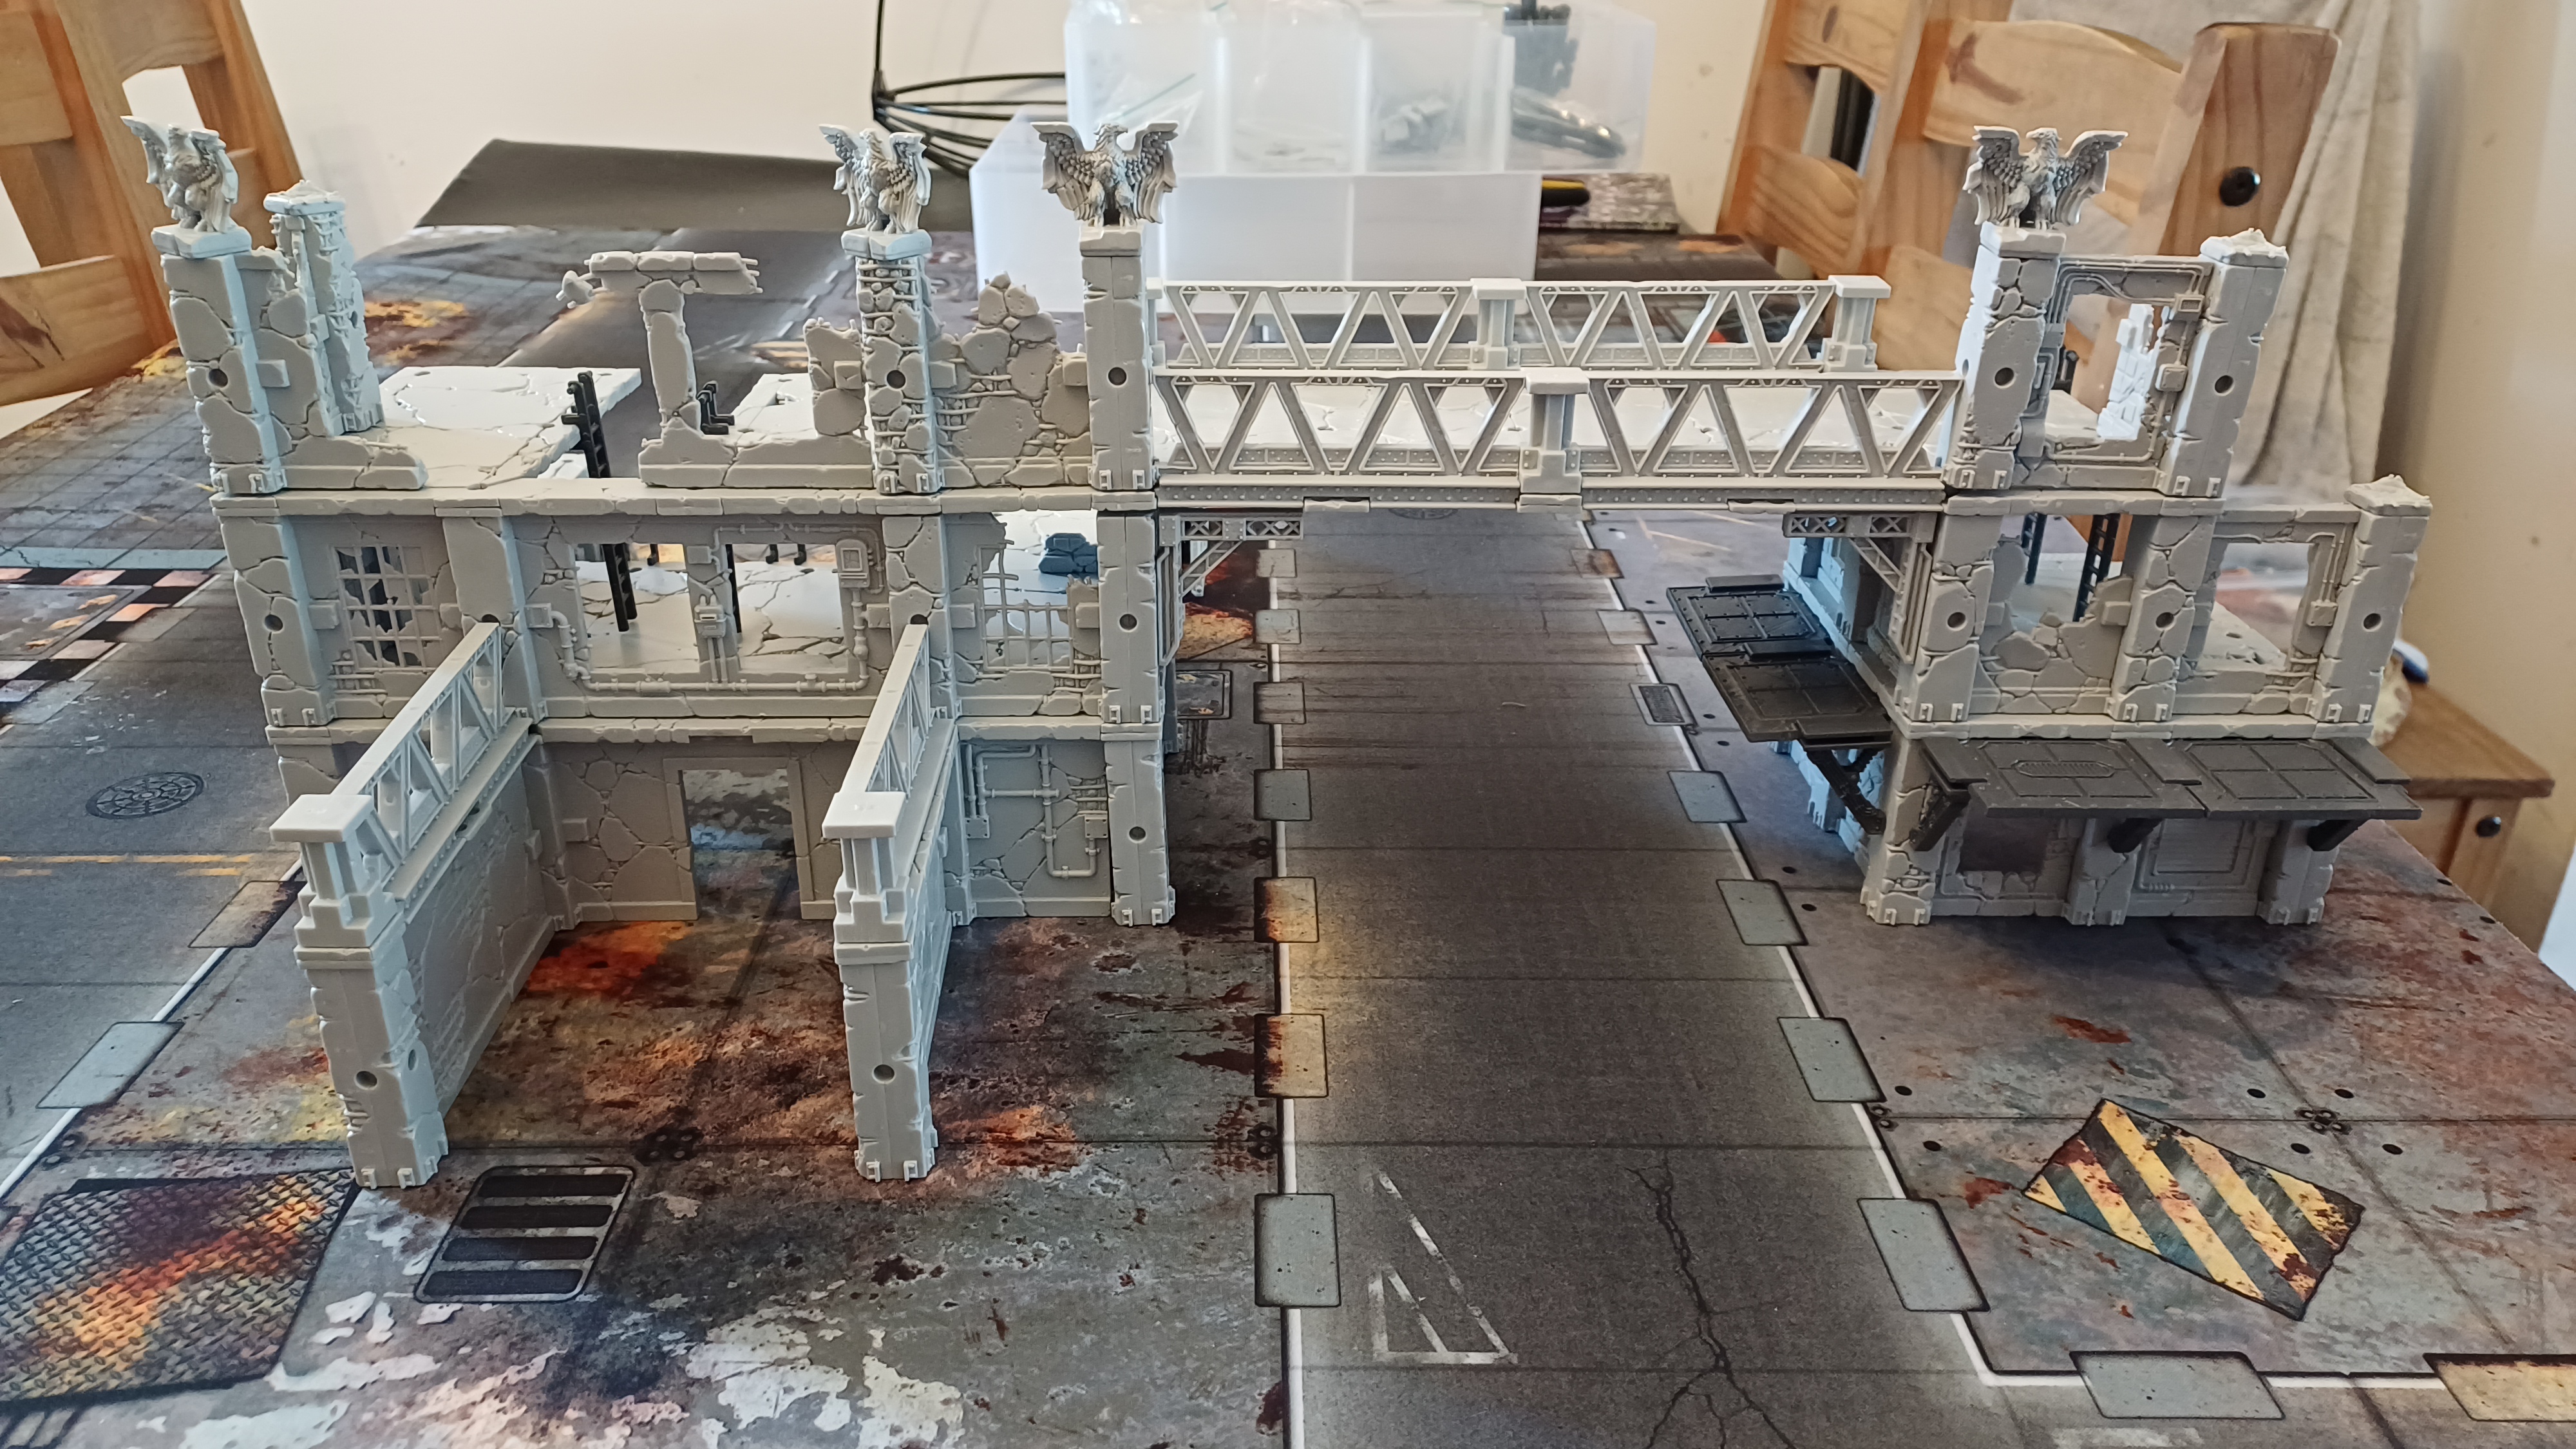
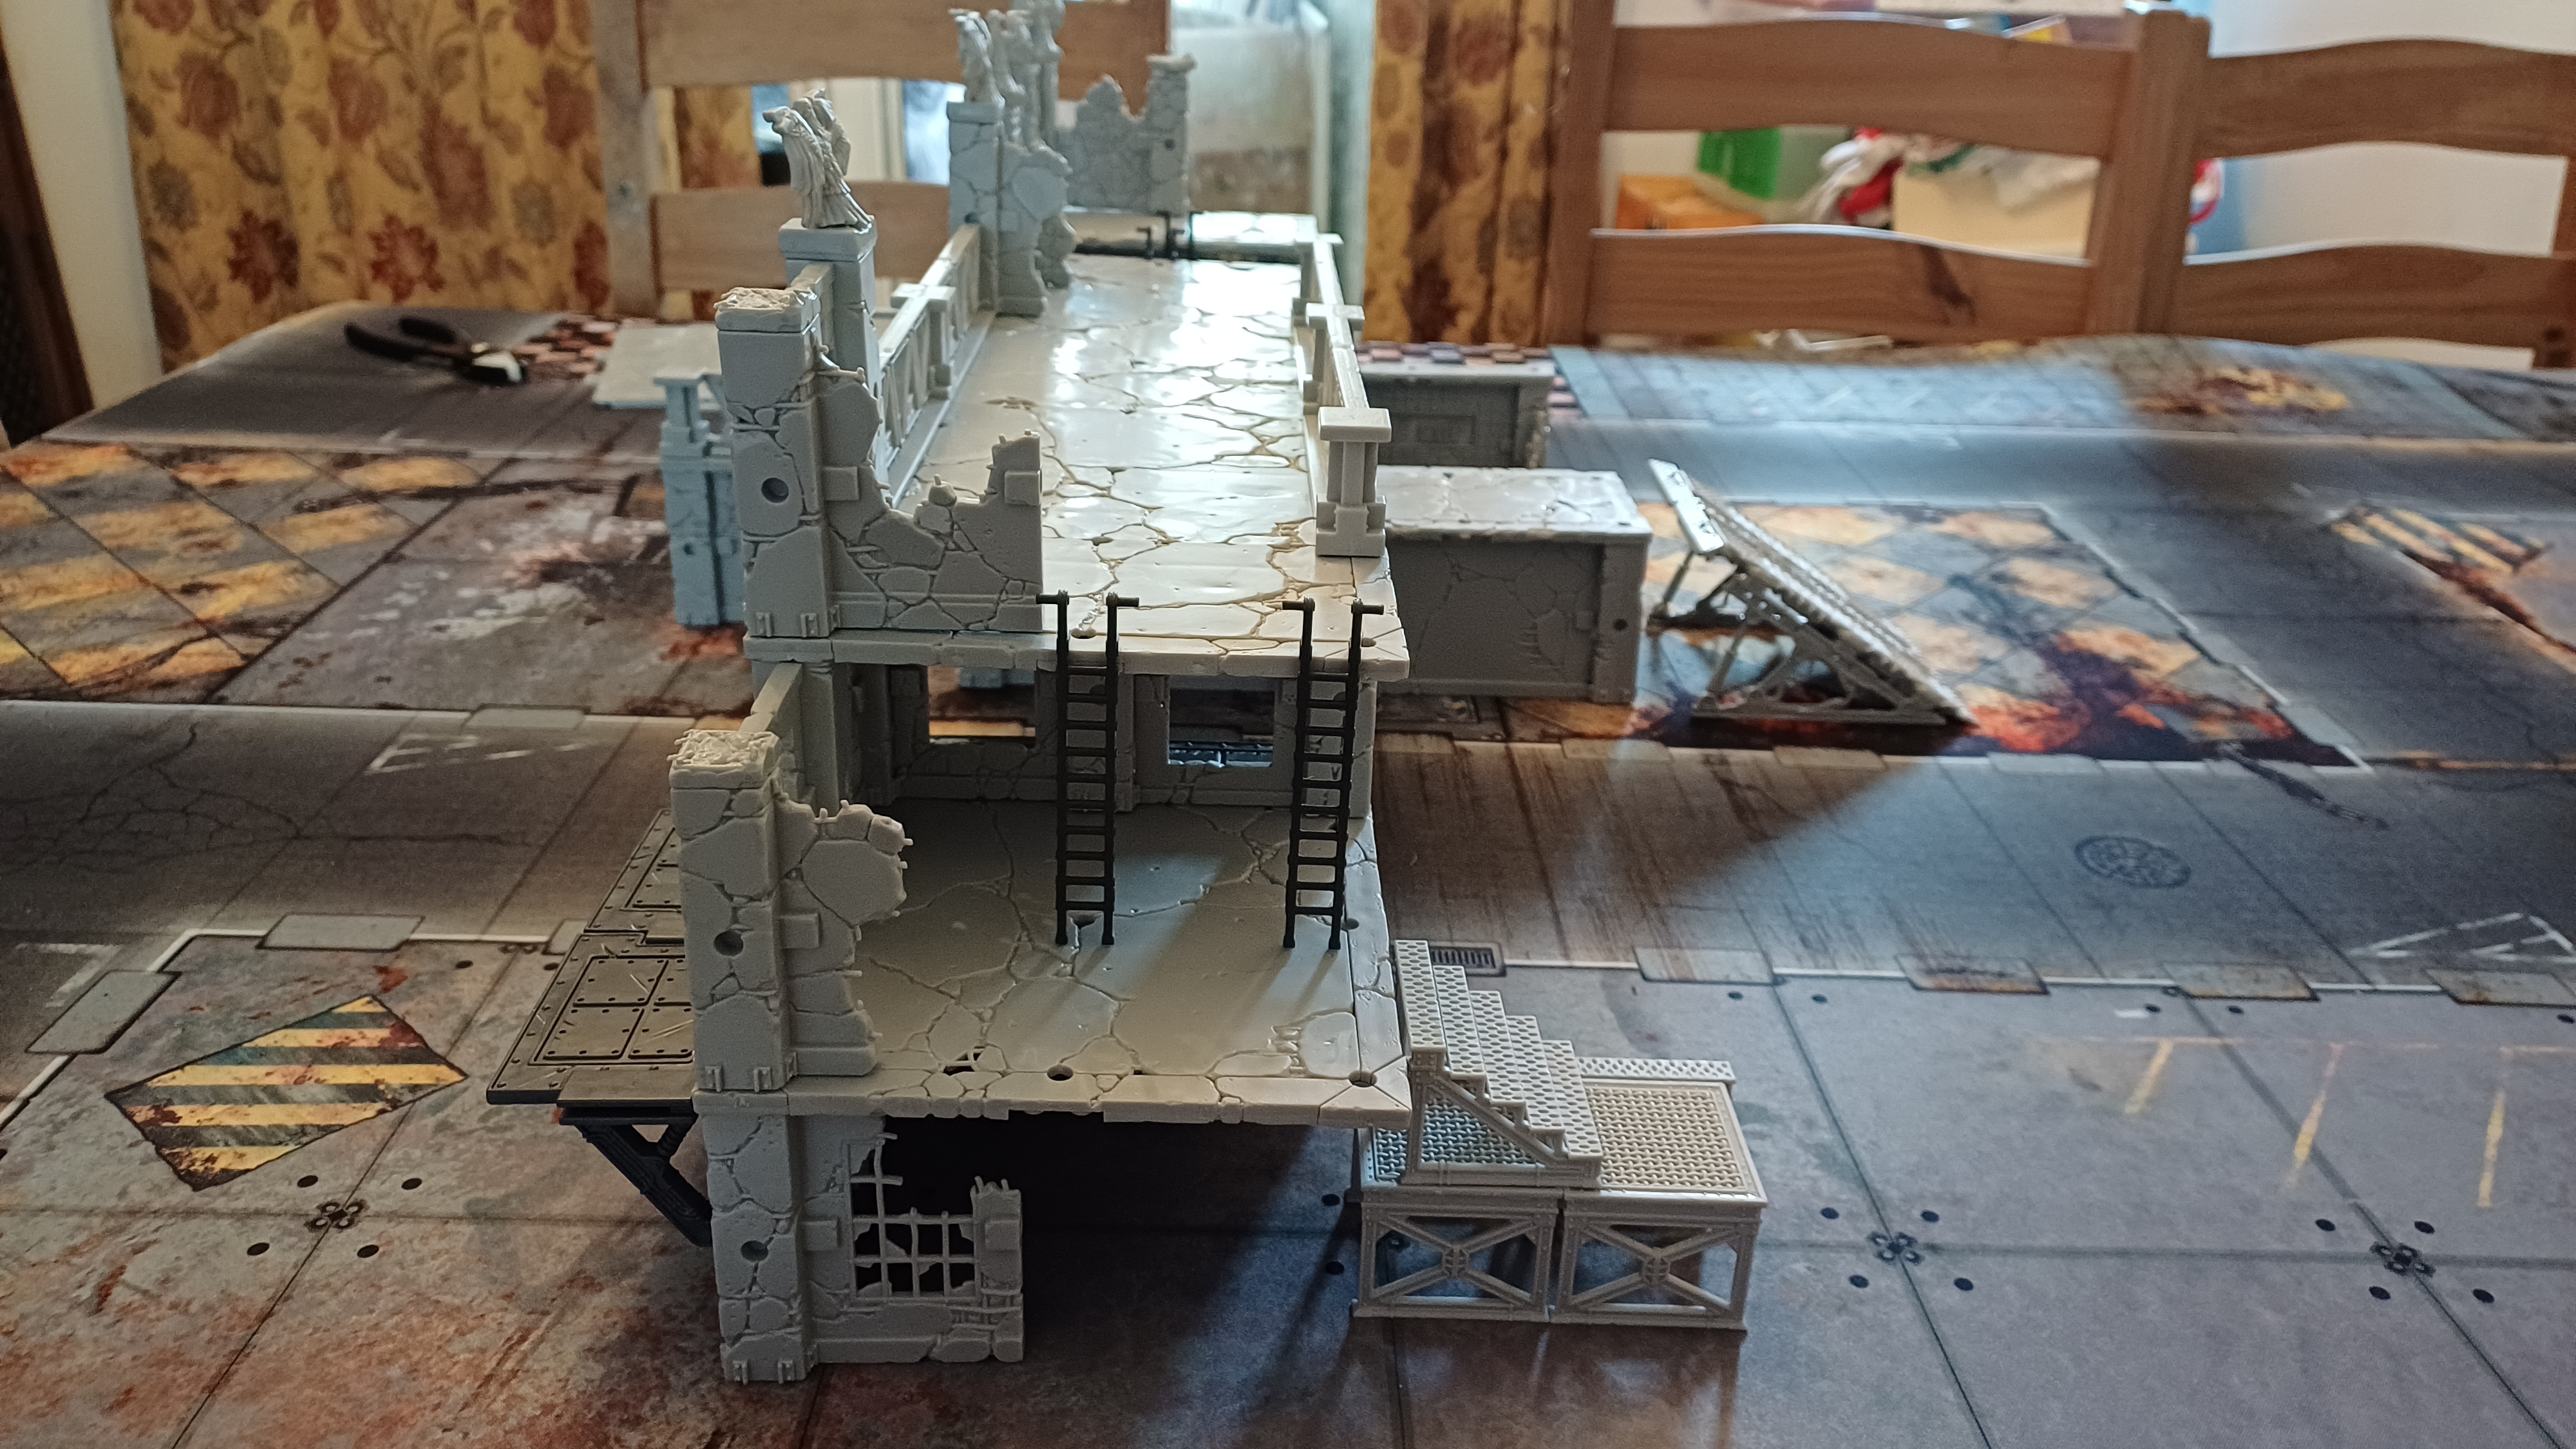
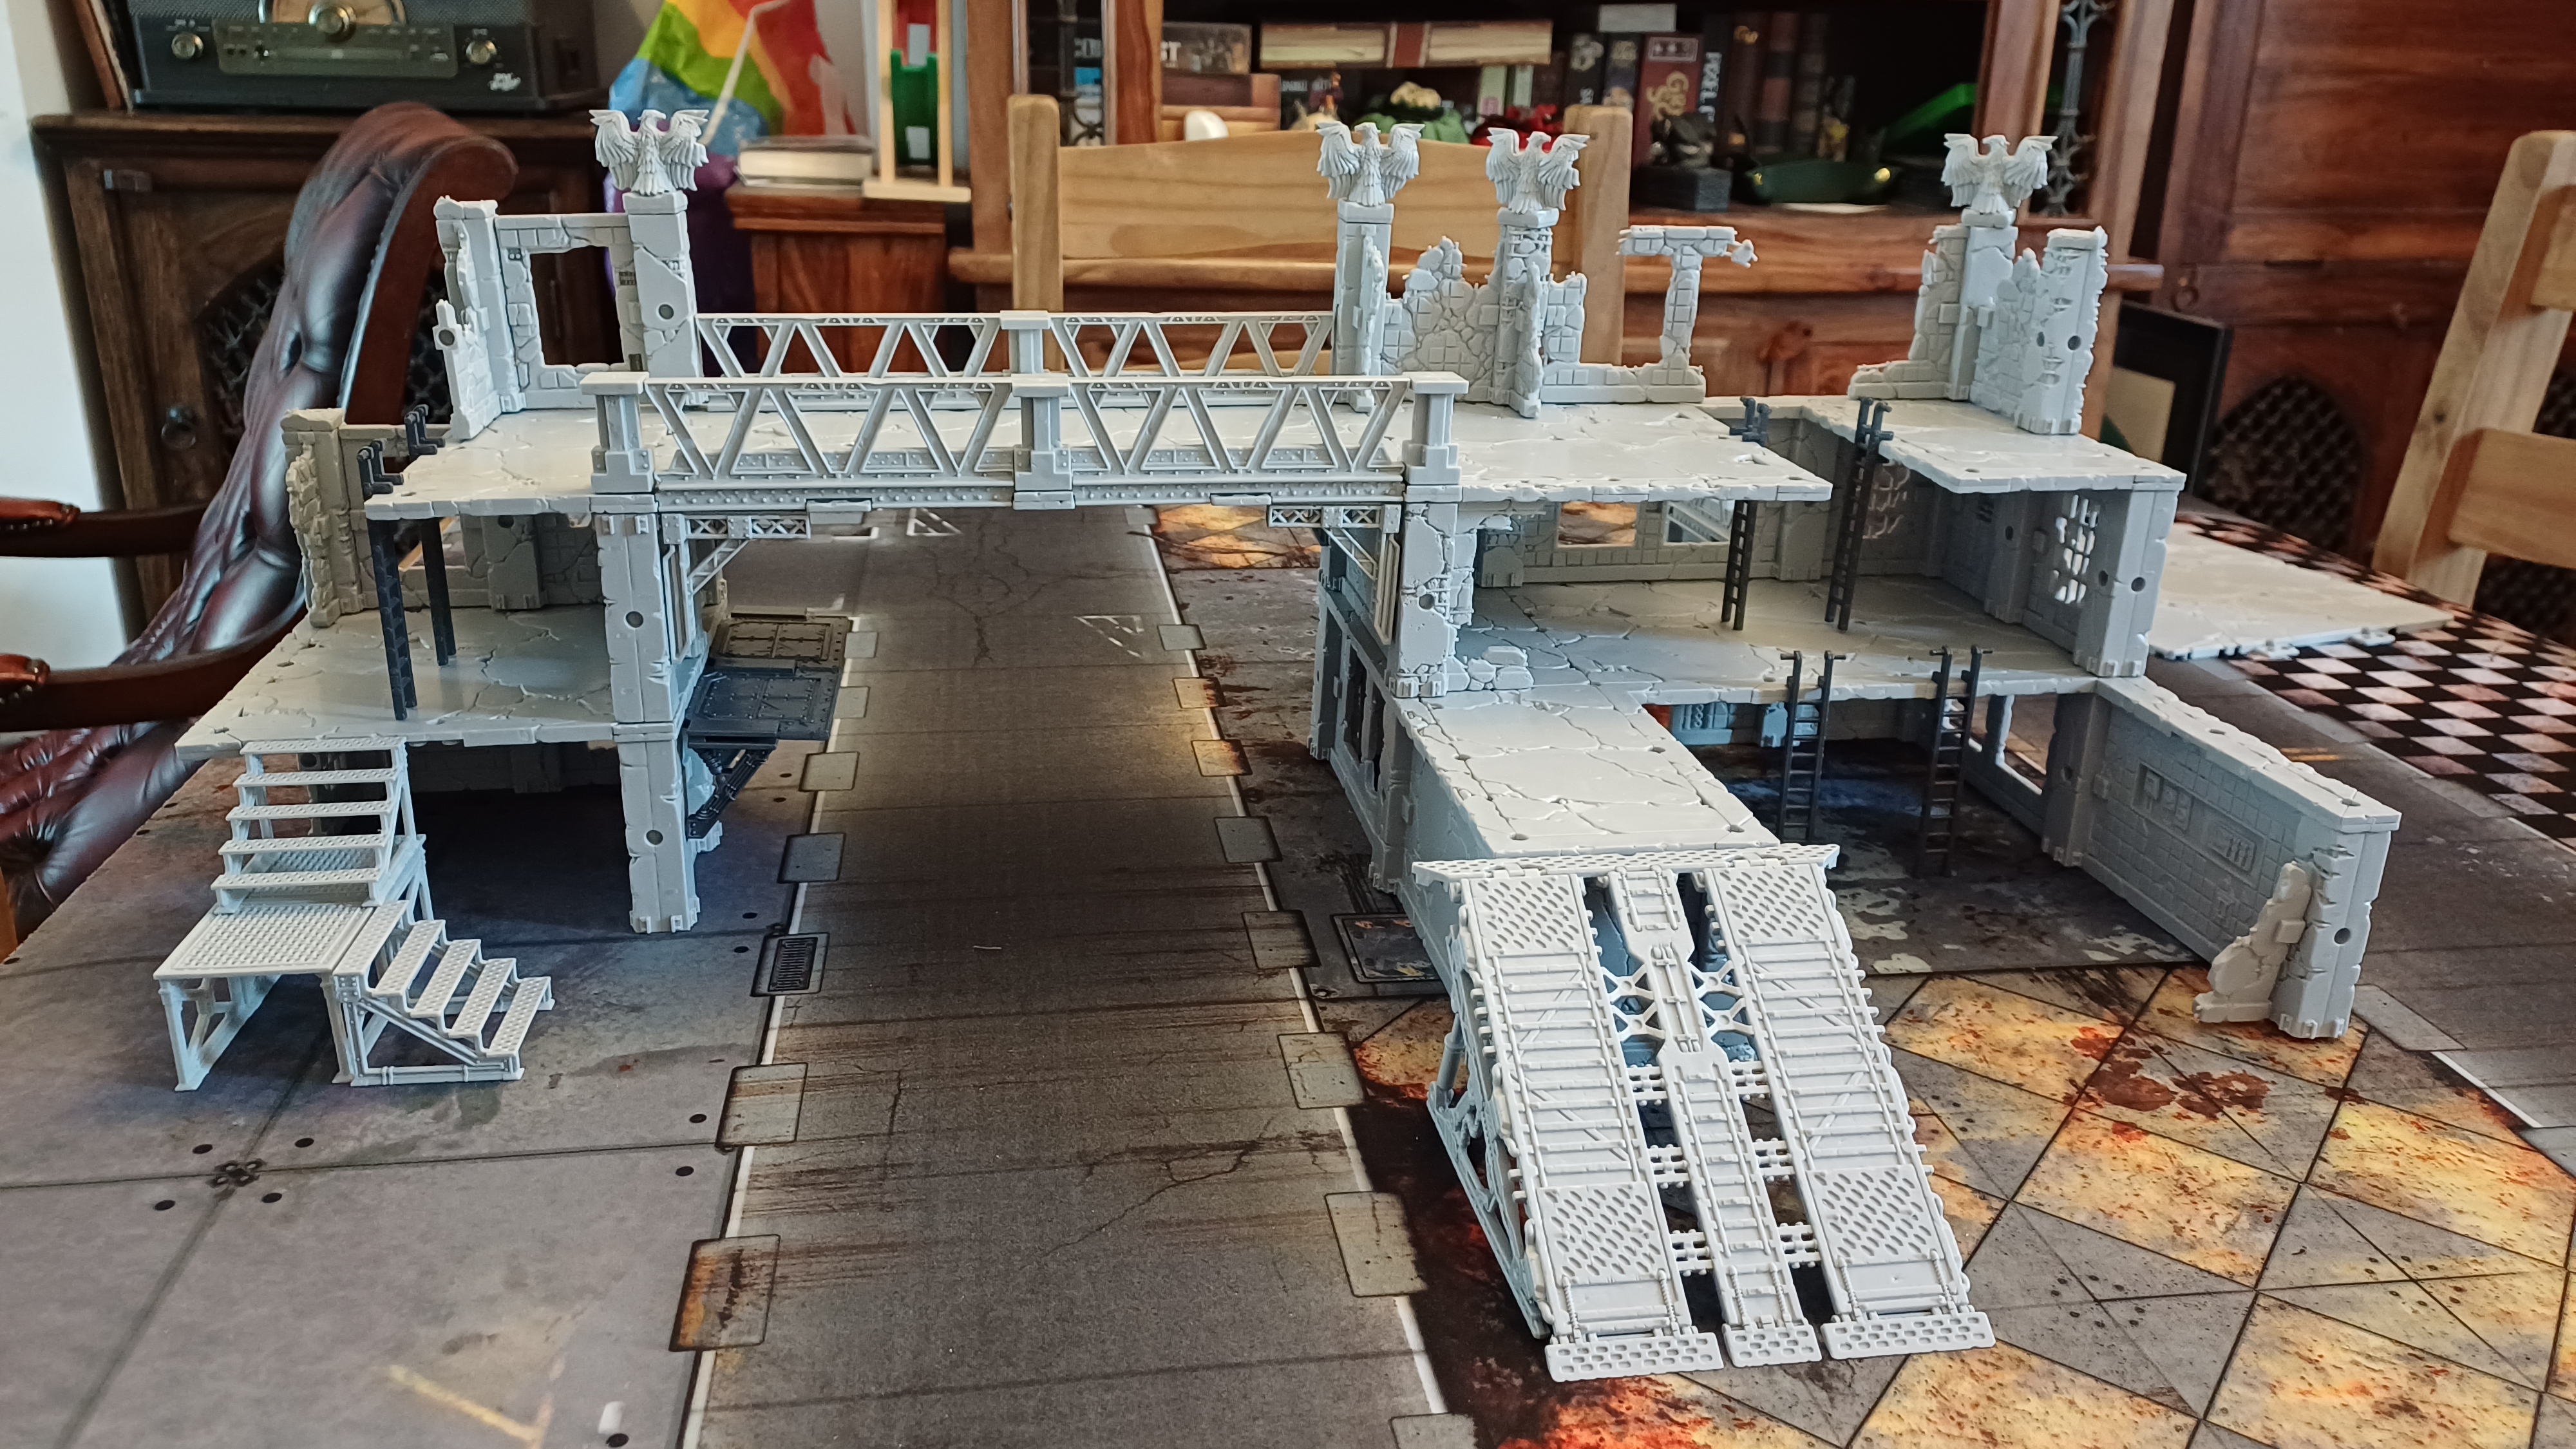
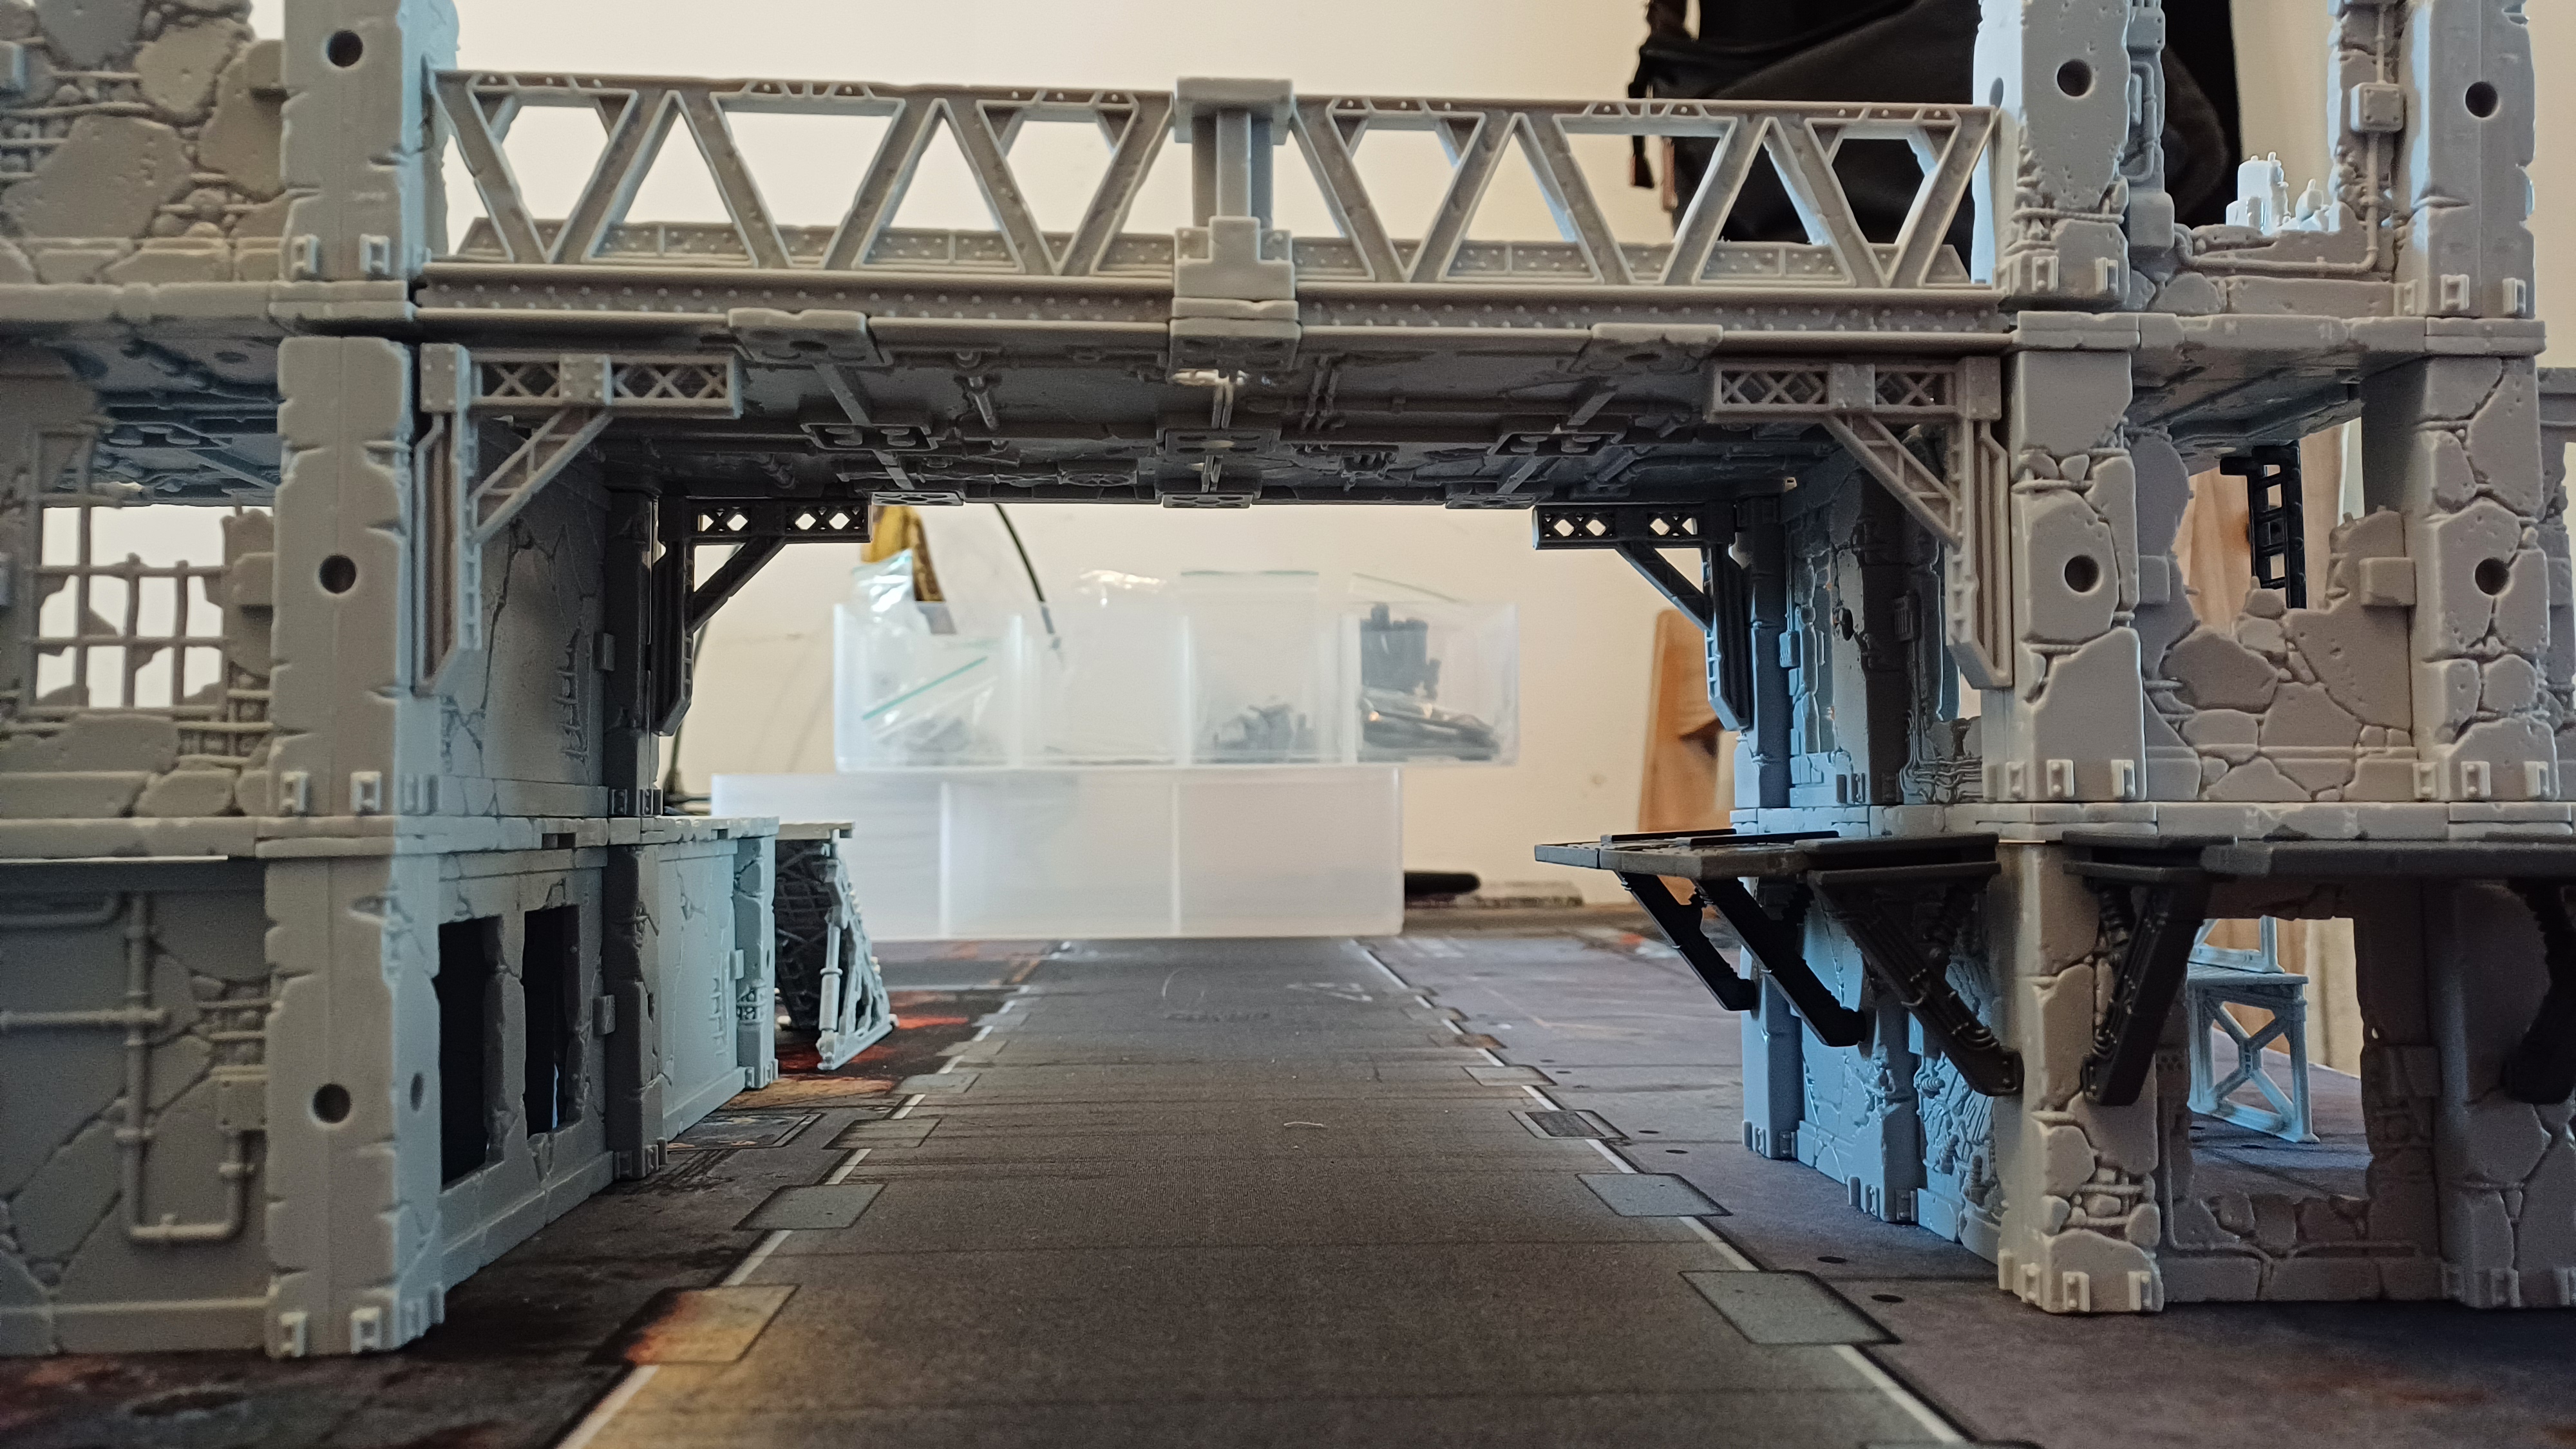
This gave me the inspiration to build a terrain piece using said bridge that I could have straddling a road like some sort of ruined gatehouse or check point in the city that was.
The main structural elements where designed by myself with construction help and decorative bits aided by my own two junior OTTers.
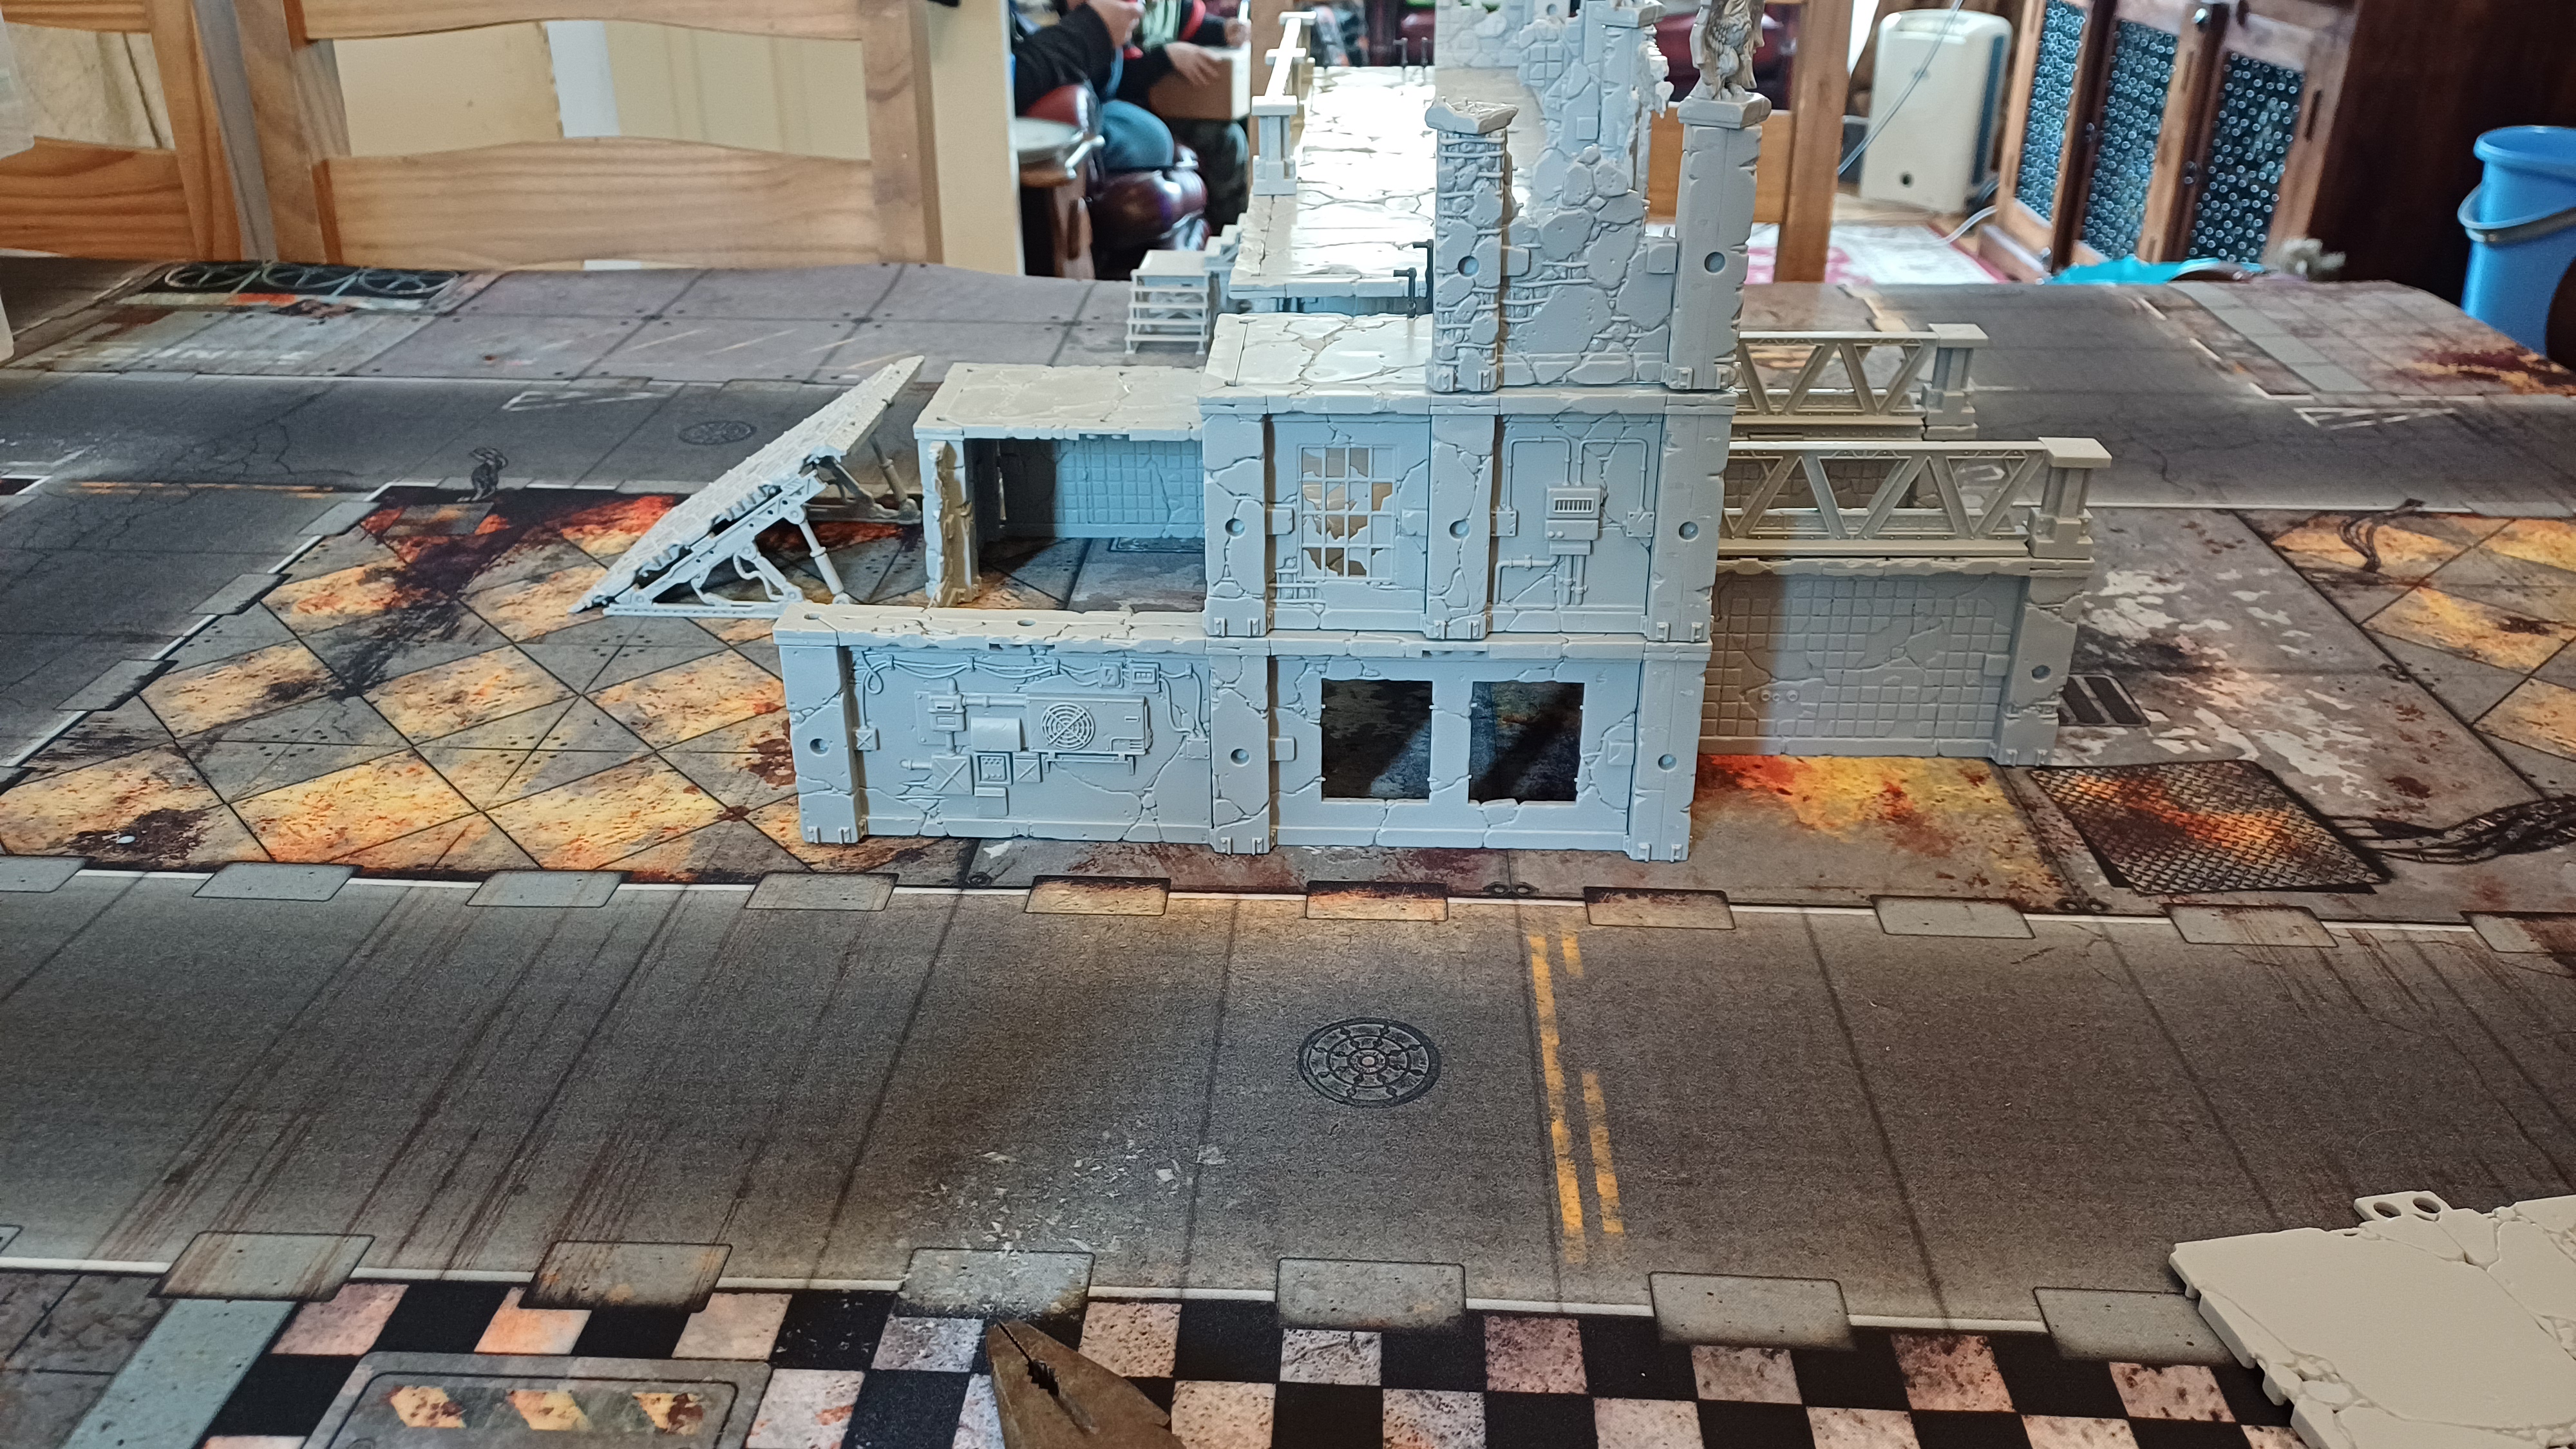

So that’s a good start but, as mentioned nearly 3 months ago, this point of this project is to get this terrain up and painted so it’s not just more grey plastic on the table.
Next Steps
Now, my plan for this weeks is three fold.
- I haven’t done a lot of big terrain projects so I am going to start with some advice from the interwebs. I have been debating whether to go down either of the airbushing or drybrushing routes before picking out details (or perhaps one leading to the other as we layer up?). I once has a quick rummage on the YouTubes and there are some tutorials for painting this stuff from when if came out through Kickstarter so I’m going to put some time aside to watch through a bunch of those and see what inspires me.
- Once I have been suitably inspired, whether it be a step by step guide or cherry pick bits from across whatever I end up looking into, I will put together A Plan. This will be the steps I intend to come at this with so I can prep the majority of what I need.
It’s possible that things will change once the paint starts getting on the model but as the venerable Adam Savage says: it’s not a problem to solve, it’s a process to manage but it’s still nice to have an idea of where I am going before diving in. - Clear my hobby space! My airbrush station/place I put stuff to dry has been holding a bunch of stuff out of the way in my hobby space for the last few months. Whether it will be used for actual airbrushing or just a space to stack all the pieces as I paint them I am going to need the space. So the last part is to roll my sleeves up and get it squared away and ready.
I’d love to drop some smaller updates over the week as I work through some of this stuff and get the results down into the blog but… see previous comments on work and how much time it keeps taking up. I’m of a mind to direct what free time I can to this though as I want to see some progress myself. I just hope I can scrape together the time to also blog about it.
Until then.


Leave a Reply