


Star Trek Away Missions - the Q Campaign


Game 3: Deja-Q
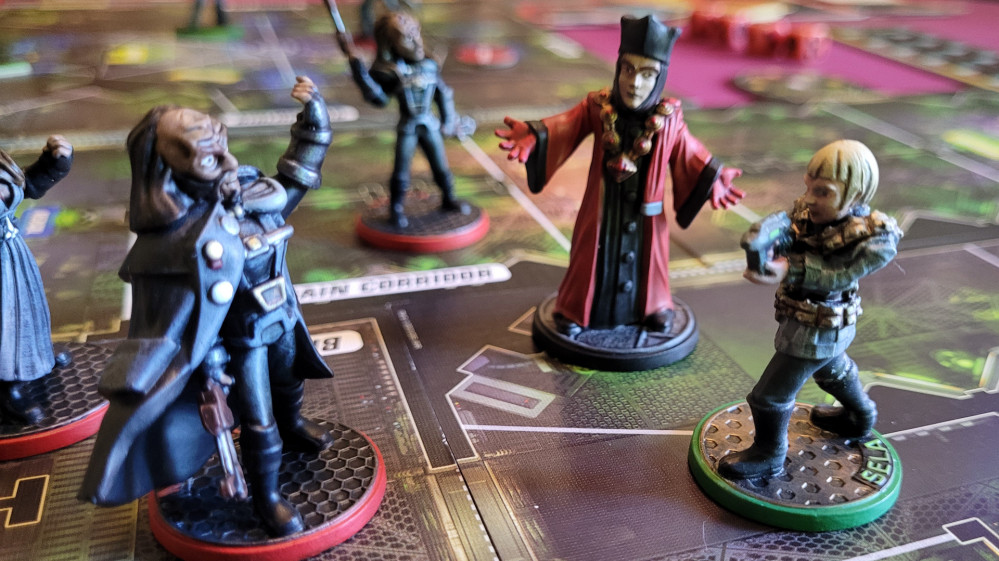
 Klingons in the transporter room. What are they doing there?
We’re saving Kirk vs Picard for the grand finale, so that leaves us with Riker’s away team (consisting of Data, Worf and Lt. Shelby) to square off against the treacherous Sisters of Duras and their band of nefarious Klingons.
The scenario rules are similar to the previous game: at the start of each round, we draw a random Immortal Q card which will throw a spanner into the works. This time we’re shuffling together the cards from the previous two games, but unfortunately, upon looking at my notes I’ve realized that for game 3 we got the exact same cards that we had in game 2, in a slightly different order. As we won’t be using the Immortal Q deck in game 4, that means there are two cards we haven’t been able to play with, but I don’t see why any of these Q scenarios couldn’t be played as standalone games, perhaps just using Q and the Immortal Q deck and leaving out the Q-liens from scenario 2 or the Q Terminals from this scenario.
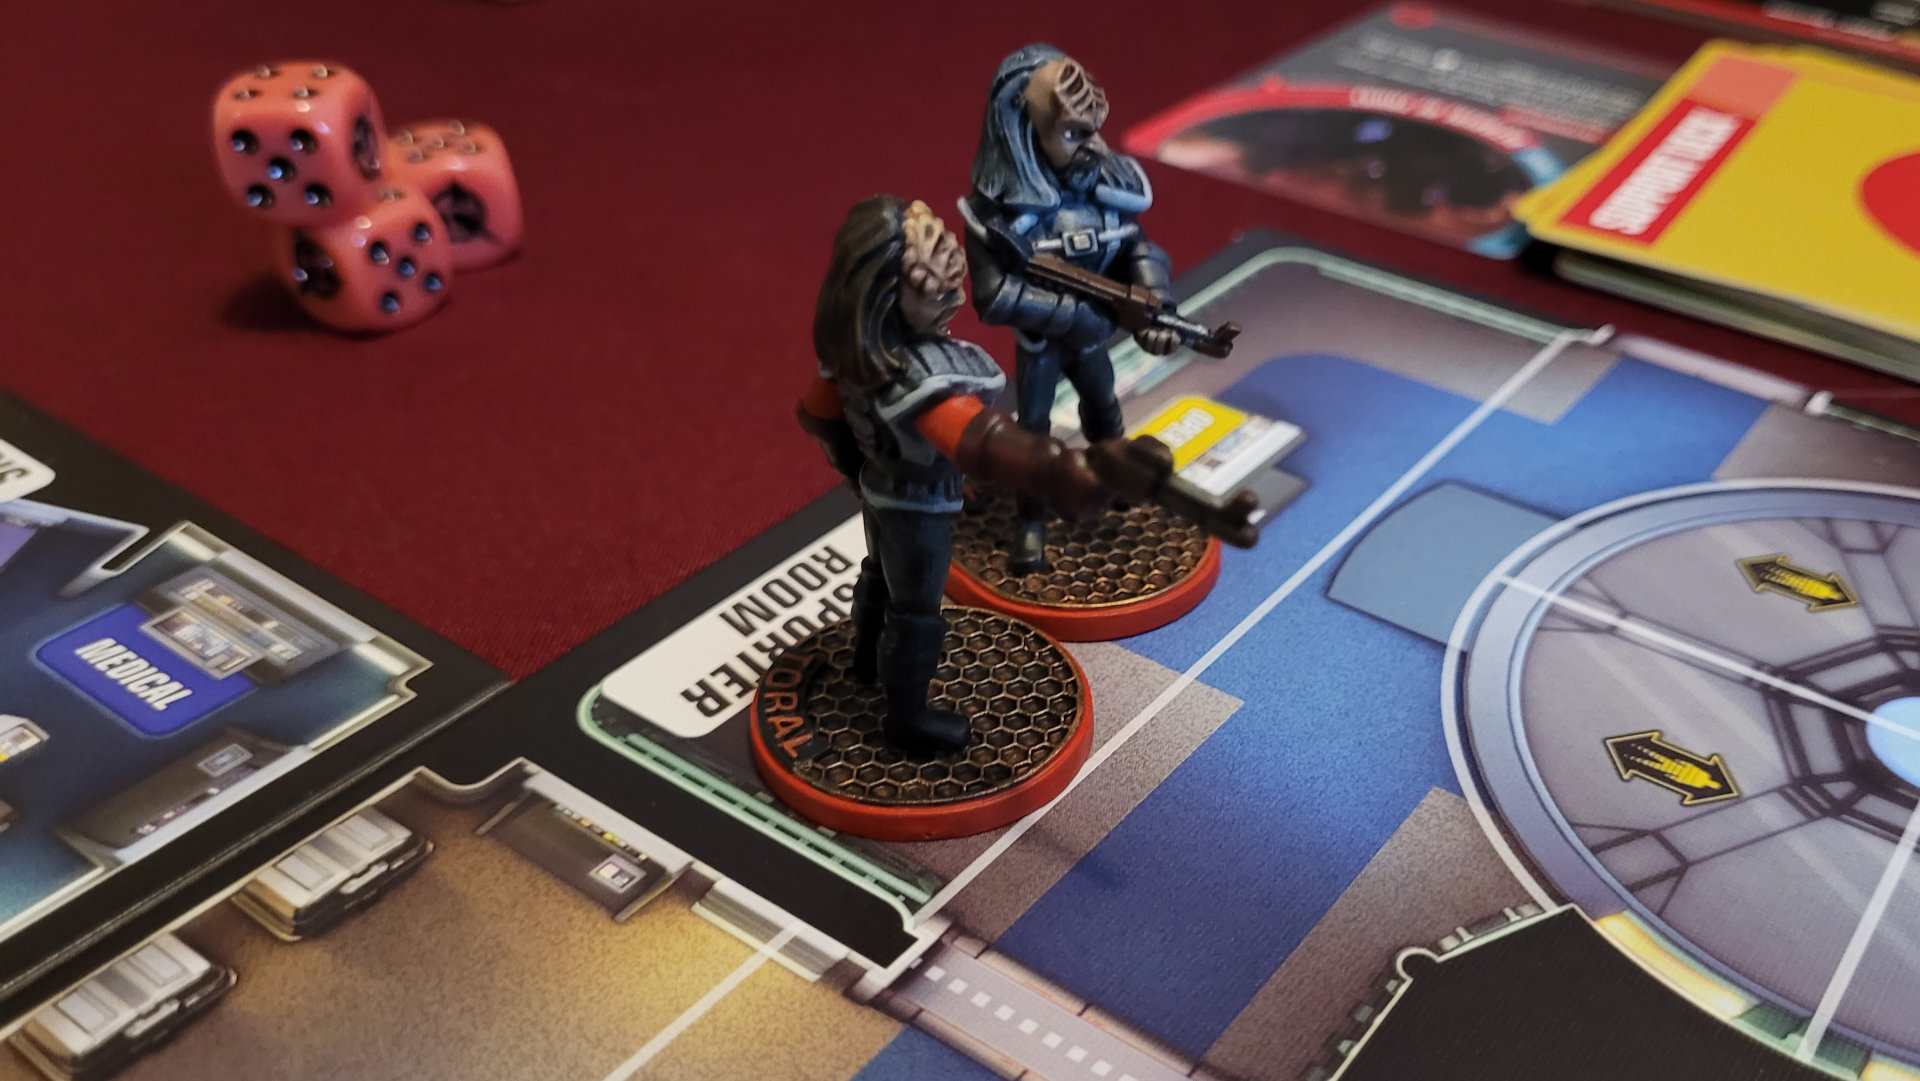
That brings us to the other element of this scenario. At the beginning of the game, each player is instructed to place a Q Terminal token on a terminal (the spots on the board where skill tests for missions are generally done) in their opponent’s starting area. As an action, a character can make a skill test at a Q Terminal — if passed, that player scores 20 points, and pass or fail, the player must roll on a random chart to see what weird effect happens. It can be anything from the character getting turned into a dog (losing all keywords and skill specializations, but otherwise able to act normally), taking damage, or immediately scoring a random mission. This is my favorite Q game element so far, it introduces some chaos to the game but it’s voluntary chaos, the player has to choose to activate the terminal.
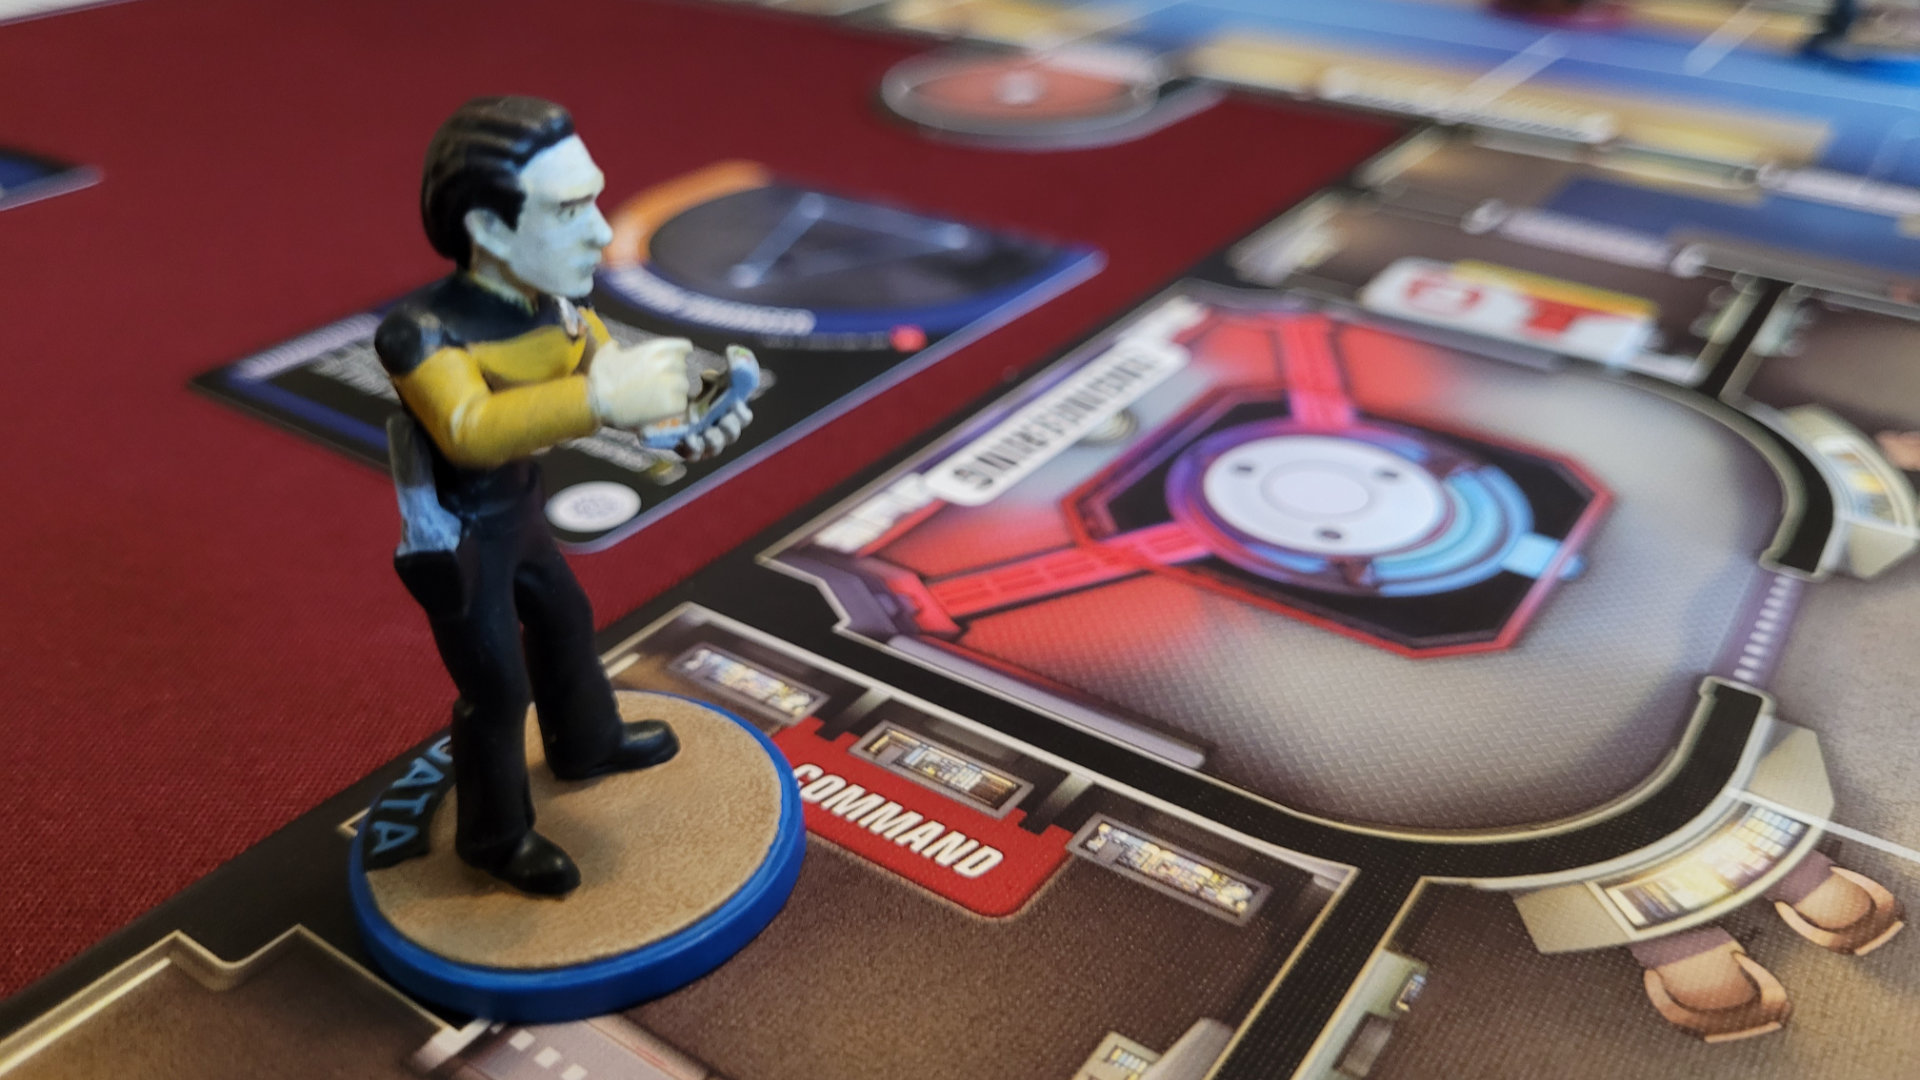 Data gets $#!% DONE.
I’ll be playing Riker’s team for this game. As we play the first round I’m noticing that the deck for this away team is weighted heavily towards playing against the Borg (this is the team that comes with the Borg in the two-player starter set), but there are also a lot of relatively easy high-scoring missions. Data is a mission-scoring machine — not only does he have a high Skill value and a lot of useful specializations, but he has a special ability that allows him to add more dice when supporting an ally character on a skill test.
I suspect that the Sisters of Duras operate similarly to the Romulans I played in game 2, so I’m determined not to let them skulk about unimpeded. While I have Data, Riker and Shelby focus on scoring missions, I send Worf out to pick a fight with the Klingons. His attack doesn’t inflict that much damage, but it does force my opponent to have two of her characters spend the round fighting with Worf instead of scoring missions, which will be good as long as the Duras Sisters don’t have a lot of combat-focused missions like the Gowron away team did in game 2.
At the end of round 1, the Federation has a huge lead over the Klingons, 130 points to 55. For round 2 I’ve drawn a huge 40 point mission that requires me to have characters stationed at different points on the board, but no actual skill tests, so I spend most of the round moving everyone into position. Worf has taken some major damage fighting off the Klingons, so I have him limp onto the bridge to help Data with some minor missions while Riker slips past the Klingons into the Medical bay. Unfortunately, he gets stabbed by a poisoned dagger in the process.
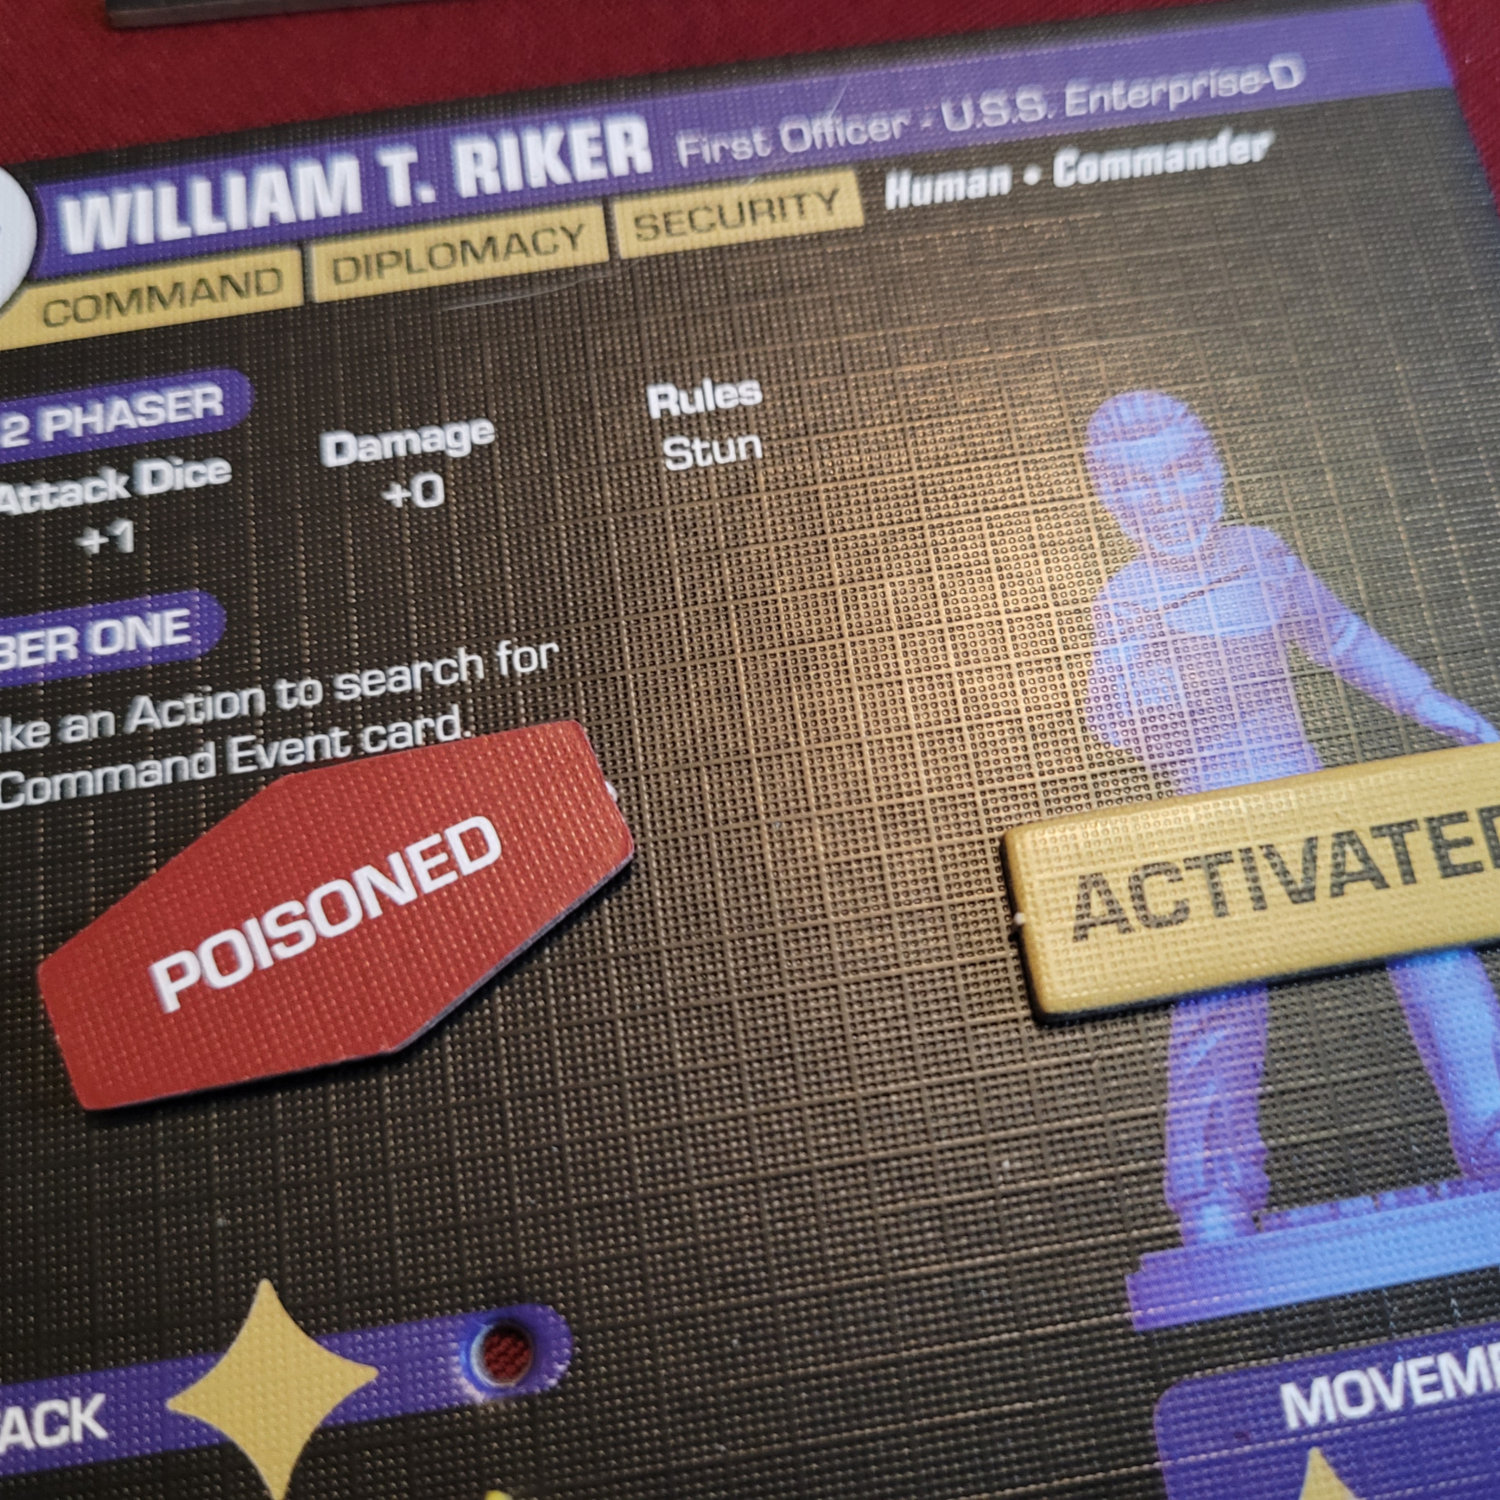
Hey Riker, watch out for those Kli… too late, you appear to have been poisoned. Hopefully there’s an antidote… (there was not)
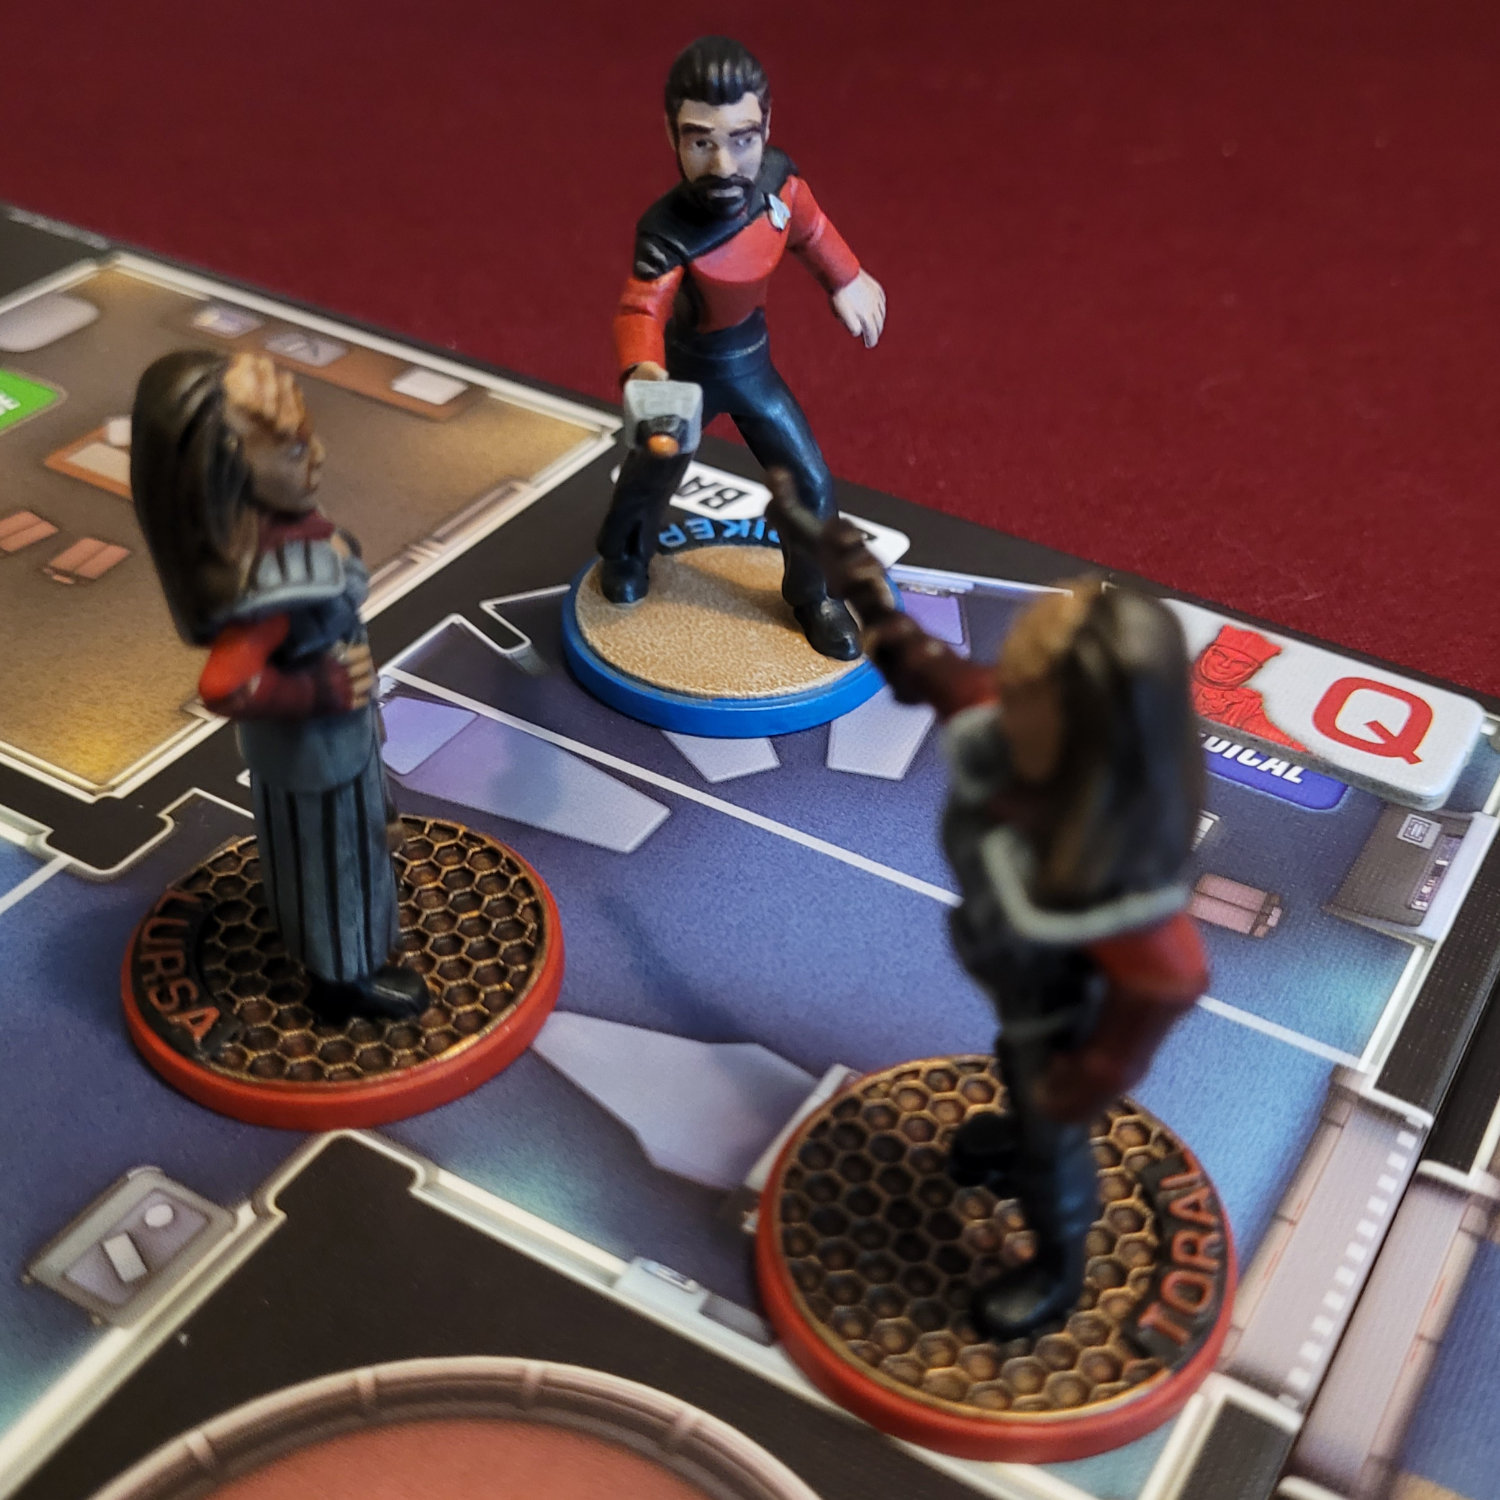
 Watch out you sneaky Klingons, Q is watching...
The third and final round begins with Riker cornered in the Medical bay. Luckily the Immortal Q card for this round is Hide & Q, which reduces the number of dice for attack rolls in Q’s line of sight, and I am able to place him where he can see Riker’s assailants. I am hoping I can get Riker some medical attention before he expires — the poisoned dagger means he’ll lose his last hit point as soon as he activates. Alas, the Klingons manage to finish him off before I get a chance to do anything with him.
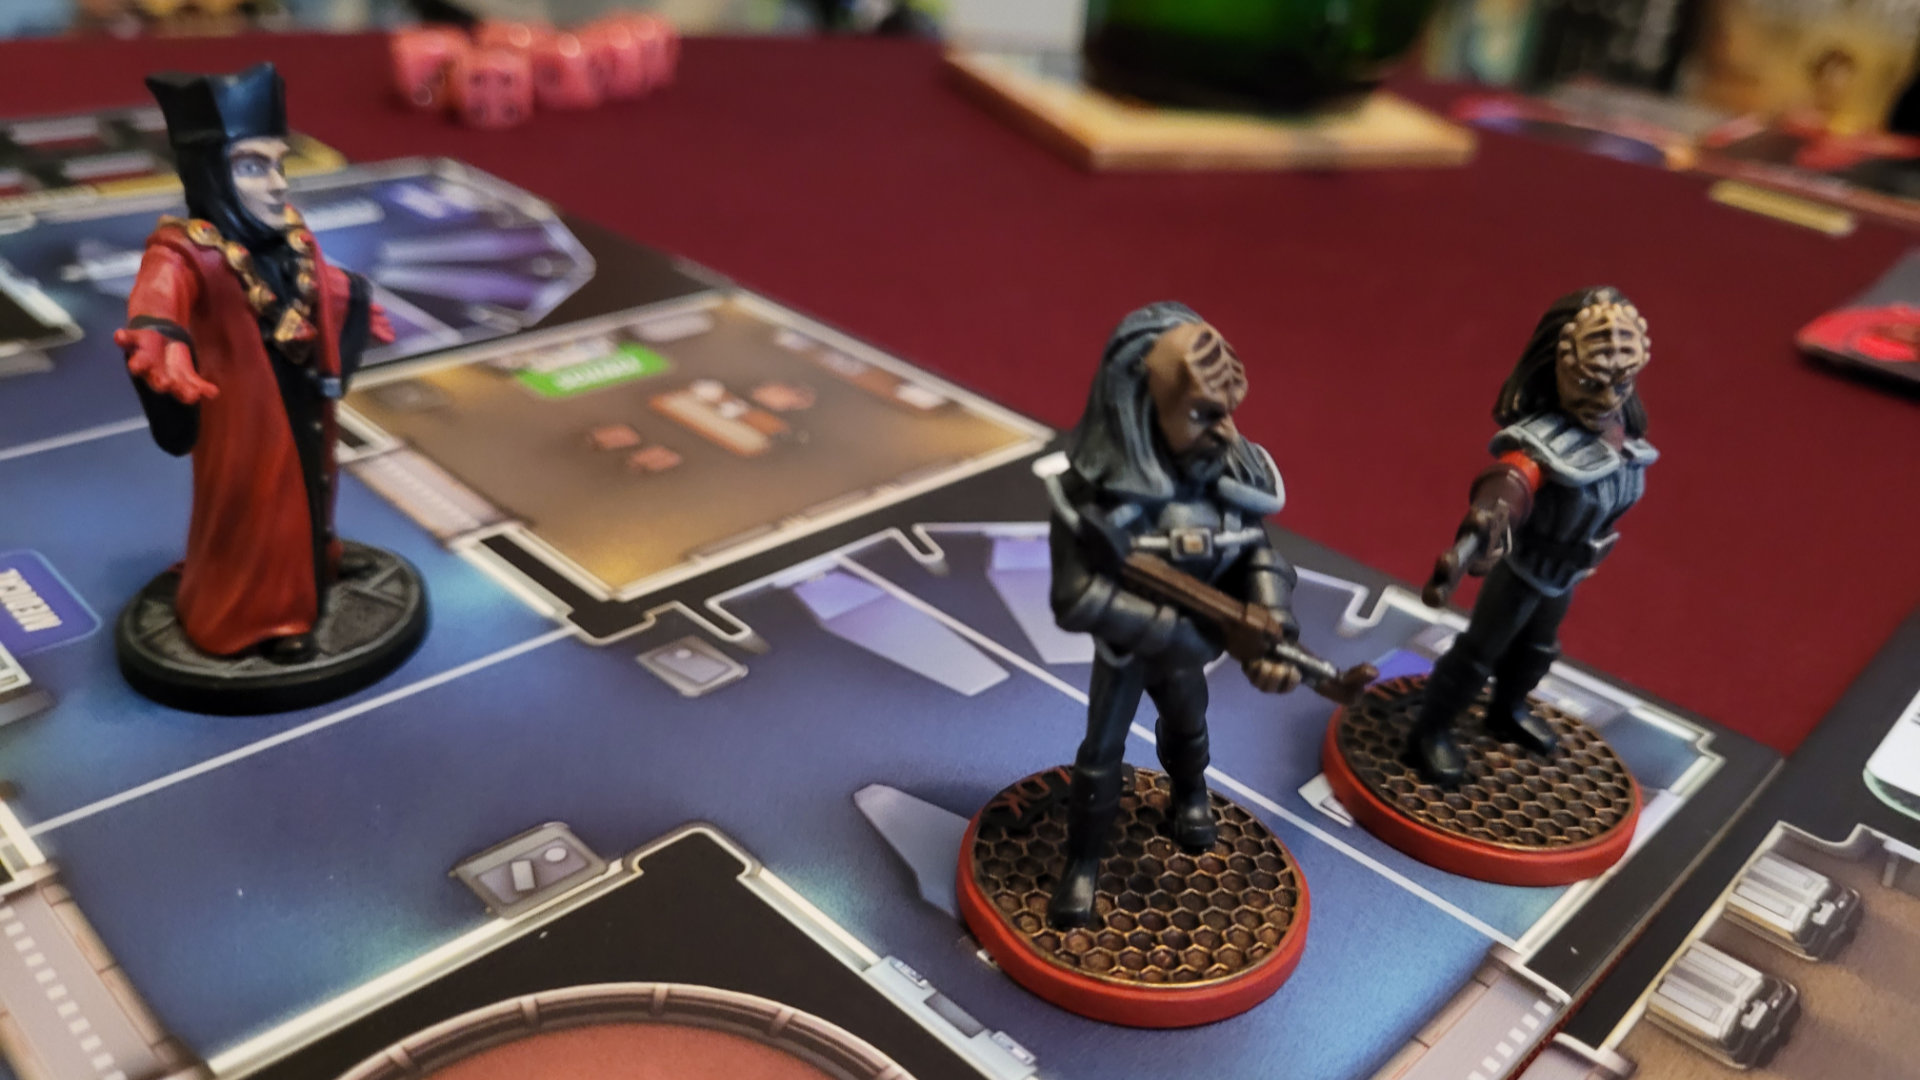
I don’t have many missions that I can score easily this round, so I’m in a bit of a holding pattern. I do have the Chief O’Brien card, which allows be to beam Worf into the path of the Duras sisters in hopes that they’ll have to spend their actions fighting with him instead of scoring.
 Chief O'Brien drops Worf in the thick of it.
The game ends with a bit of a whimper, but my opponent managed to catch up thanks to her core mission, Arms Deal, which gives her extra points for equipment cards she’s managed to squirrel away. The game still ends with the Federation winning, but the score is a very respectable 215 to 195.


Leave a Reply