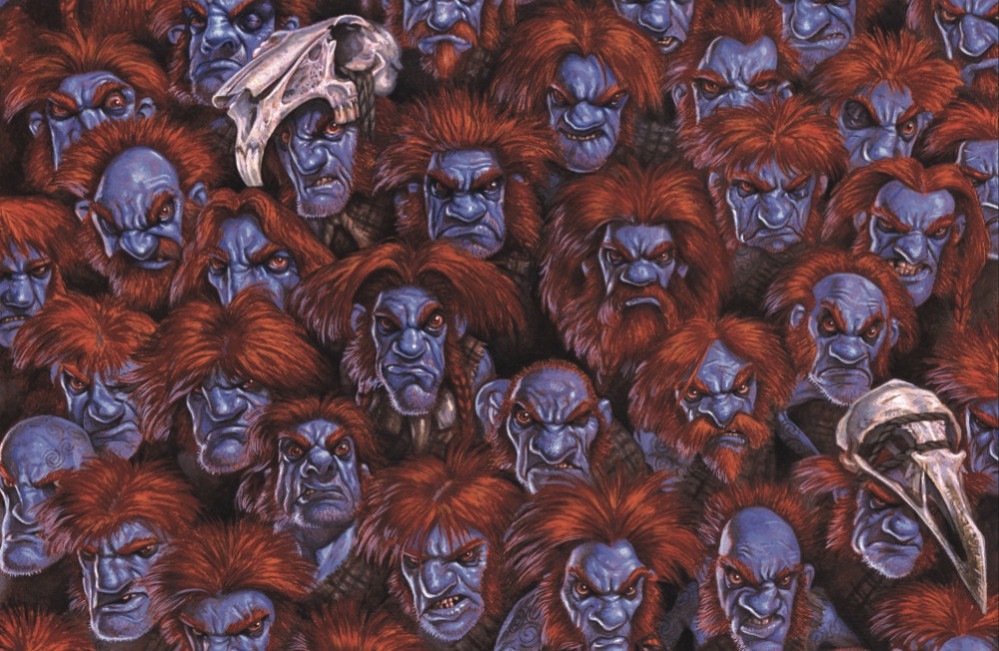
Wee Free Men
Luggit Gang No.1
On the day Granny Aching died, the men had cut and lifted the turf around the hut and stacked it neatly some way away. Then they’d dug a deep hole in the chalk, six feet deep and six feet long, lifting out the chalk in great damp blocks… Granny Aching had been wrapped in a woolen blanket, with a tuft of raw wool pinned to it… The chalk had been put back over her and Granny Aching, who always said that the hills were in her bones, now had her bones in the hills. Then they burned the hut. That wasn’t usual, but her father had said that there wasn’t a shepherd anywhere on the Chalk who’d use it now… Next day, when the ashes were cold and blowing across the raw chalk, everyone went back up onto the downs and with very great care put the turf back, so all that was left to see were the iron wheels on their axles, and the pot-bellied stove. (Wee Free Men, 2003, pg 108-109)
With five identical regiments in the army, I wanted a way of each being told apart (esp when it comes to magic items, I don’t like the immersion breaking act of sticking a card between the models). What with payday just happening and the last bits for the army now on their way, I wanted to get at least one completed base to push me forward in motivation.
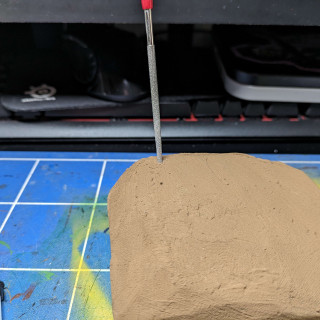
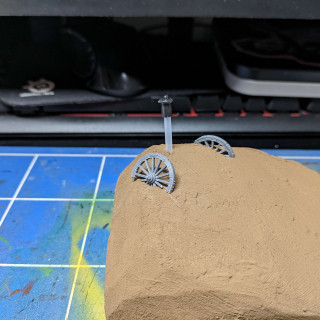
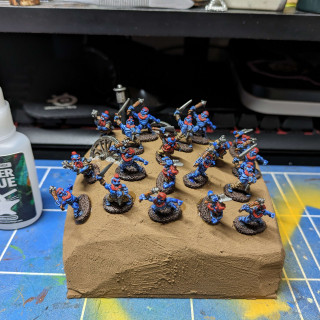
I started with the one that has the remains of Granny Aching’s shepherding hut on it. This is the point when I have to fully accept that scale is a flexible thing in this army… regiment bases aren’t as big as you think.
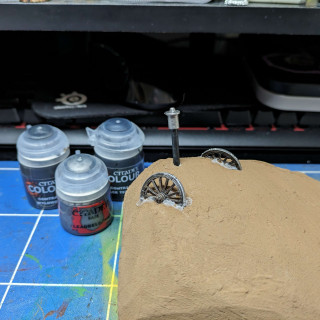
Pratchett himself had a shepherding hut and there’s photos in the exhibition book I talked about a few posts ago. The wheel for mine was taken from one of the plastic wagon kits from Great Escape Games and the stove chimney is a bit of water pistol.
Once the hut was set in, I started to lay out some feegles. There are fewer of them than I originally thought would be on these bases but as I have gone on with the project, I’ve realised I need more space for grass tufts as you’ll see soon.
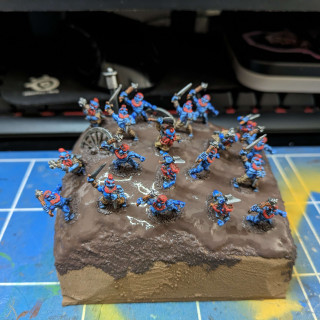
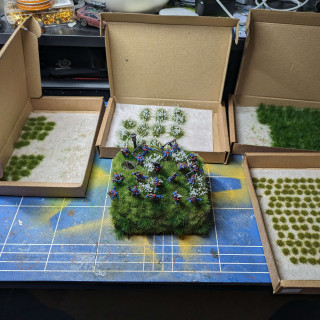
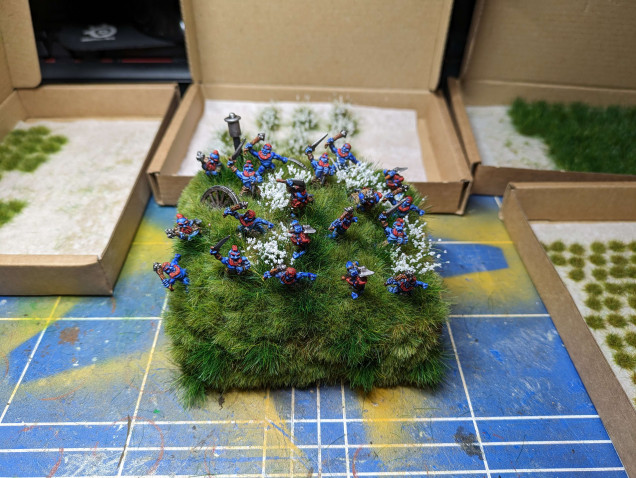
Super glue secured everyone but to add more stability I used a texture paste to level the ground. I used up the end of a bottle of Stirland Battlemire and then switched to AK’s Dark Earth. After it cured, I applied some tufts. I’ve got a load for this project from Tajima 1 Miniatures and they are excellent. From reading the books, we know the Downs are covered in white flowers and that often the only sign the feegles are around is the movement of grass. It made sense then to have the grass be higher on the models than I normally would. Getting these bigger elements in place first, I then went through with smaller tufts and laid out a good thick layer of grass to match the descriptions.
I’m still not sure the fronts/sides. I’m leaning towards keeping the sides the bare earth colour but having grass over the front so each base will look complete on their own stampeding towards the enemy.
I’m delighted with how this one turned out. After a few weeks of spinning my wheels, this was a big step towards how I see the army in my head. In fact, it gave me such a boost that I worked on three more bases on the same day (photos later once they are finished). The bases will have more feegles on them going forward but overall, this is the look I want.


![TerrainFest 2024 Begins! Build Terrain With OnTableTop & Win A £300 Prize! [Extended!]](https://images.beastsofwar.com/2024/10/TerrainFEST-2024-Social-Media-Post-Square-225-127.jpg)




Leave a Reply