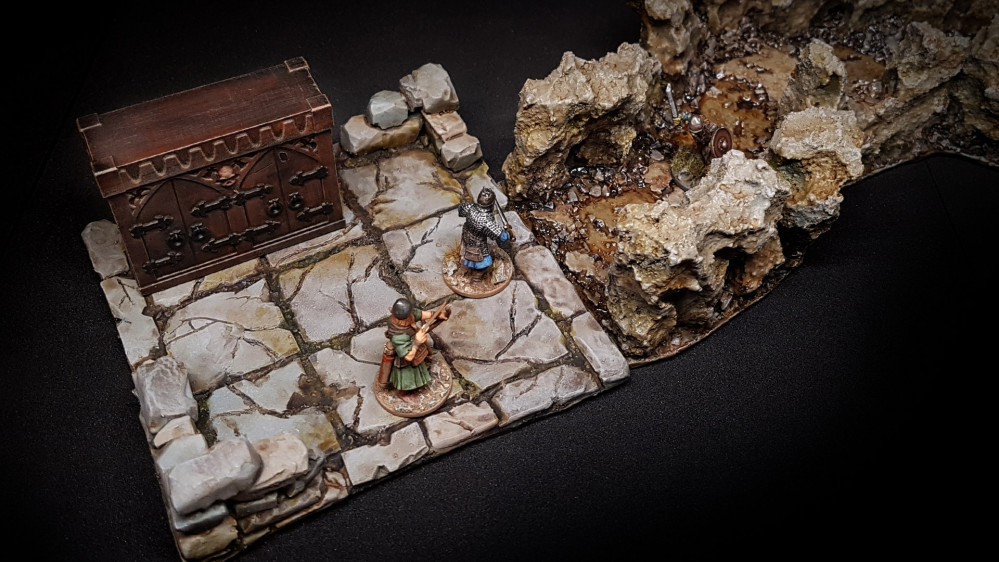
Building Foam Dungeon Tiles (EVA & Upholstery Foam)
Preparing the Cavern Corridor for Adventure With a Fresh Coat of Paint Part 1
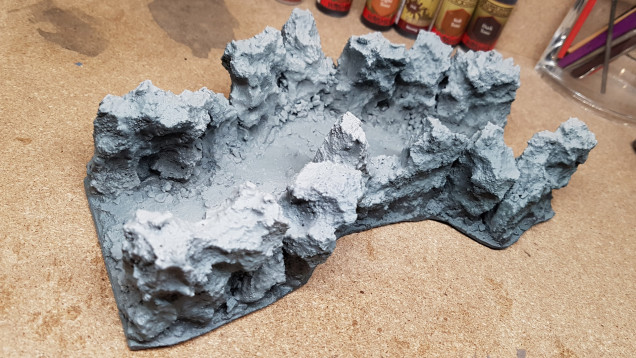
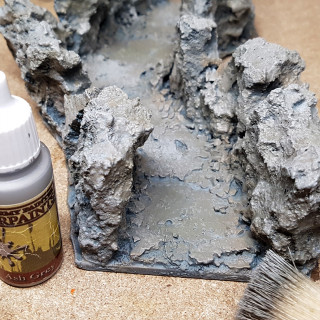
To get the painting underway, the first task involved applying primer to the model. Mirroring the approach taken with the previous tile, I employed three colours to accomplish a zenithal lighting effect. This technique enhances the natural shading across the tile. I began with a comprehensive coat of black, followed by a mid-grey applied at approximately a 45-degree angle and then finished with a light grey primer, primarily targeted from directly above, to simulate natural light falling onto the model.
Now It's Time To Add Some Warm Colours
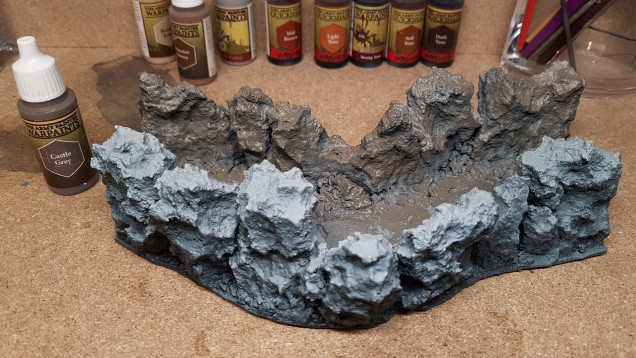
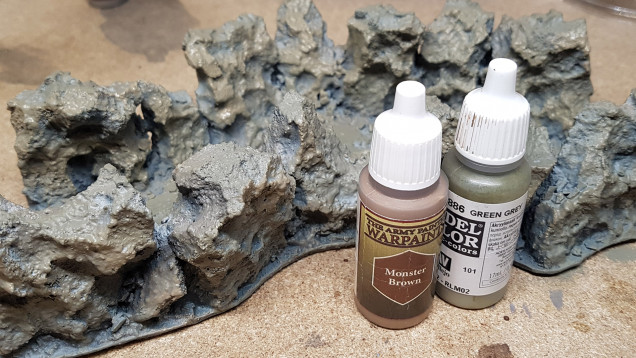
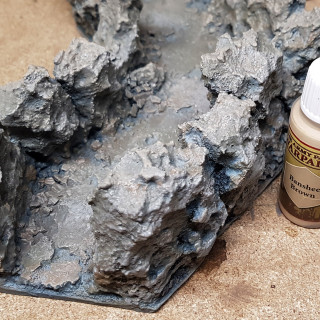
Observing natural rock formations reveals that they are seldom merely plain grey; instead, they display a spectrum of colours, warm hues. To replicate this appearance and move away from a monochromatic grey palette, I heavy overbrushed and stippled with three colours.
With each transition to a new colour, I intentionally left patches of the previous hues visible, ensuring a diverse and rich variety of shades throughout the model.
Time for a Touch of Drybrushing
Next, I employed drybrushing with two colours on the dungeon tile to accentuate the highlights of the rock walls, stone floor, and all the scattered rocks. This technique makes the intricate details stand out even from three feet away when the model is placed on the gaming table.
Throughout this process, I made a point to preserve patches of the underlying hues, maintaining a diverse and rich palette of shades that contribute depth and realism to the highlights on the rocks.
With the initial painting phase complete, the next step involves applying washes.







Leave a Reply