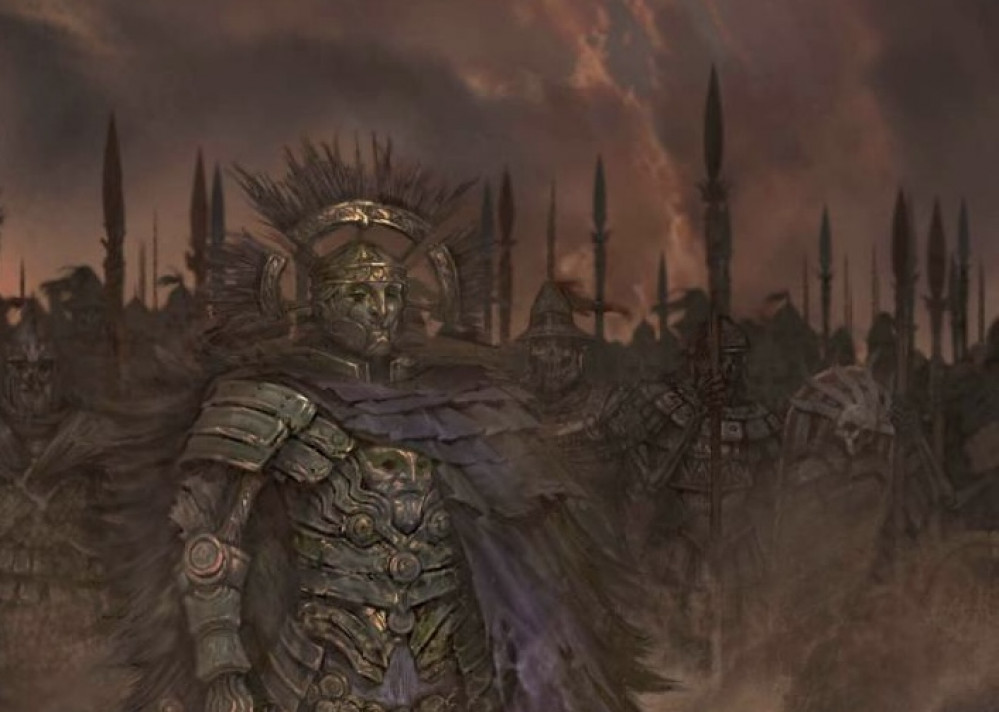
A Legion Rises
First Regiment - Continued
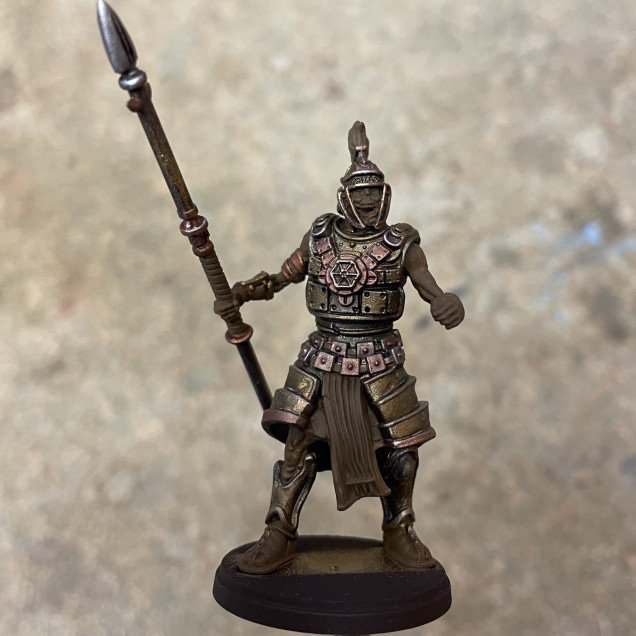
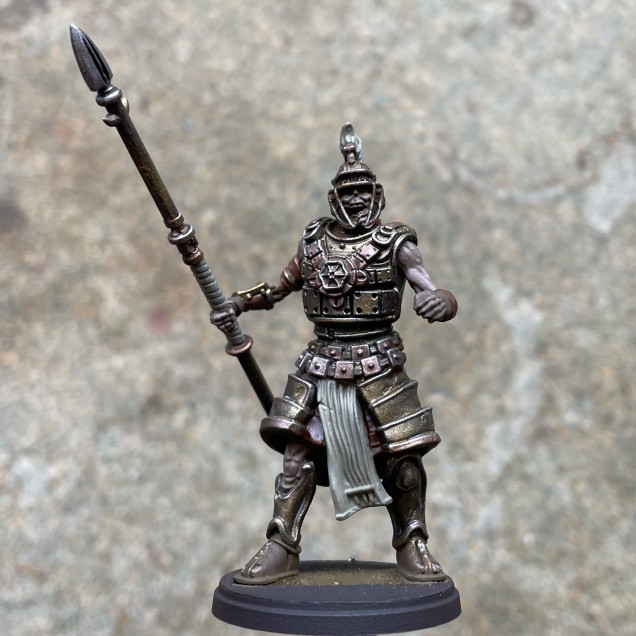
With the metallic areas finished, I used Vallejo German Camo Medium Brown as a base colour to block out all non metallic areas. This was probably the most time consuming step of this whole process as I needed to take care not to overpaint the armour.
Vallejo Leather Brown was then used on the straps and sandals while Flat Brown (which has a red hew), was used for any fabric – mainly the trousers and visible areas of tunic. The sashes, spear hafts and helmet plumes were coloured Camo Beige in preparation of a brighter colour that would be next. I then used German Medium Camo Brown as a skin tone. This colour has a pinky browny hue that I felt was more reminiscent of dried out flesh than any skin colour I had in my collection.
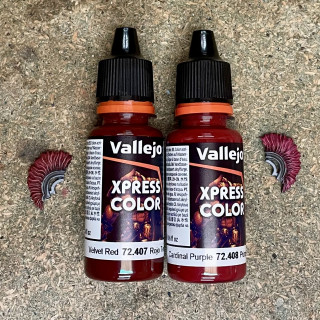
The sashes and helmet plumes would be used to denote the different units in the army, and so I would need a different colour for each regiment. It was time for some more colour tests! With the majority of these miniatures coloured gold, and with the addition of a turquoise patina, the colour spectrum from yellow to blue was pretty much covered. In order to create a strong contrast with this I wanted to use warm colours, reds leaning towards either purple or orange.
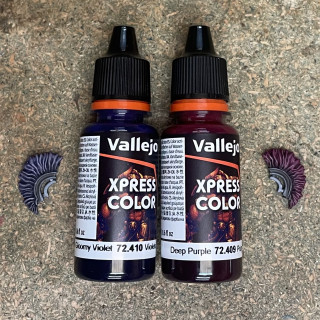
Vallejo had just released their own range of contrast style paints called Xpress Colour, and I was keen to try them out. I pick up four that I liked the look of and primed some spare helmet plumes to use for tests, prepping them with Camo Beige as I had done with the legionaries sashes.
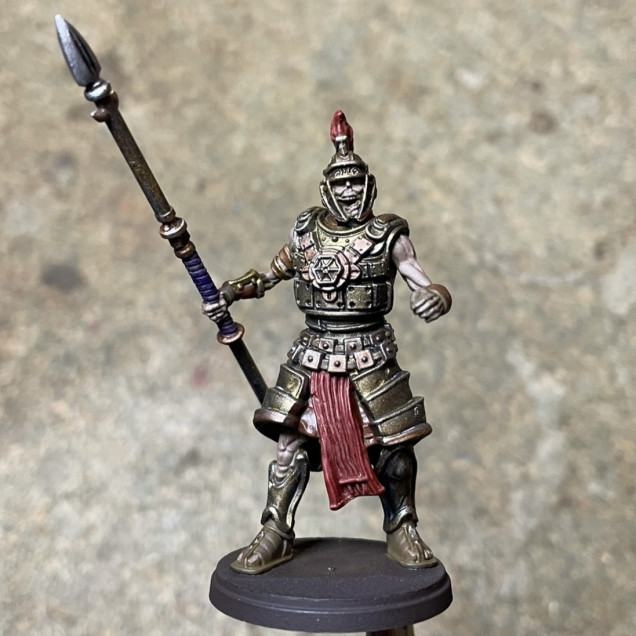
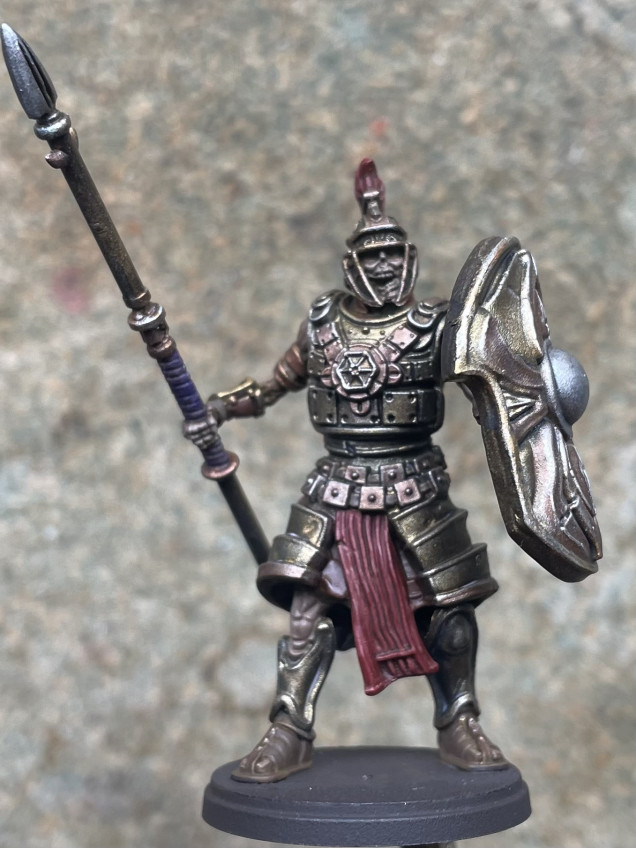
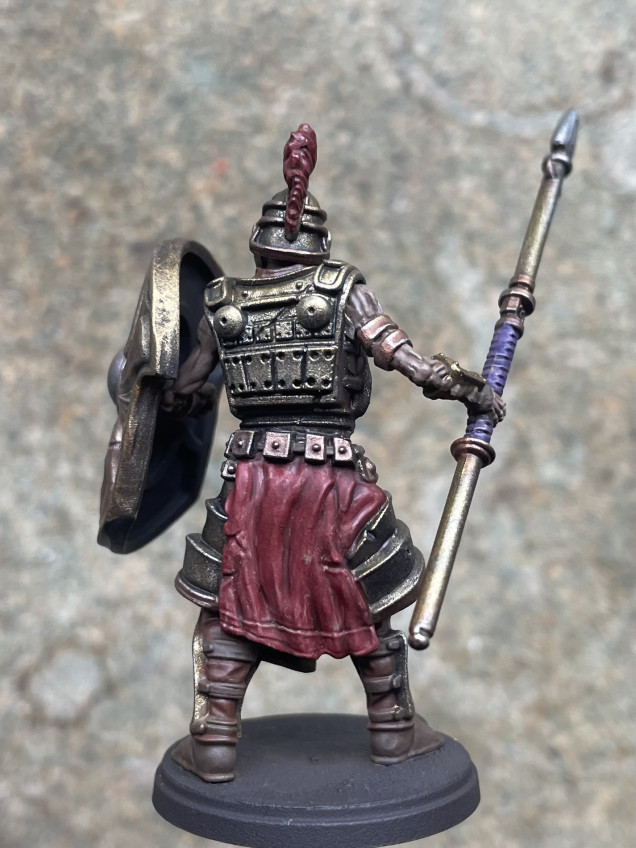
After testing the colours I chose ‘Velvet Red’ for this regiments identifying colour. It was then a simple matter of painting over the camo beige base colour to complete the plumes and sashes. I had originally intended to paint the hafts of the spears in the same identifying colour as the sashes. However while testing the Xpress paints I struck upon the idea of adding another splash of colour as a theme across this warband. I used the ‘Gloomy Violet’ and would repeat this on subsequent units.
With the bulk of the painting finished it was time to glue the shields into place.
Because I can never leave anything alone, I then added a wash of Mid Brown to all the fabric areas. This including the sashes and spear hafts, toning them down and add a little more shading. I also picked out any exposed teeth or bone with Camo Beige before using a Soft Tone wash over the skin and bone areas. Finally a few highlights were added back to the faces with the Medium Camo Brown.




2024-03-26 Your project has been visited by the unofficial Hobby Hangout. Huzza!