


Building Foam Dungeon Tiles (EVA & Upholstery Foam)


Crafting a Tiled Dungeon Room Part 1
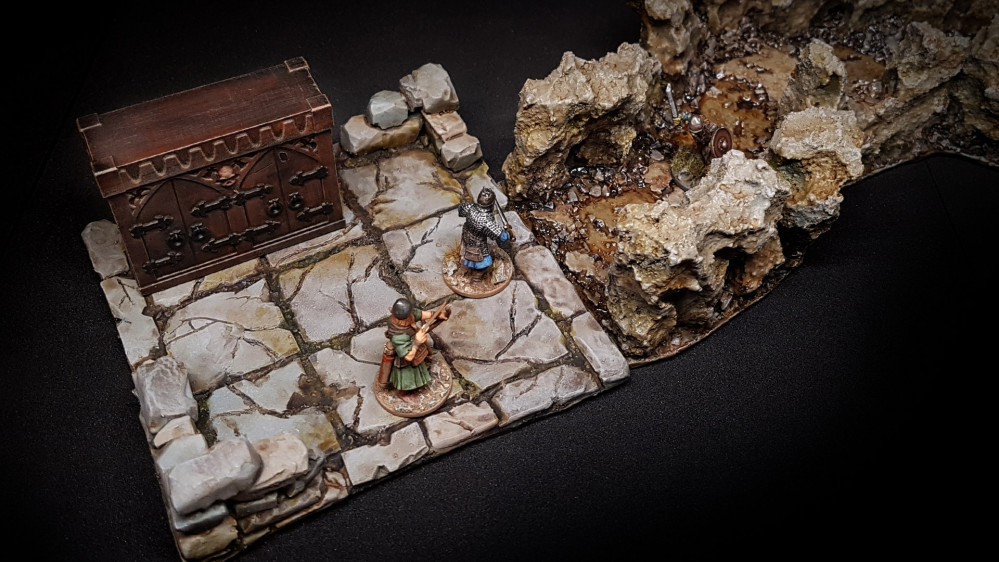
To kick off this project, it makes practical sense to begin with the quintessential element of any fantasy dungeon: a square room, constructed from stone blocks for the walls, with large stone tiles for the flooring.
Creating this type of dungeon tile is an ideal opportunity to experiment with EVA foam, covering the fundamental techniques of constructing walls and floors, as well as exploring the basic painting of a fantasy dungeon.
Getting Started With 5mm Eva Foam & Picking a Floor Tile Size
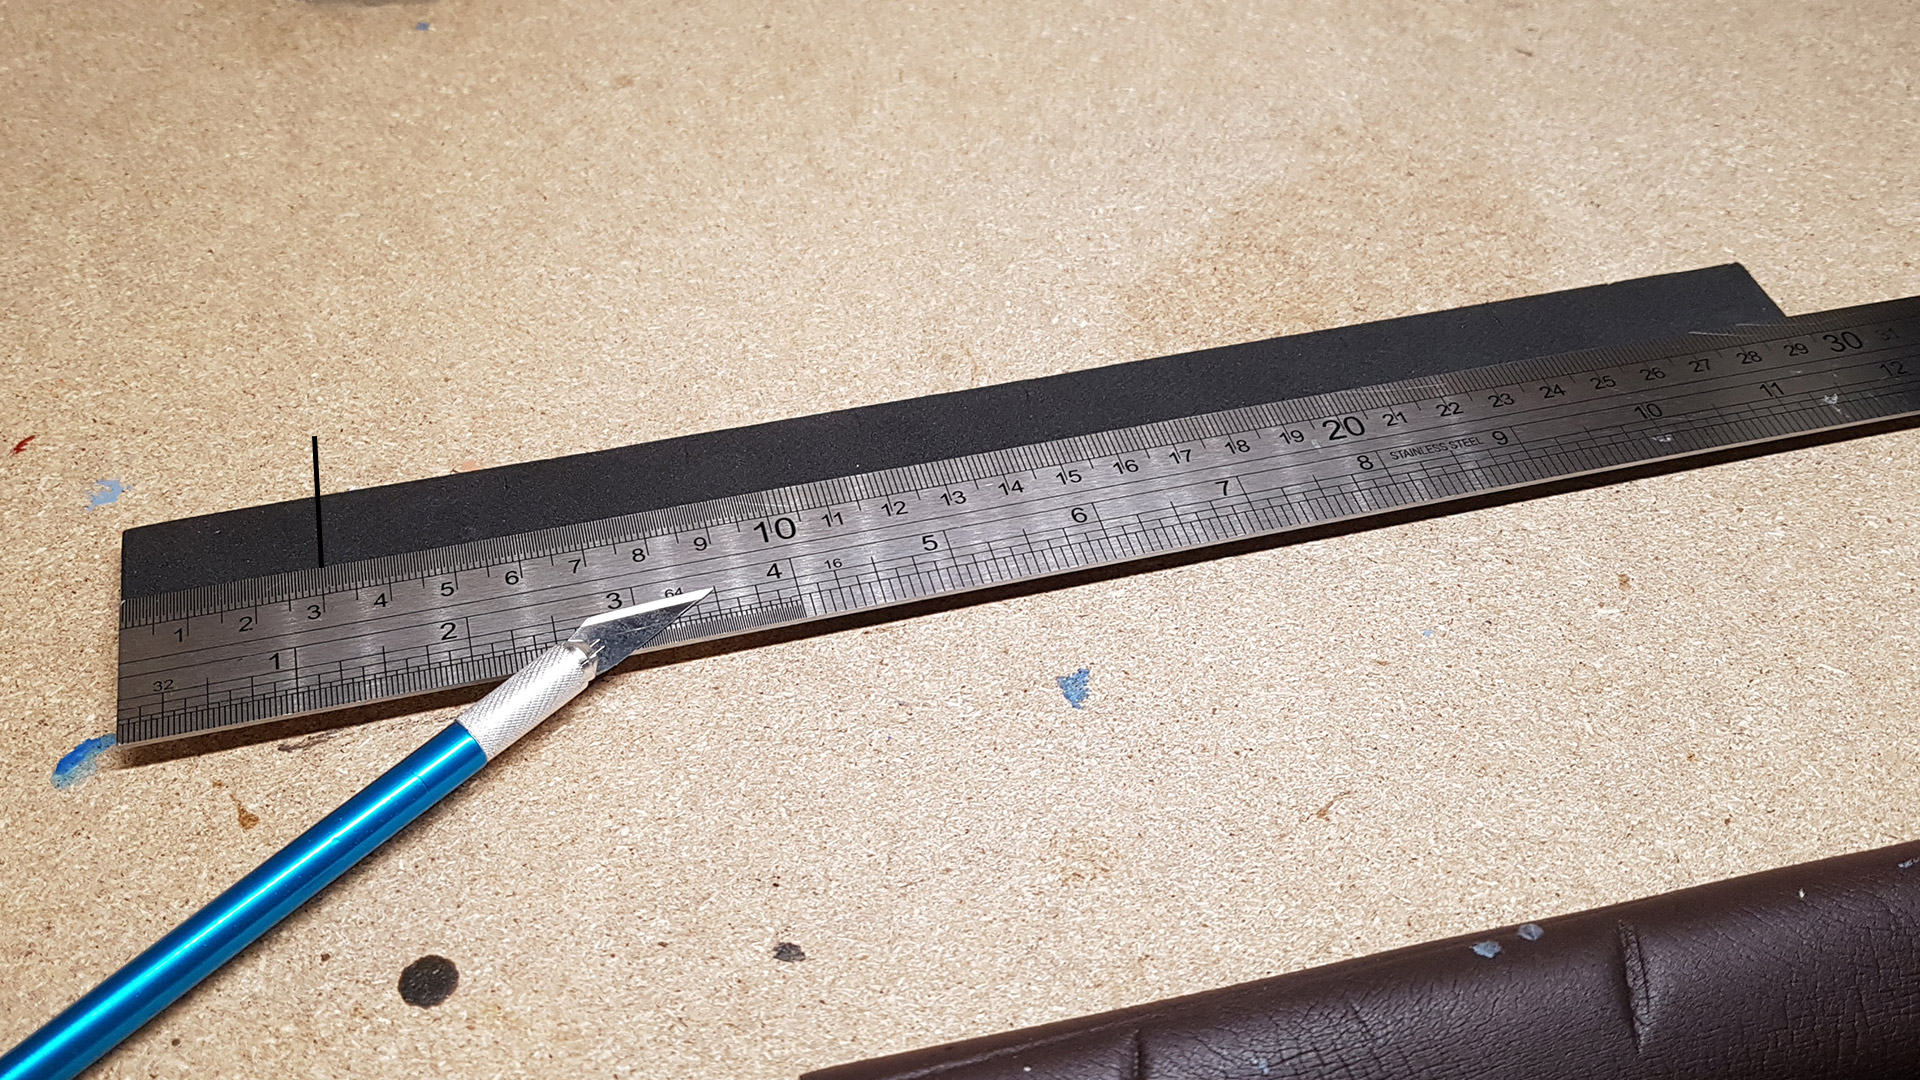
 Cutting 3cm Square EVA Foam Floor Tiles
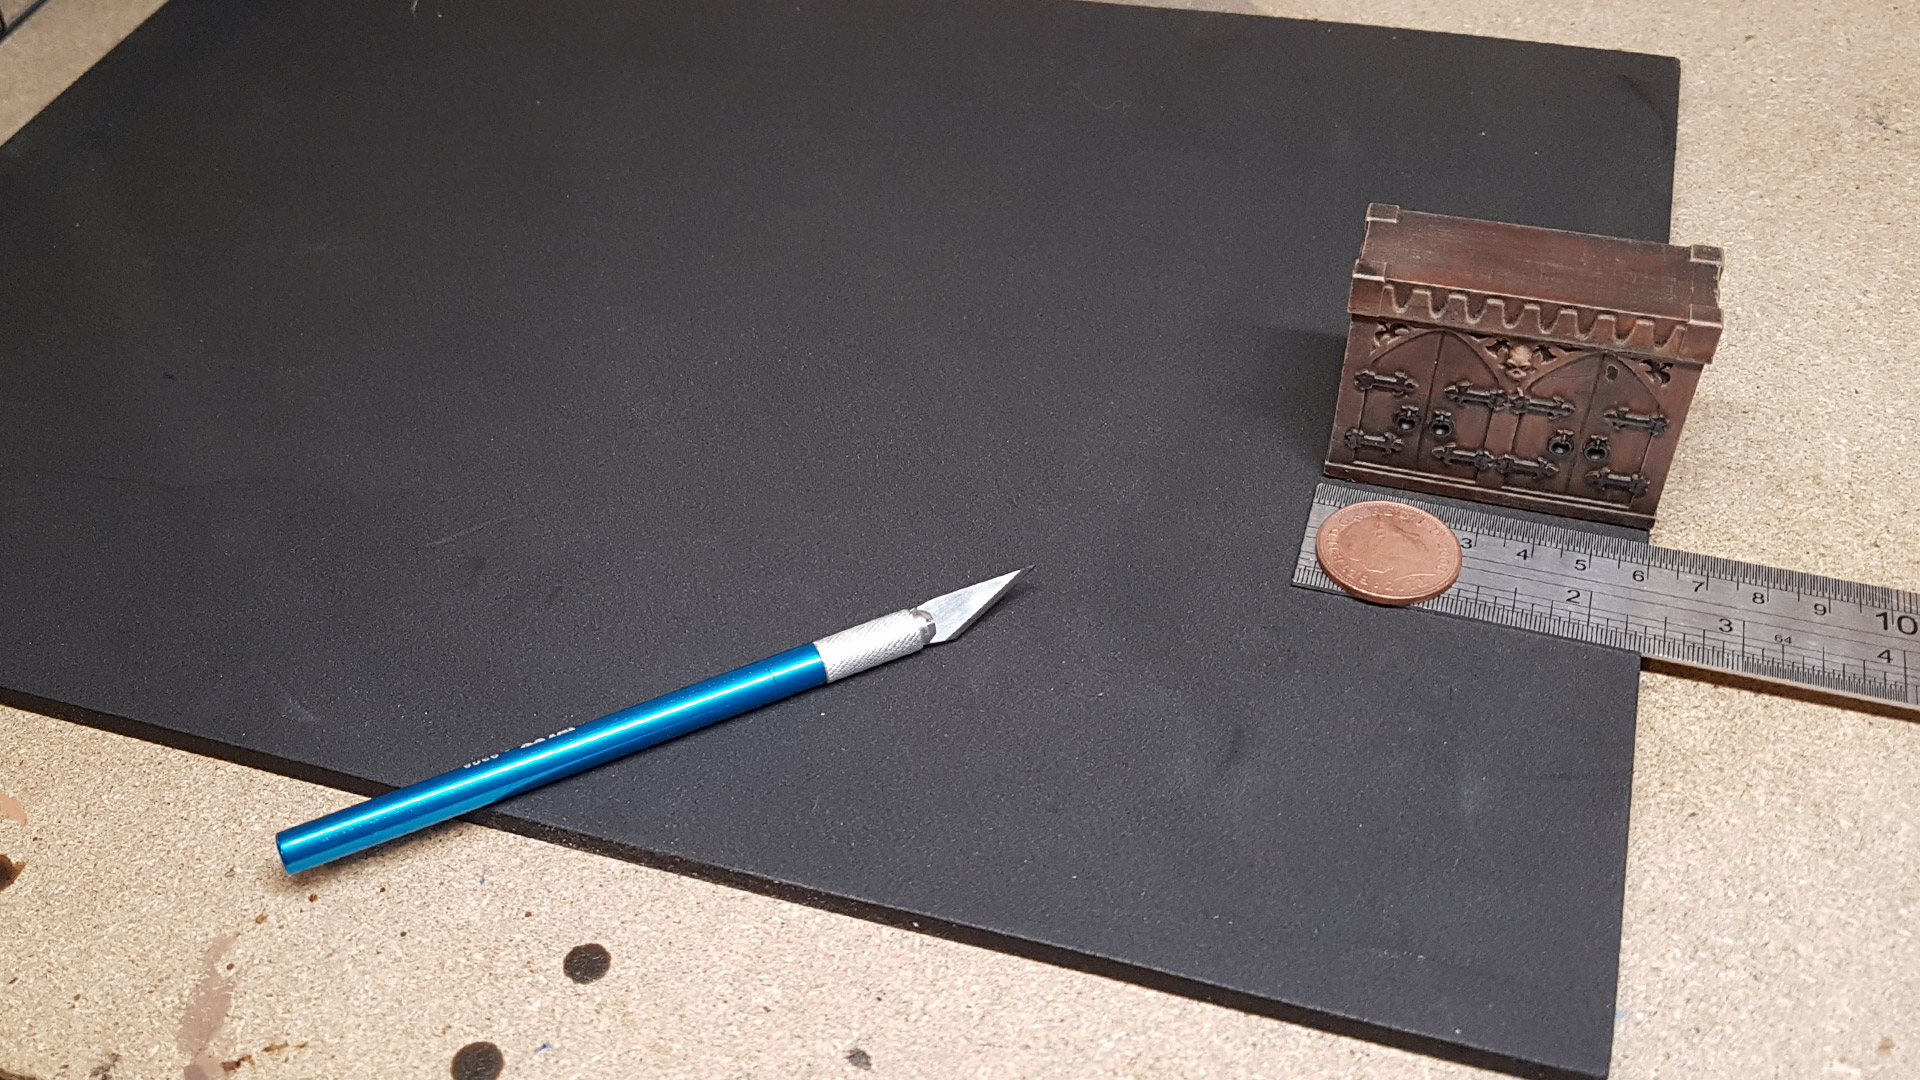
Before diving in, I needed to select a base floor tile size. Many dungeons utilise 1-inch squares, yet I aimed for a slightly larger scale to better accommodate larger miniatures and to provide more expansive spaces within the dungeon. This extra room is particularly useful for fitting in scenery items, like the iconic bookcases from HeroQuest. Considering this, I opted for a 3cm square size, which suits me perfectly since I’m accustomed to working with metric measurements.
I carefully measured and cut a strip from a 5mm thick sheet of EVA foam into 3cm square tiles. Then, using clippers, a craft knife, a ball of baking foil and a heat gun, I shaped and distressed each tile to achieve an authentic and worn look.

 A Heat Gun Expands Cuts In Foam
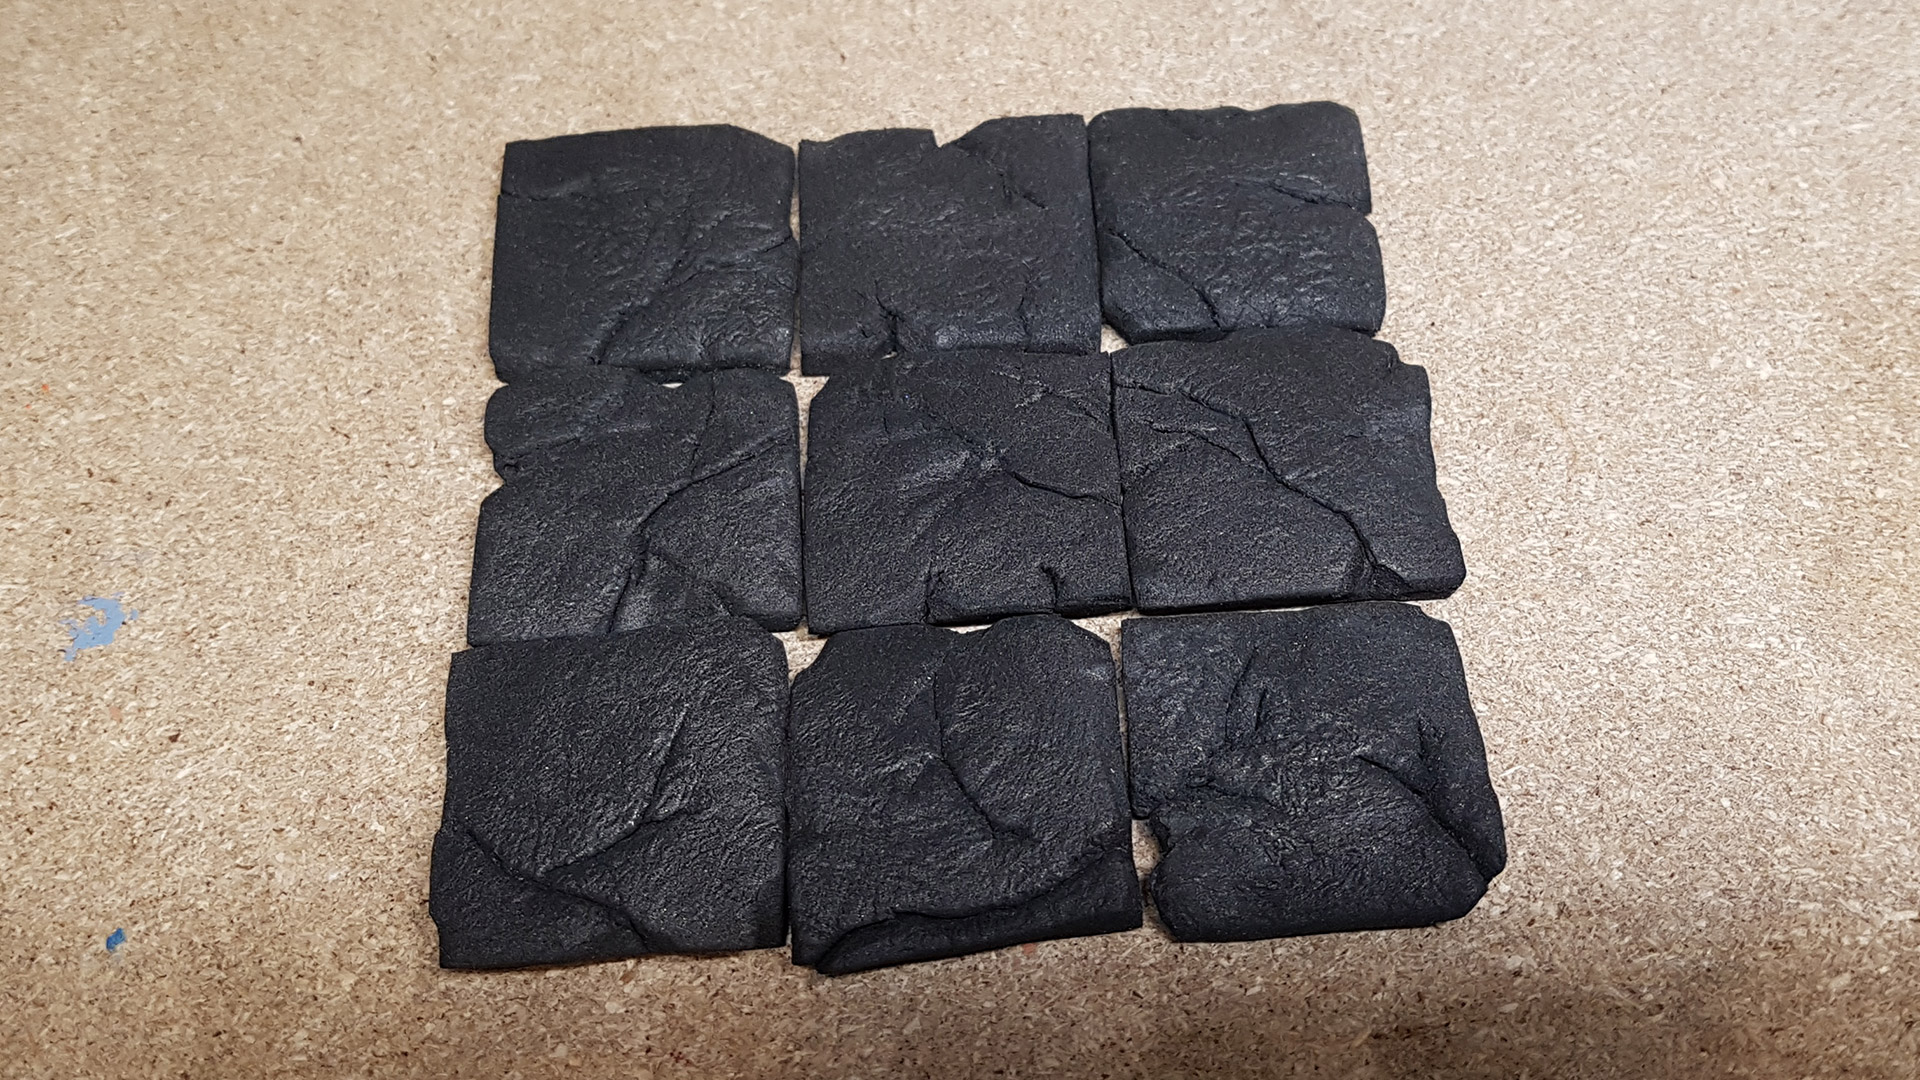
EVA foam exhibits some fascinating behaviours when heated. If you make incisions into it and then apply heat, those cuts will expand, eliminating the need for painstaking efforts to create noticeable cracks. Simply cut into the foam, and the heat will do the rest, effortlessly achieving the desired effect.
Furthermore, once heated, the foam becomes malleable, allowing for the addition of textures by pressing objects into its surface. In this instance, using baking foil wrapped around a ball creates a convincing stone texture. However, it’s important to note that reheating the foam may cause the imprinted texture to fade or maybe disappear entirely.
For heating, I utilised a heat gun, as a hairdryer could not reach the necessary temperature. It’s worth noting that I operated the heat gun at its lowest setting of 50℃, indicating that a tremendous amount of heat isn’t required, which enhances safety during the process.
NOTE: It’s crucial to exercise caution: this task is not suitable for children and should be undertaken with careful supervision.
Now to Add Some Edging & Stick Down the Floor Tiles
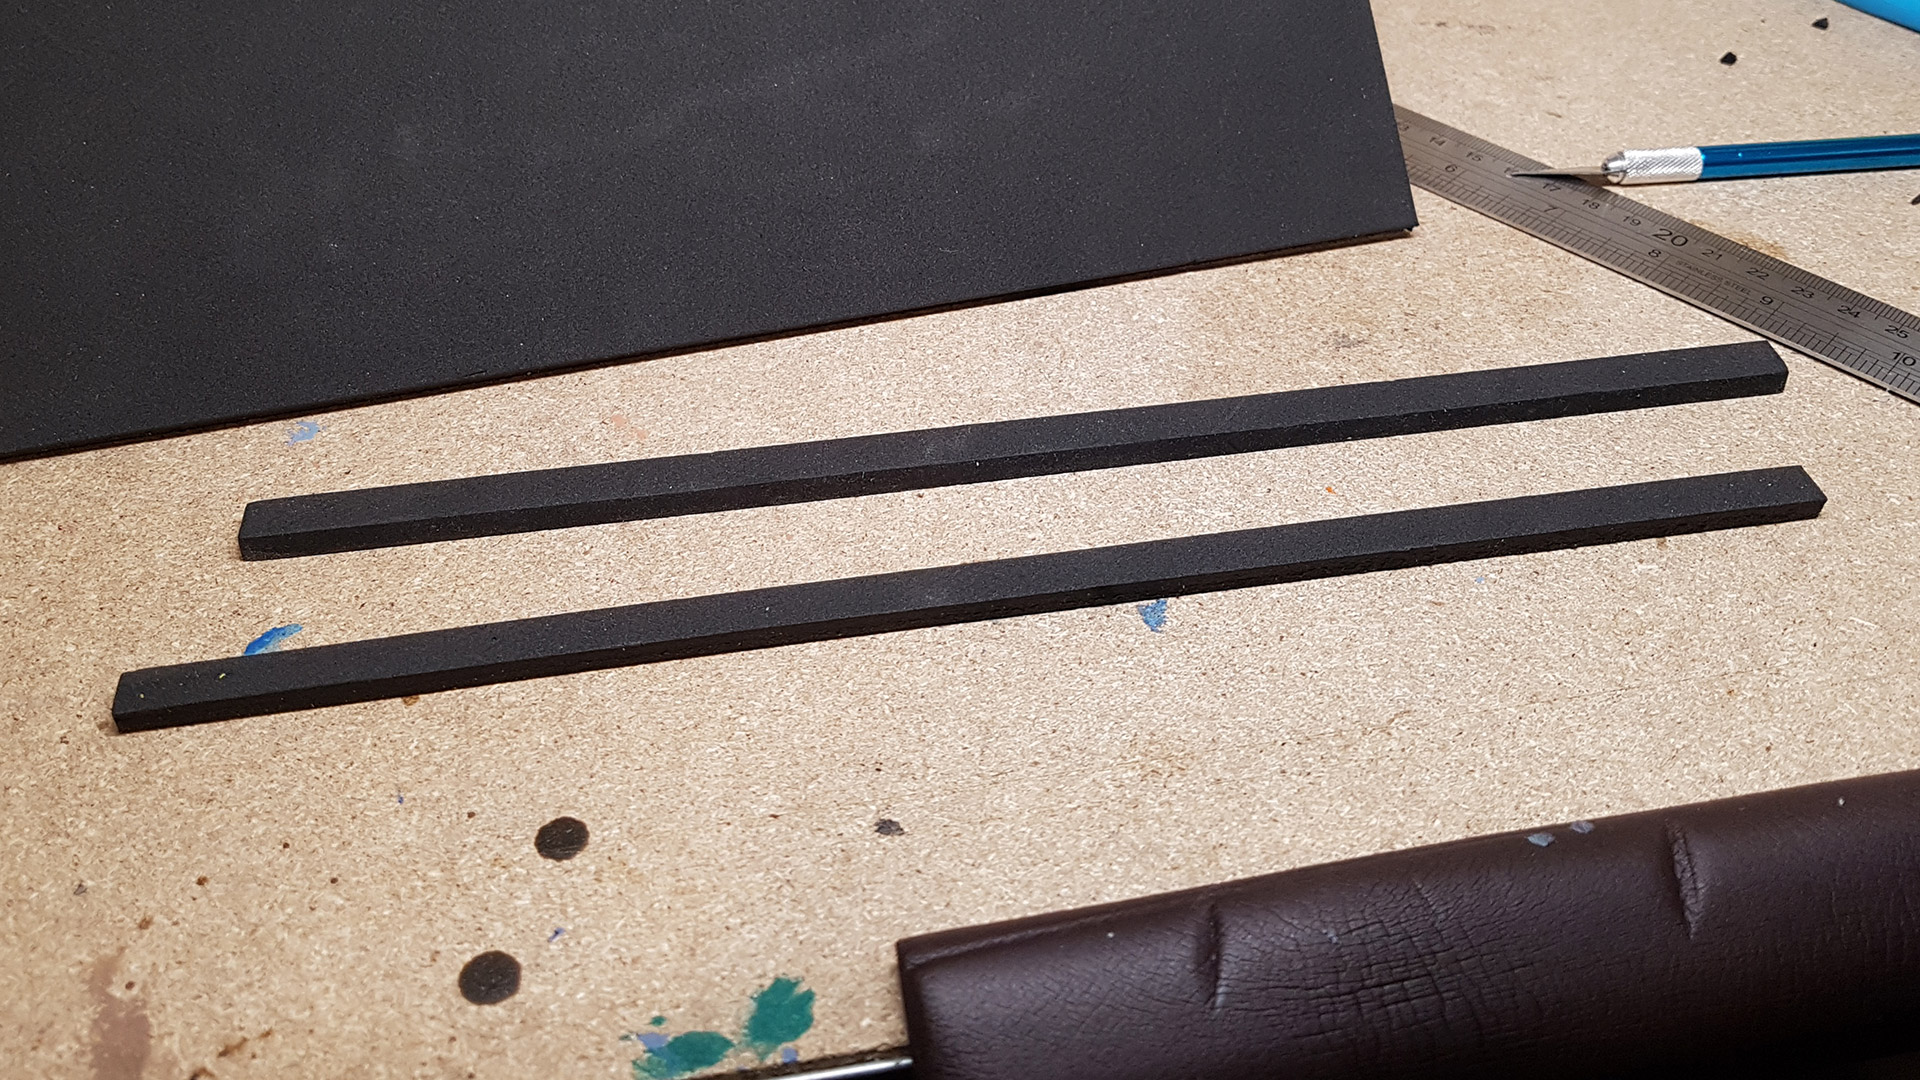
I’ve opted for an edging around the rooms, essentially using narrower floor tiles that are 1cm wide but vary in length, again crafted from 5mm foam.
This edging will not only frame the rooms within the dungeon, enhancing the aesthetic appeal and adding an extra layer of interest, but it will also serve as the foundational layer for any walls constructed around the rooms.
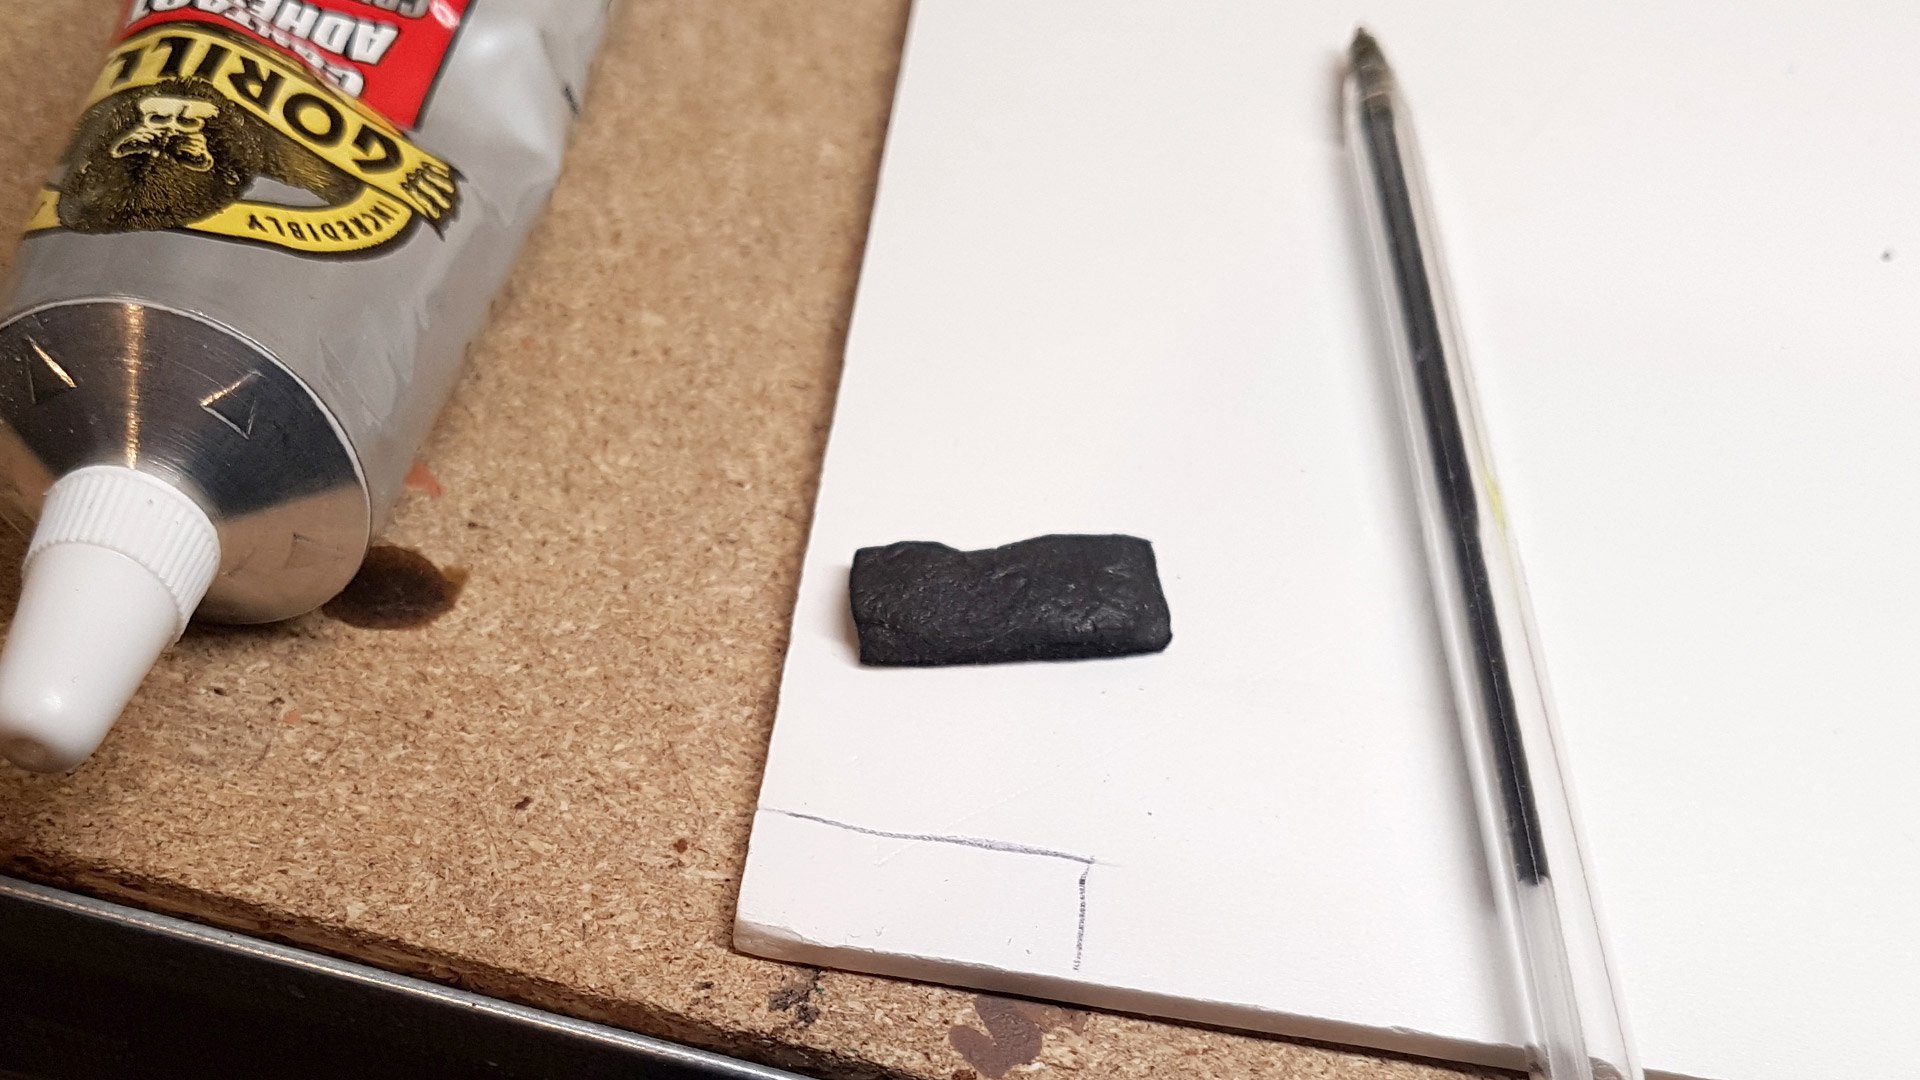
I cut out some more foam strips, and made a set of edging tiles which I again shaped before sticking all the floor tiles to a sheet of Foam PVC sheet using Gorilla Glue Contact Adhesive.

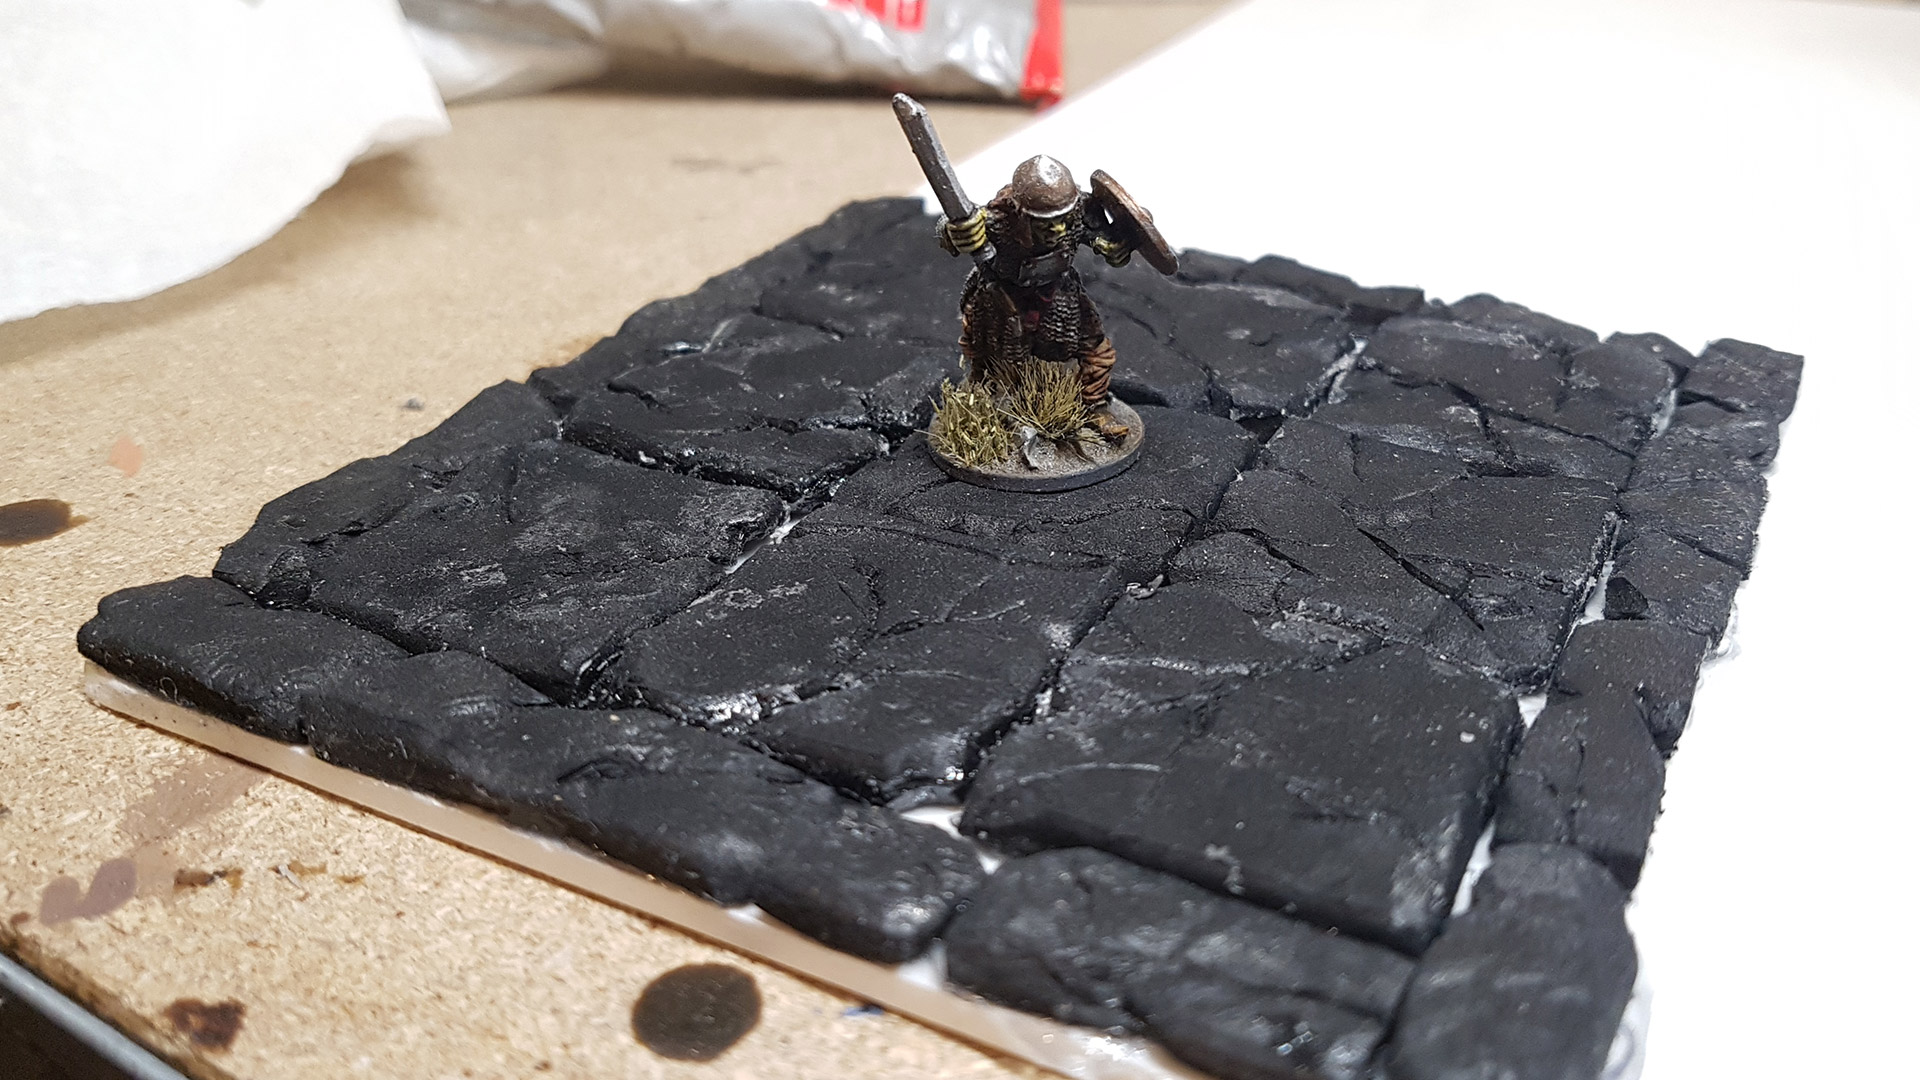 One Complete Stone Floor


I love this. Would translate to above ground for a Mordhiem or Frostgrave table, for example. I may want to steal this.
Absolutely, this combined with the other tile type (see the updates) would be cracking for Mordhiem or Frostgrave.