
Head over Heels - Dungeonalia entry
Who mentioned Wallace and Grommitt?
I’ve always loved technology. As an eager 8-year-old, bashing out BASIC on an old Vic-20 while I begged my mum and dad to get me a ZX Spectrum, and as a cough-something-something-year-old middle-aged grumposaur, I still love technology.
I love making tiny little electronic things and I love 3d printing. No more plastic moulded minis for me – if I can’t print it, I’m not interested any more!
Or so I thought.
Then I tried printing tiles for a board game (it actually wasn’t this one, it was an early Space Hulk rip-off). And FDM printed tiles are ok – but printed layer lines really do ruin the effect of terrain for me.
And resin-printed tiles (unless you’re prepared to dump a lot of resin into them) warp all too easily. I’ve no end of slightly-curled-at-the-edges tiles that for three or four months looked great. but now look like they’re made from melba toast.
So I wanted some tiles for my Dungeonalia project.
I didn’t have the patience to make lots of individual tiles myself (there are five or six themed “worlds” – that’s a lot of tiles!) but had to recognise that 3d printing them wasn’t going to work. What to do….?
I’ve been a supporter of a few creators on Patreon for a while, and a few of them offer “texture rollers” which have always looked interesting. But I tried a Green Stuff World roller once with some greenstuff and it got stuck in all the grooves and ruined it. So I bought another. And tried it with some DAS air-drying clay. And the tiles shrunk and cracked and looked dreadful.
So I decided that texture rollers weren’t for me.
But then one weekend I had to entertain some small children and, trying to find something that would keep 7-9 boys and girls entertained, we hit upon making models (and jewellery) using Fimo.
And Fimo said it was dimensionally stable.
And the little beads we made were pretty robust. So I thought… maybe I could use Fimo with a texture roller to make some tiles?
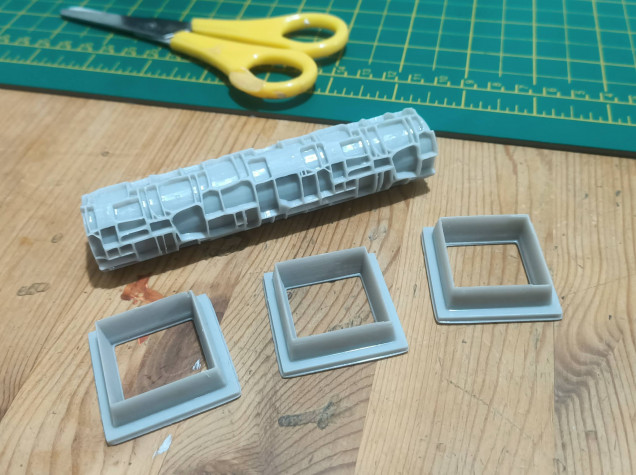
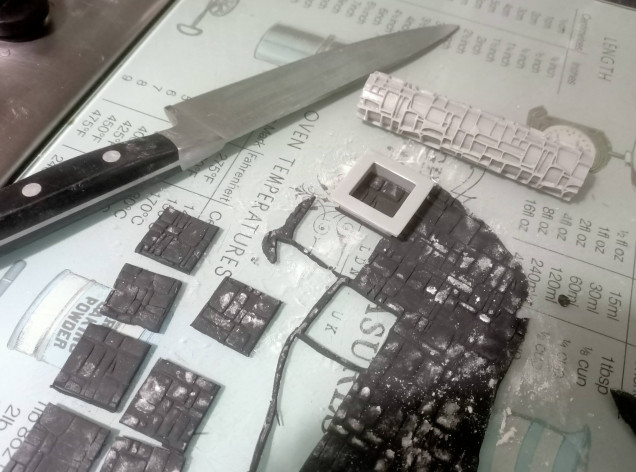
So I printed a texture roller, made myself a one-inch cutter in Blender, and printed them out.
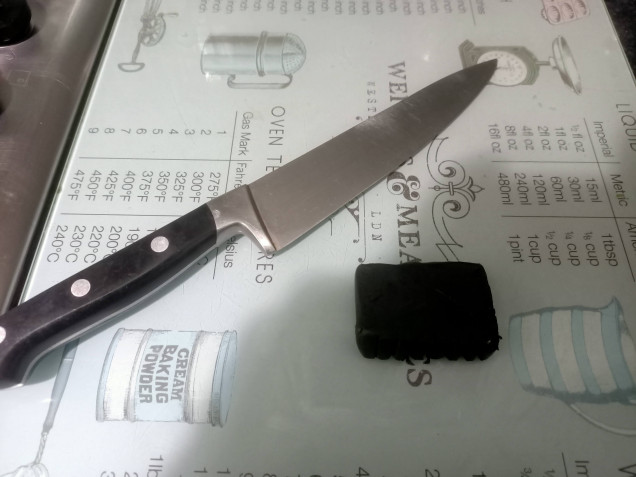
The one colour the kids didn’t seem interested in was black.
Which I thought would be great for me – since I’m going to spray my models with black primer (I know, I know, I thought it was a good idea at the time!).
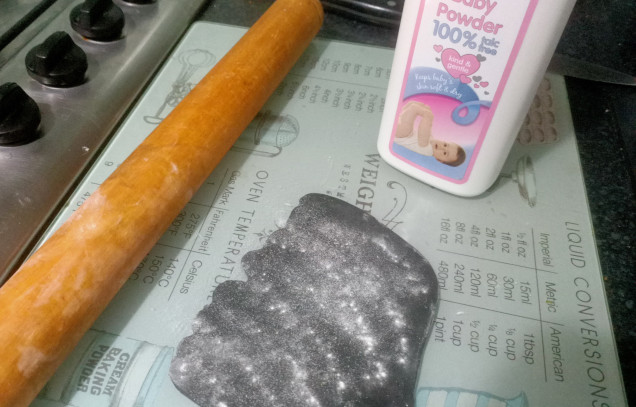
Learning from my disaster with greenstuff a few years ago, I made sure to apply plenty of baby powder, to stop the Fimo from sticking (to both the glass cutting board and the roller)
To make sure the clay retained a constant thickness, I put some 3mm acrylic sheet down on either side of the clay. By rolling the Fimo out, while keeping the ends of the rolling pin on the plastic, I ended up with some neatly-rolled, exactly-3mm-thick Fimo.
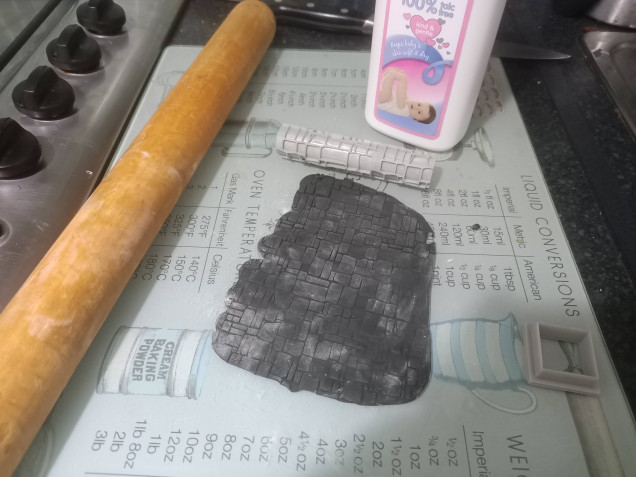
Another coating of baby powder and it was time to give things a whirl….
Then, using my one-inch square cutter, I made a whole heap of individual, stone-patterned tiles
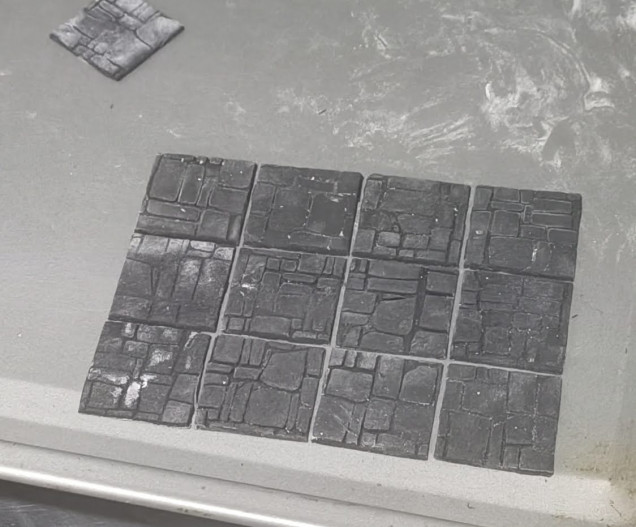
I got the tiles mixed up as I put them back on the baking tray, but I’m not sure it makes that much of a difference! Of course, it’d be nice if the pattern continued from the edge of one tile onto the next – but it’s not something you actually notice, when you see all the tiles put together in a grid formation




Leave a Reply