Making ramps into stairs
Modifying paper models should be pretty easy, right?
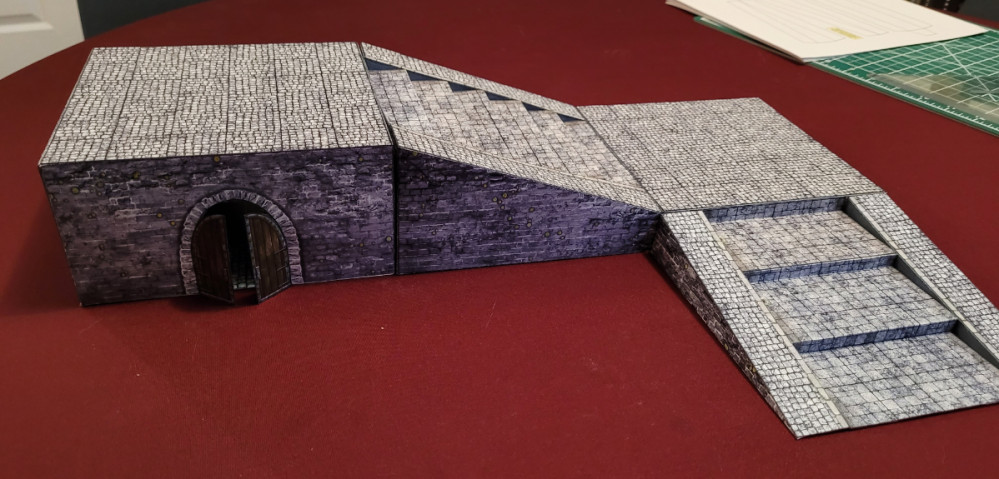
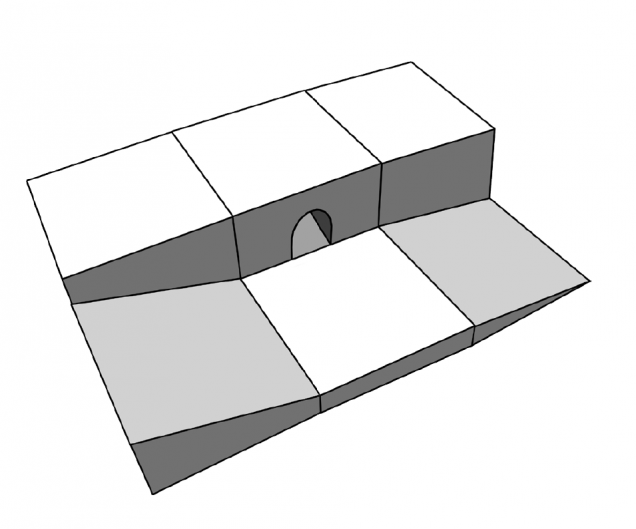
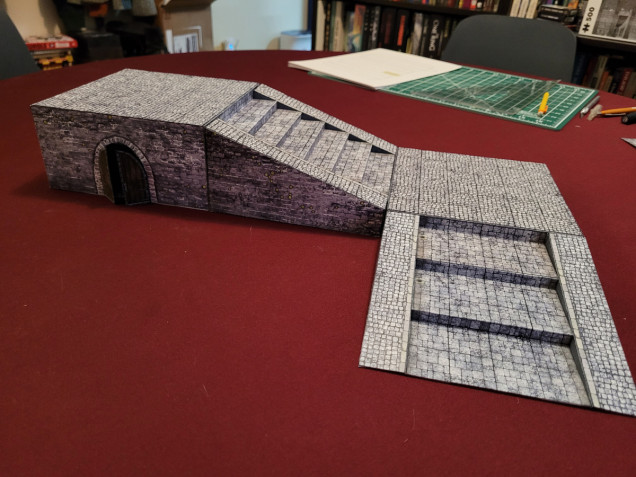
I’m working on a board for 7TV Dracula, to represent the “bowels of Castle Dracula.” I want to do something multi-level that will make good use of the Graffam High Ground papercraft set, so I’ve planned out something that I think will fill up the 2×2 play area fairly well. There’s just one problem: most of the miniatures I’m using are metal, and heavy enough that they tend to slide down ramps rather than stay where they’re put. Maybe it’s just that printer toner is slipperly, but something will need to be done, so I’ve come up with a plan to make the ramps into stairs.
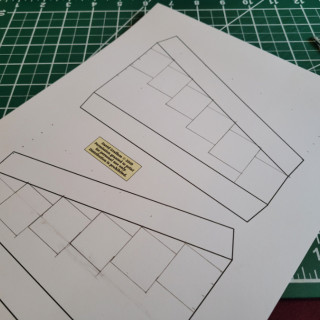
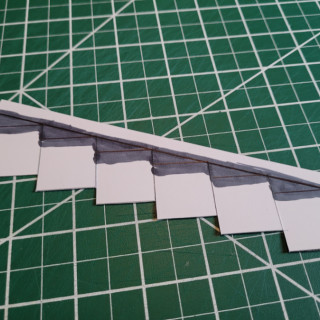
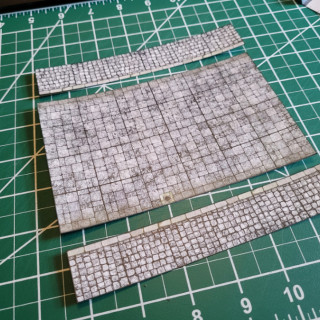
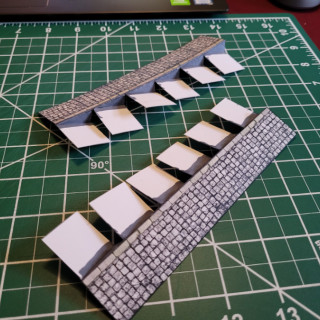
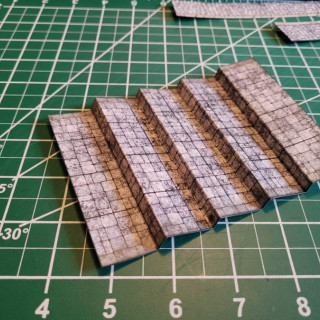
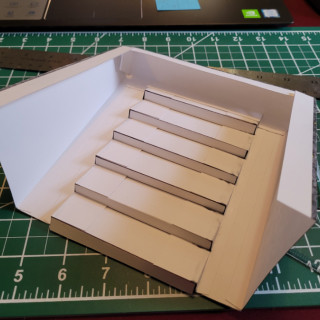
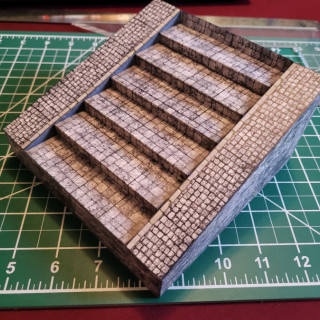
The first step is to use an extra set of side pieces, printed with just the outlines, as supports for the stairs. All the sections are 6 inches square, and I’ve got two ramps that lead up 2 inches, and another 2 that lead up one inch. For the two inch ramps I’ll do 6 steps (1 inch each) and for the more shallow ramps I’ll do 3 steps (2 inches each). I’ll use the center 4 inches of the ramp as the stairs, leaving one inch on either side at the original angle.
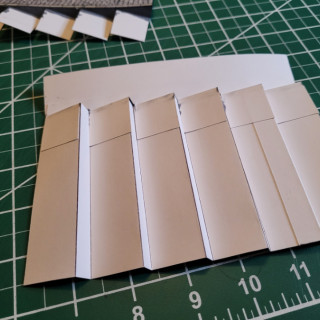
Folding the ramp piece into steps means I’ll lose some length, so I’ll need to add a “patch” cut from an additional print out of the ramp (one great benefit of print-and-assemble terrain). Once it’s all put together there is some curve to it, but attaching the side pieces should take care of that.
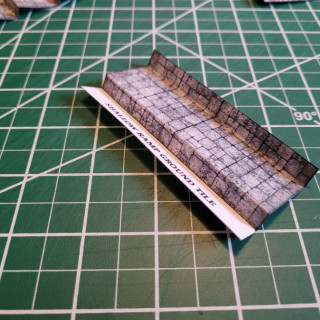
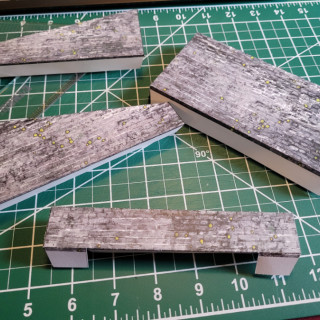
Attaching the side pieces helps straighten everything out and make the structure more solid. The more shallow 1 inch ramps are easier to do, since they only have 3 steps instead of 6 and the bottom step is flush with the ground, so no front piece needed.
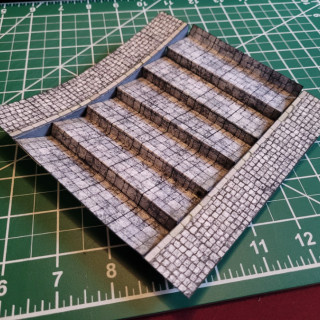
The final product is more or less exactly what I had in mind. I’ll have some interesting multi-level floors to break up movement, and my miniatures won’t slide down the ramps.


![TerrainFest 2024 Begins! Build Terrain With OnTableTop & Win A £300 Prize! [Extended!]](https://images.beastsofwar.com/2024/10/TerrainFEST-2024-Social-Media-Post-Square-225-127.jpg)




Leave a Reply