Head over Heels - Dungeonalia entry
It's still early days
….which means it’s ok to get things wrong or trying things out, or for things to not quite work out as expected. Which is exactly as expected. If that makes sense.
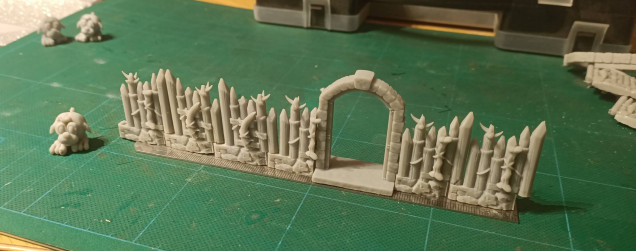
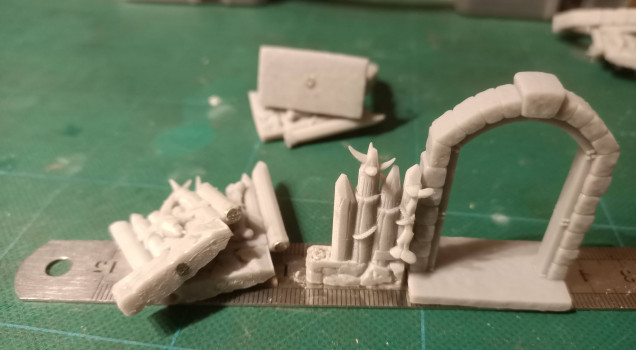
So after finally getting the sizing right, and hacking a couple of “side pieces” for either side of a doorframe (I couldn’t squeeze the width much more, to make it fit a 1″ square tile without it looking ridiculous, so have had to create shorter, thinner less-than-one-inch sections to go either side of each door) things are already starting to look much better.
All the wall sections now line up correctly (I scrapped to two-square-wide pieces and have only single-square width wall sections for now) and everything looked ok. I’m still getting a slight warping on some pieces, meaning the bottoms of the wall sections aren’t always perfectly flat – but it’s nothing to worry about too much atm.
Things have been helped along by adding small 3mm x 2mm magnets in strategic places in each piece (and a small magnet in the centre of the base of each wall section and door frame).
These not only make them much more secure on the tabletop, but help them pull in towards each other with a satisfying “snap” as you place them on the tabletop.
Sure they look a bit rough and ready, and the superglue has got everywhere (I’m still nibbling it off the ends of my fingertips) but the end result is worth it!
I think repeating this particular print (all of the wall sections shown were printed on a single plate on my AnyCubic 4K Mono) should give me enough wall sections for even the largest 7 x 7 room. Then it’s on to printing some stone dungeon walls (for the “escape from Castle Blacktooth” bit of the game).


Leave a Reply