


![TerrainFest 2024! Build Terrain With OnTableTop & Win A £300 Prize [Extended!]](https://images.beastsofwar.com/2024/10/TerrainFEST-2024-Social-Media-Post-Square-225-127.jpg)


Project Cornetto


Back on the Road again.
I must be overloading with trying to get more than five images on. I am going to try and break it down as much as I can. I’m not getting any error messages and all that seems to happen is it looks like things submit, but then nothing happens. All my writing disappears as does any pictures I upload. So I will try this a different way.
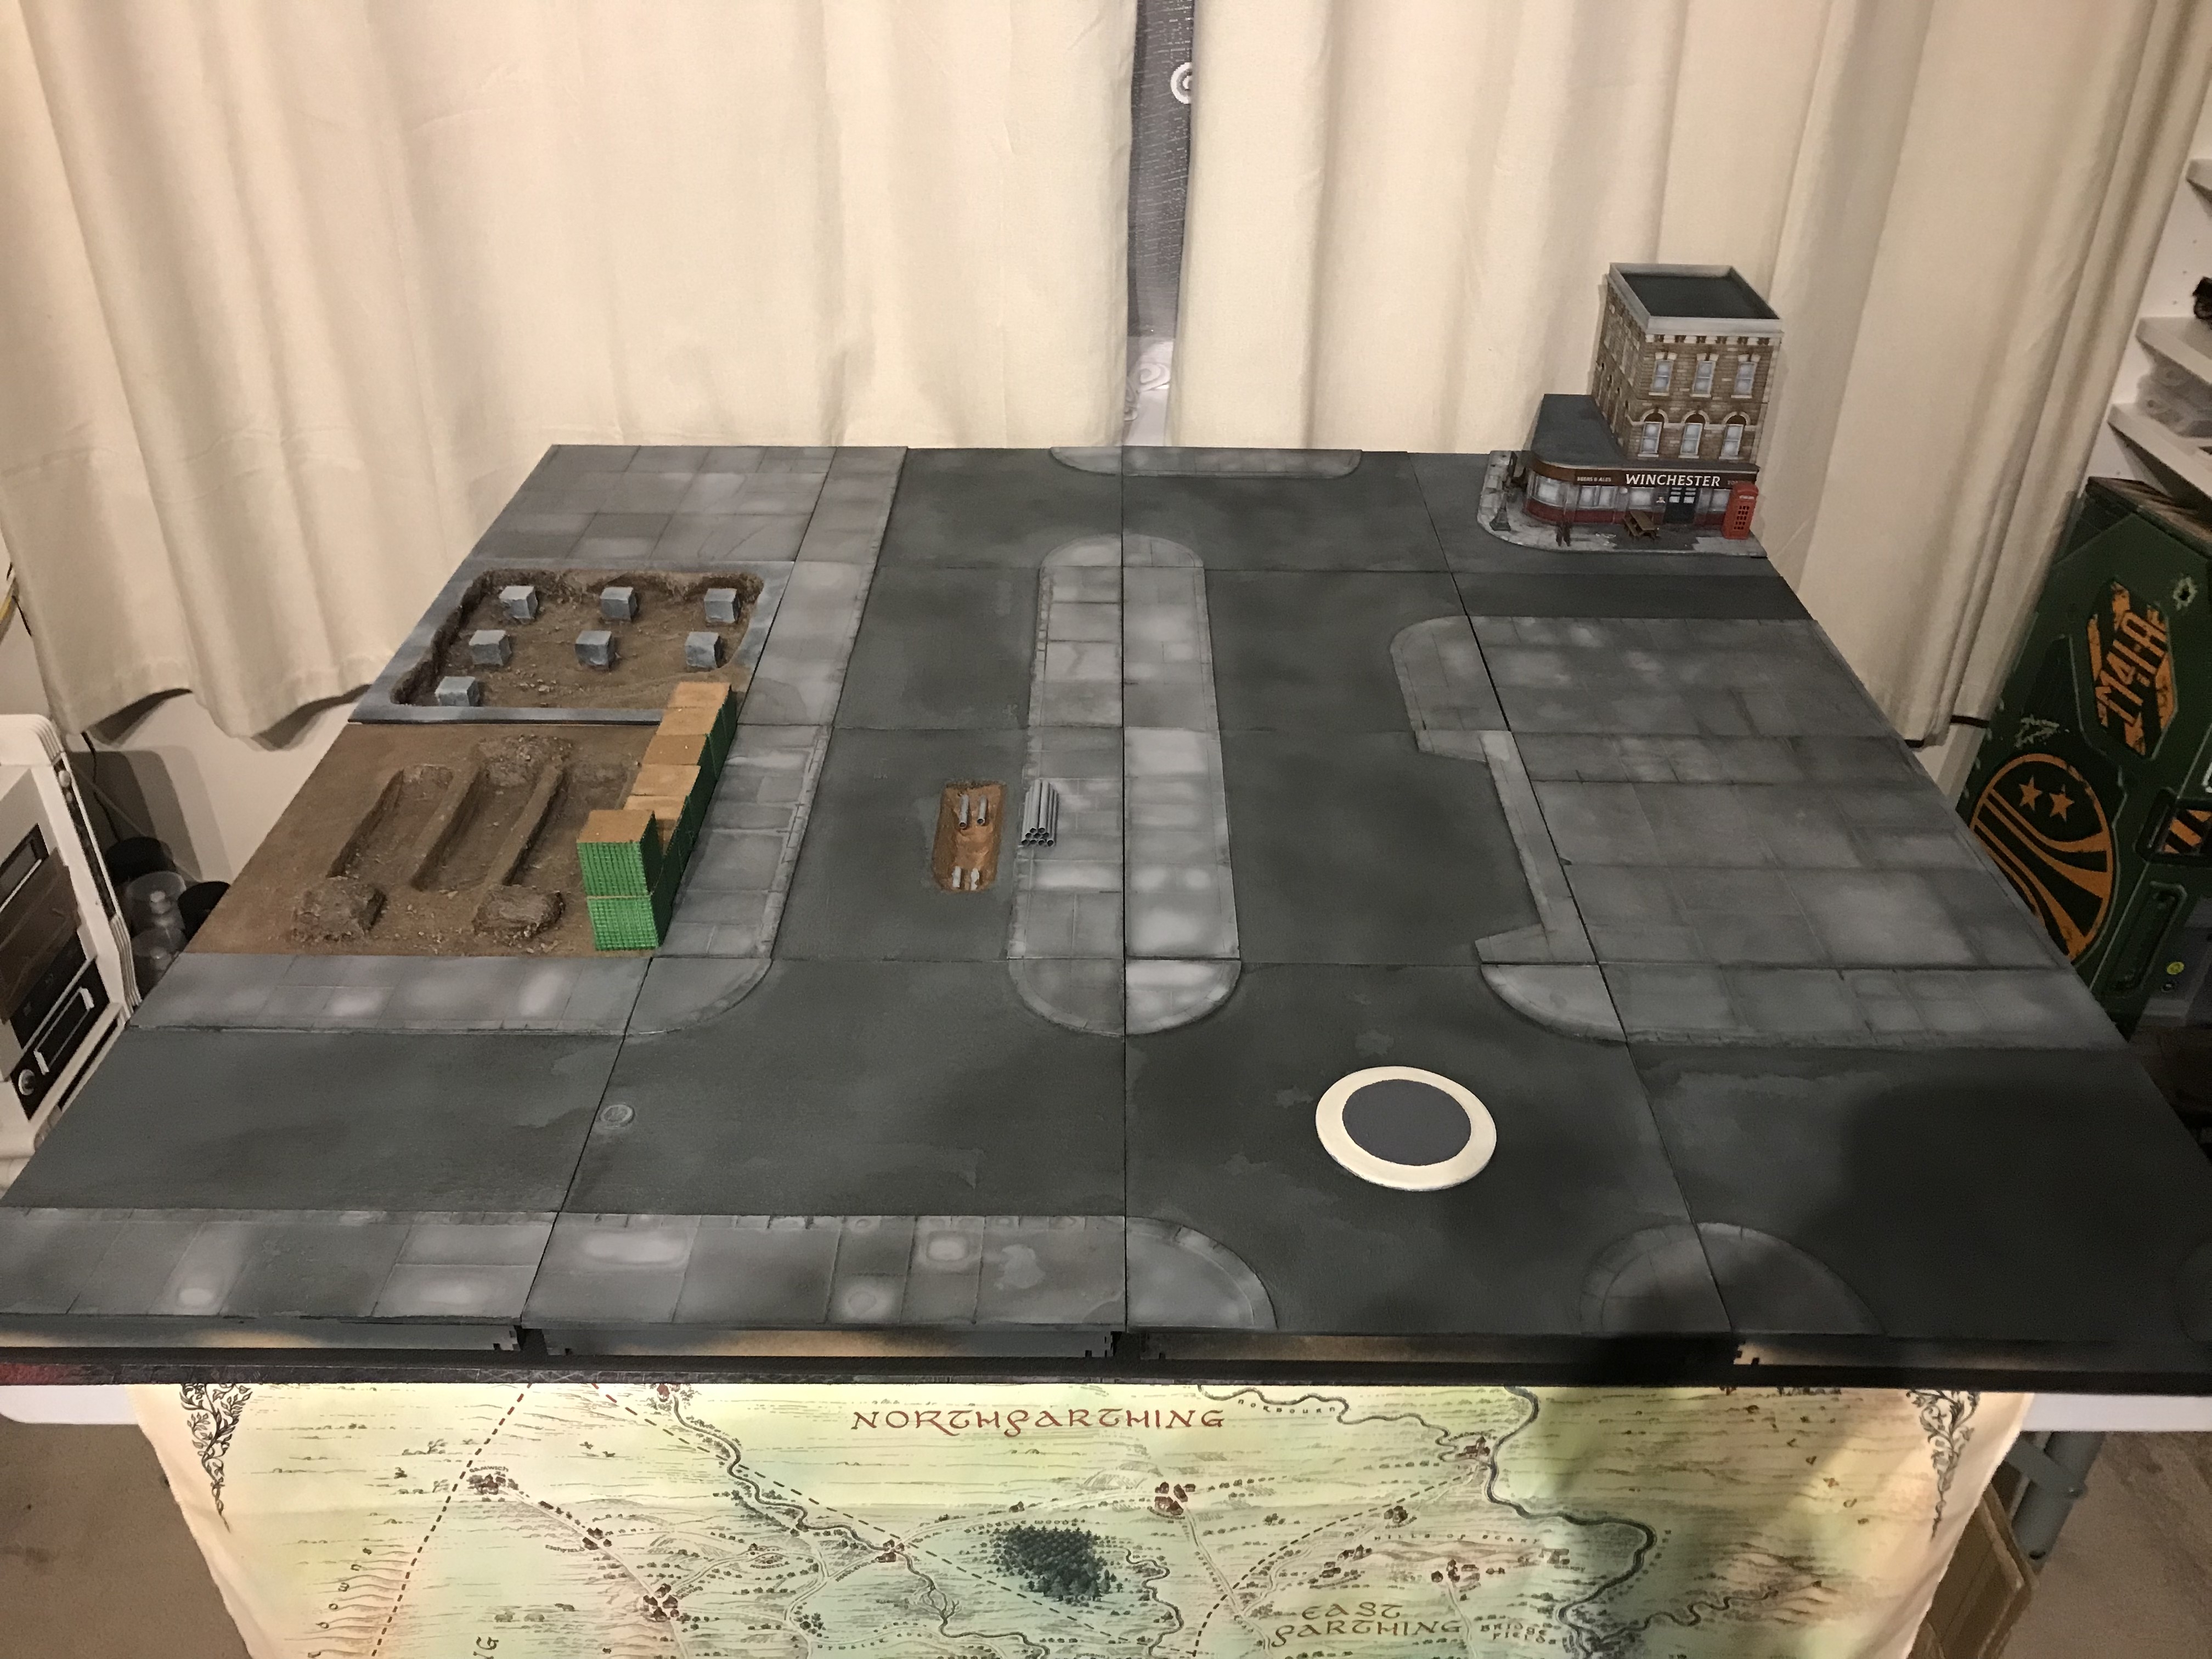
With my back starting to heal and a bit more mobility, I moved back onto finishing the road tiles and adding details.
I spray up a few more tiles and hit them with the light grey airbrush. I then used a homebrew black in wash to soak the tiles, wiping away excess. Back on my gaming/work table, I started to dry brush the already primed tiles.
I used administratum grey and karak stone to dry brush the pavement and road. I only light drybrushed the road as the darker colour gave it a really good tarmac appearance. I broke up the paving slab colours with karak stone and then finished with an agrax eartshade select application. I would take drops of earthshade and blob some areas and smear others, then rub it in roughly. This gave it a nice stain over the lighter tiles. Then I followed the recess lines where the ink wash had originally settled, to again emphasise the gaps between each slab.
To note, as I don’t think I mentioned before, the slabs were created by gluing down sheets of 3mm MDF to TT combat tiles and then carving deep with a Stanley knife to give the appearance of individual laid slabs.
I then finished with earthshade again to flick droplets all over the tiles. This gave the nice appearance of rain stains/general wear and tear.
I started to pick out the unique tile to bring them up to scratch with the others.
 Dry brushing begins.


Leave a Reply