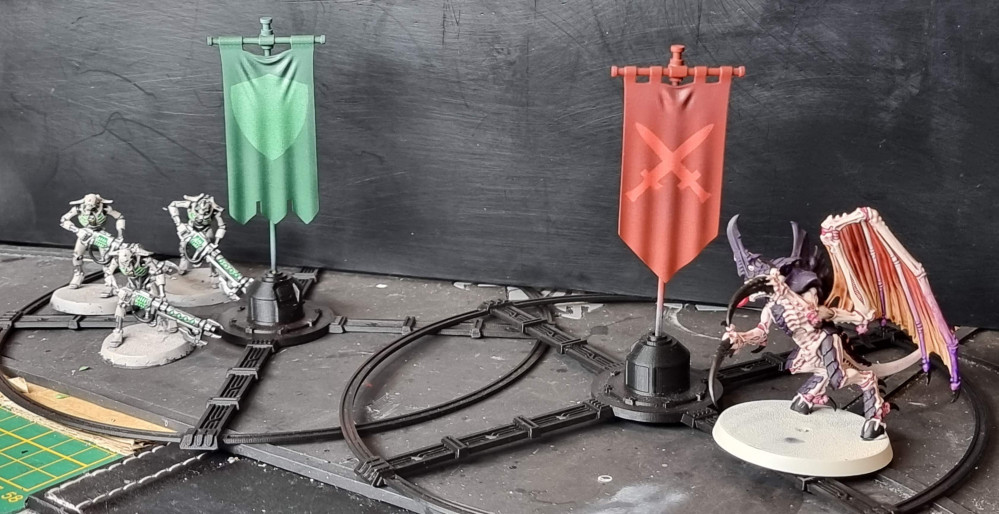
Objective Markers
Step 7: Play!
I’m pretty happy with the results!
Aside from the primer not sticking to the brass and the touch-ups being visible, they are exactly what I was after.
That brings me to 23:45 on the 31st of October (in Australia).
However the project won’t end here!
In the next few days, I’ll;
- Fix up the primer.
- Paint the non-banner bits, the pole and cross-arm.
- Seal them with varnish.
- Prime and paint the objective bases.
- Get a game on!
I will come back and post the final results when they’re complete to official close out this project.
My lessons learnt from the project;
- Mylar stencil material is too thick and springy to work on complex surfaces like these banners.
- Removable vinyl is great as a stencil material, but make sure to seal the object with a good varnish before applying them.
- Touching up errors with a brush may not match the airbrushed surface.
- The overall method works well to achieve the effect I was after.
- Need to think through primer on brass, maybe I’ll need to use a spray primer made for metal. hopefully once sealed under a varnish it’ll hold out… I might need to make it a thick coat! Otherwise I’ll have to mask off everything and use an spray primer for metal on just the pole.







Do you plan to release the STL files for download / purchase?
I didn’t create the banners. If you have a look at my first, you’ll see that I credit the owner.
They were available for free download.
2023-11-14 Your page has been visited by the unofficial Hobby Hangout. Huzza!