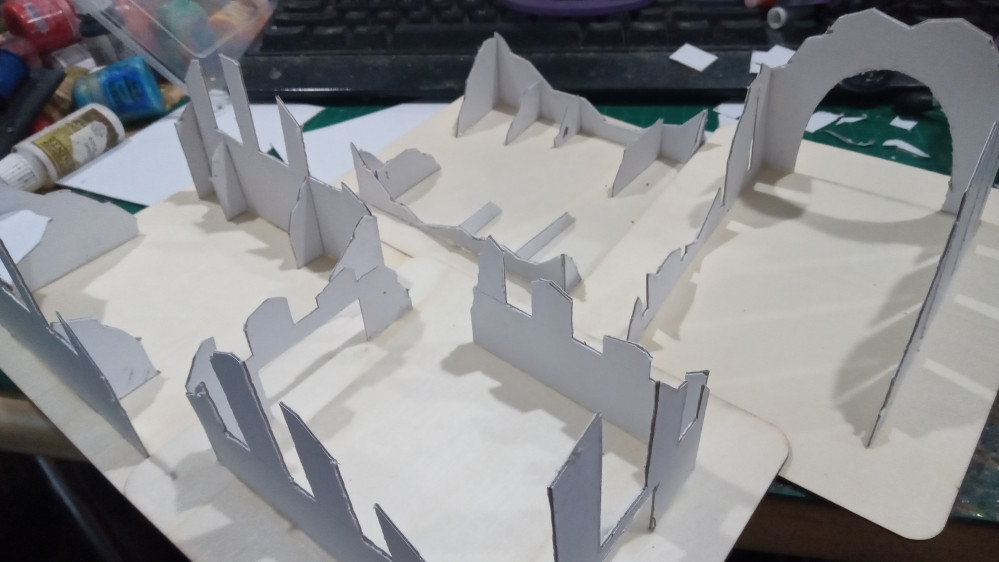
Tiny Terrain for Tiny Heresy
Painting and Basing
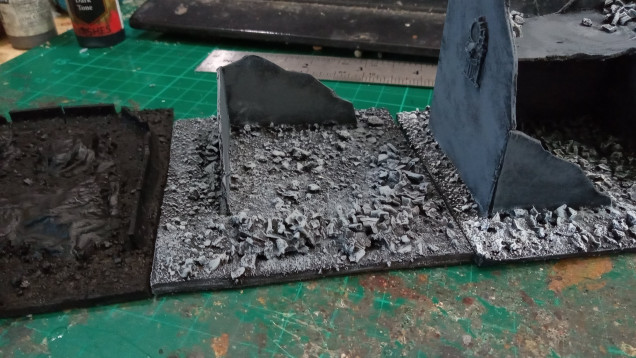
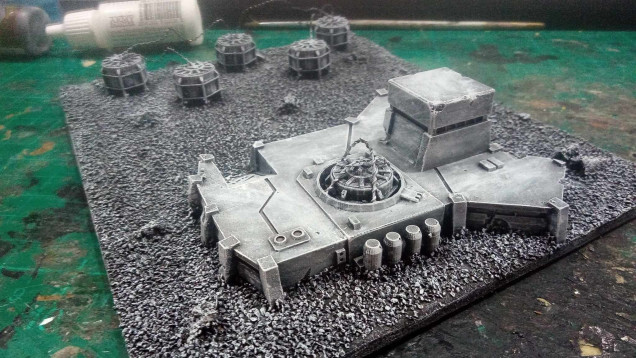
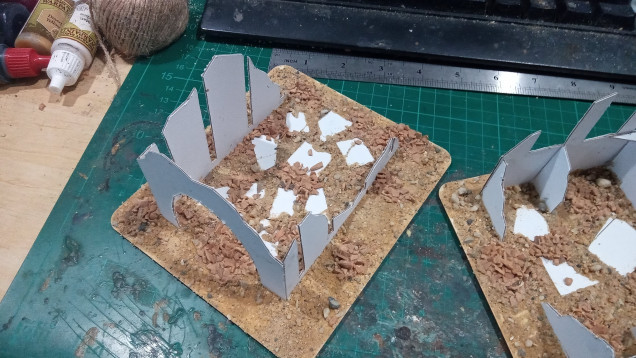 This is an older pic but it shows the ideal way to base them. First place the clumps of big rubble, I used a cork basing mix. This can be glued with normal PVA glue. Then I coated the entire base in PVA followed by Geek Gaming Scenics Desert Mix, basically anything with some big and small rocks in it will work, the goal is to break it up a bit and make it look like scattered rubble. The extra floors have a little PVA and sand where the floor meets the walls to hide the joints but also to give them a bit of bulk and not look so skinny.
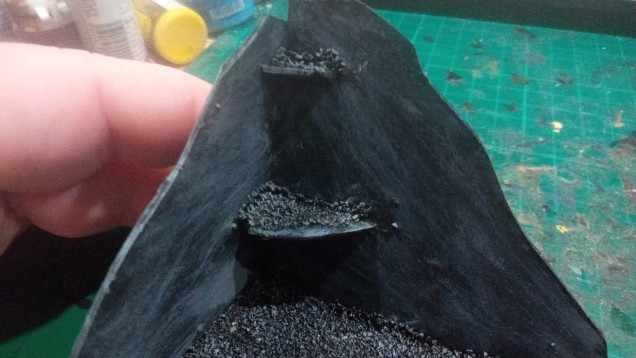
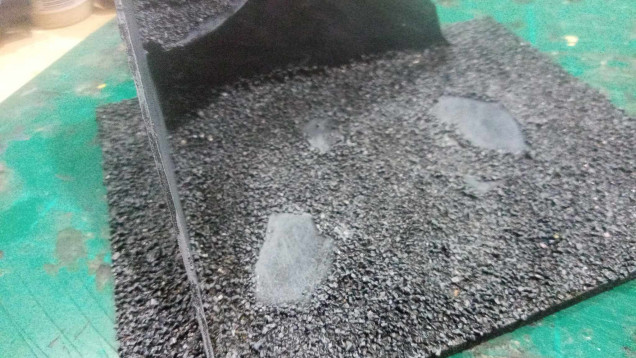
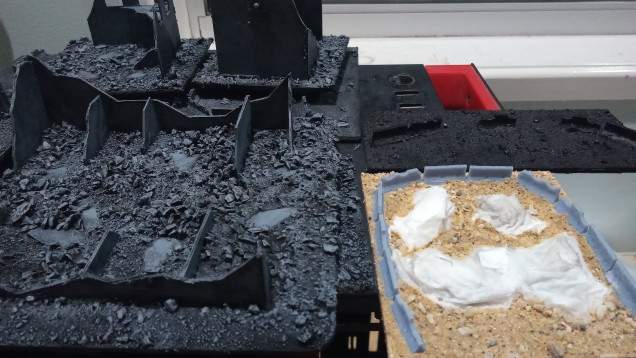 Next I sprayed the entire thing with a black rattle can and went over it again with cheap black Acrylic from the local dollar shop. Again an older pic but I'm rushing to get this finished in time.
 Okay now I'm actually painting the buildings from the project. First drybrush Army Painter Dungeon Grey, you can use a cheap Acrylic for terrain but they're too wet for my liking and don't drybrush well. Keep all you strokes going one way on the walls, this is important later.
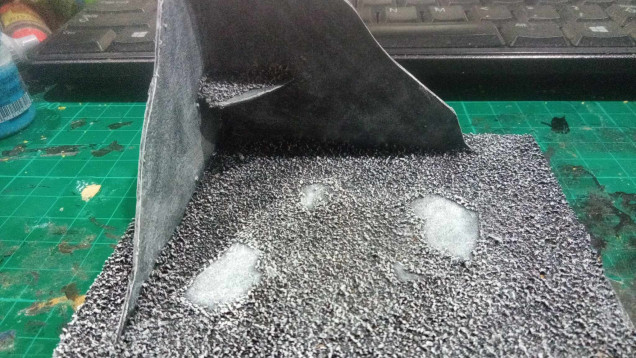
 Next a 50/50 of Grey and White, the best part about painting these is you don't pick anything out, gut blast the whole thing one colour. Go the opposite direction on the walls, notice how it makes interesting patterns of depth on the wall that add a sense of detail that just isn't possible at this scale. Even the broken ceilings get the same paintjob and different directions.
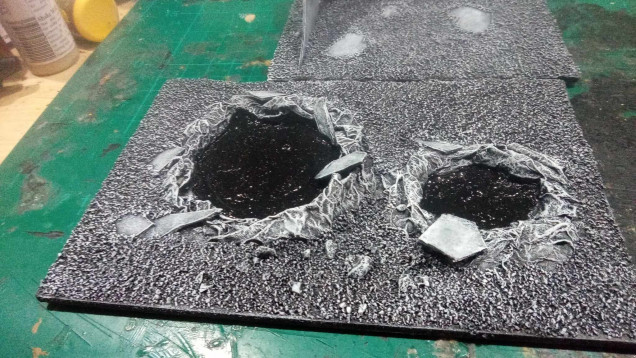
  Finish it off with a light but not too light drybrush of white. Once again change up the direction on the walls to create that depth look.
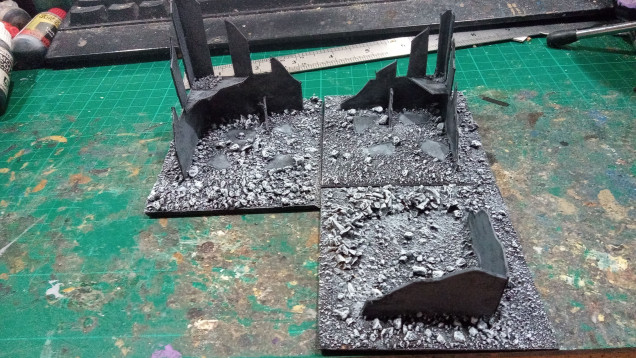
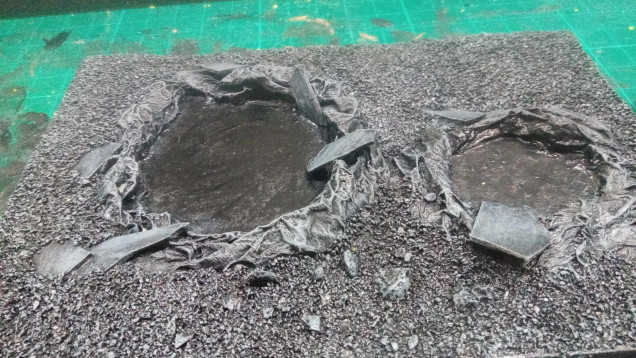
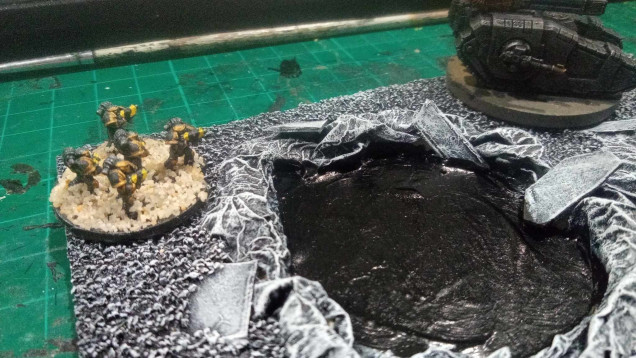
  The craters turned out well, they were a bit of an experiment but at this scale and considering they used about four squares of toilet paper I think they turned out well. The Black paint is still wet but I plan to give them a glossy varnish to make it look like a big pool of stagnant water. Game wise these are also a great way to block movement but not shooting.
  One advantage of the two wall buildings is that you can make area terrain on the field rather than scattering them around.
 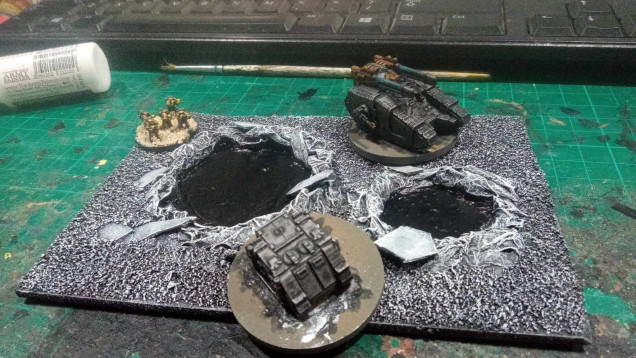 Some miniatures for scale. A Sicaran sized hole full of water is pretty good for blocking terrain, this is teh smallest crater set that I've make, there's a massive crater that should stop even a Titan on my painting desk.




Leave a Reply