


The Nice Inn - Bringing DnD to the Tabletop


The Roof
Ok so the roof, the bit that I have been kind of putting off. Originally I was going to creat a tiled roof, then after cutting out the strips of card I thought, nope I am going to attempt a thatched roof for the first time in my life.
The material
So how to do a thatched roof, well as I have seen from many a you tube video over the years the best looking roofs require the fur of a teddy bear. So after a quick search on Amazon I found some camel coloured teddy Bear fur that had long strands that will act like straw.
I placed my order and waited after a couple of days it arrived.
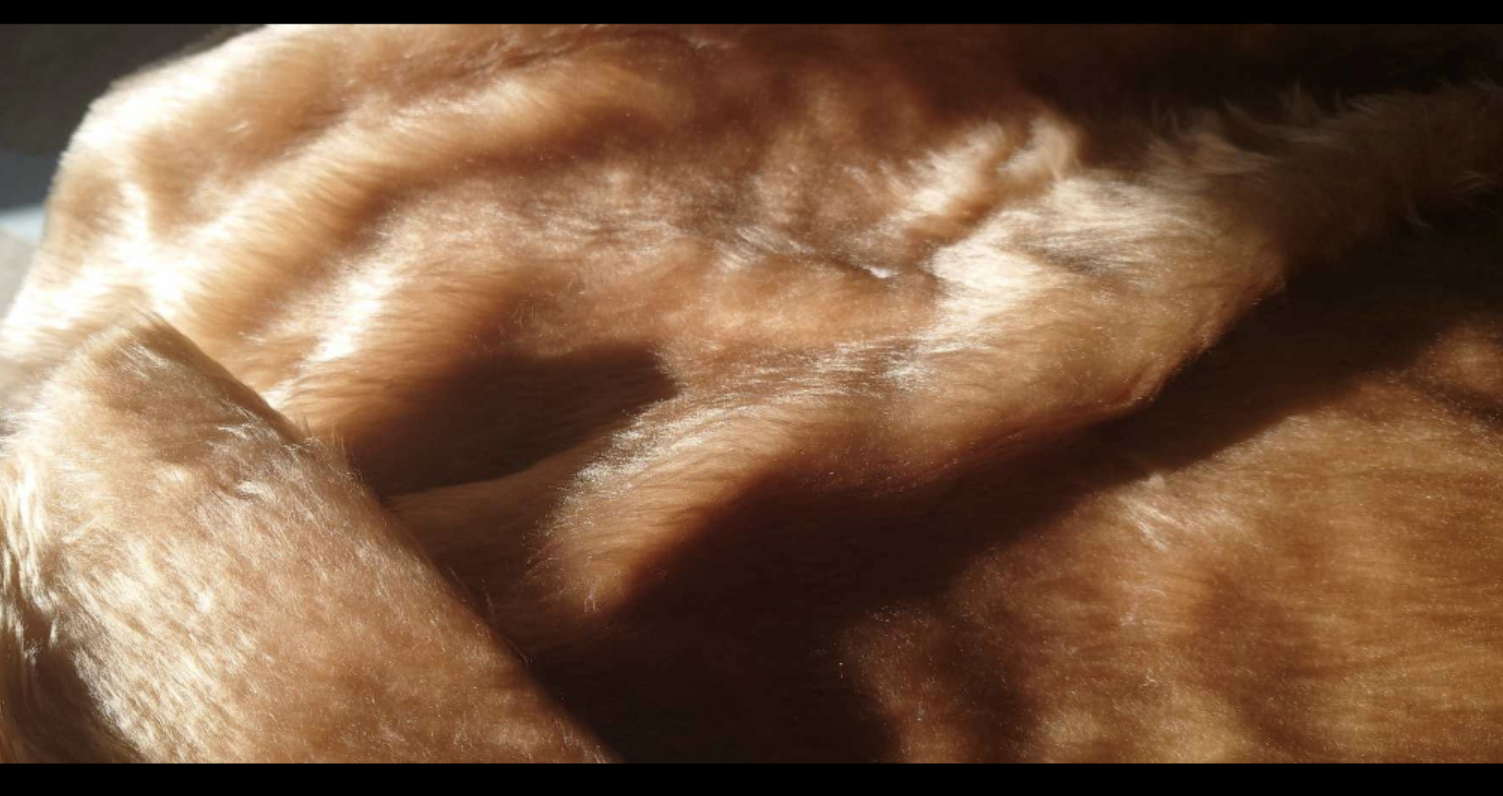 The nice soft fur acquired without the murder of any teddy's
 The next step was to decide how to do this , first up was to measure the roof sections. Then divide them up into equal parts. This enabled me to measure and cut strips of the fur. These strips were cut slightly bigger than required so that I could trim to shape afterwards.
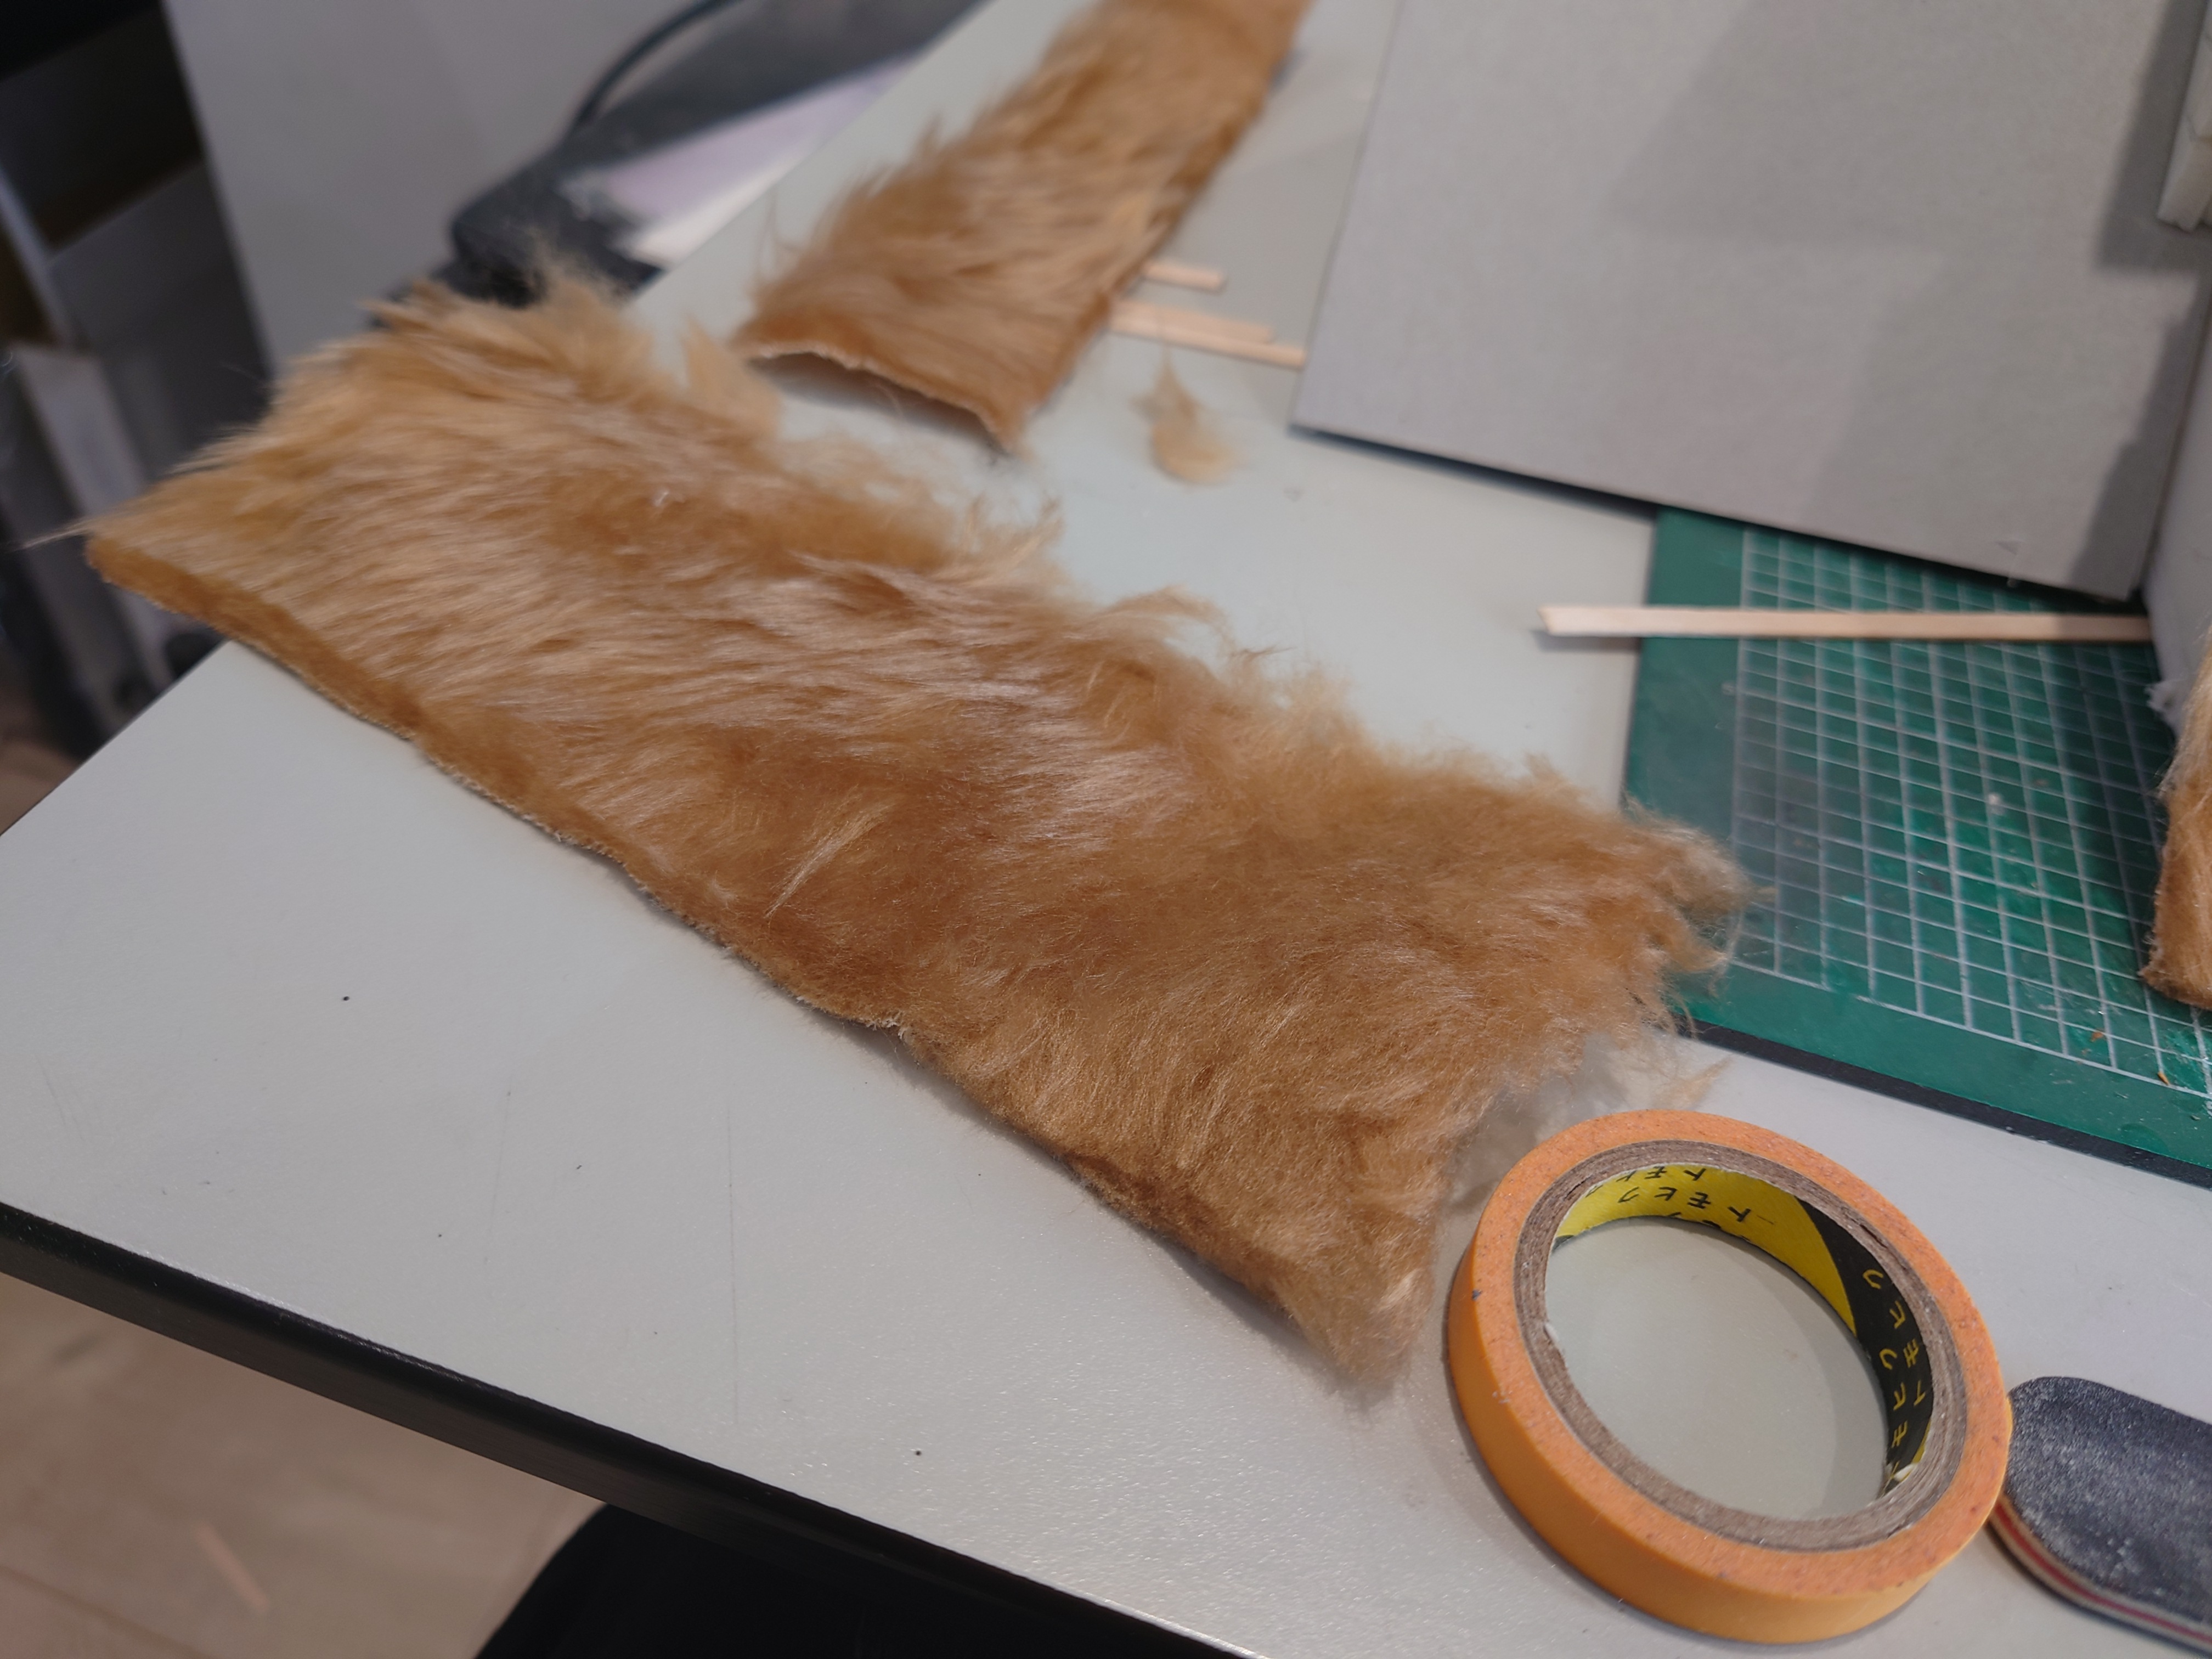 Fur cut to the right size
The next stage is to stick them down to the roof, with overlapping sections this will represent a roof with gradations.
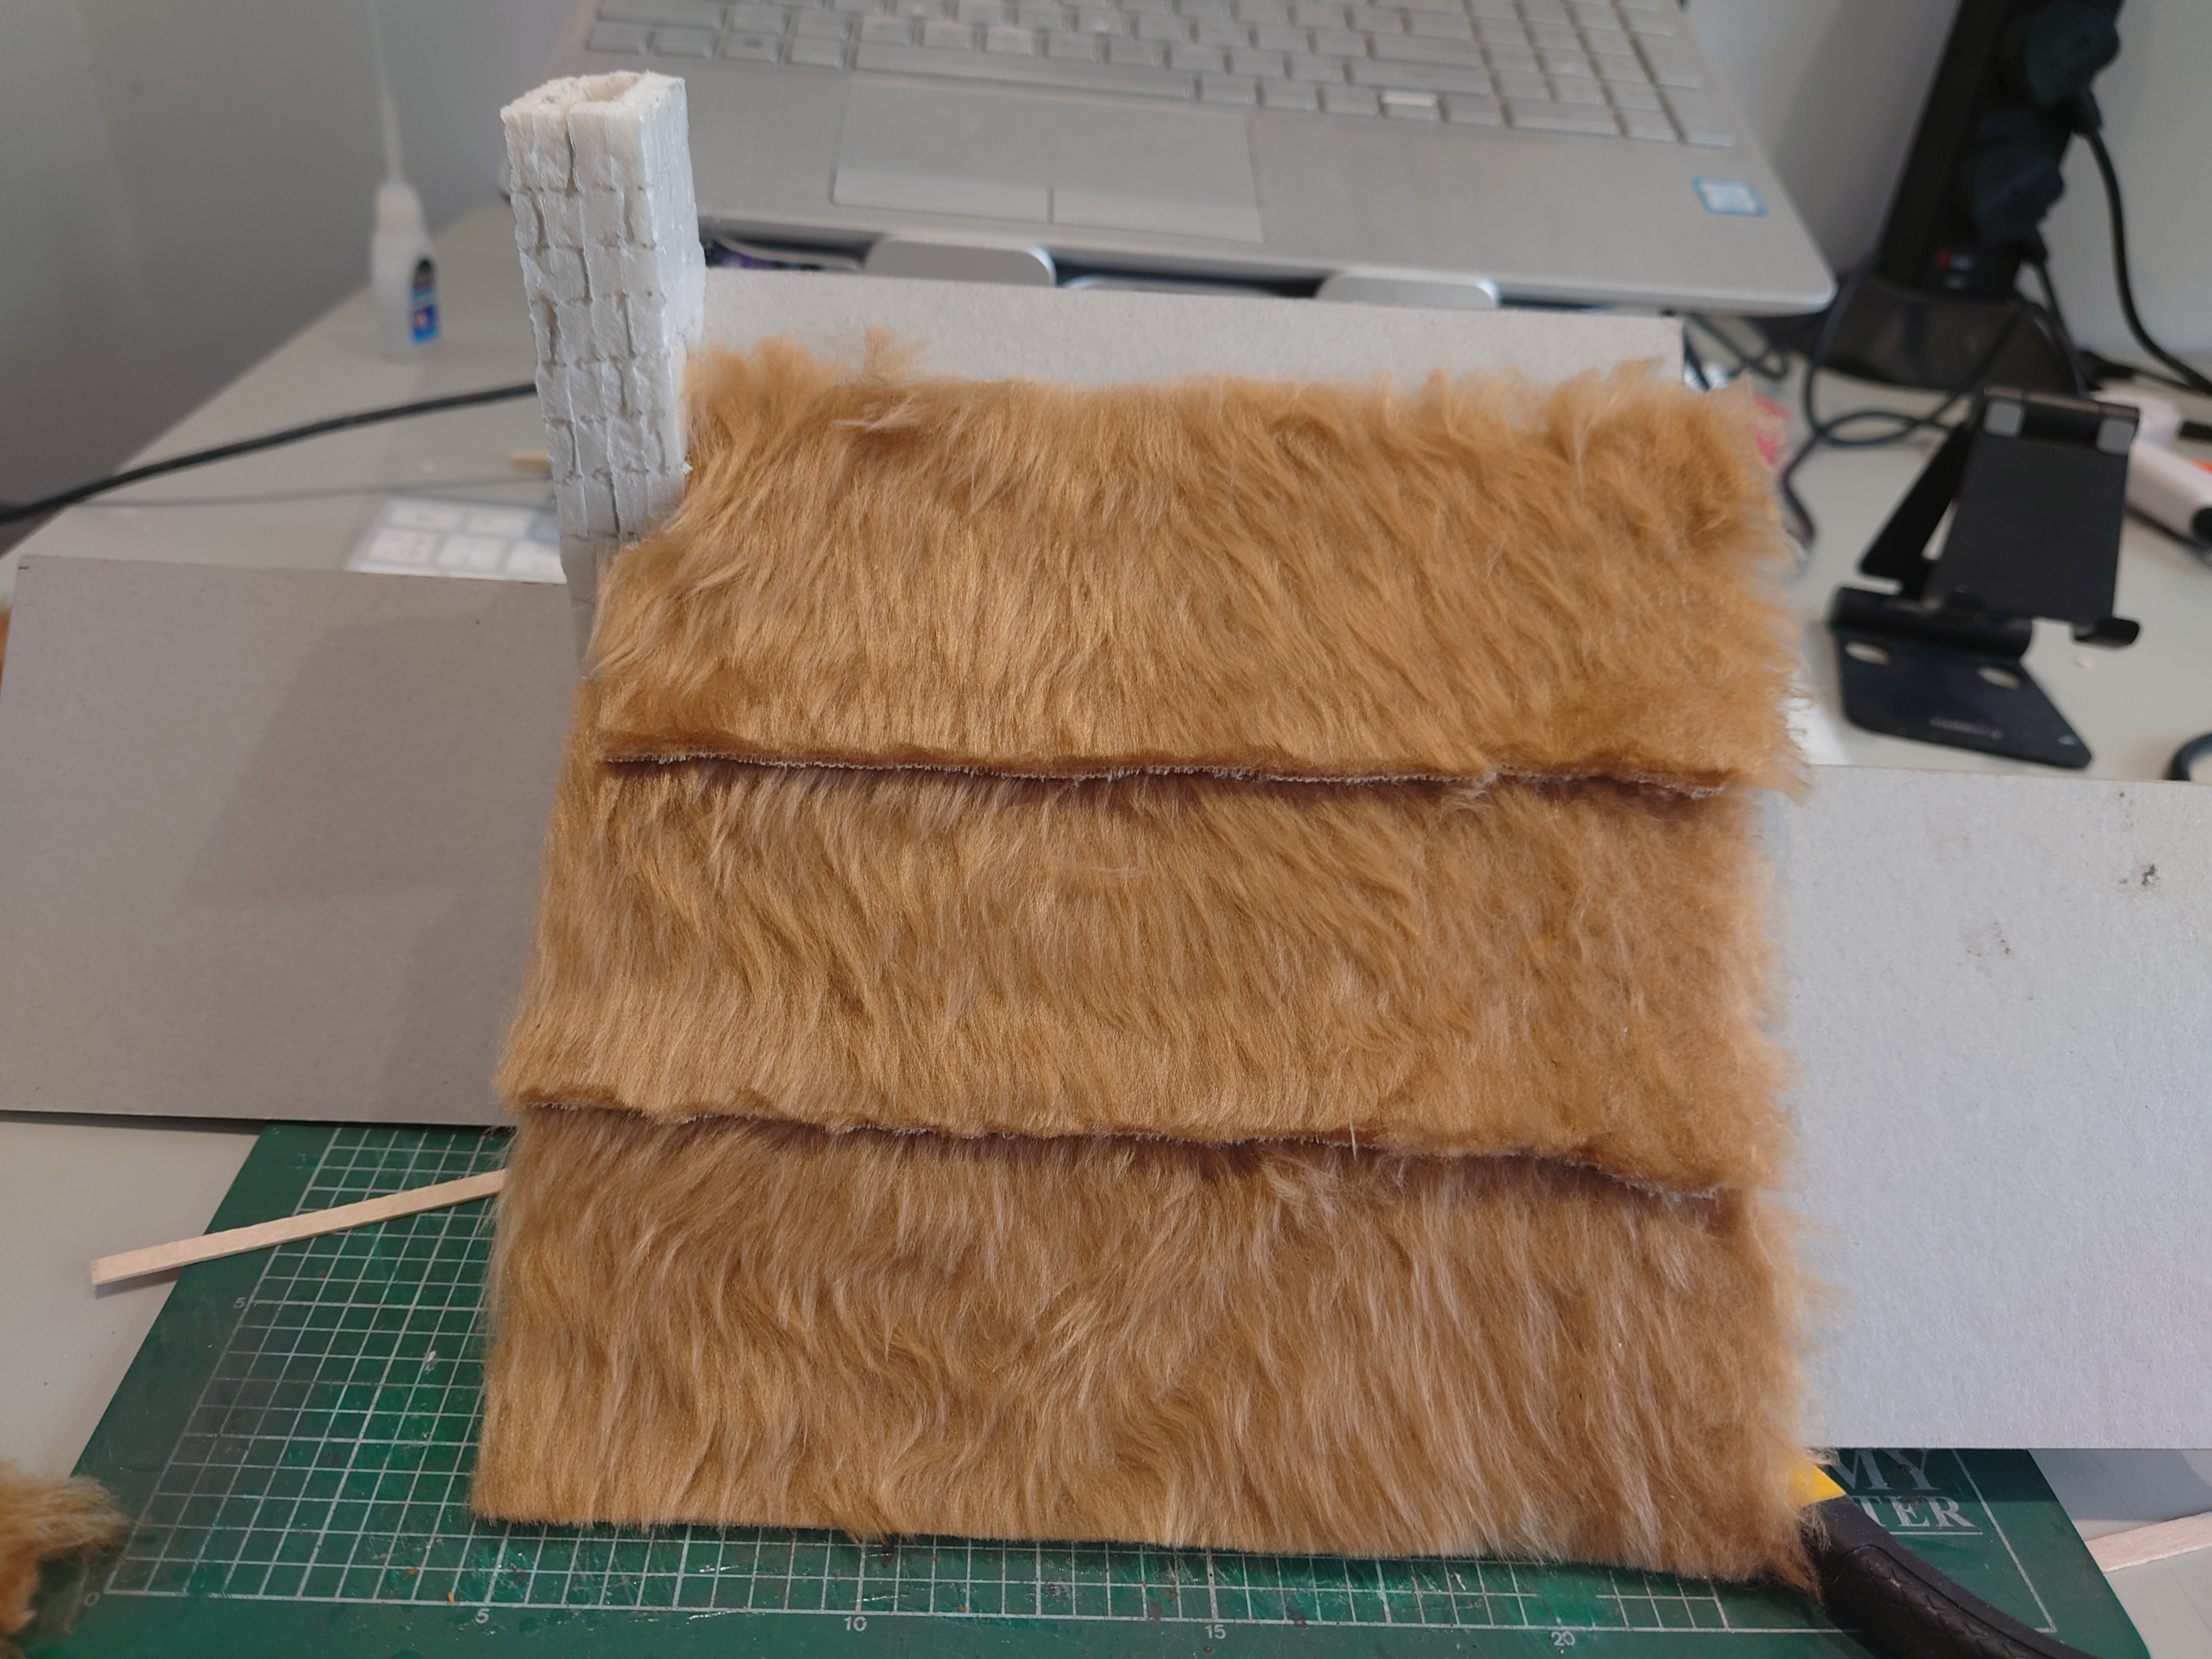 The roof sprouting fur
Creating the straw look.
The next step after gluing down the fur was to make it robust enough to survive the gaming it will meet.
So having looked around there are two options. First a mix of PVA and water approximately 1:4 ratio of one part PVA to 4 parts water. The other involved mixing in poly filler. I didn’t have any of that to hand so decided on the PVA and water treatment.
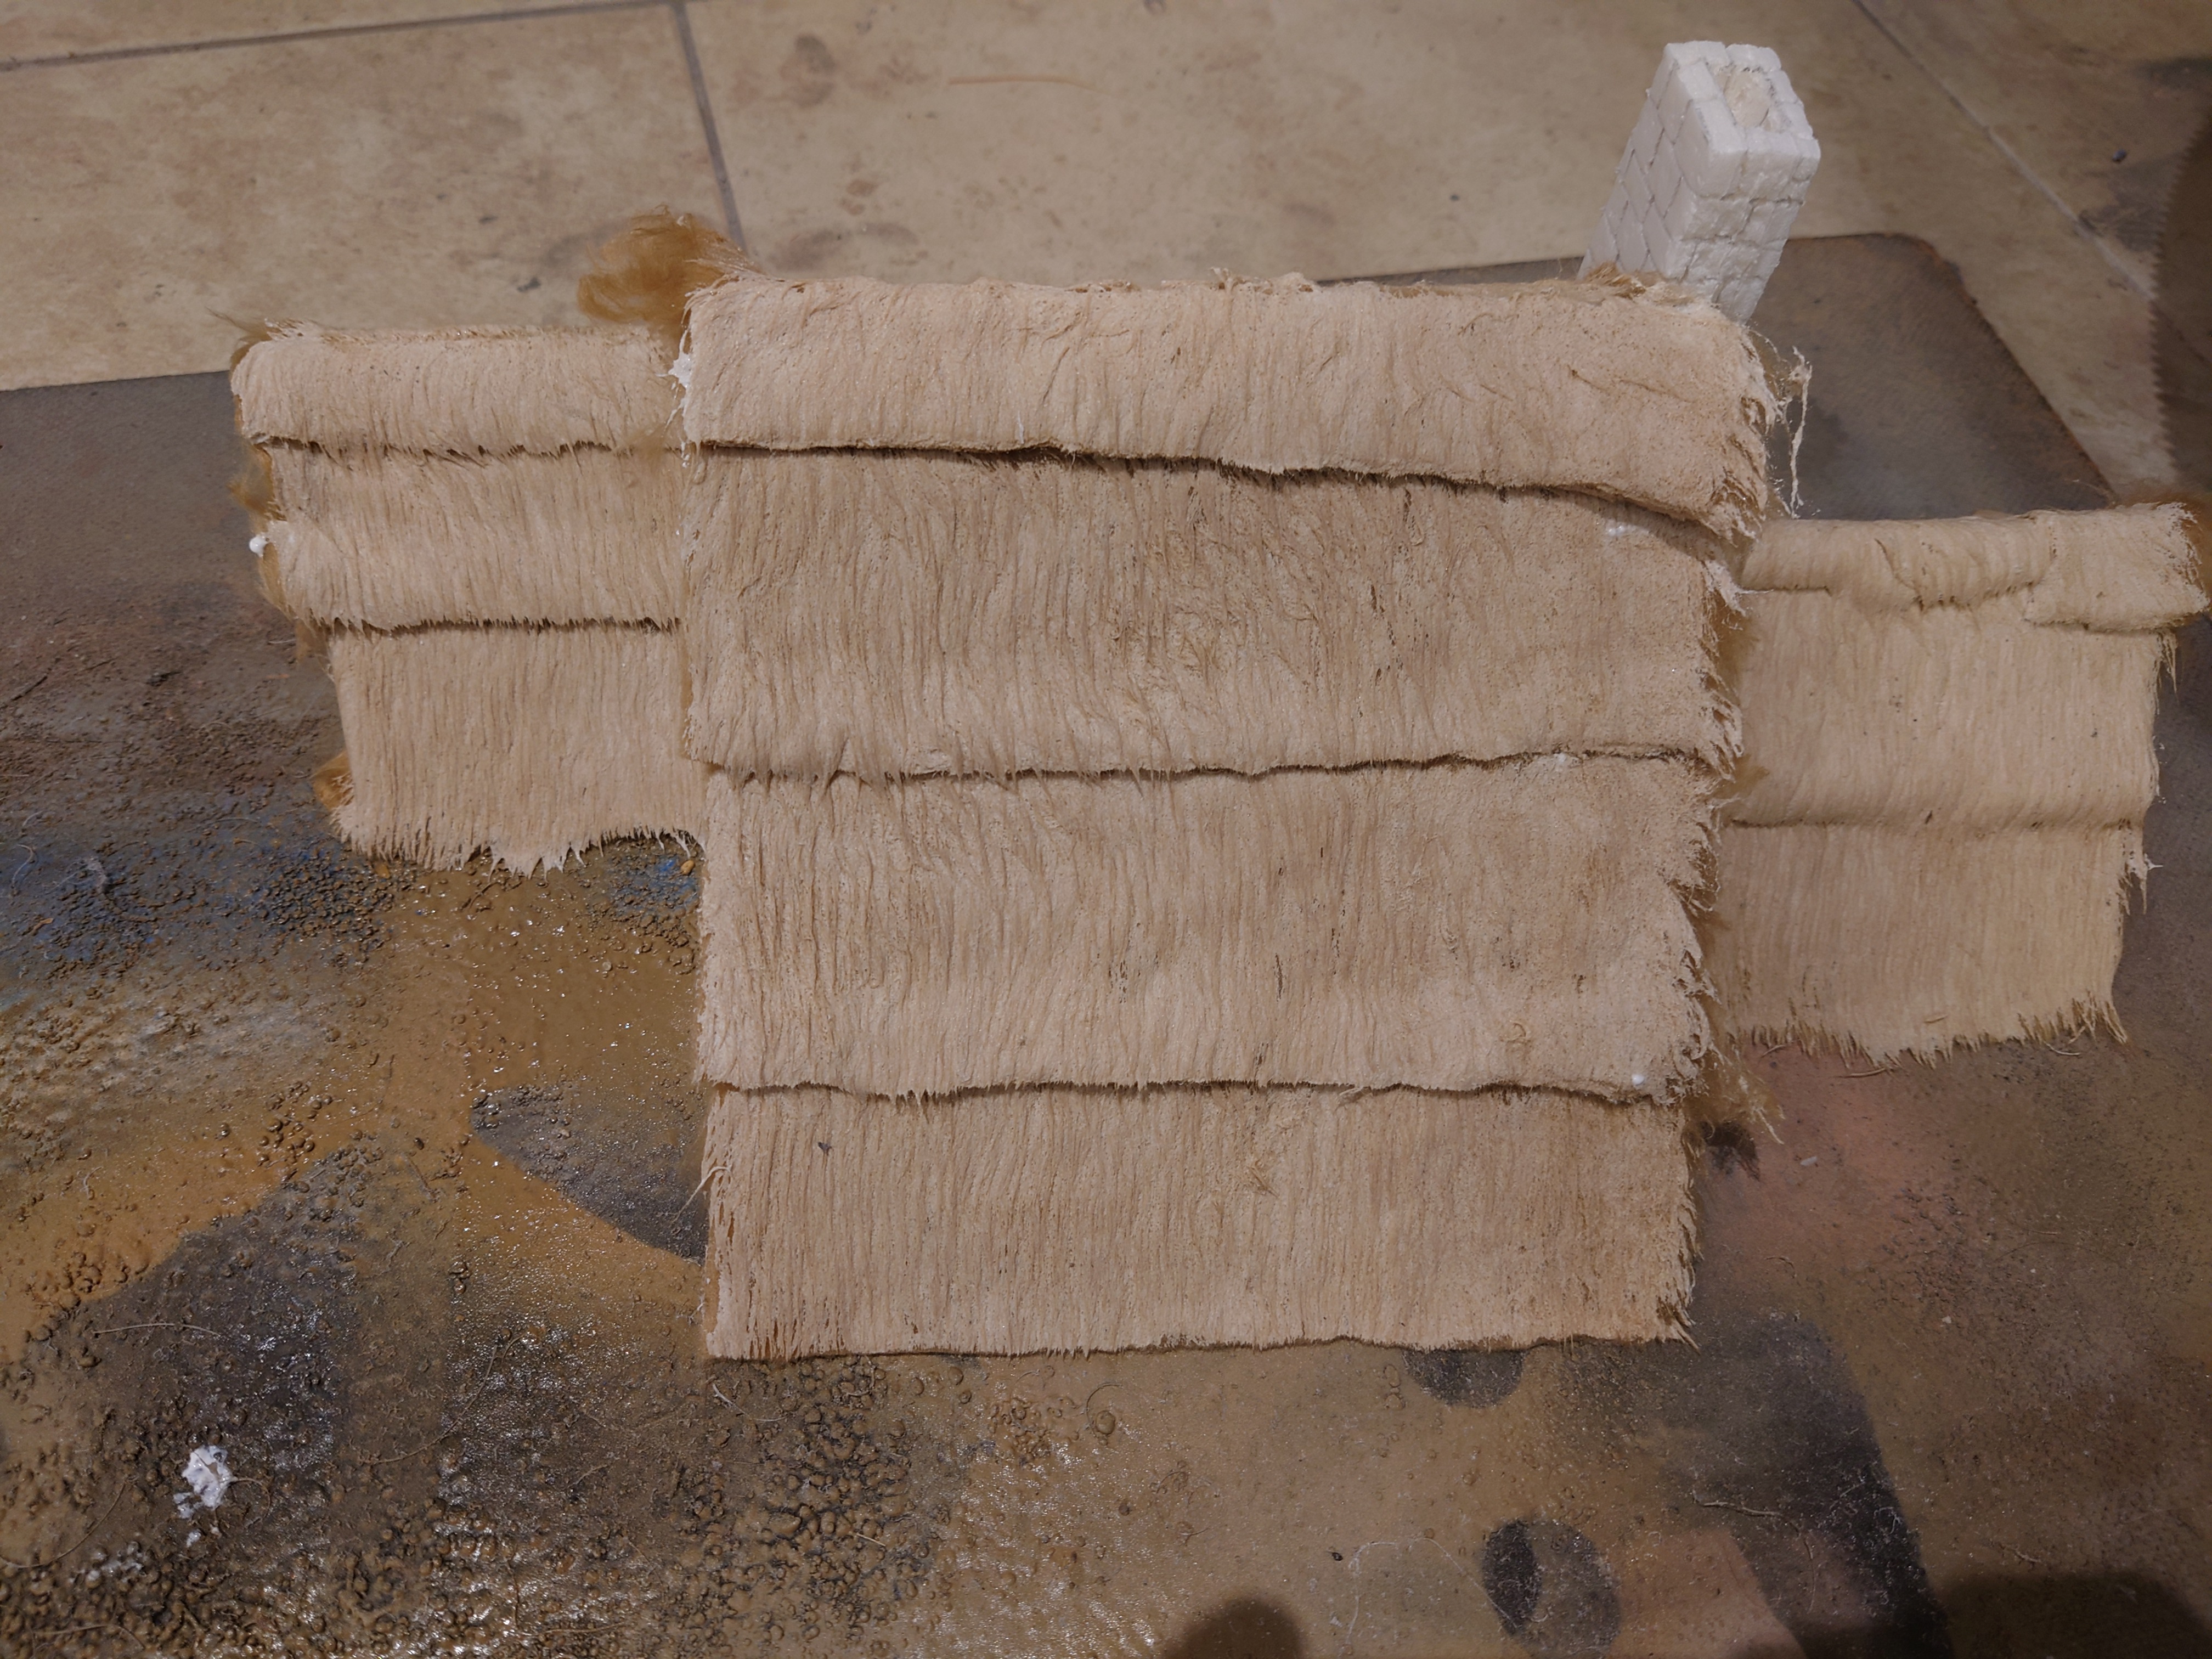 After the drenching the fur in PVA and water, and using an old comb to create the Nice texture. It's a case of allowing it to dry. I am typing this over 24 Hours after applying the PVA and water... It is still drying ?
Ok so I have not managed to complete the project by 31st October, but onwards and upwards. From this point beyond its all after the terrain challenge deadline.
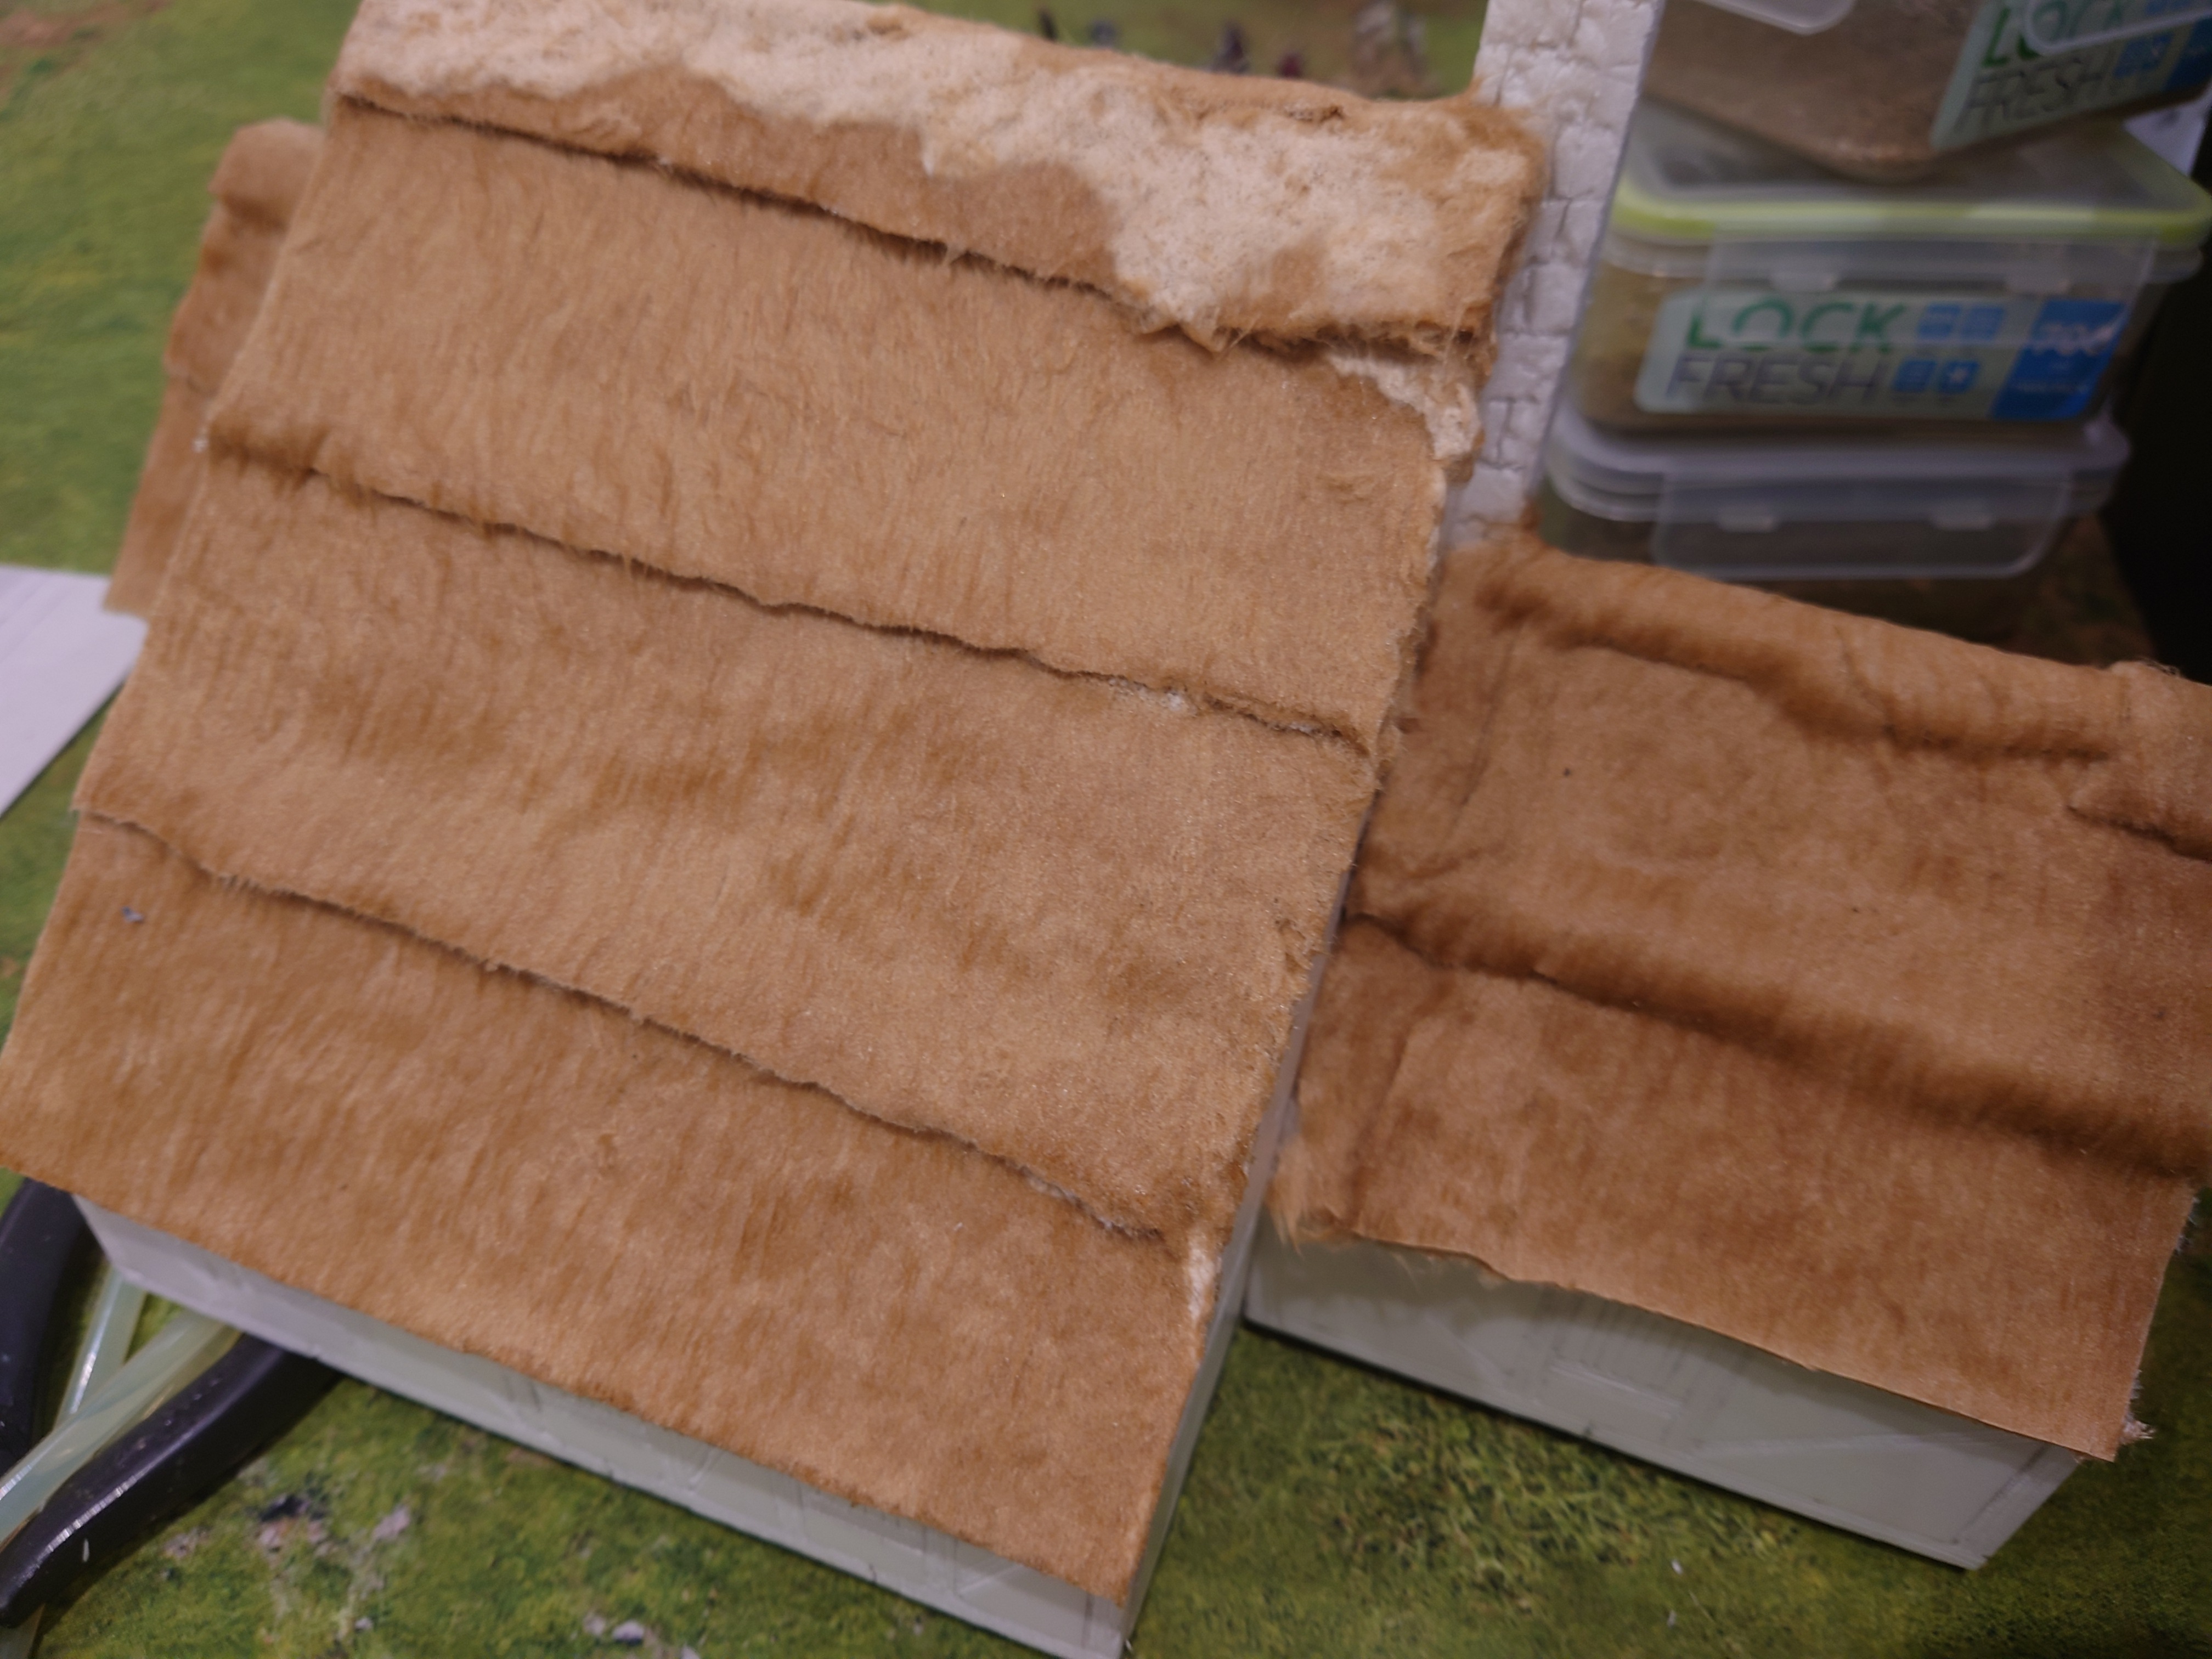 After a week of drying and adding buts and trimming the thatched roofage is nearly completed. That said I have discovered that I need to add additional furrage on to the roof to hide some of the backing material of the fur. This was done by shaving the fur and then using watered down PVA to stick it in place. I have decided that when I get the frame pieces onto the sides of the I will be building up the edges with more fur to even out the sides and hide the material.


Leave a Reply