


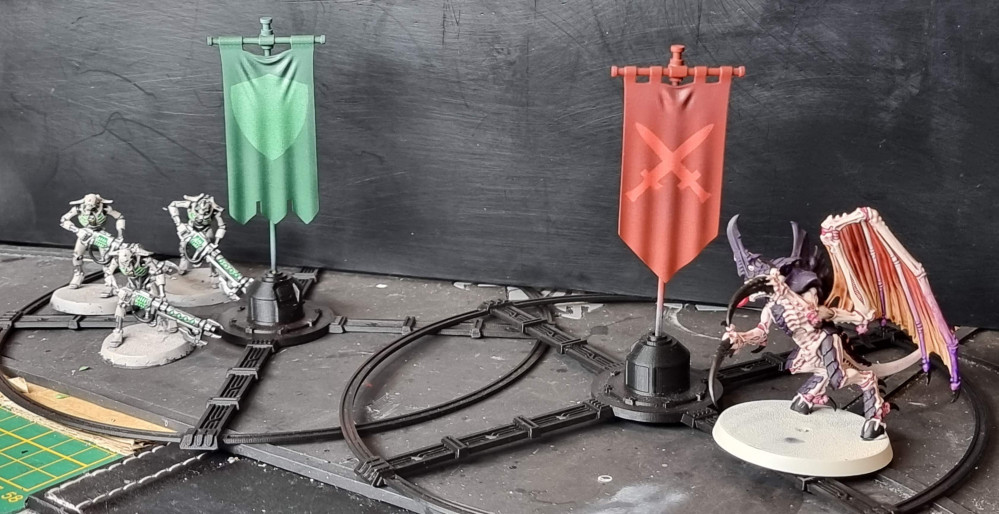
Objective Markers


Step 4: Assemble banners.
Some supports left divots rather than nubs. So I used Deluxe Materials Perfect Plastic Putty to fill in the holes.
It’s a really soft putty and great for gap filling! Unfortunately I hadn’t noticed that not all holes were completely filled. Anyway, moving forward!
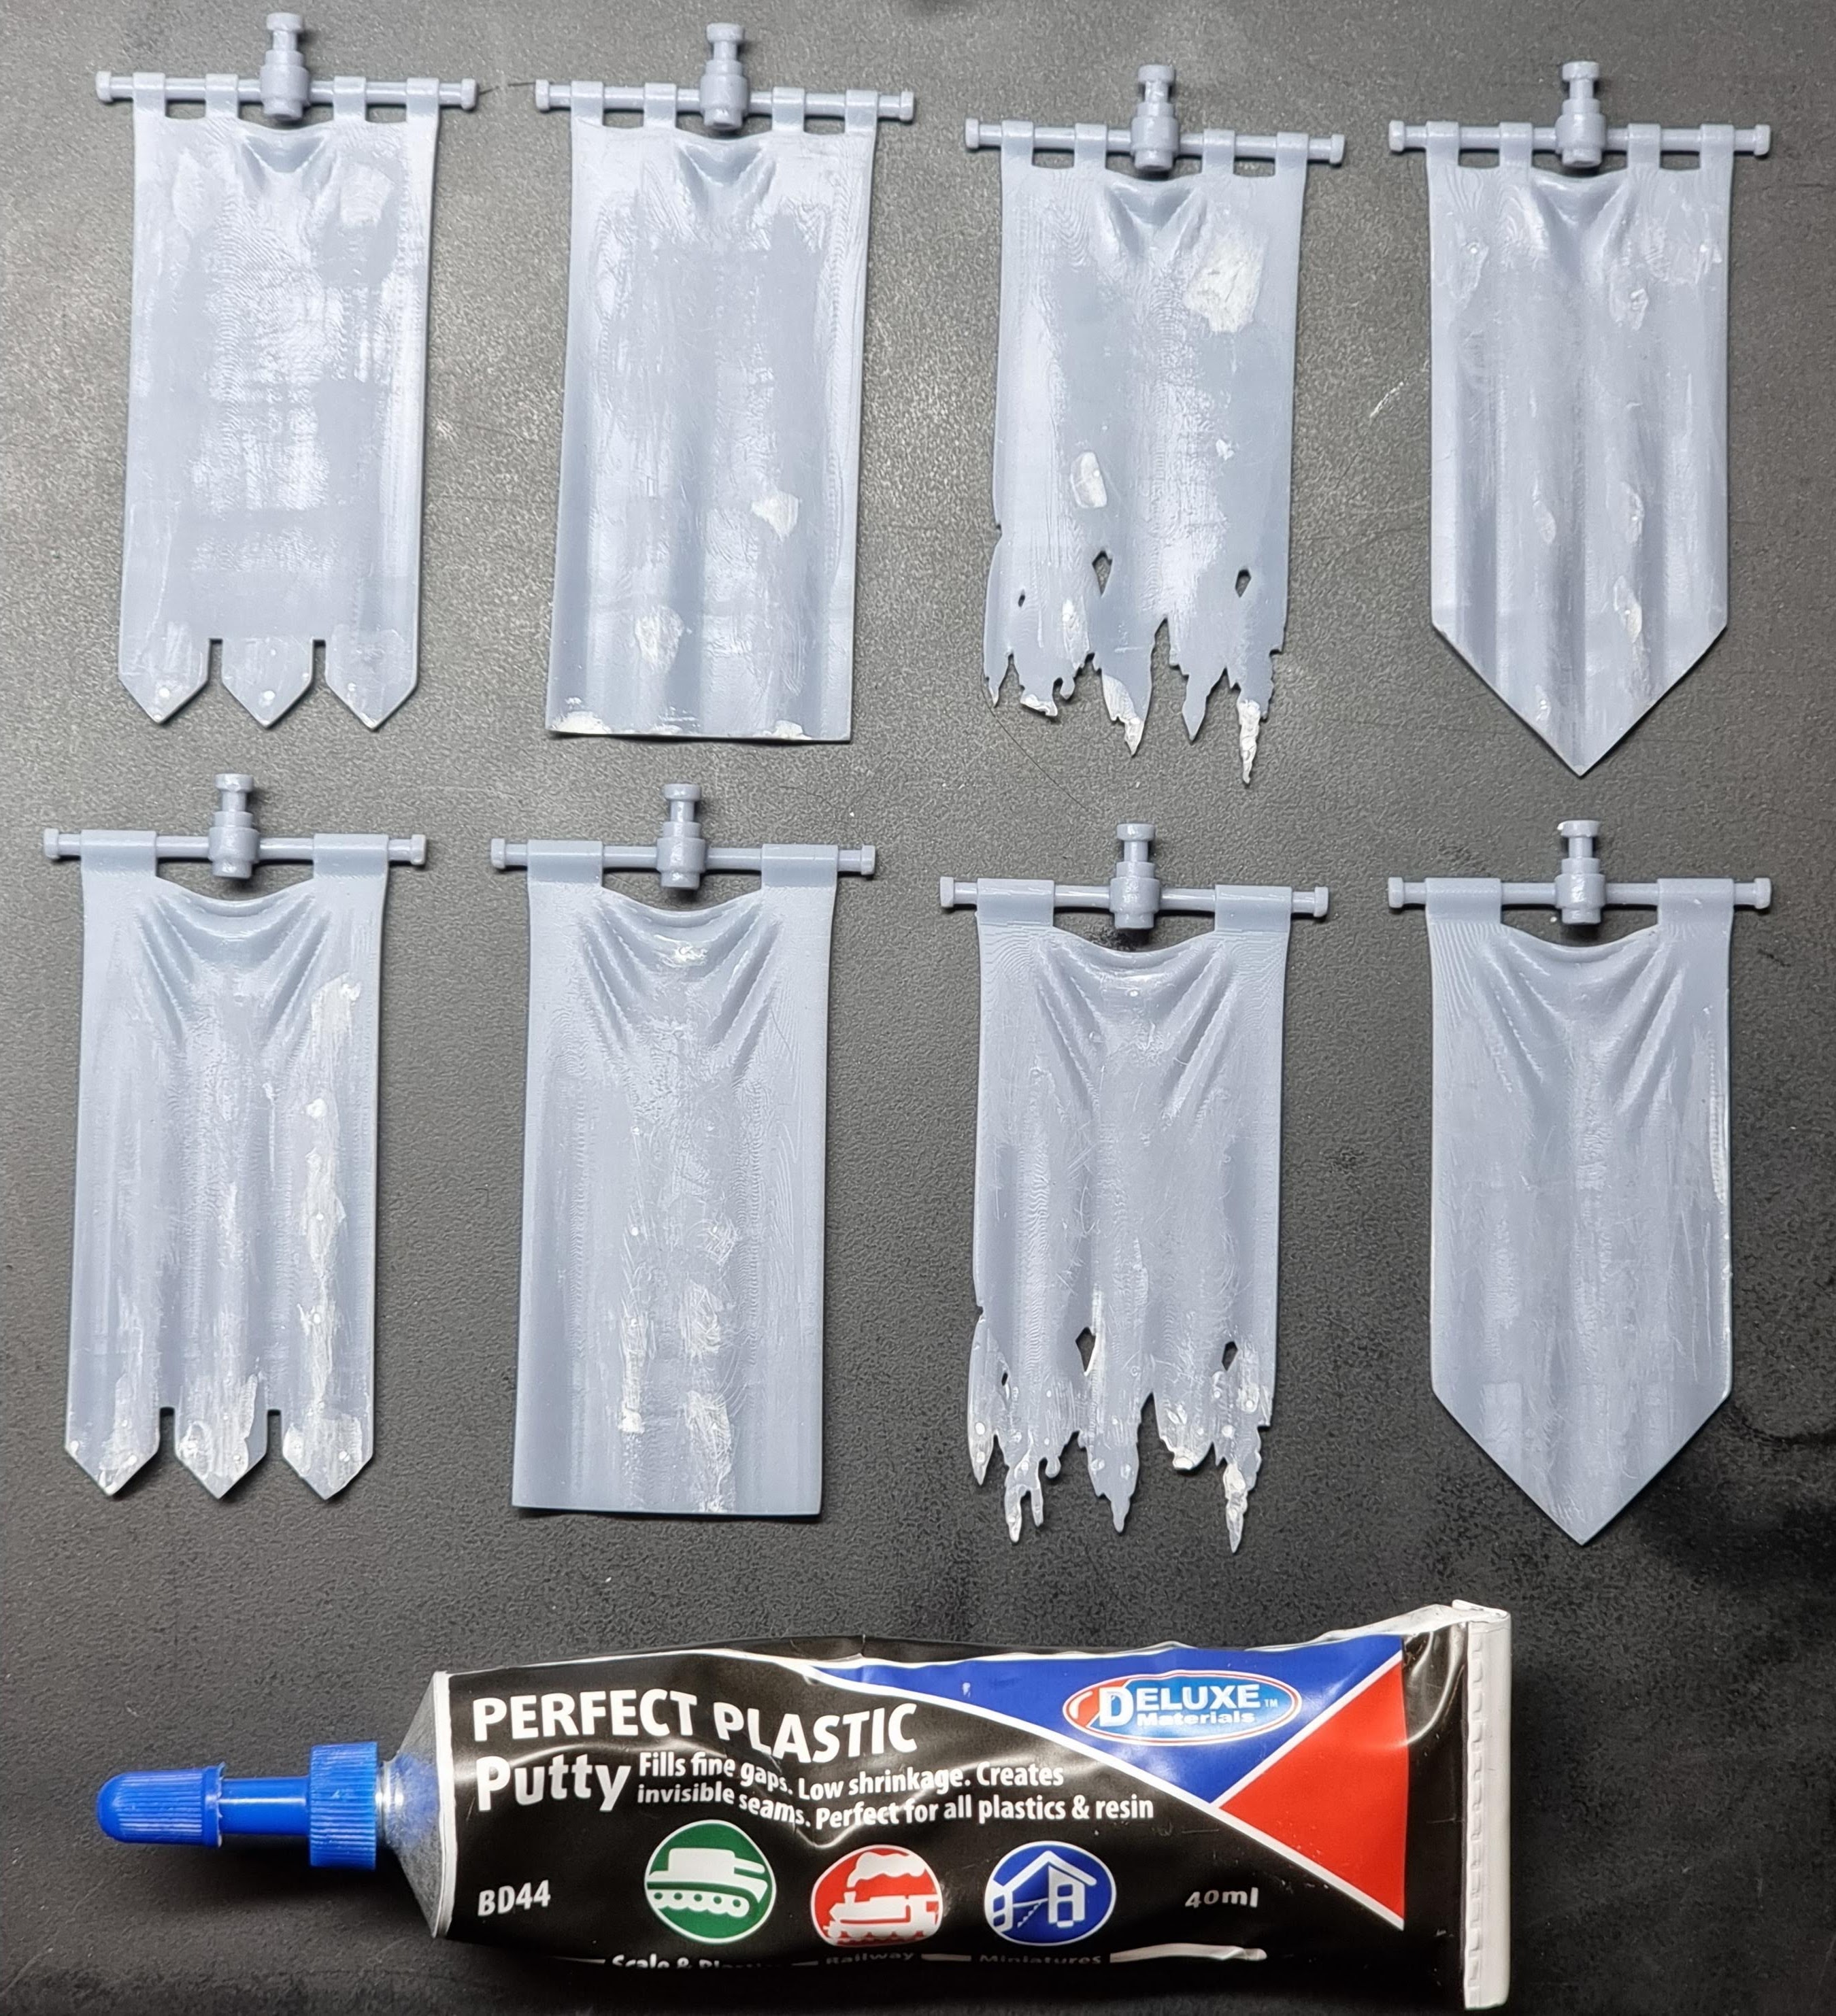 Divot filling with putty.
I then cut up some brass rod.
The rod I got was from here: https://www.hobbytools.com.au/brass-solid-rod-1-83mm-072-x-300mm-12-3pc/
I had made the hole in the banners 2mm, so was thinking just under 2mm will give me some wiggle room and allow some space for glue.
So I ended up getting 1.83mm brass rod. Thick enough that it won’t bend without force and fits inside the banner holes perfectly!
I cut the poles up with some pliers and used my Dremel to clean up the cut edges.
Considering that primer may have a hard time sticking to metal, I used some steel wool to scuff up the surface.
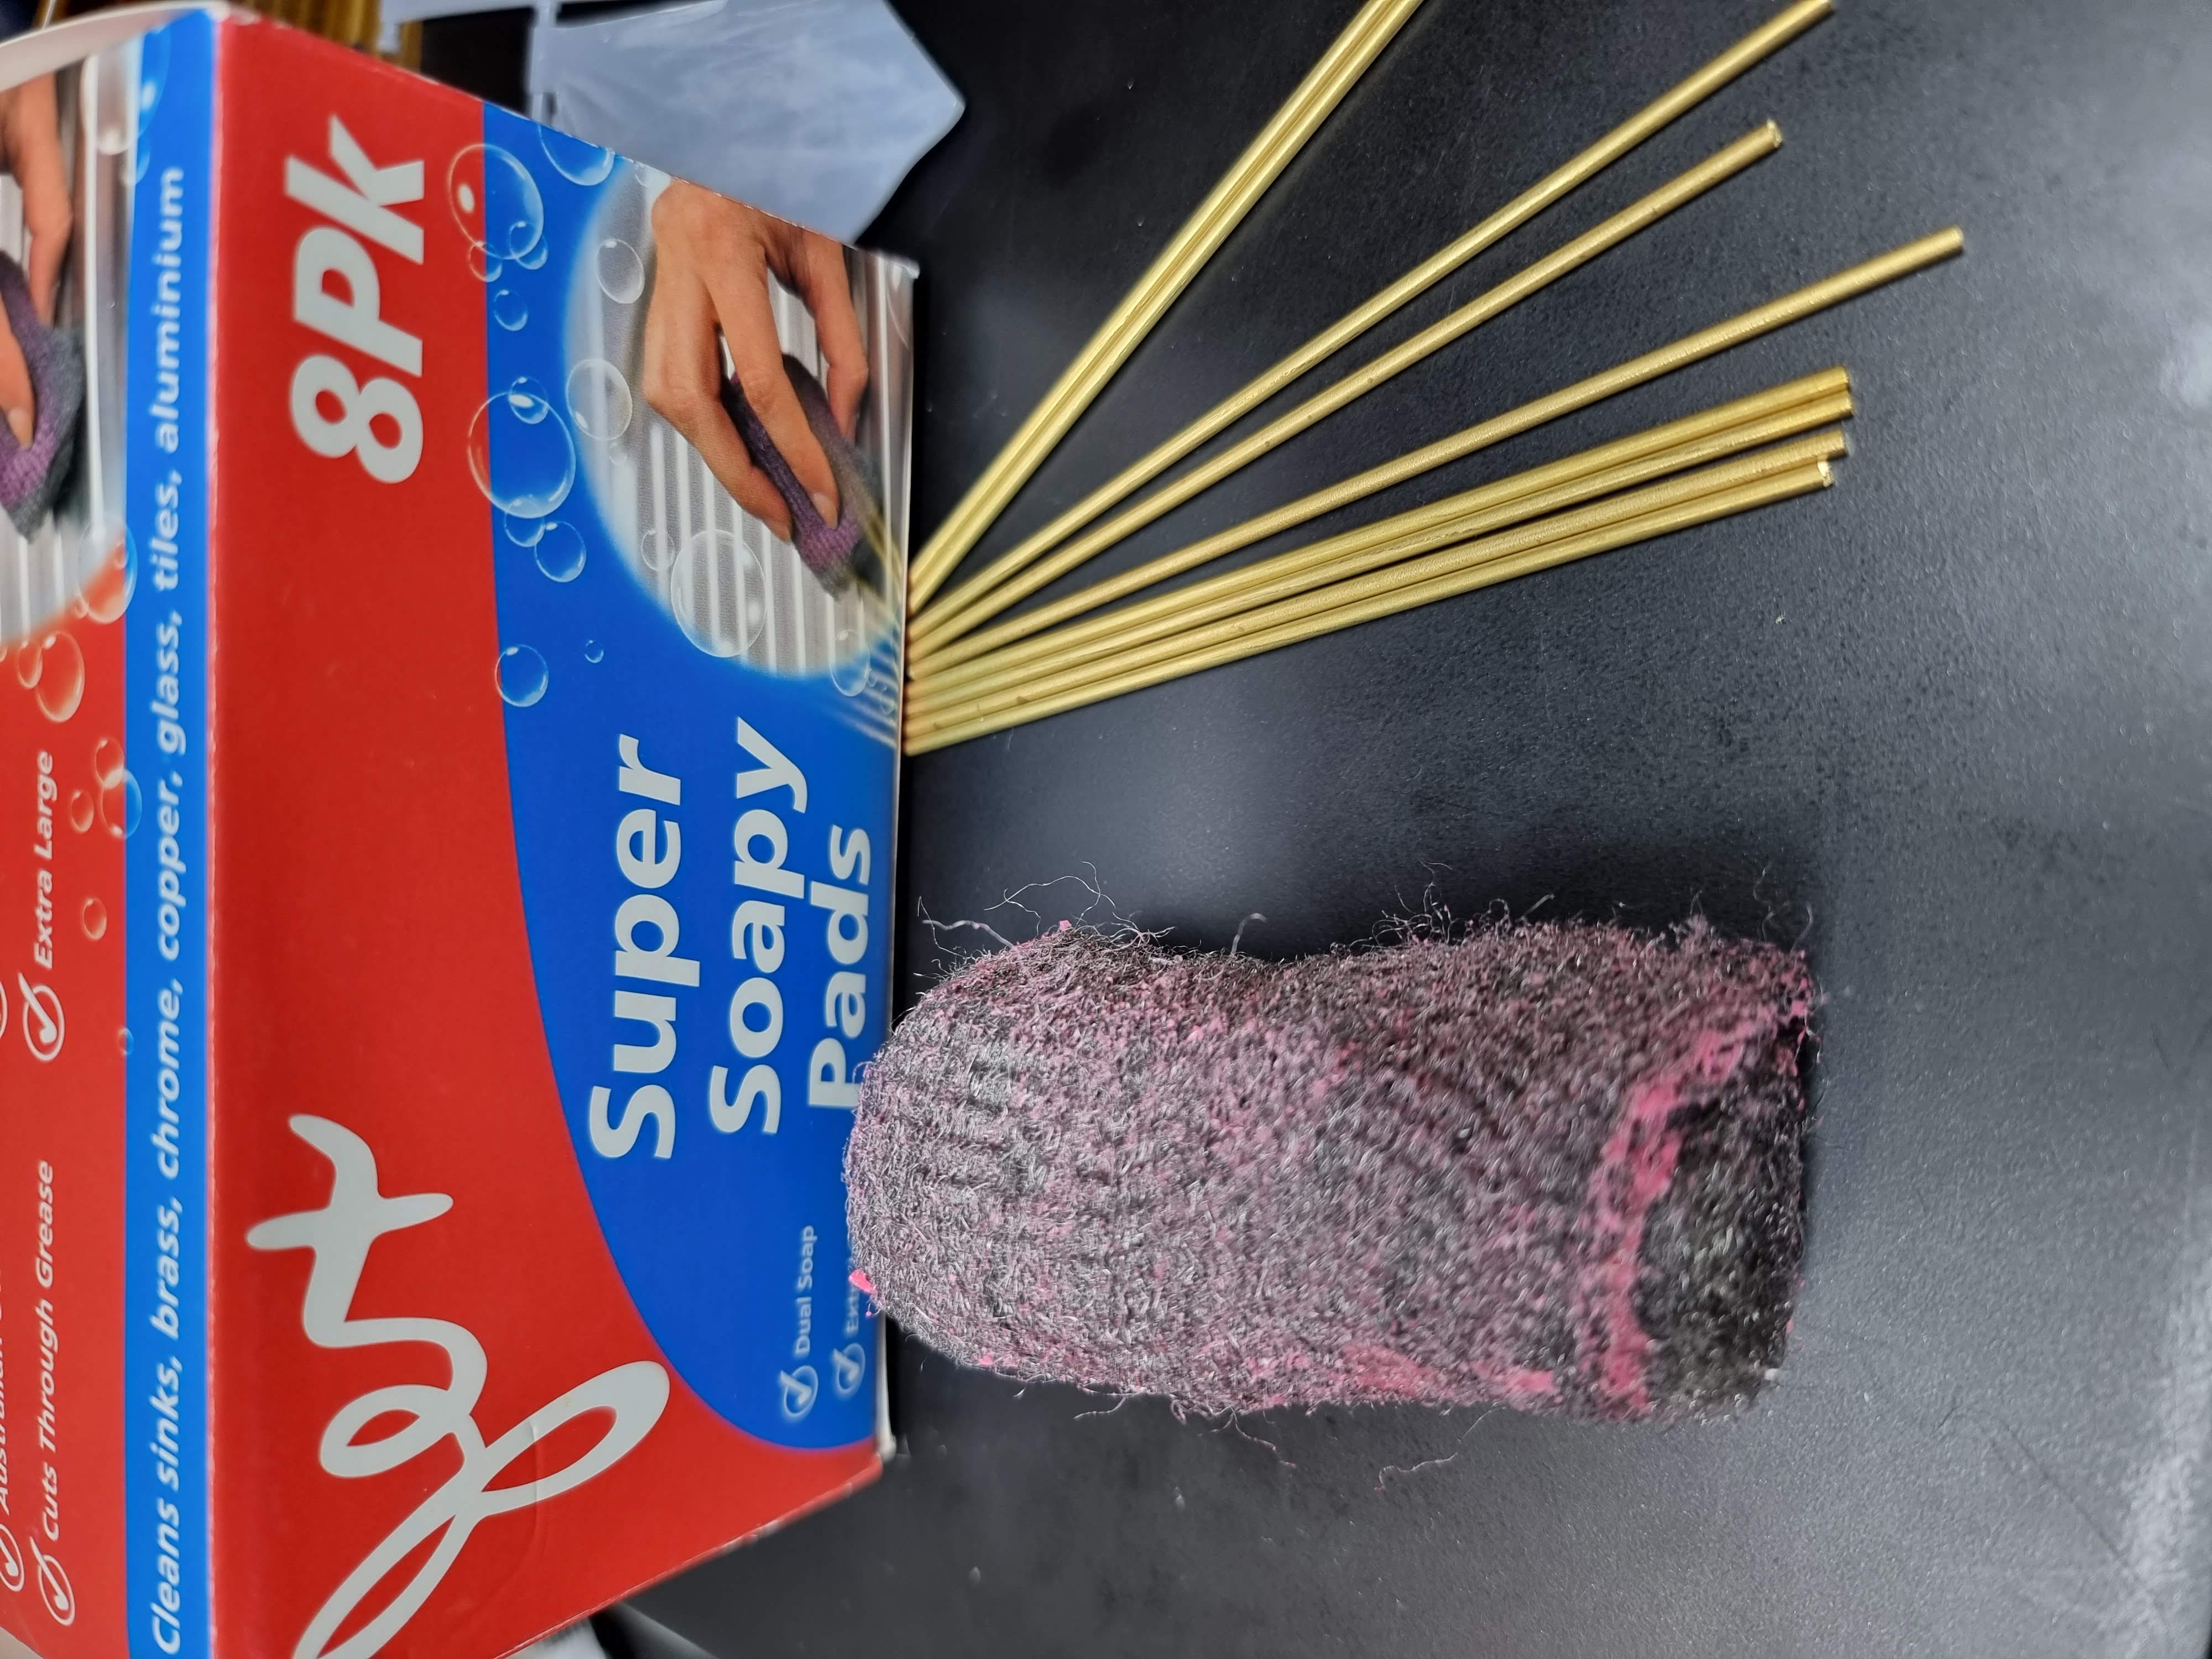 Steel wool used to scuff up the surface of the brass rods.
In hindsight, this didn’t really work.
Although I blame my primer: Vallejo Surface Primer. Great for plastic, but it just doesn’t adhere well to metal. In hindsight, maybe I should’ve used a spray primer made for metal. Hopefully varnish will help keep everything together!
Anyway, next I glued the rods into the banners.
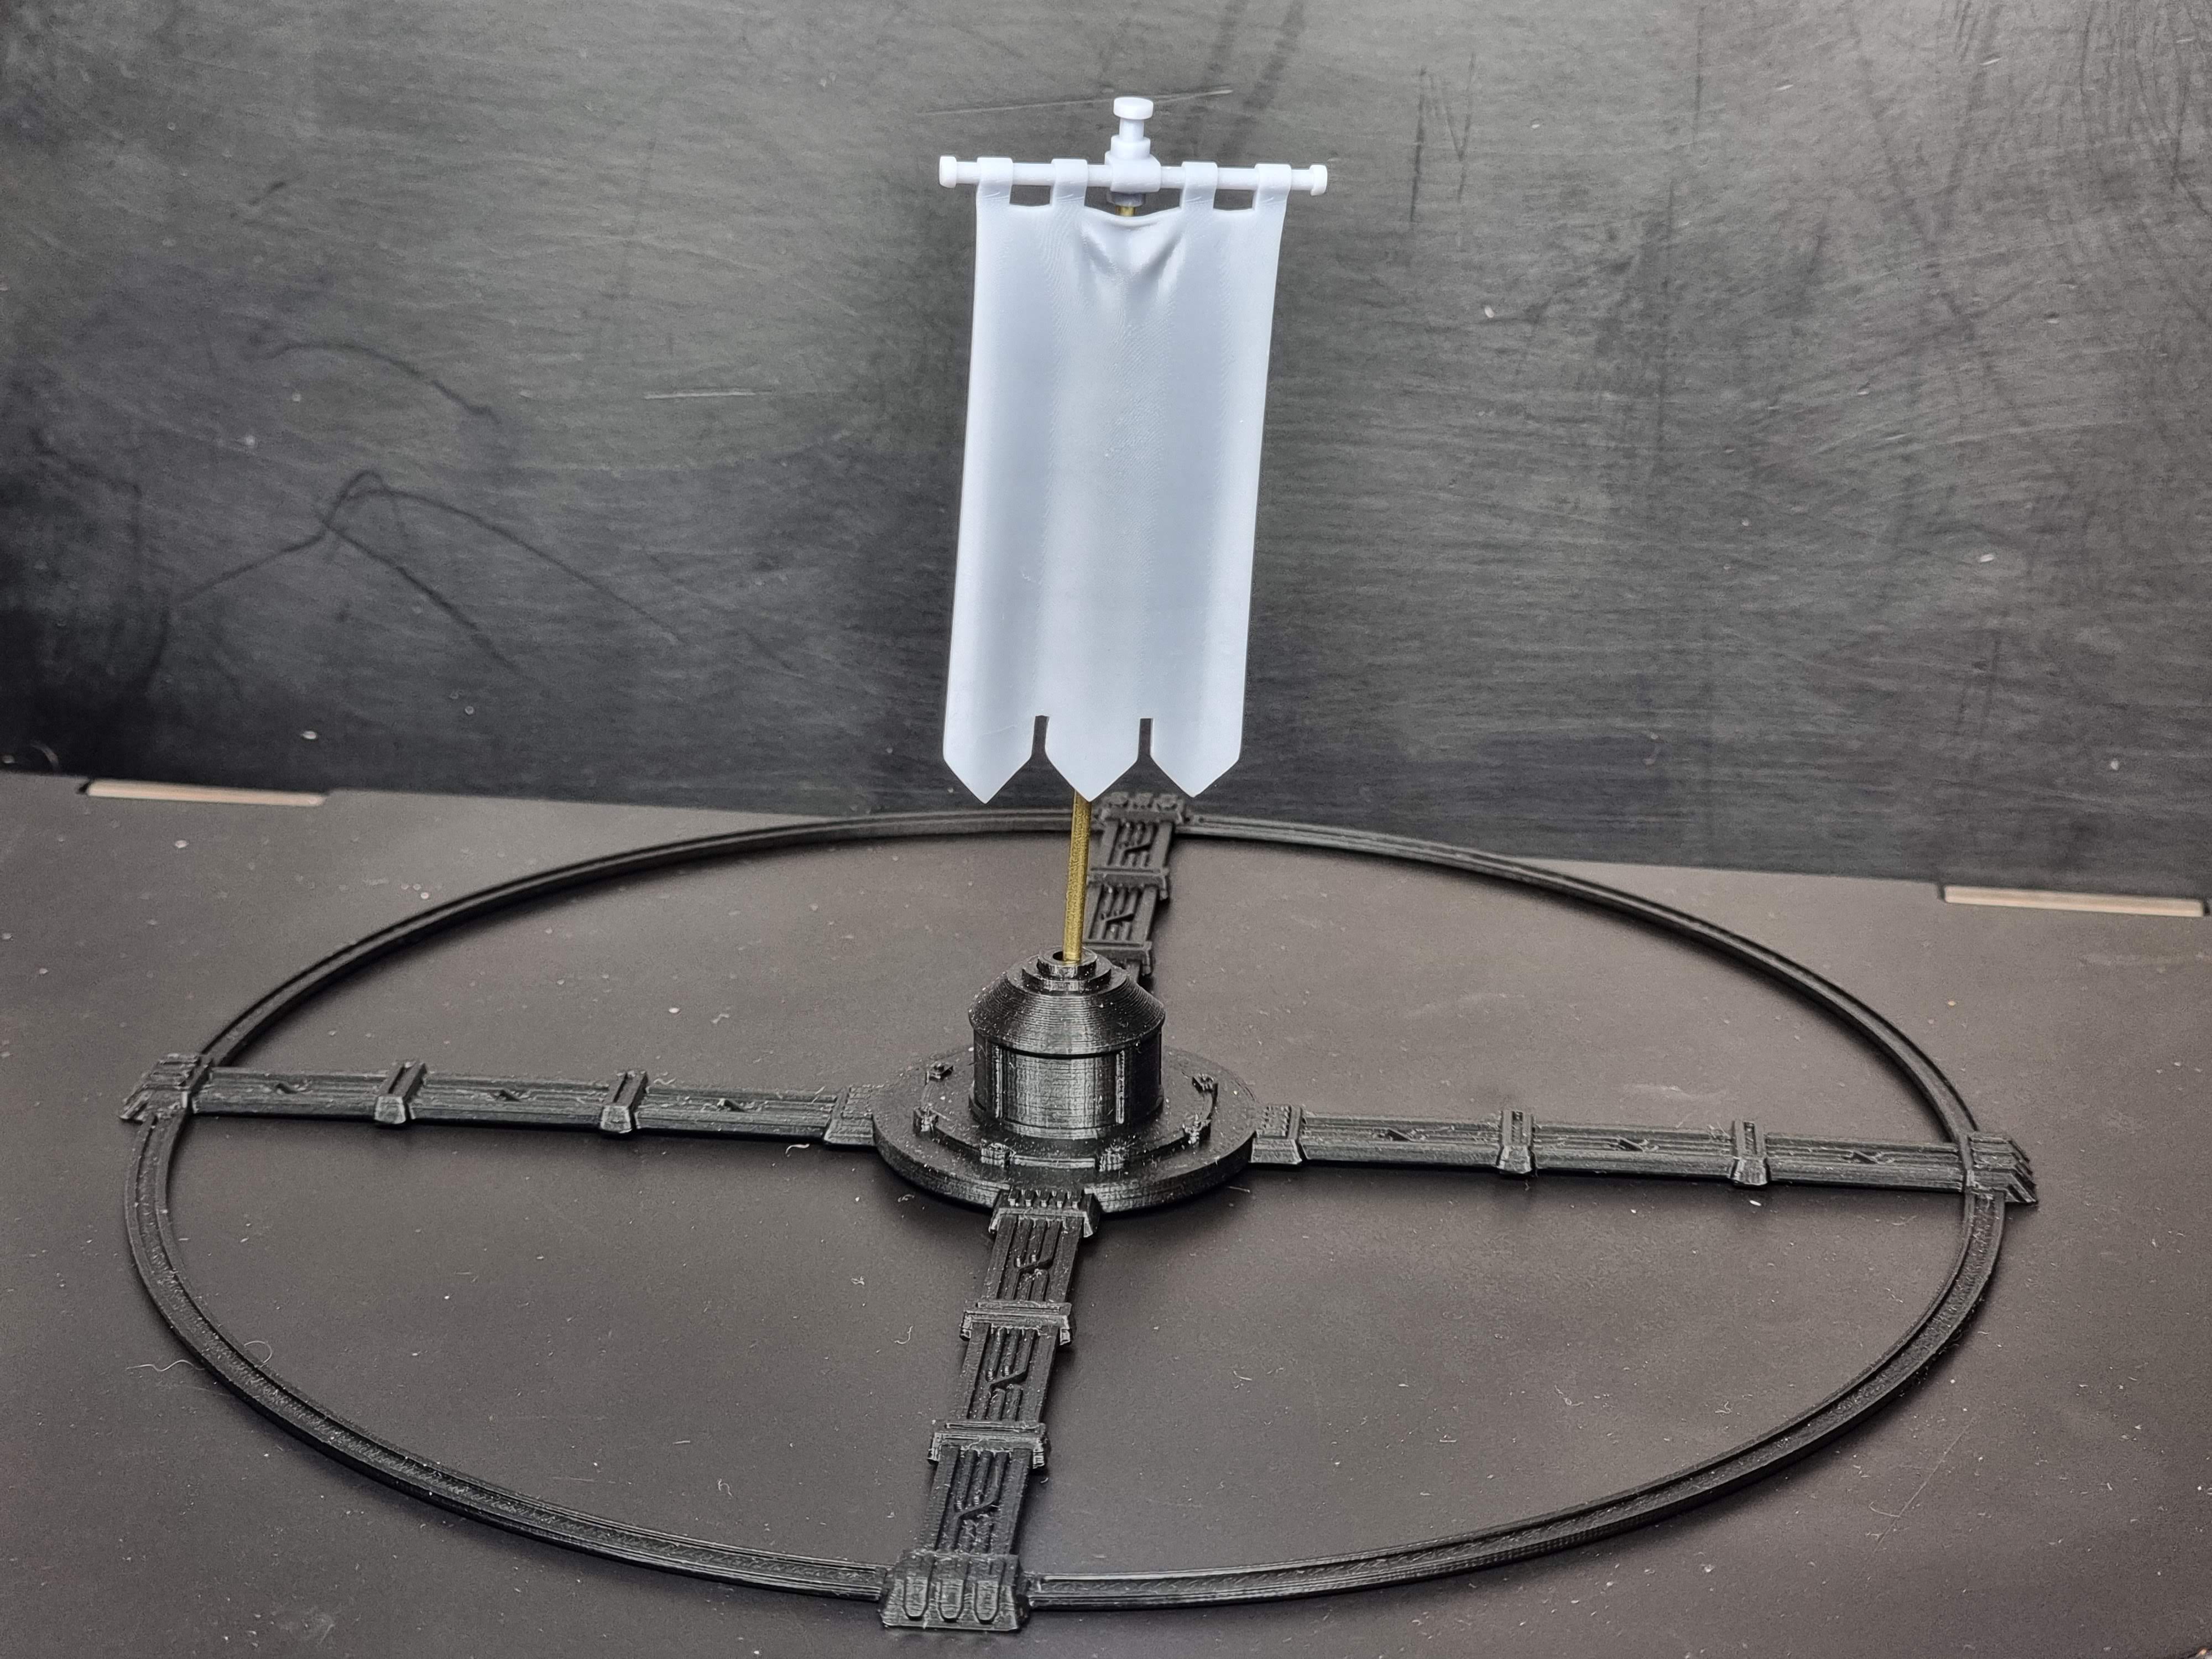
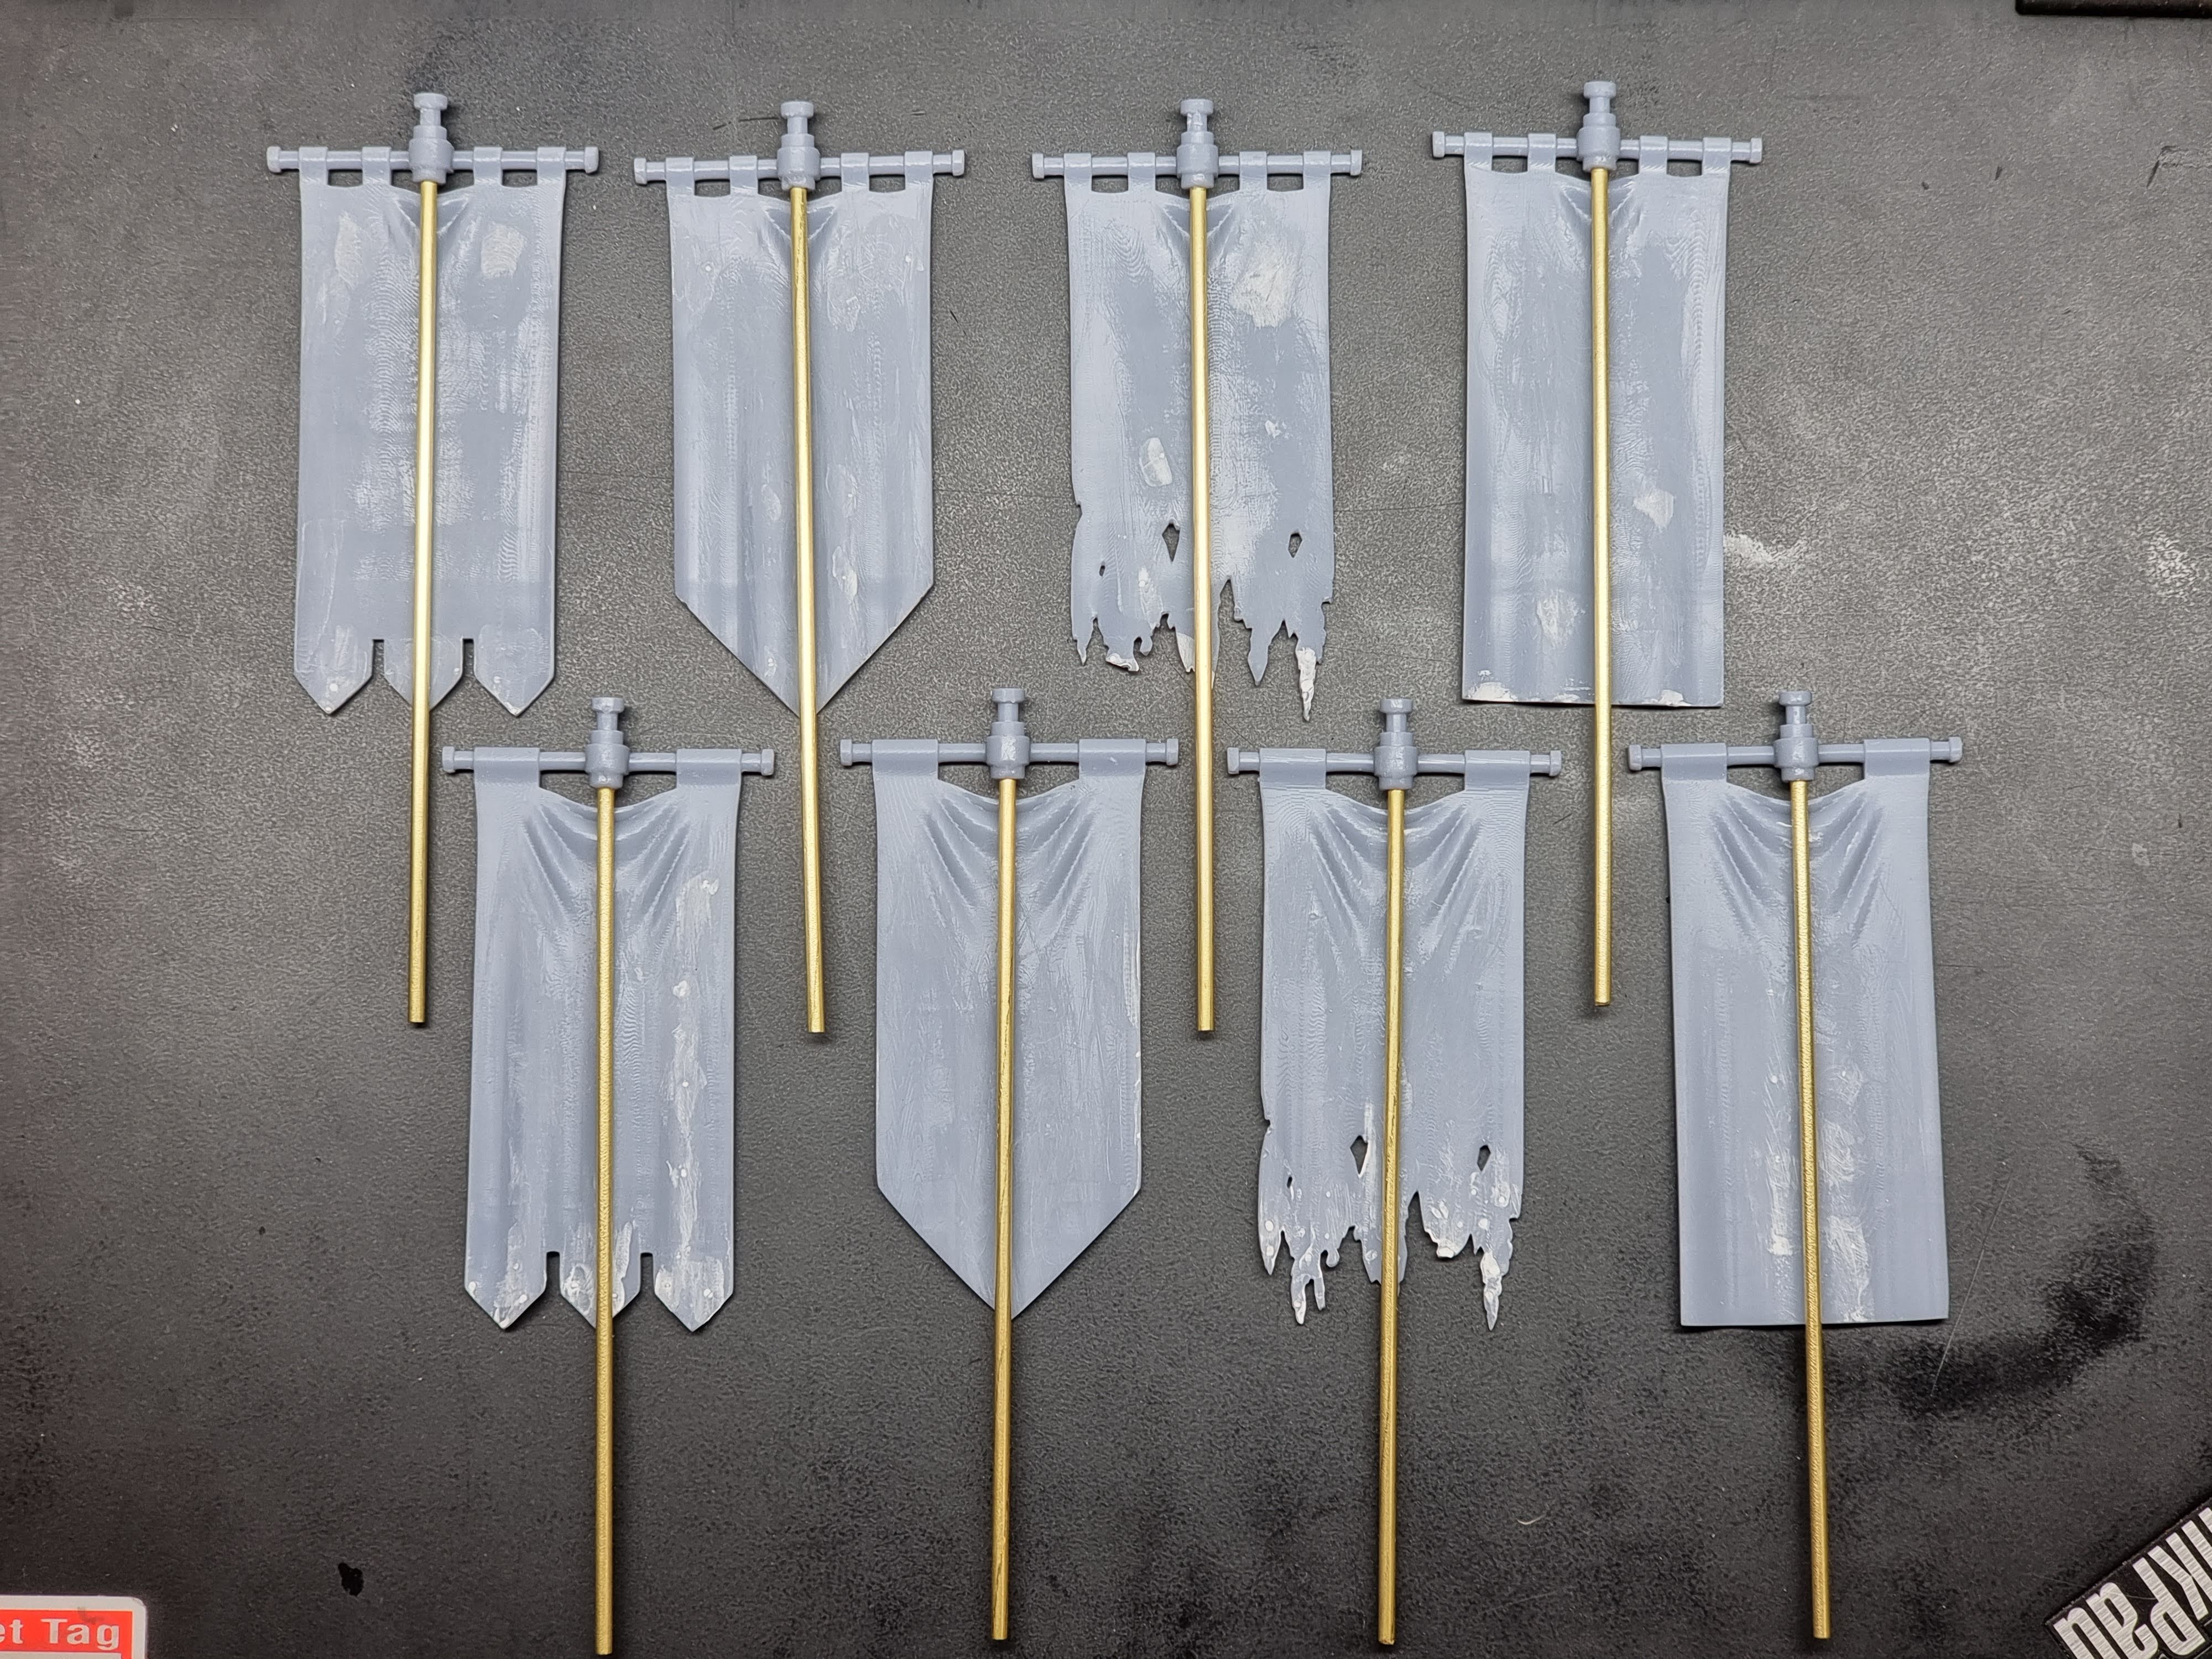 Assembled banners!
The following photo shows the intended result.
The bases are designed for 40k, with the middle being 40mm and then a surrounding 3″ radius.
These bases were printed on my FDM printer, no modifications required.
Next up, painting!
 The result.


Leave a Reply