


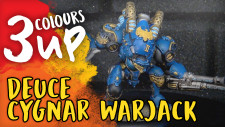


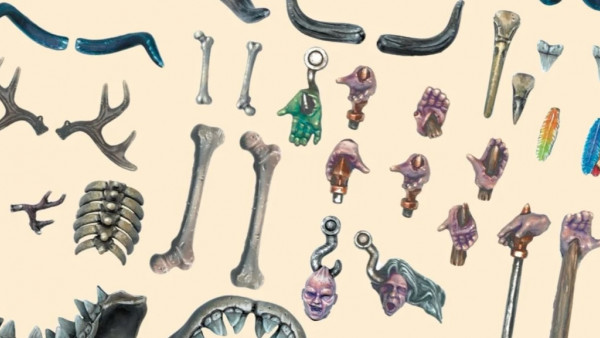
Objective Markers


Step 2: Prepare and print the pole-less banners.
After editing the eight banners, I then imported them into Lychee and prepared them for printing.
If you haven’t printed with a resin printer before, it essentially requires finding an optimum position/angle to print at and then adding supports to the model.
The end result can be seen below.
Then the file is sliced, exported and put on a USB stick for the printer.
 Lychee screen after supports are complete, ready for slicing and printing!
Success!
After ~4hrs, the print was complete!
I then washed them in 100% IPA and left them to dry.
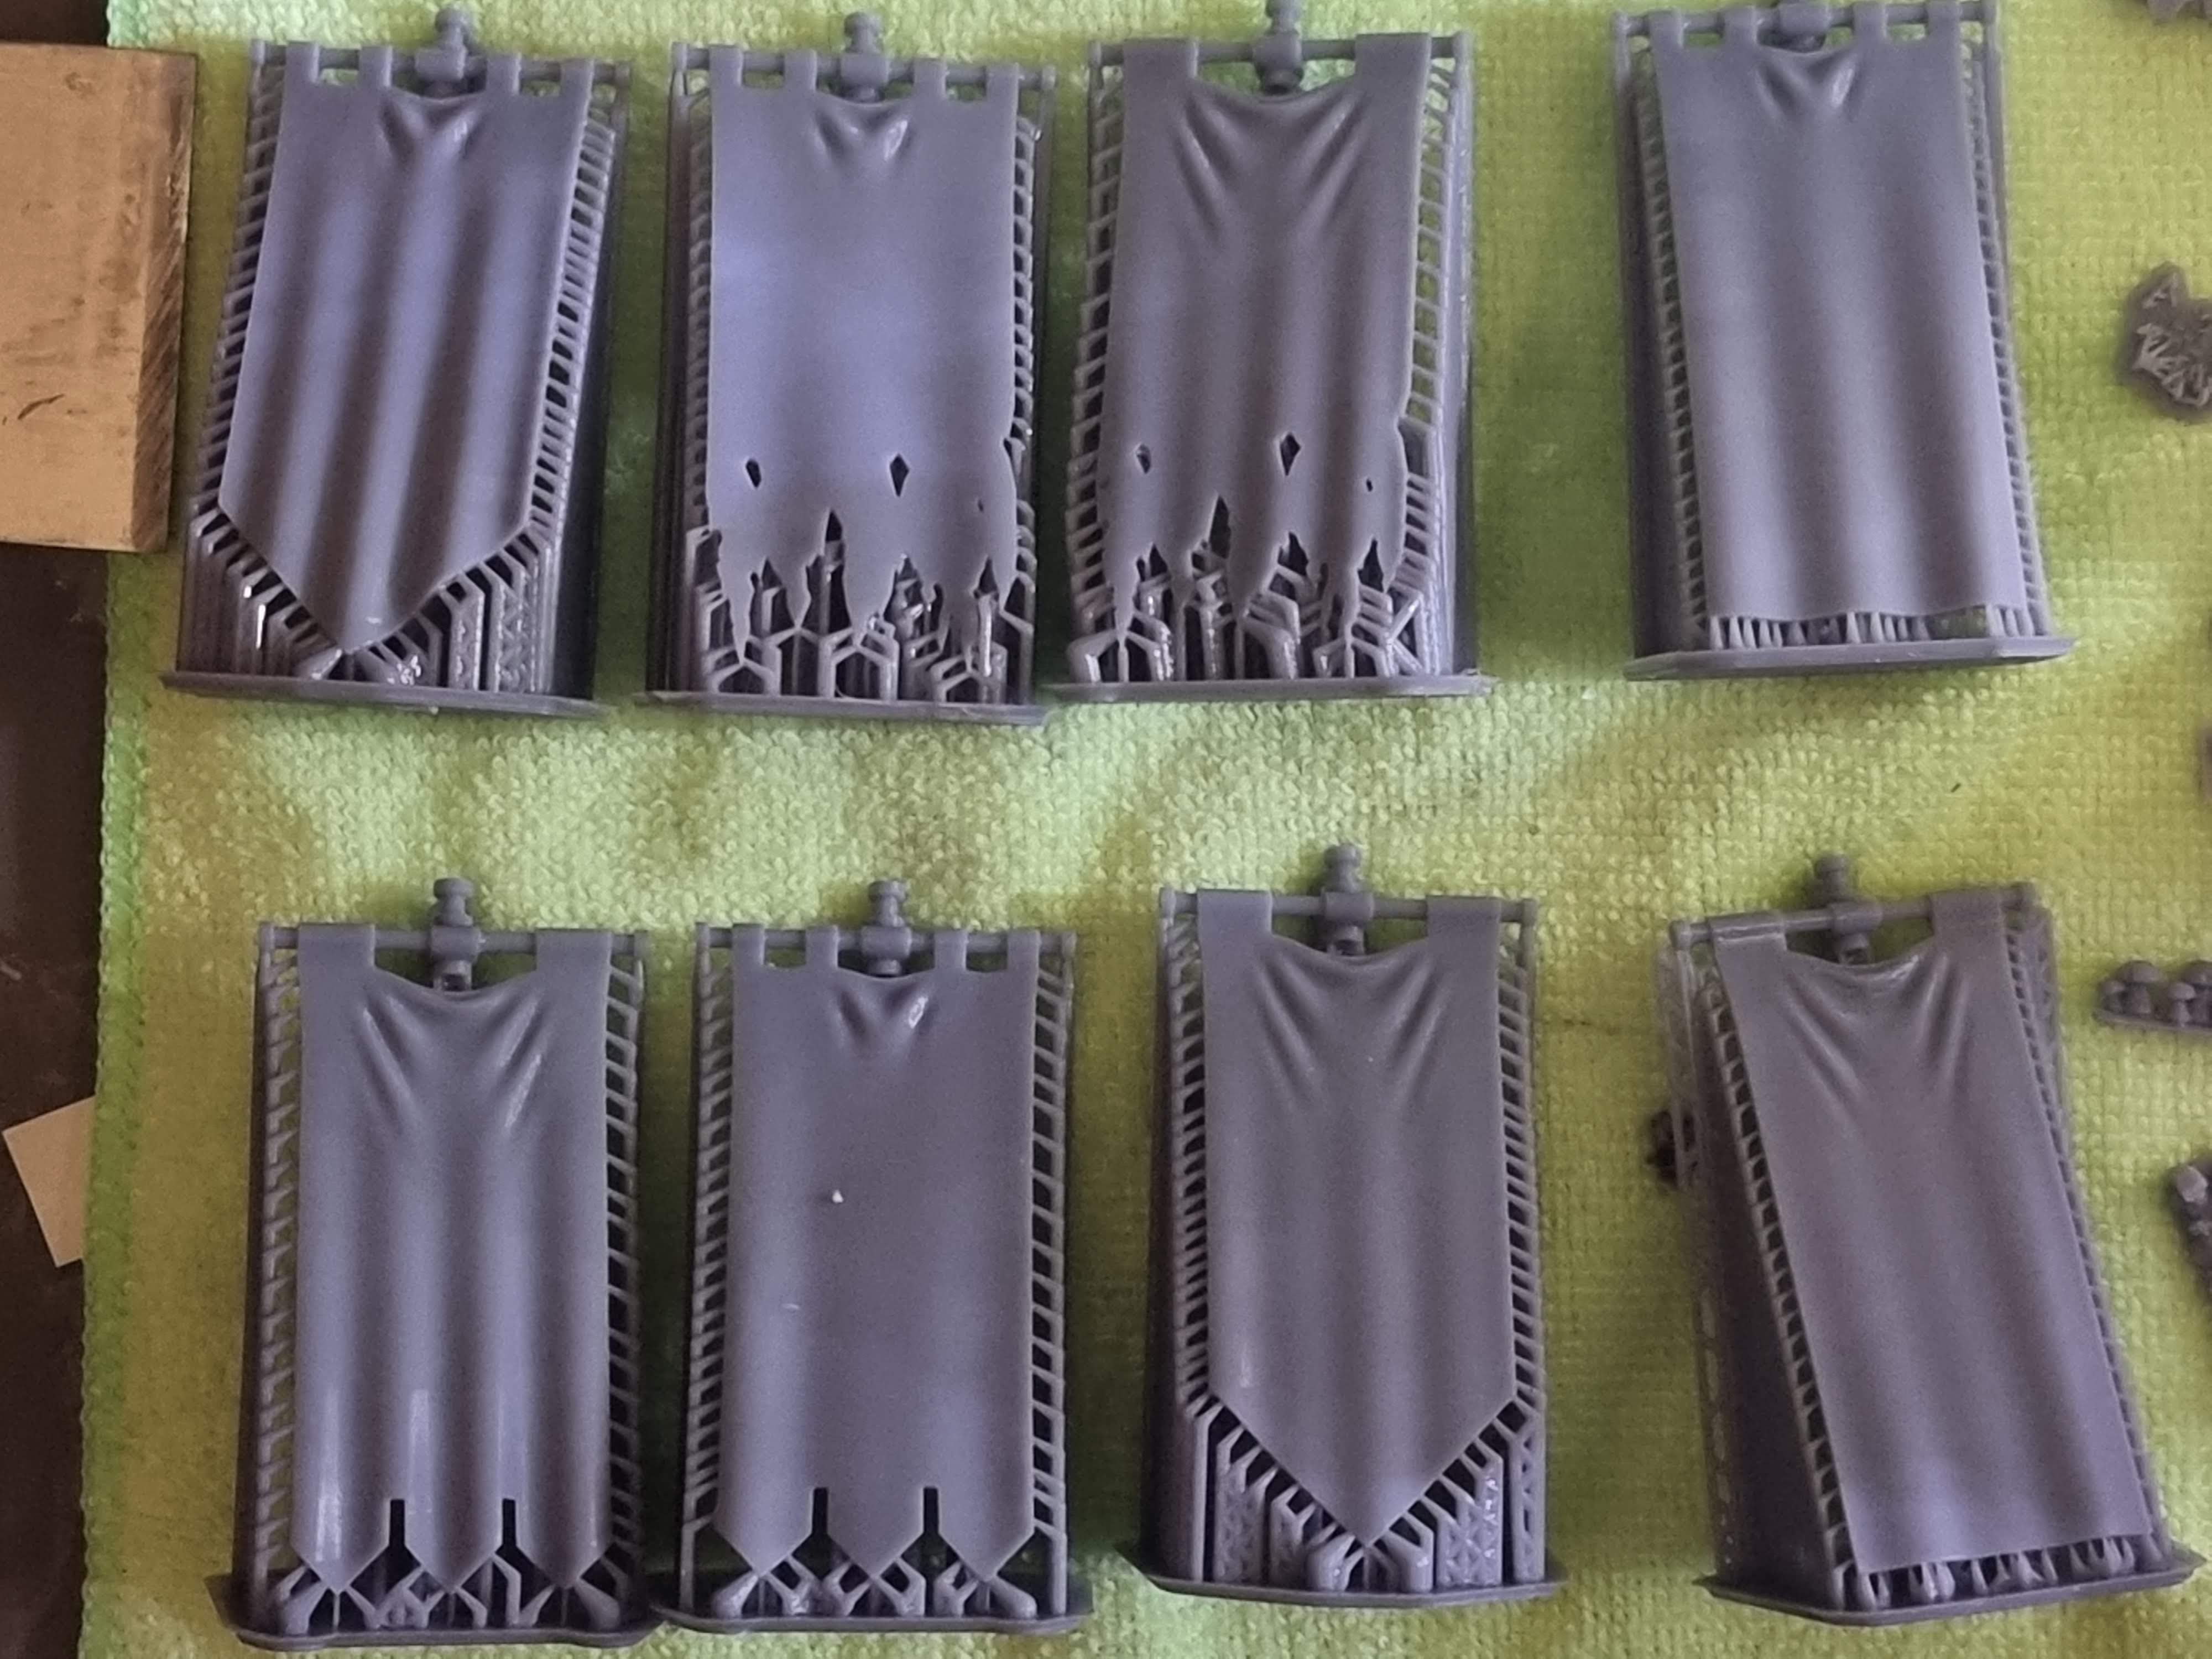 Prints, resting after an IPA bath.
After an intermission that lasted a couple of weeks (life!)… I returned to the prints.
Now to remove the supports.
I used some nippers (that I’ve dedicated to a life of resin-only work), I carefully removed all the supports. The two tattered banners had some pieces broken off in different spots, but that didn’t worry me since it’ll go by unnoticed.
To clean off the nubs from the supports, I used some sandpaper (320, then 600 grit) to wet-sand them off.
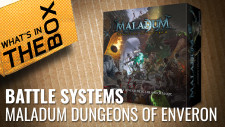
 Banners after support removal.


Leave a Reply