


Malifaux from the Ground, up!


16 Oct 23: Getting Messy
It’s time to get serious and stick the bits to the stuff!
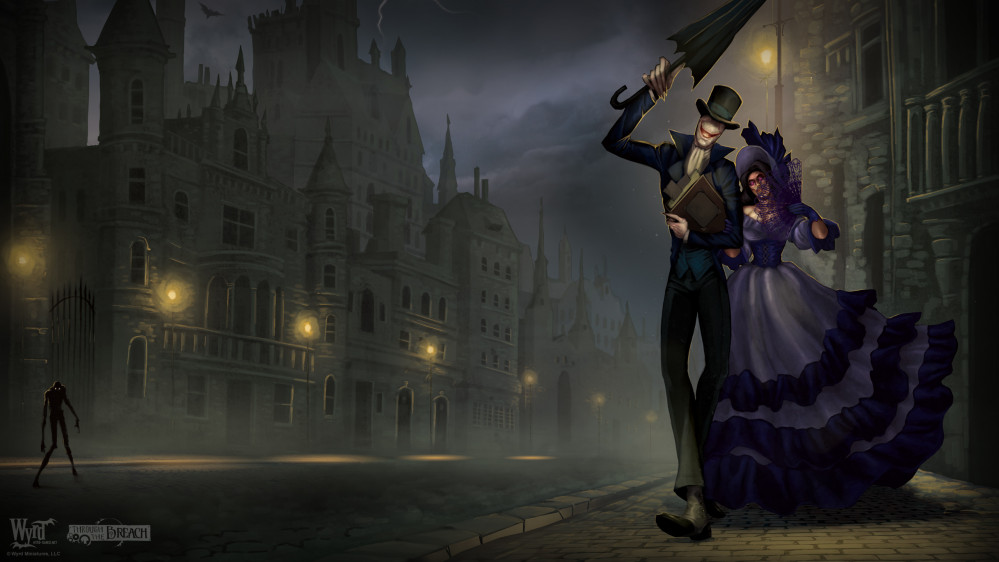
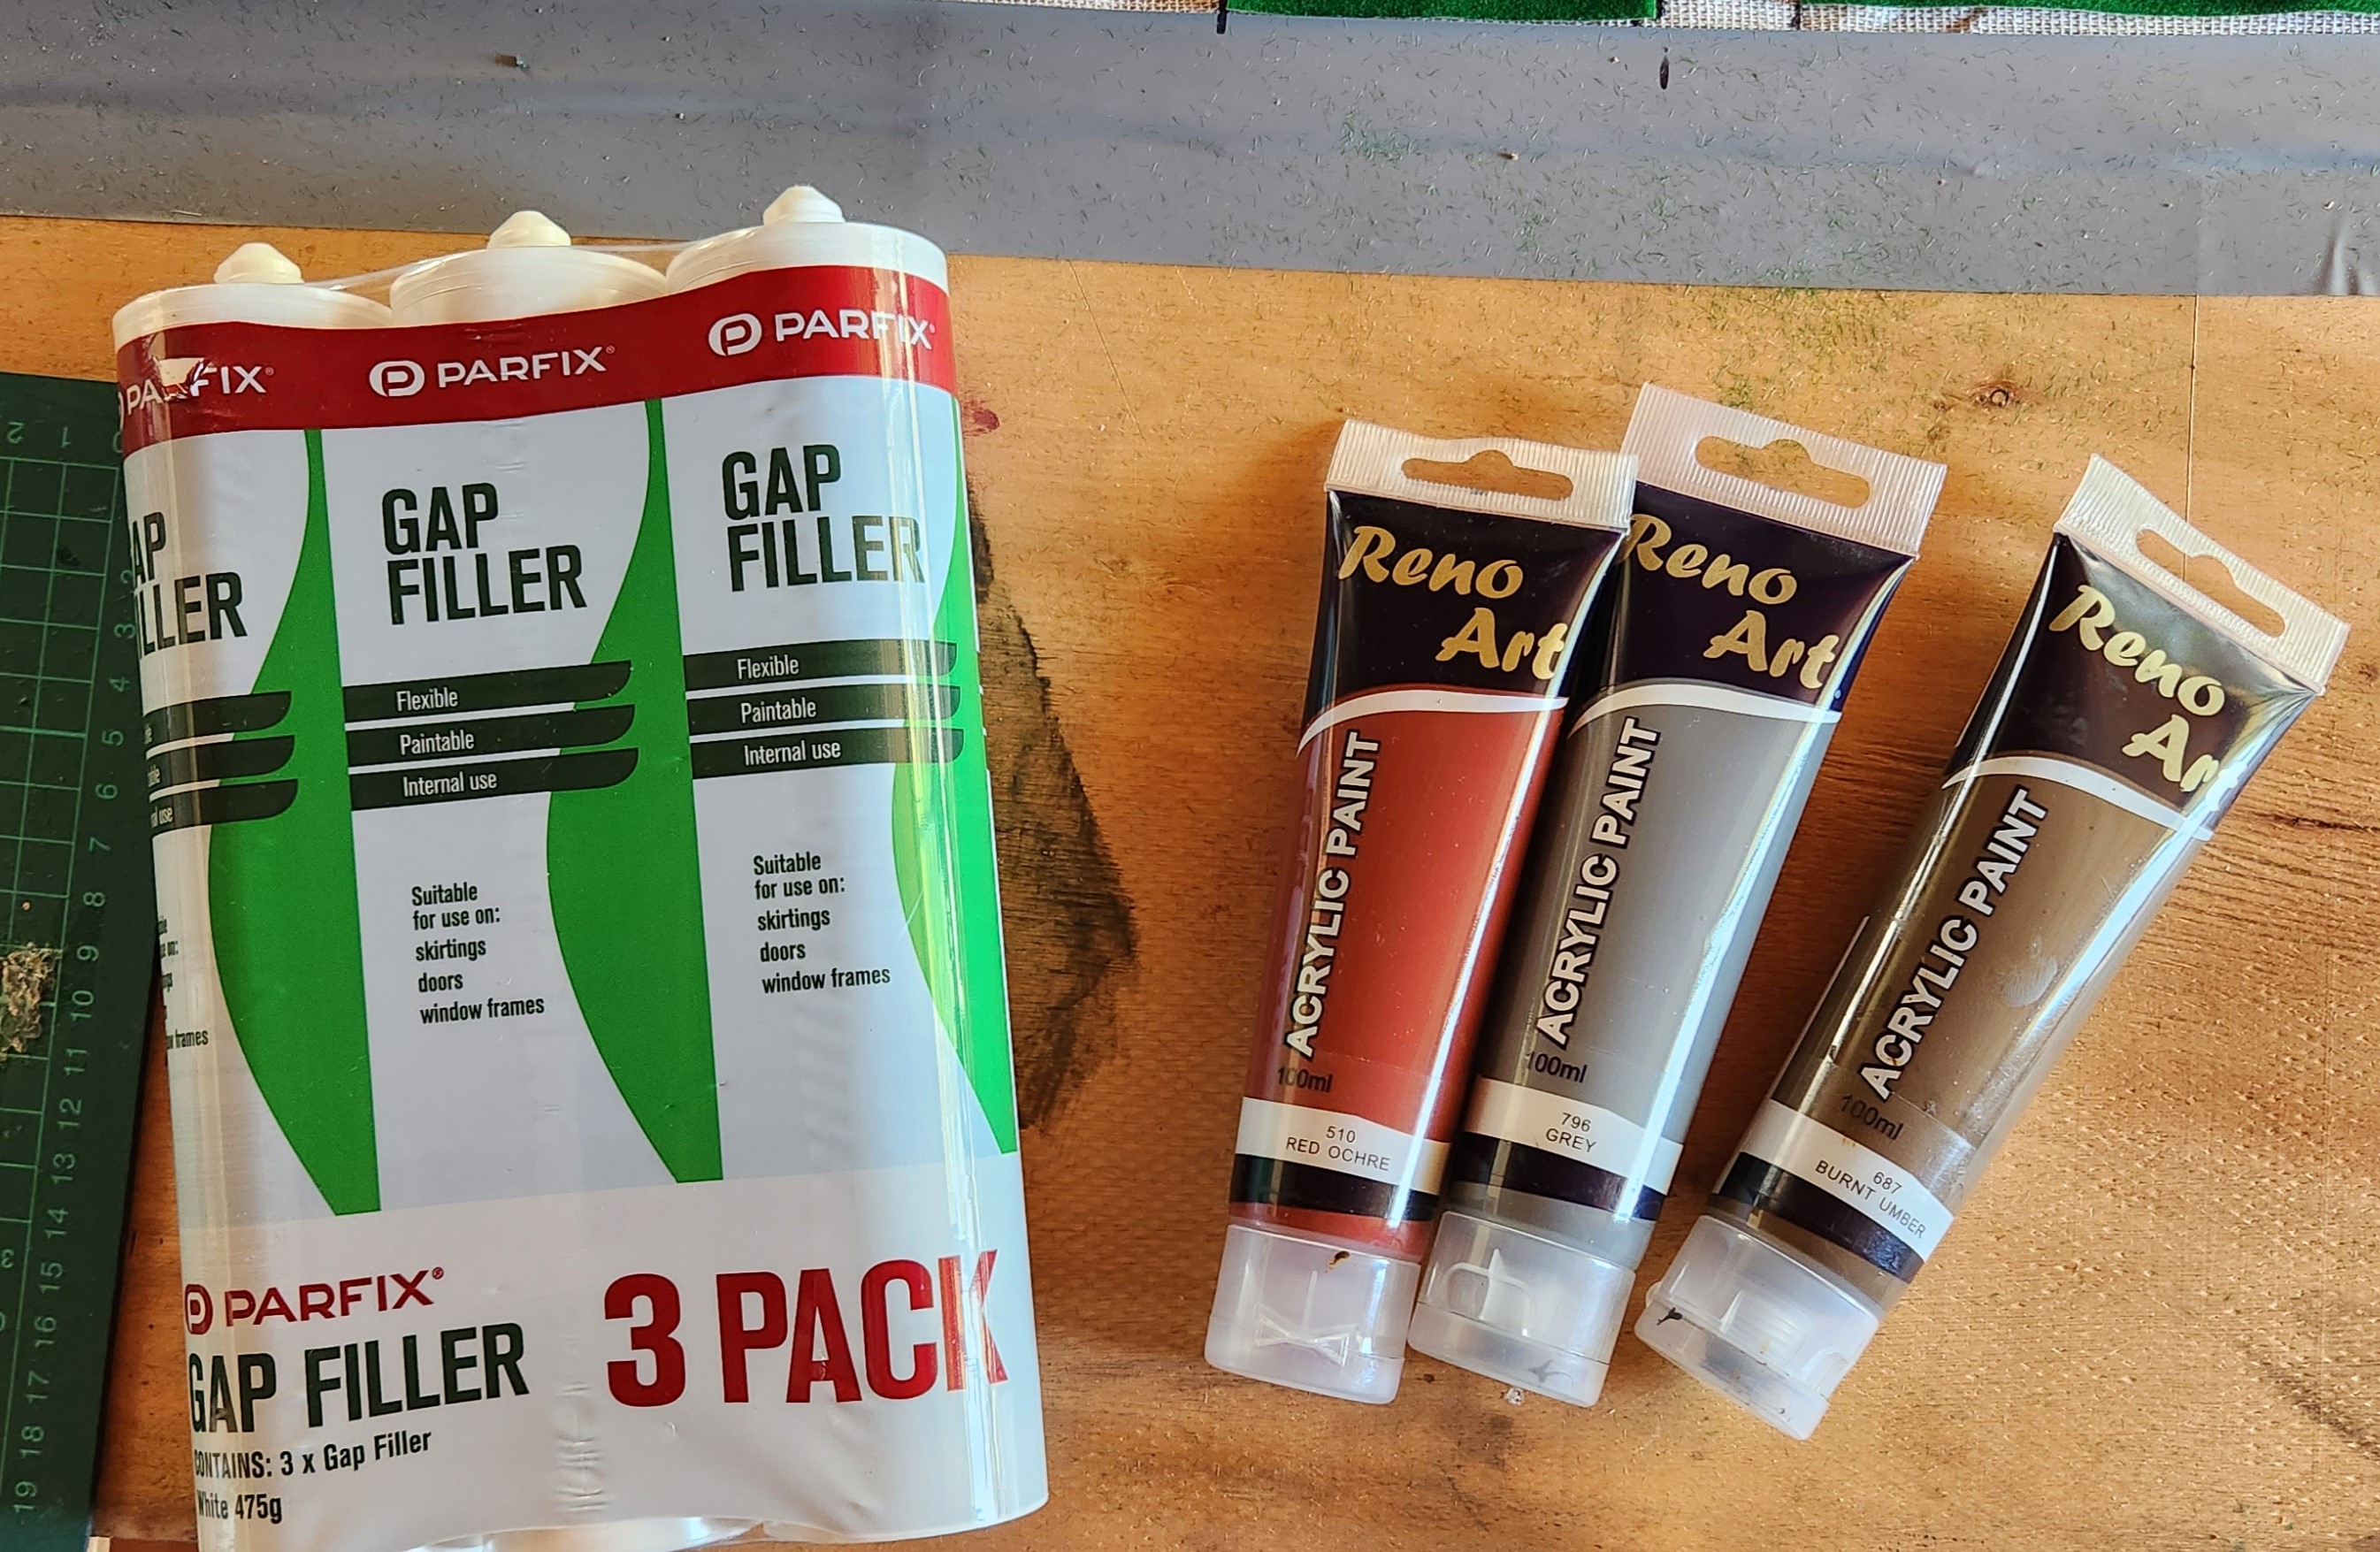
I grab the caulk and a suitable mixiing container. I’ve got a couple of tools on hand as well: a plastic scraper and a cooking style mixing spatula.
Using a caulk gun, I empty one entire tube into the container. For the first layer I add some of the acrylic paint to give it colour. I’m not going to add any texture, I’ll leave that to the second layer. But the colour is there in case I miss a spot on the second layer, so it isn’t just bare white showing through if I do.
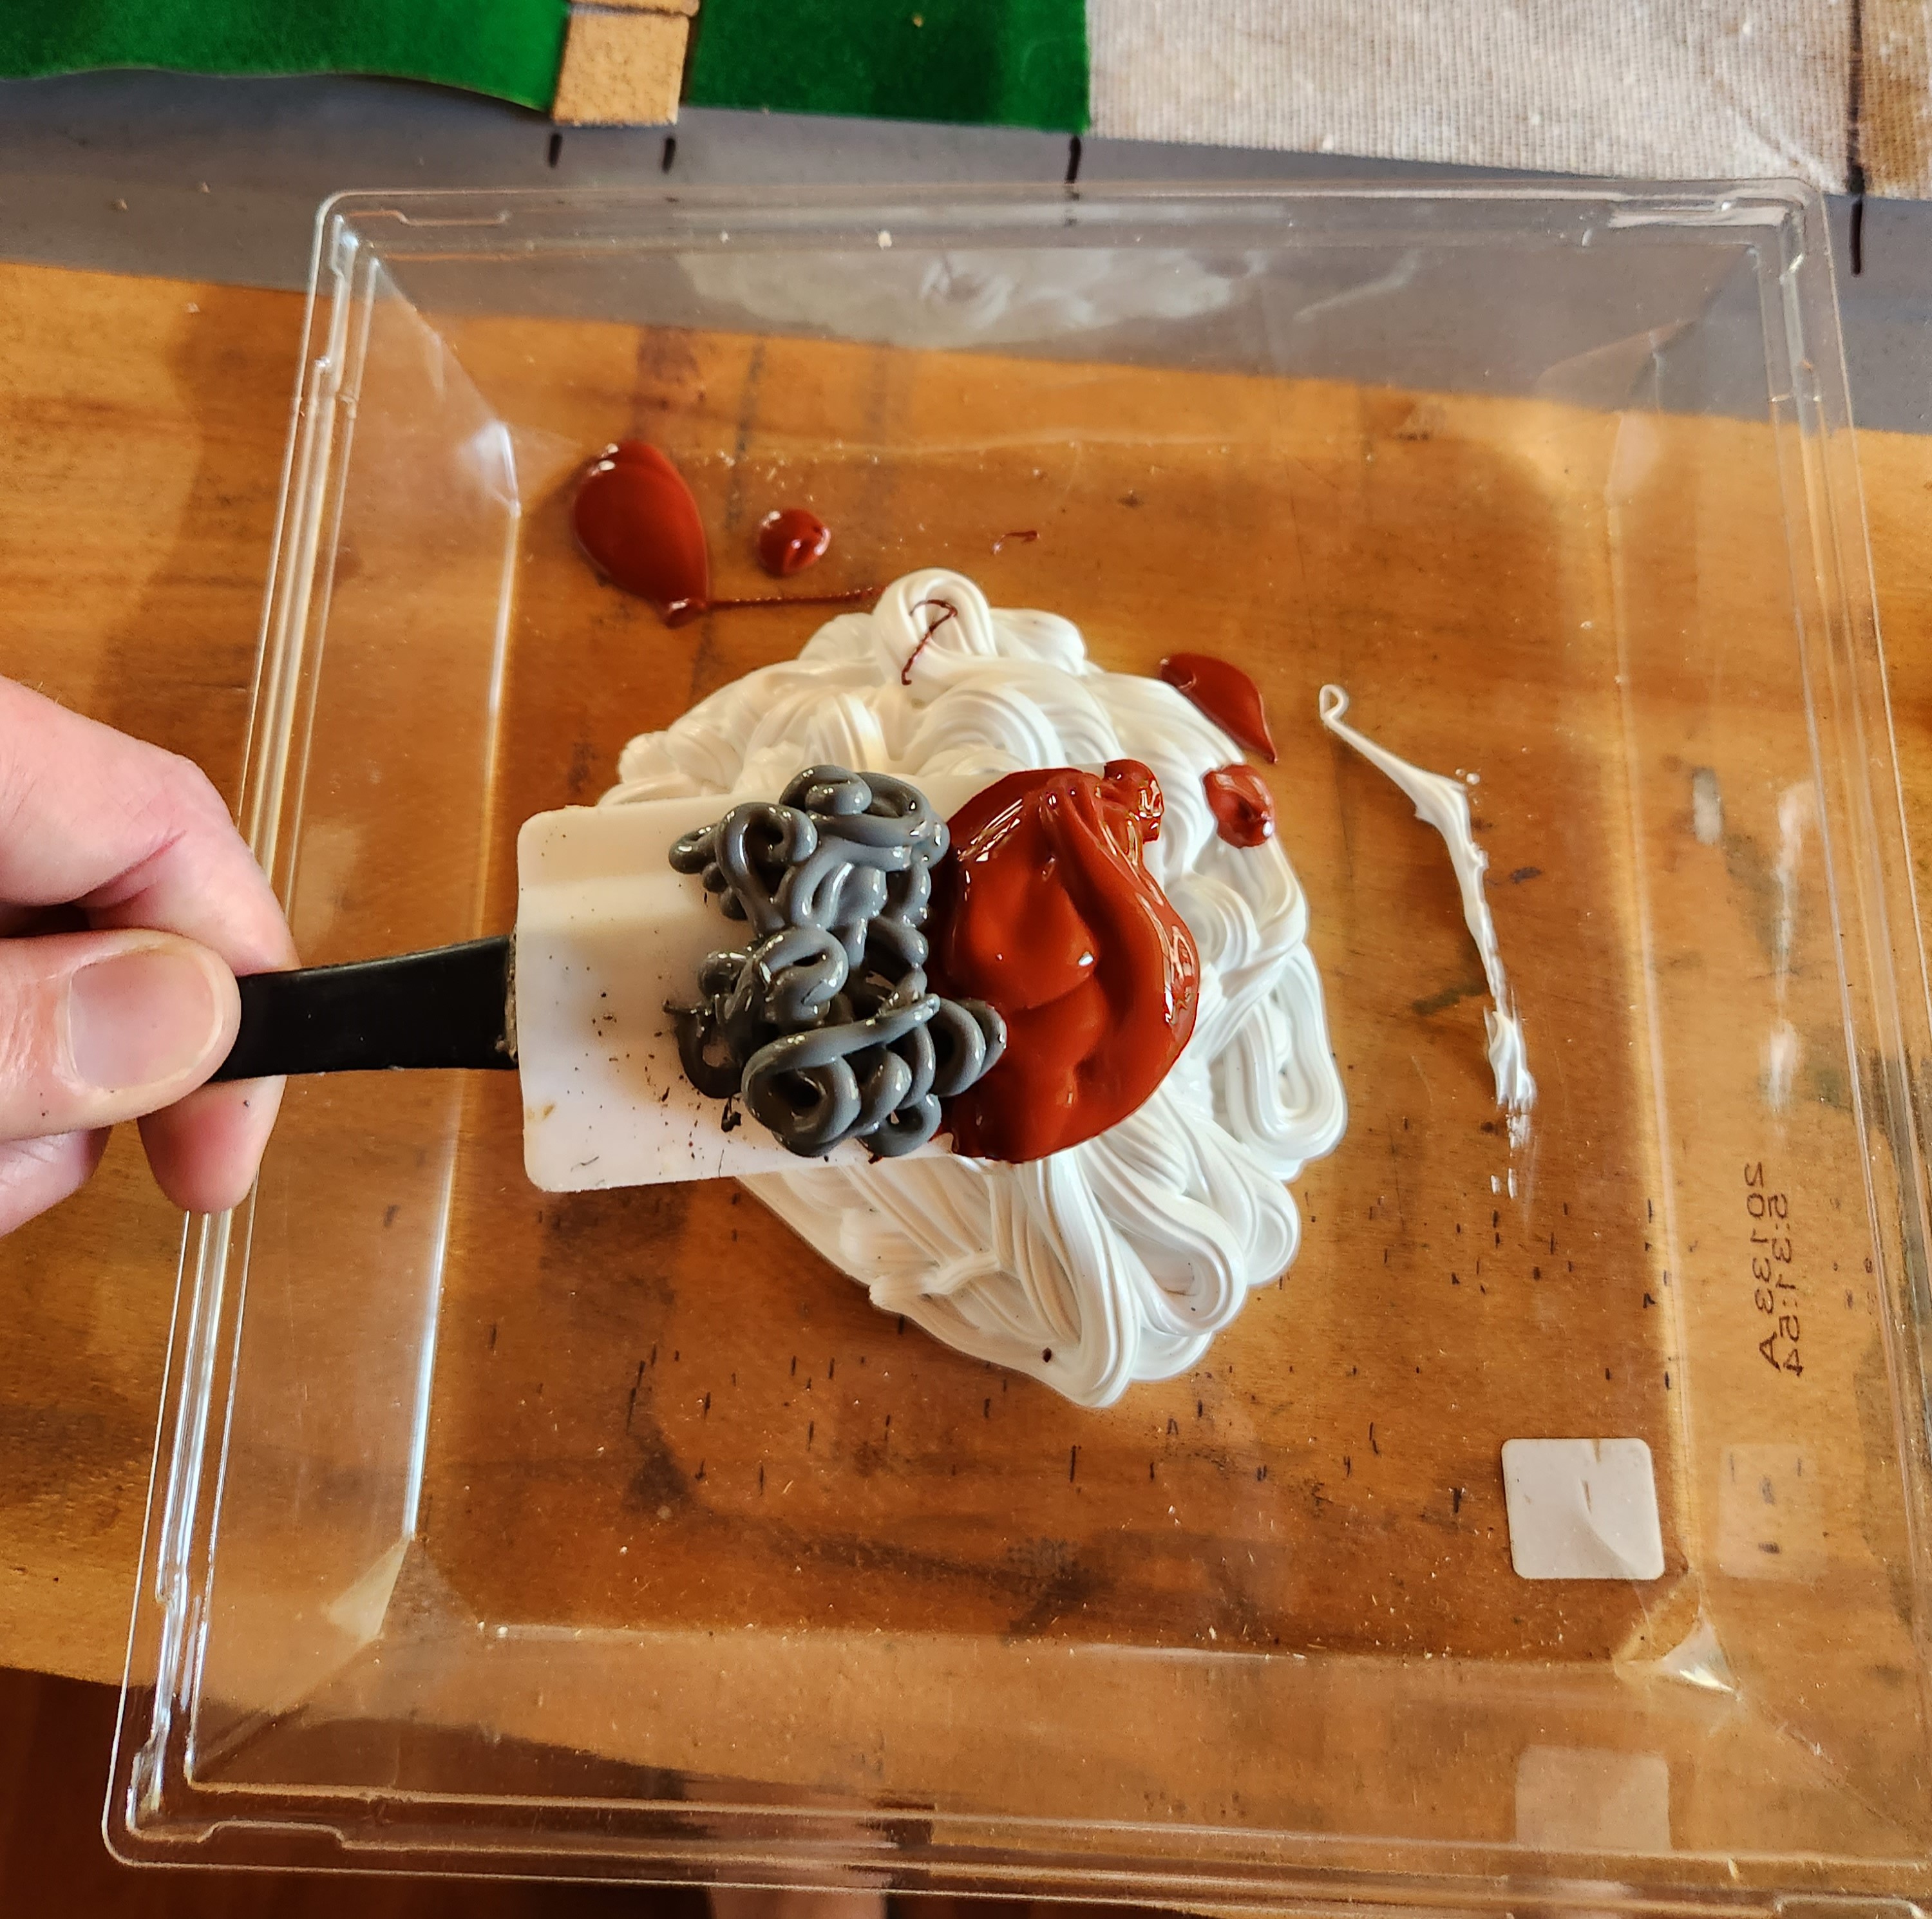
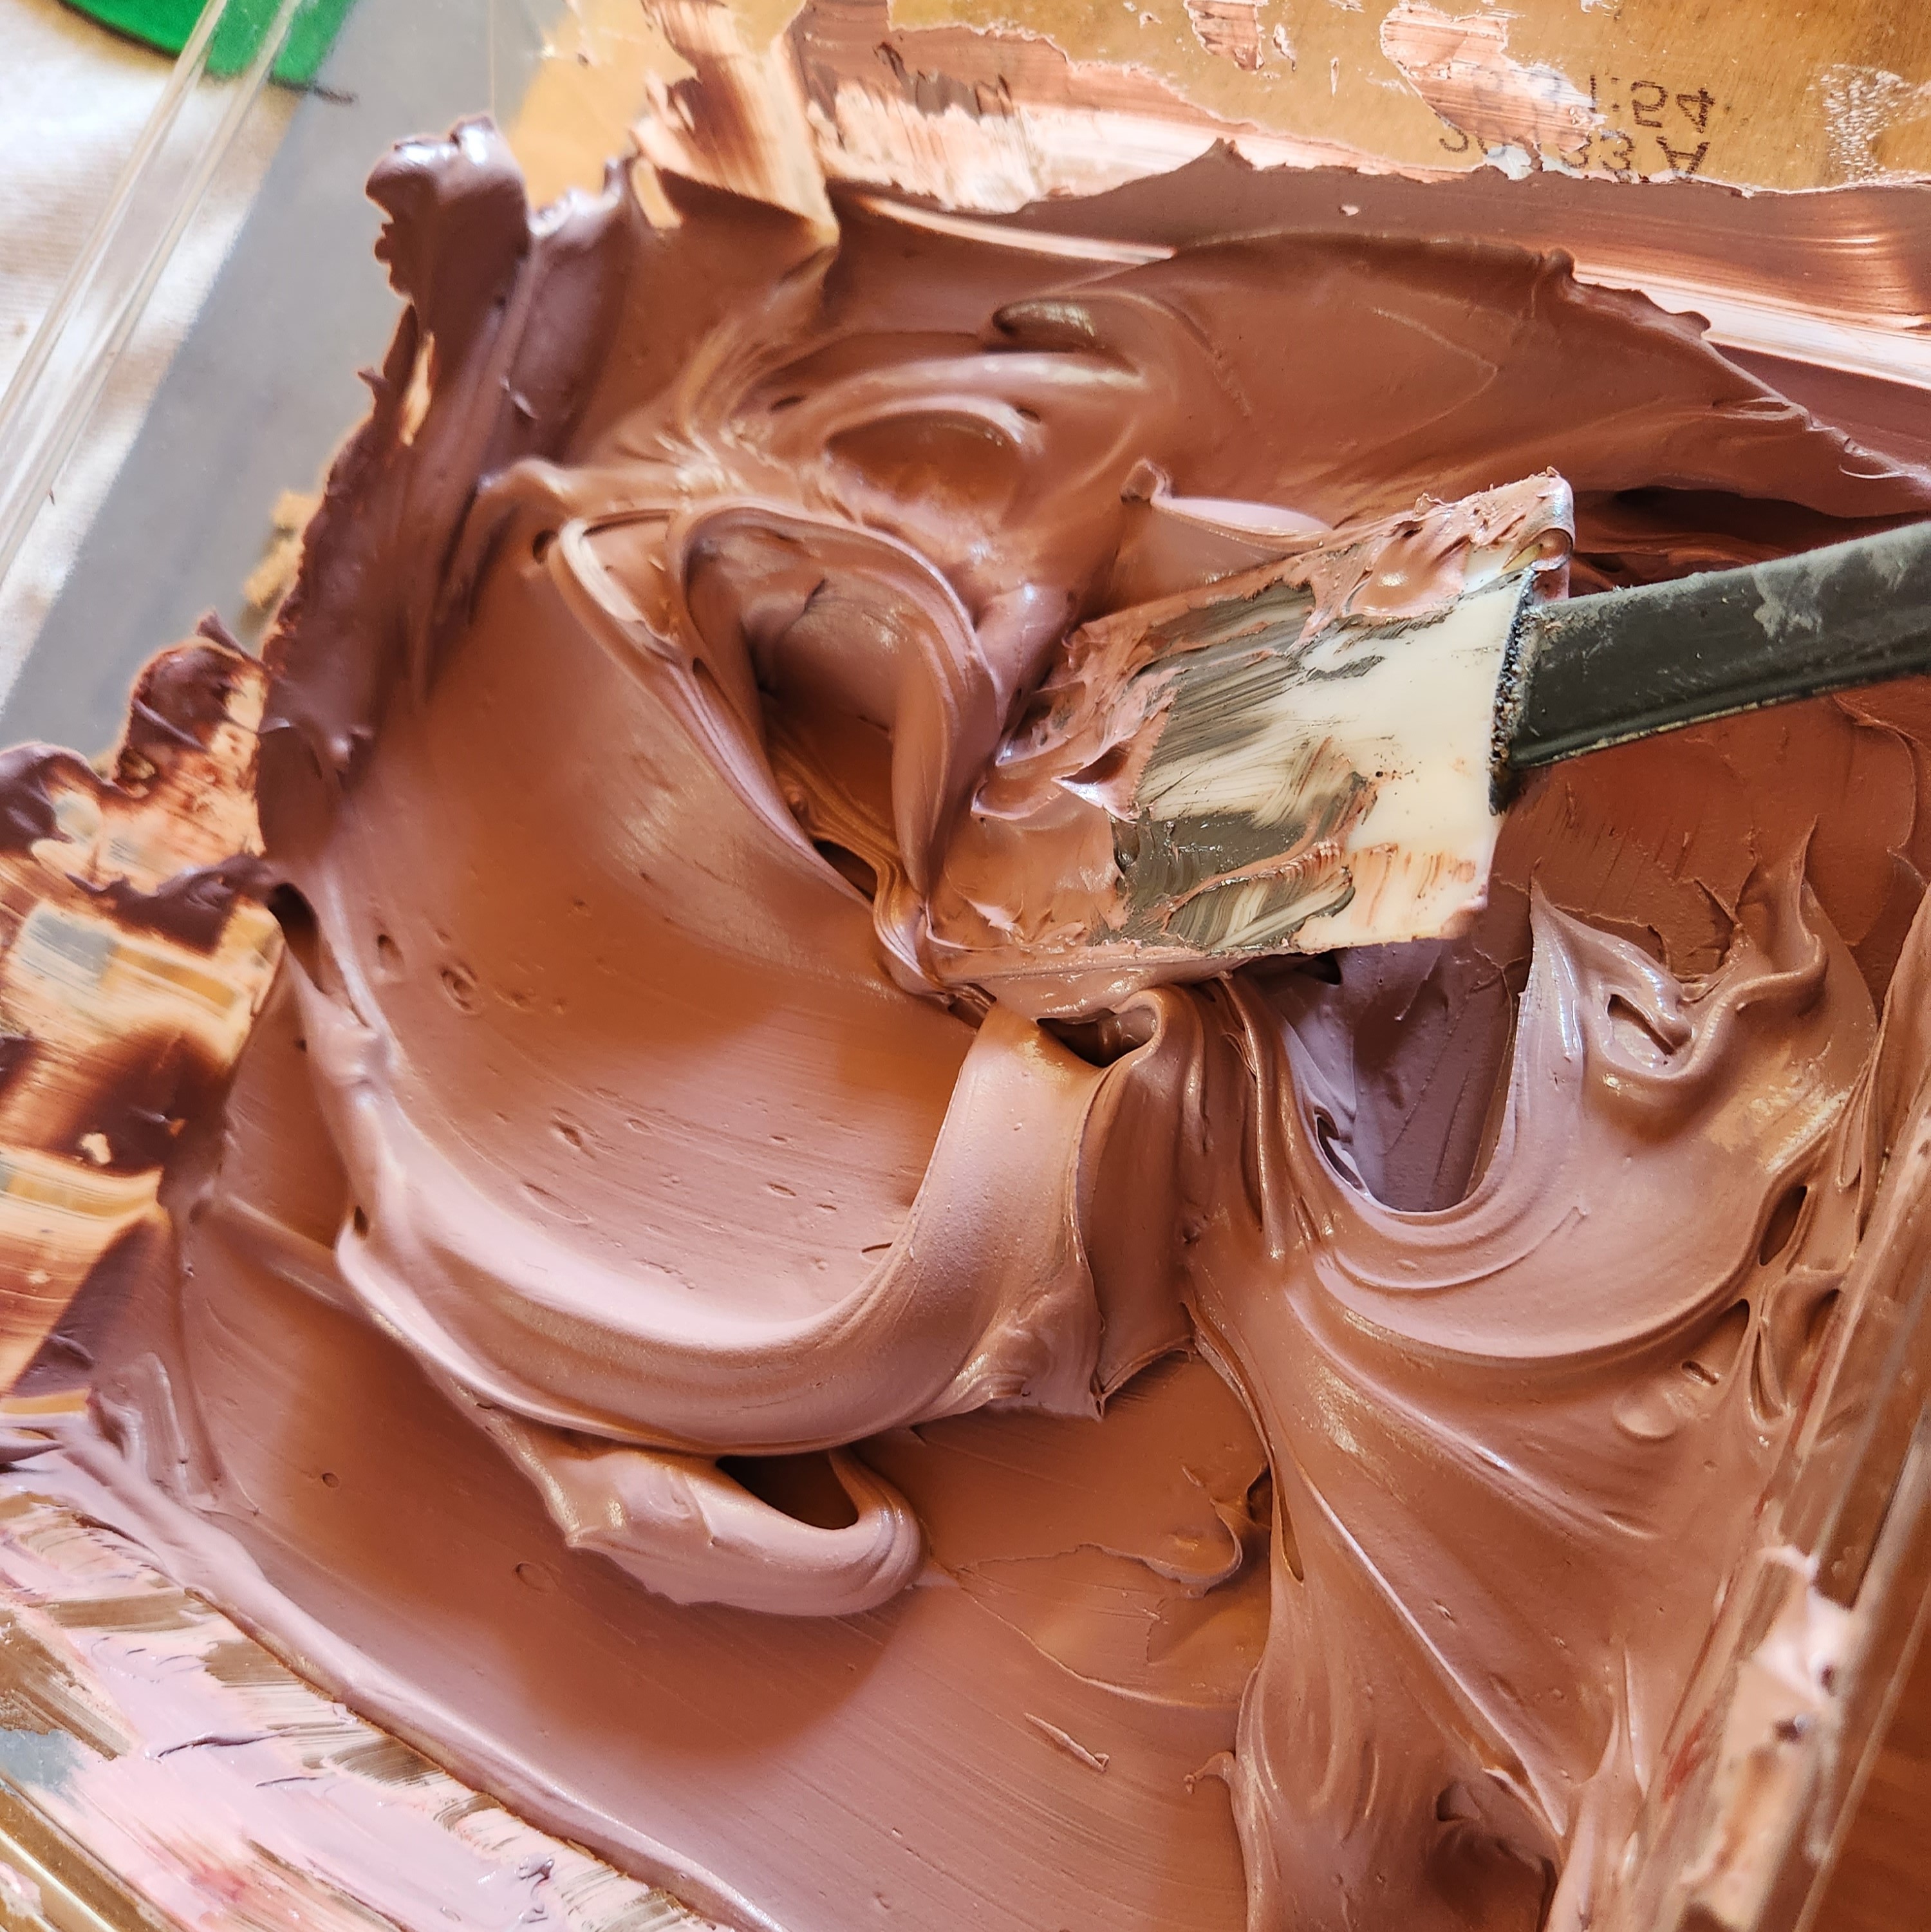
Using the scrapper and the spatula, I spread the mixture around, working one quarter of the table at a time. This gives enough time to work the scenic elements in before the caulk starts to set too much.
For this first quarter, I started with the string pieces. By having them be slightly longer than required, I had enough to hold to put it in place without it getting fussy. I then worked into the caulk by using my finger. Dipping it into water first stops the caulk from sticking to the skin.
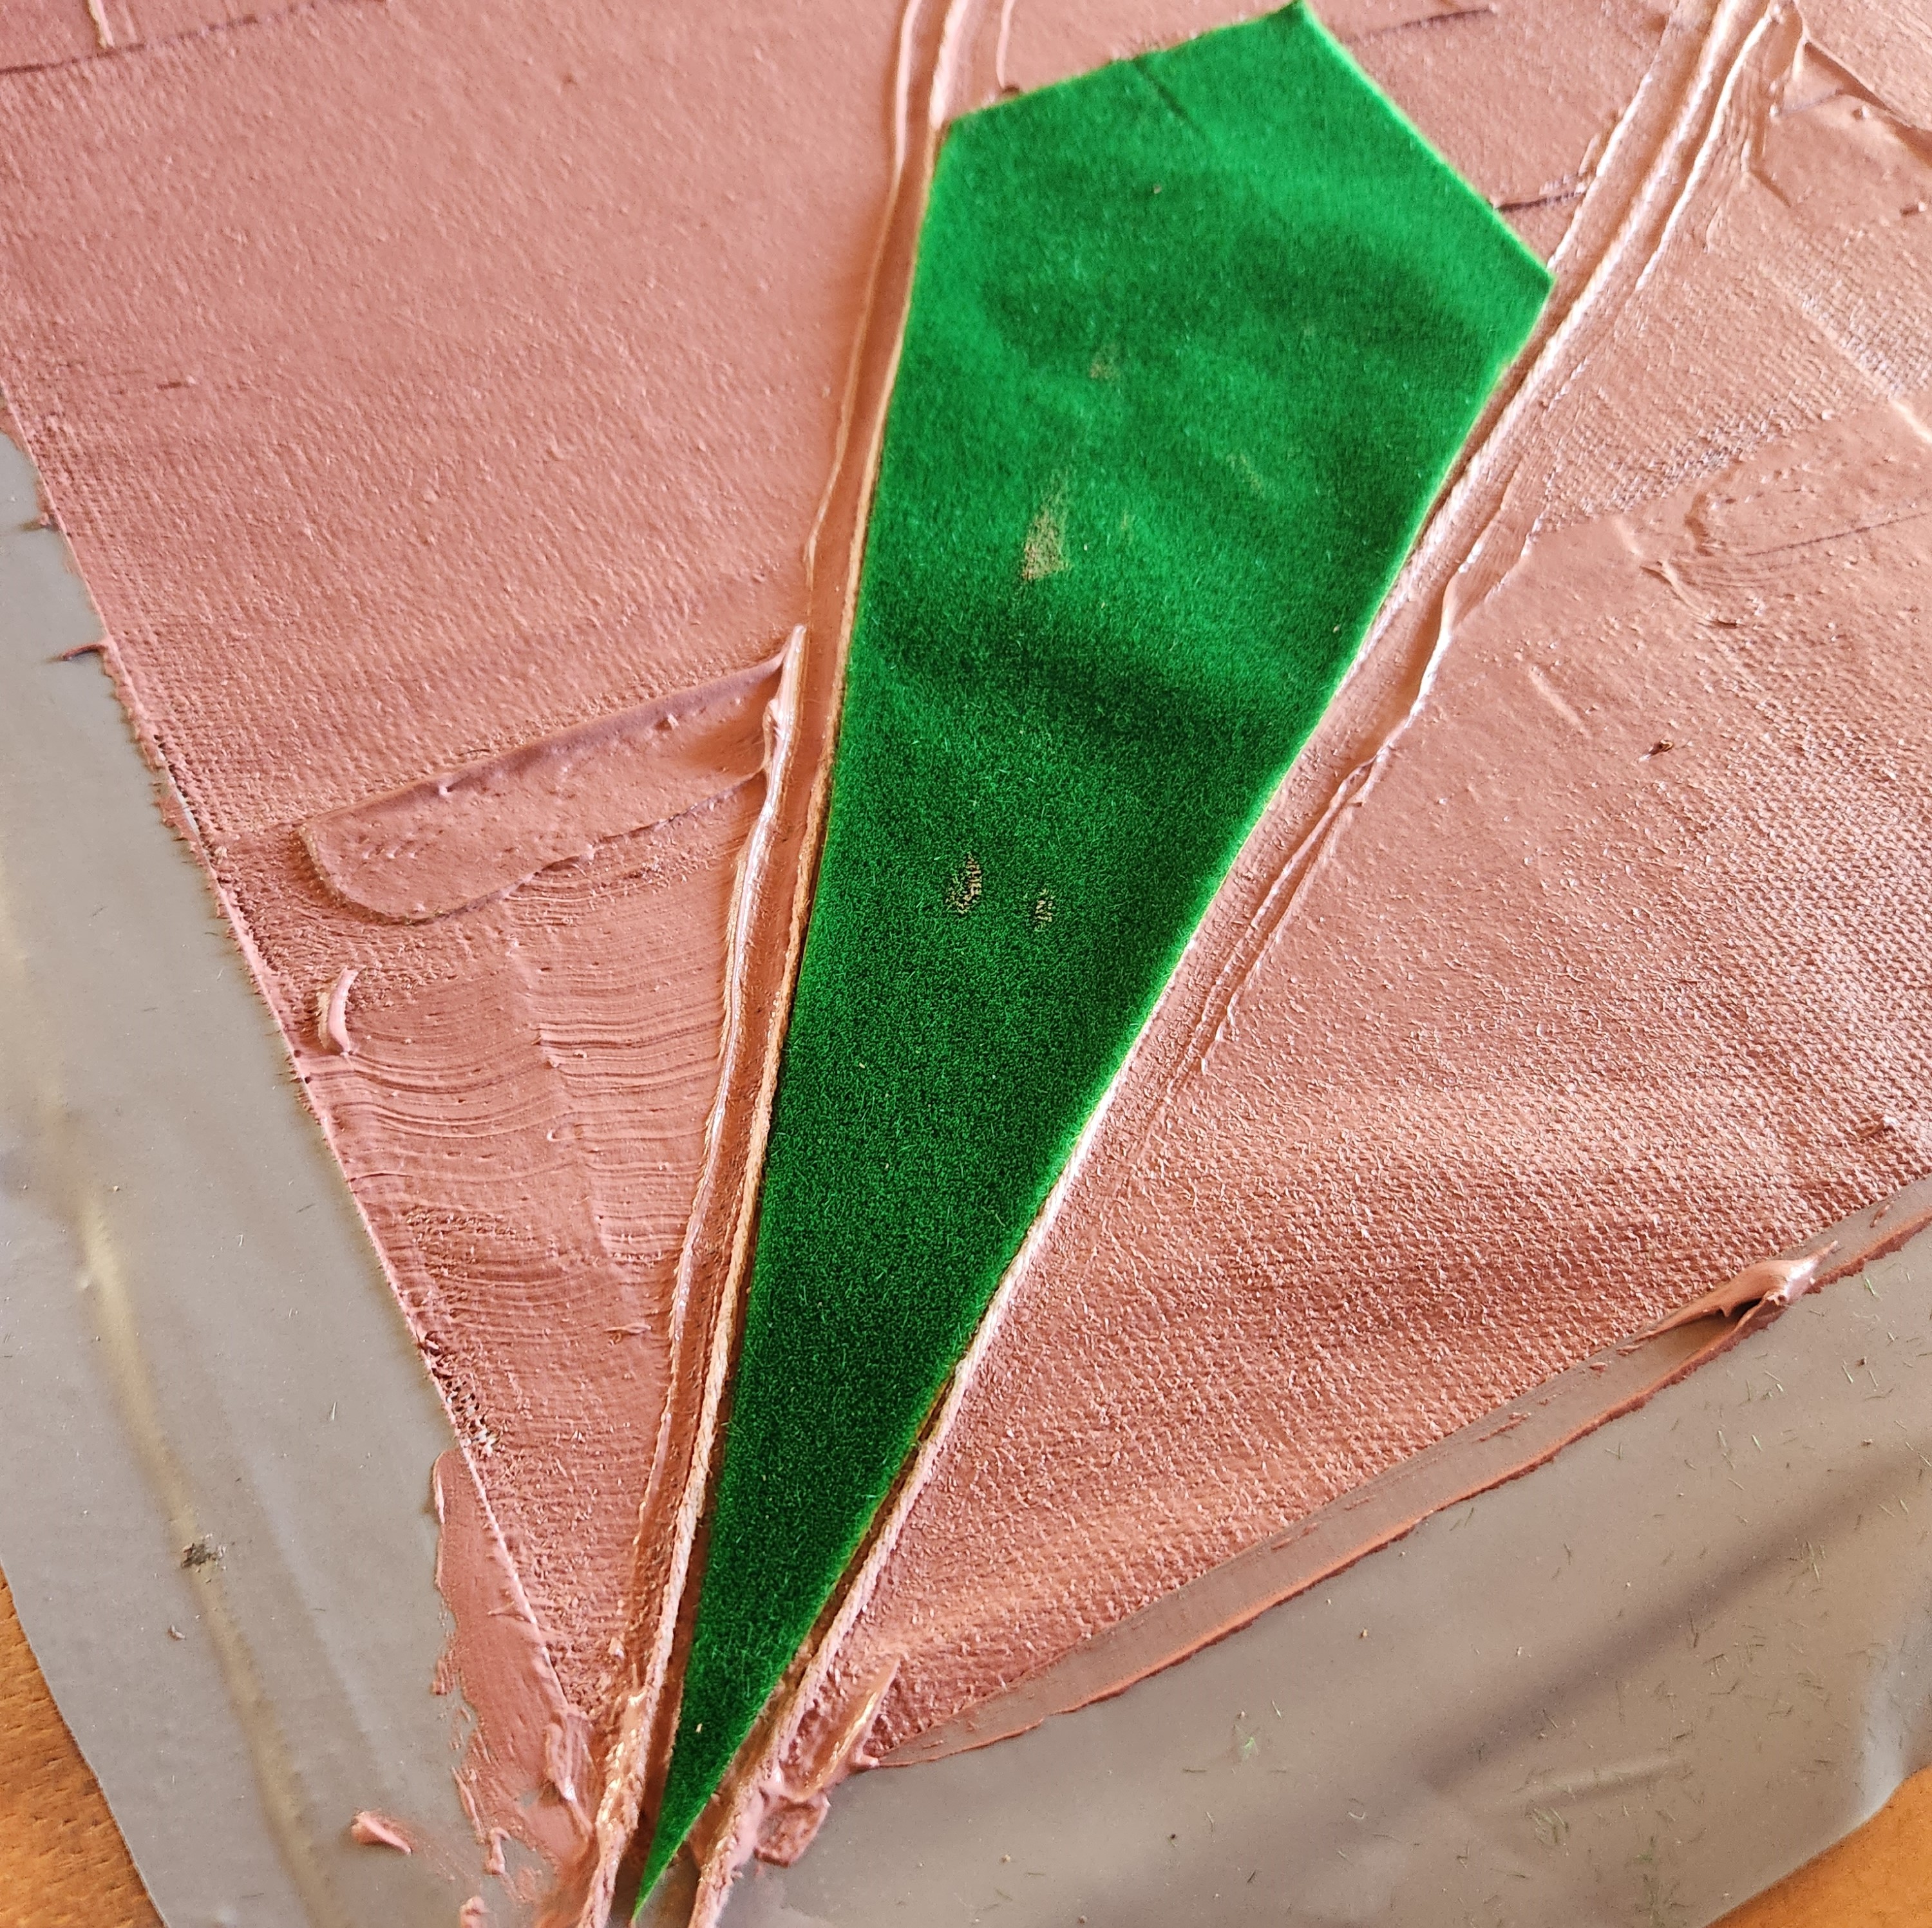
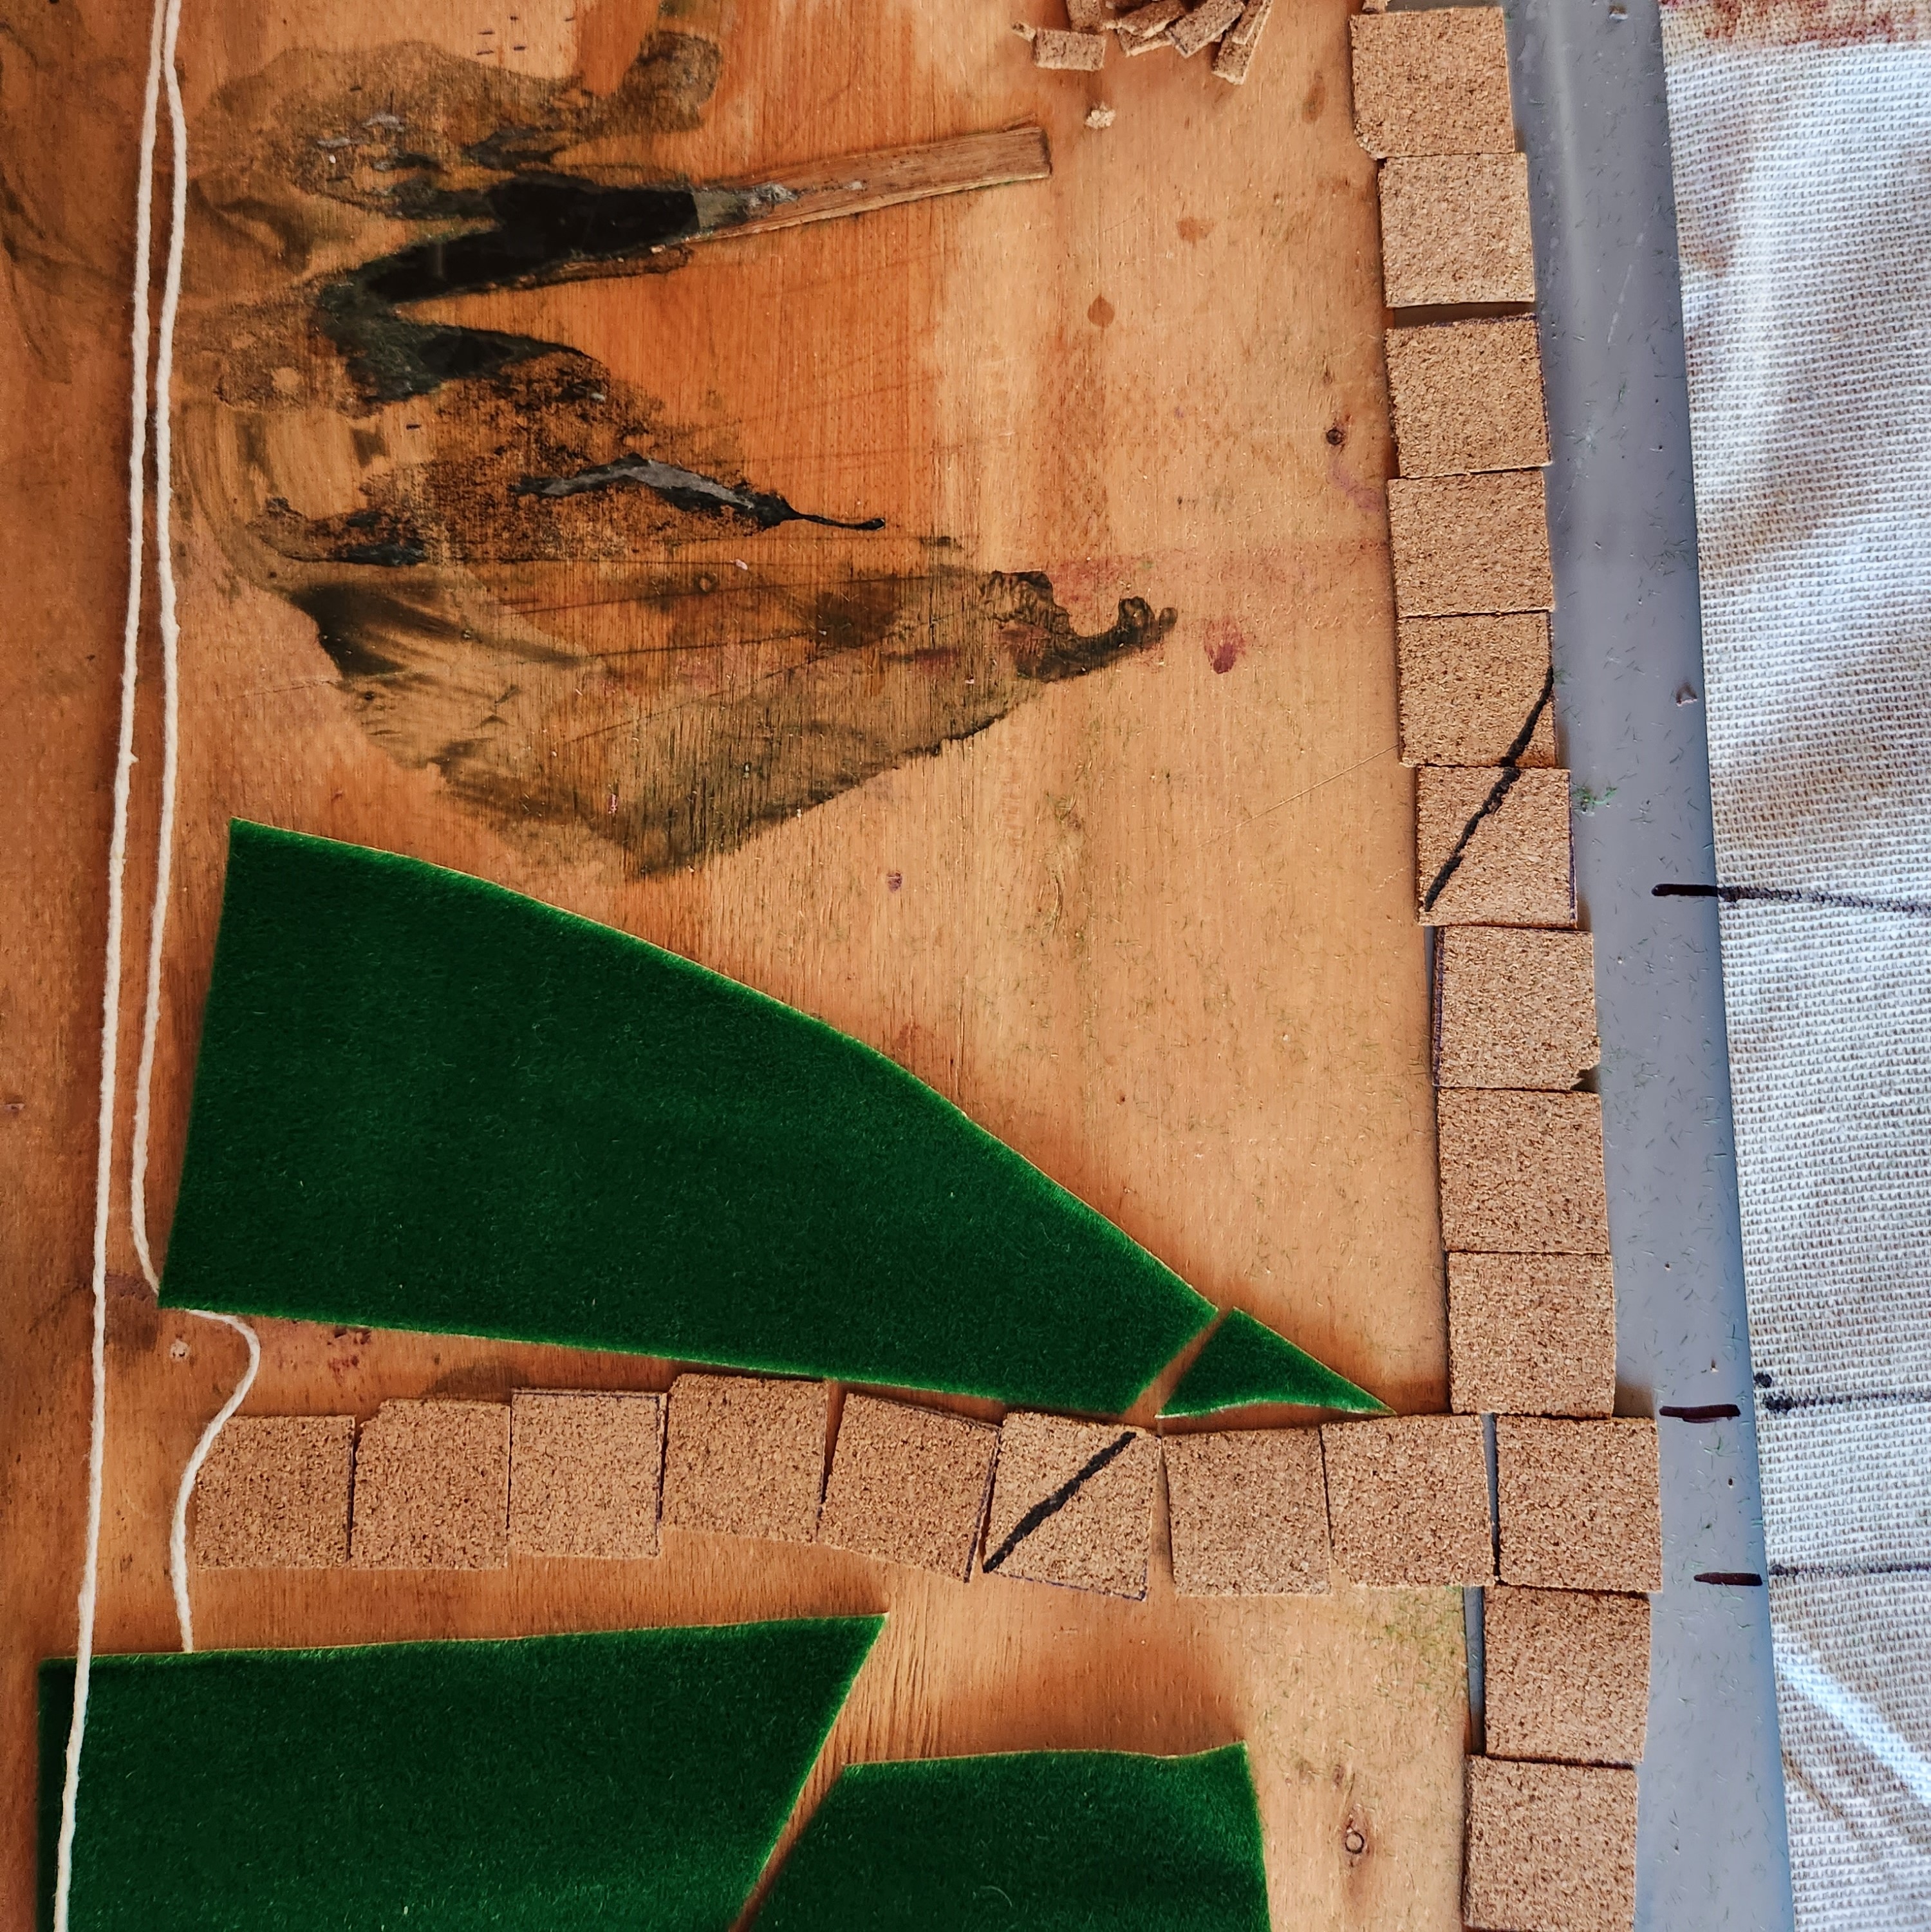
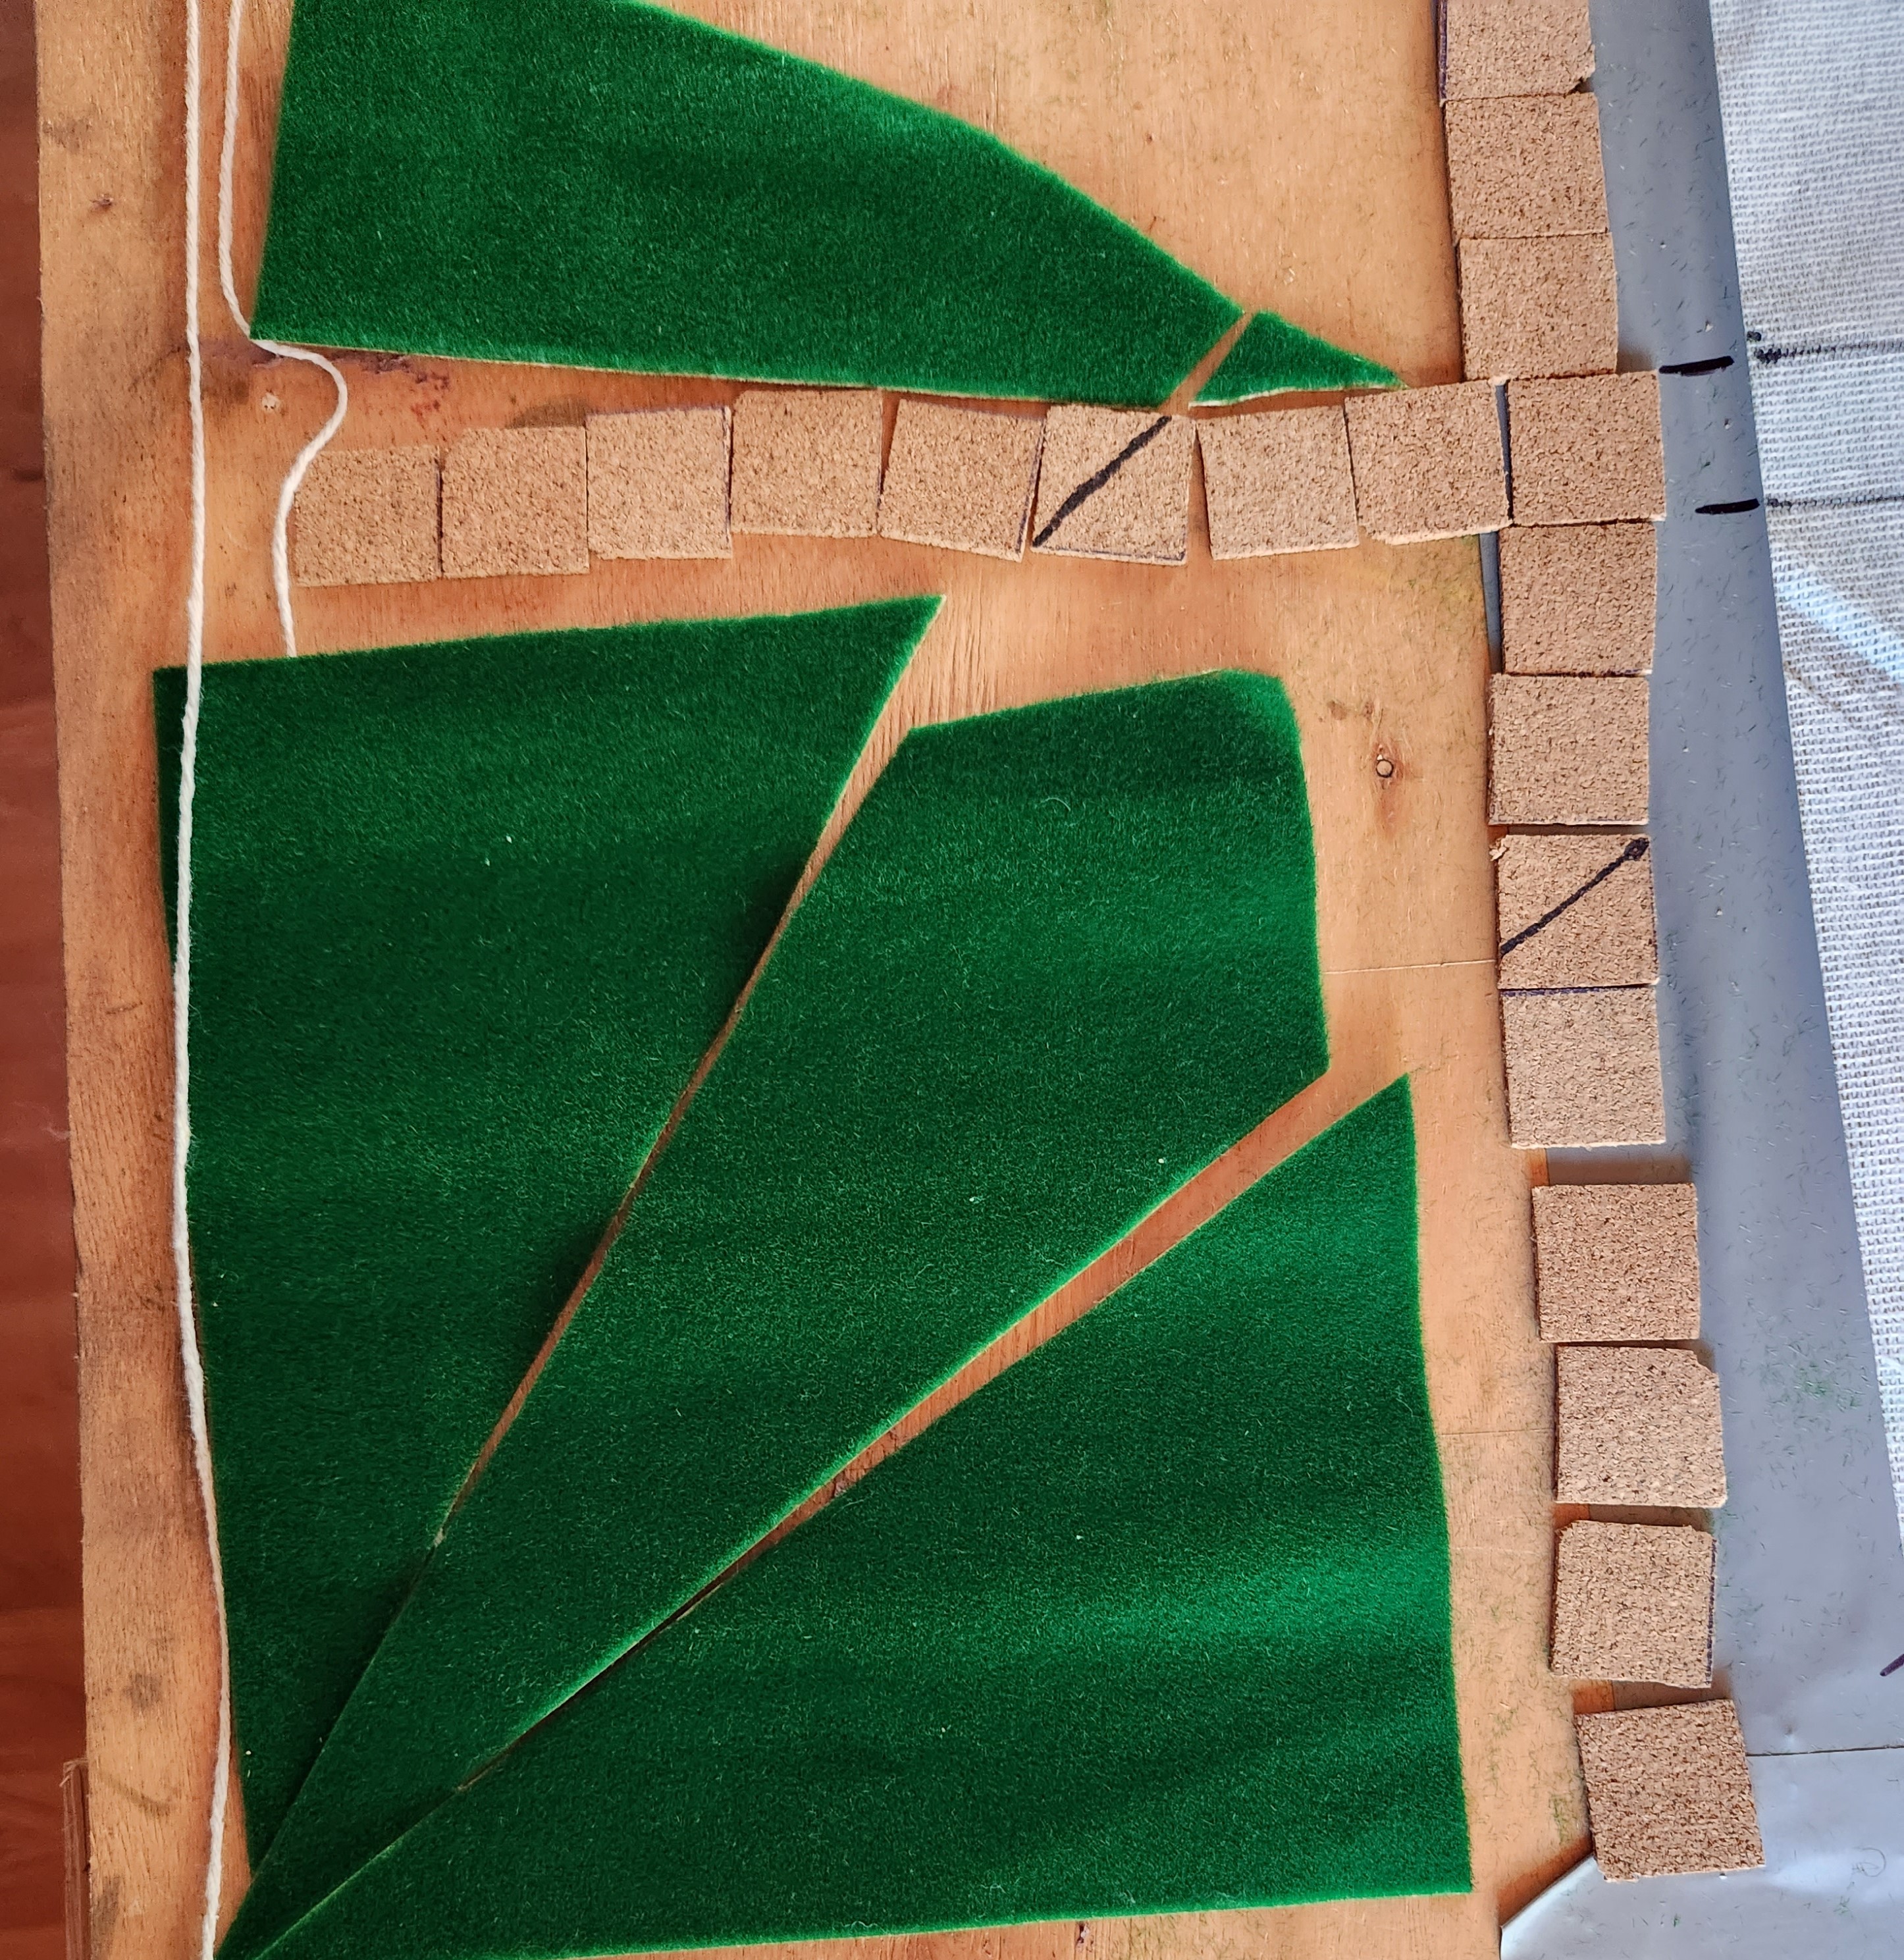
I then added the grass pieces in the corner, pressing them down and smoothing them into the caulk. Finally I laid the cork pieces. Trimming the angles to allow for the string as I went.
 First quarter done. I was definitely picking up tips on the way, like make sure you plan what order the cork squares go in!
 So with the first quarter done, I learned some things, like lay out the pieces in their order before putting caulk to mat. Water is useful, as it can be used to clean the caulk off places you don’t want it.
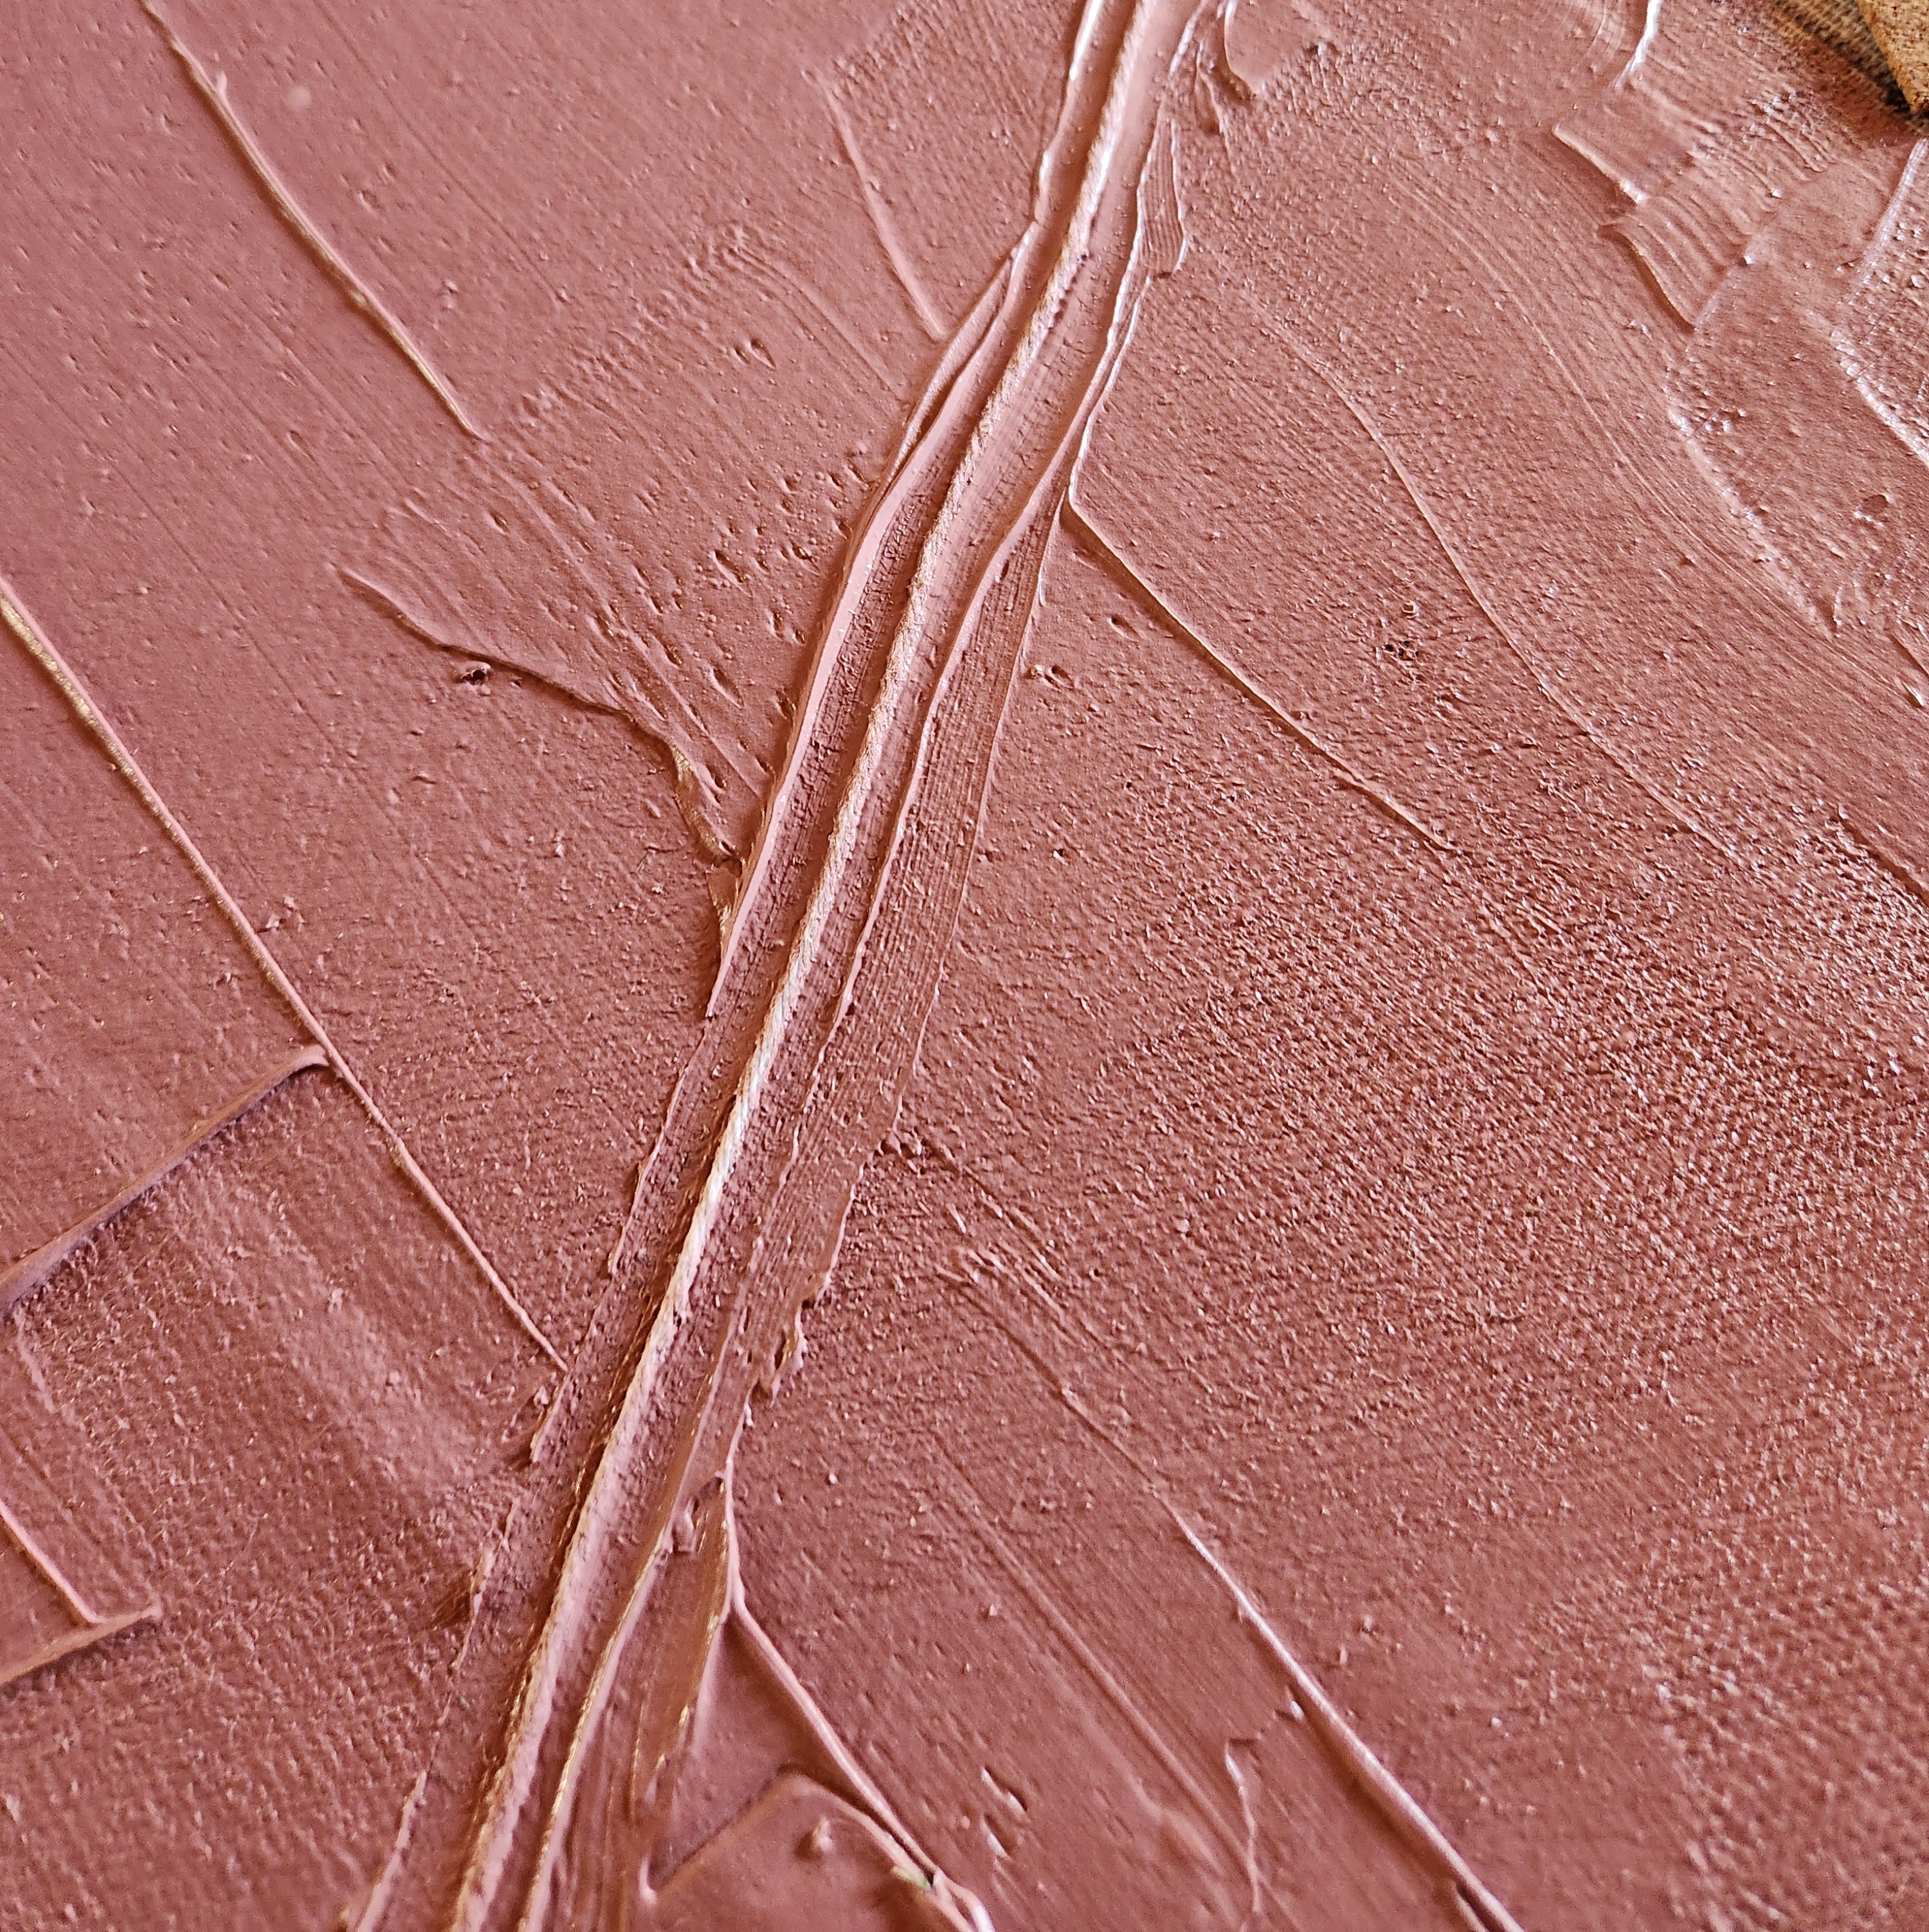
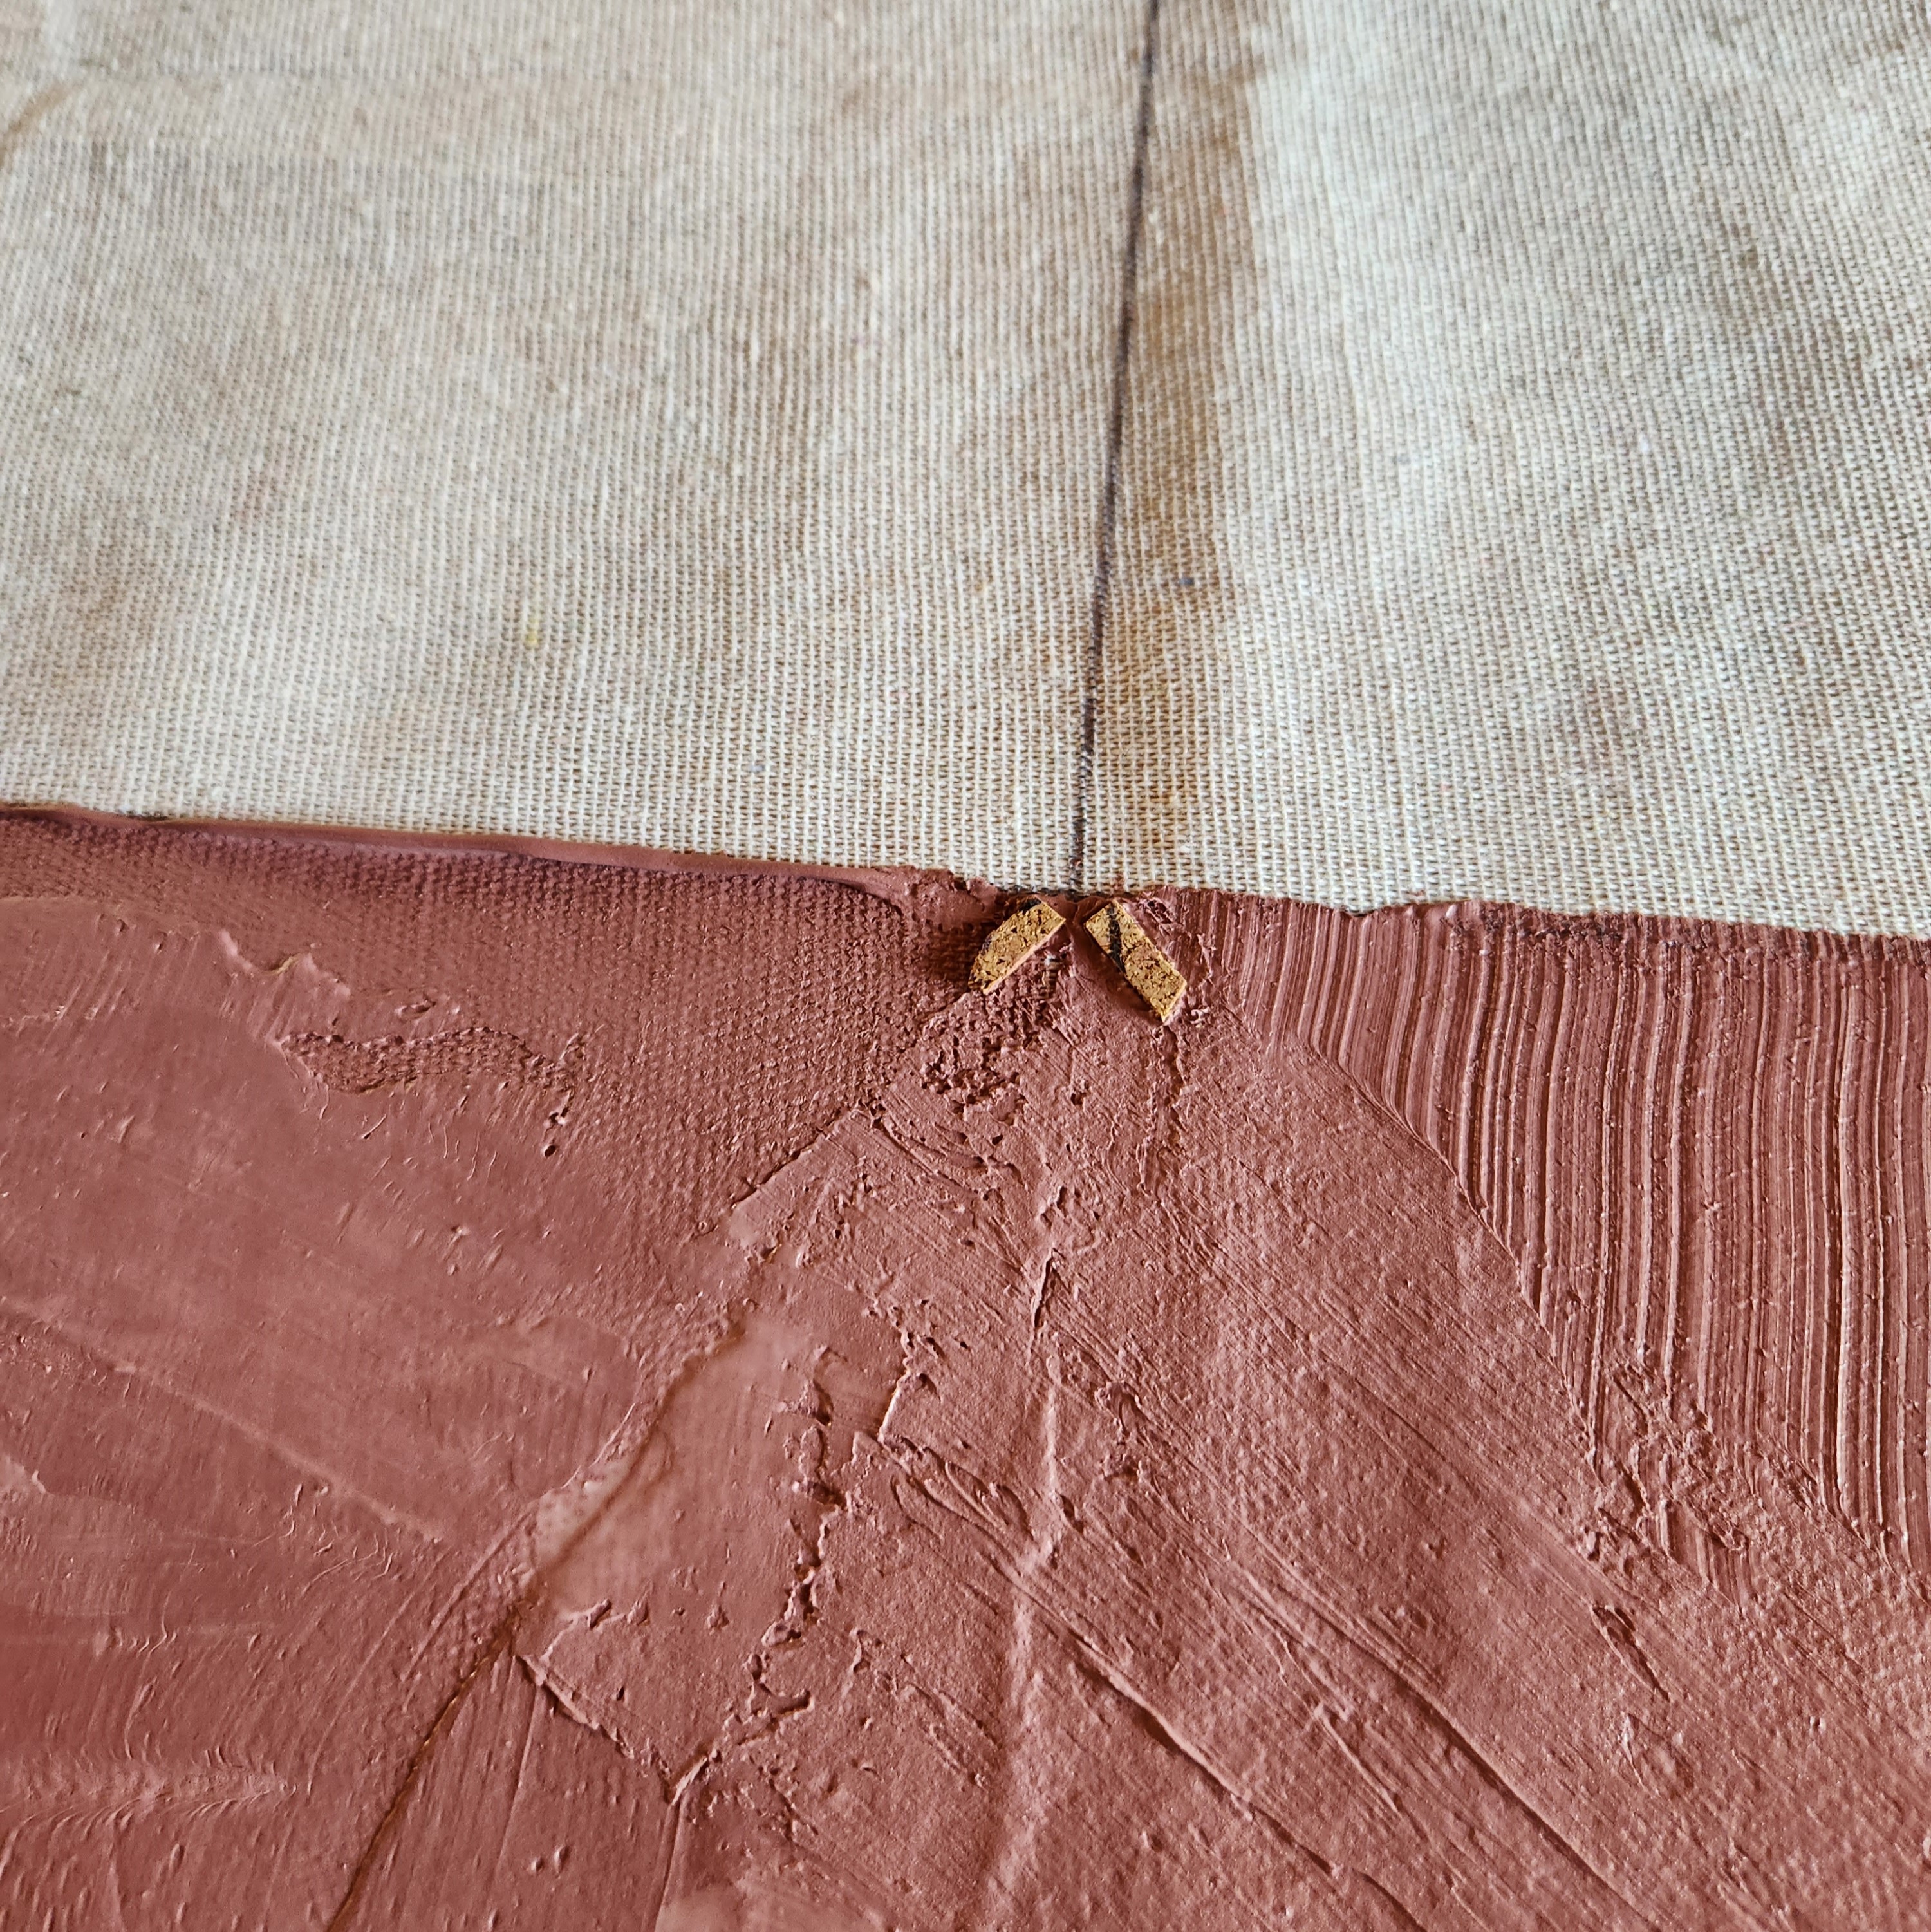
You can see in the next picture where the string intersected the cork line, the cuts dont quite line up neatly. I cut them quickly while working, trying to get the alignment and the lines as close as I could on the fly, without getting caulk all over things I didn’t want it on. Like my scissors…
I went on and did the second quarter which used up the rest of the caulk mixture.
 I decided to add some extra little markers to indicate the board centre. Sometimes it's important to know where that is.
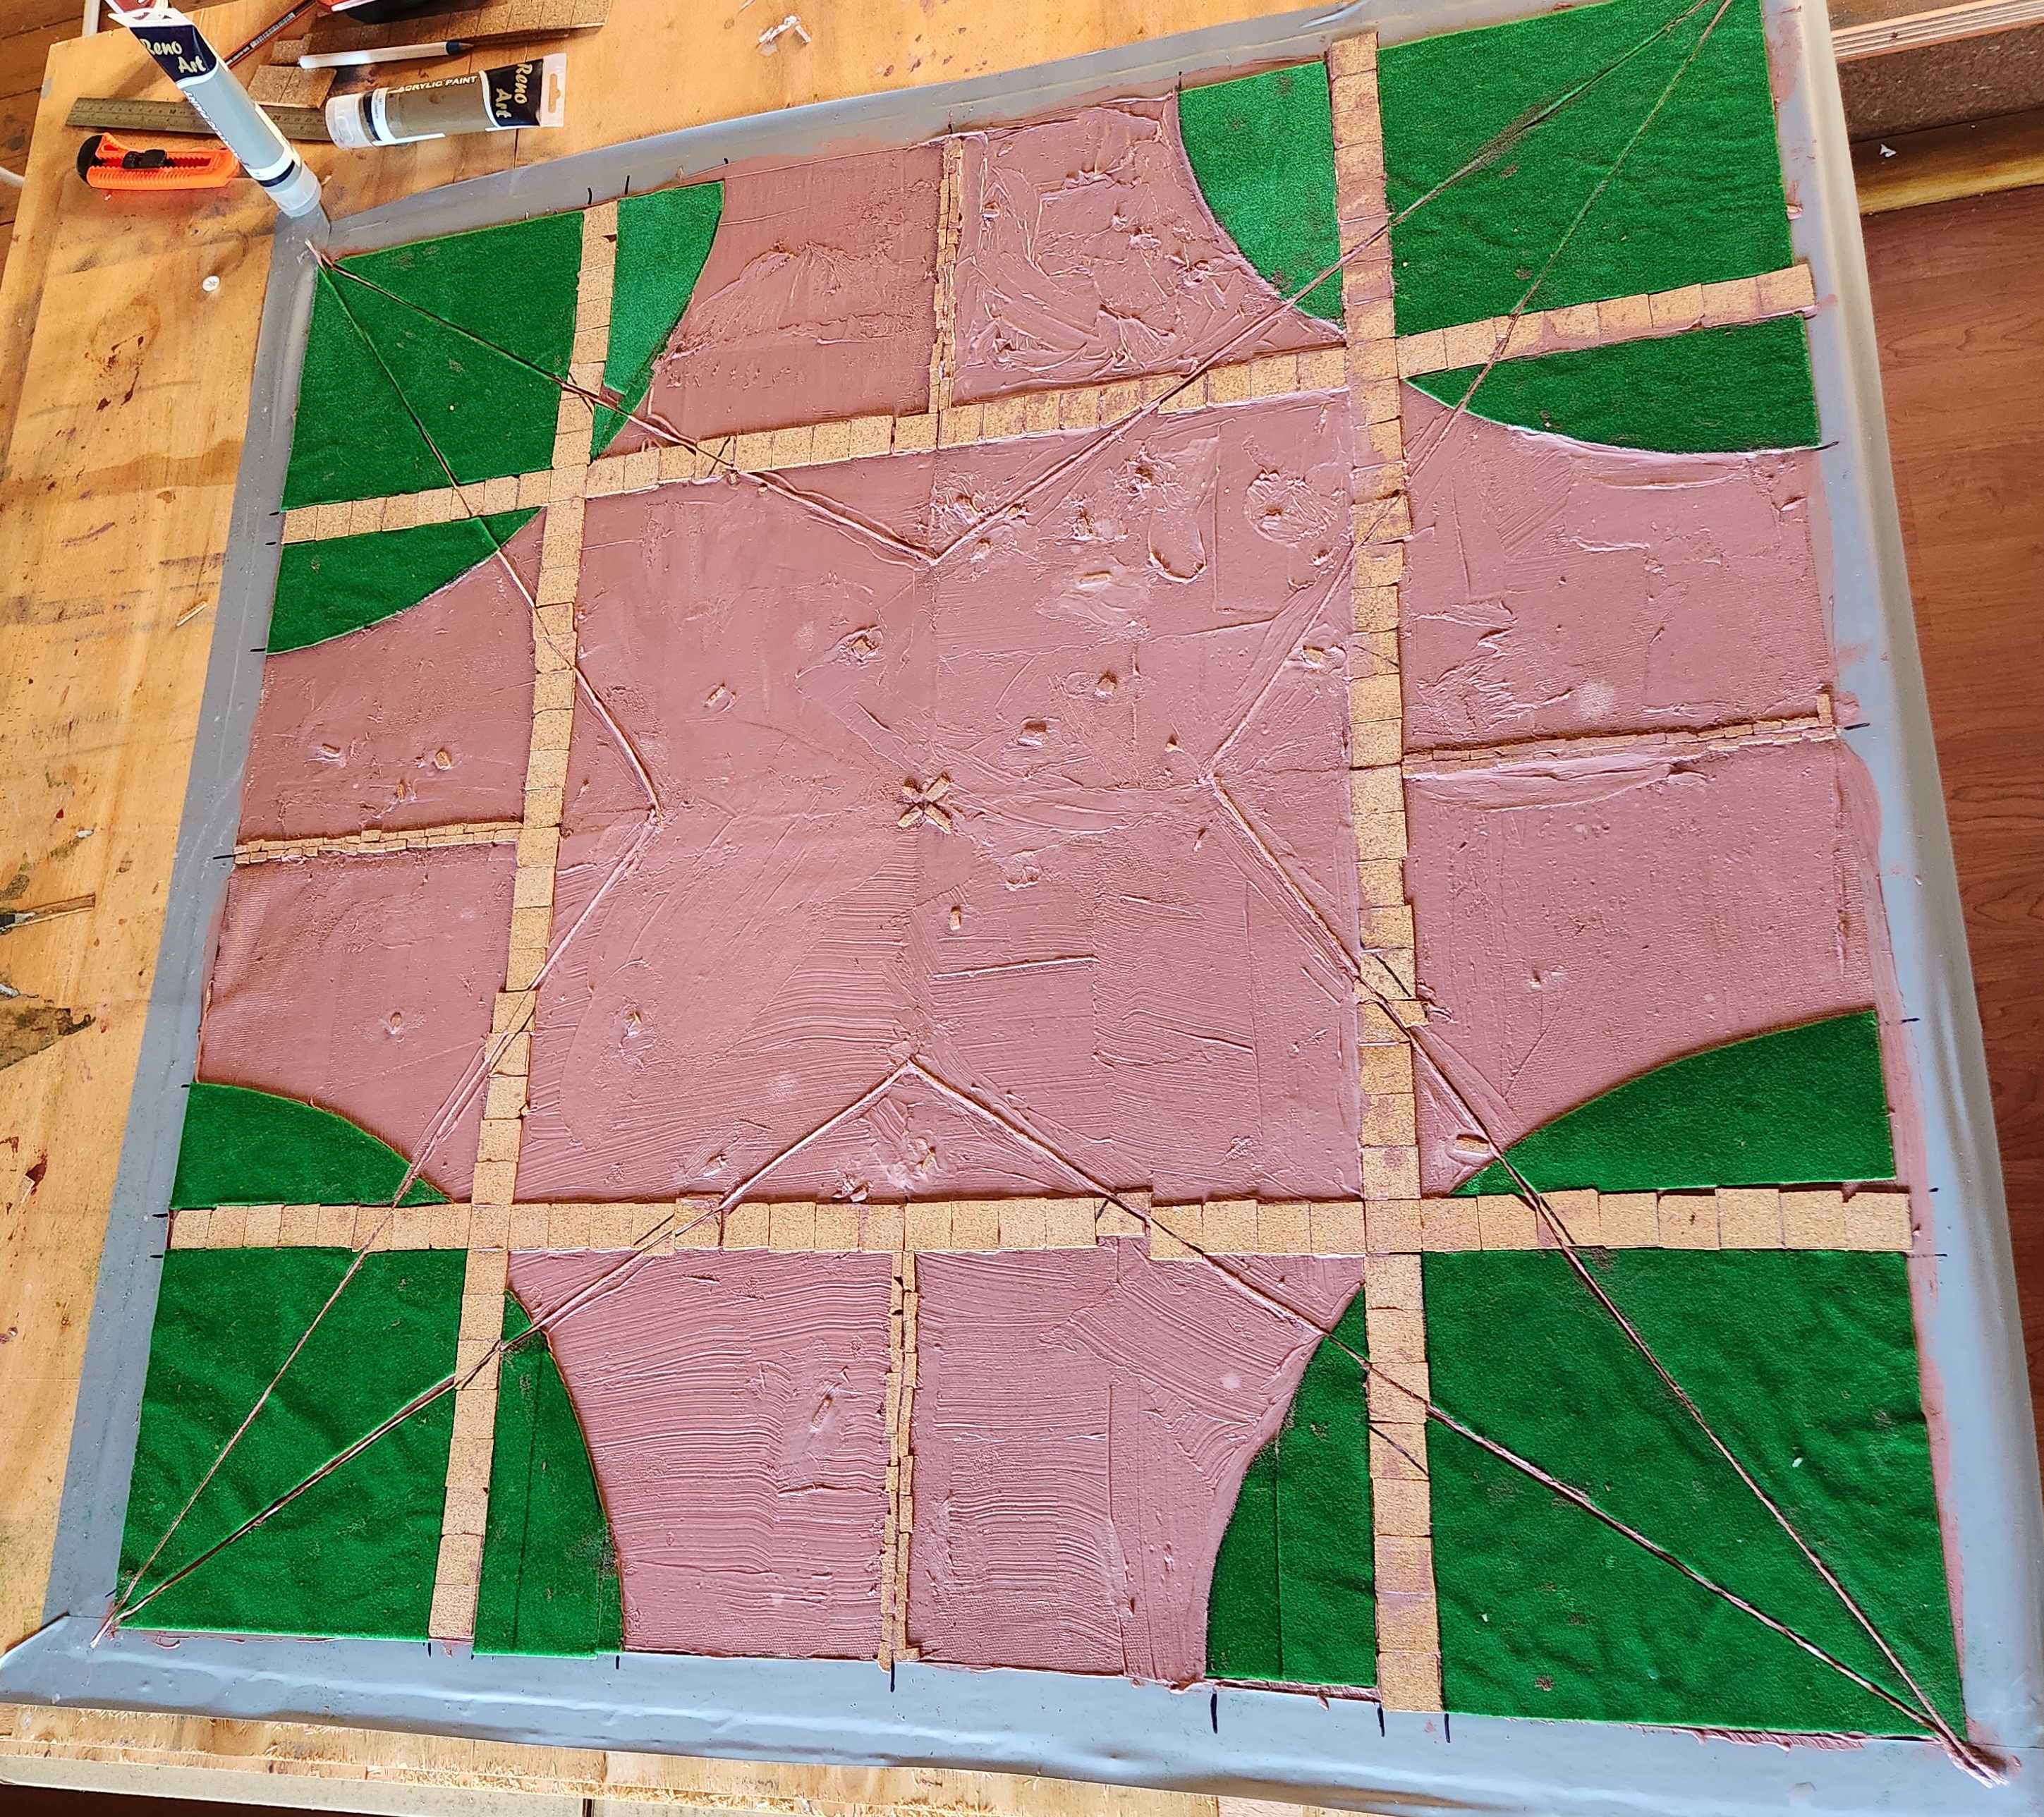 First Layer done! I had some small scraps of cork that I sprinkled on around the mat and worked into the caulk to add extra detail. I then let it set for 24 hours before continuing.
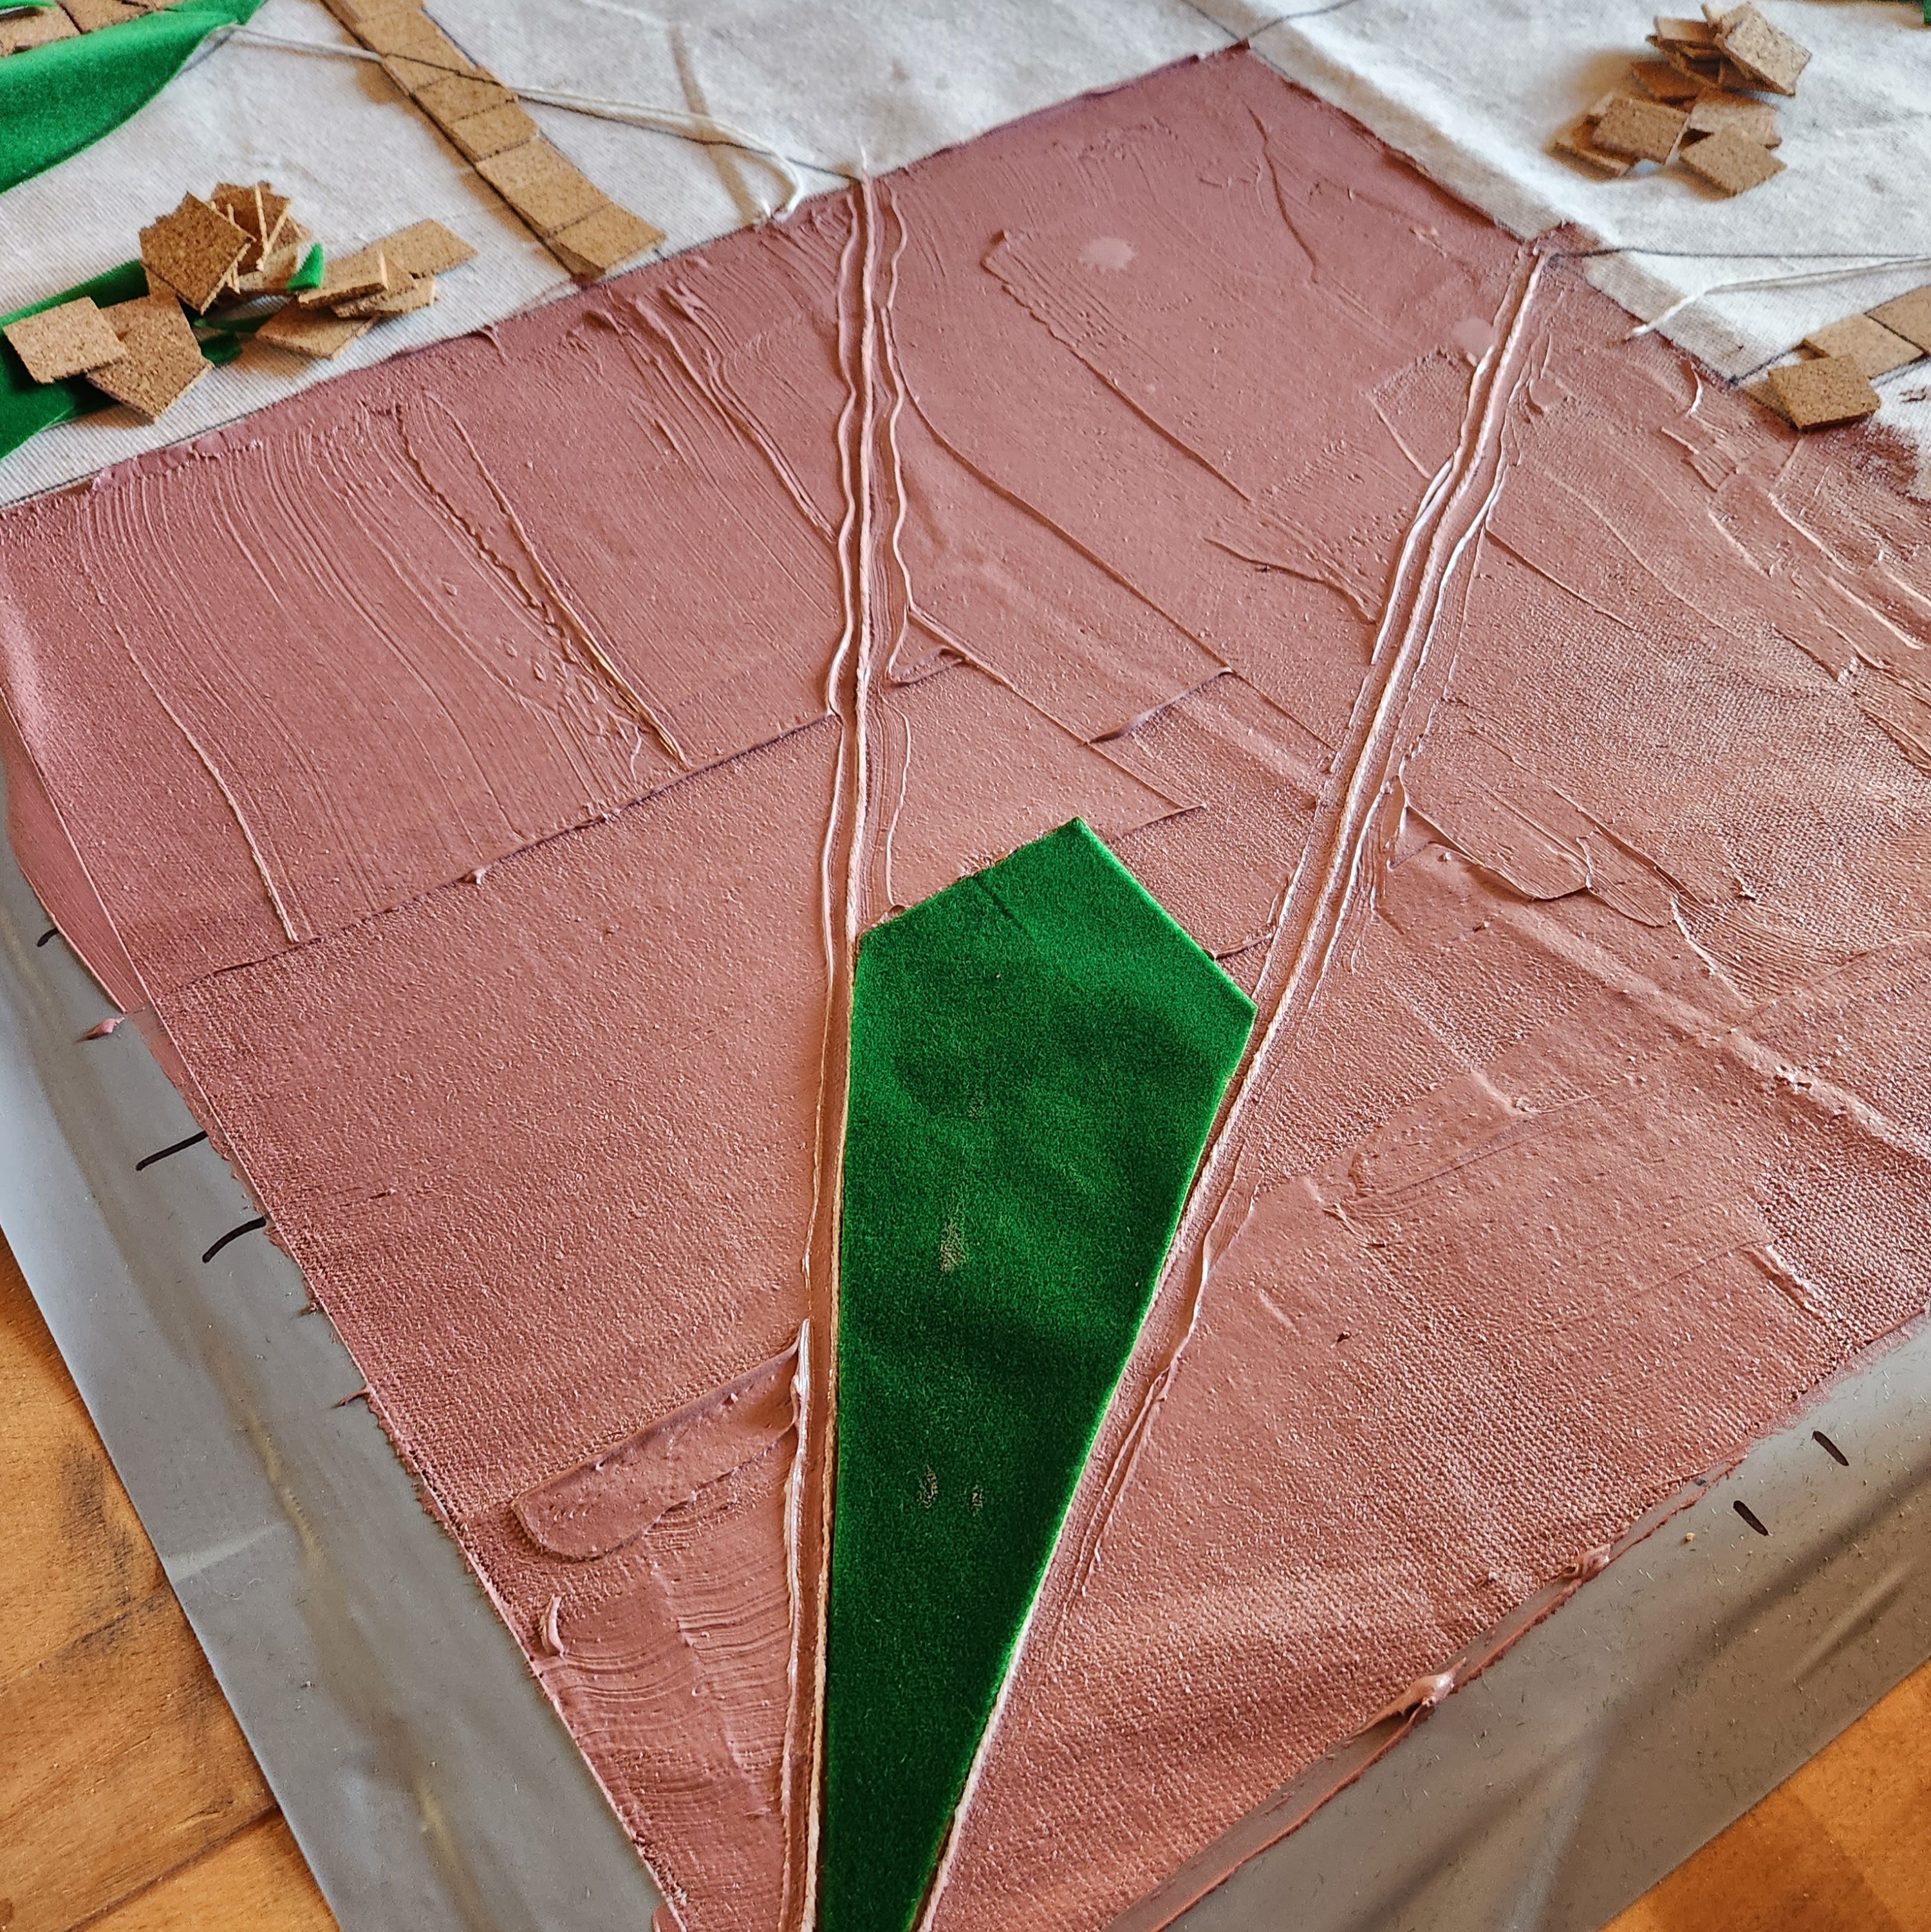
 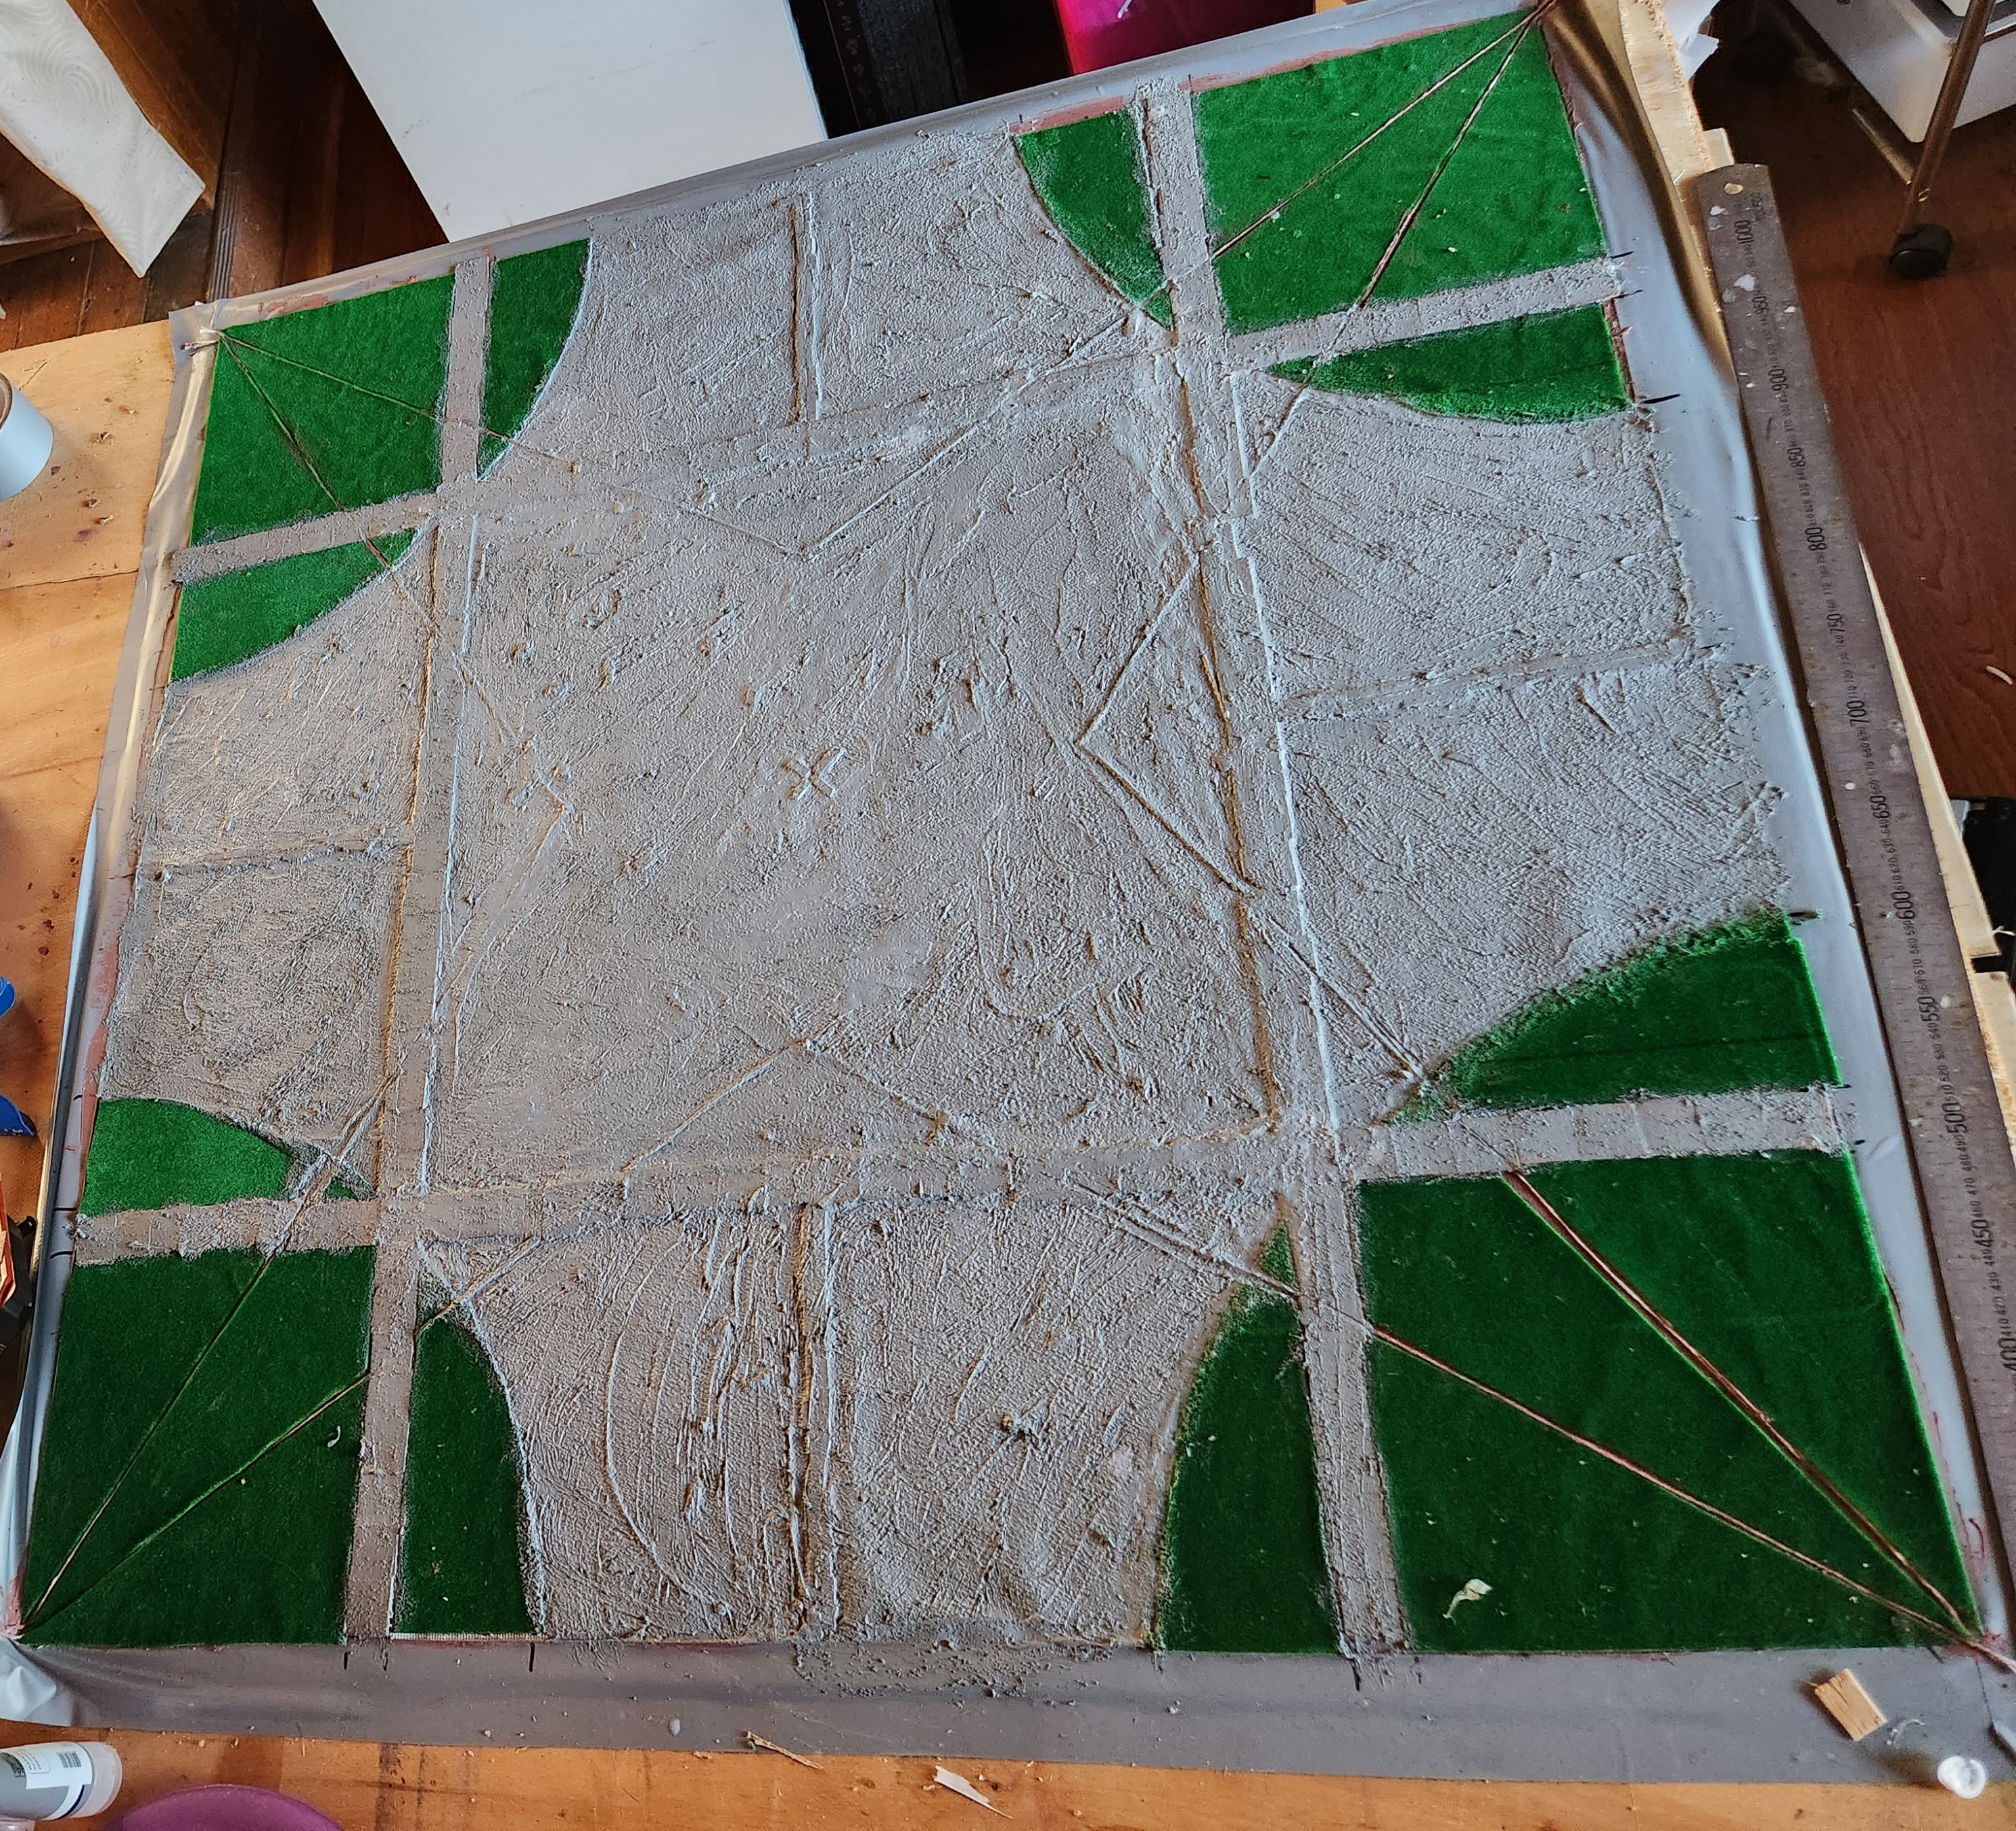 24 hours later, Second layer down. I've added sand to this mixture to create the texture and using a wet finger, worked it into the pavers. It's also a good way to break up any marks left from using the tools, to randomise the surface.
The second layer is mixed with sand to add the texture and grey acrylic paint for the colour. I work the caulk in around the edges of the details using tools or a finger dipped in water.
Once again, this is left to dry for 24 hours before I come in with some paint to finish it off.


Leave a Reply