


![TerrainFest 2024! Build Terrain With OnTableTop & Win A £300 Prize [Extended!]](https://images.beastsofwar.com/2024/10/TerrainFEST-2024-Social-Media-Post-Square-225-127.jpg)


The Nice Inn - Bringing DnD to the Tabletop


Build continued
With the floor made for the ground floor, it was onto construction of the walls. This I did by cutting my pre prepared strips of foam core into appropriate lengths of wall section.
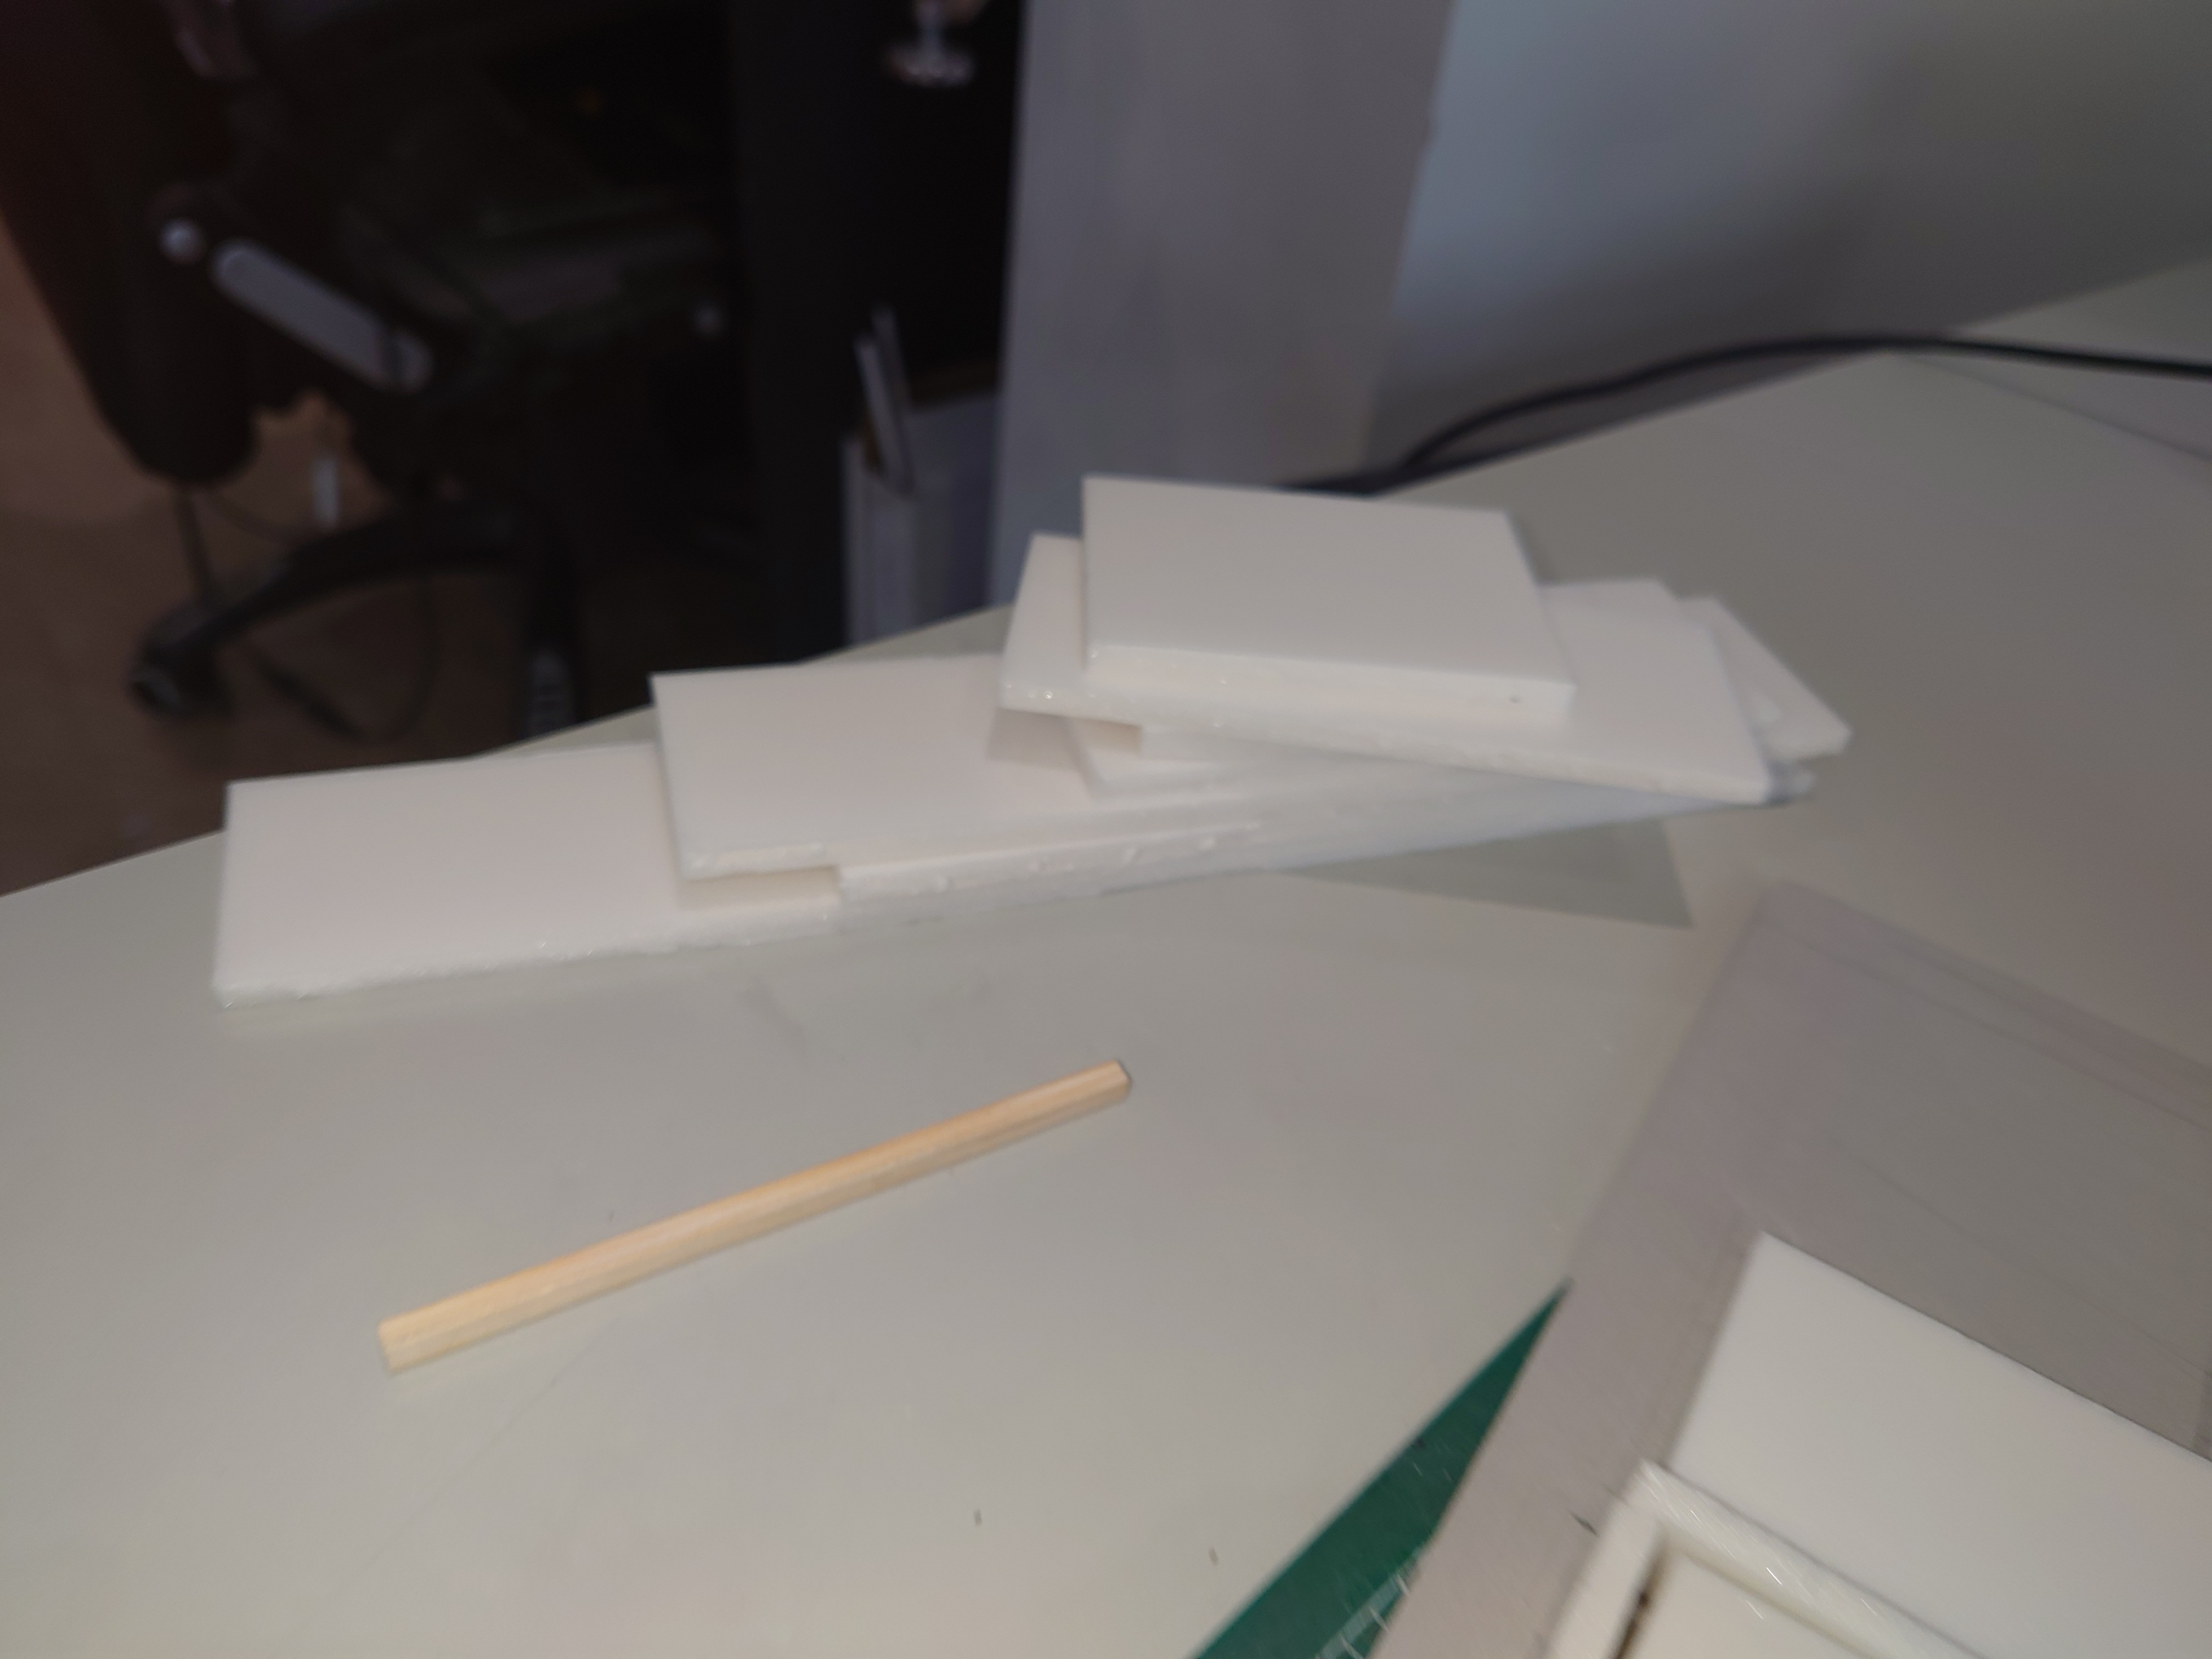 Each section of wall ( in this case 6 sections) cut to size
Detailing
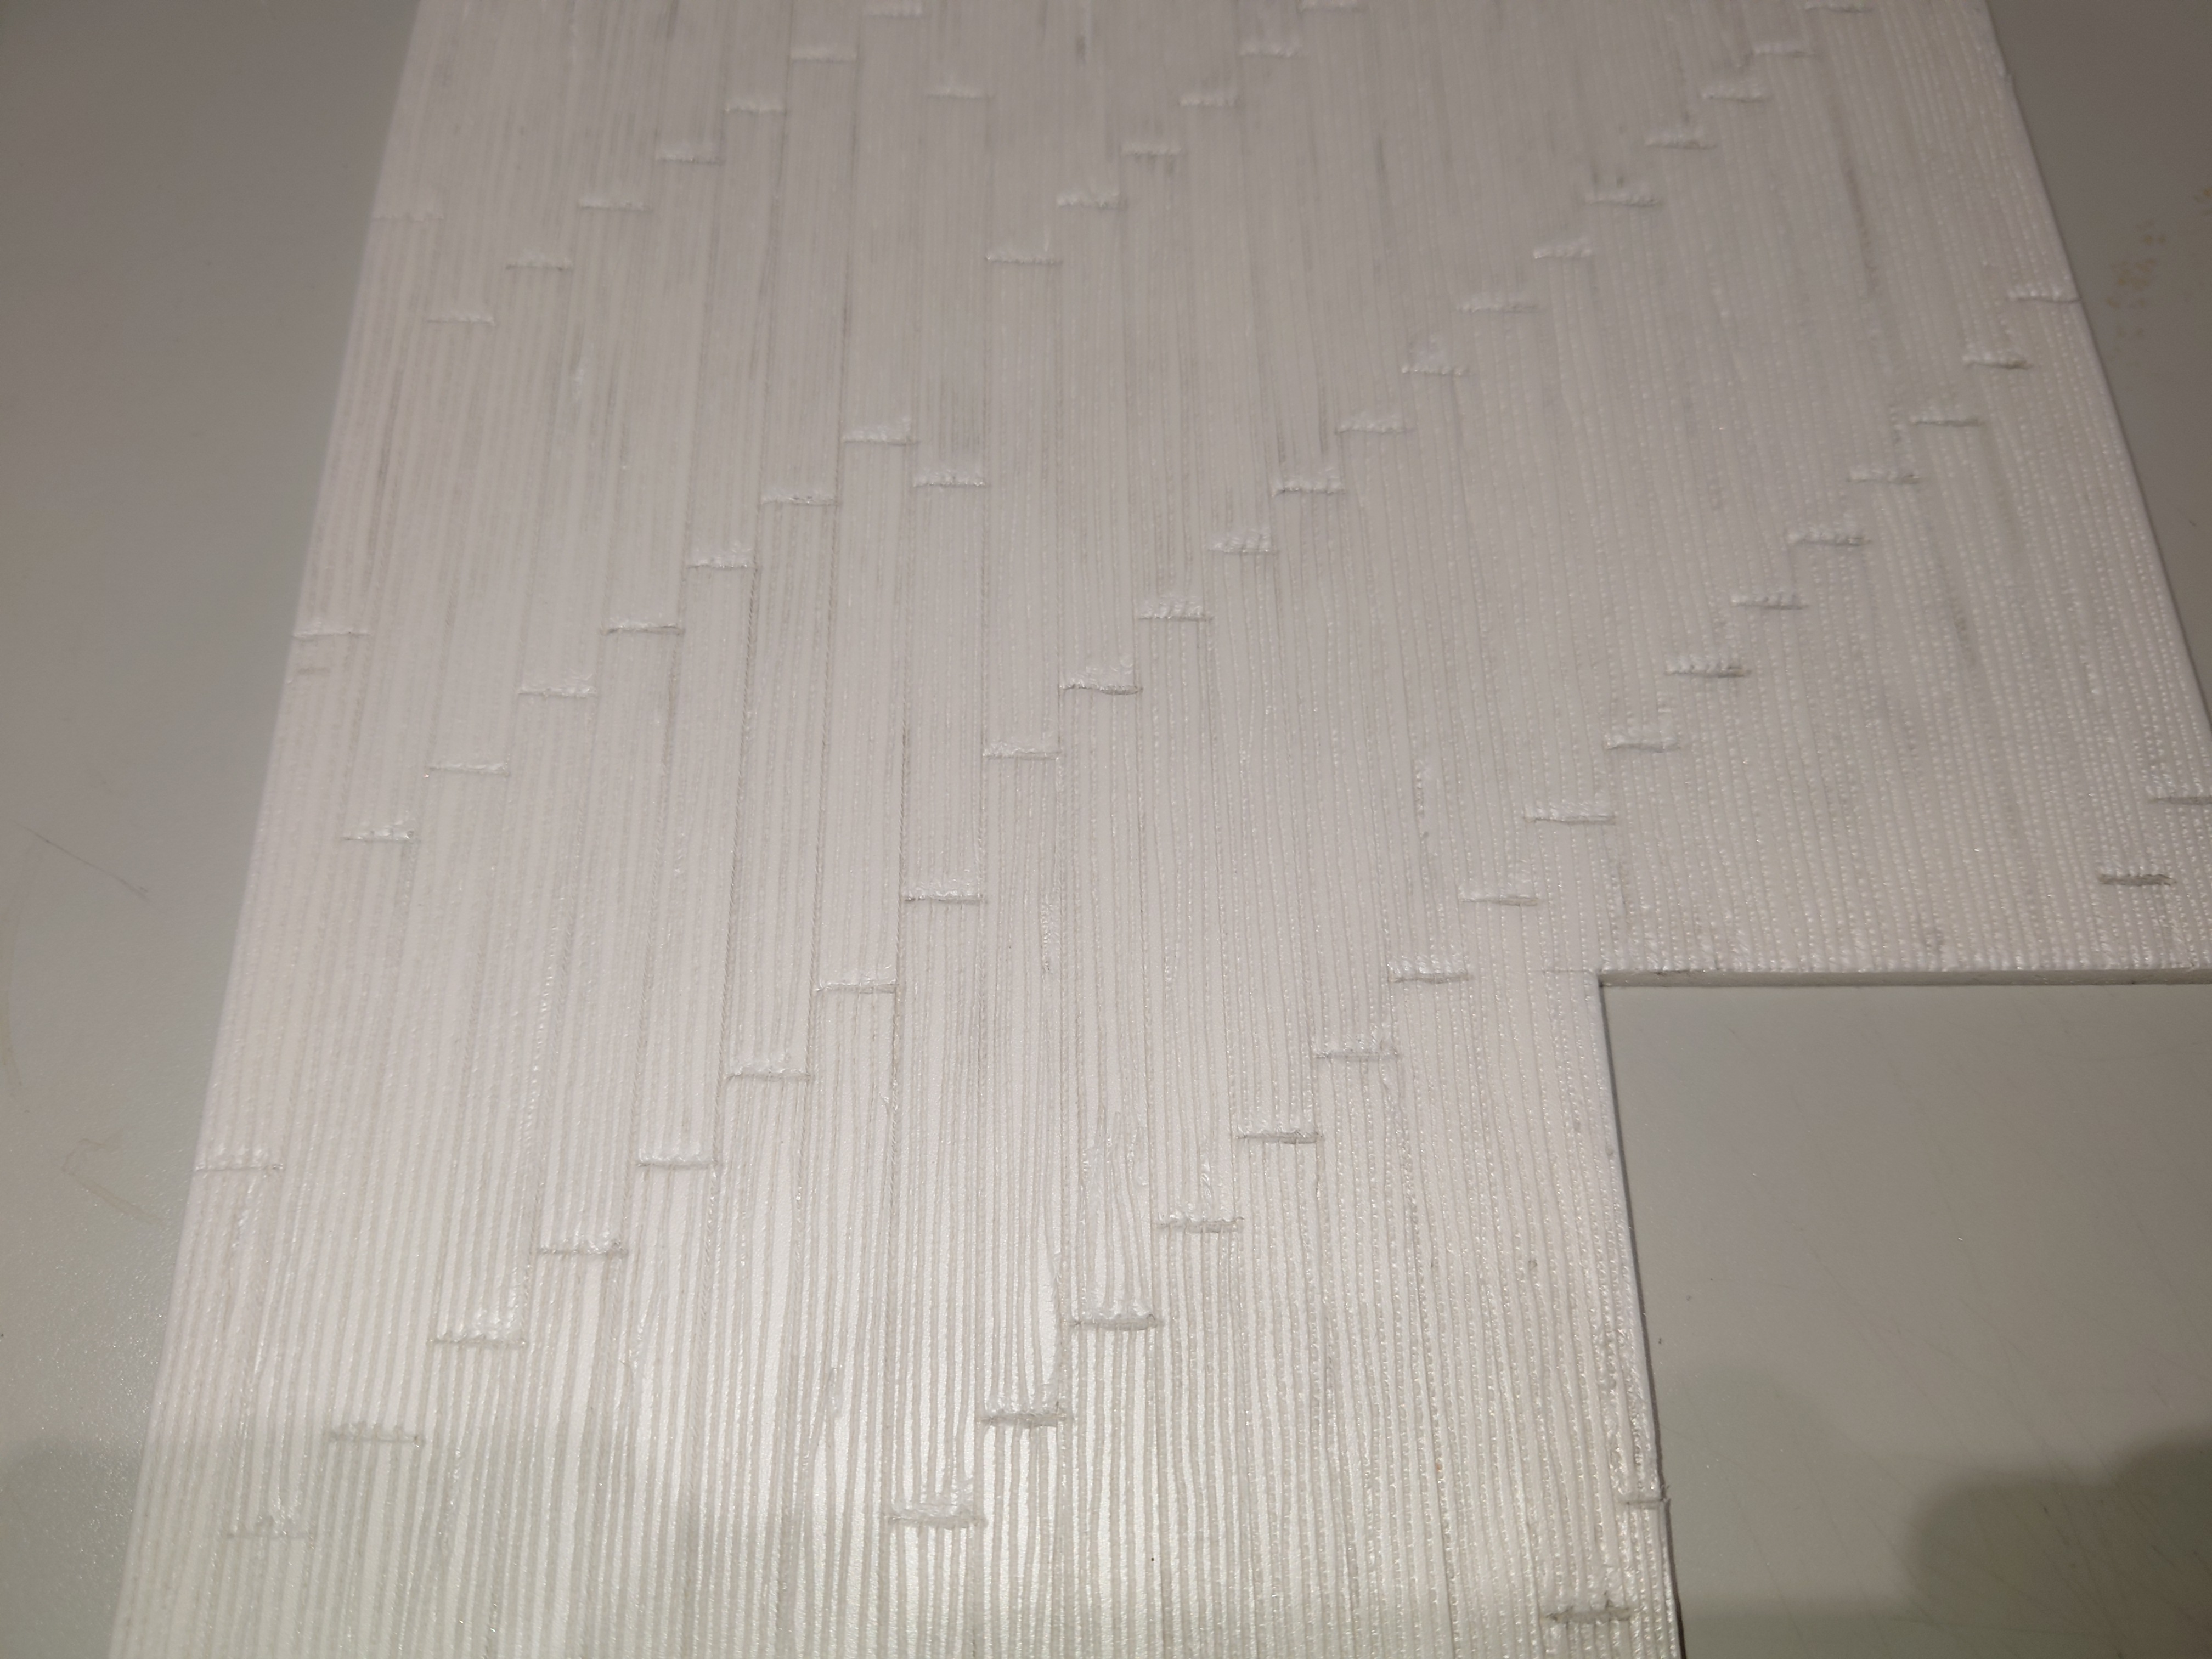
Just like the floor each section of wall needs to be detailed. Both inside and out.
For this I again use a sharp pencil. First if all I draw a line along the bottom edge of each piece on both sides. This line is 5mm from the edge of the section. This is is my guide point for the outside for detailing the wooden beams of the building frame. On the inside it shows the floor level.
Next stage is to draw in the uprights of the timber frame. Then where the windows and doors go.
When all the parts are marked out, I creat the wood grain as I did with the floor.
When the frames are complete I then add some character to the walls by showing where the dorb has come away from the wattle of the house.
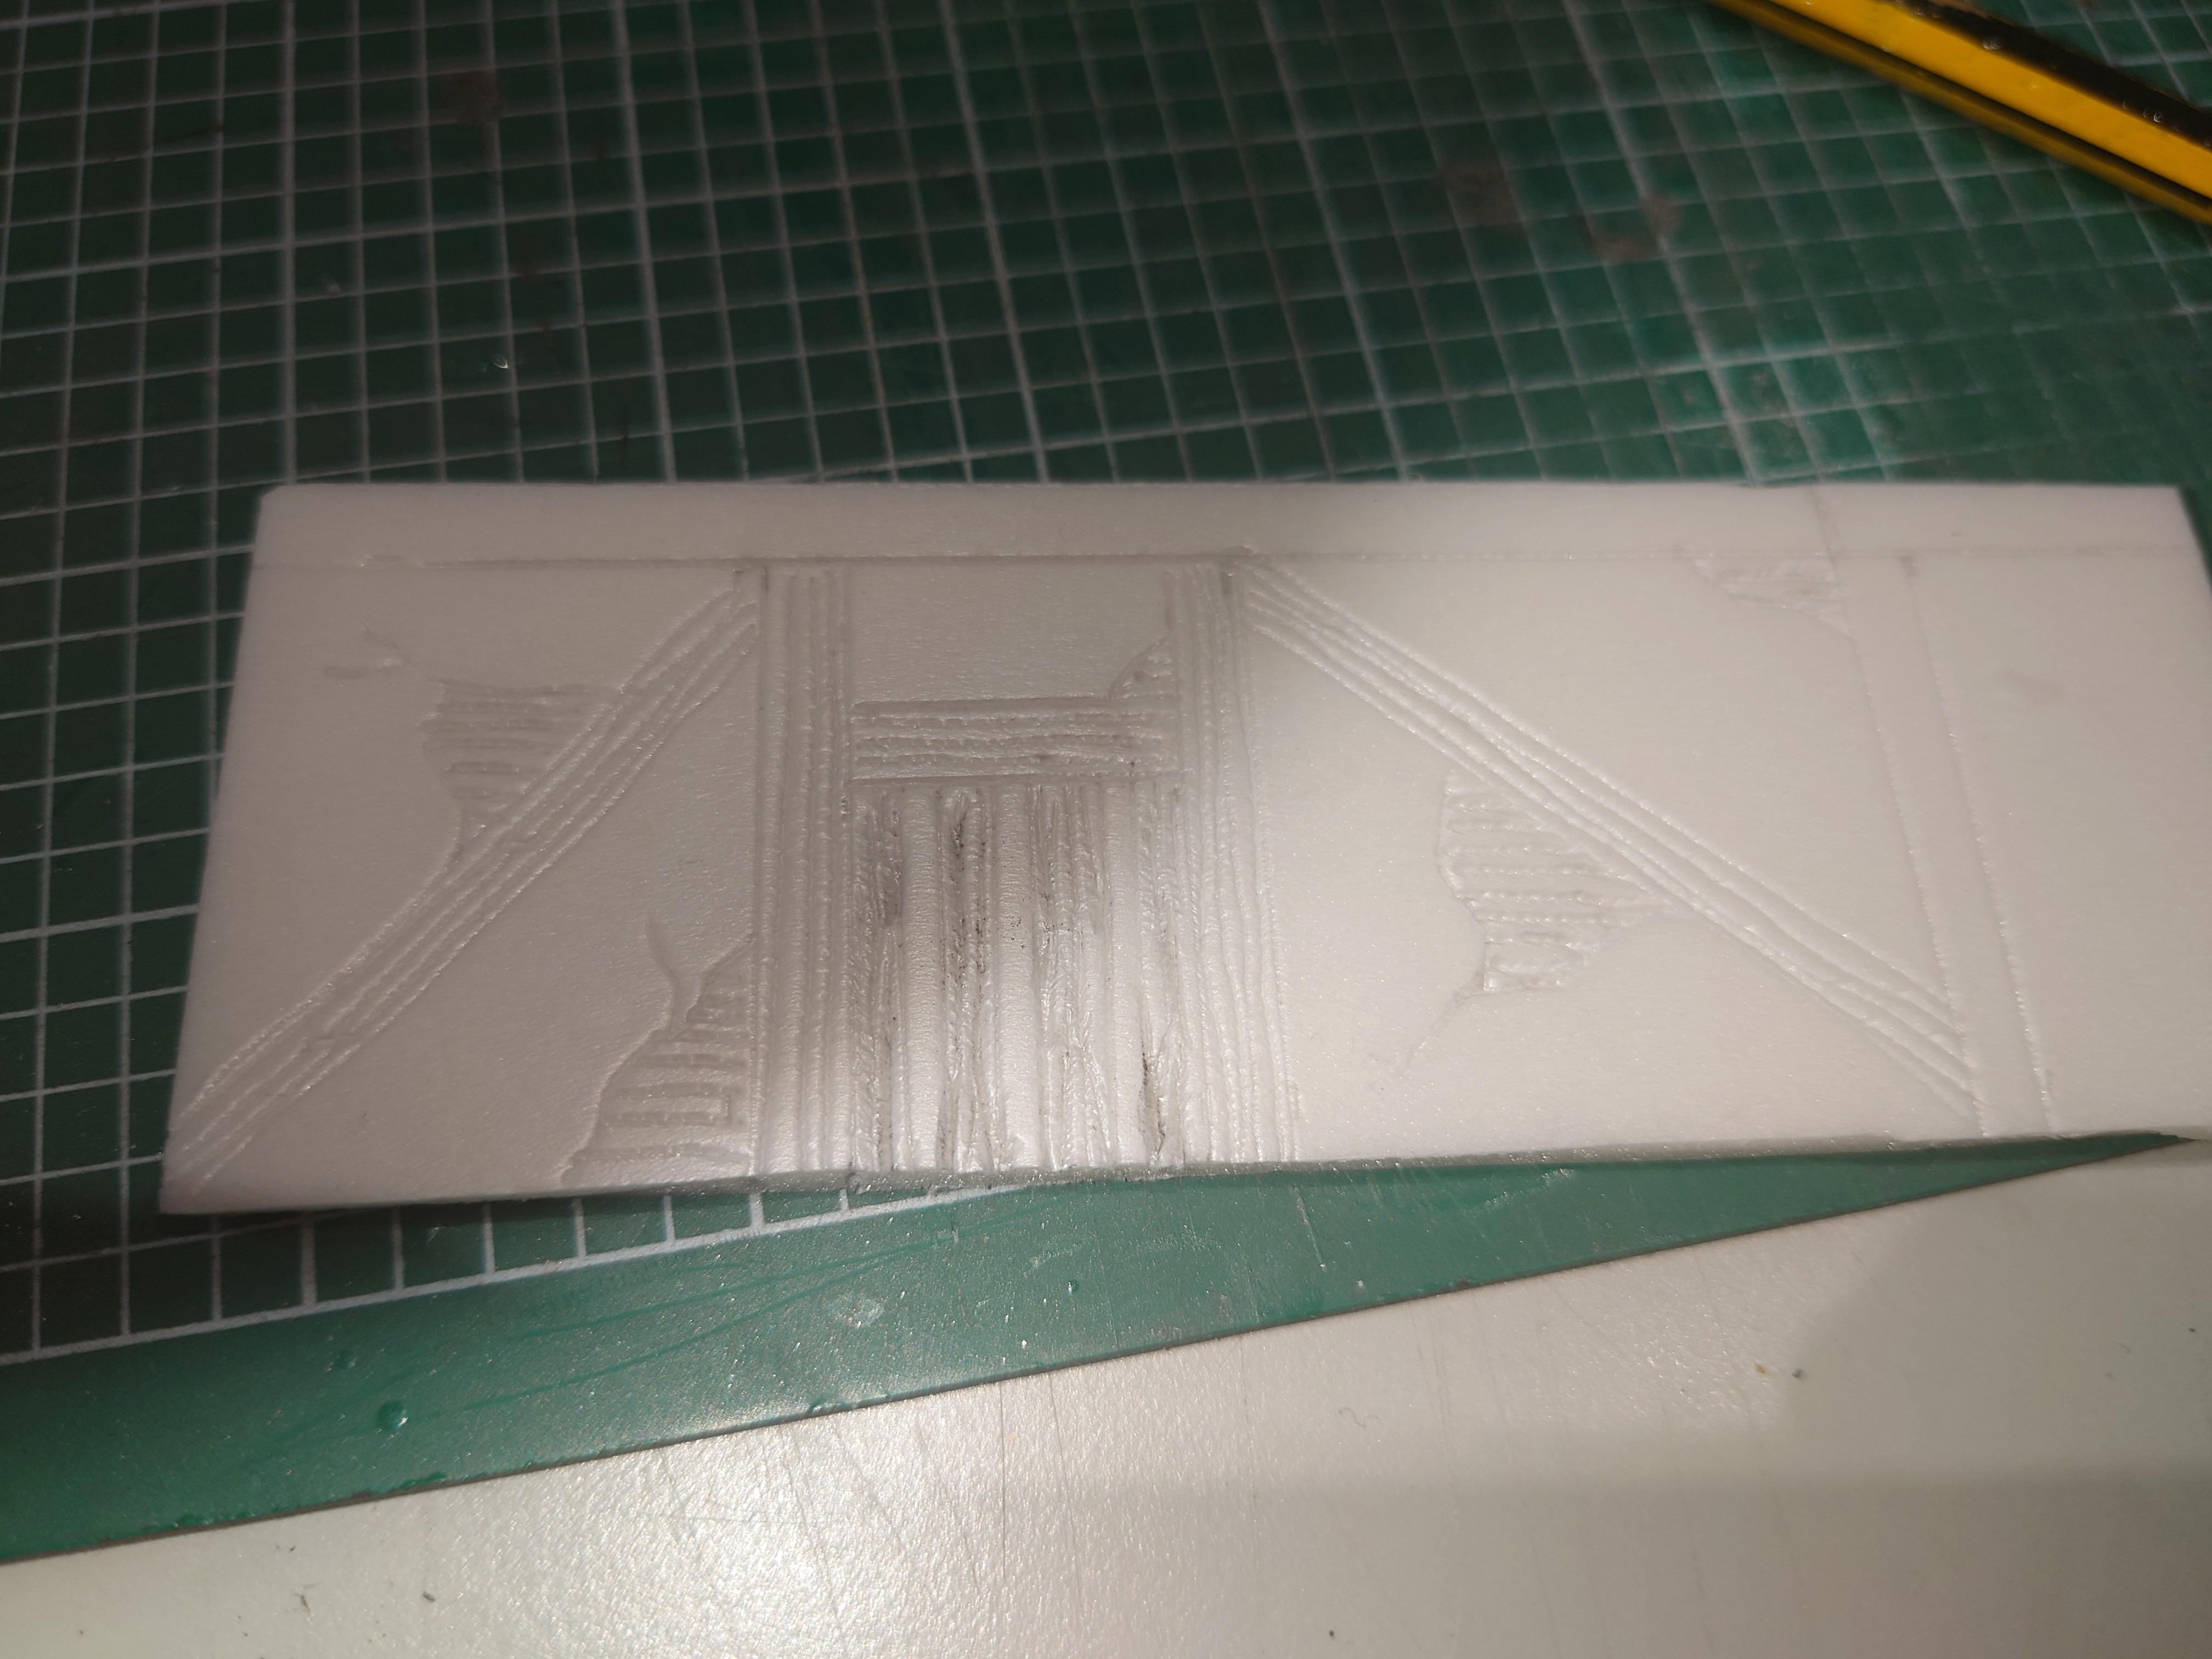 Detailed wall section.
 Prefab
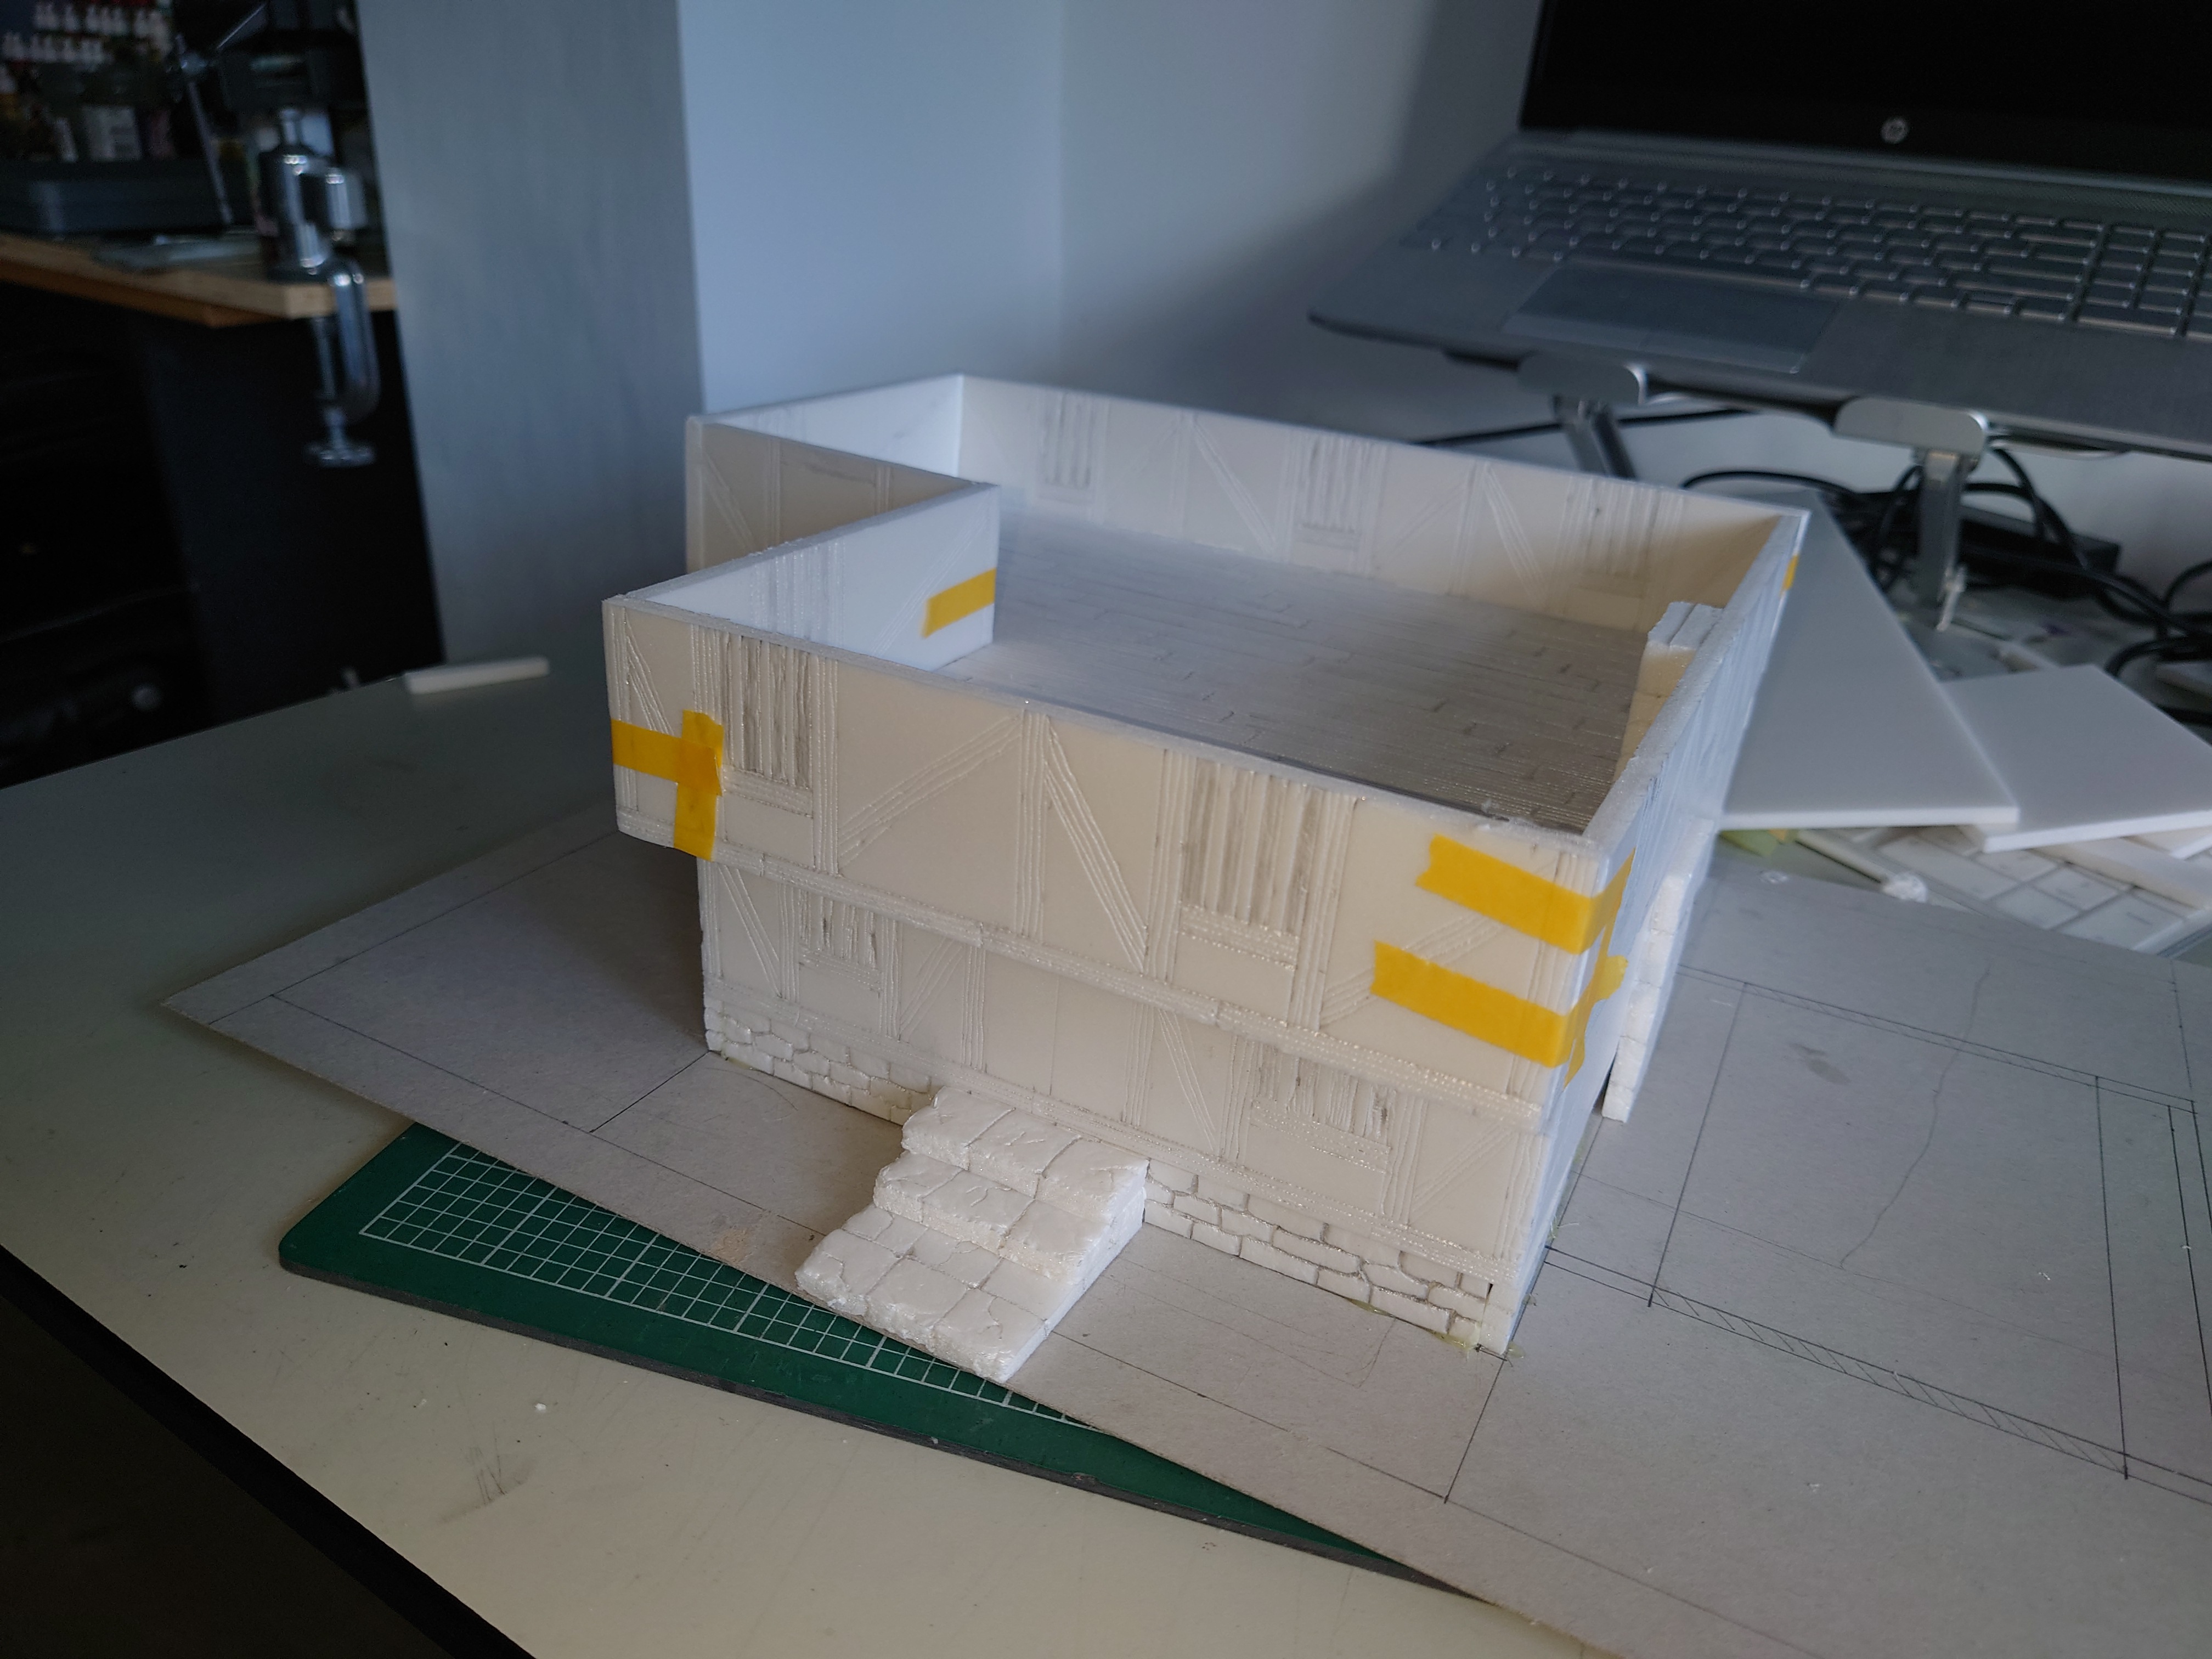
The next step is to attach the walls to the floor and the ground floor to the basement section.
This is done using PVA glue and masking tape to hold the sections in place.
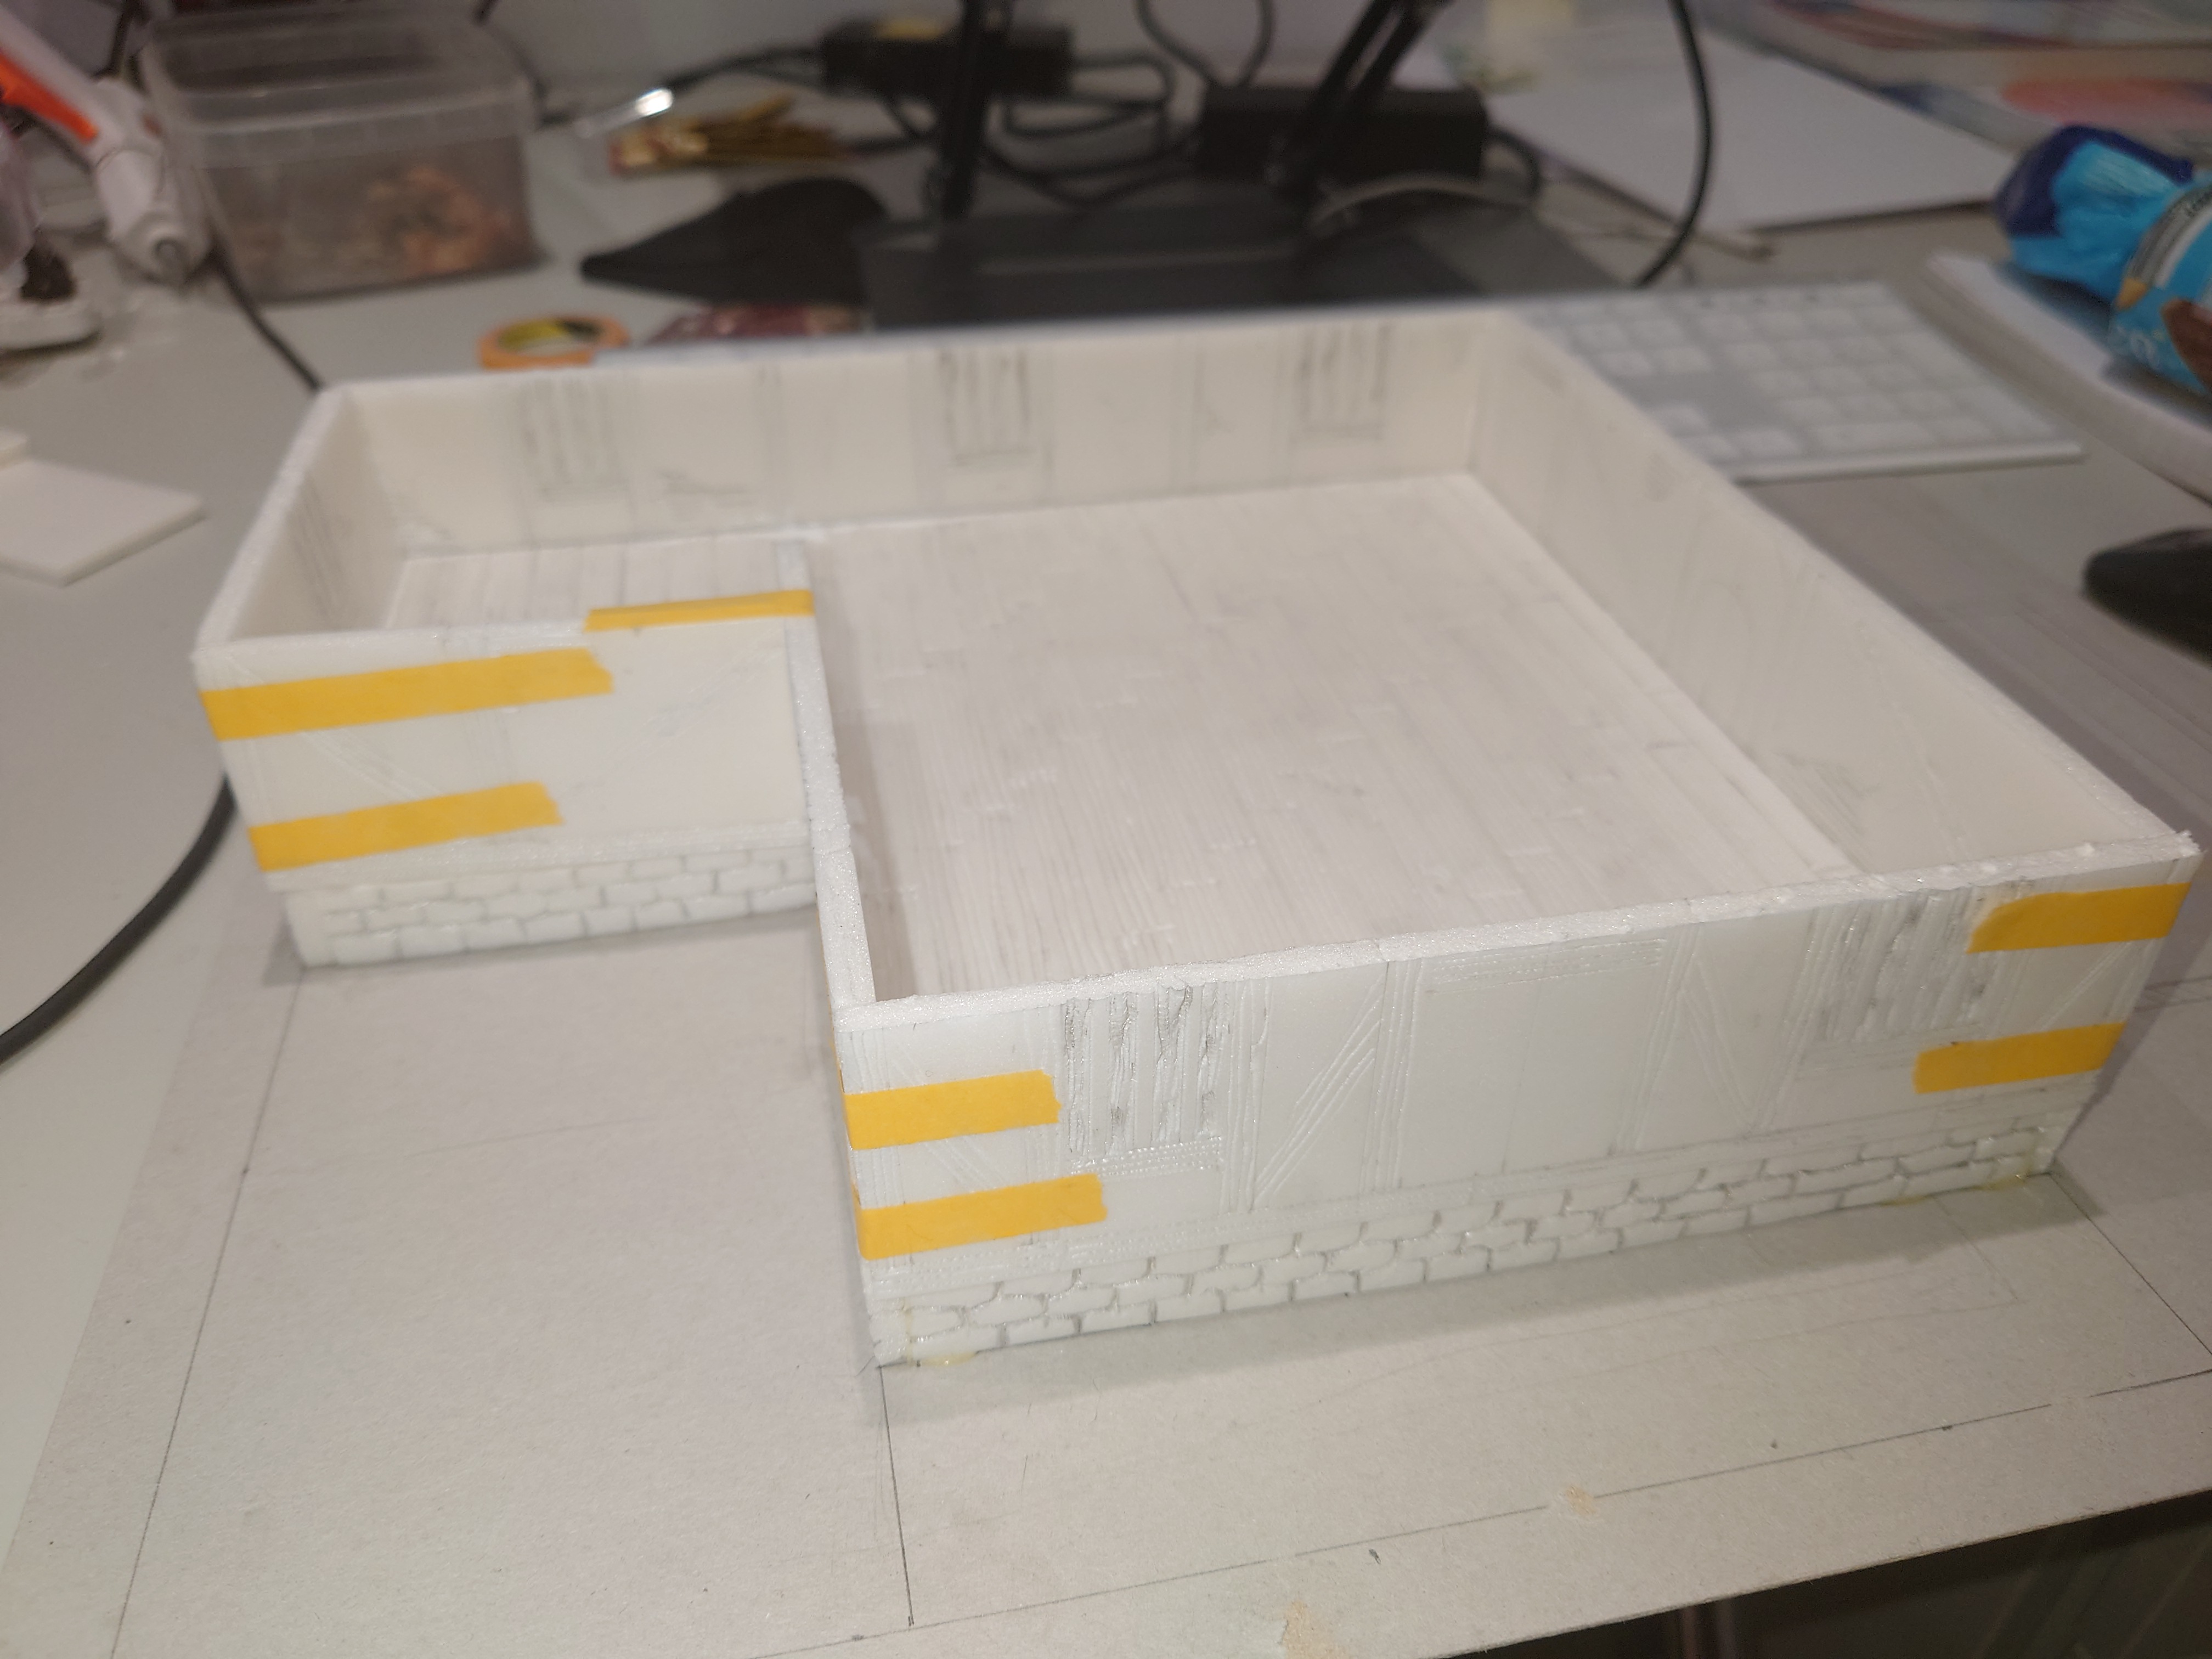 The glued sections.
First Floor
Once the main part of the ground floor is complete it was on to the first floor.pretty much the same process as the ground floor.
The main thing is to create an over hang which gives more space. I am only going to the main box with the intention to add more interior detail later.


Leave a Reply